
For the last and final project for Creative Technical Studio, I wanted to take in consideration the Future Heritage inflection for my design process. The past has always been one of the main sources of inspiration for me; the silhouettes from other eras and the methods for producing clothes back then have always influenced my designs. The initial shape for this project was inspired by one of my mom’s garments; a timeless silk kimono that she passed on to me. She has always taught me that quality is always better than quantity and I really wanted to reflect that mindset on this last project.
Bonds are strengthened when heirloom objects pass from one family member to another. My goal is to achieve that kind of quality, the one that endures for generations. By using high-quality fabrics and long-lasting finishes for the garment, the life-span will be greatly improved; by making the garment reversible, the piece would showcase a completely different look on the inside. This two factors would help reduce waste and the need to buy new pieces of clothing.
The garment that I inherited from my mom was clearly influenced by Japanese kimonos. I kept on researching on this particular garment piece. I learned that originally, “kimono” was the Japanese word for clothing. But in more recent years, the word has been used to refer specifically to traditional Japanese clothing. Kimonos as we know them today came into being during the Heian period (794-1192). The trend was born out of the newly invented straight-line-cut method, which involved cutting pieces of fabric in straight lines and sewing them together. With this technique, kimono makers did not have to concern themselves with the shape of the wearer’s body.

Principal components of the kimono.
After my initial research, I made patterns for a traditional kimono silhouette. When I finished, I unified the front and back bodice patterns to eliminate the seam coming down from the shoulder and added a seam in center back. I did not want to change the original idea that much, so I decided to play a bit with the shape of the sleeve to create an interesting design.


When I finalized my sleeve, I determined that I wanted to make the back a little bit more interesting. I made a curve around the lower back and added a flowy, drapey piece.


When I finalized all of my pattern pieces, it was time to move unto my final fabric. I went swatching before I even began the patterns, as I like to have the textiles in mind when I am designing. These were the proposed swatches for the final project. Initially, I had decided that I wanted to use the geometric silk velvet with squares on it but when I went to buy it, the store only had a yard left, which was not enough for my project. I ended up using a black silk that had a very subtle texture to it.


-24pwuyq")


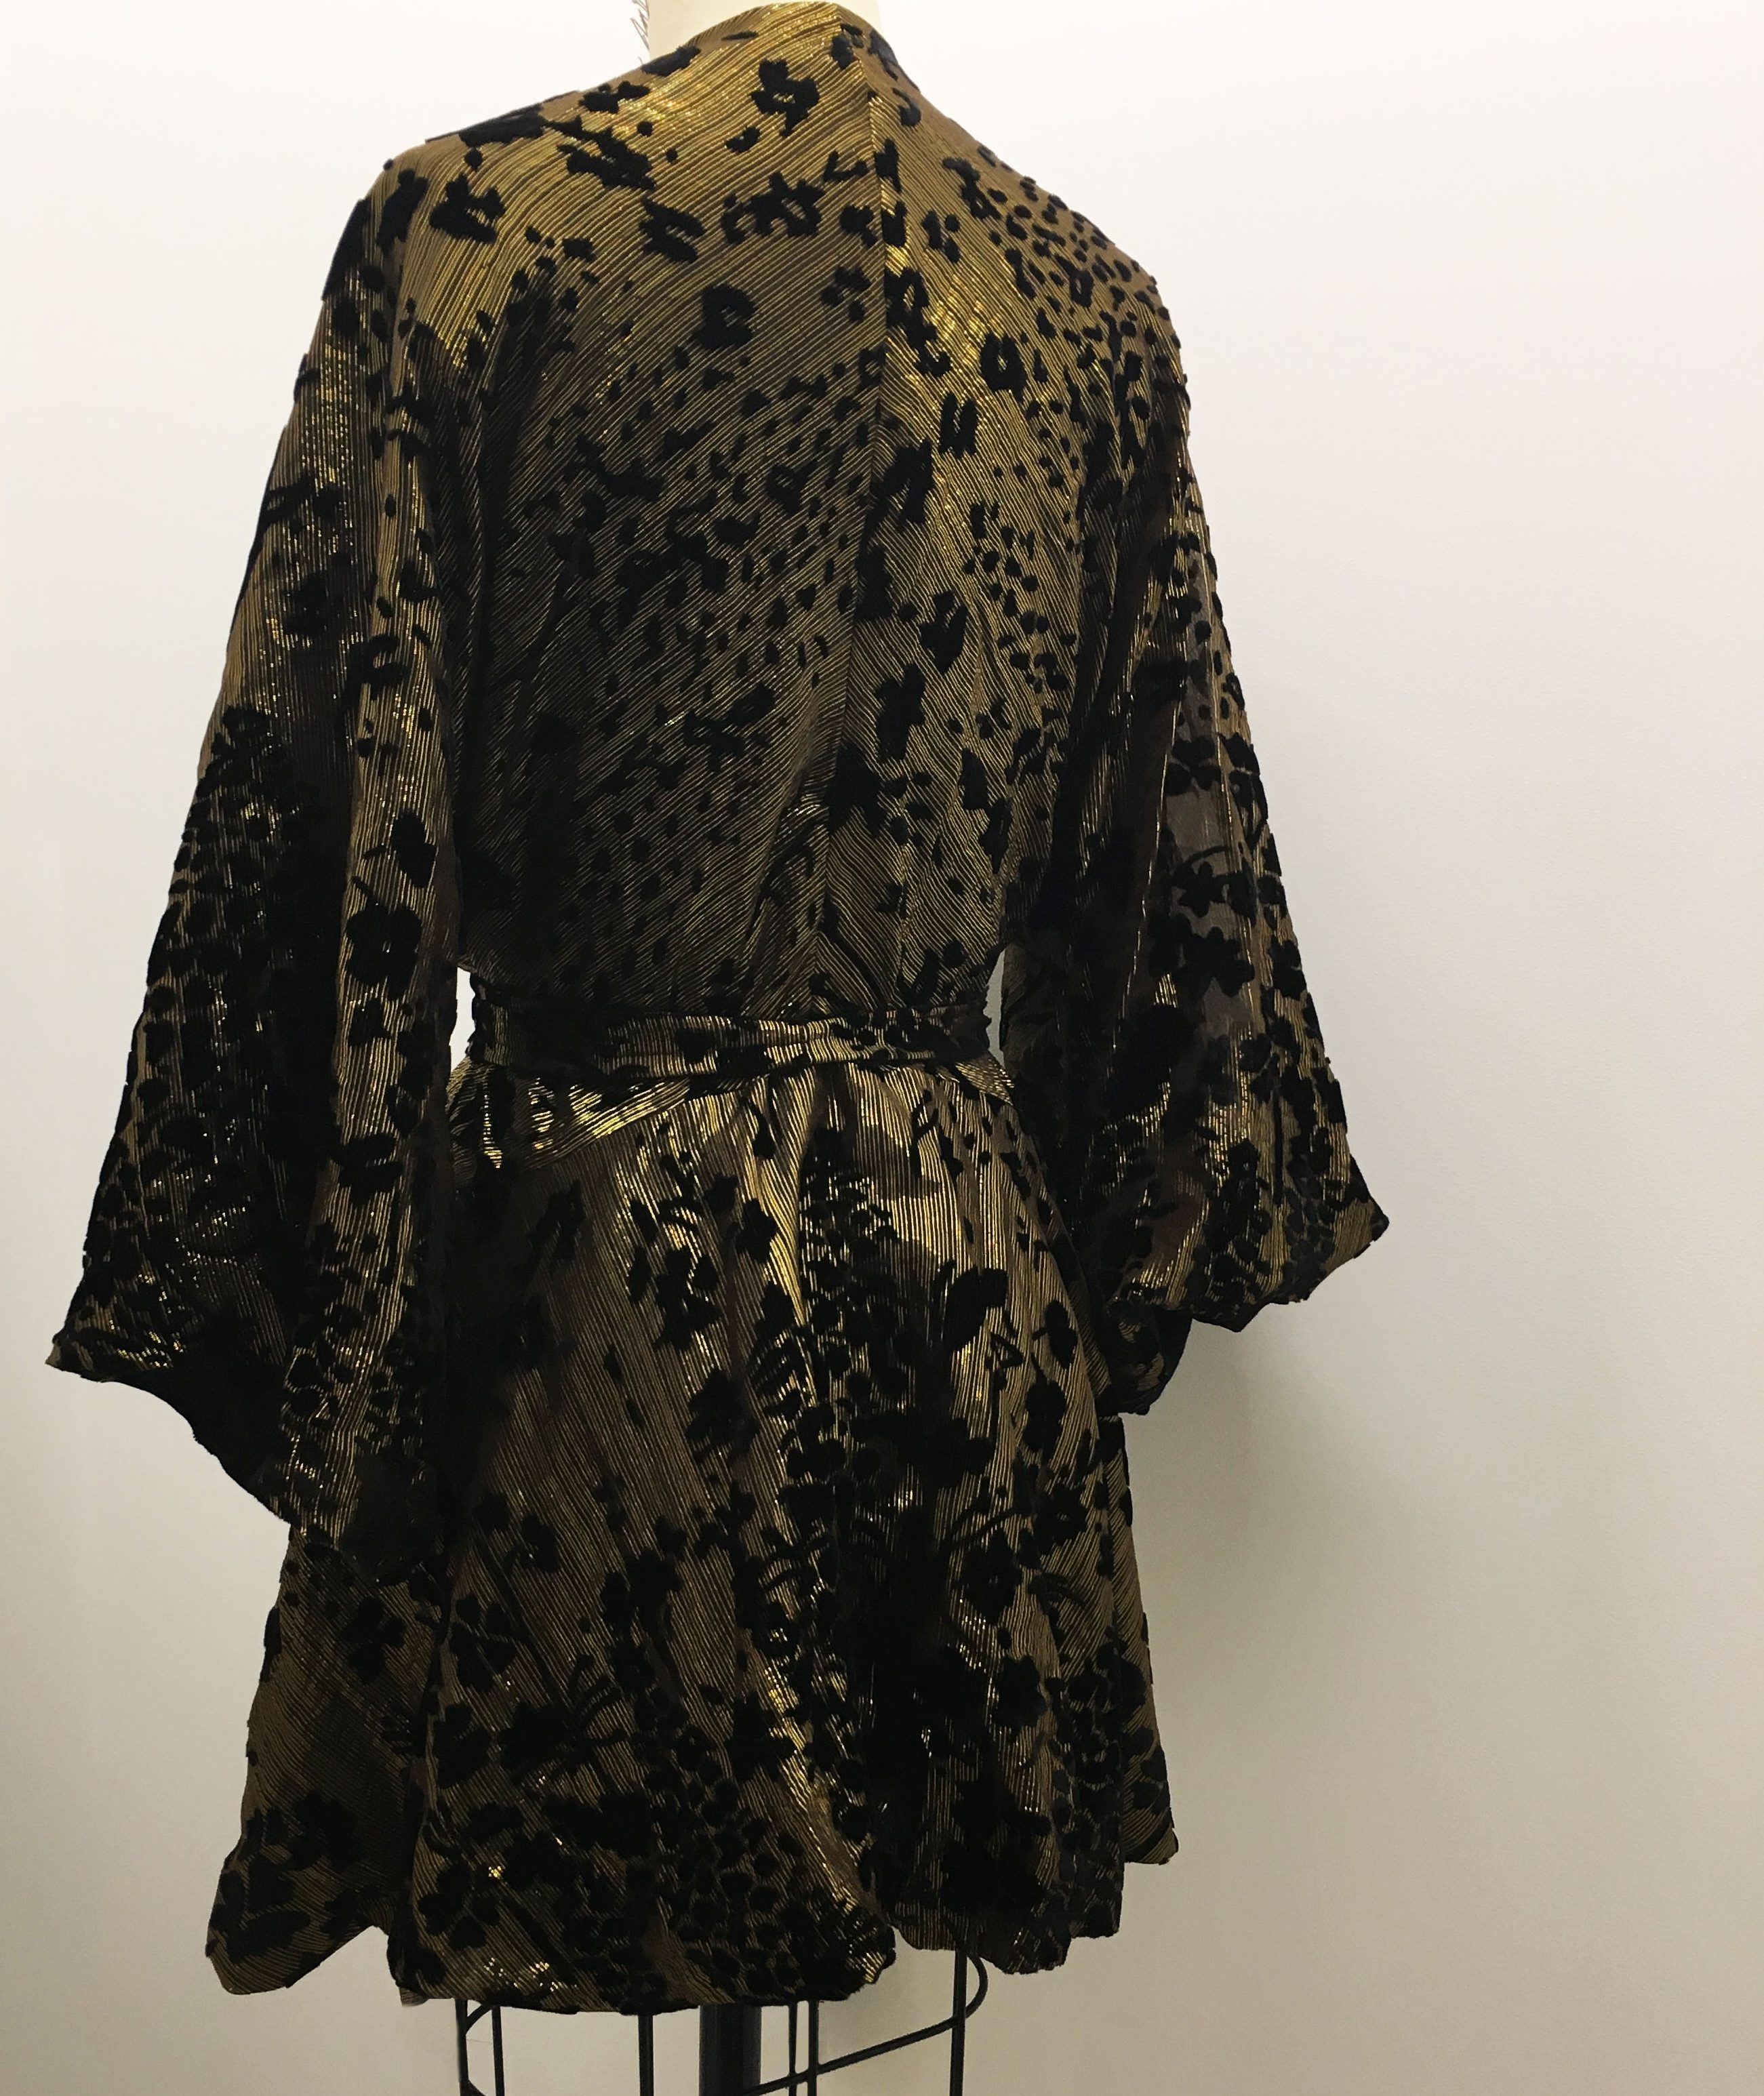
My shell fabric came in panels. As my pattern pieces were very big, the only way to fit them is if they were cut in crossgrain (traditionally, they would be cut in straight grain). There was no way to “perfectly” mirror the pattern but I ended up choosing the most scattered one, since it felt more balanced to me.


Then I went on and started sewing the shell as soon as I could, since the fabric frayed a lot. When I was done sewing it, I decided it would be a safer bet to put fray sealant on all of the edges, it would make the garment more long lasting. After that, I went on and started working on the patterns for the “lining.” I wanted my kimono jacket to have pockets, so I traced onto the front the style line I had on the back and started drafting the pocket patterns. I determined that the pockets (even the insides) were going to be made in the same fabric as the rest of the “lining,” as I felt that this would give the garment a higher quality feel.


After I finished sewing the “lining” together, I noticed that the lower back part had stretched a lot. It was sewn in a bias which is why it may have happened. I consulted my teacher on how to fix this issue and she suggested that I level it with the gold shell when I was sewing them together. This was the hardest part out of everything; sewing a silk to another silk is really hard. And not only that but I kept sewing the sleeves on backwards, twisting them and also sewing the inside out. I ended up sewing each sleeve at least four times.


I am very glad that I used this silhouette as my final garment for my sophomore year. It was a very challenging experience for me to sew silk together with silk, as well as making a bagged “lining.” I learnt so much out of this project and it felt like the outcome represented my design aesthetic and sustainability principles (making the garment long-lasting and higher quality). I am looking forward to continue exploring this inflection in the coming years as a young designer.