Over the course of the last 4 weeks, my Drawing and Imaging class focused on figure drawing, portraiture, and line quality. As we explored different models, techniques, and time lengths, I developed better proportions and line quality.
Below are a few samples of my work.

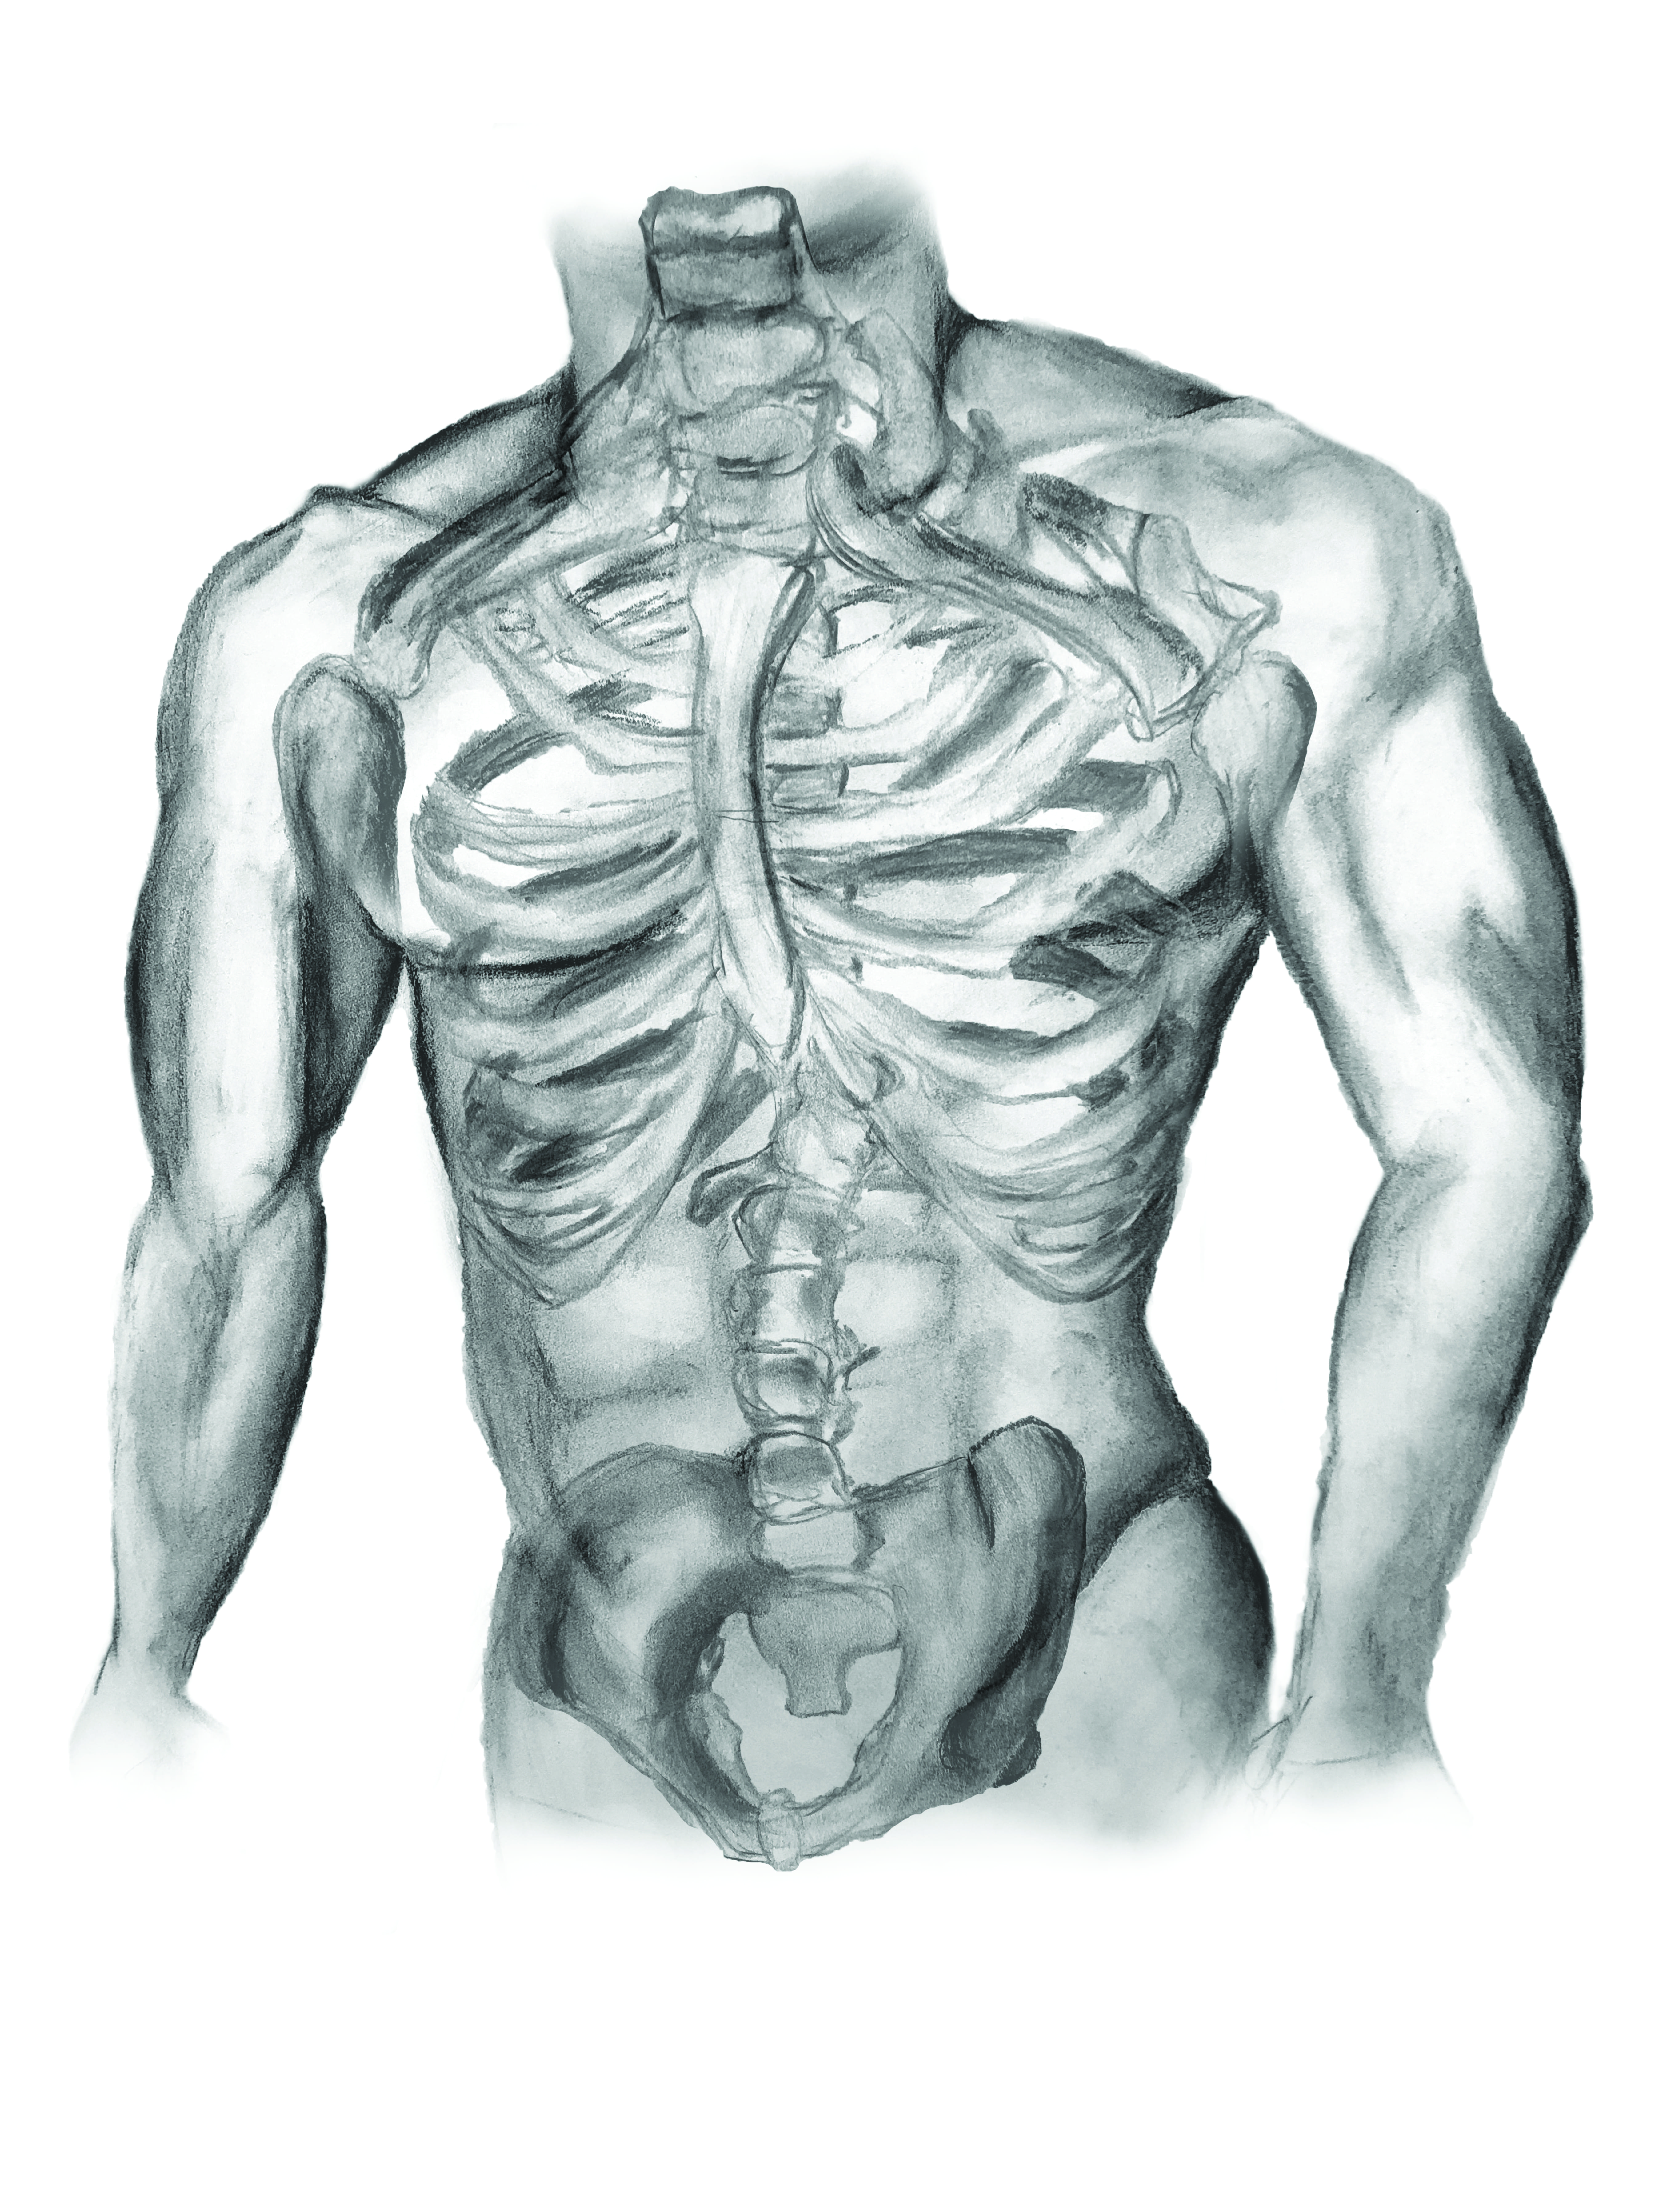
Dinosaur Line Drawing
Starting off this unit of class, our class took a trip to the American Museum of Natural History to study the bone structure of a dinosaur of our choice. In place of shading for depth, I had to use line—thicker lines might imply more immediate bones, while thinner ones might give the impression of farther bones. Hard and Soft lines construct a similar structure of depth, developed from the range of graphite I used. I spent about an hour and a half working on this drawing.

Overlapped Gesture Drawings
For our first live figure drawing session, we were tasked to create quick, 30-second gesture drawings on the same pages. As the began to overlap, a sense of movement and a highlighted understanding of body dynamics makes itself present. Using vine charcoal, our range was slightly limited, however, shading was not an option considering the short time frame of each pose. With only 30 seconds, I had to heavily rely on simplifying the body positions into the 3 major masses.

5 Minute Figure Drawing
During the same drawing session as the gesture drawings, we also got a chance to practice on 5 and 10-minute intervals. With this time, I had the opportunity to roughly shade distinct shadows and develop a broader range of darks and lights. Proportion was the topic I focused on for this drawing.

20-Minute Figure Drawing
For our final pose of the day, we had 20 minutes to map out the model’s figure. Having extra time gave me the ability to more accurately shape her proportion and shade more areas. Reflecting back on this sketch, I wish I would have cleaned up my outlines more and used my shading more intentionally.
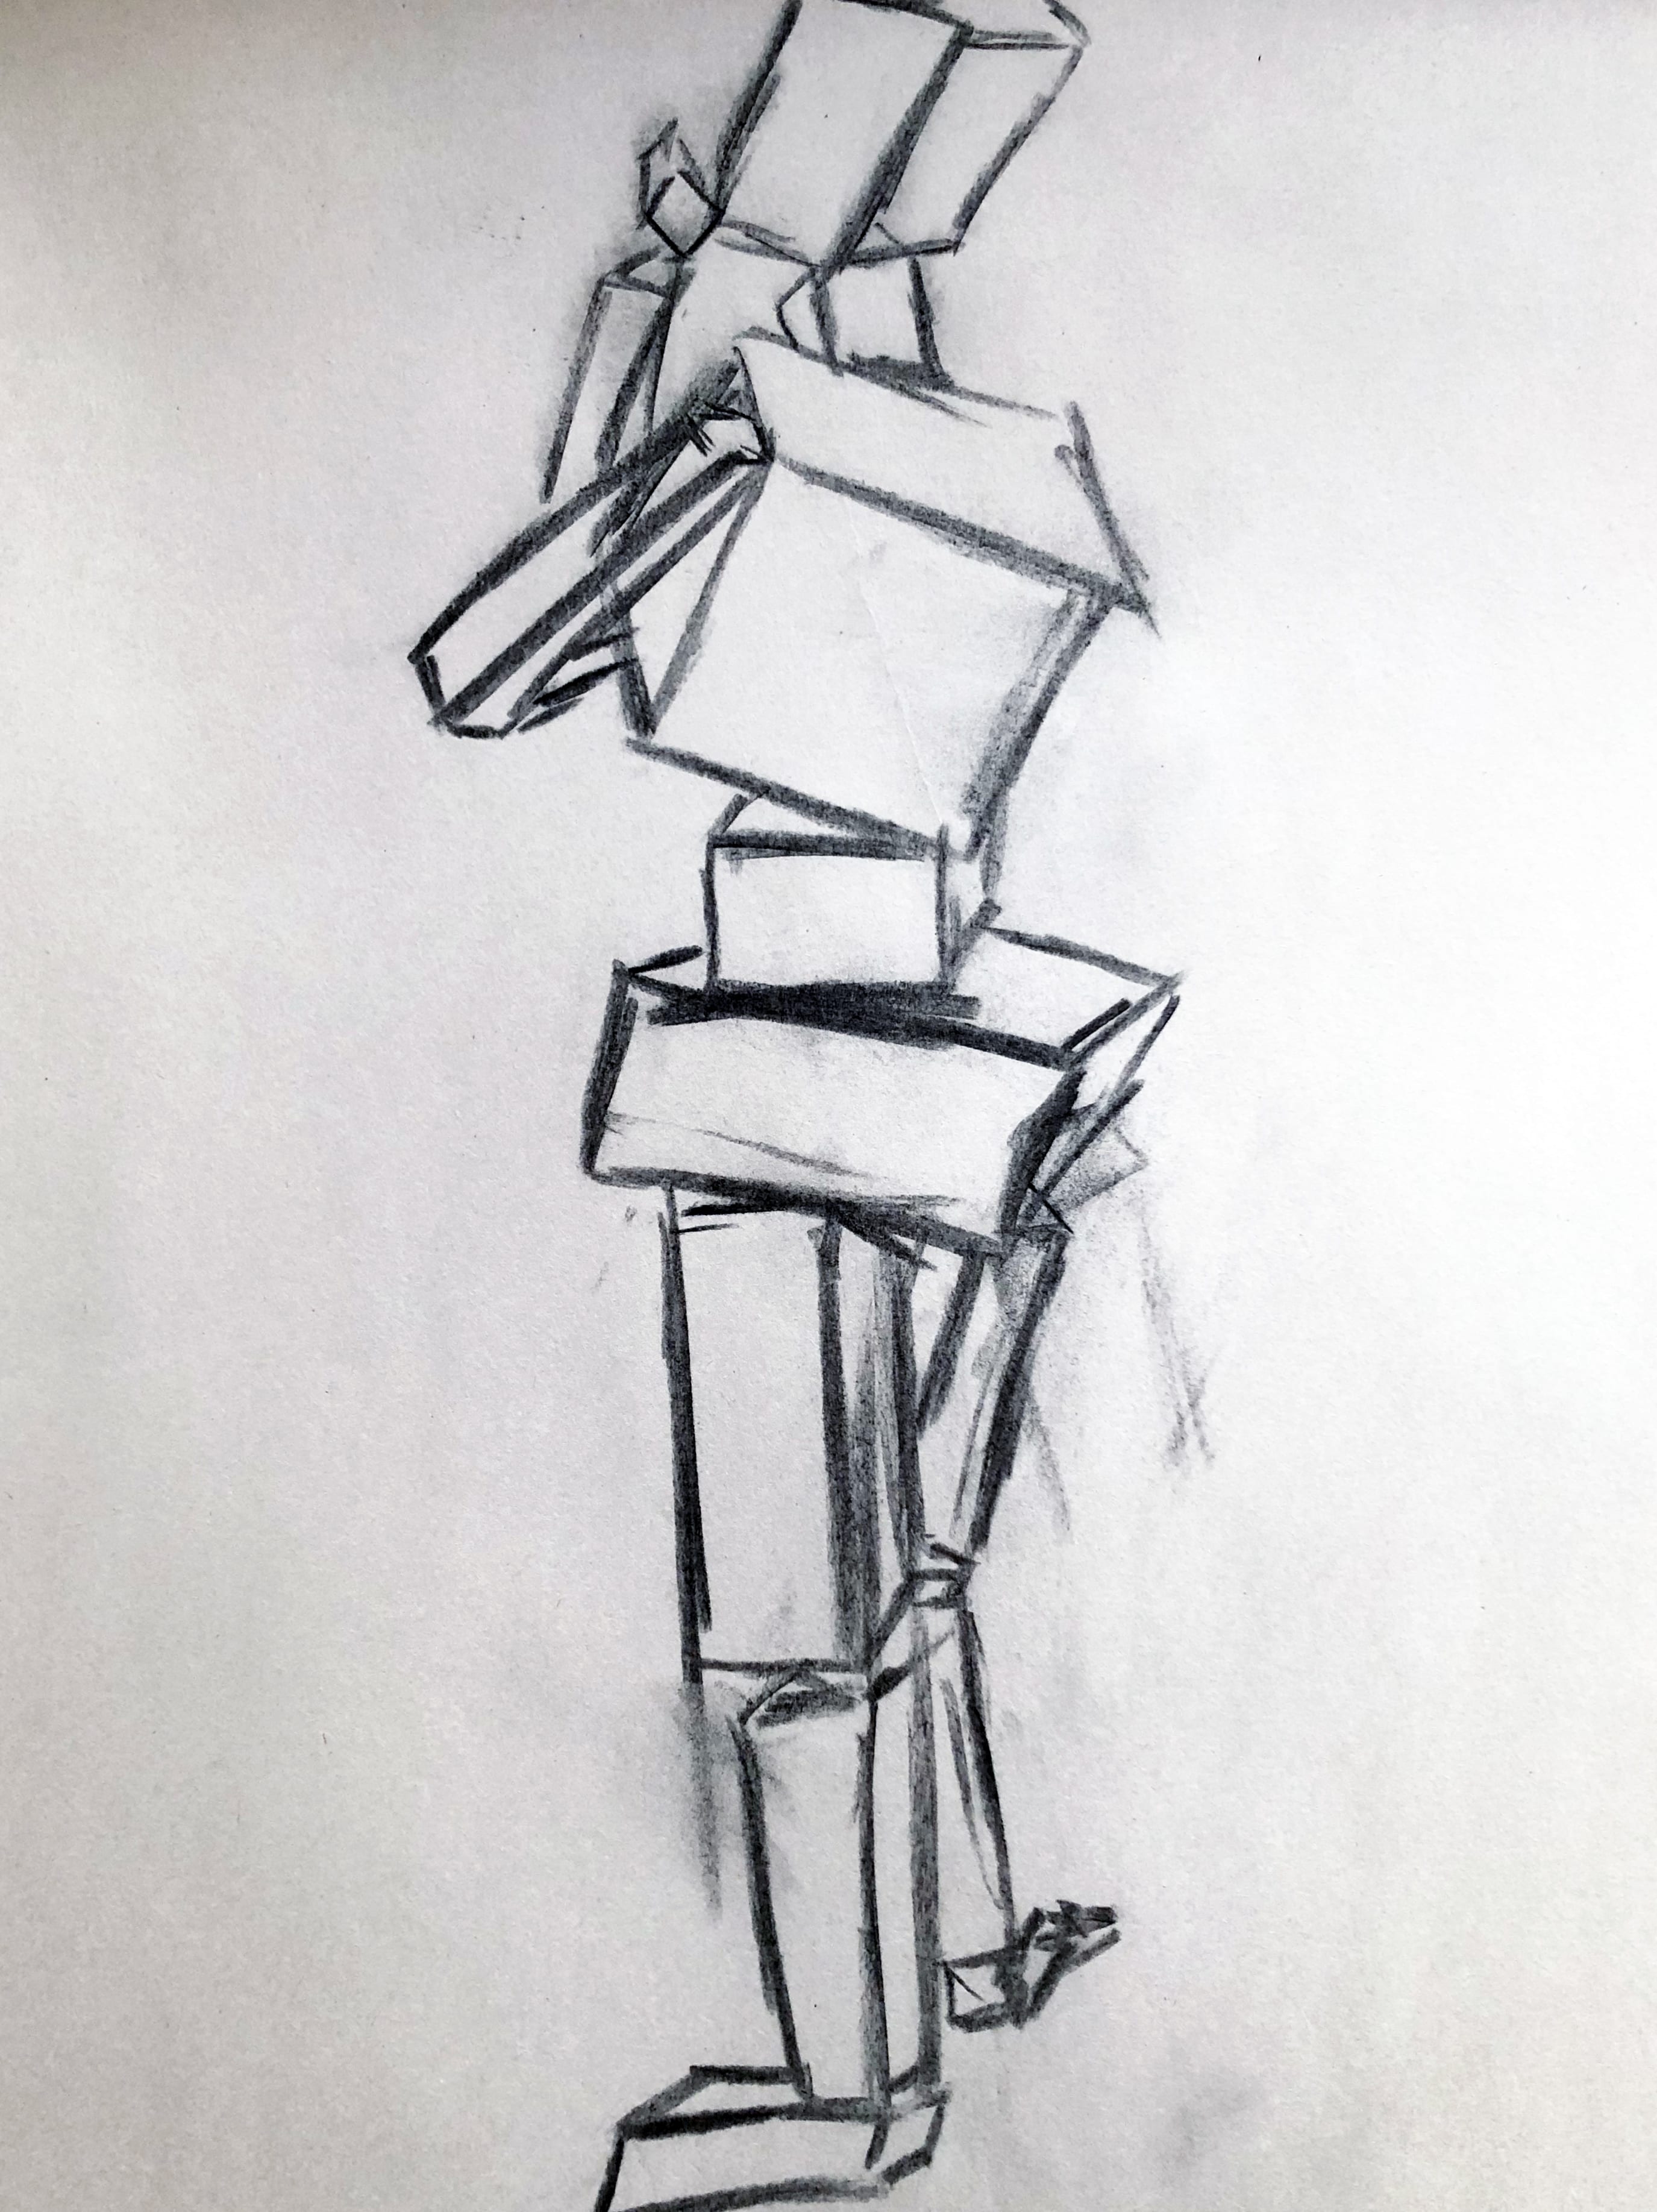
5-Minute Figure Made From Cubes
As an alternate method of mapping out human form, we also spent 5 minutes translating the model’s contortions into cubes and cylinders. By doing this, we were able to understand the simplifications of body curvature. This too helped with understanding proportion.

10-Minute Head Study
Moving on to portraiture, our next class assignment was to sketch the human head. Just as the body has inherent proportions, so does the head—namely the spacing between eyes, nose, mouth, and eyes. This sketch was one of the last ones I did in class, so I had gained a more developed understanding of these facial feature relationships.

5-Minute Digital Figure Drawing
Lastly, we made a quick digital sketch with a toned background. Using the white paintbrush in photoshop, the highlights defined the figure against the dark background instead of shadow. In order to create a gradual gradation, the paintbrush opacity had to be very low. Creating the highlights in this manner allowed me to explore shadow and highlight mapping from another perspective.
Reflection:
After completing all of this work, I’m quite proud of how quickly my skills have improved. I now feel like I have a well-developed sense of human proportion and can color map in real time. Moving forward, I want to focus on my line cleanliness and quality—things don’t always need to be outlined or be the same boldness.