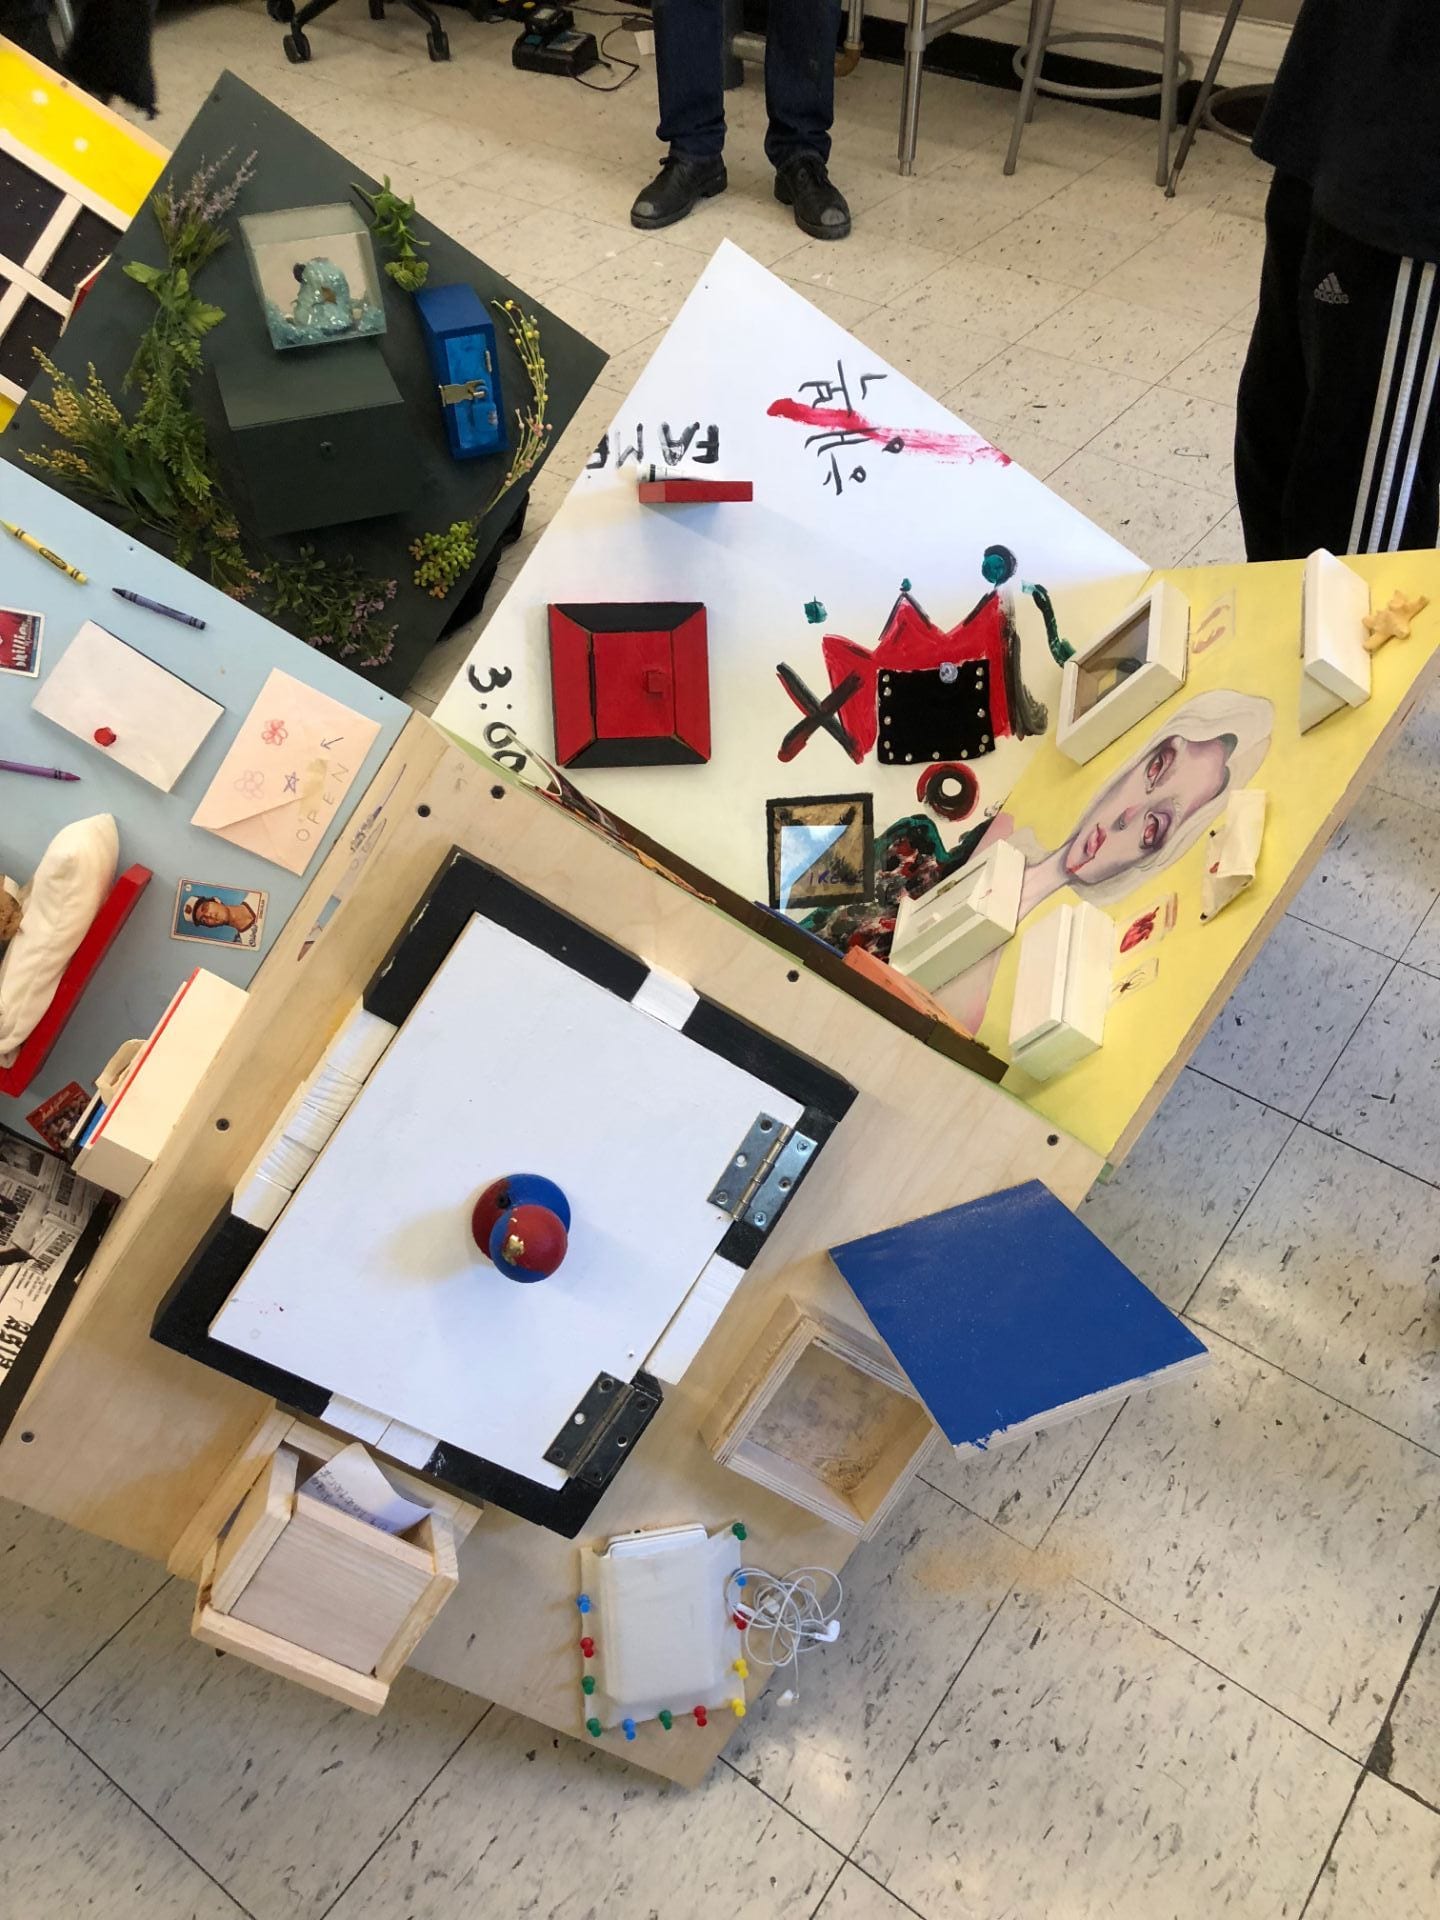
For this project, I made a personal tile containing a door, glass case, pocket, shelf, and wooden bin. In the beginning, the Professor allowed us to think about the overall structure of our combined tiles, which included various shapes such as stairs, L shape, pyramid, and geography etc.
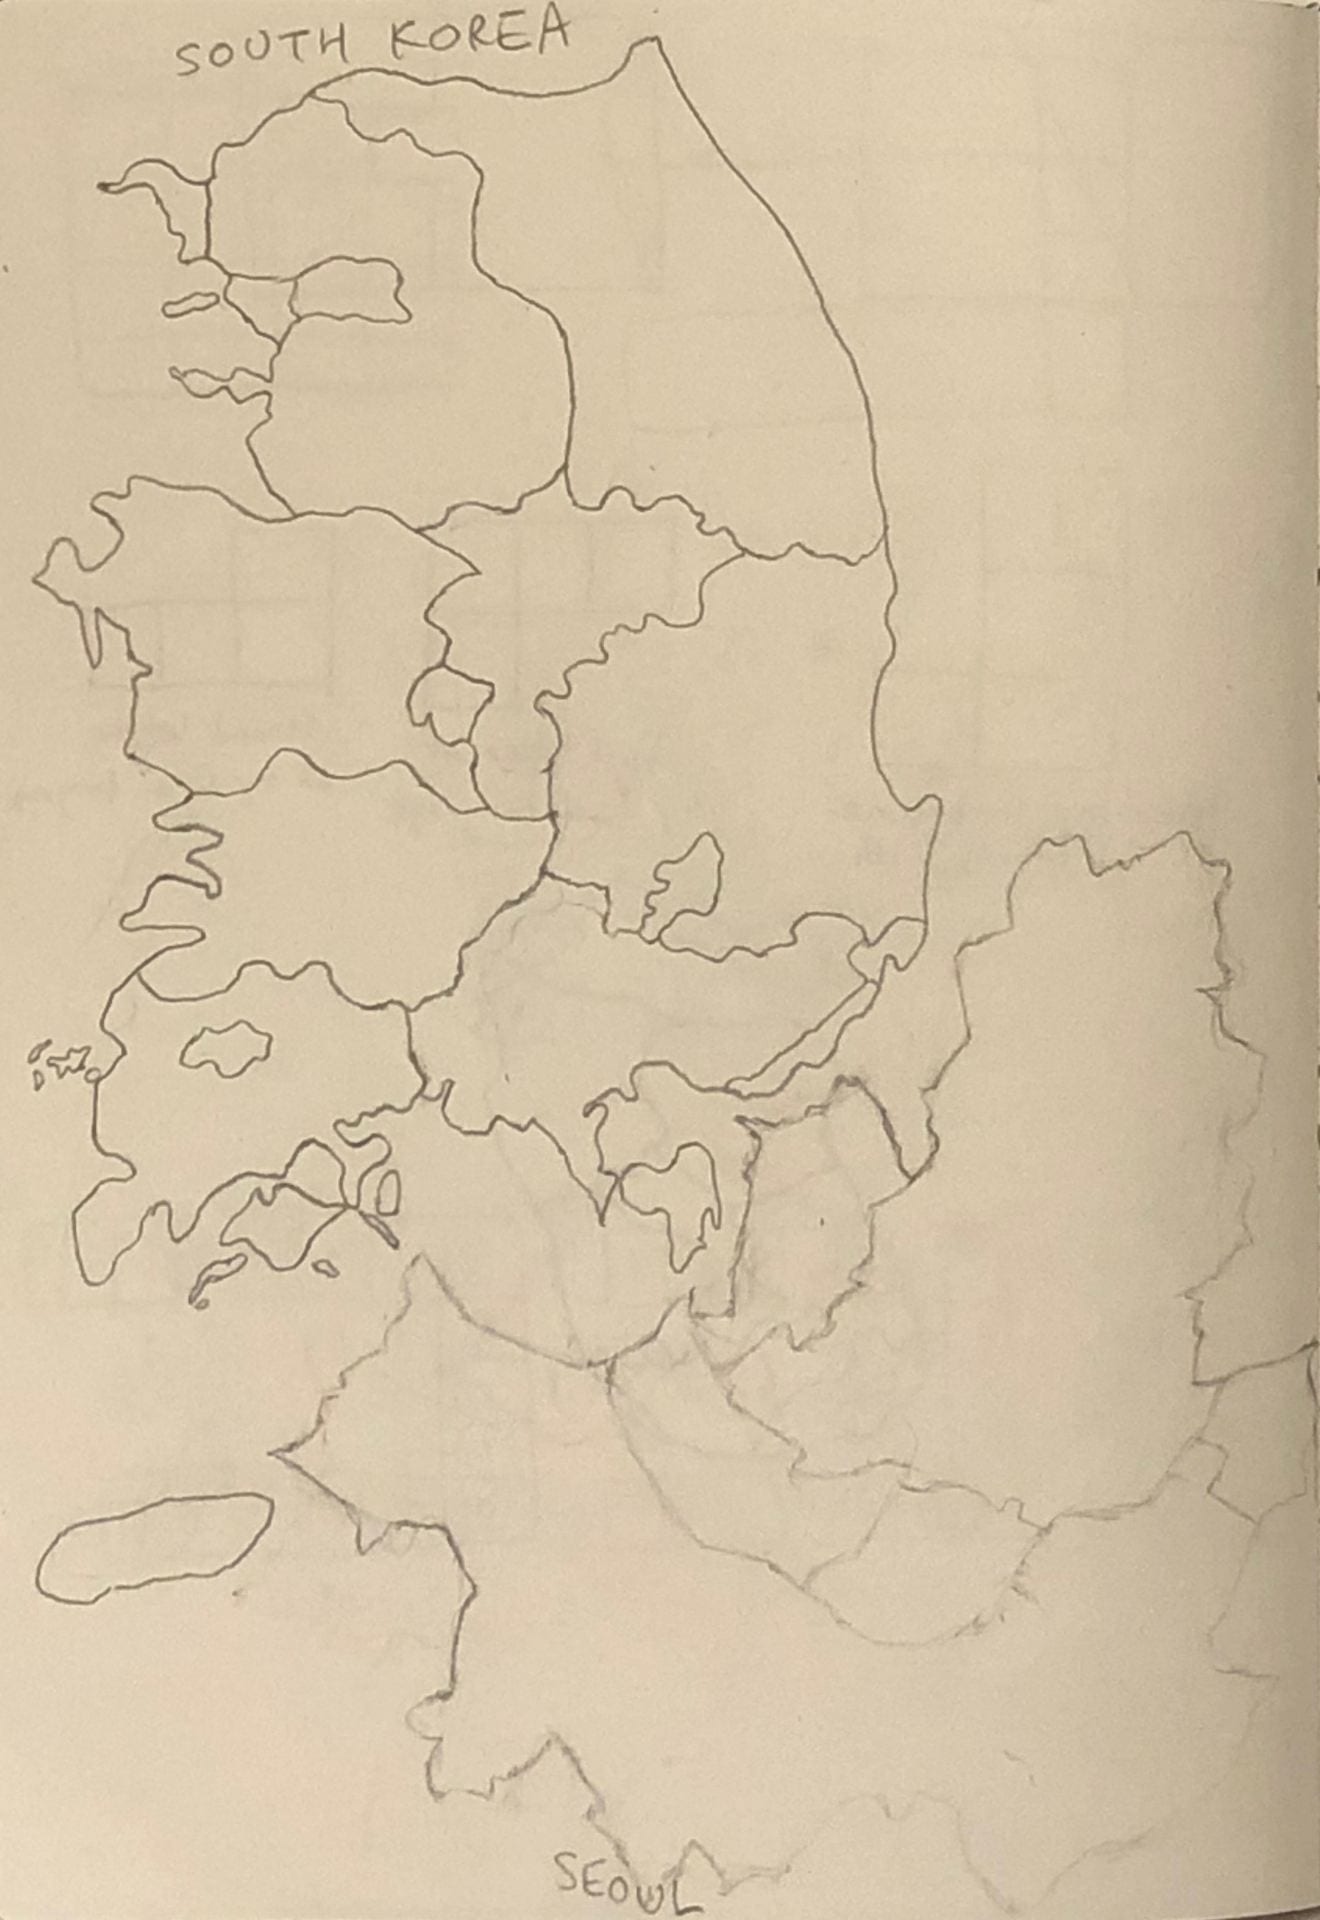
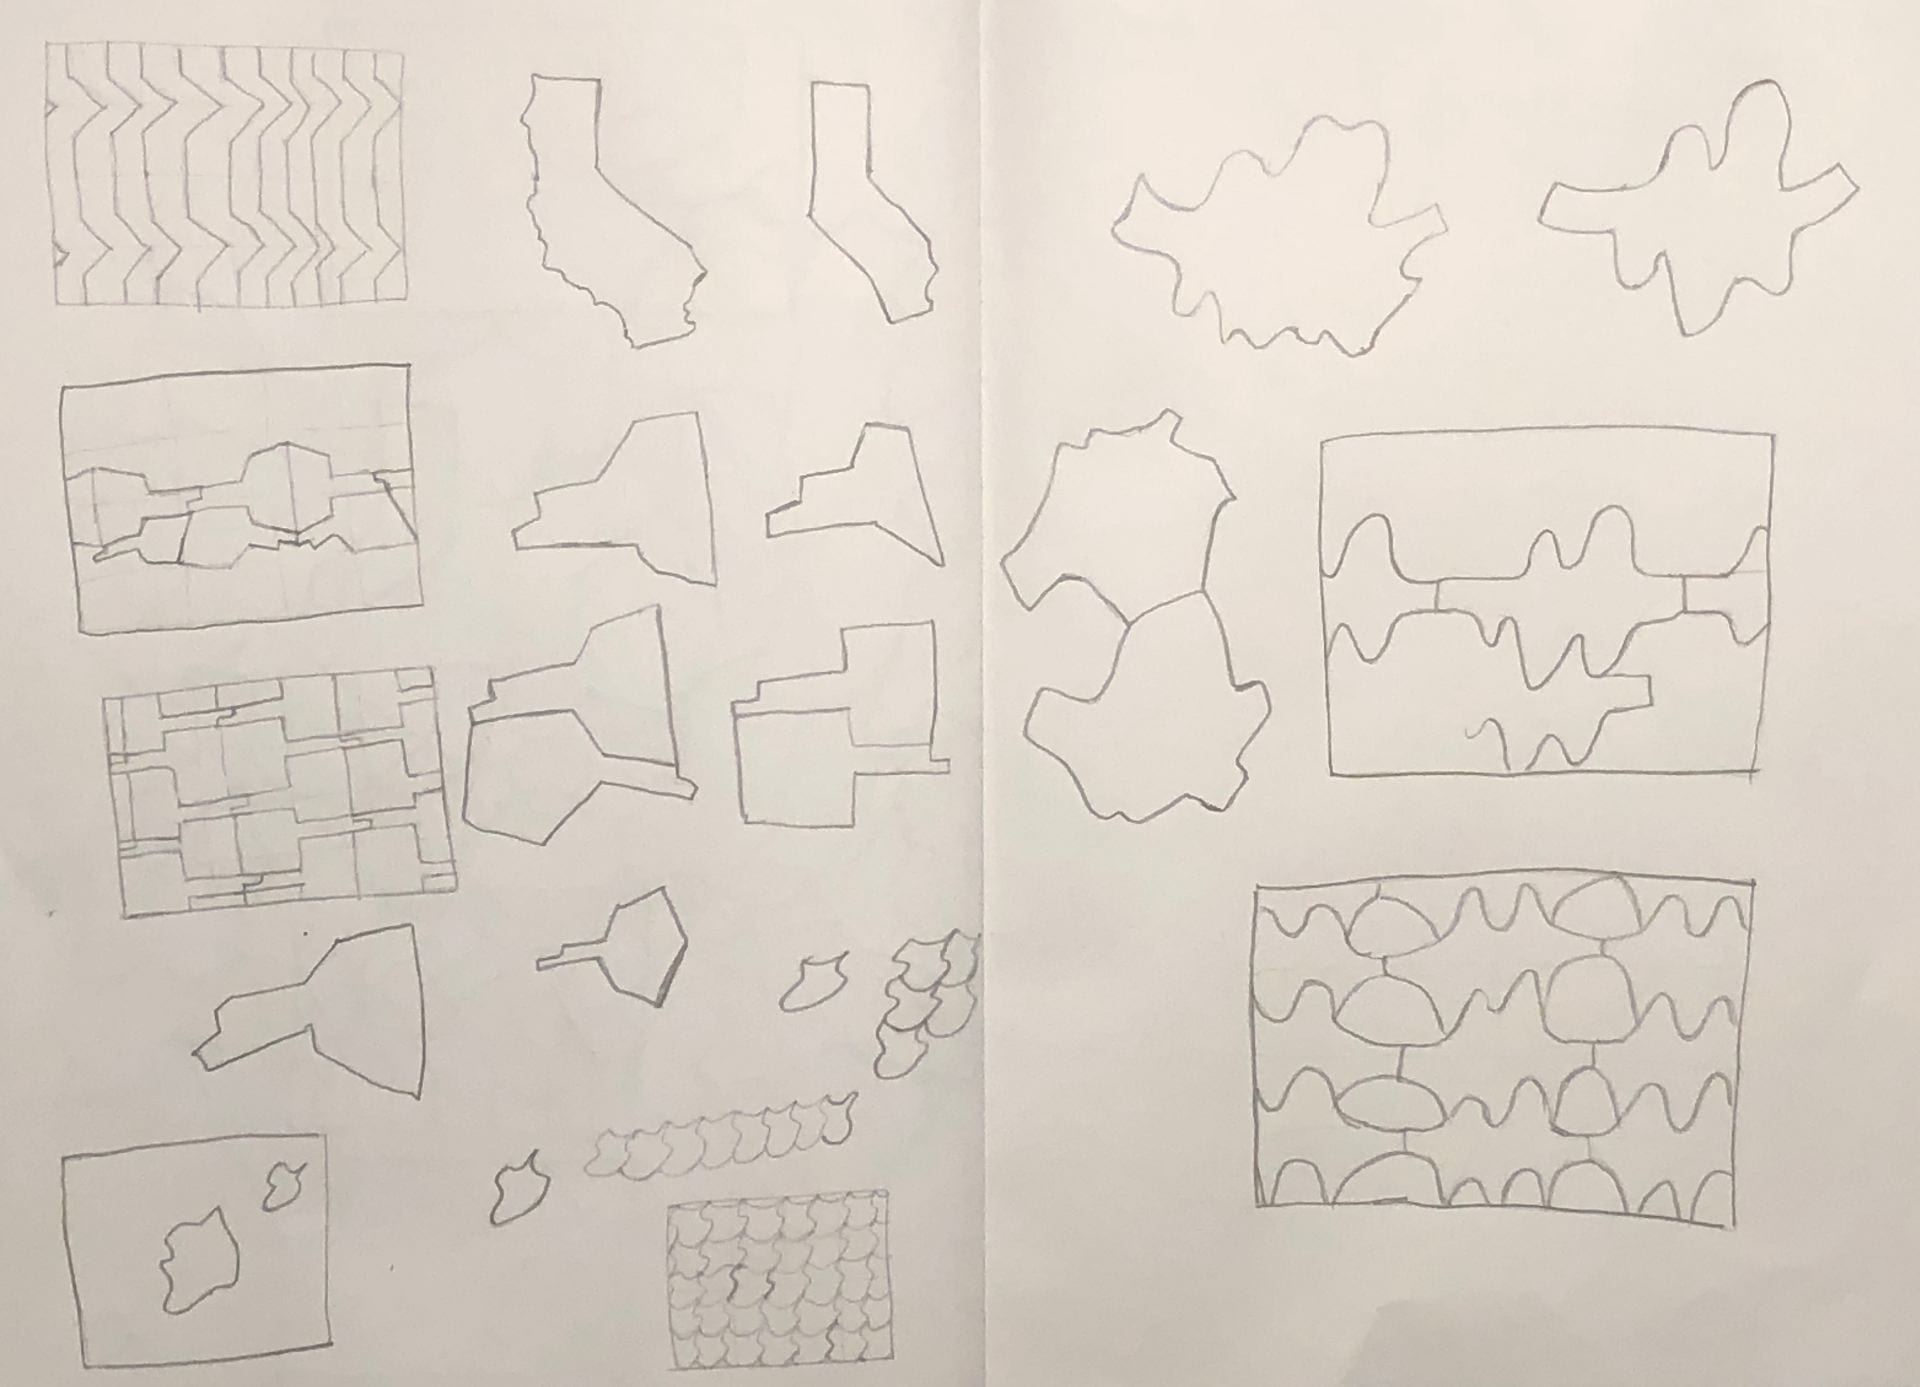
Among the options, I personally liked the geography, so I tried to sketch some maps of Korea, California, and New York, places that are important to me and define who I am. When we voted for the tile foundations, we decided to make mini tiles in cardboard box. Unfortunately, we could not make geographic tiles because I was the only one voting for it.
 .
.
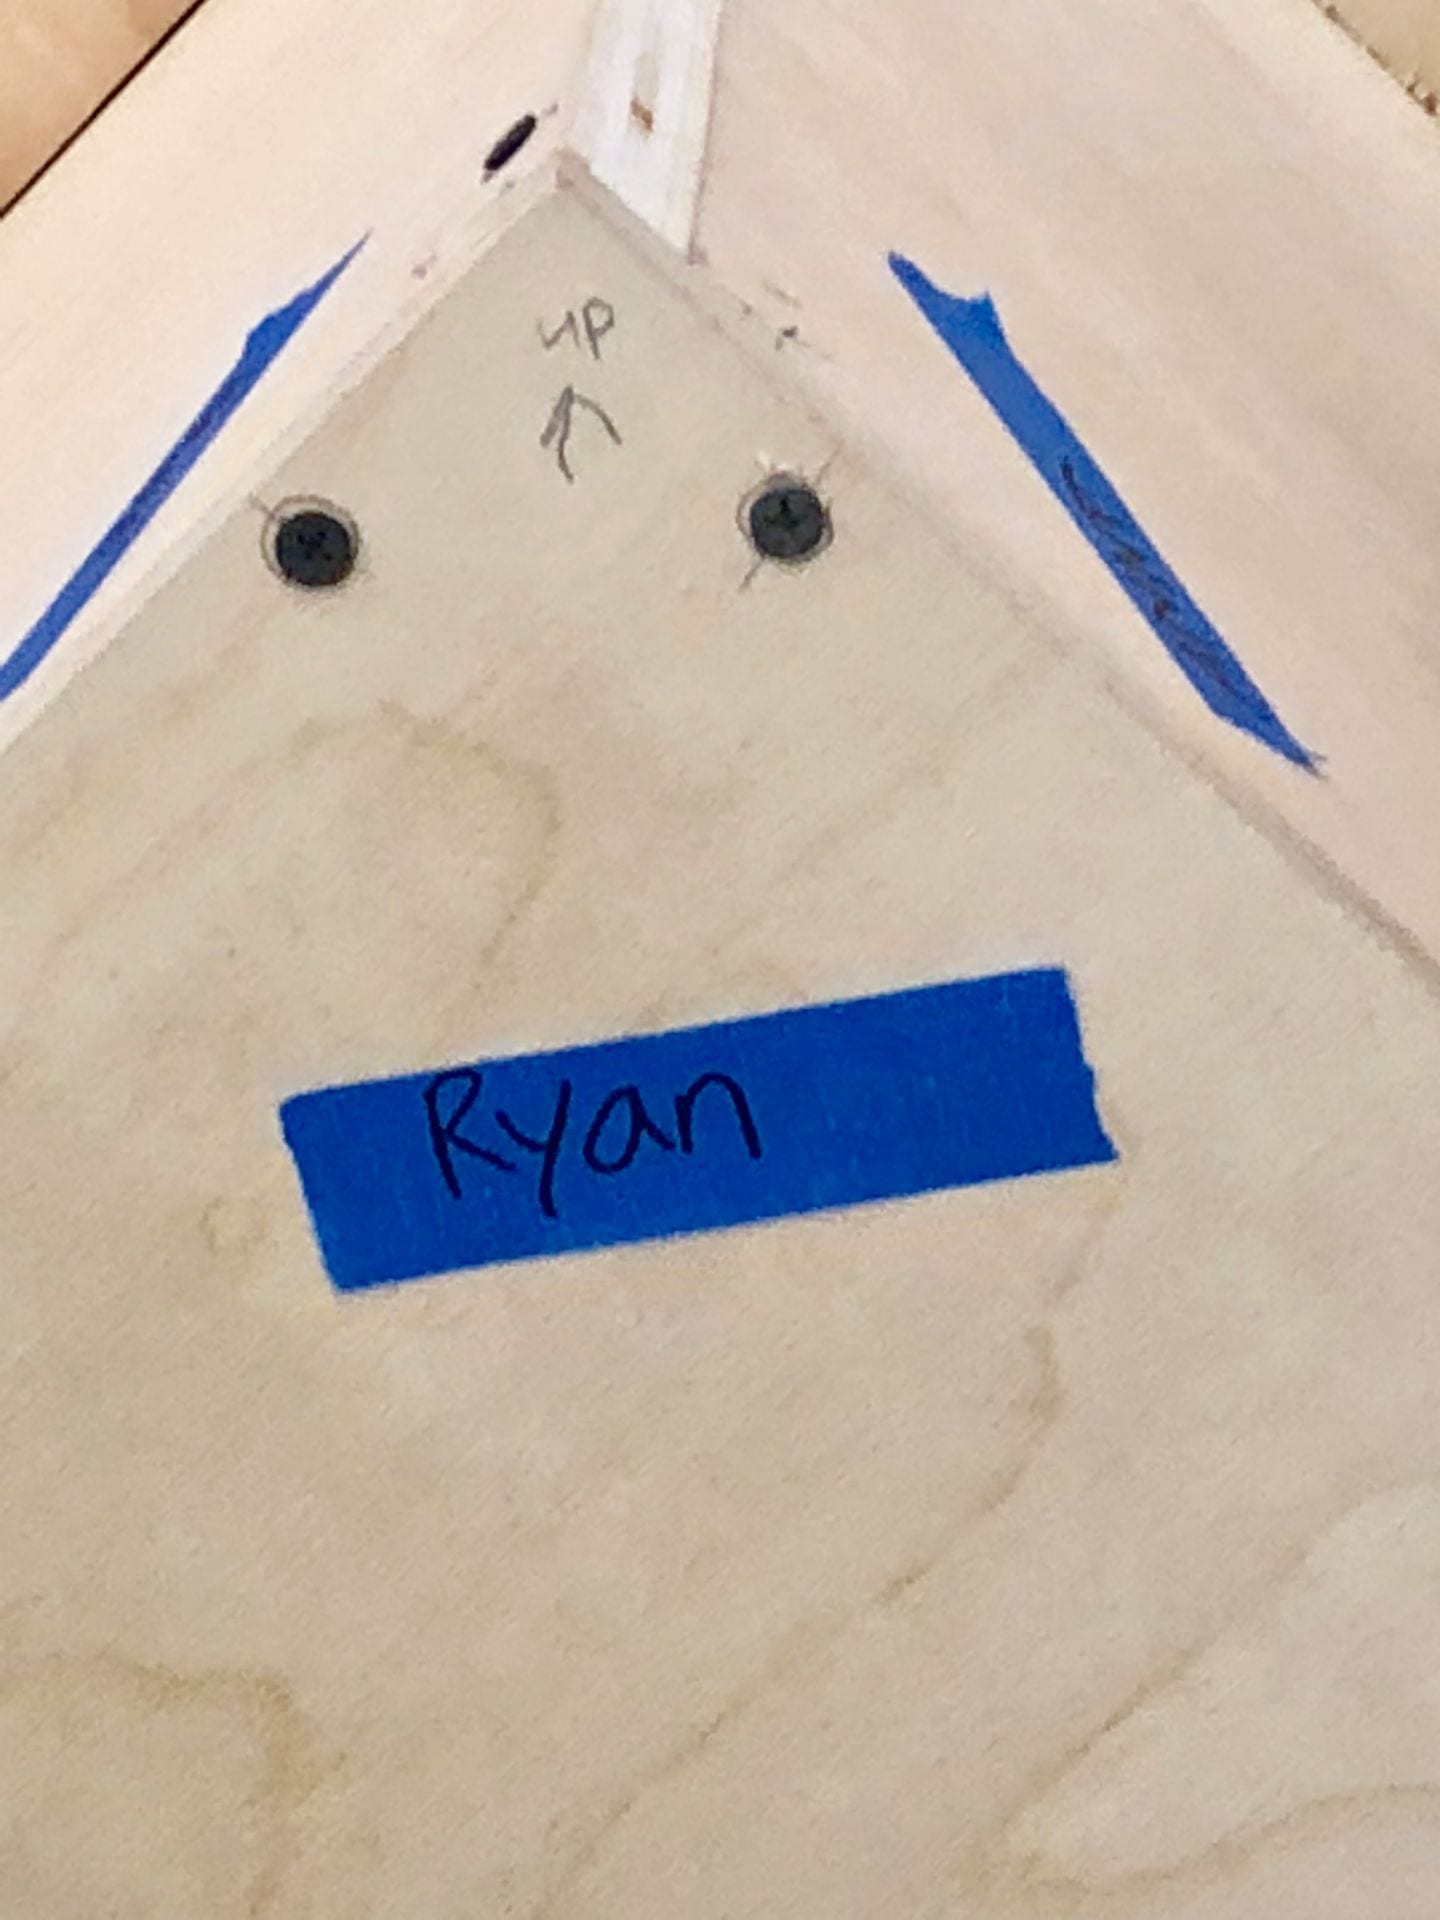
Then, we put blue tapes with our names on it with a sharpie and marked the directions with a pencil to know where our tiles will go. He lectured us how to make accessories using the door, glass, drawer, pocket, and vault and showed the demo of his tile to give us a glimpse of how to create the tile and what materials to include.
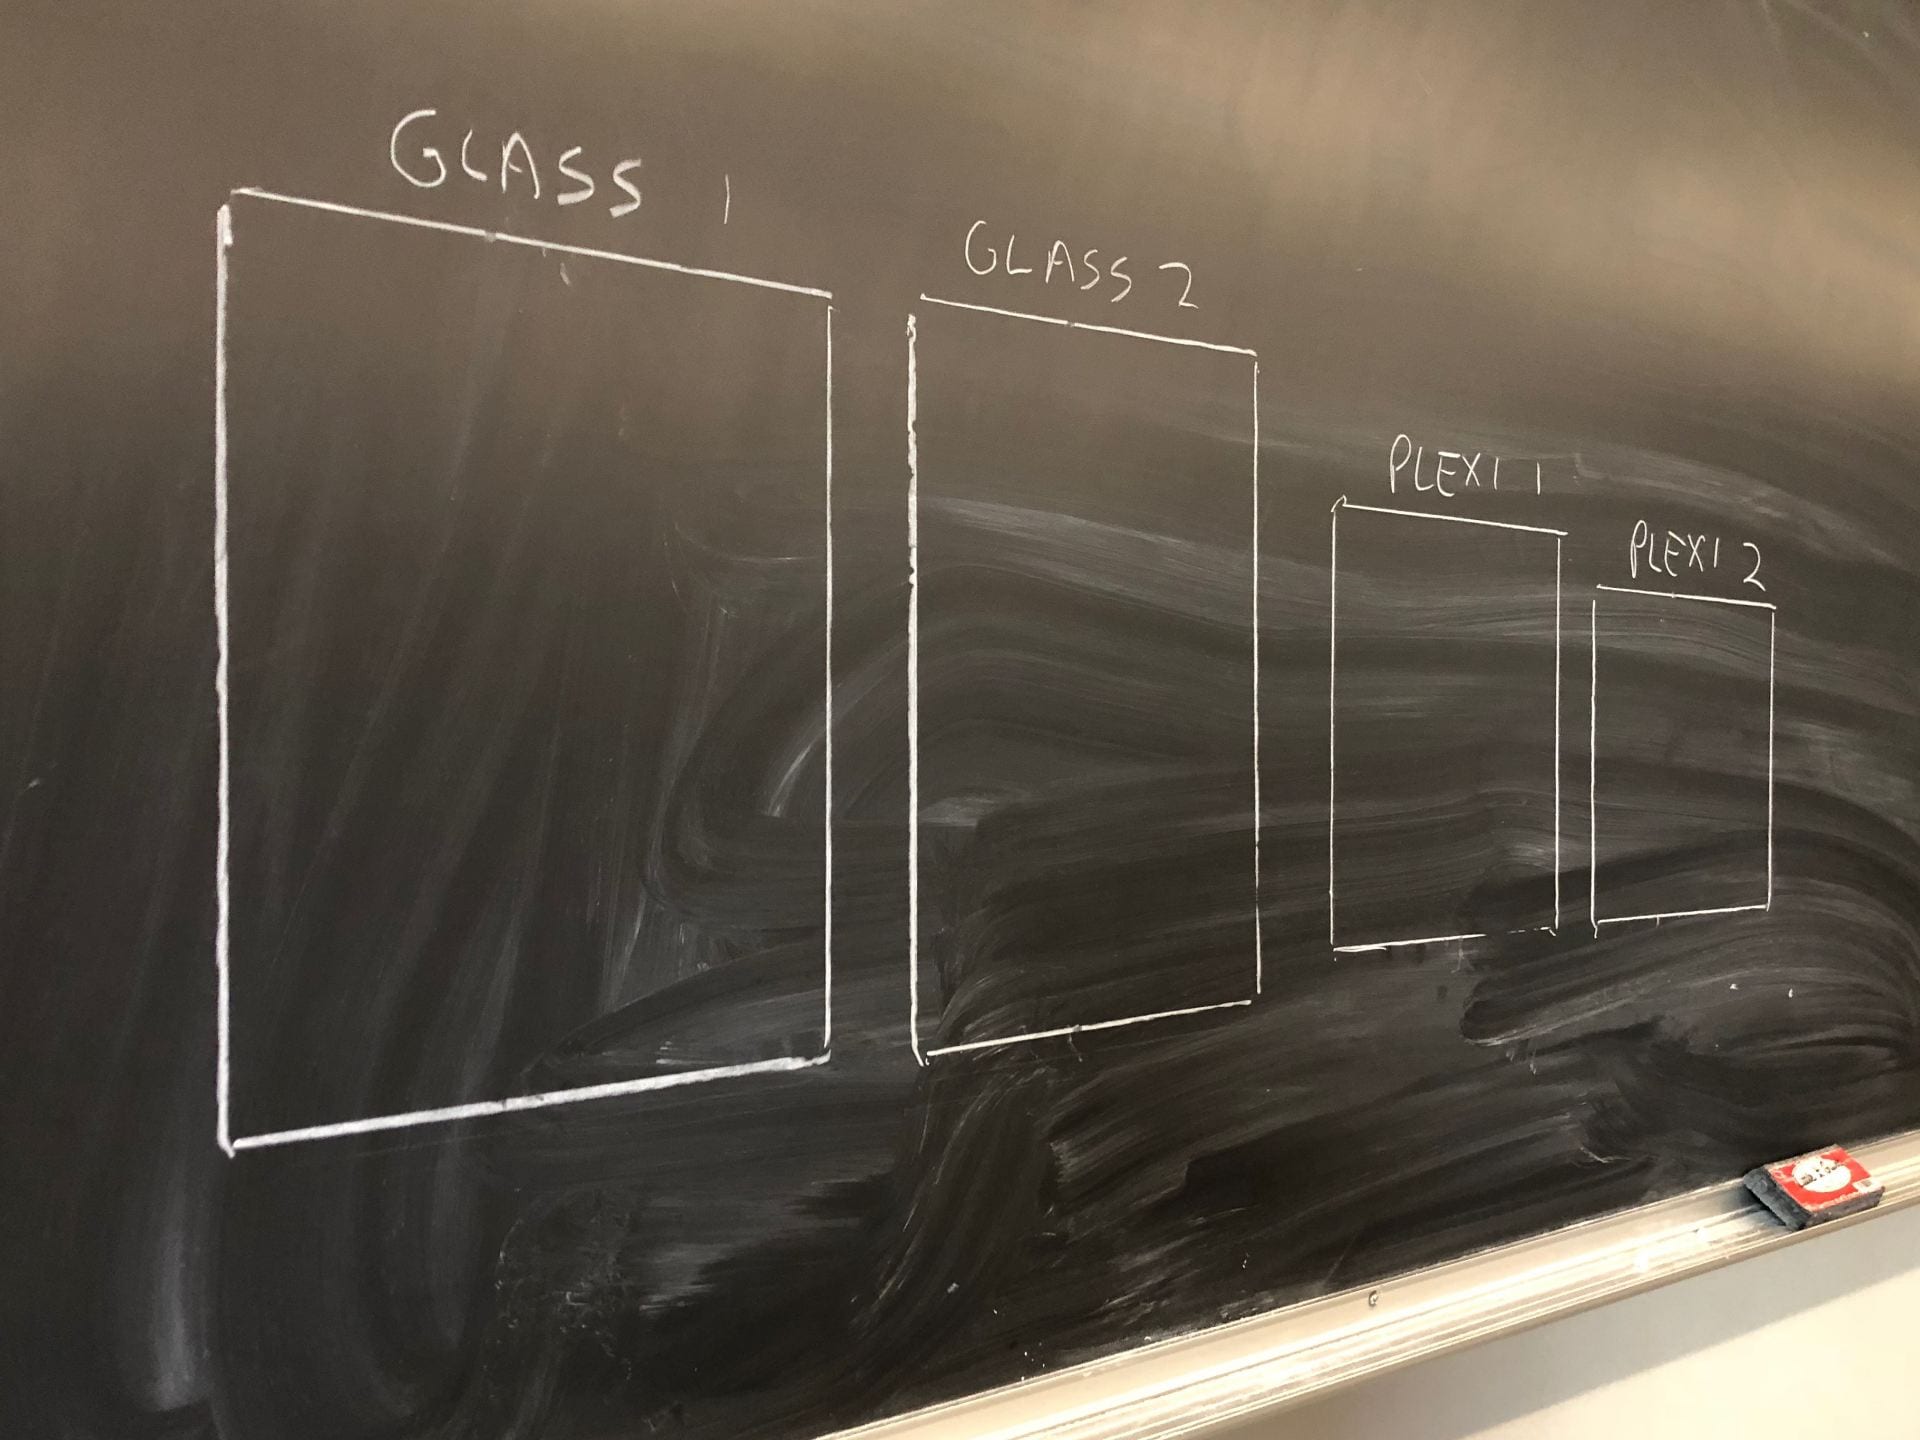
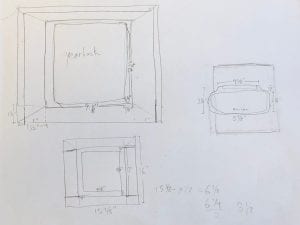
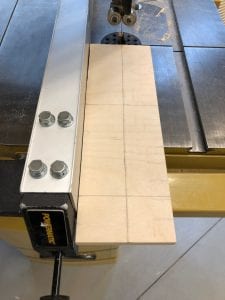
We chose the type of glass and the size we wanted to make for the tile. Personally, I chose 5” x 5” glass for my tile project. Professor cut the glasses in the sizes we preferred as a demo and had us cut them. He taught us how essential it was to cut the glasses prudently and treat it carefully since it was fragile, unlike the plexiglass.

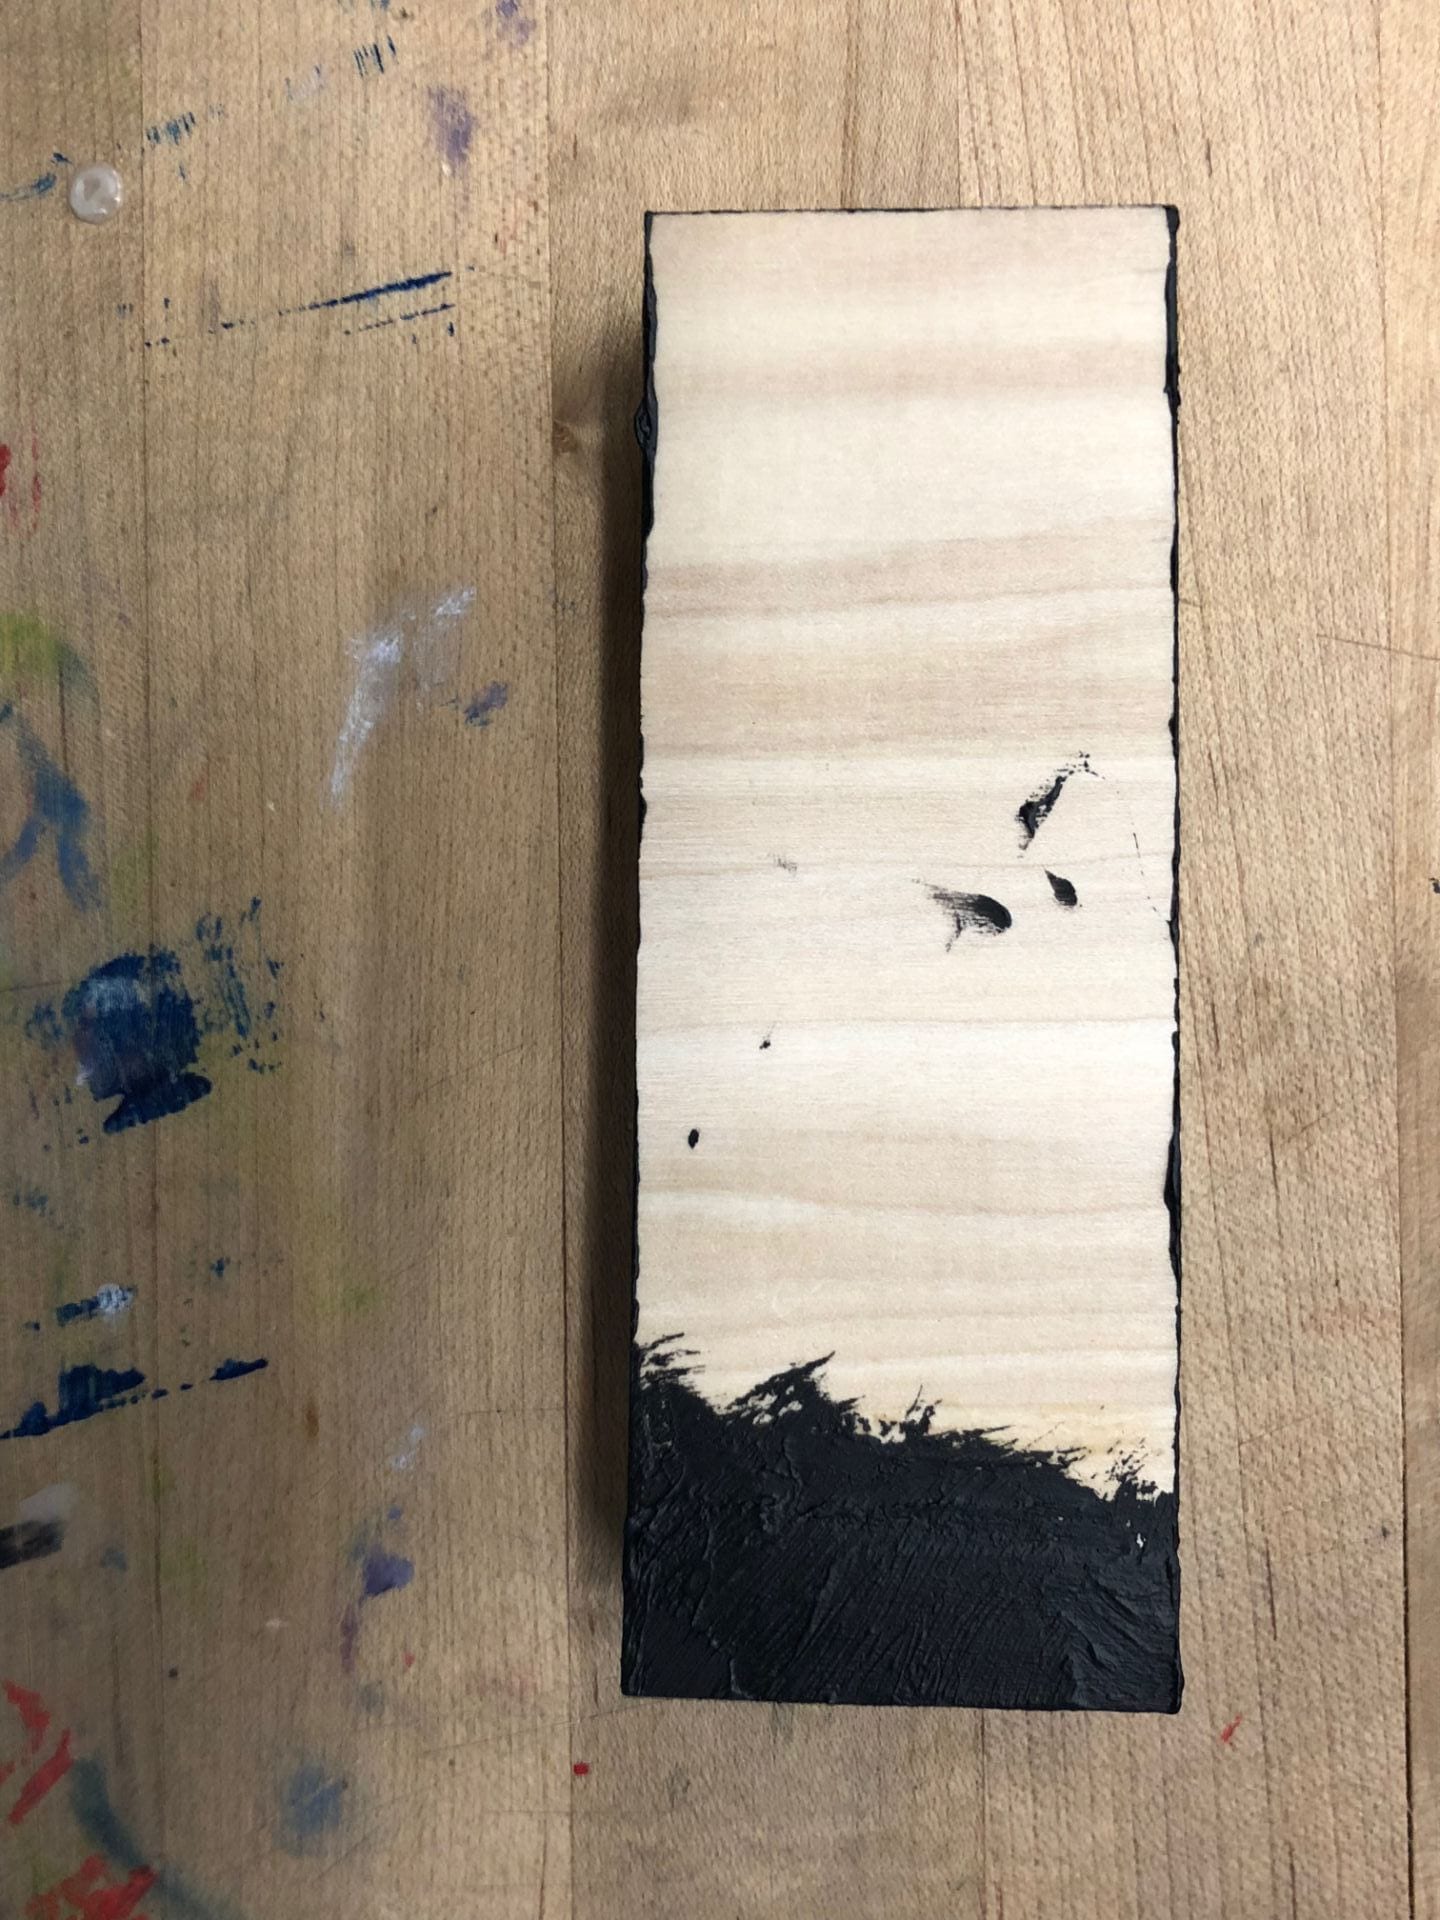
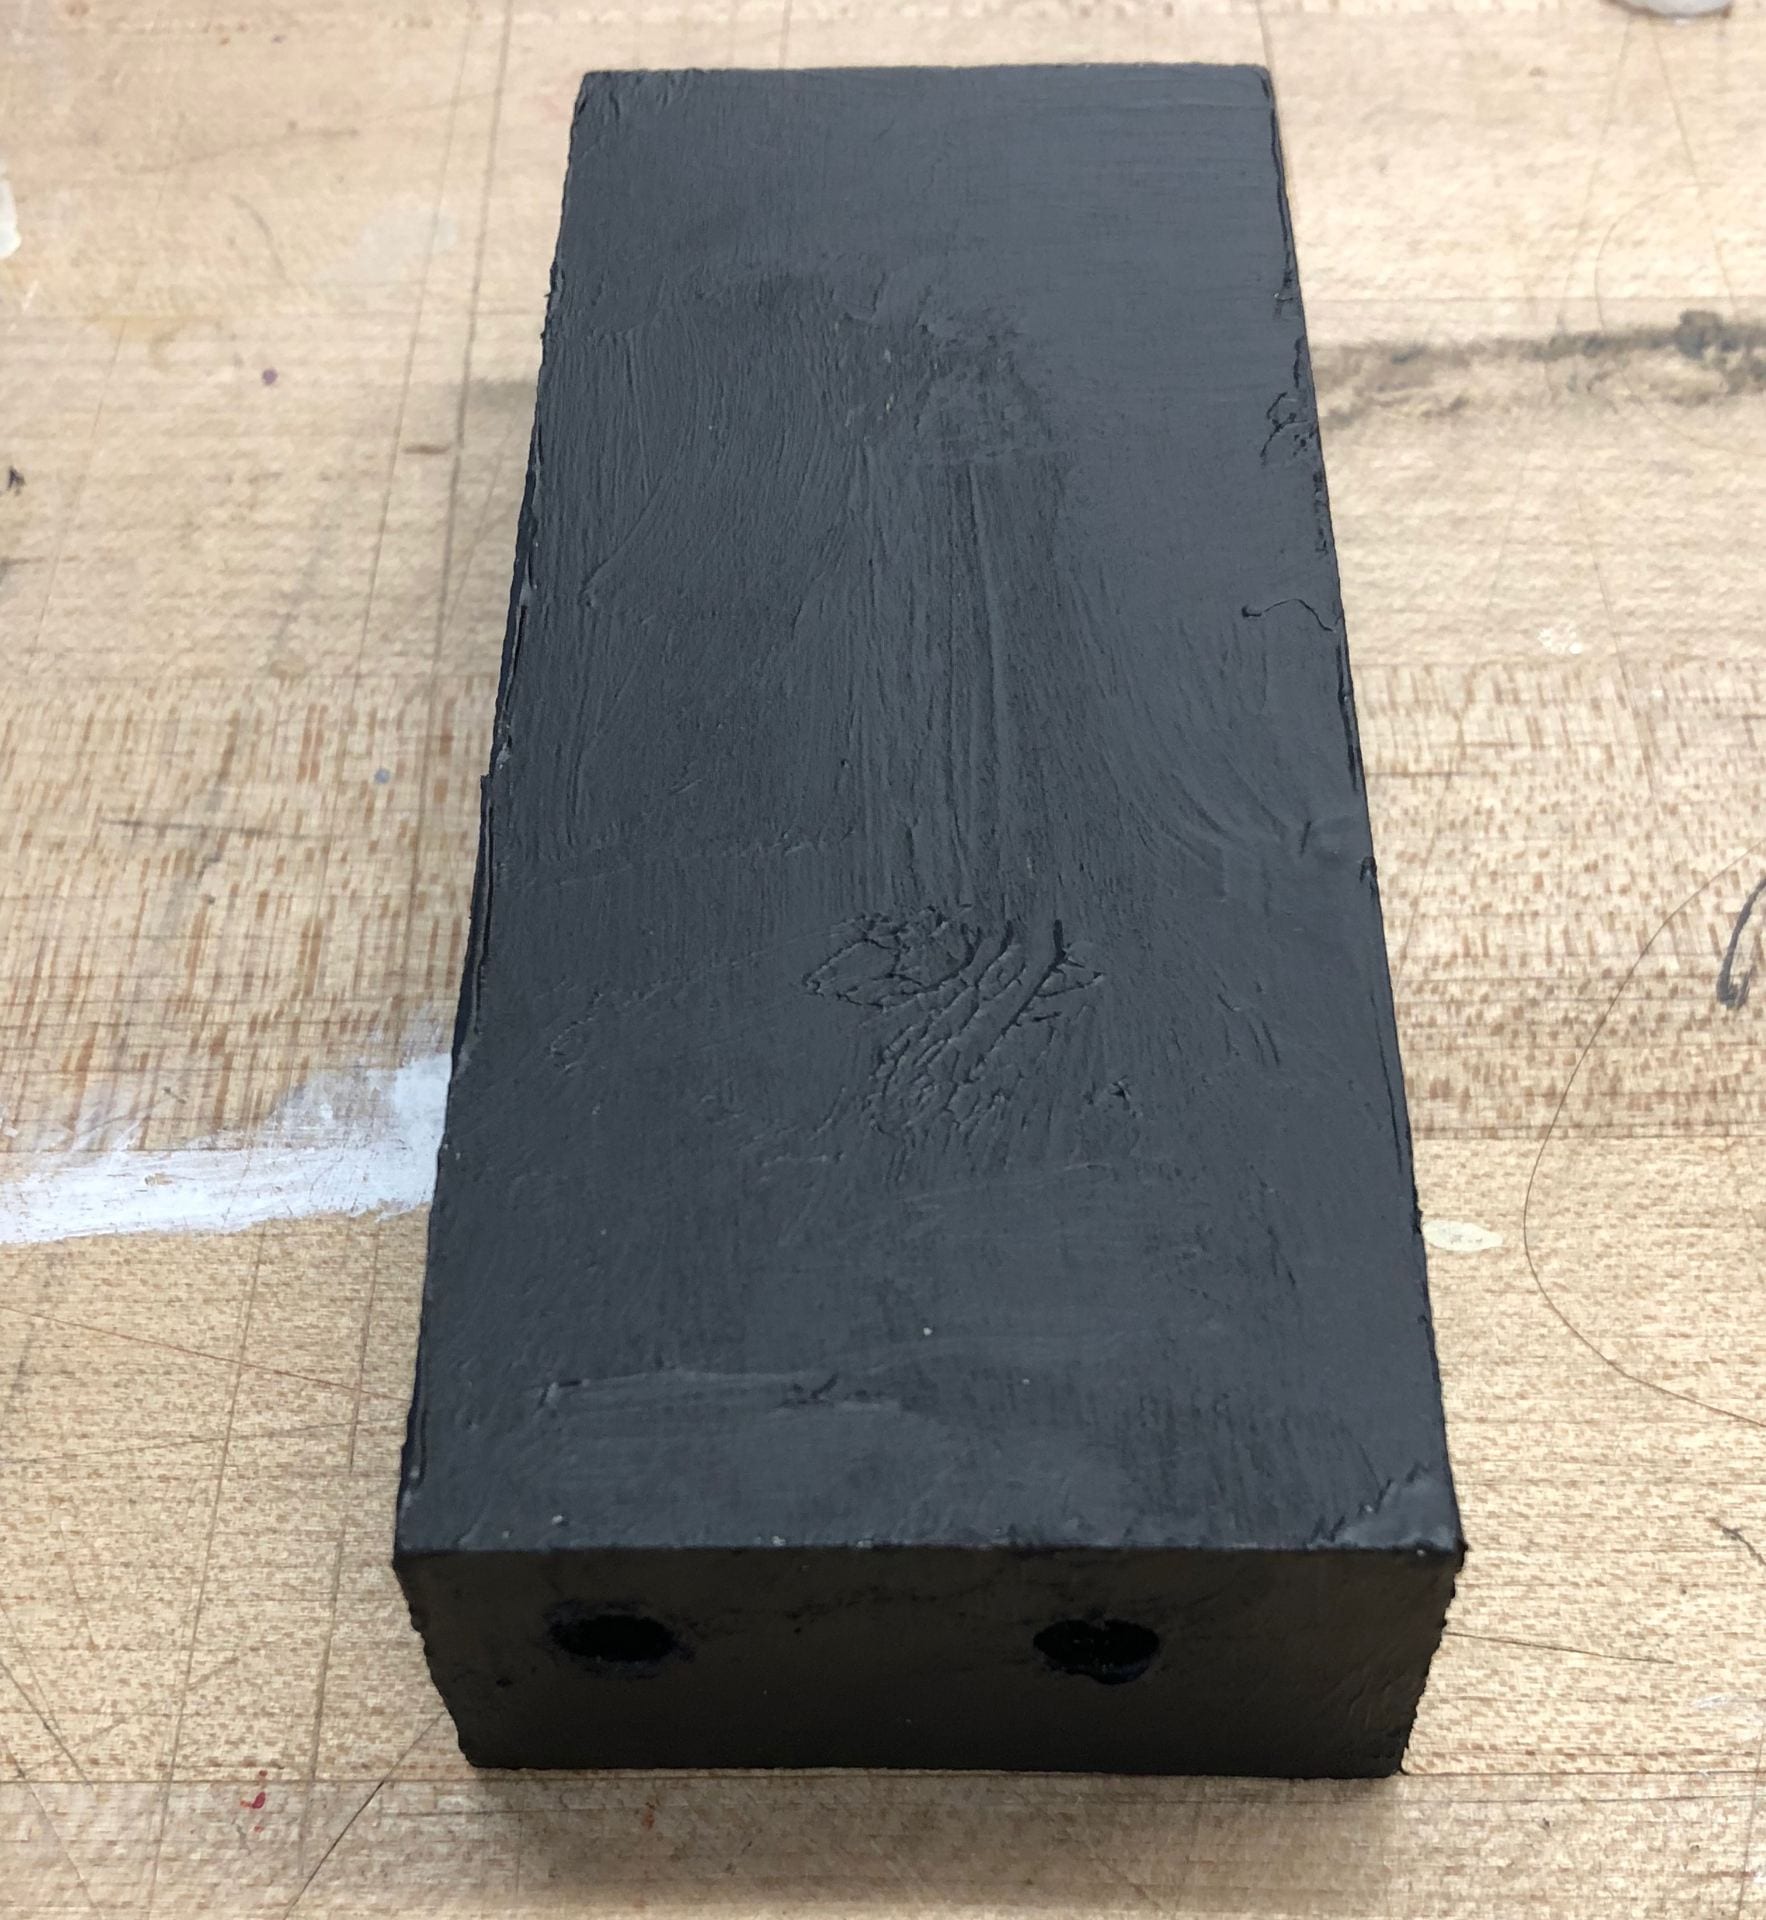
For the wood material, I decided to use the leftover from the wood joinery project to make the frames of my accessories in terms of sustainability. I had to purchase more woods during the process.


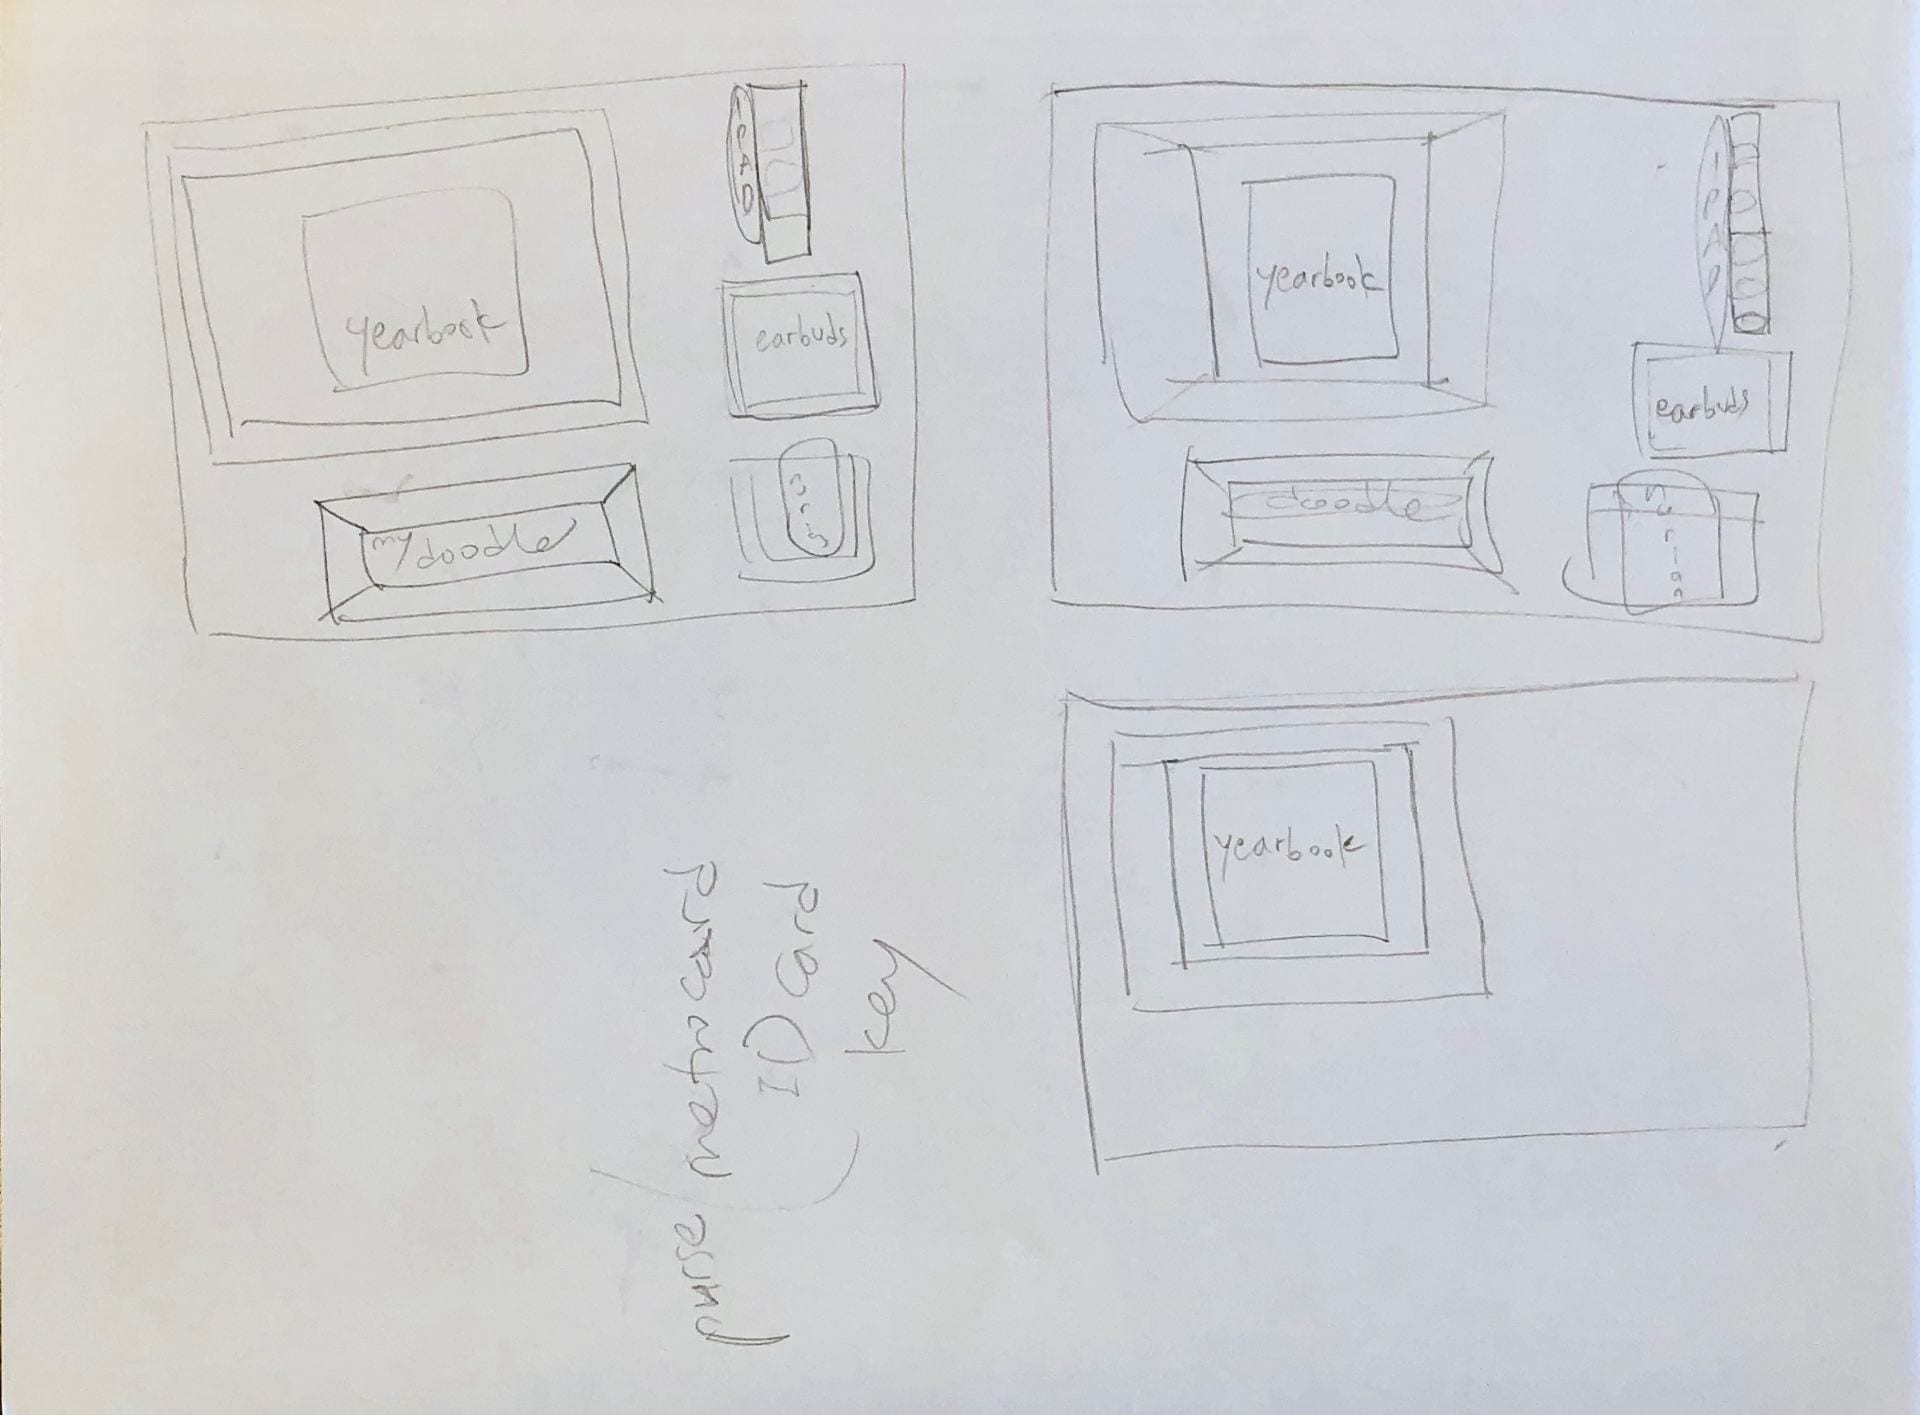
I came up with five personal belongings to put in the accessories: a high school yearbook in the door frame, earbuds inside glass case, electronic dictionary inside the muslin pocket, iPad on the shelf, and my doodle inside the bin.
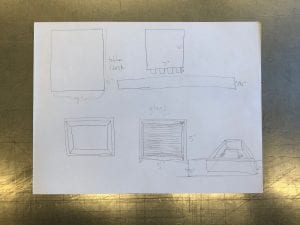
Sketches

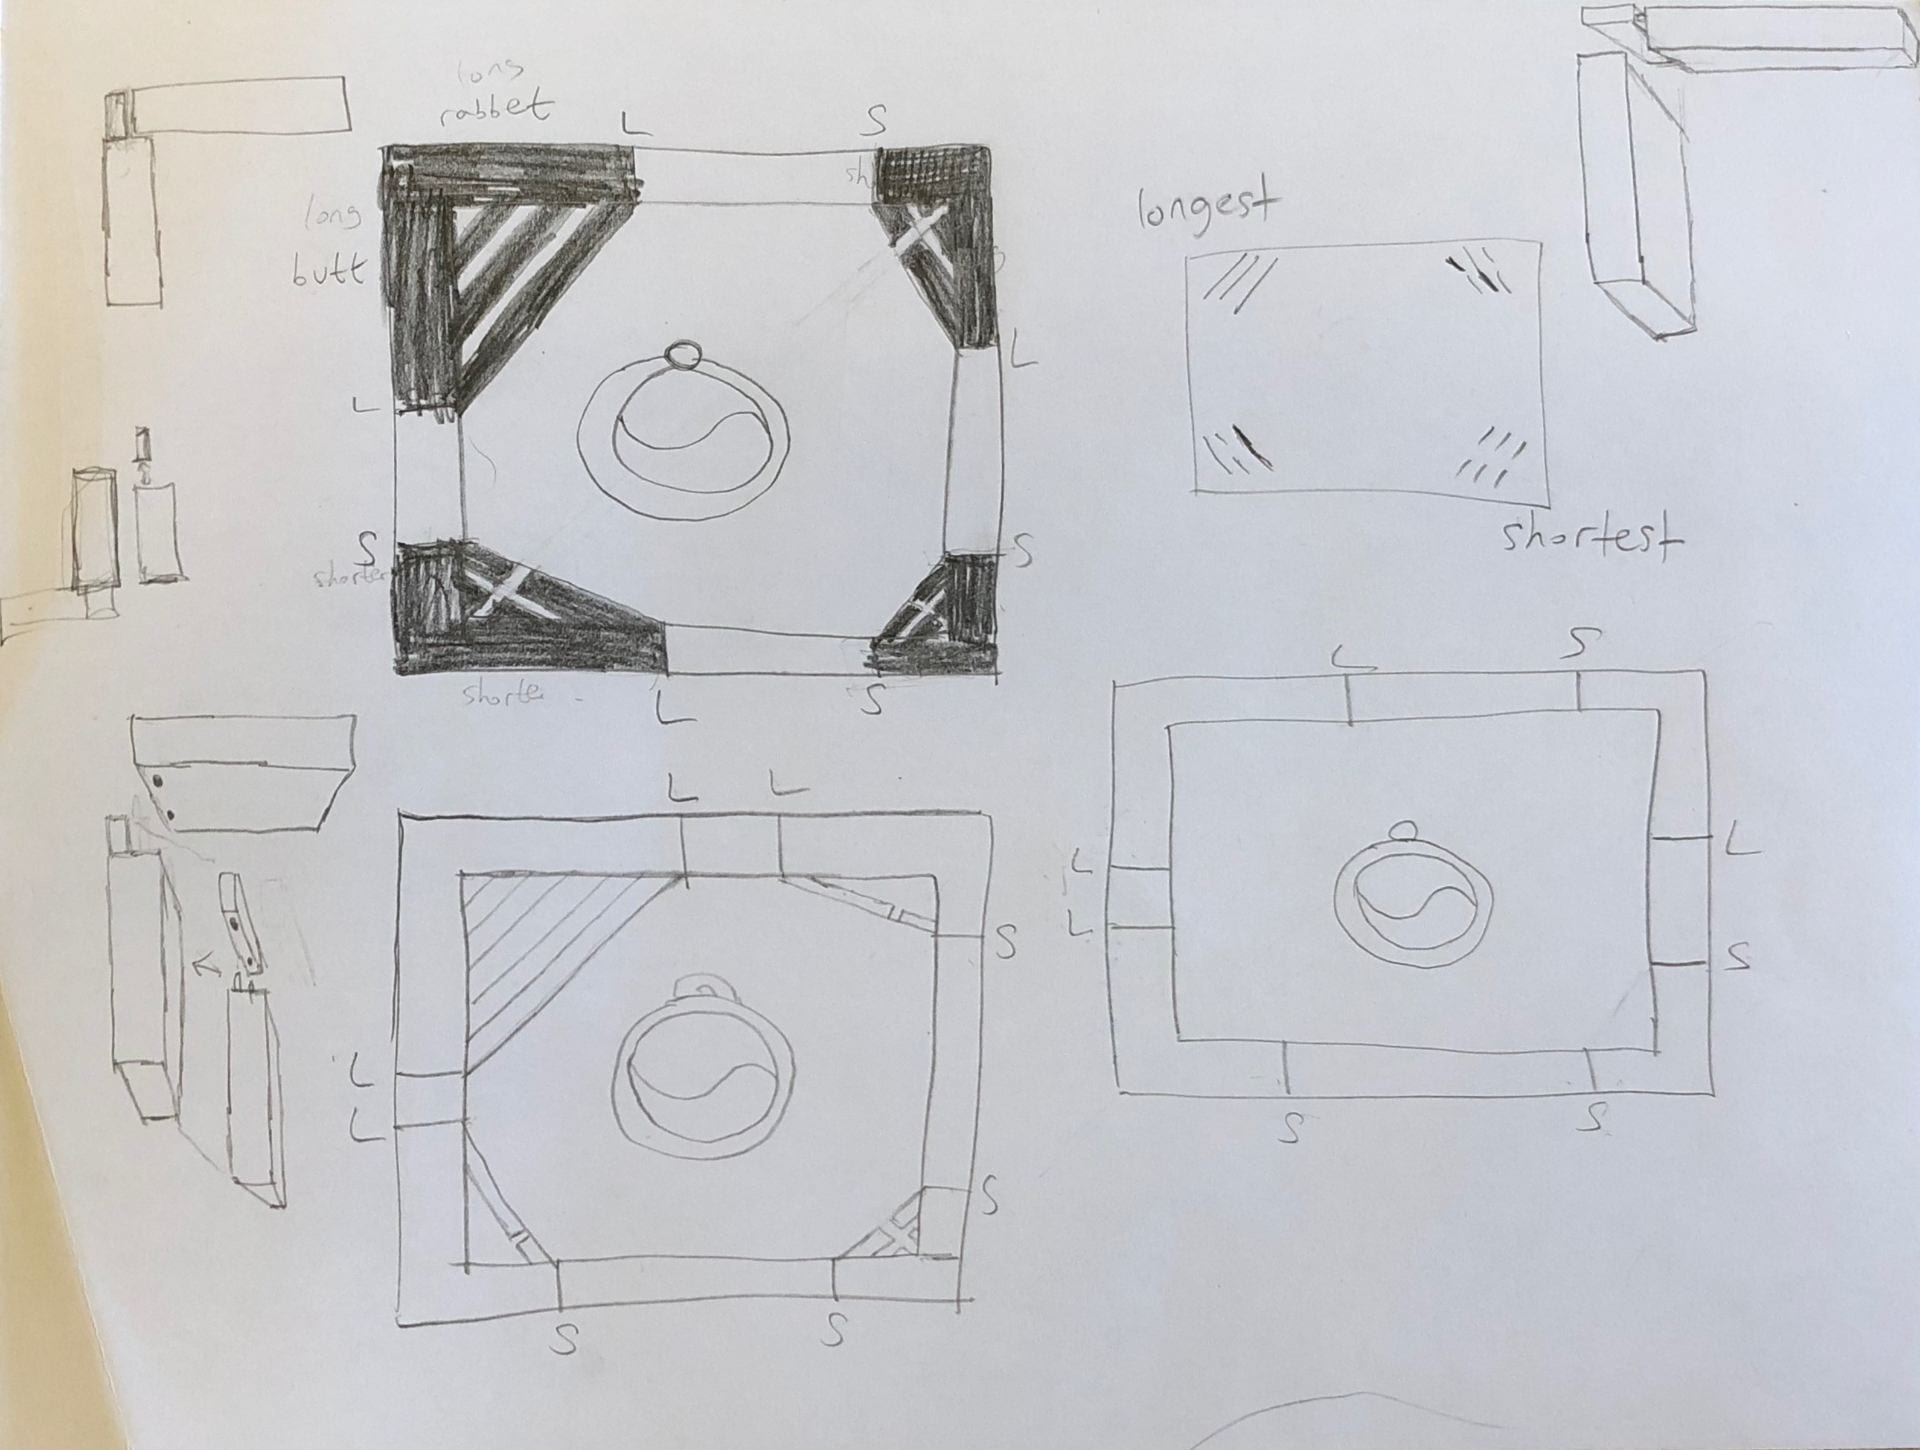


Door
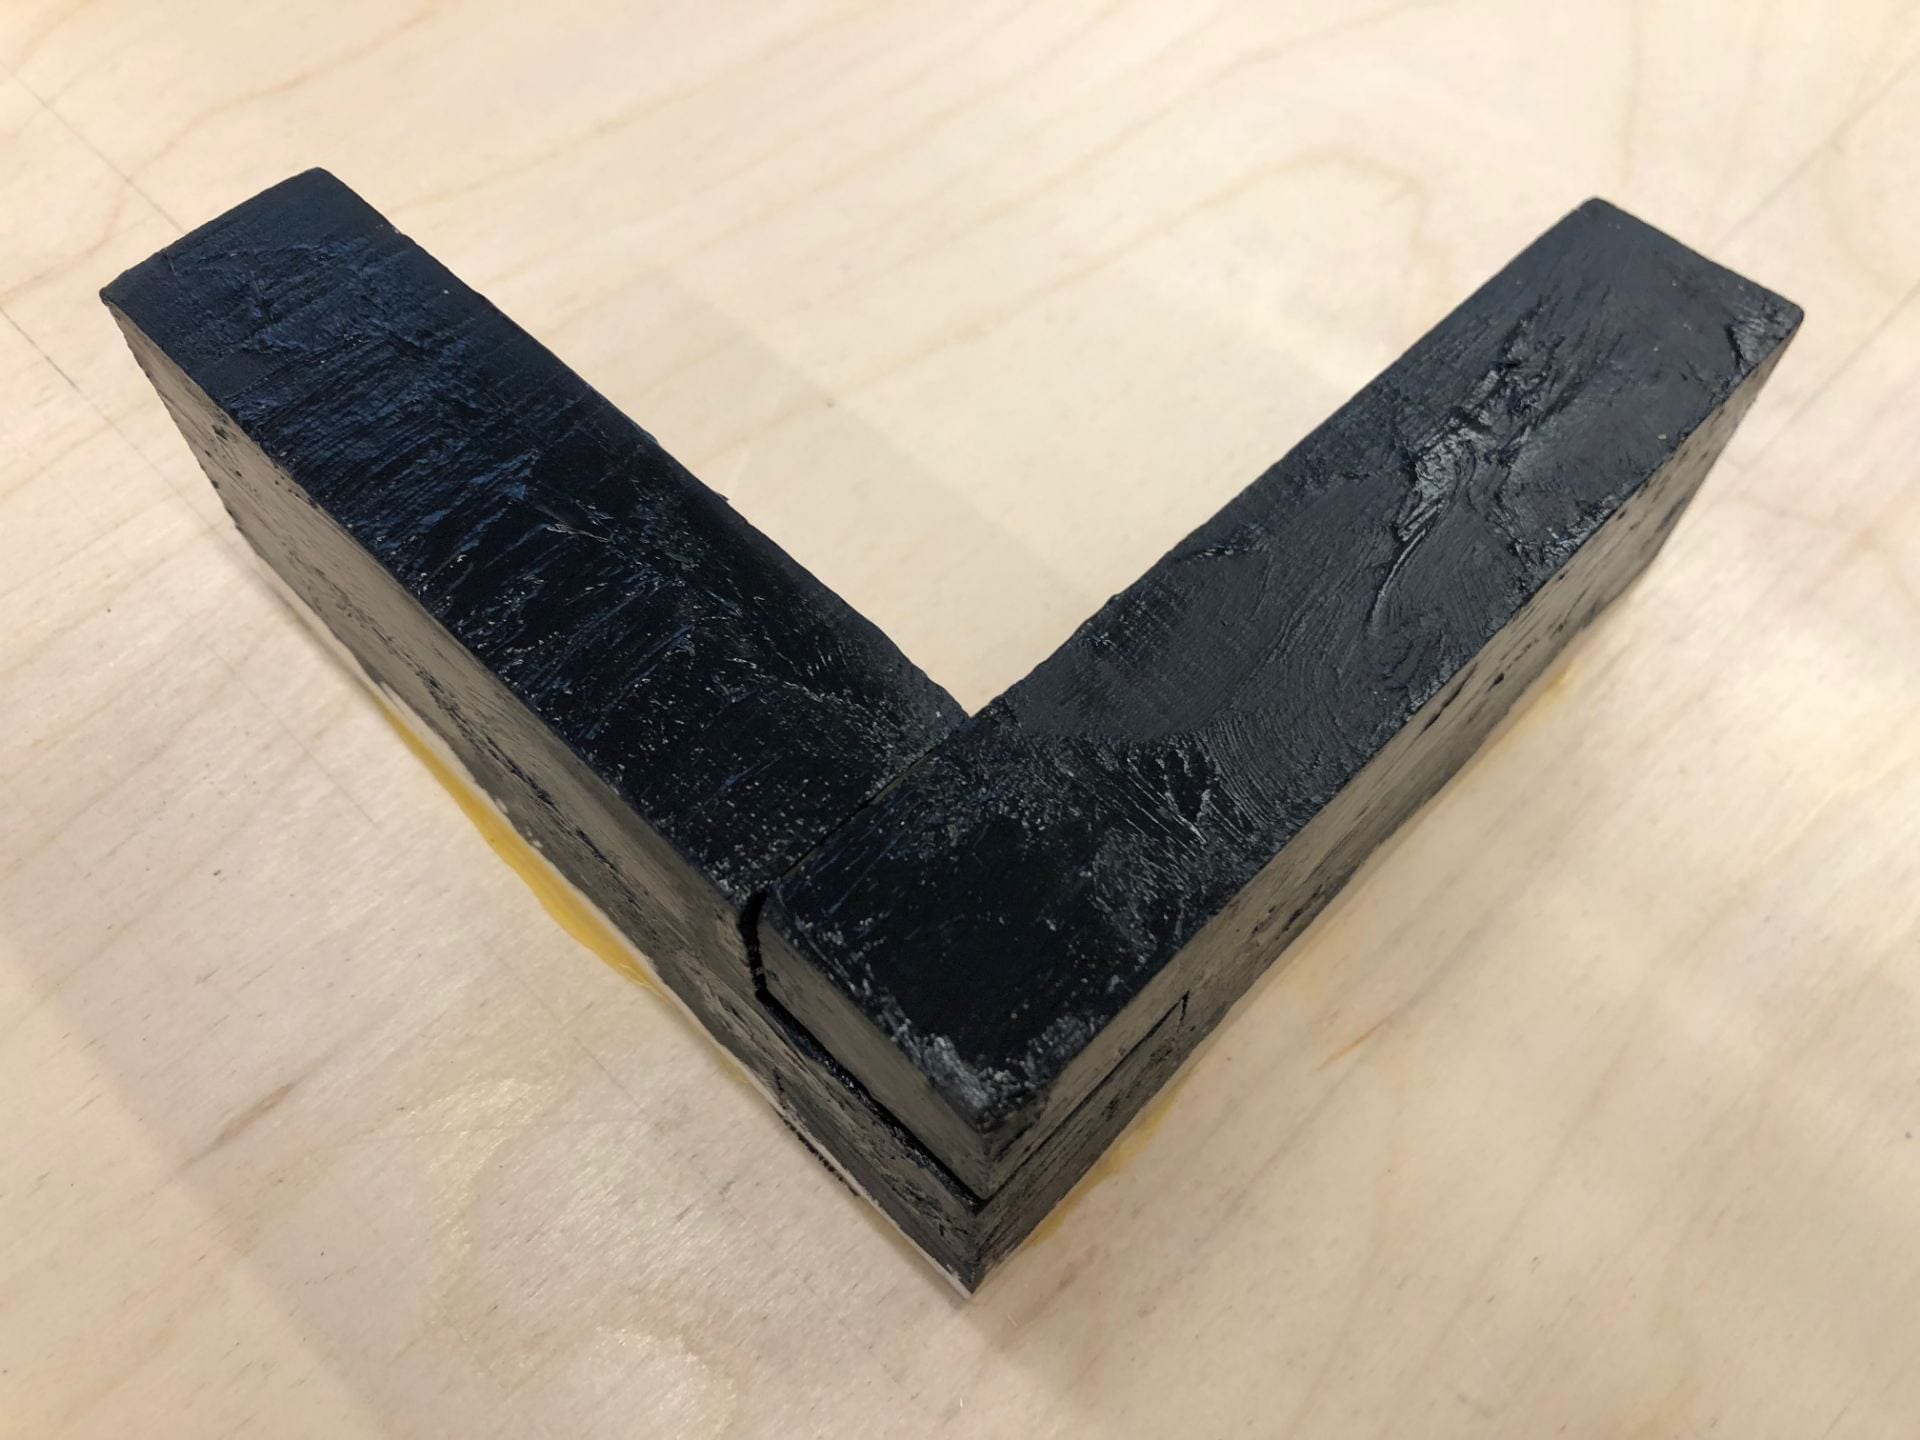
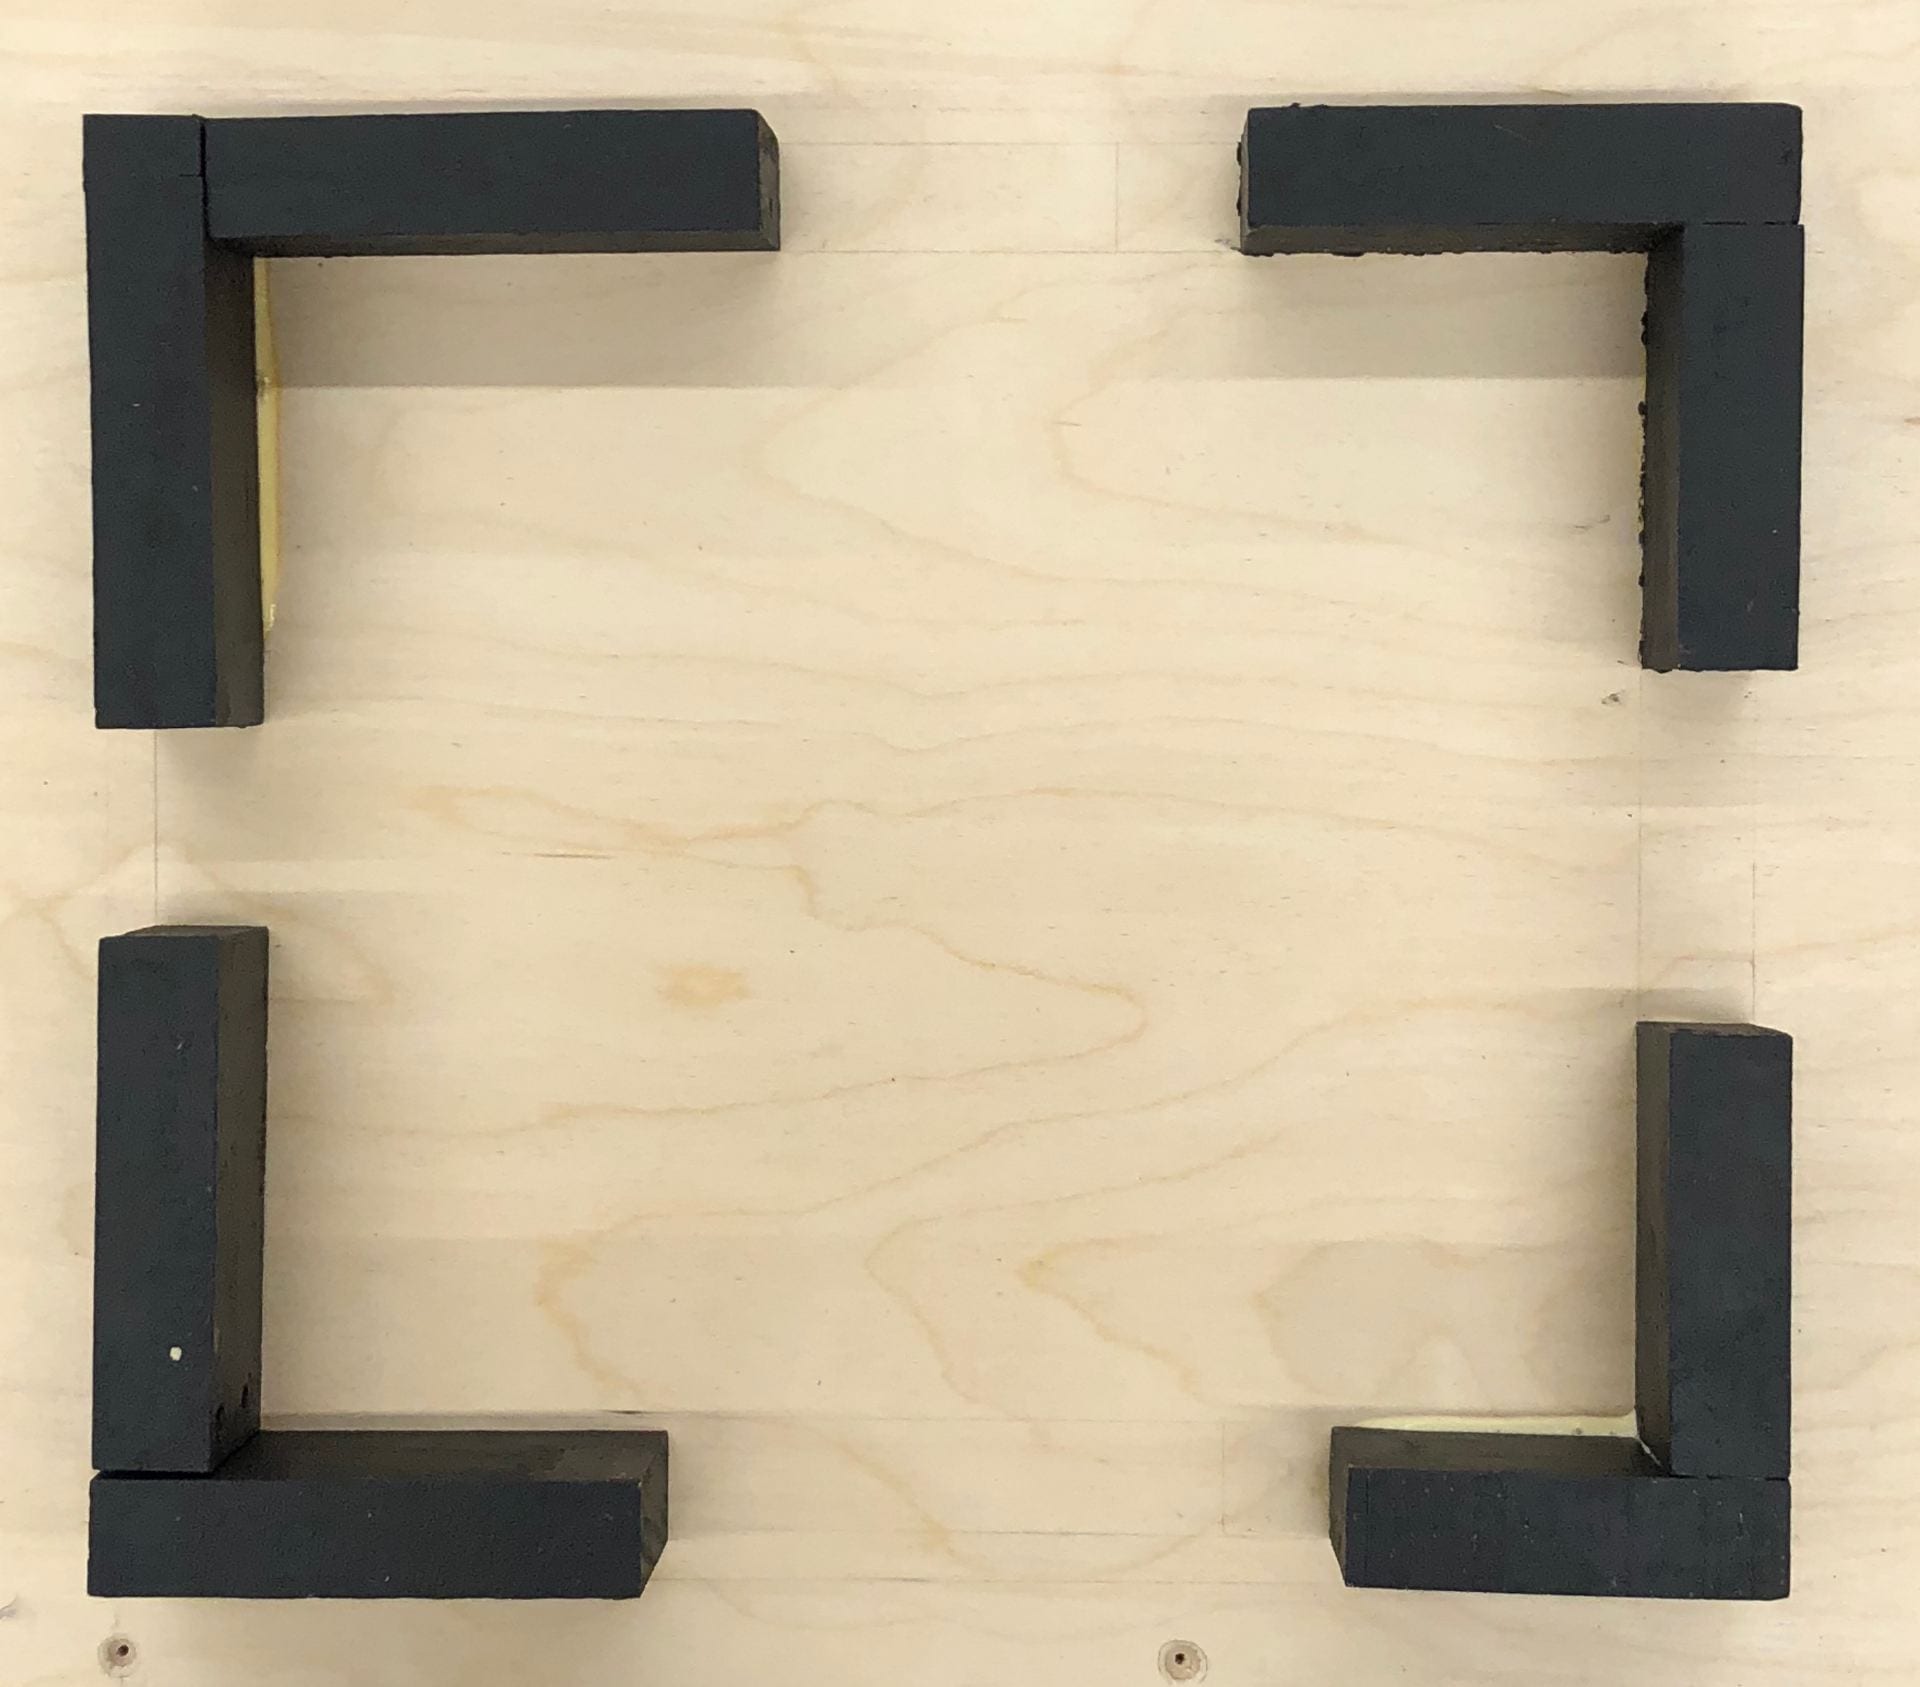


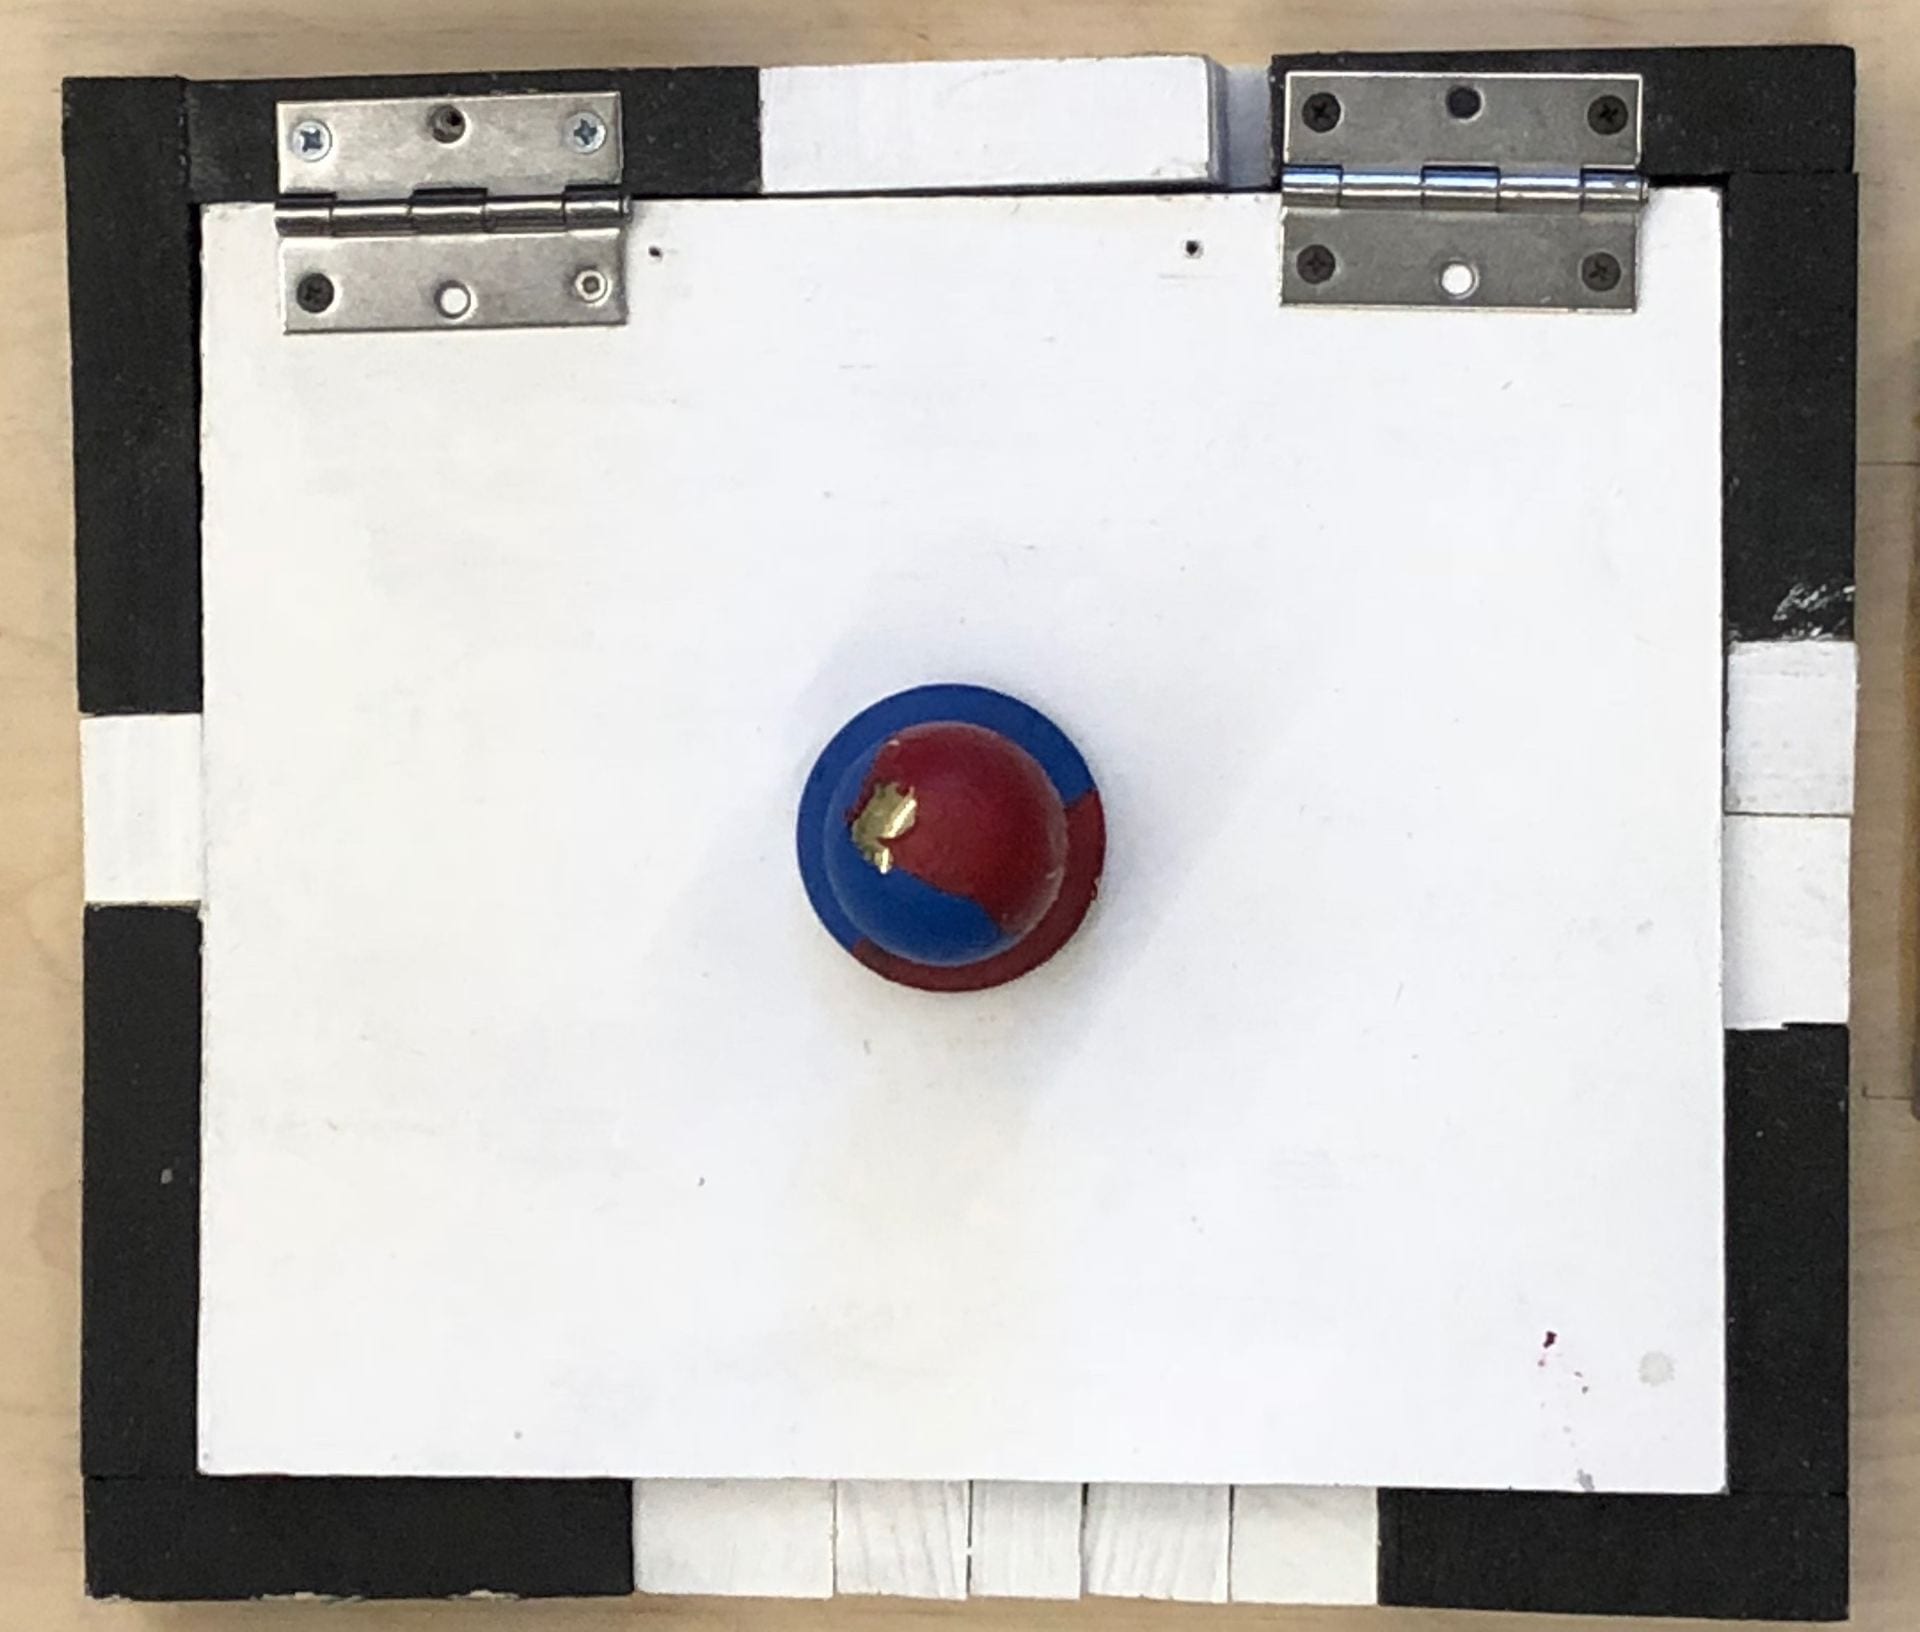

First, I had to create the frame that was big enough for my yearbook to fit in. I cut the wood into the sizes that I wanted to build the frame.Then, I colored the pieces black, the door white, and the doorknob into red and blue Taegeuk shape to resemble the shape of the Korean flag. I put two hinges and made holes each on the door frame and the door to screw the nails, so that it can be opened and closed to store the yearbook. After I glued the black parts of the door frame, I cut the rest of the white pieces to fit in the frame and glued them. It was the first accessory that I planned and started working on, and I had much fun during the process. However, there were many unexpected problems that required my attention, which took it much more time than I initially anticipated. As a result, it forced me into a situation where I was constantly in rush.
Glass Case
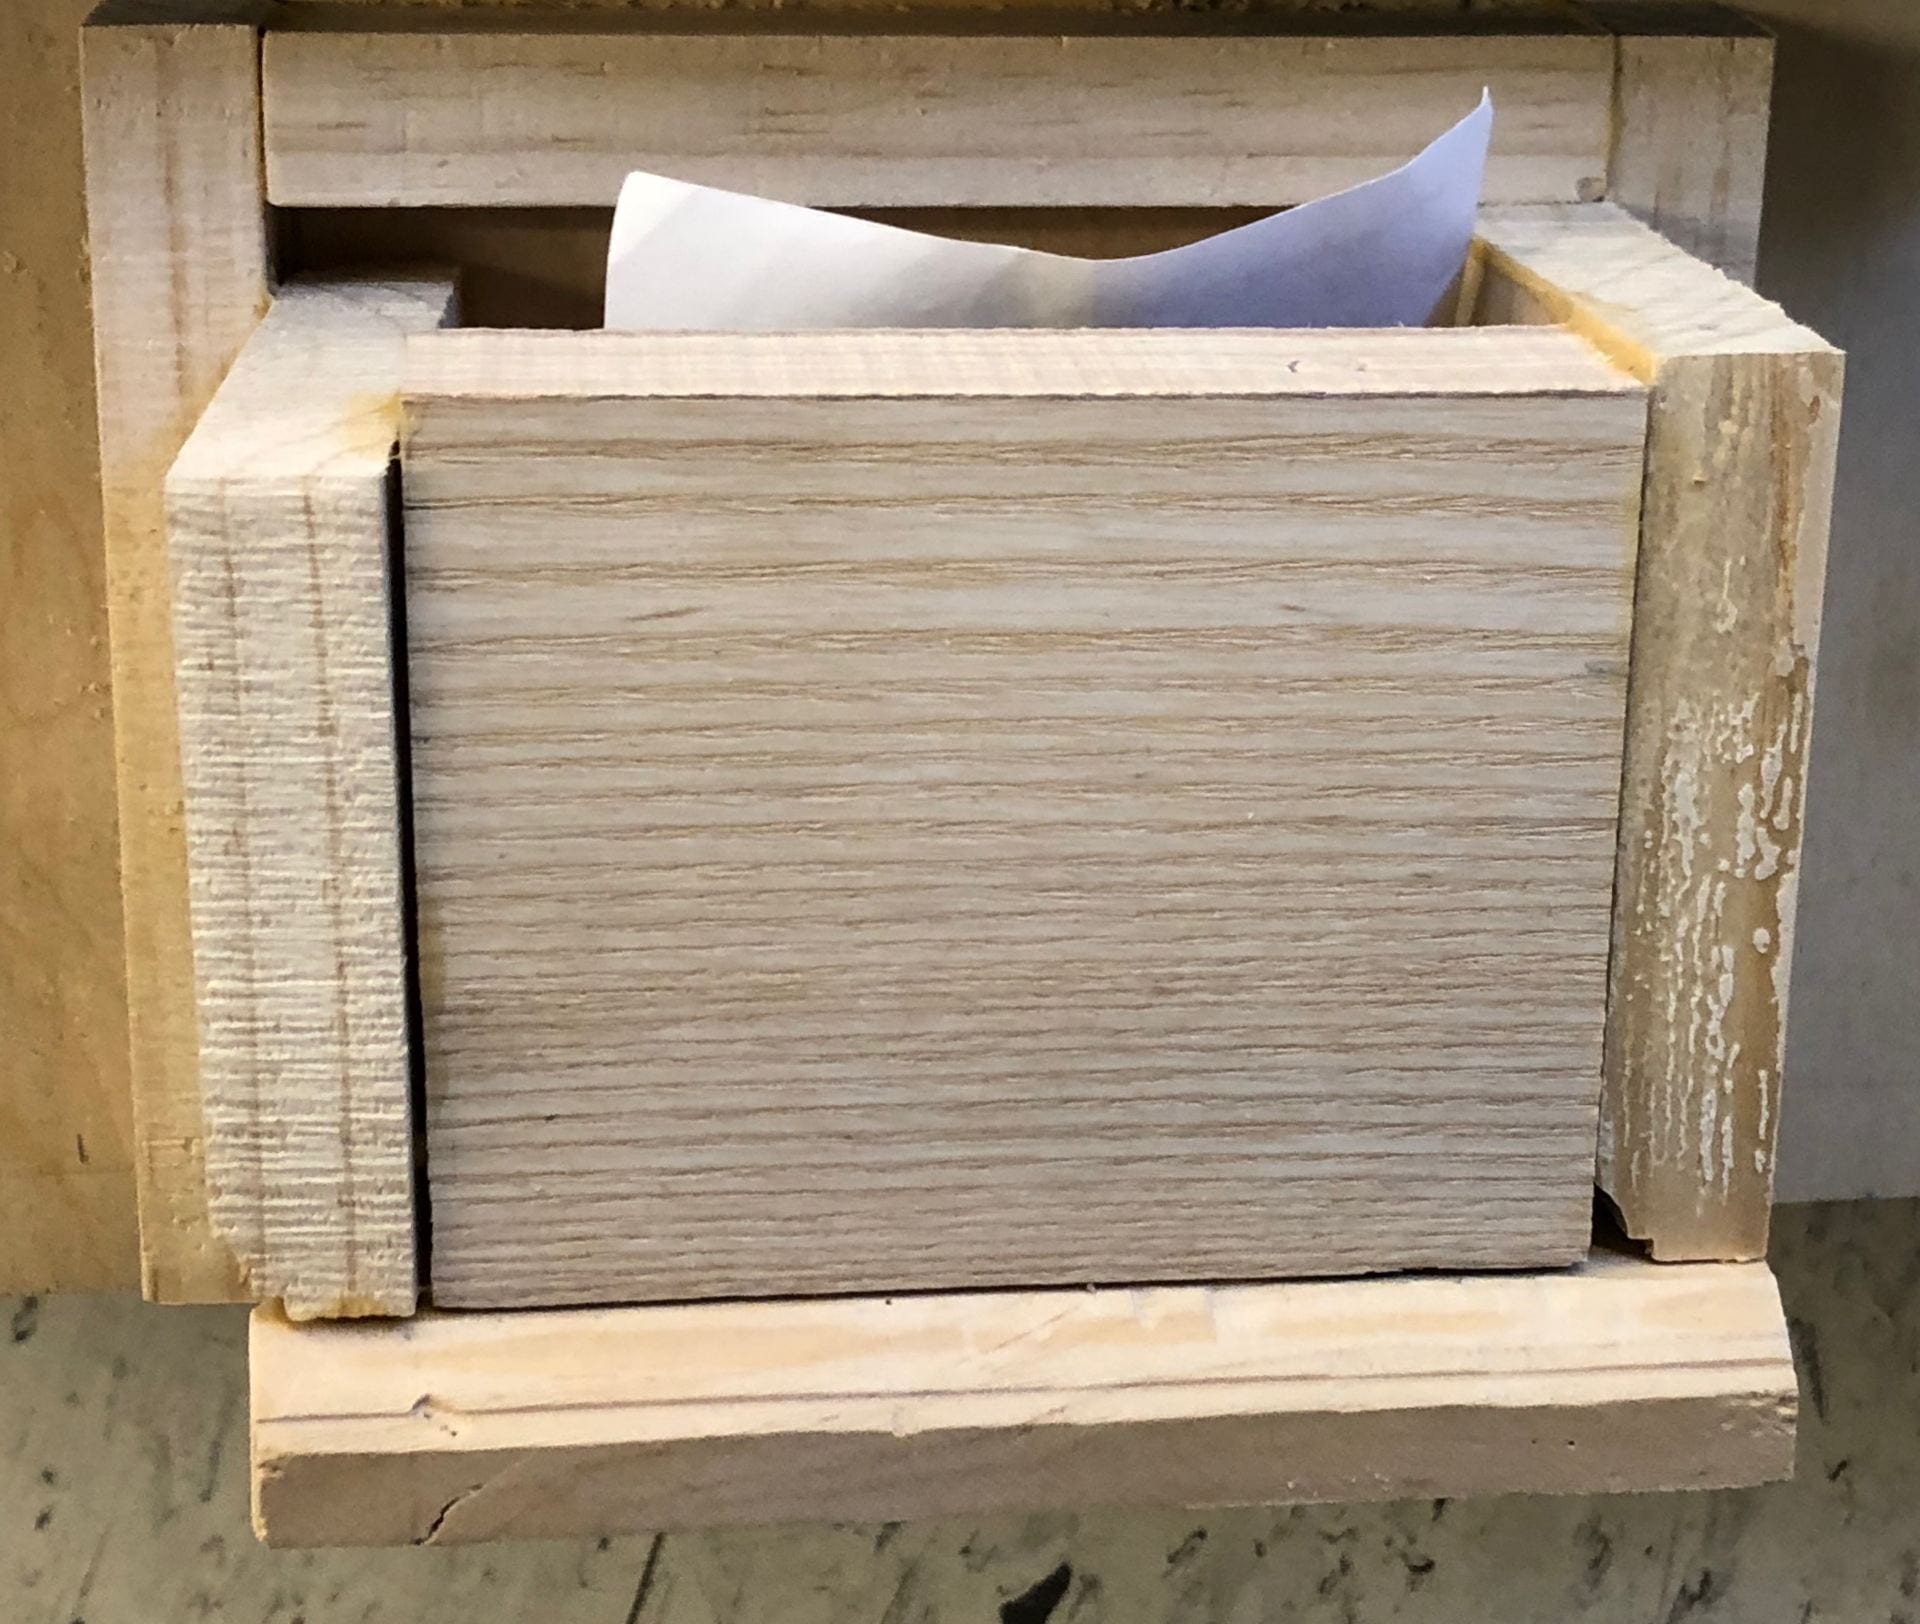
I originally planned to put my electronic dictionary into the glass case, but then I realized that I underestimated the size of my electronic dictionary. As a result, I ended up putting my earbuds in the glass case.

Unfortunately, the glass my professor prepared for me was damaged, so I had to use the plexiglass instead.


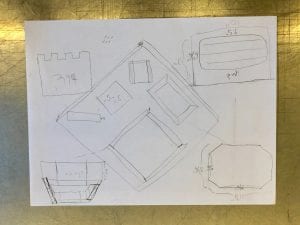
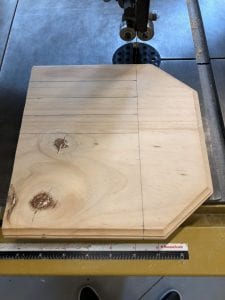
Initially, my goal was to carve in the tile make a space underneath like a grave and put the glass up top. However, I had difficulty creating the space, so changed it to have frames instead. In an effort to make it different from my other accessories, I tried to make a sliding glass door for the case, but carving the frame precisely into the shape I wanted was very difficult. After some trial and error, I decided to just simply cut the two adjacent sides of the rectangular frame to slide in the glass. Nevertheless, by then I was rushing due to the slower progress and glued the frame on the tile, so I had to use chisel and hammer to carve the frame to fit in the glass. As a result, it created larger break than I planned and took much time to complete. It would have been much easier if I was more experienced with the wood works and had simple and doable plan from the beginning.
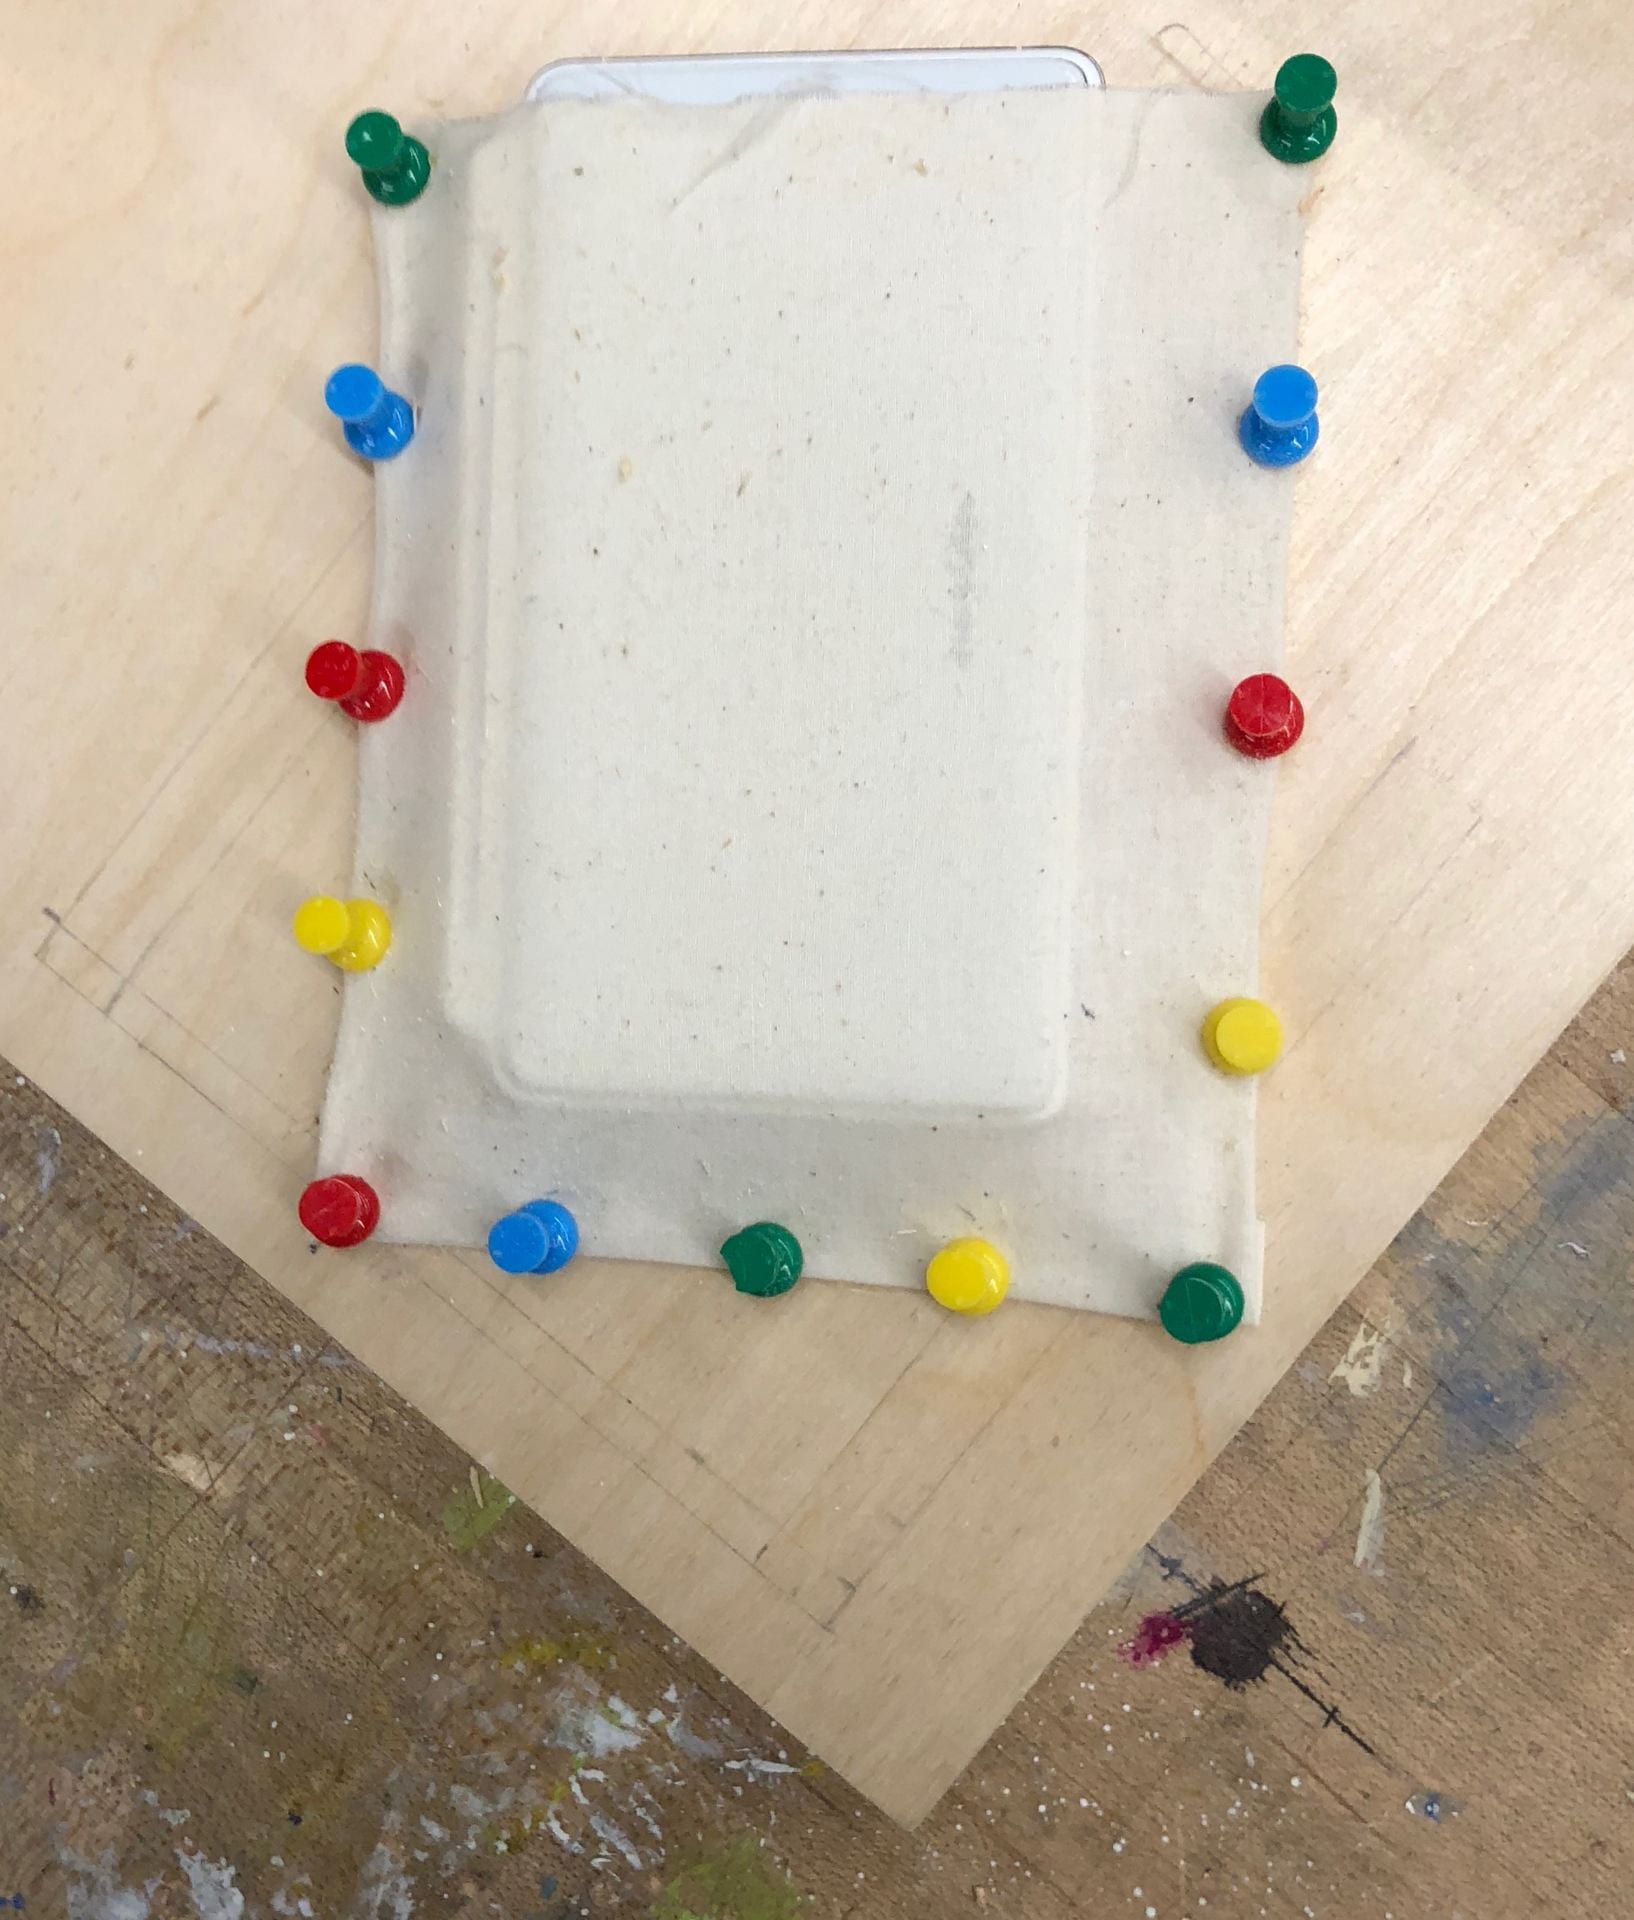
I cut the musin in 6” x 7” so that I can fit my electronic dictionary, which is 5-⅜” long on the front and 4-⅝” on the back and 3-¼” wide, 2-¾” on the longer side and ½” on the shorter side. After folding my ends and the bottom of the muslin, I put yellow, green, red, and blue tacks at the ends and the bottom of the muslin to keep it stable.
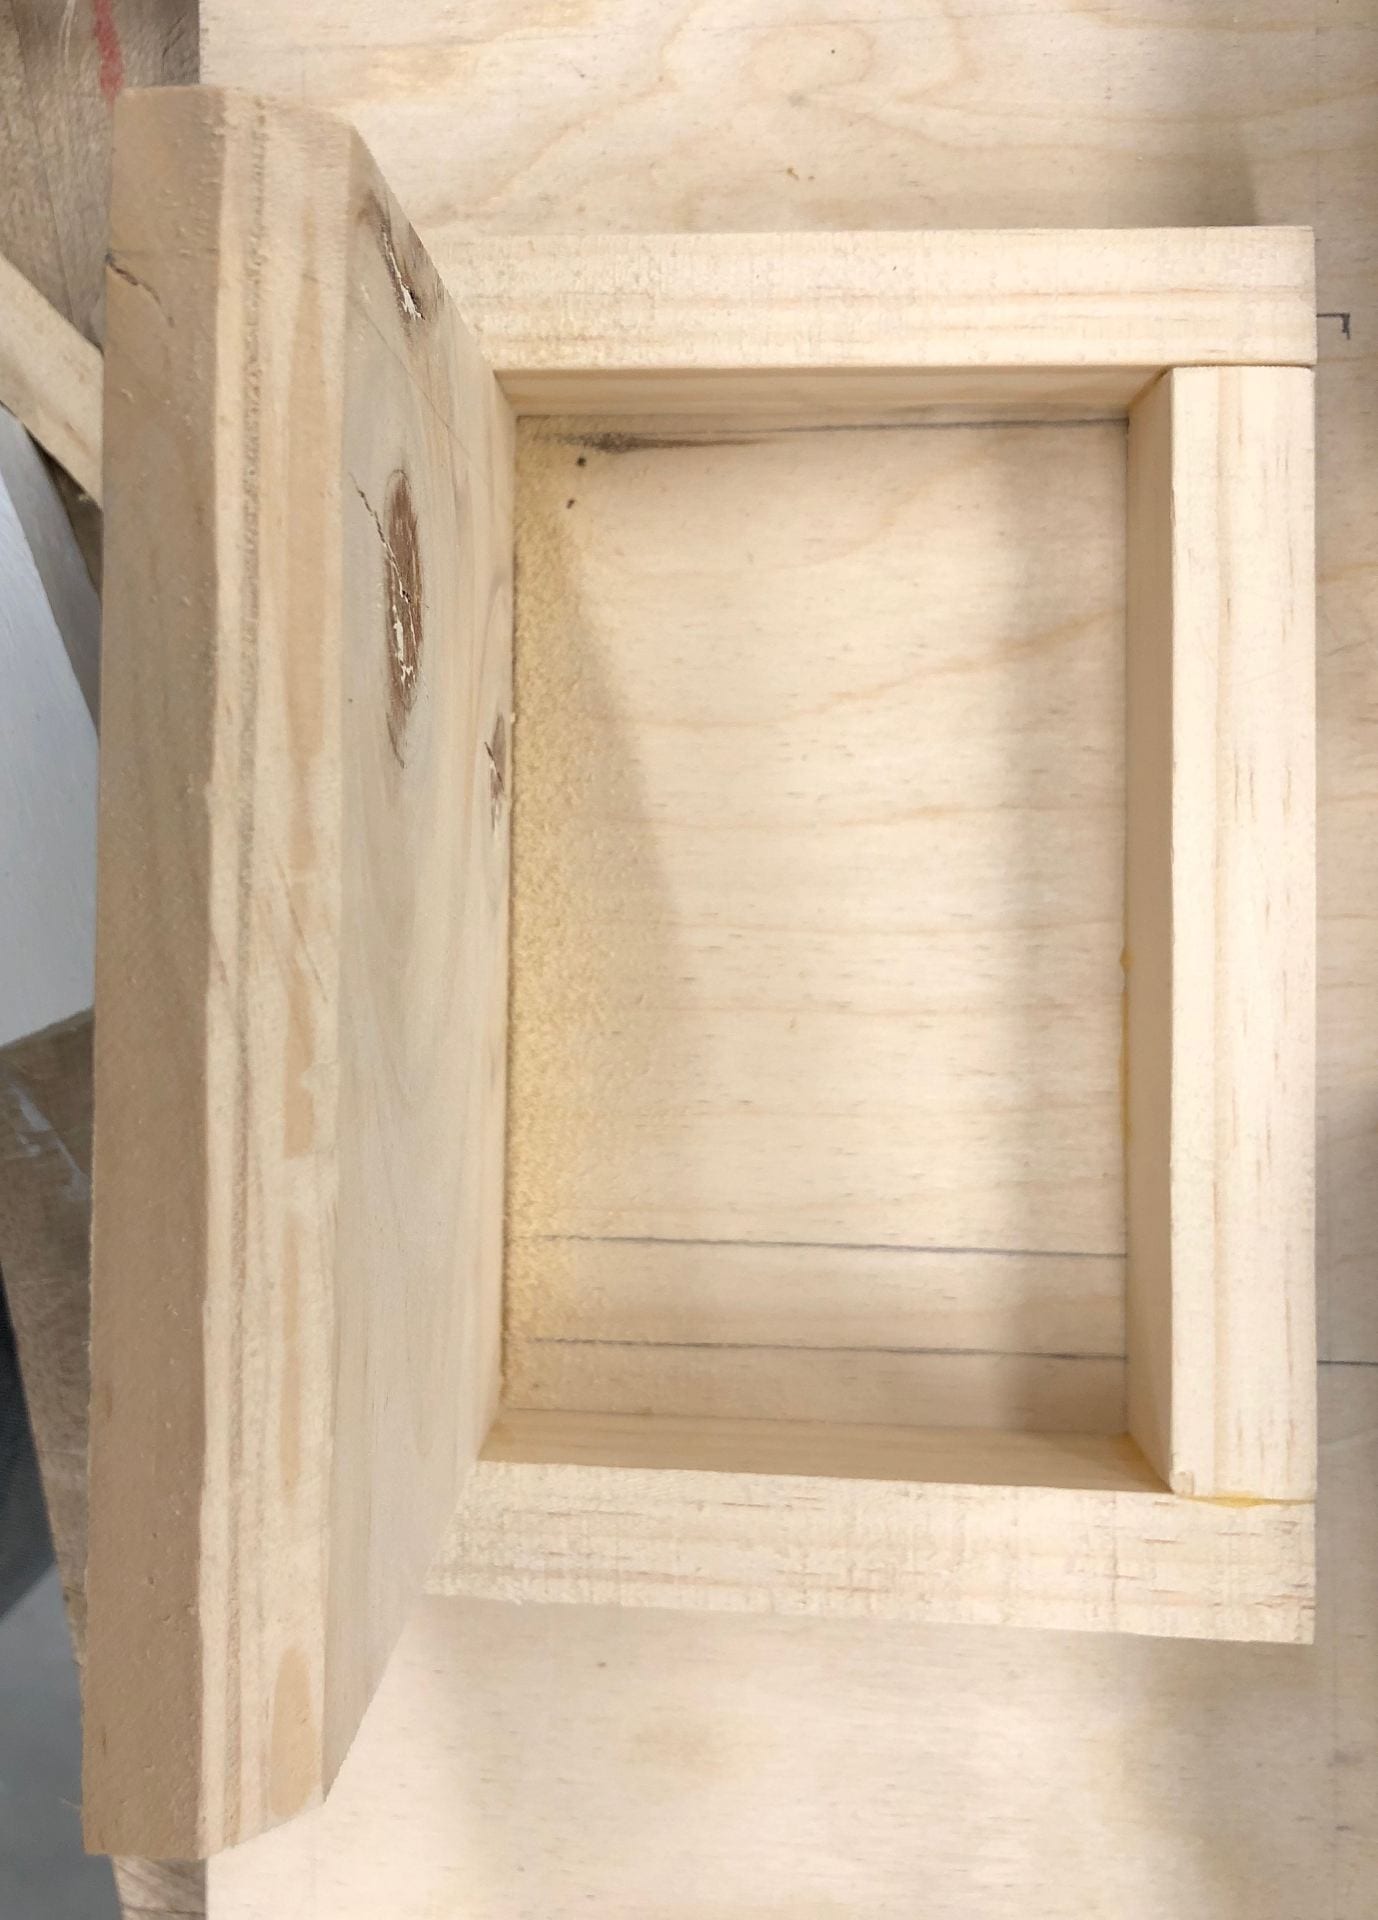
Shelf
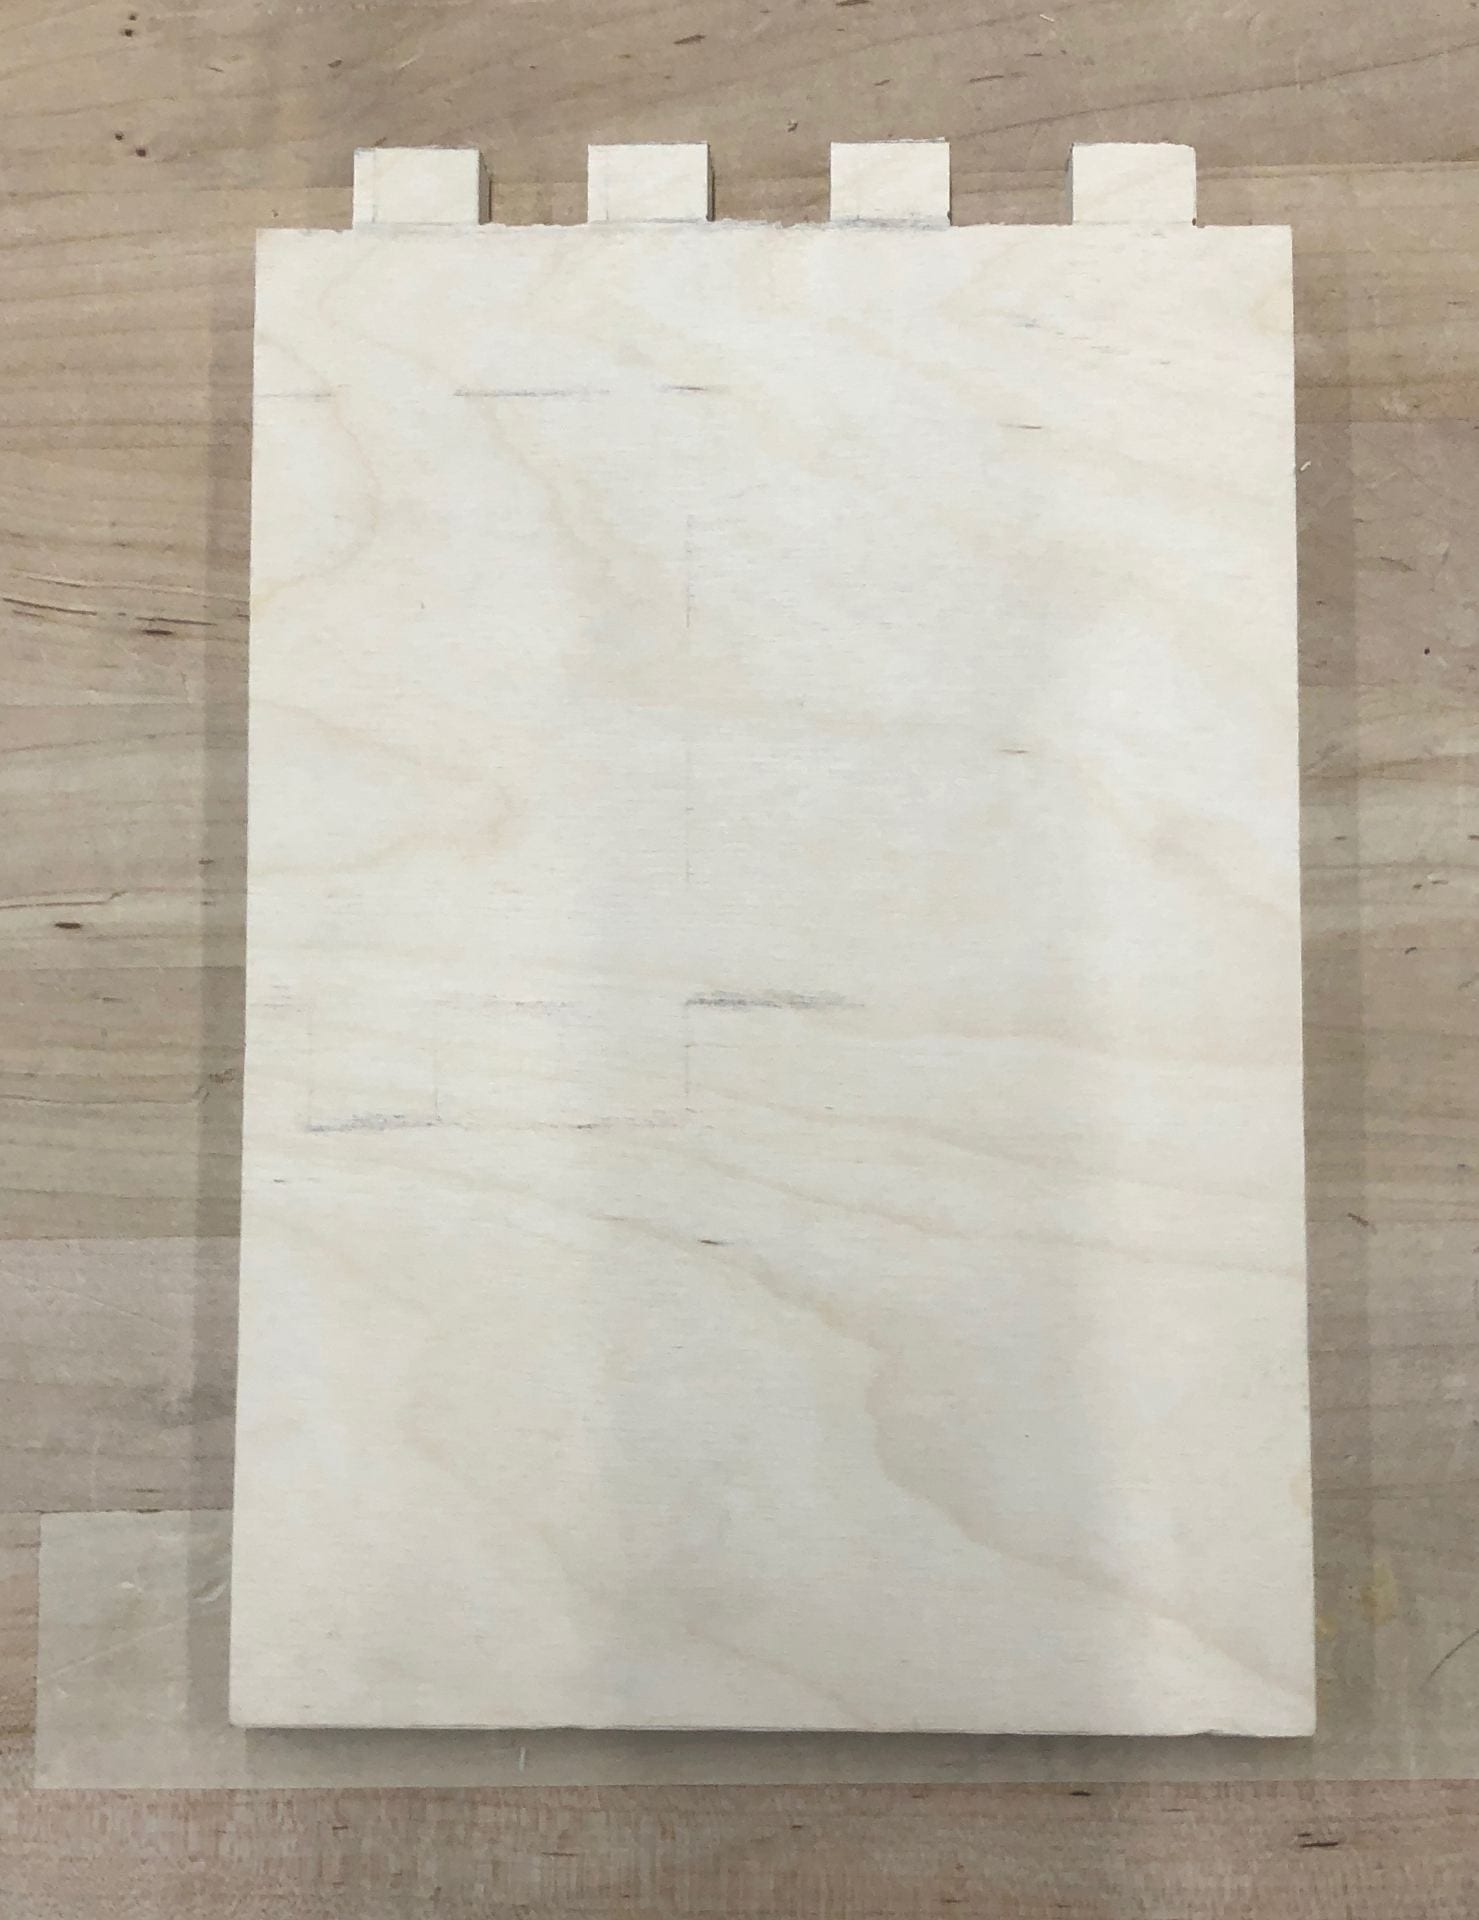

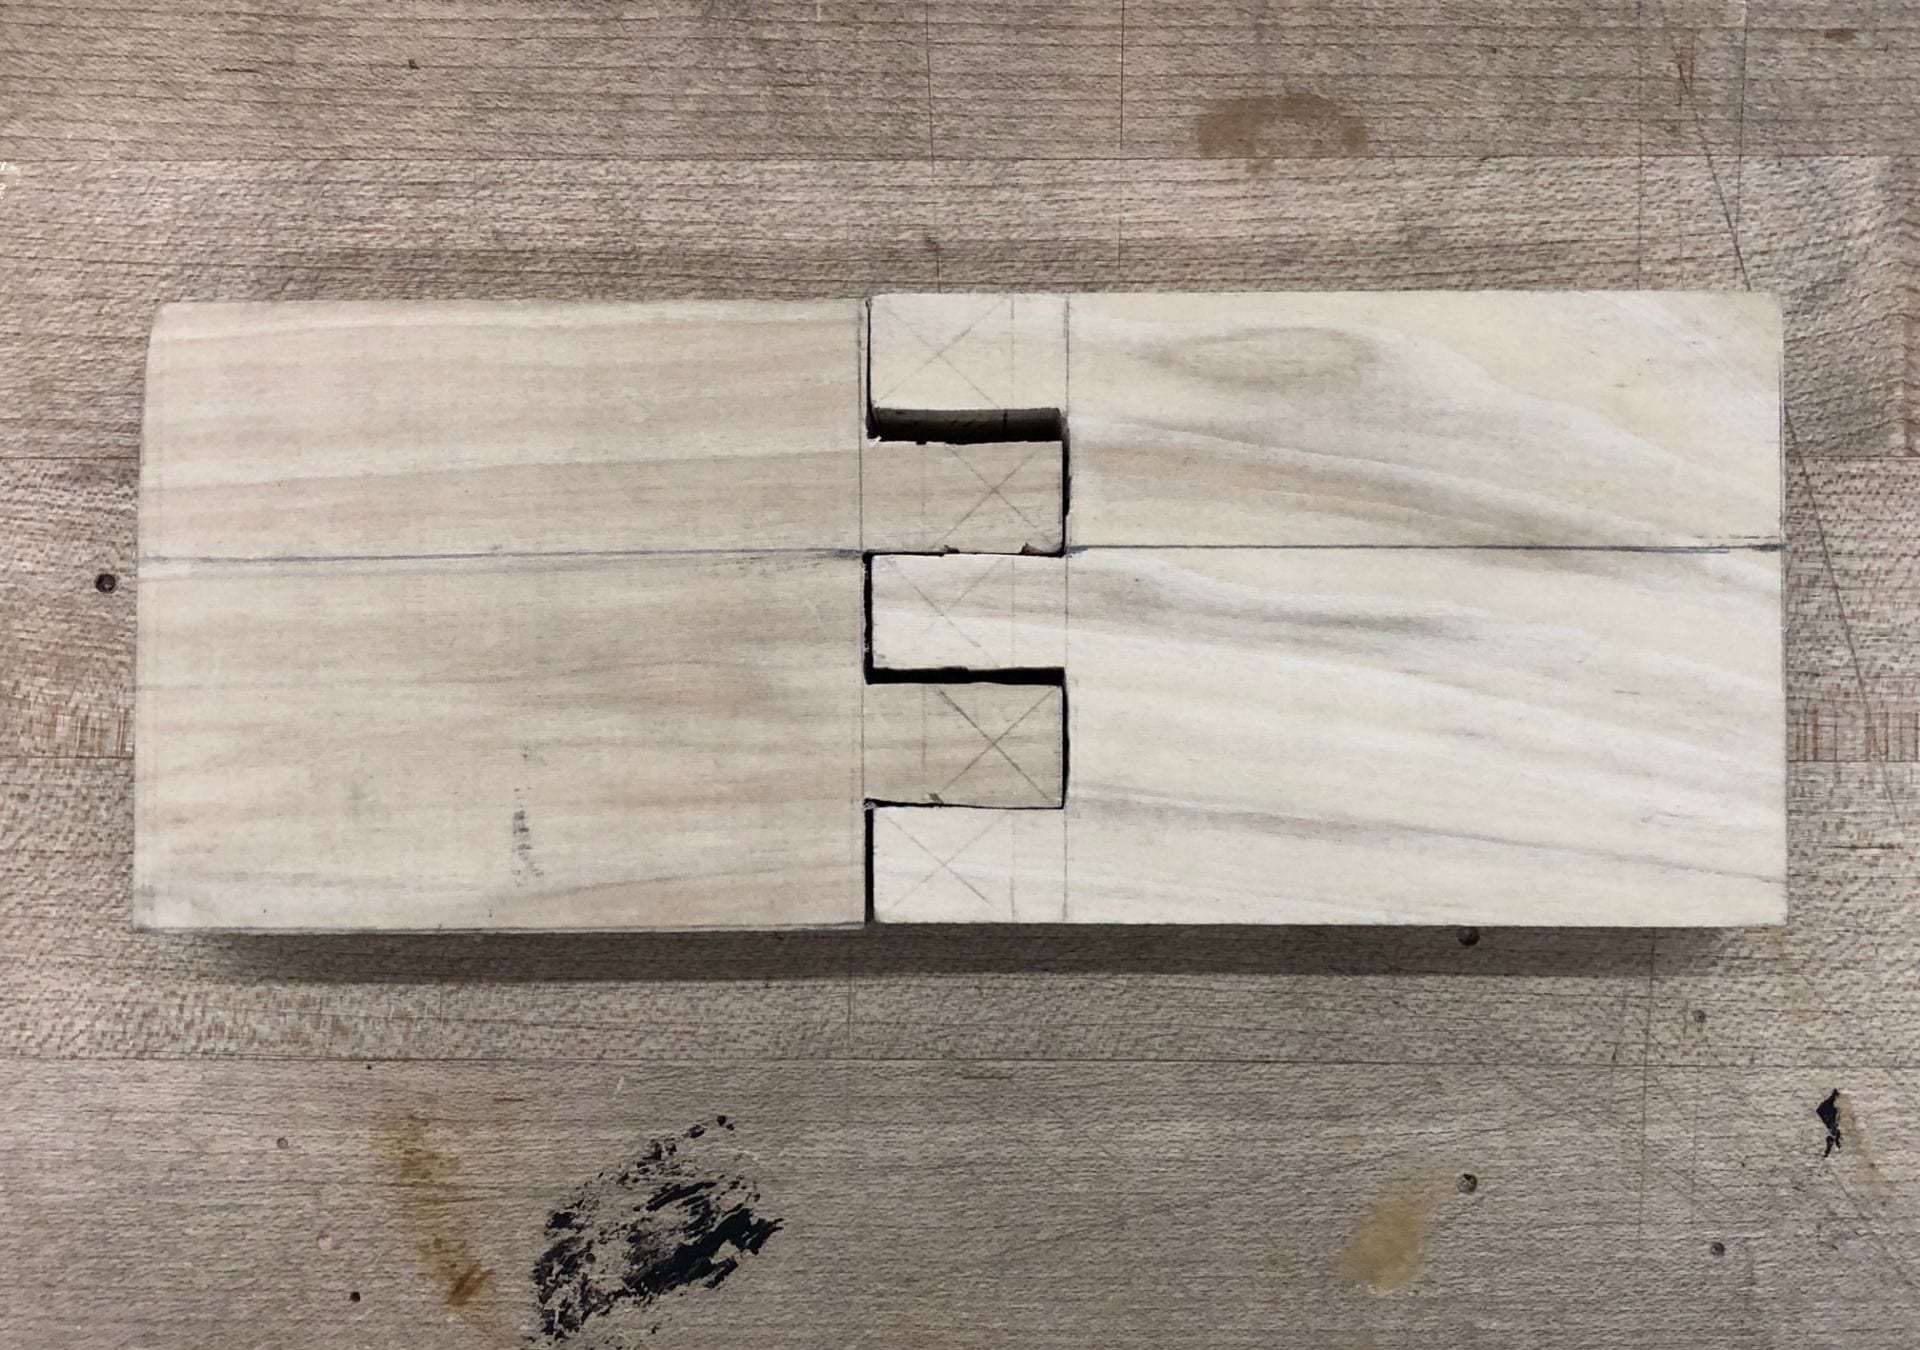
I originally planned to create a finger joint shaped shelf that was 7” long and 10” wide so that my 6-13/16” x 9.5” iPad can fit in without dropping. As I continued working, I realized that it would require skills beyond my level to carve in the shape that would perfectly fit in the finger joint and hold the shelf stable. As a result, I just made two holes and used two dowels.
Wooden Bin

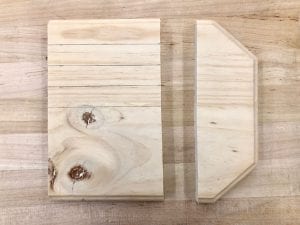
For this accessory, I also used the remaining wood from the previous project.
I initially wanted to make a drawer that can hold pieces of paper I doodled on, but then again I was running out of time as other process took much longer than I anticipated. Therefore, I changed it to a wooden bin that is somewhat like a half-opened drawer.

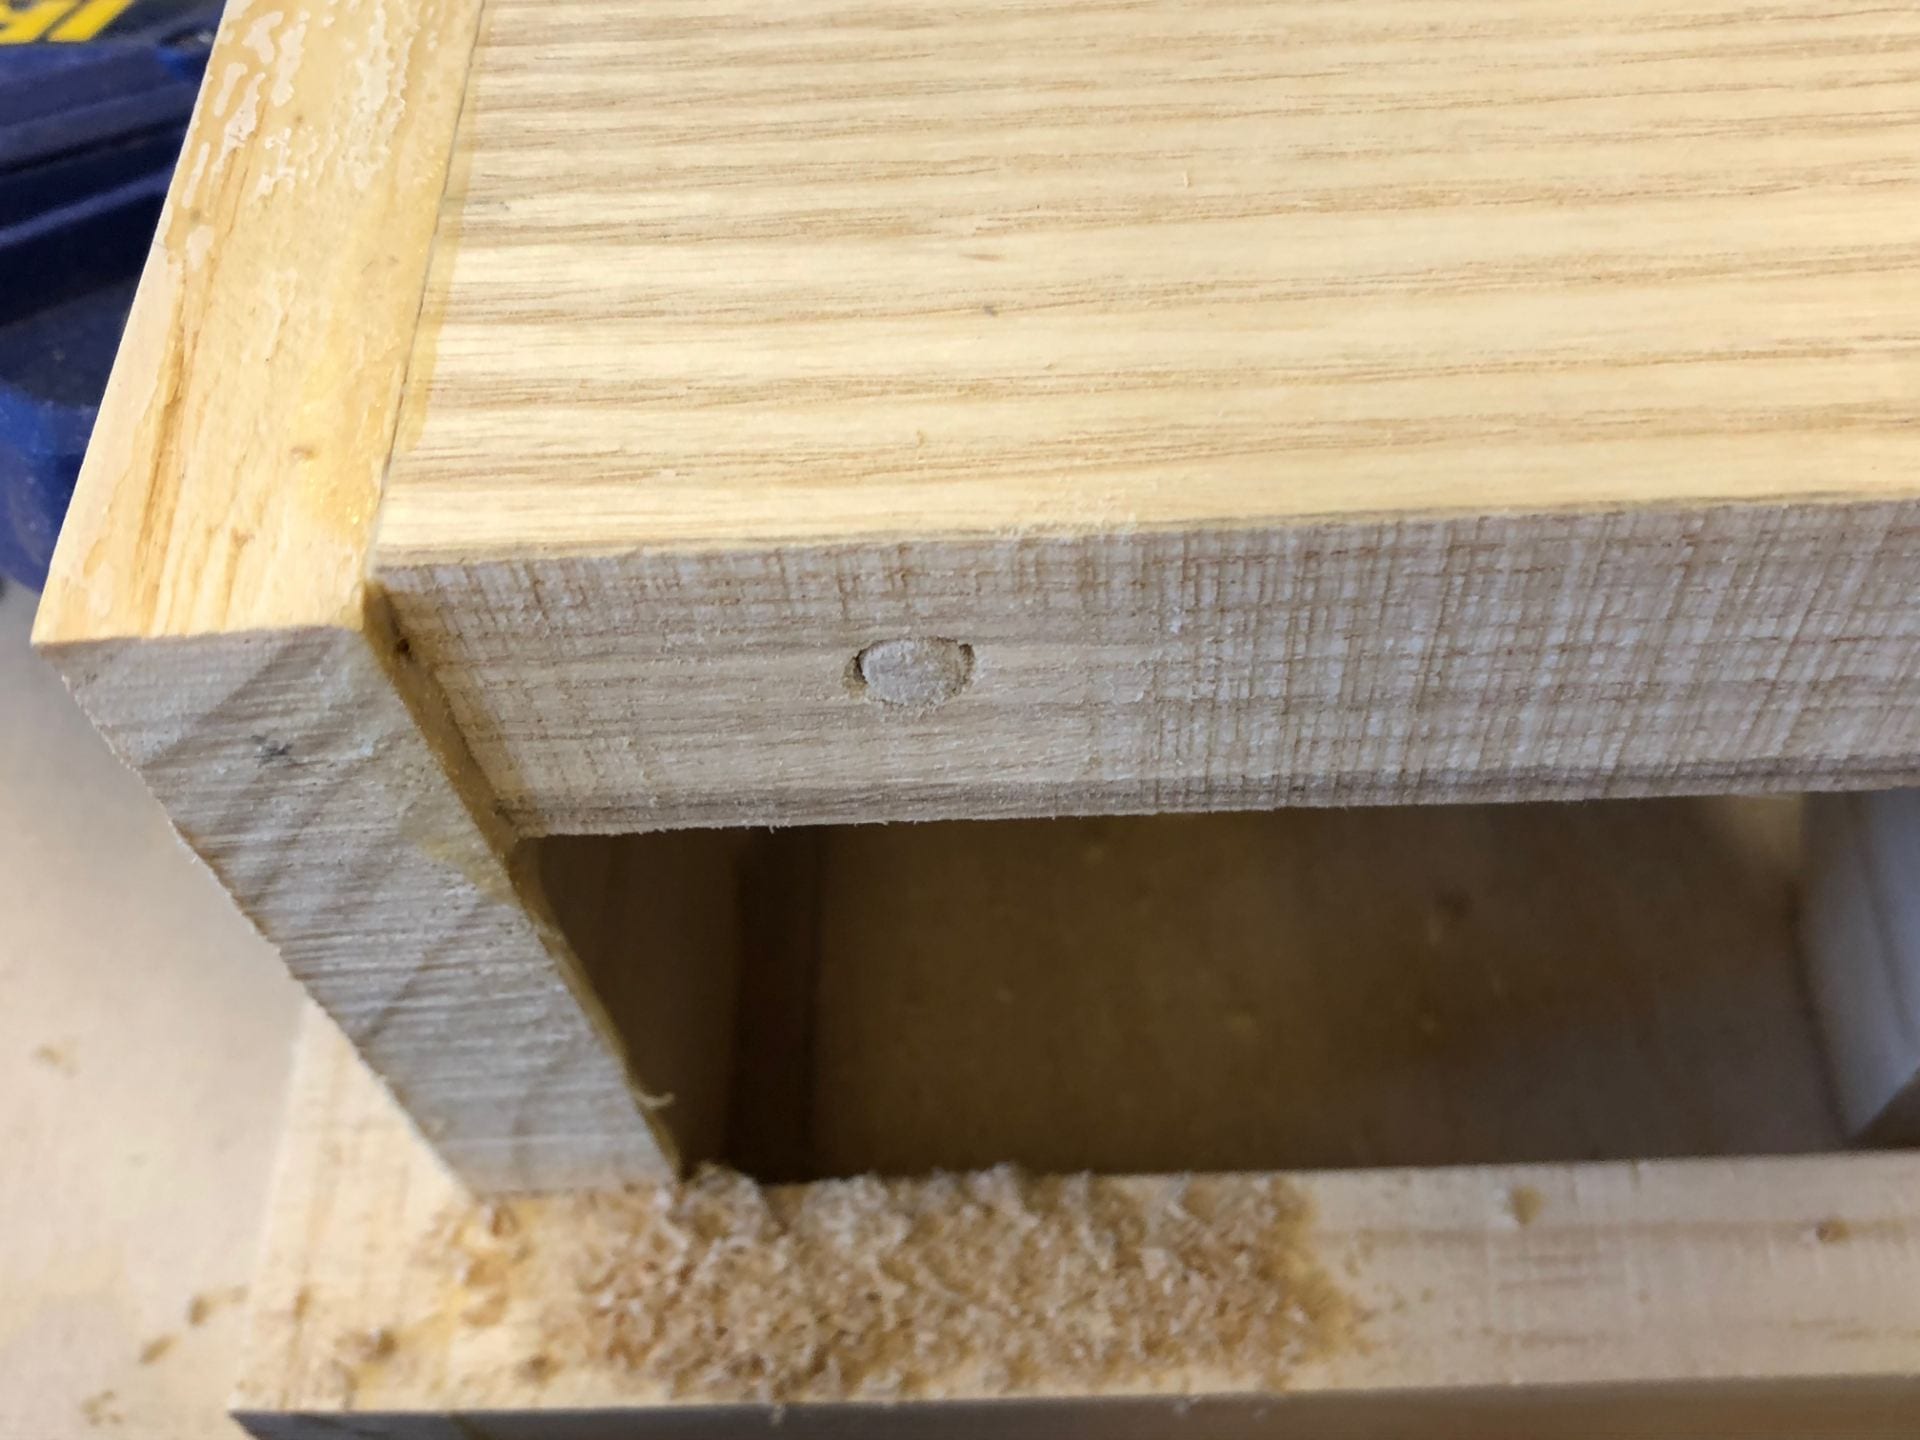
At one end of the bin, I used a screw driver to make 1-¾ “ deep hole to put my little secret and cover it with a dowel.
Overall, it was rather a challenging project that required much time and effort, and the end product still has a room for improvement. Even though the professor provided us with plenty of time, the amount of work necessary regarding the wood was far beyond my expectation, and I do not think I estimated that properly in my working schedule. I spent too much time on the door and focused on its details so that I could not allocate much time on other accessories. Also, slower working process made me nervous and rush through, which seemed to cause more trouble; I could painfully feel the phrase “haste makes waste.” Notwithstanding, I felt much better and rewarded after we combined all the tiles to see the various designs my classmates made. If I have an opportunity to work on a similar project in the future, I think I will be more prepared to plan ahead and know what to expect.