Our first project was all about hands. Starting off with basic drawings and orthographic drawings of hand gestures, we created movable hands in linear, planar, and volumetric ways.
The first attempt of making 3D hand was making it with linear composition – by using two different gauges of wire. The thicker wire was mostly used to create structure of the hand, and thin one was used to express the detail and volume of it.

The second attempt was making the hand out of plannar material, and I chosed cardboard for my material. By putting the wire through the side of cardboard, I made each joints movable except for the index finger which I wanted to be staying straight.

The third attempt was done through the carving of pink foam. Unlike previous two, this one involved actual carving which I also had to do with my final hand. Again, I used wire to make the joints movable. Pink foam was rather easier to make the details such as the wrinkles on the palm and the fingernails. For my model, I made a straight opened hand because I thought it would be hard to carve the pose that I previously made, but after trying to carve the wood, I decided to keep the first gesture that I chose with the other two hands.

Below are the images that shows the process of creating final wooden hand. Since Blick didn’t have any bass wood, I used balsa wood to carve my hand. I needed to glue the two pieces together in order to give the fist enough volume.
First, I took the photograph of my own hand from the front and from the side in order to remember the detail of wrinkles and the proportion.


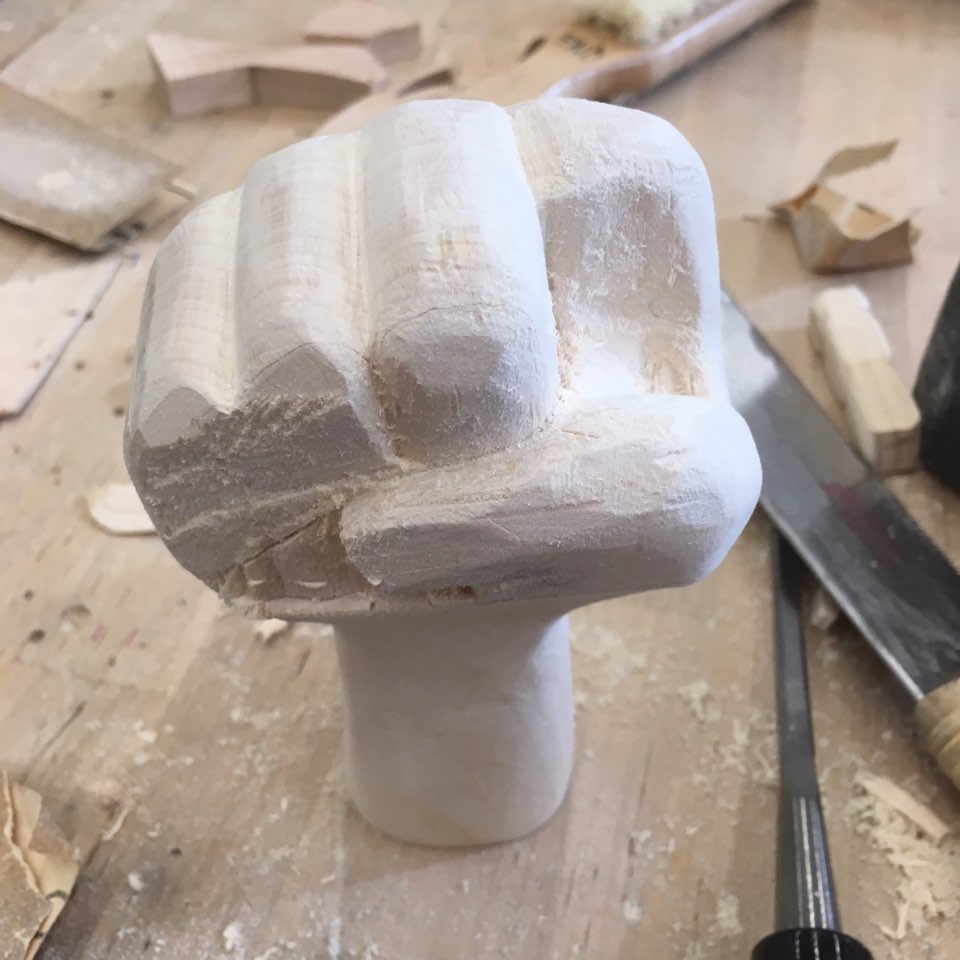
Then, I started carving. The image below shows right after I glued the pieces, cutted the basic structure and sanded the wrist.

Then I carved the details.

I carved each parts of the index finger seperately, and made a whole in them to make a joint. I connected the joint with wire, made a shallow path at the back of index finger so that the rubber band could stay on its place, tied the rubberband on to the wood by making holes on the wood, and also tied a thread so that I can pull it and move the index finger. Although the hand could stand by its own, I attached an illustration board below of the hand just for design, and made a hole in that board to give a specific path for the thread to move.
This is the final outcome.


As written on the card, the finger went down when the ring was pulled, and back up when released. Because of the friction between the thread and the side of the holes on the illustration board, sometimes the finger did not went back up smoothly. The movement would have been more smoother if I used wood for the base instead of paper, and sanded the side of the hole I made in that base.