Our second project was based on patterns and how to fit the pattern on our body.
The animal I chose was a half moon betta fish which has repeating hexagon shaped scales, and fins that seem to have stripes on.
SKETCHES
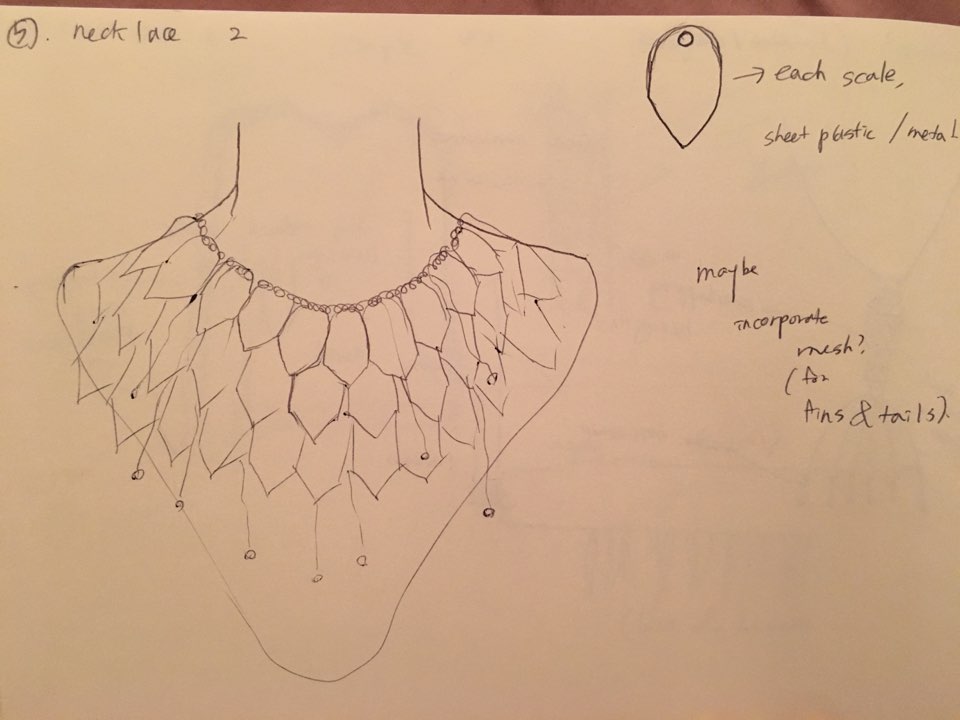
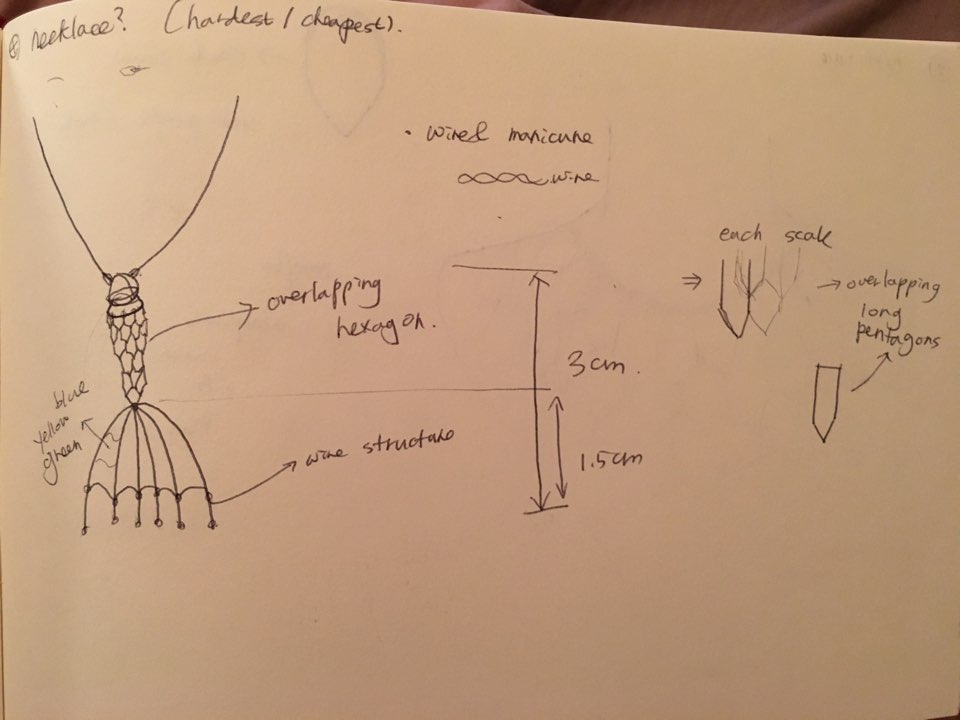
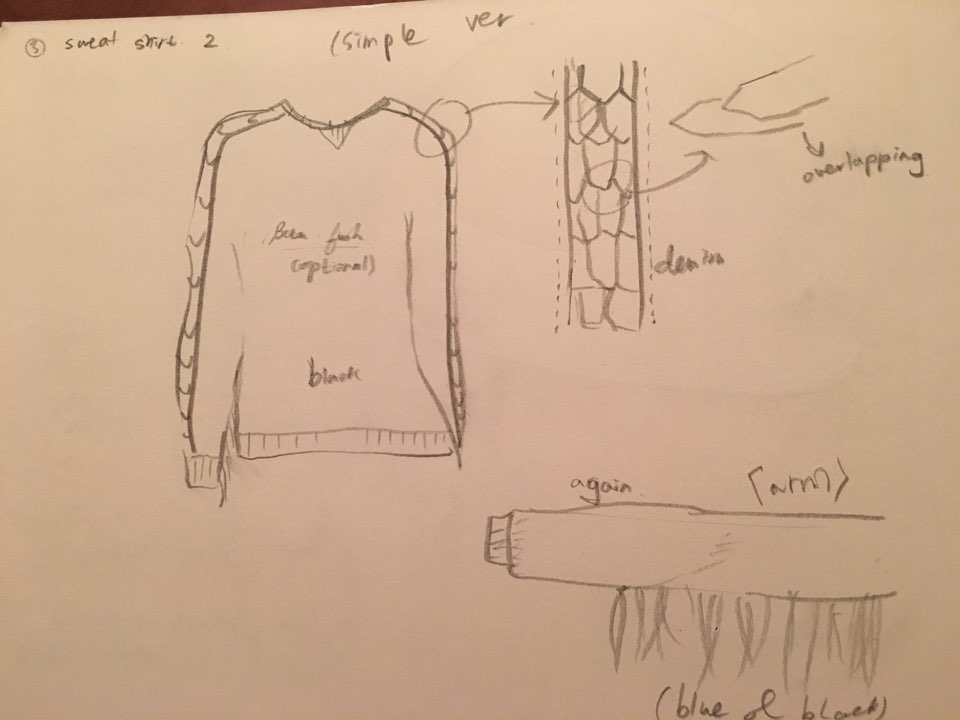

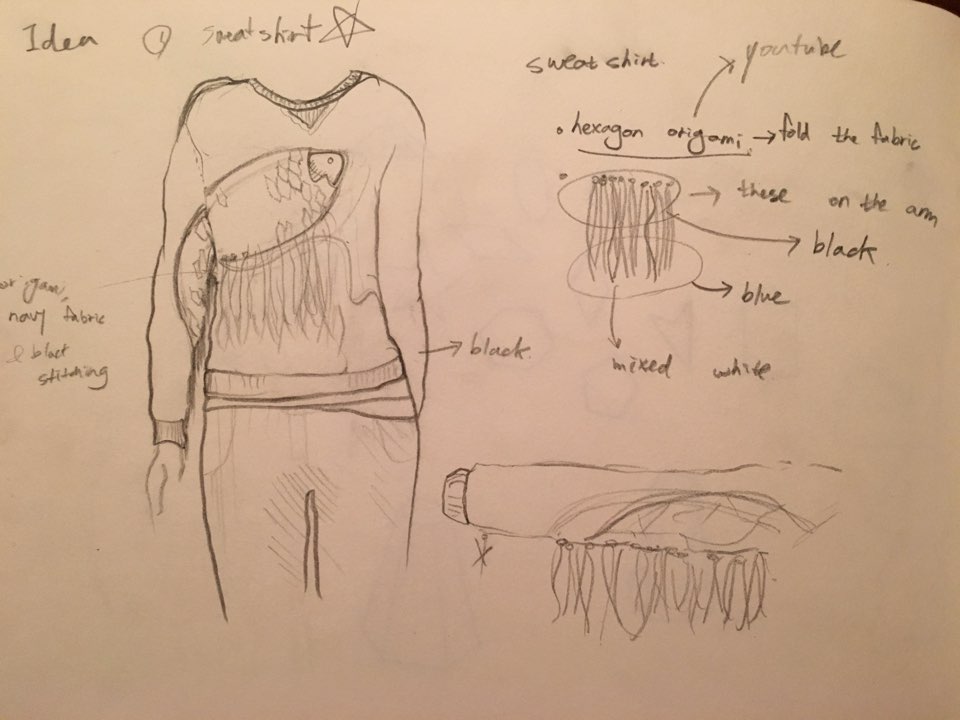
From the 5 brainstorming sketches, I chose the idea of making a sweatshirt that has origami based hexagon pattern on it, and dangling fabric on the arm and back that symbolizes the fin part.
PAPER & MUSLIN

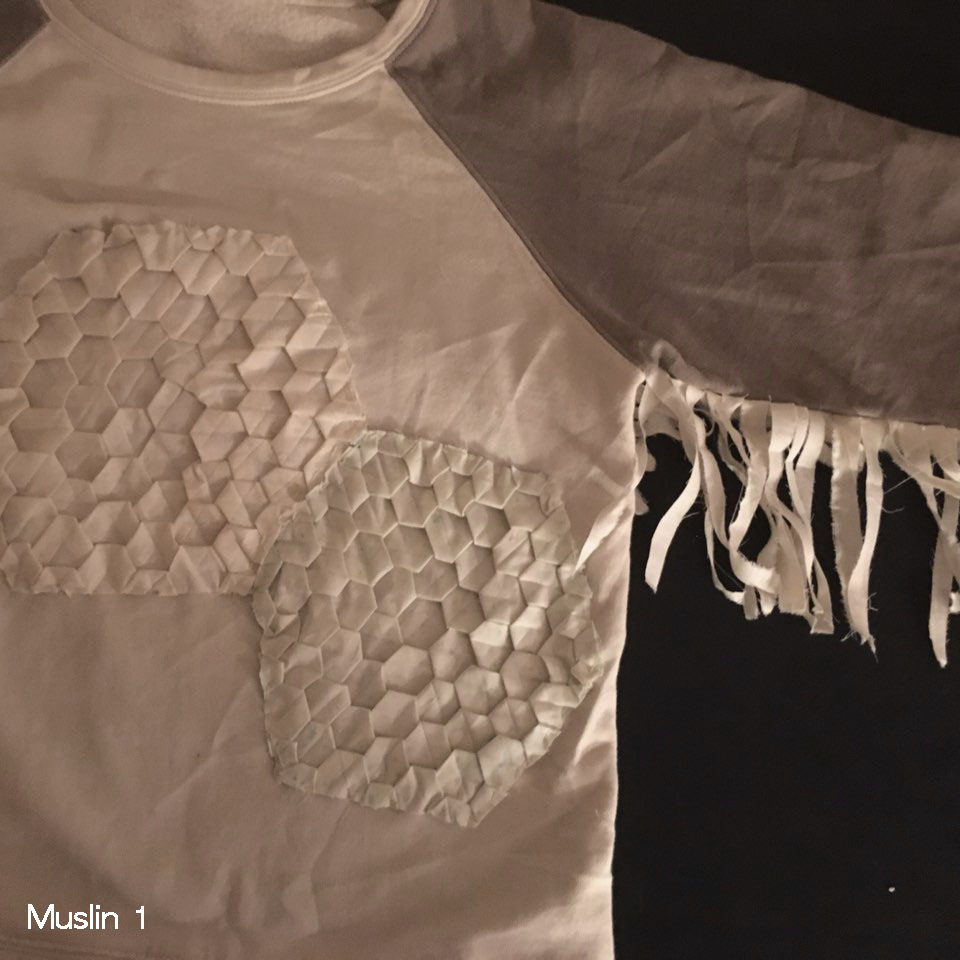
Upper image is the paper model I made. I folded the pattern part and cut the fin part and attached them on the sweatshirt. I was planning to make a sweatshirt of my own for the final project. The first muslin model attached below the paper model is basically identical with the paper model. Folding the muslin itself was the hardest process in this process.
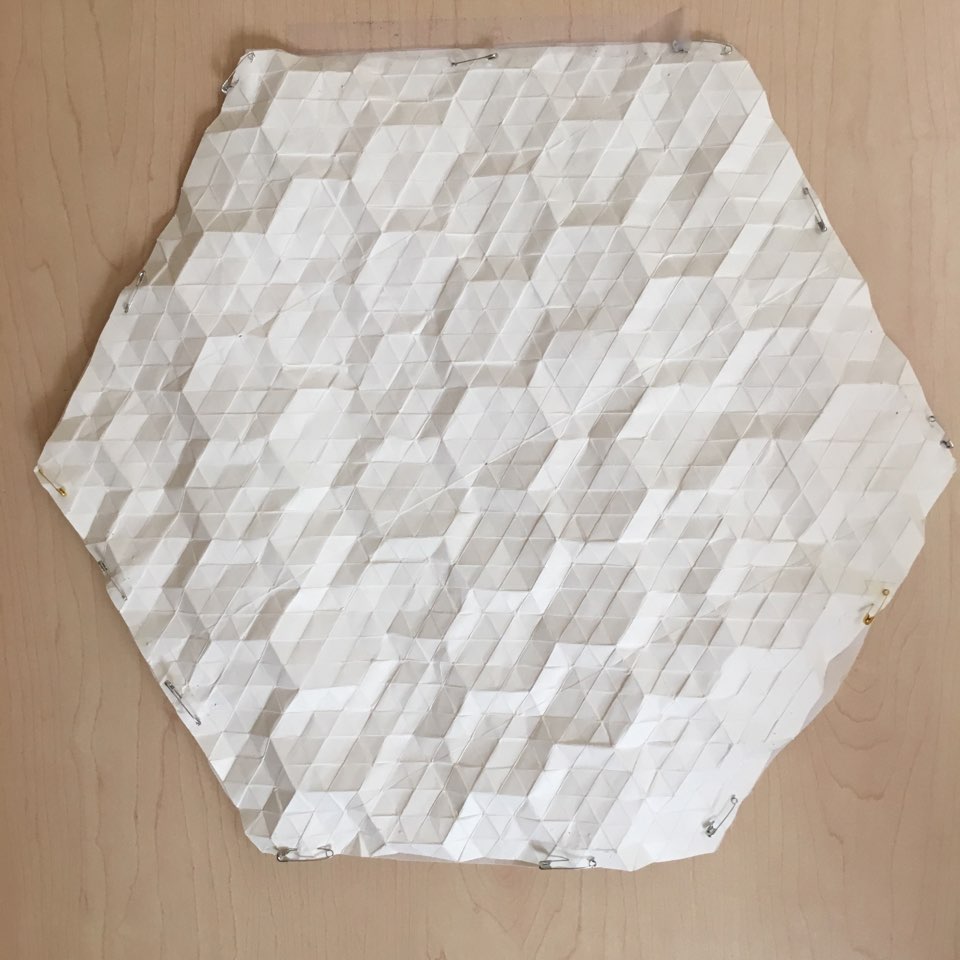 – paper pattern template
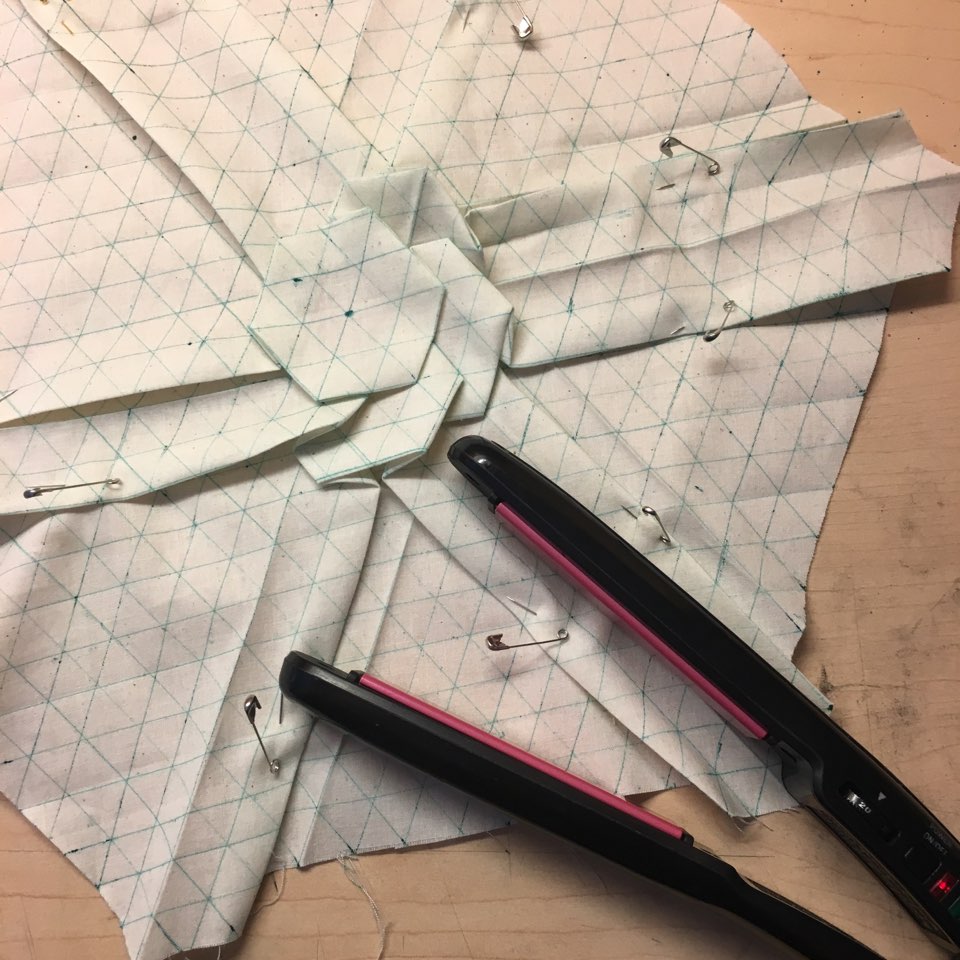 – muslin process: after making each fold I had to iron it to keep it in shape.
After finishing my first model with muslin, I had to change the design of my project because the product had to be more fit to certain part of body. Therefore I designed a hat that had the hexagon pattern on it
and decorated with folded mesh that represents the fin part. 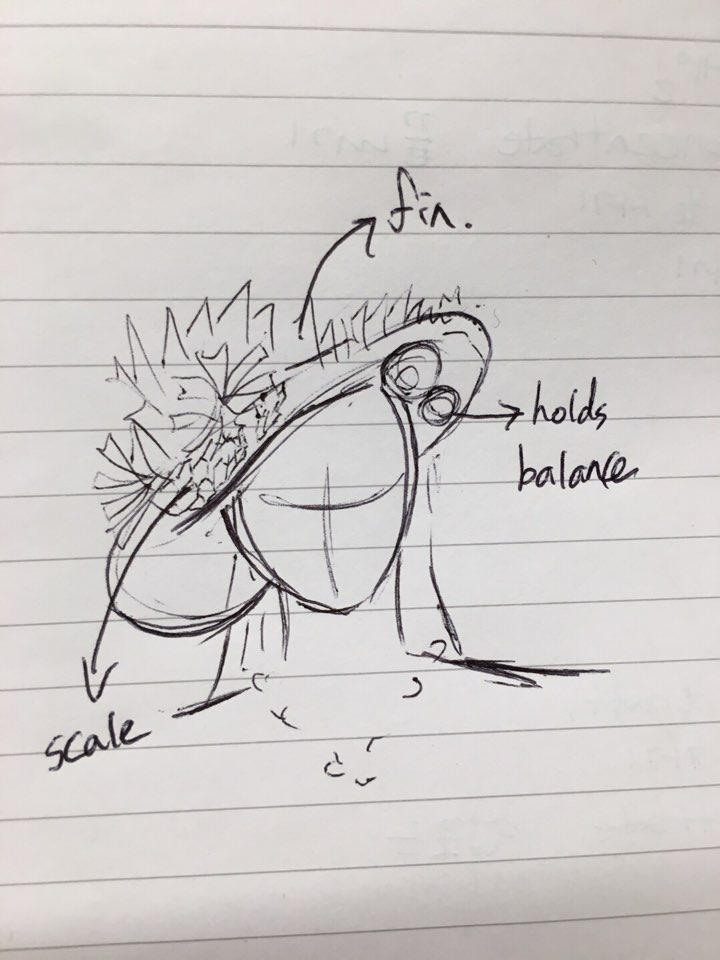
Below image is the muslin version of the hat. I could successfully make the curved surface with the old cap I found at the trash.
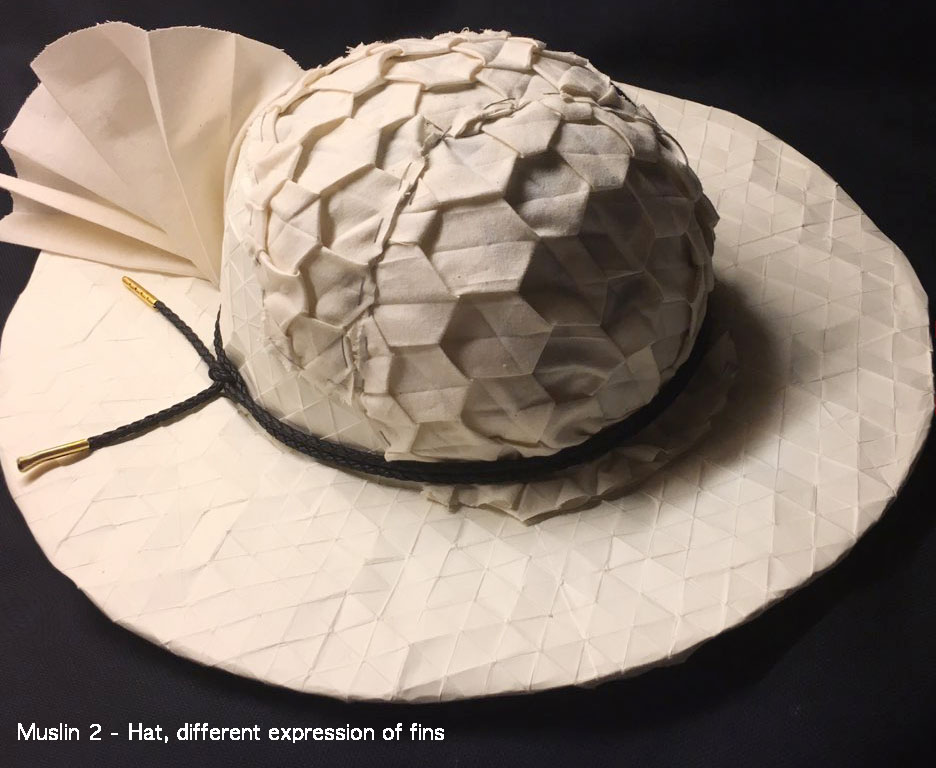
 For my first final project, I decided not to use that old cap for the curvature, but to rather stiffen the fabric into certain shape. However, the fabric wasn’t stiffened firmly as I intended it to, and got more flat as time went on. In the critic for my first version of hat, other students mainly mentioned that my hat was way too flat. Micky recommended me to find better way to bend the fabric and cover the curved area with the hexagons
Therefore for my second iteration, I decided to stick more on to the shape that I chose with the second muslin model.
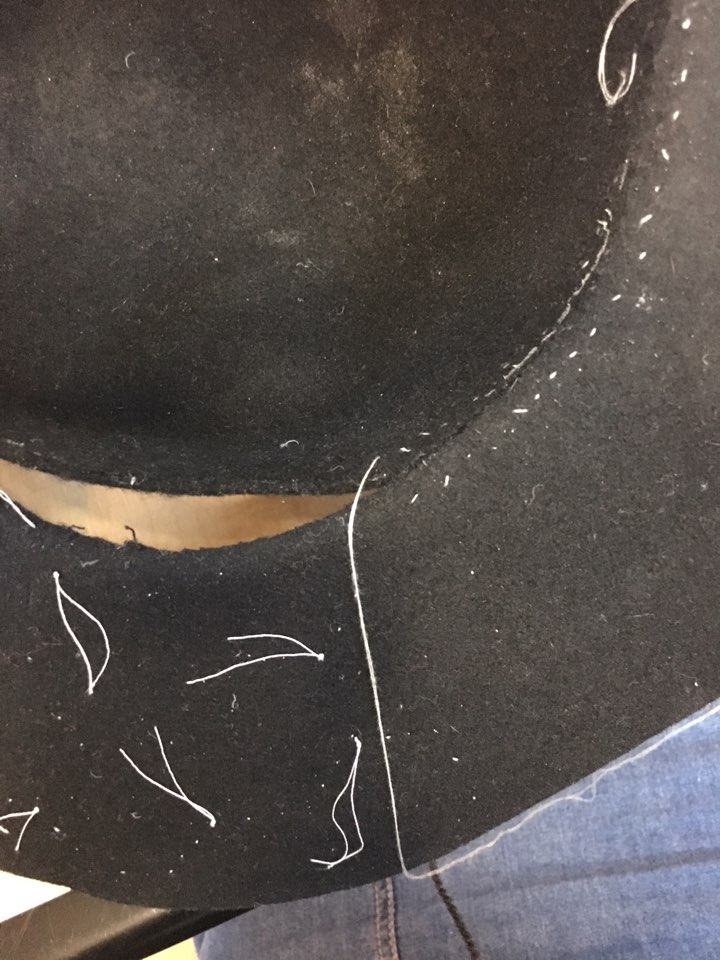
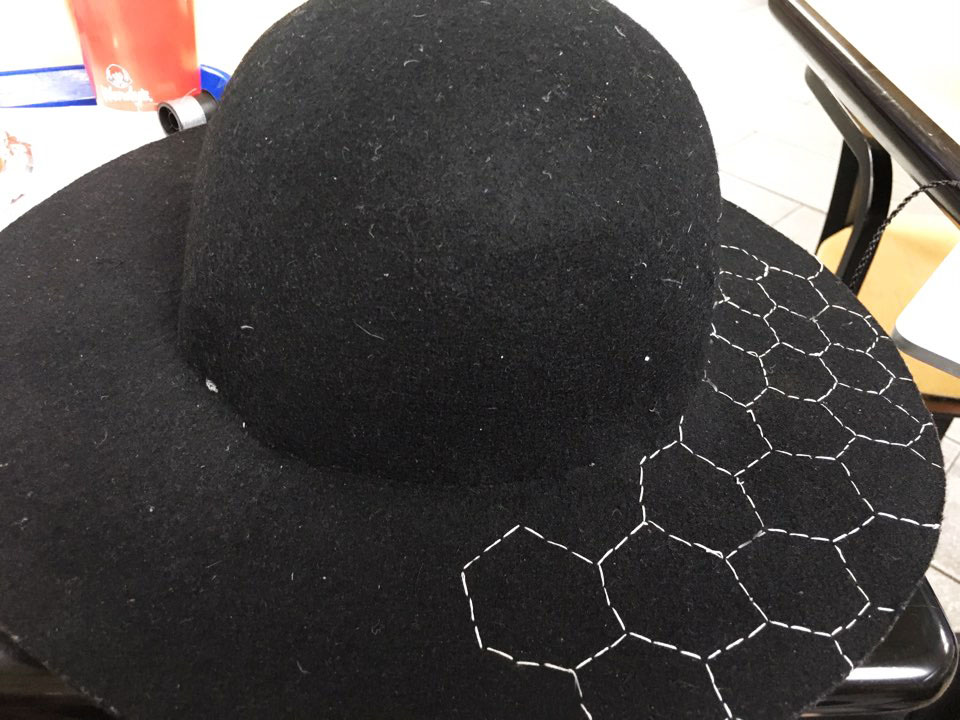
With my second version, I bought a felt fabric and steamed the core part to curve it at the hat store my aunt runs. It was amazing to see how the thick felt was streched after it was steamed. I sew the curved center part onto the planar circle shape to form a shape I made in the second muslin model. Below are the process of that sewing.
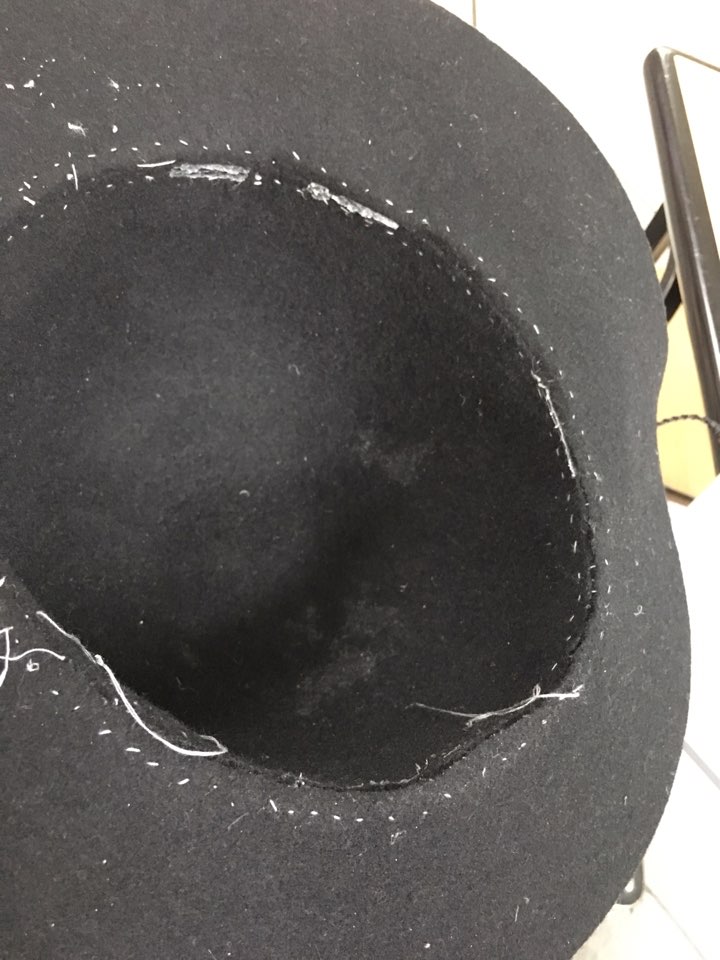
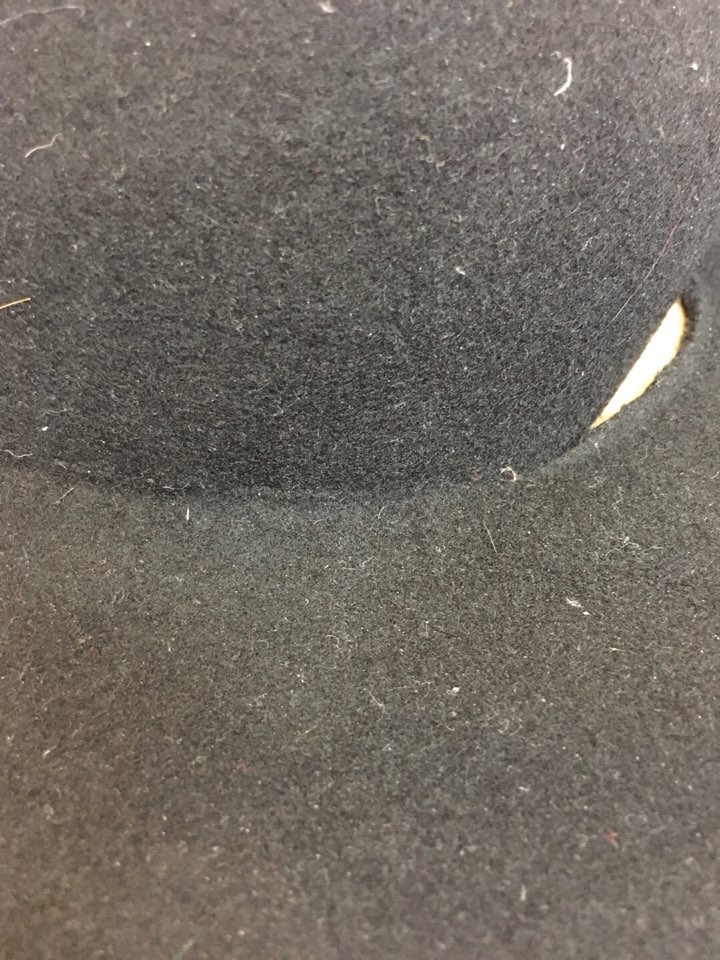
After I finished sewing a certain part and flipped the hat, It looked very clean like one unified fabric like this below.
In my muslin model, I tried to make the hexagon marks on the shade of the hat by ironing it. Since the fabric I chose for the final paterial was way too thic, I couldn’t iron it to show the lines of hexagons. Therefore I sewed on the fabric to express flat hexagons on it.
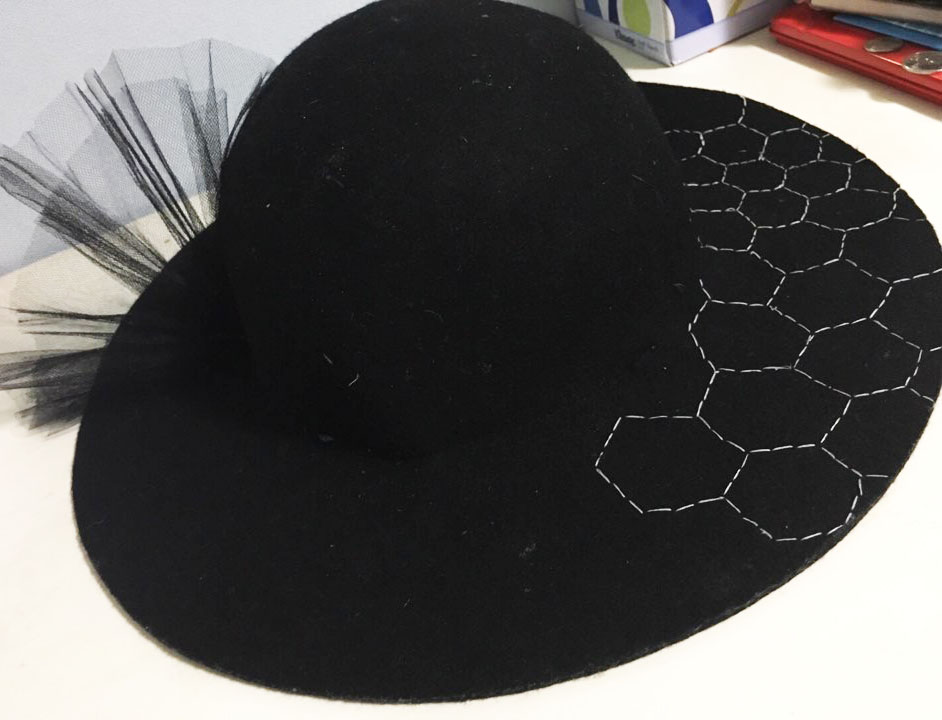
The fins were expressed with the same mesh fabric I used for my first iteration of hat. However this time, just as the model looks like, I chose to use at least as possible so that it does not look so dirty or unfocused. This is how it looked after that stage.
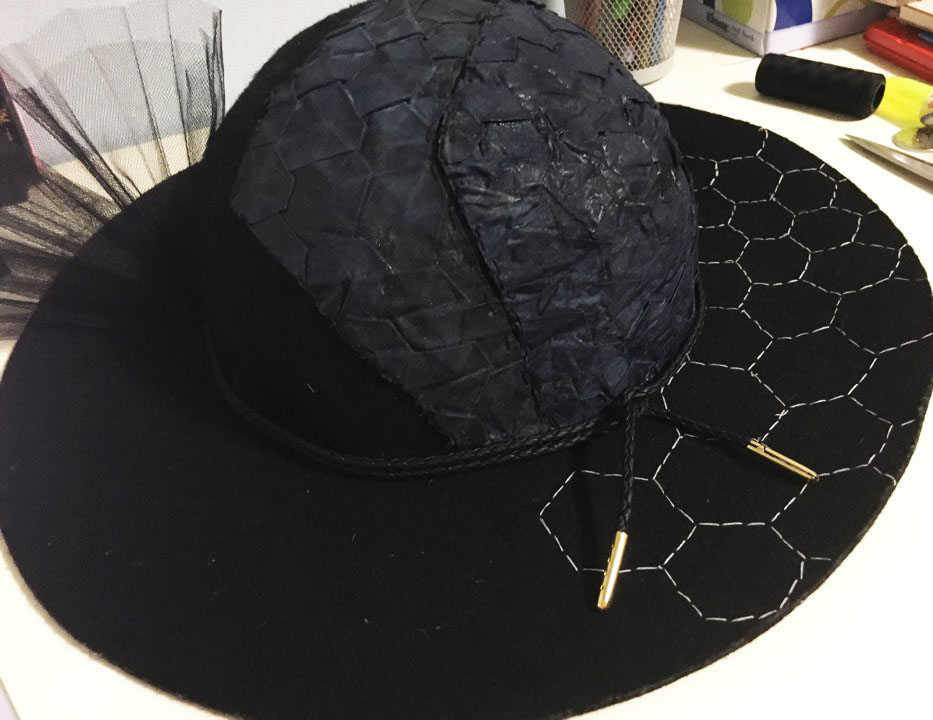
Finally I took the navy fabric that I folded hexagon off from the 1st iteration, cutted it so that It can fit the curved surface of the hat, and sewed it on. After I sewed it on, I wanted to hide the line that divided the navy fabric from the felt fabric, so put the black strap around – since the mesh was firmly sewed on the hat, I had to make a small hole on it so that the strap could go through.
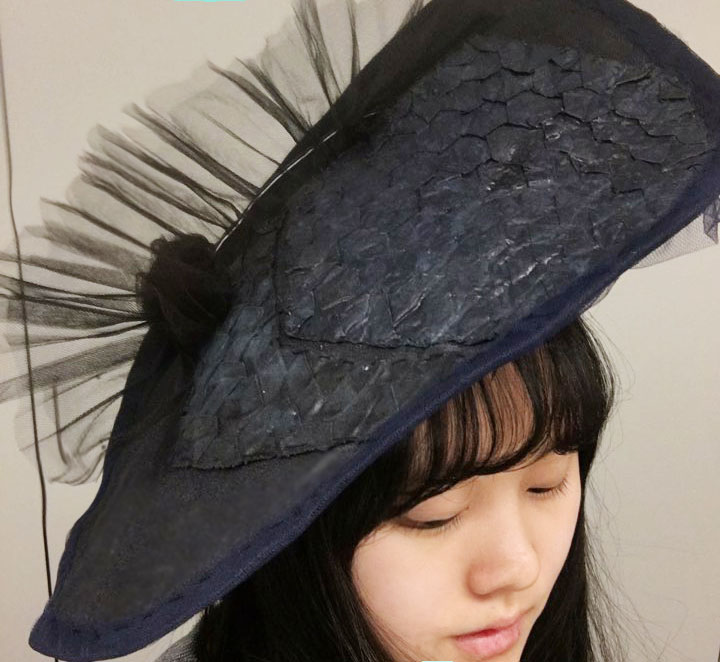
Below are the images of how they look when it is actually worn.
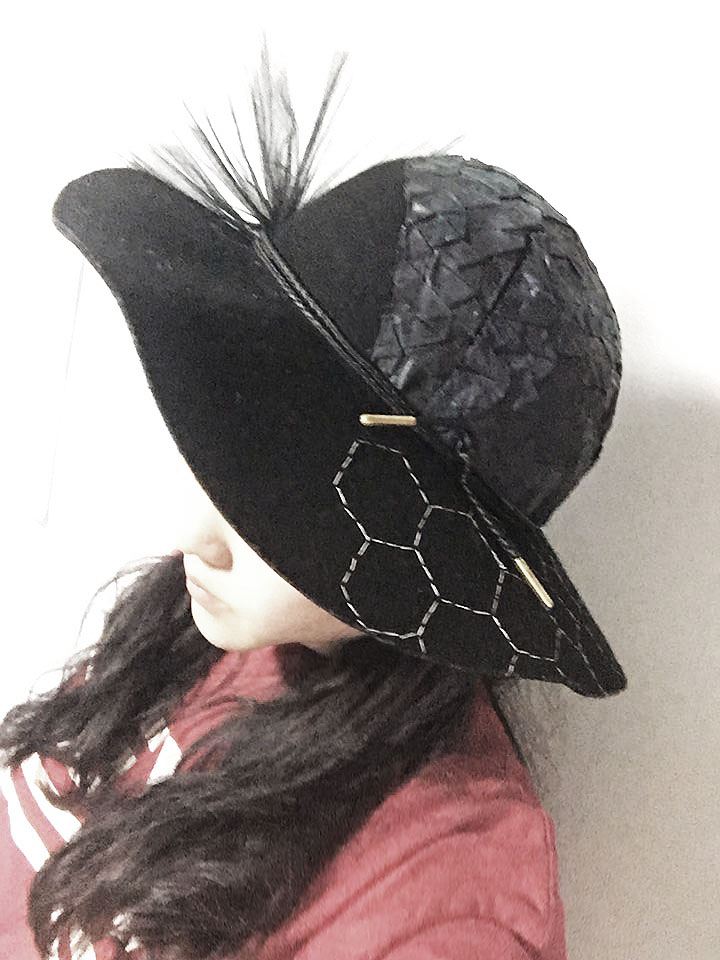
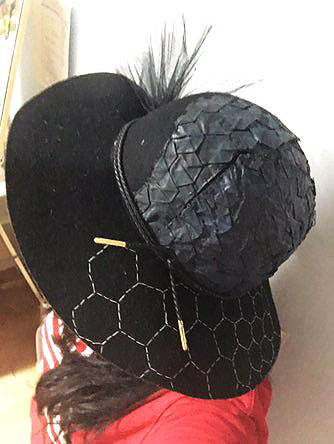
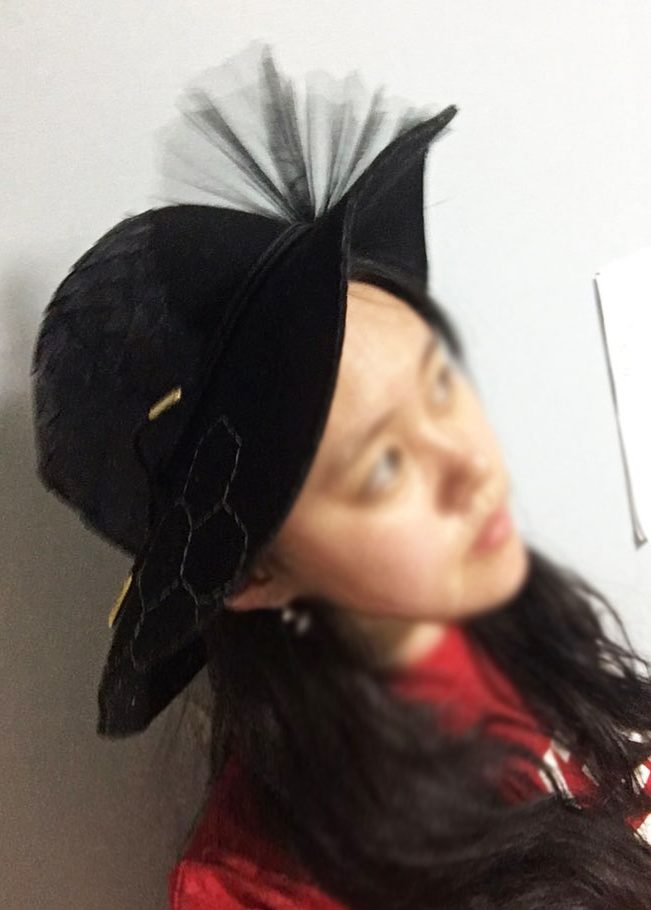
Unlike my first version which needed a strap to keep it on my head, becacuse of the clearly curved side of the hat, the hat could stay on my head even when I was shaking my head. Figuring out how to attach the hexagons on the curved surface was definitely tough, but it looked much better than the first version.
What I also like about the second version is that the mesh actually looks like a real ripped off fins of betta fishes, and that I could use two different versions of hexagons (flat hand sewn, and origami based).