Architecture is something that has been a critical part of my life and as someone who is highly influenced by the creative field, with a father who’s an architect, I was also anticipated to follow the same career choice. and arts was something that has always been appreciated for.
This is a subject I have avoided my entire life but one that I’ve only recently come to be drawn to. For a long time I refused to imagine this scenario, as it was not something I saw myself doing. I was lucky enough to be able to do something that I’m was interested. Hence I wanted to explore the journey of an architectural student. However, I wanted to look into a different perspective and interview someone who’s went through a different journey than I did. With this I decided to interview one of my colleagues, who’s fought his way to study architecture.
Rajvardhan Thorat comes from a big city in India with a family background tied to politics. In a country like India, its quite common that the son of a politician often takes over the role of their parent. However, ever since Raj was a young boy he’s always been driven and influenced by the arts. His journey to fight to do what he loves opens ones eyes to unknown battles that some of us are blinded too.
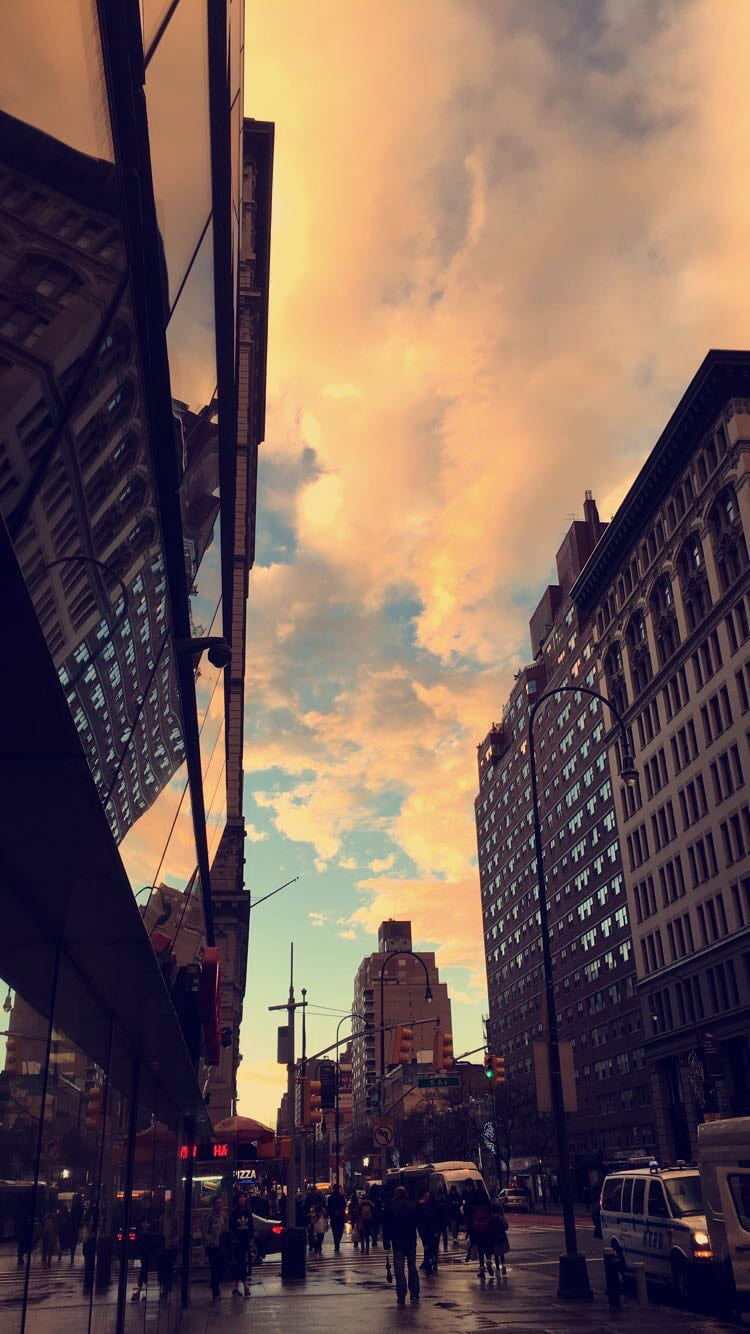
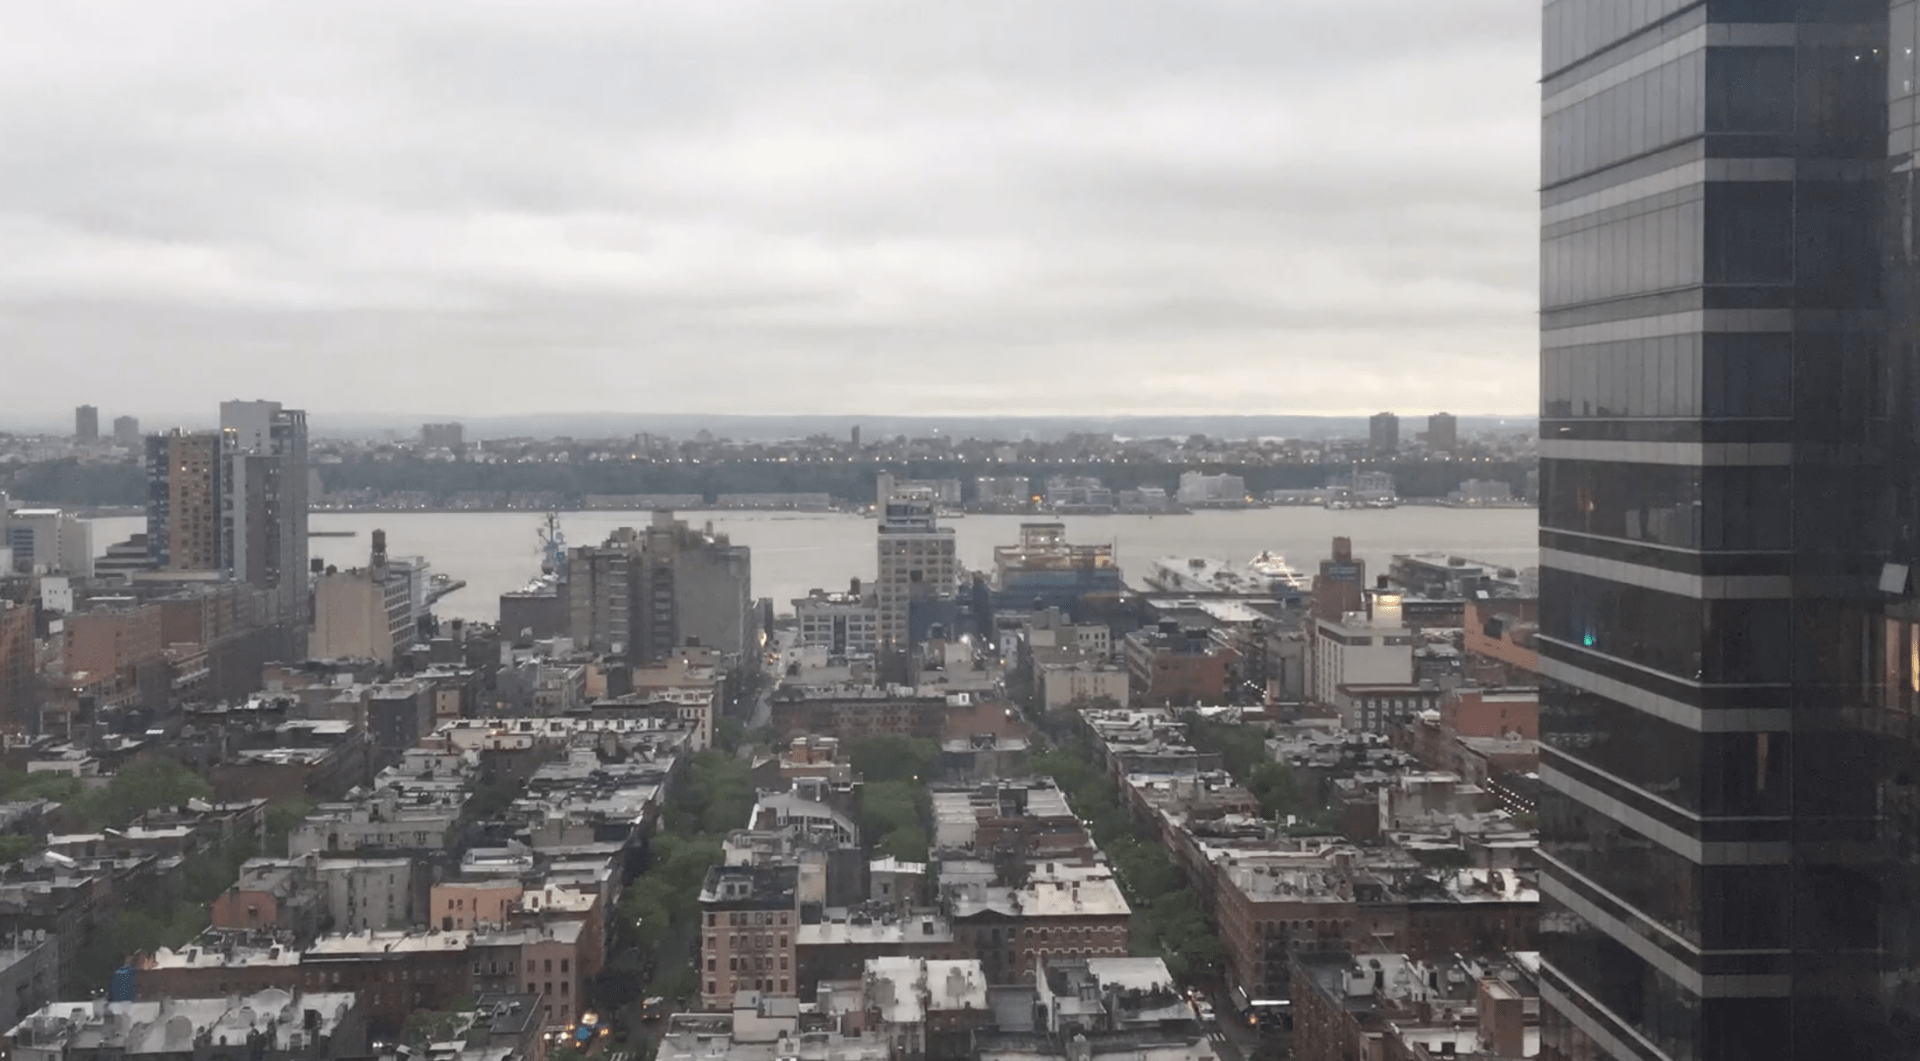
I started this journey by document photographs of architectural spaces and structures.
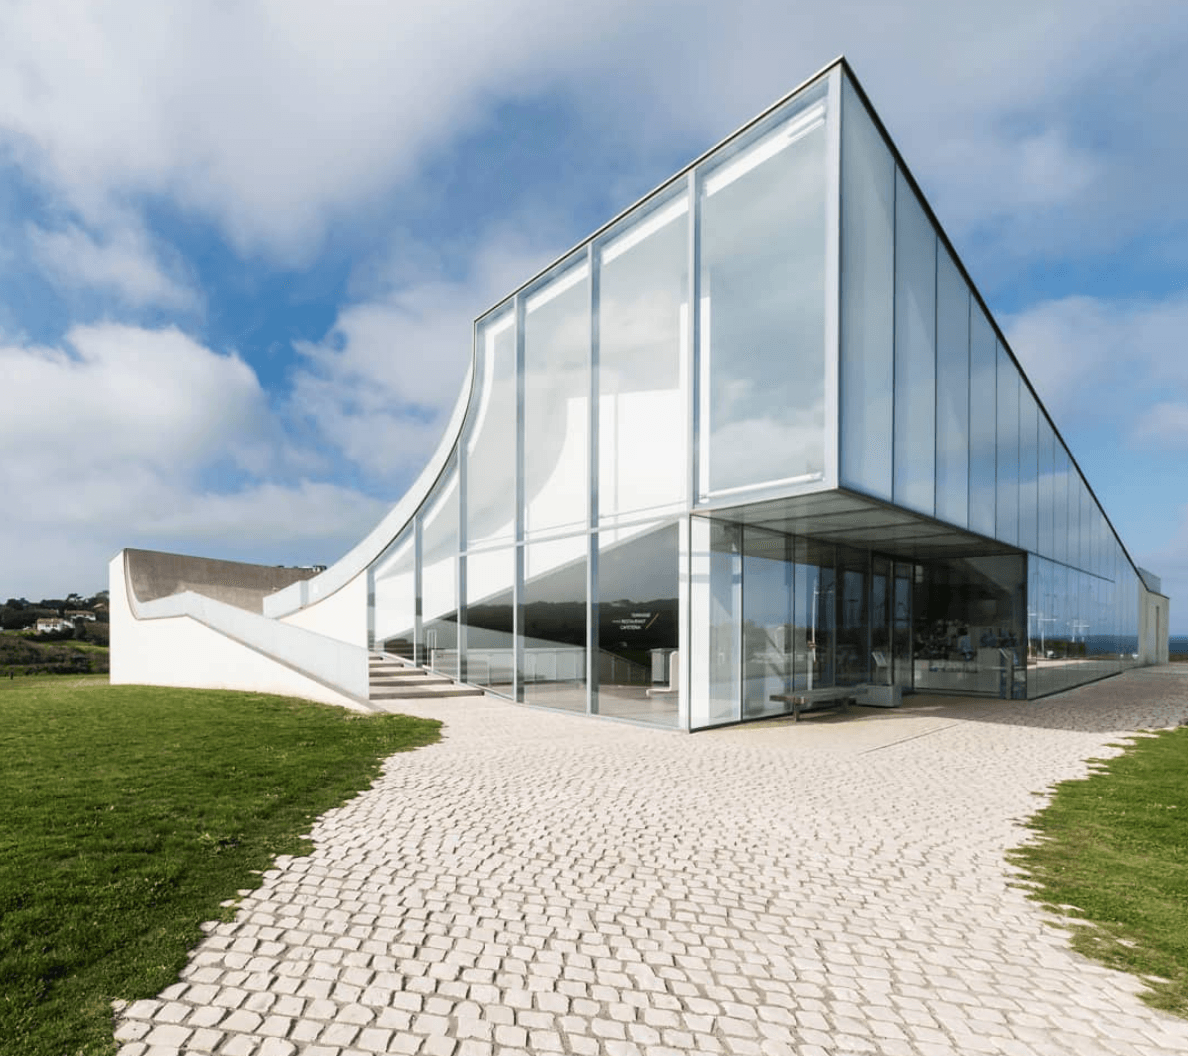
Steven Holl is a New York-based American architect and watercolorist. His projects explores new ways to integrate an organizing idea with the programmatic and functional essence of a building. Rather than imposing a style upon different sites and climates.
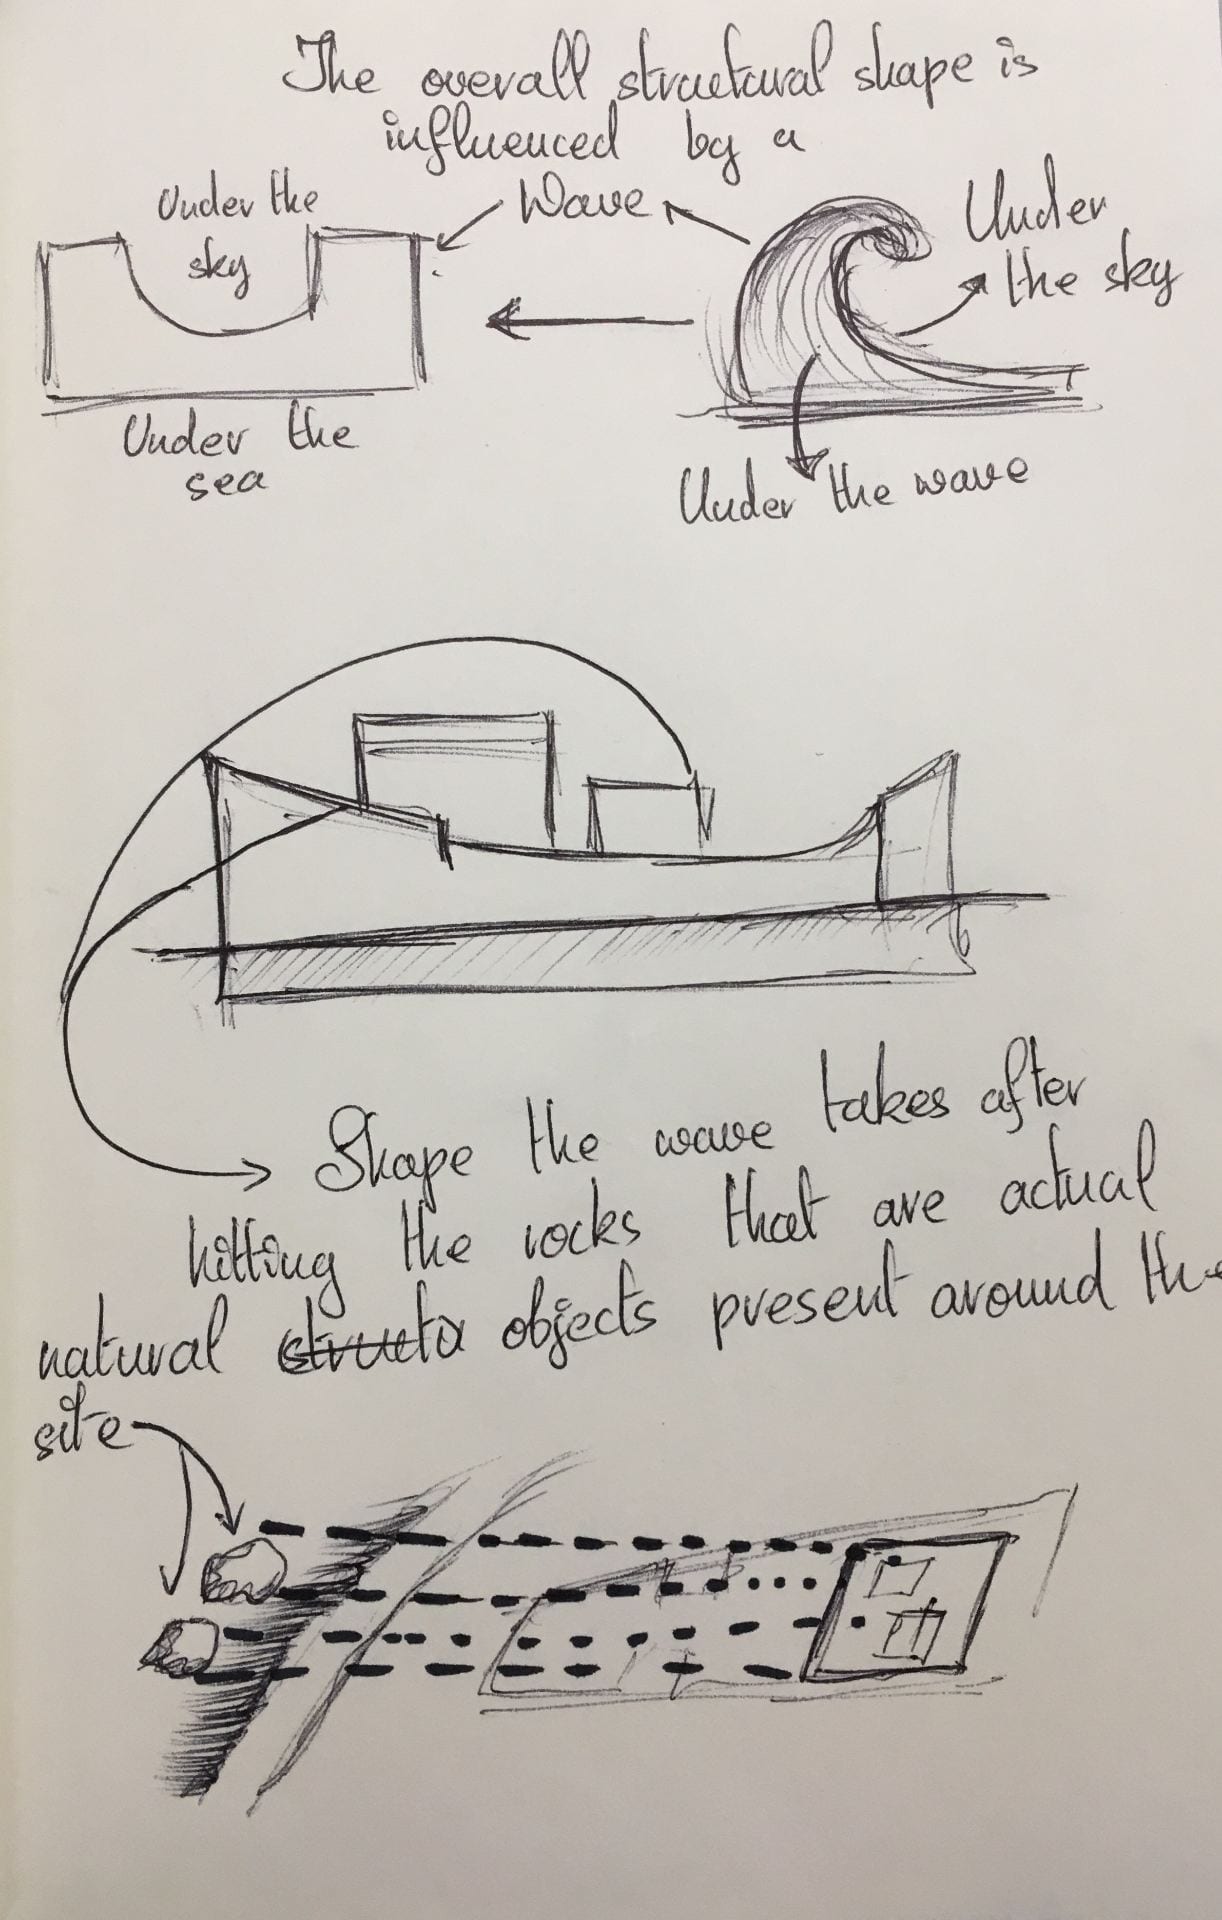
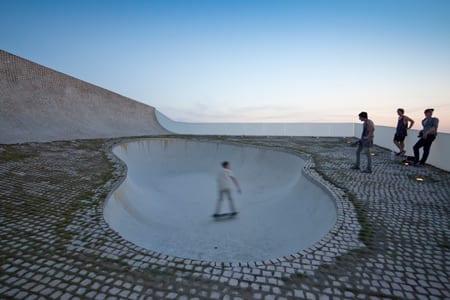
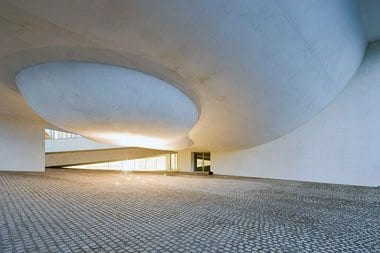
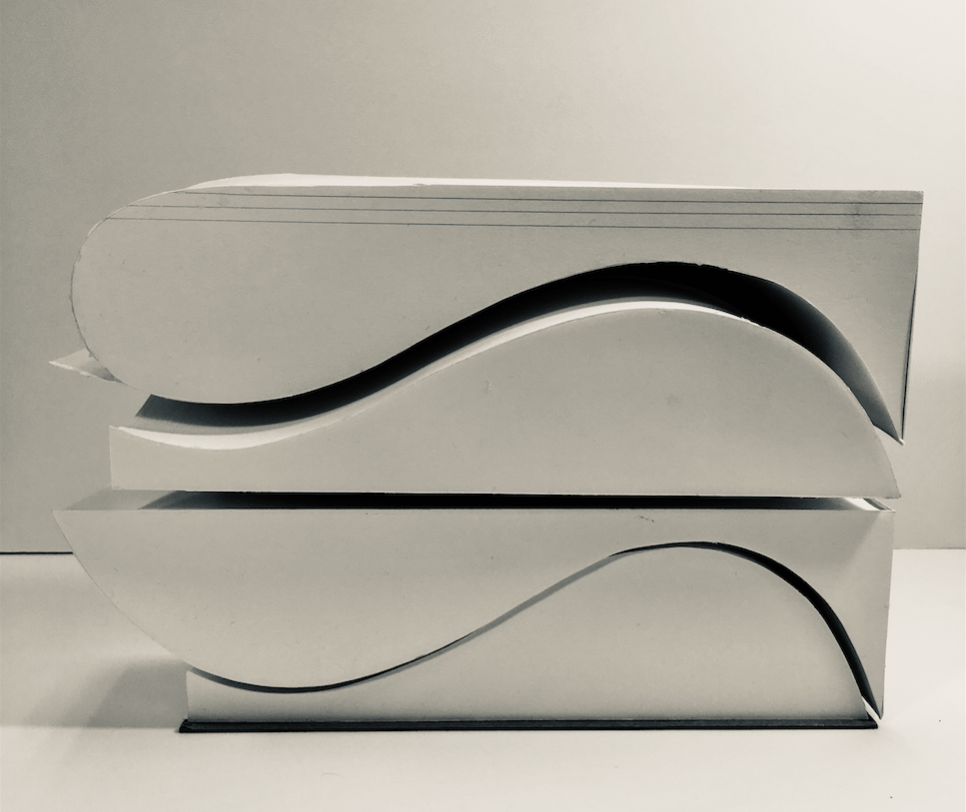
He believes that architecture should have an experiential connection, metaphysical link and a poetic link.We can see how this reflected in his work The Cité de l’Océan et du Surf, located in Biarritz, France a collaboration with Brazilian artist and architect Solange Fabião. The structure is a museum that is aimed in raising awareness of oceanic issues and scientific aspects of surf and sea. The structure follows two critical spatial themes; “Under the Sky” & “Under the Sea” made up of a concave exterior and a convex interior that showcase dramatic design elements.
Quick brainstorm in identifying how the structural design was inspired
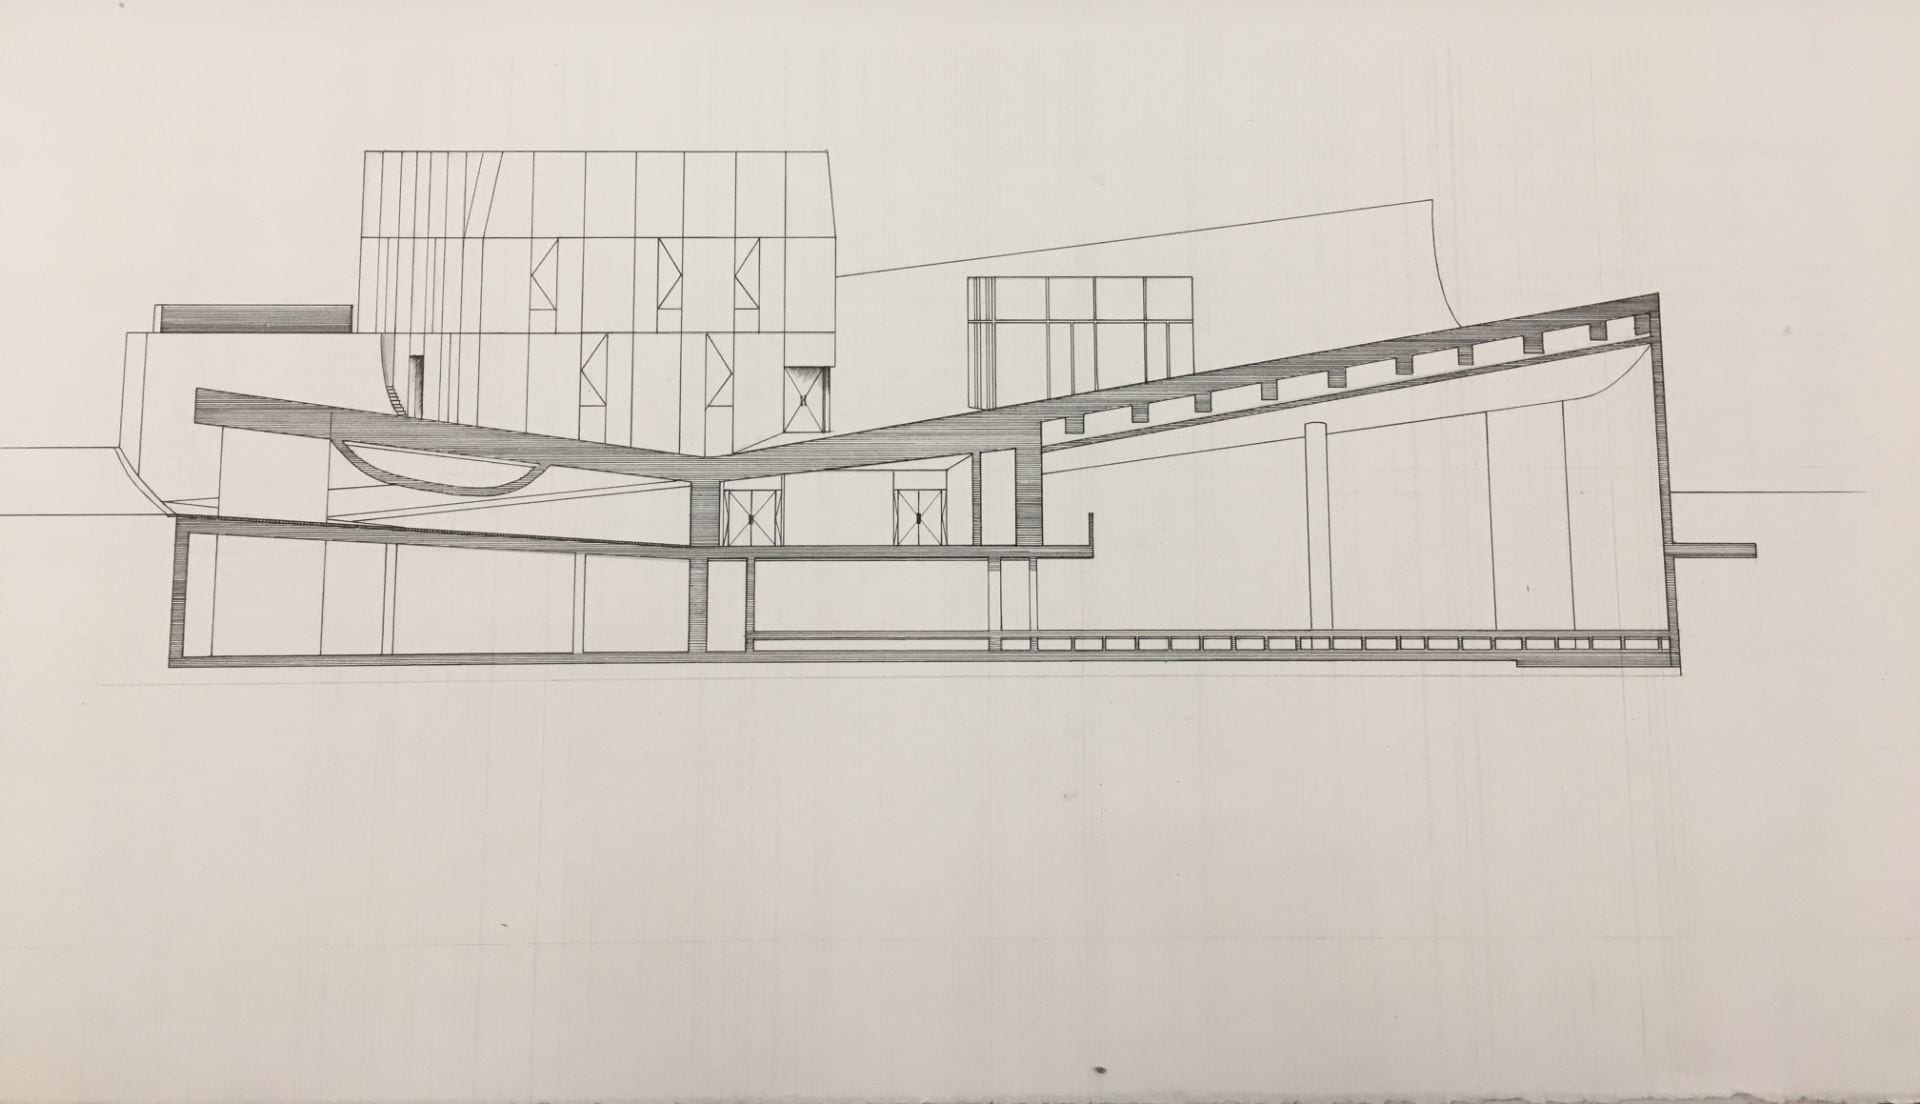
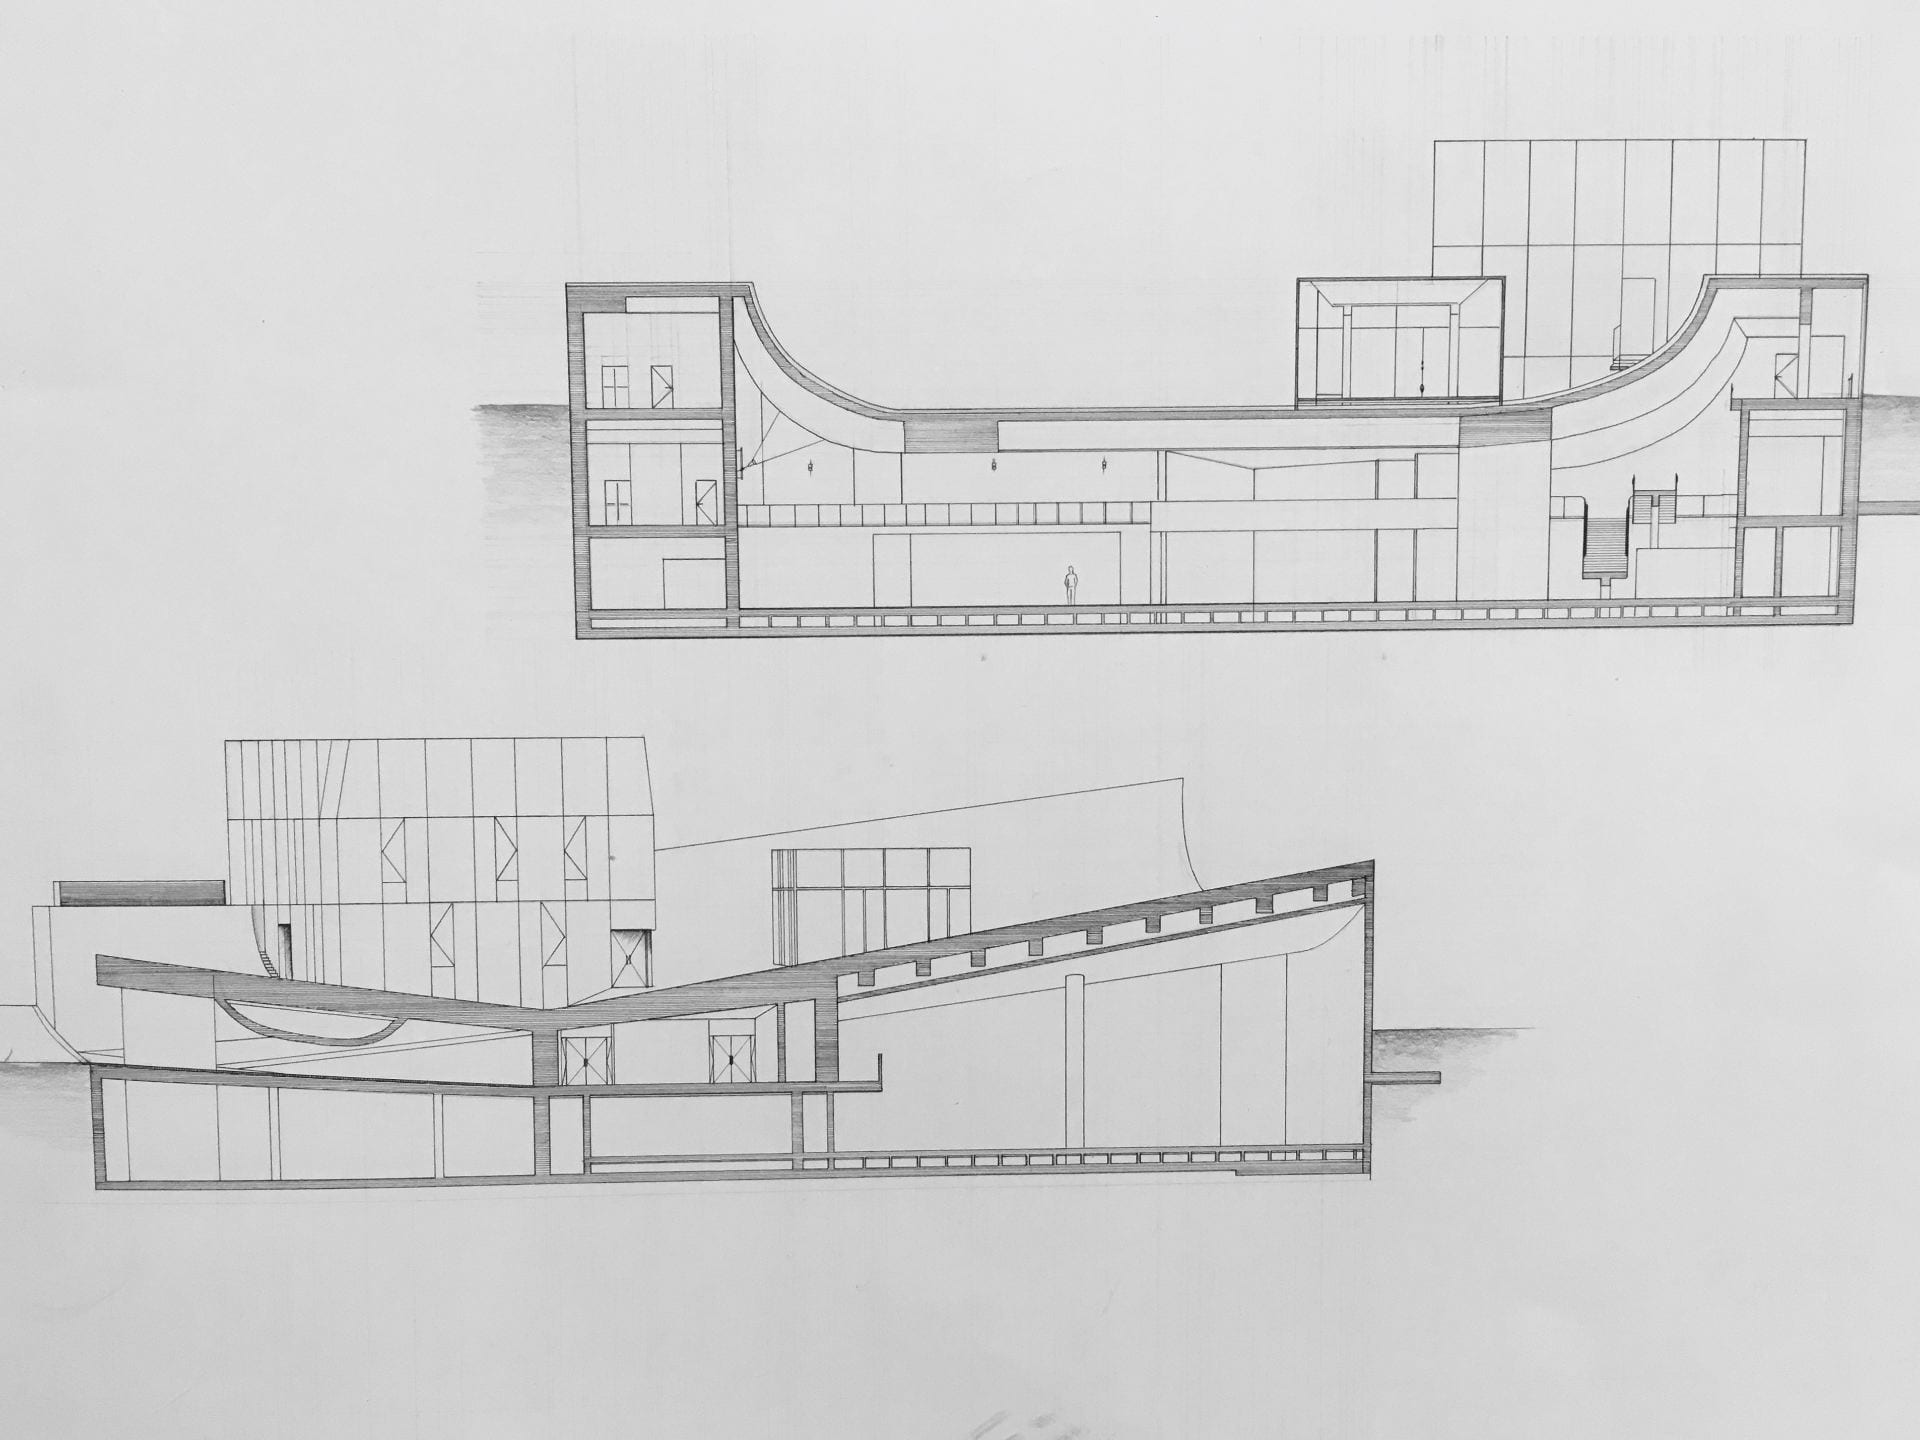
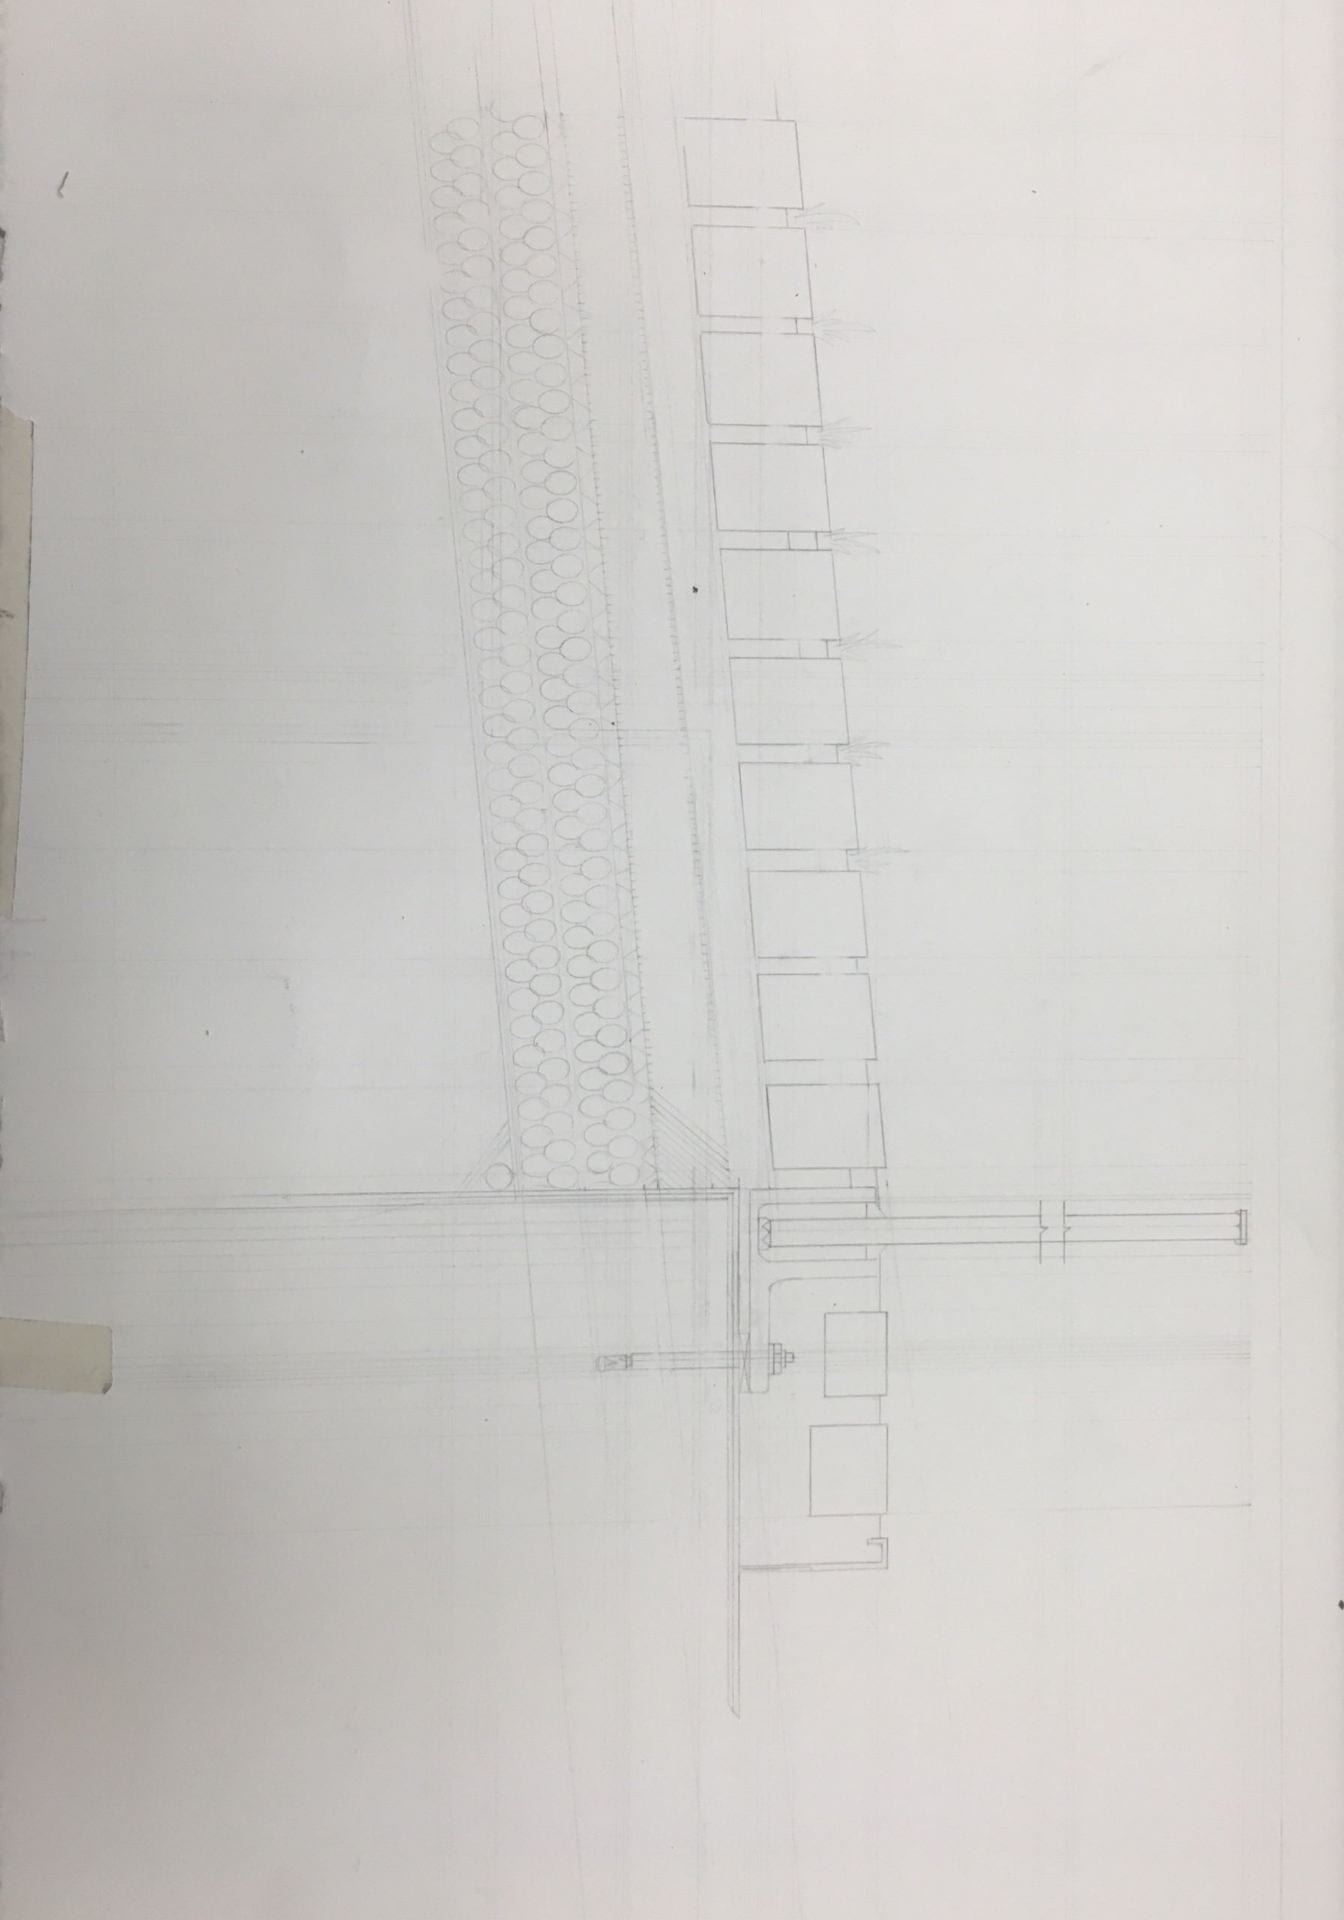
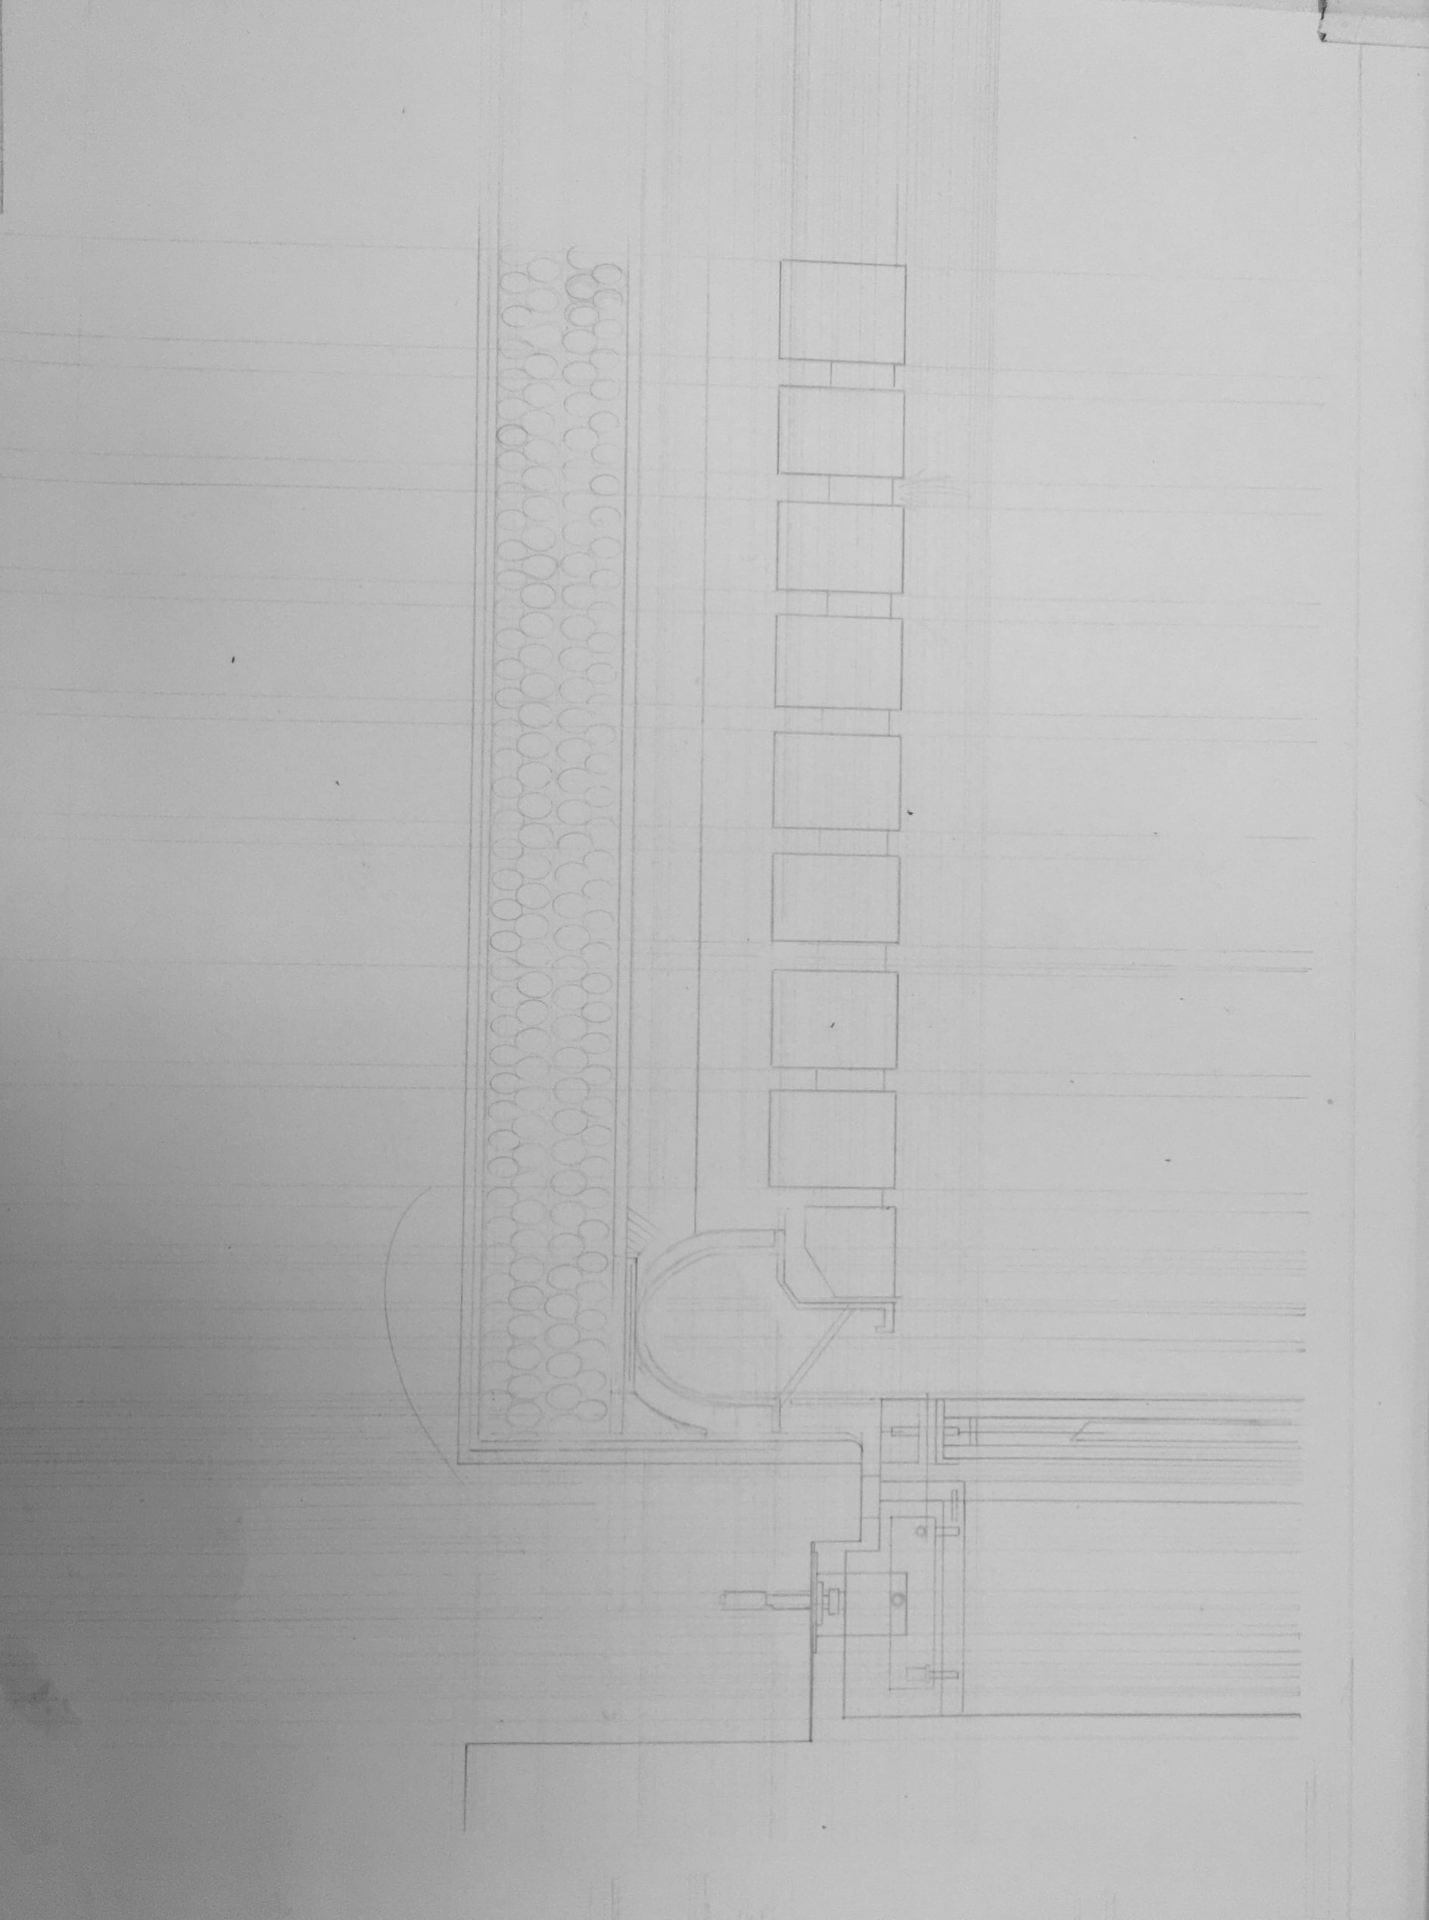
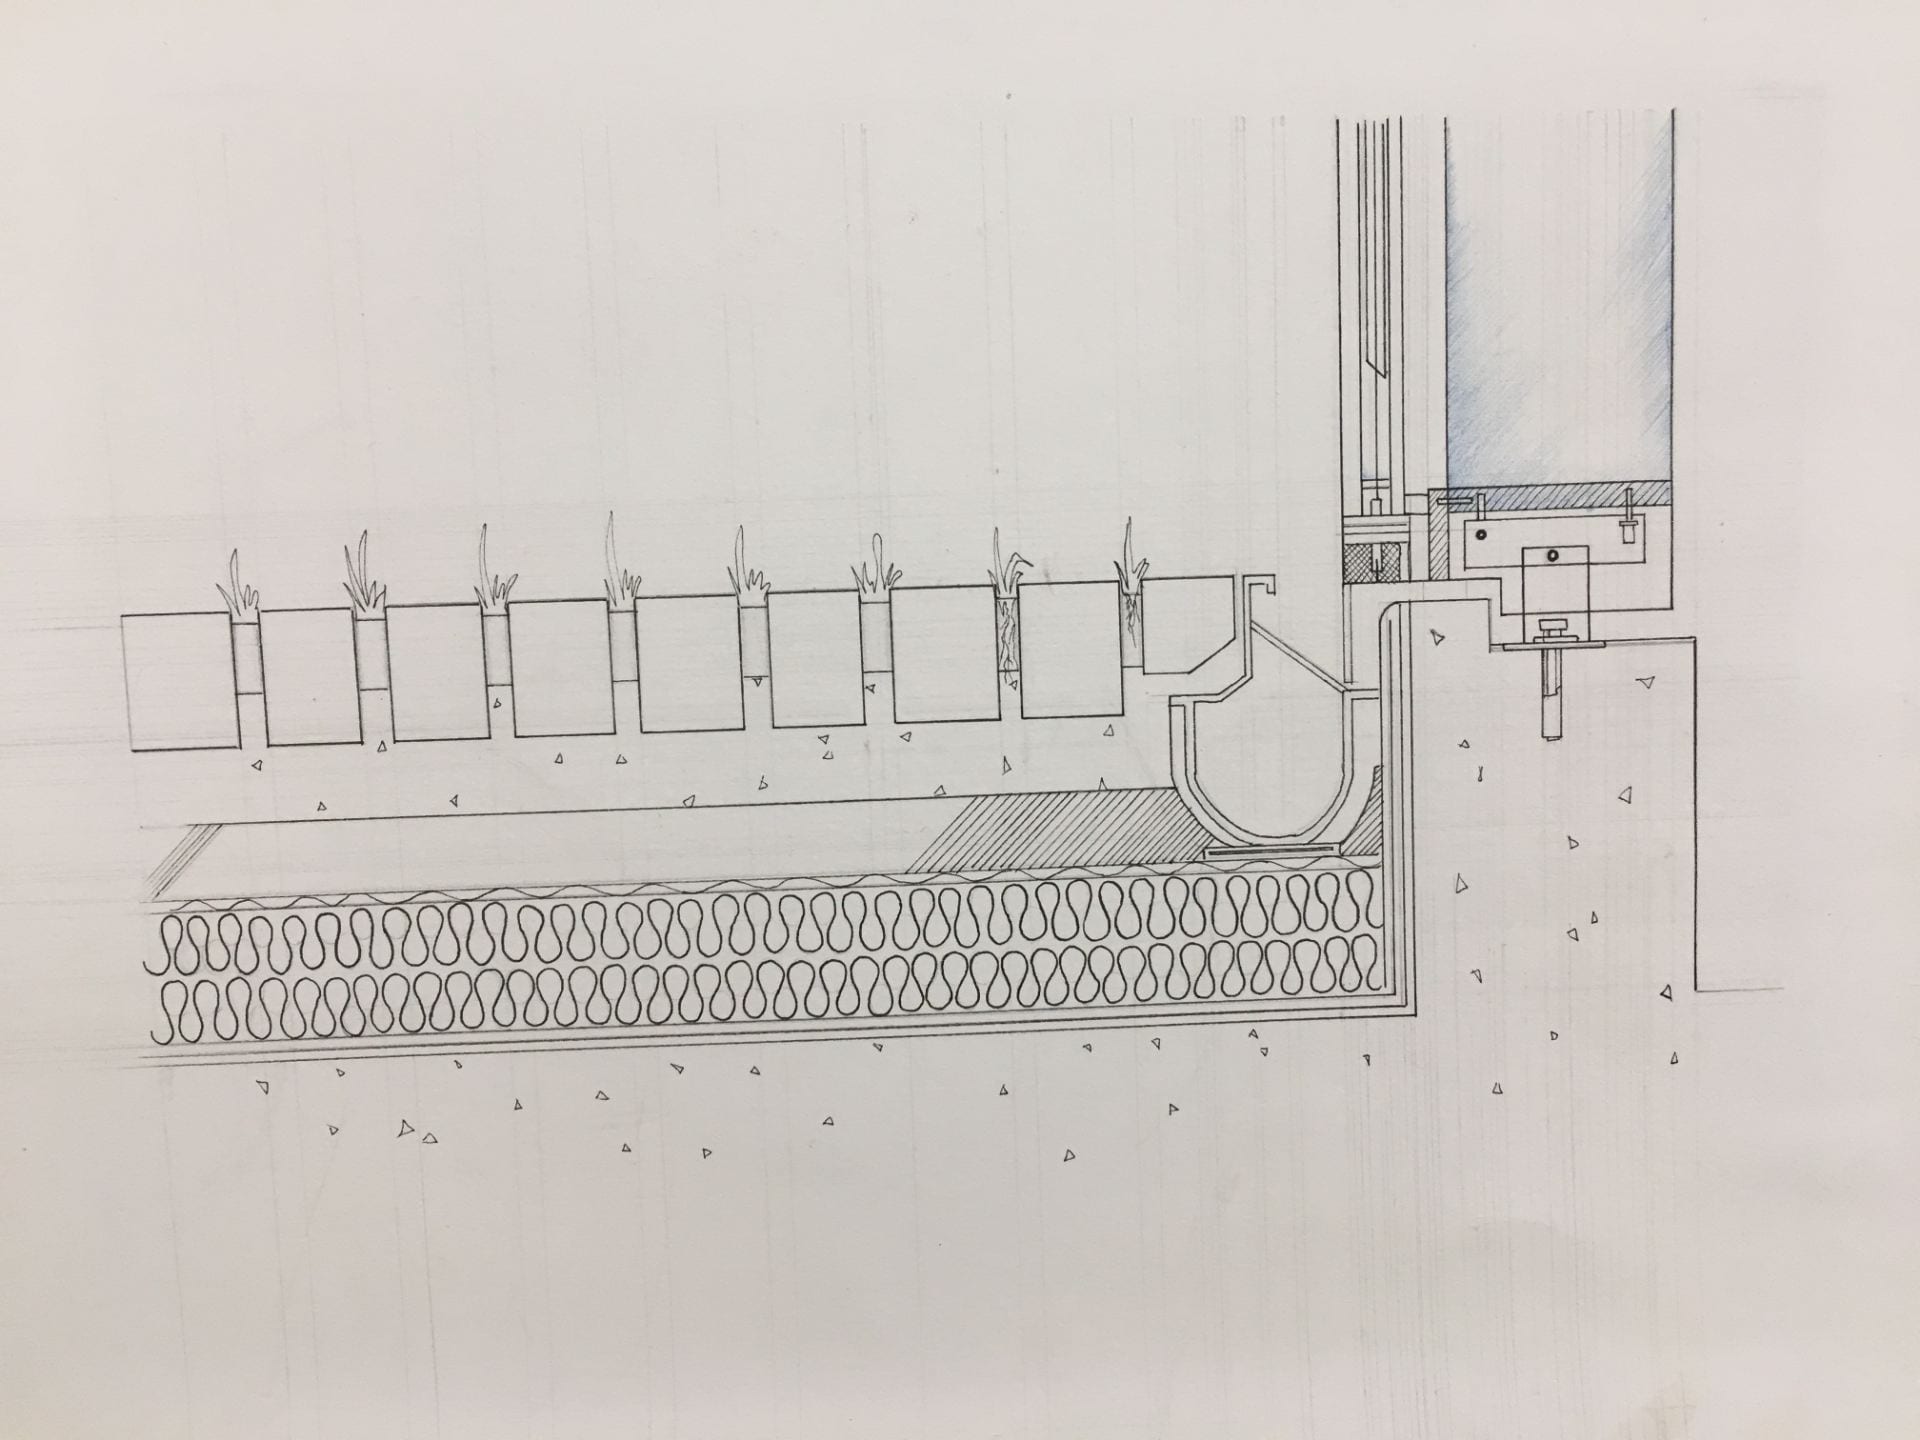
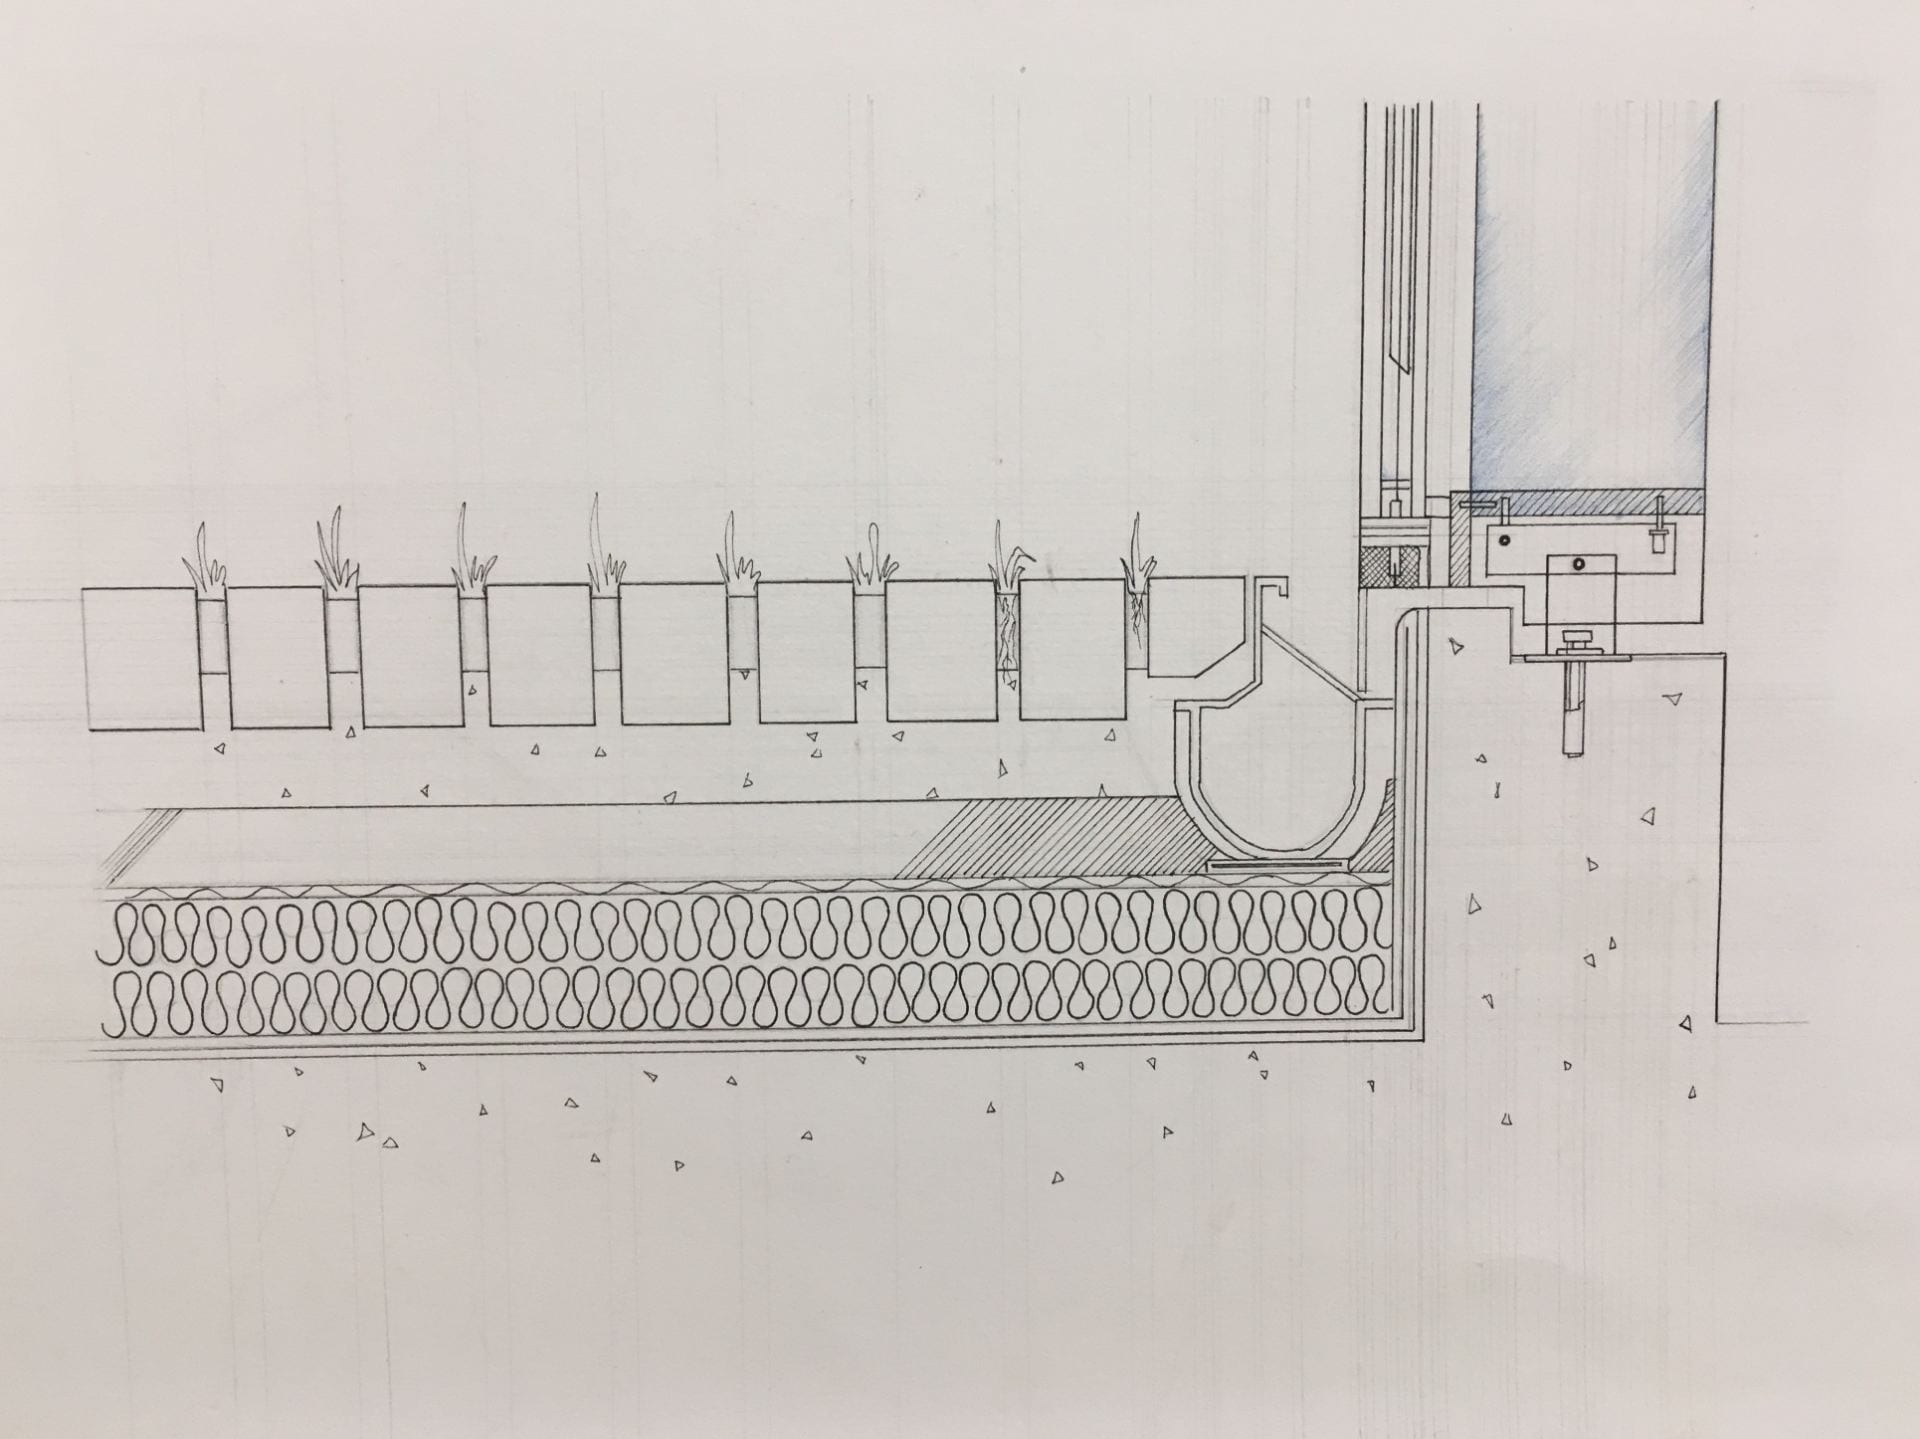
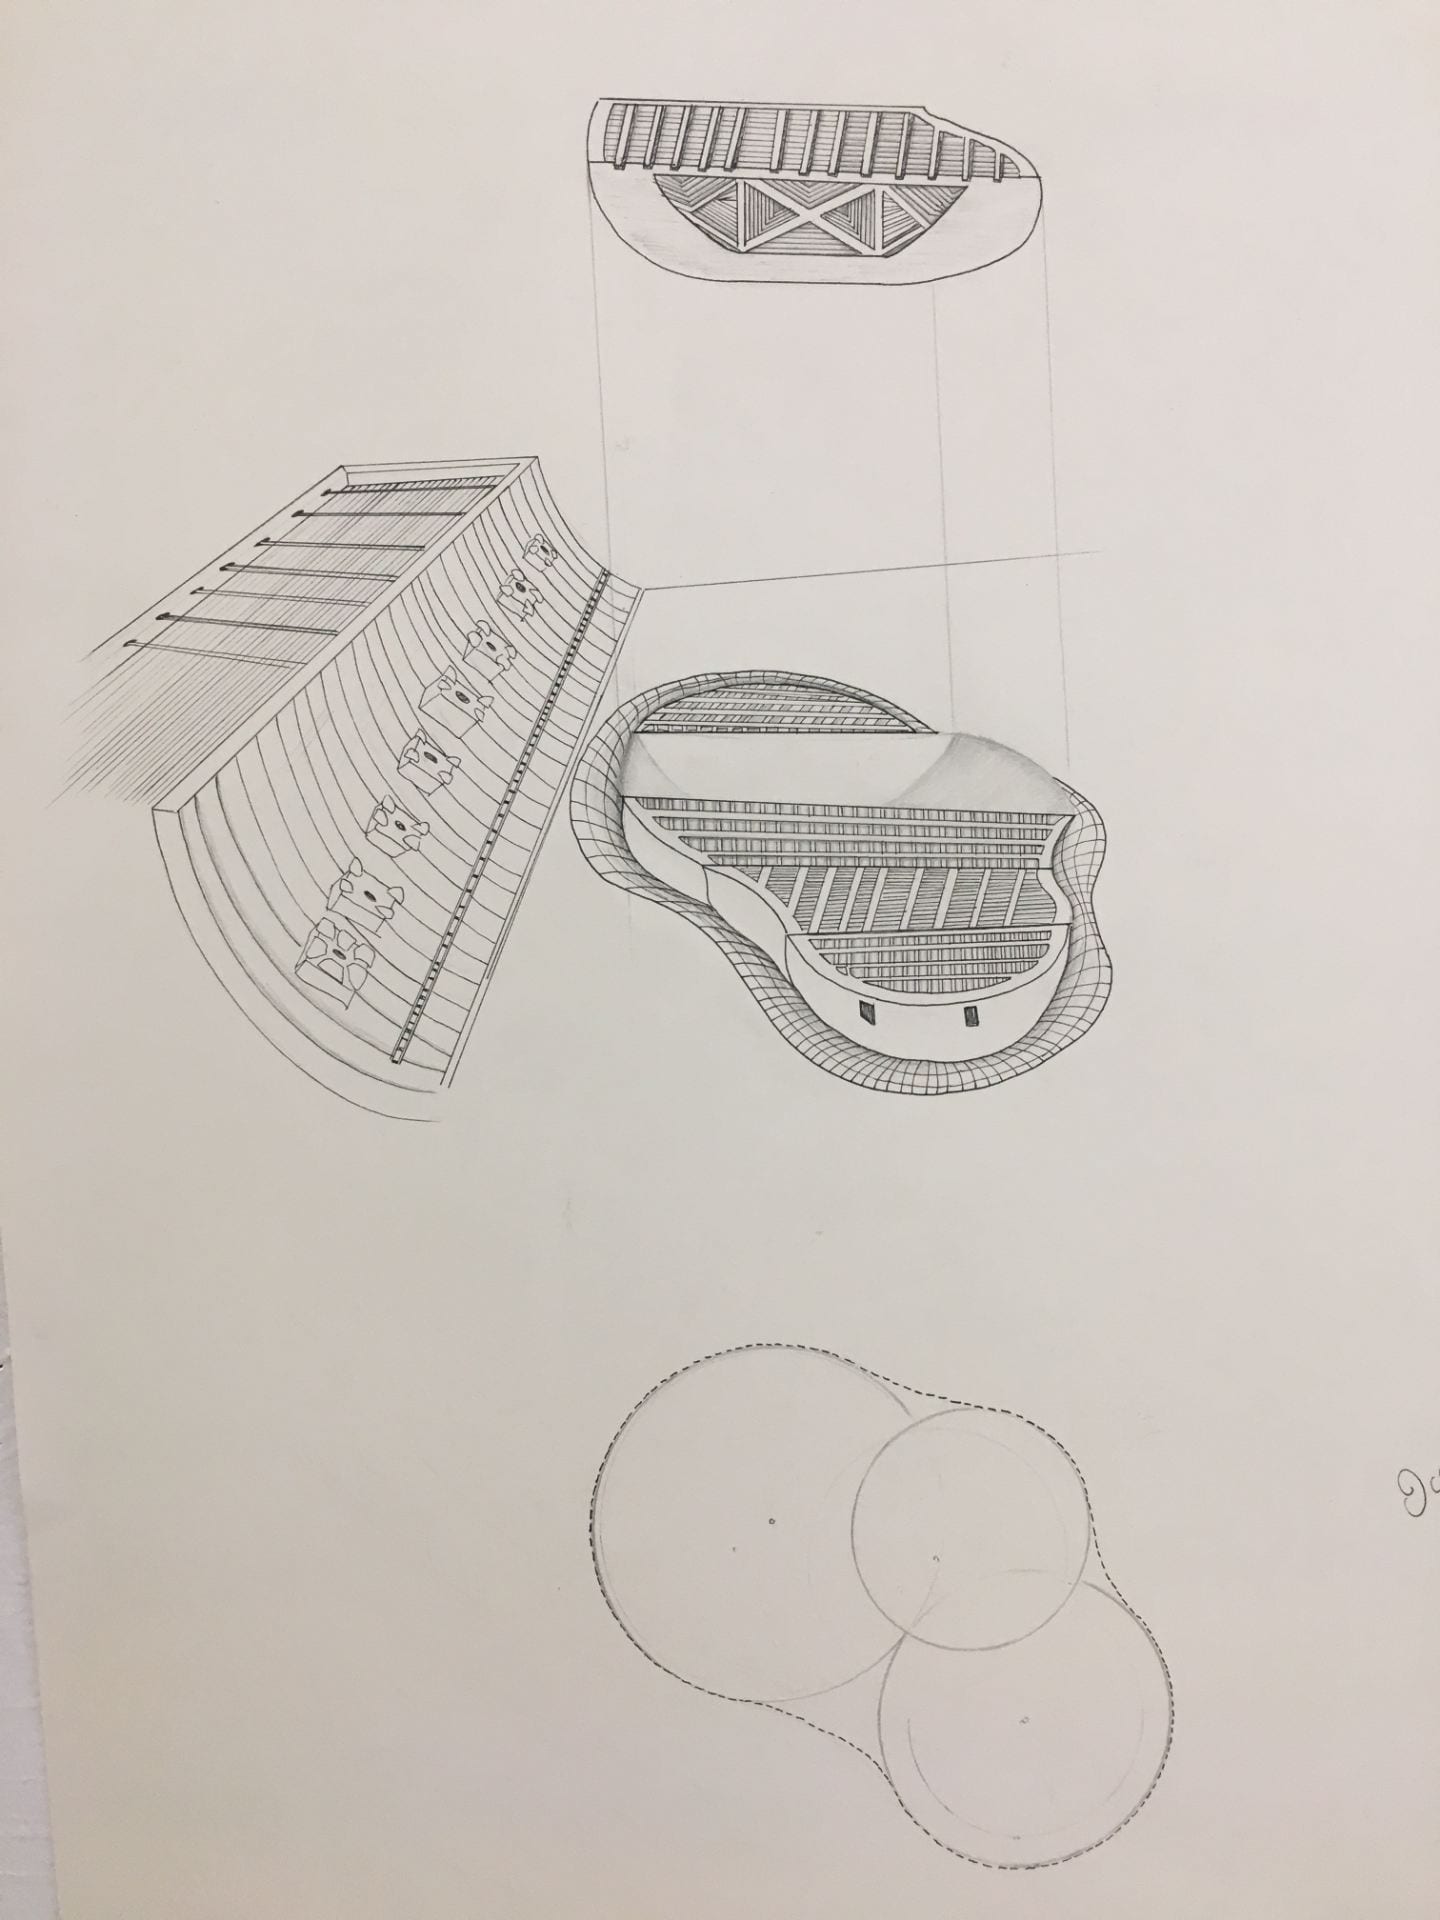
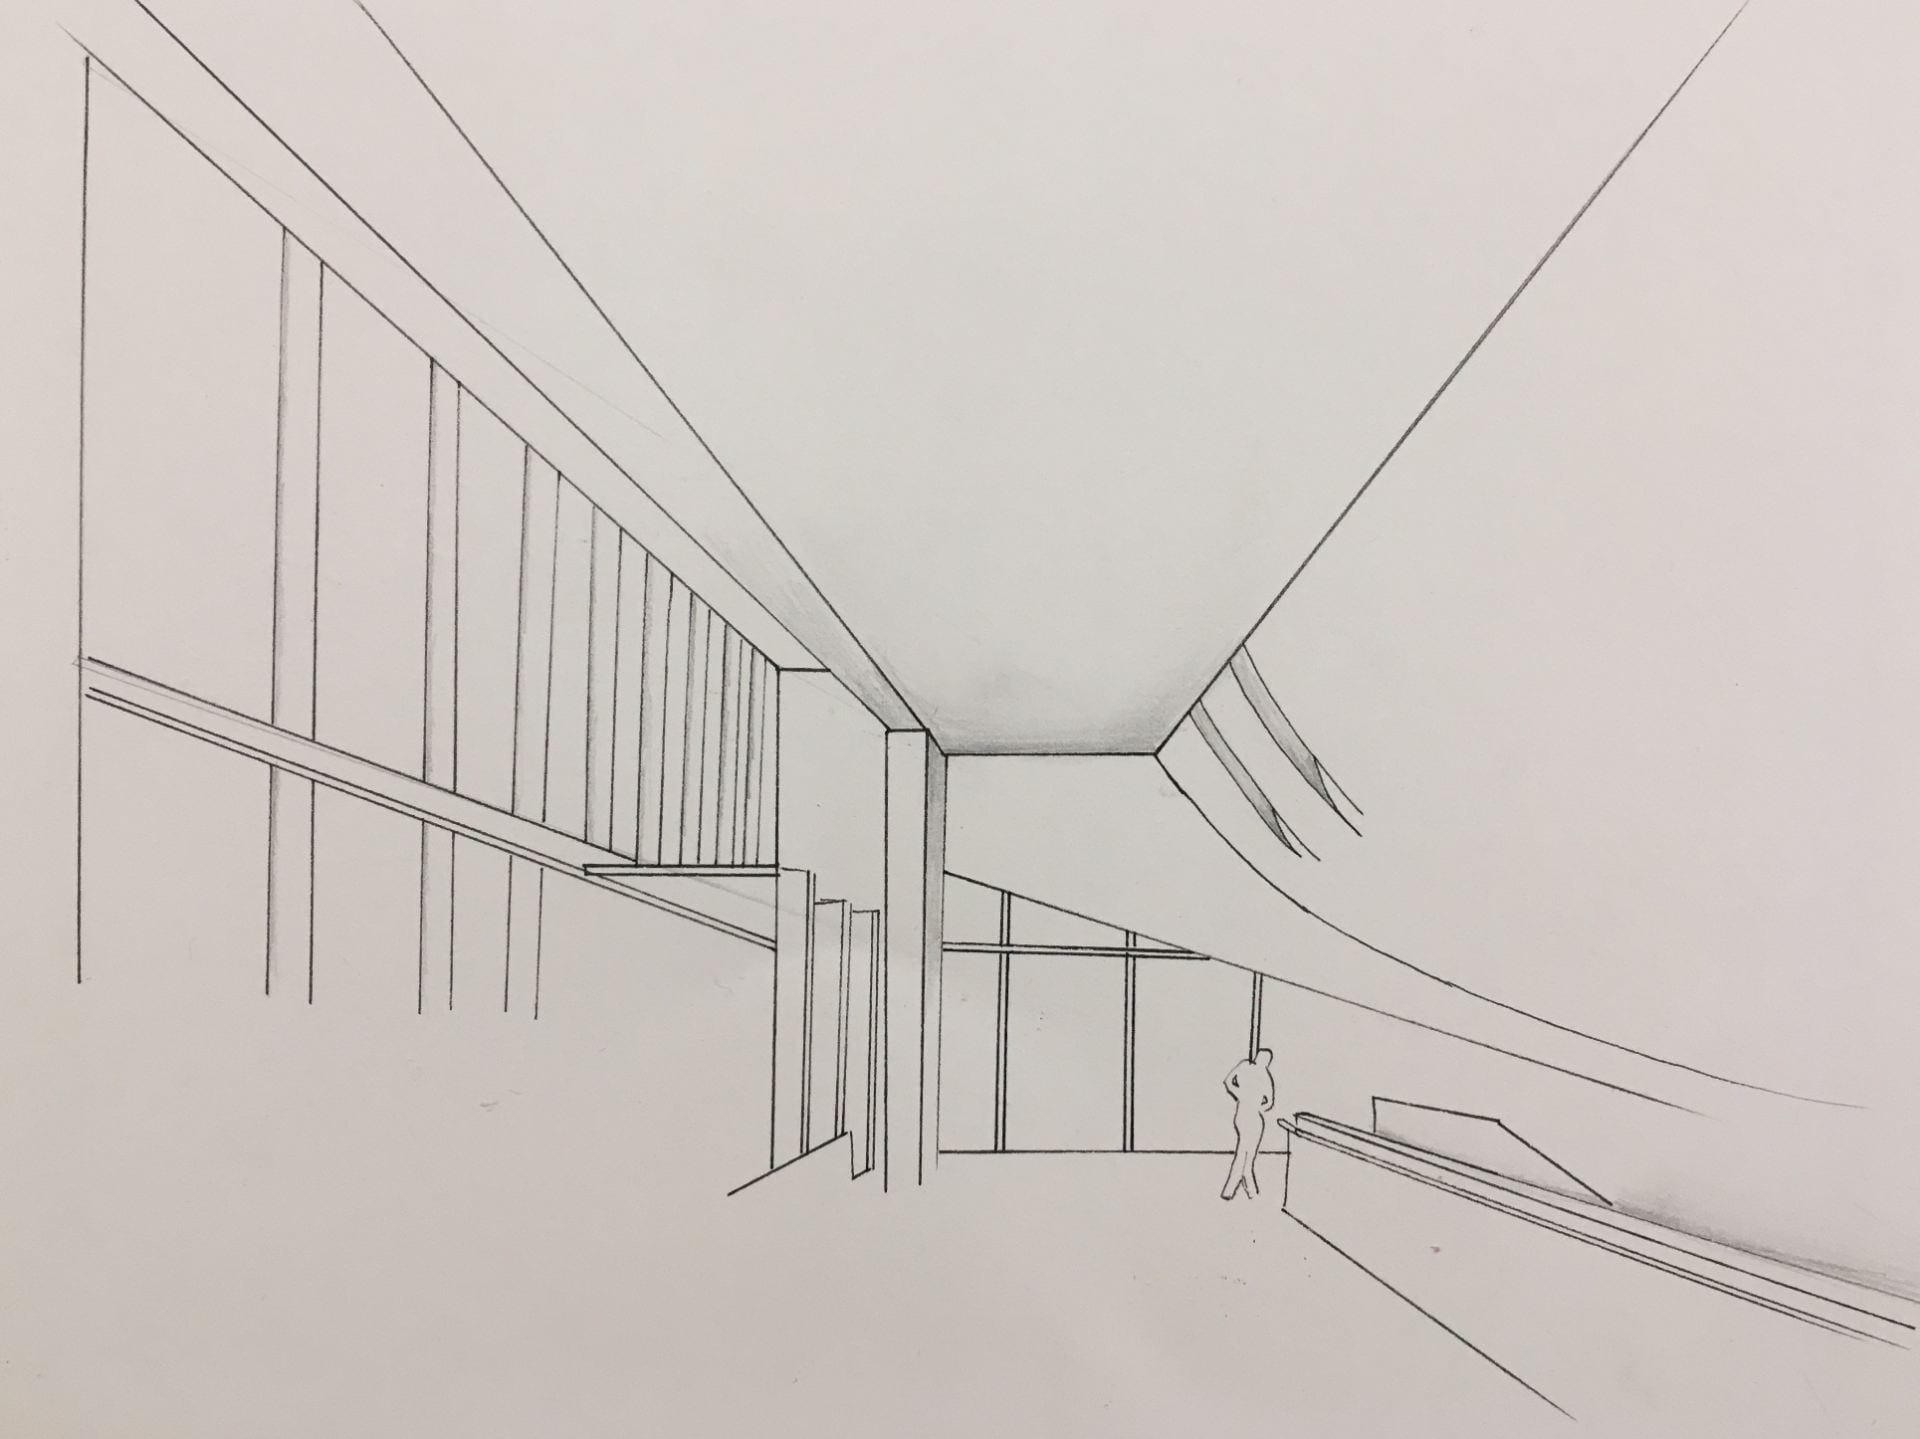
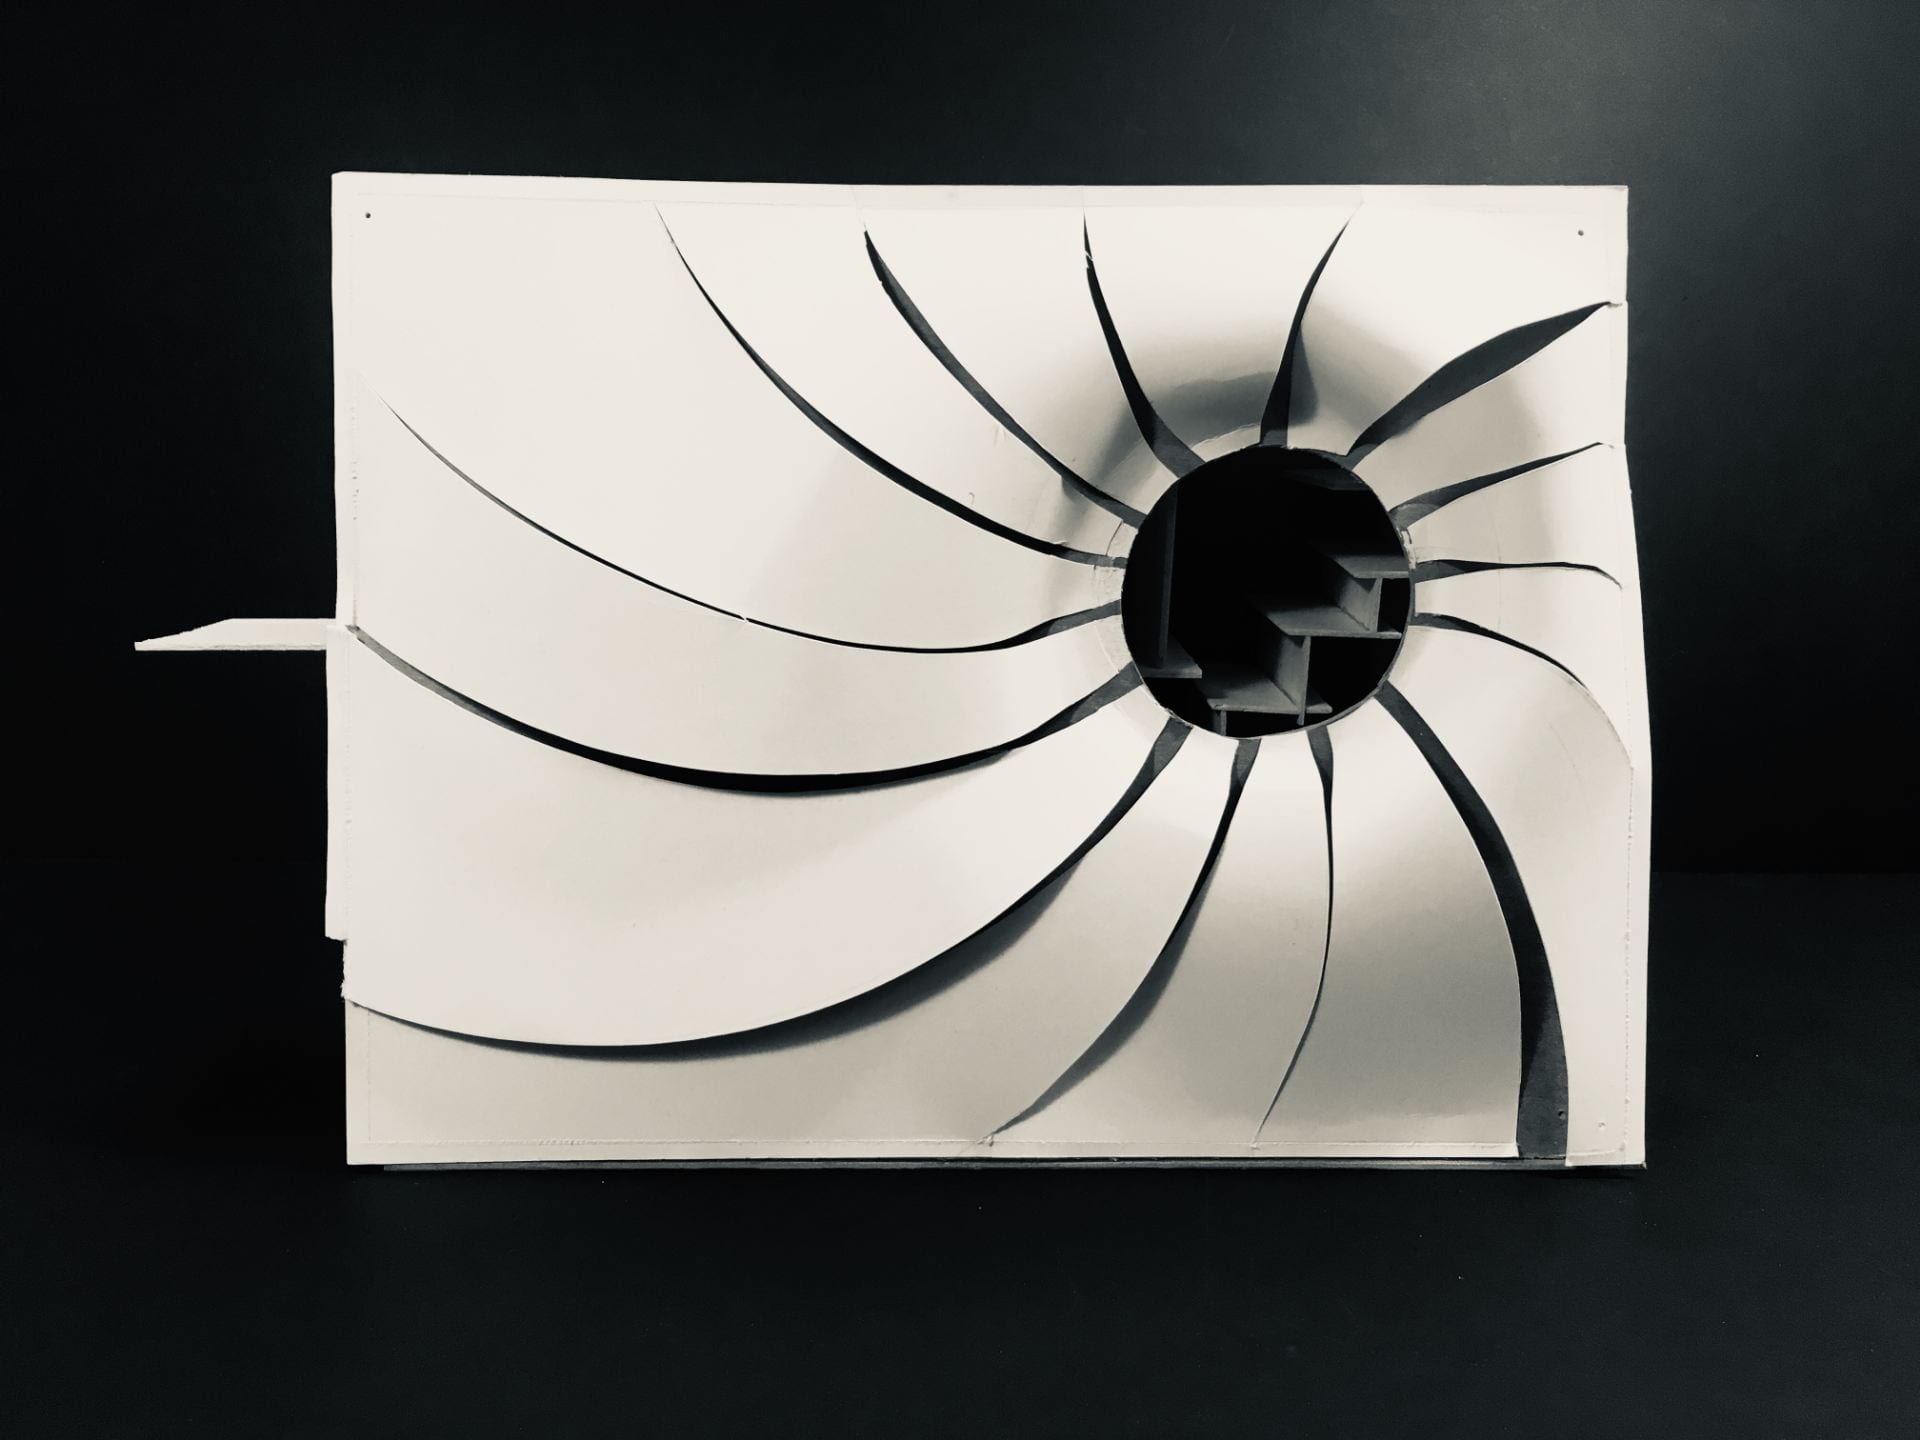
In order to identify and find my guiding path in recognising a conceptual and analytical theme of focus, I began the project through drawing a section cut through the structure. The sectional cut as seen in the image below acted as an analytical tool, that helped in identifying dramatic curvilinear movements that establish the themes “Under the sky & Under the ocean” adapted by the architect Steven Holl.
East West Sectional cut
Through the drawing there were two structural movements that really stood out to me, the first one was the assembly between the two cubical like glass structure and the ground, as it is interesting to see how these contrasting materials join together at the plane ground smoothly without any disturbance. The second movement that stood out to me is the structural movement where theres a small concave dip on theft side of the structure.
Looking into more dramatic curved movements of the structure. With further research, what drew me in was the skateboard pool.
Top of the skateboard poolBottom part of the skateboard pool
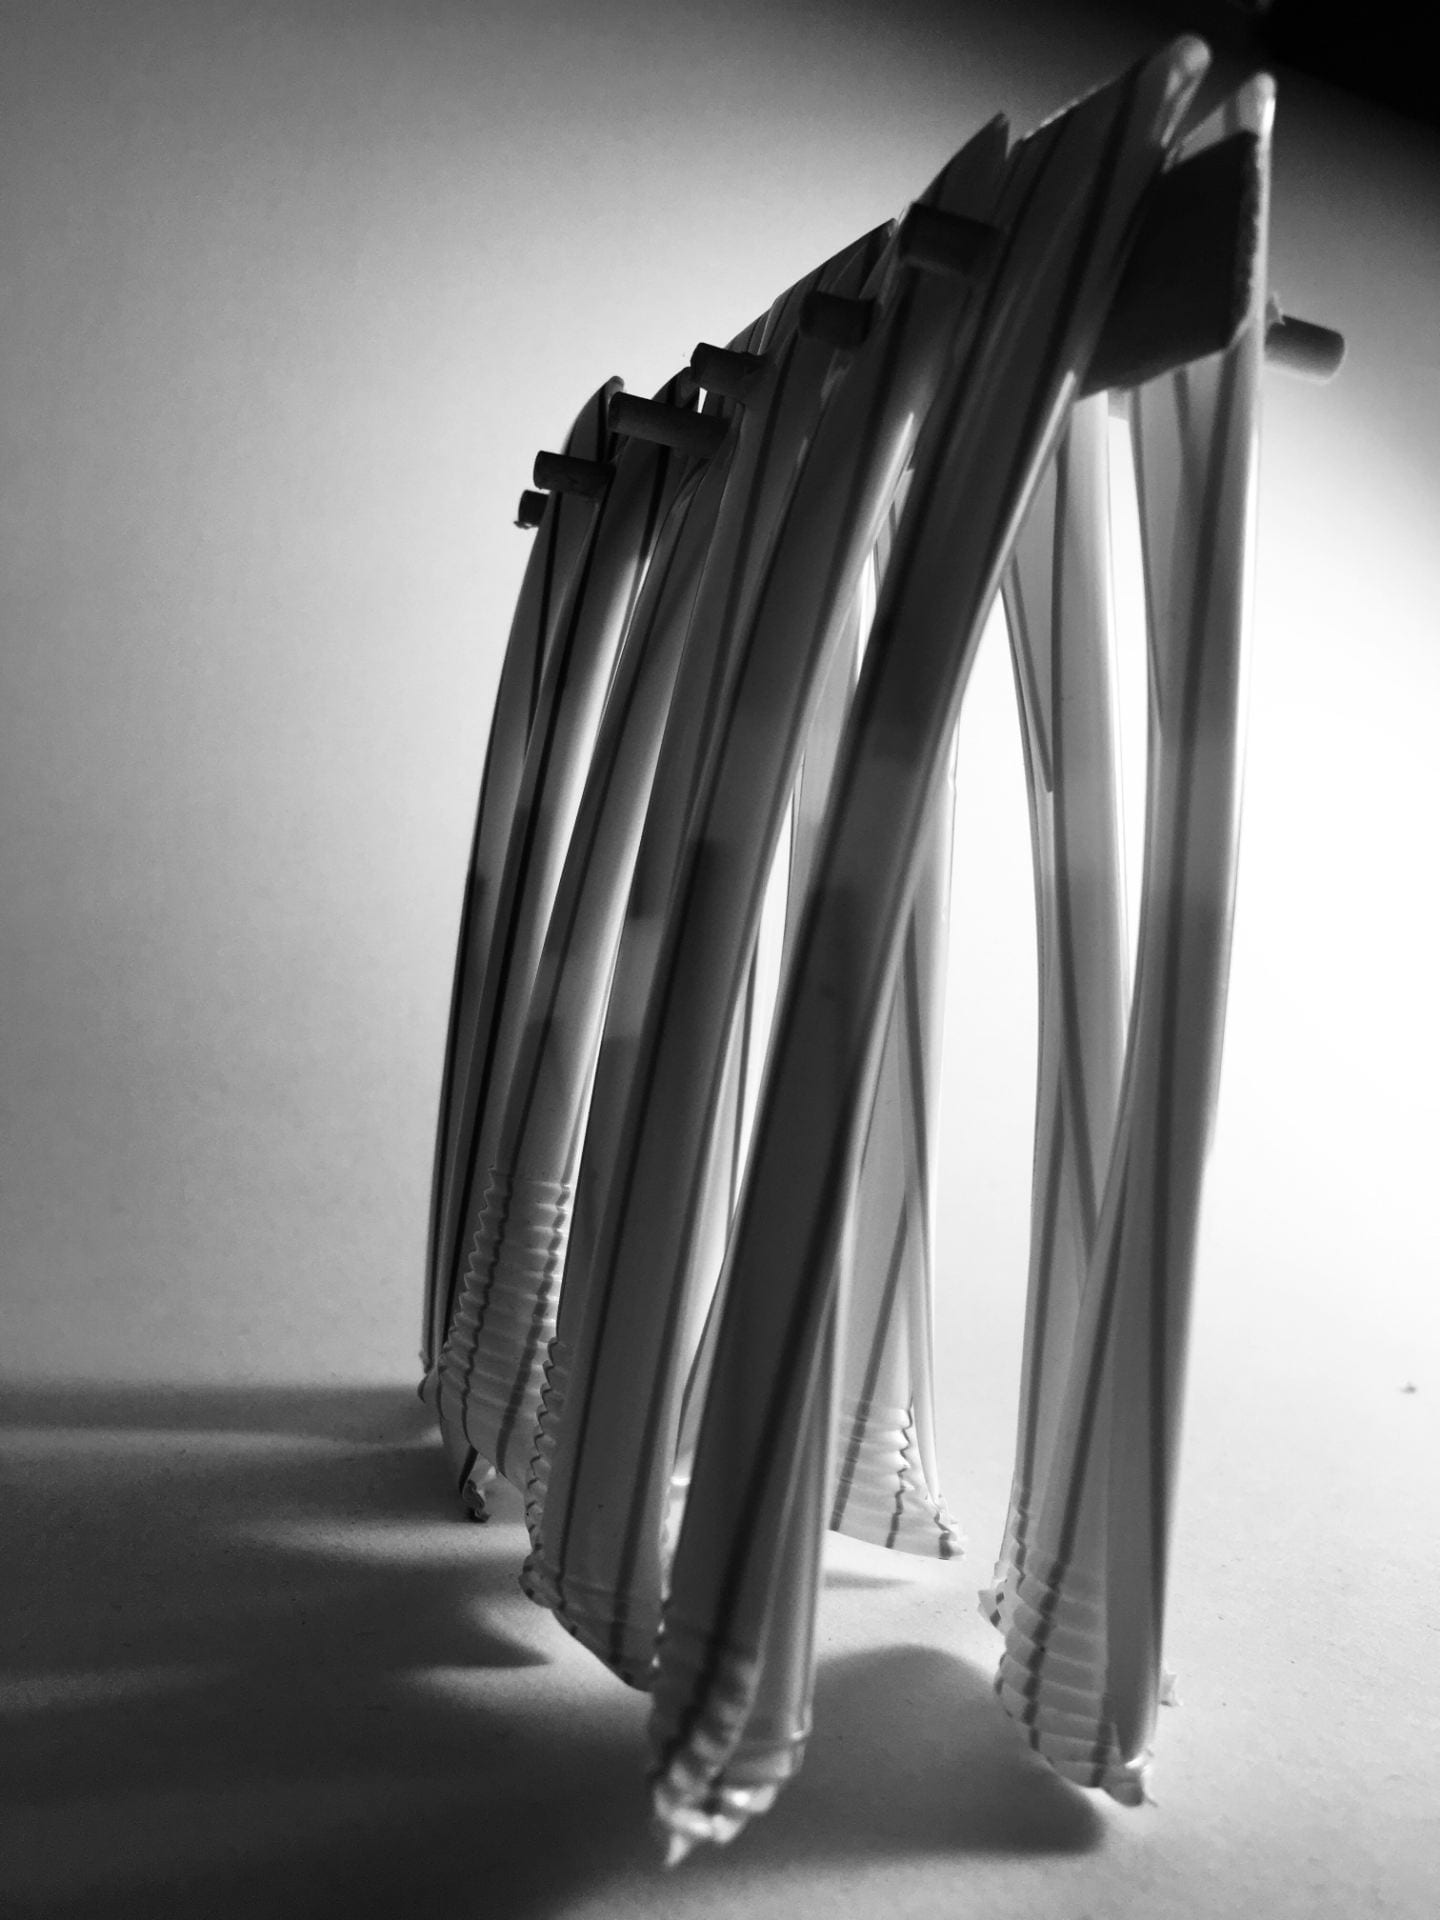
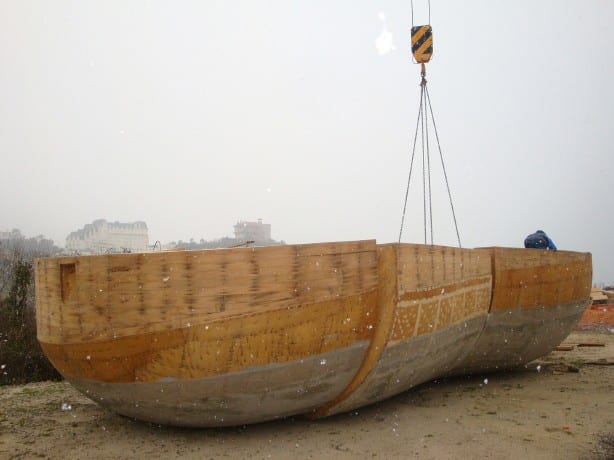
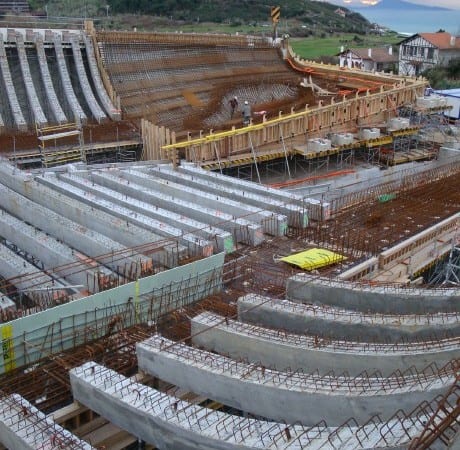
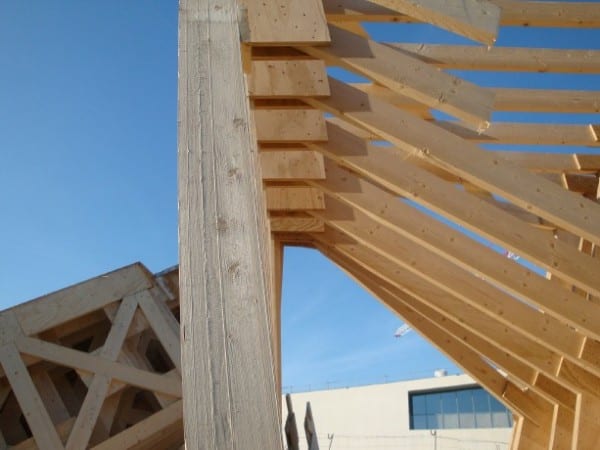
For the process of constructing the skateboard pool they used a complex a large wooden structure that represented the shape of the skateboard pool (As seen in the images below)
The wooden structures were placed after the shape and the reinforcement for the skateboard pool was constructed. This to me seemed pretty unusual, as quite often the finally layer of concrete usually follows the spraying cement system. Hence, in order to under the structure better for my next step I started sketching out the plan to se if this would help understand the structural design and assembly system of the skateboard pool.
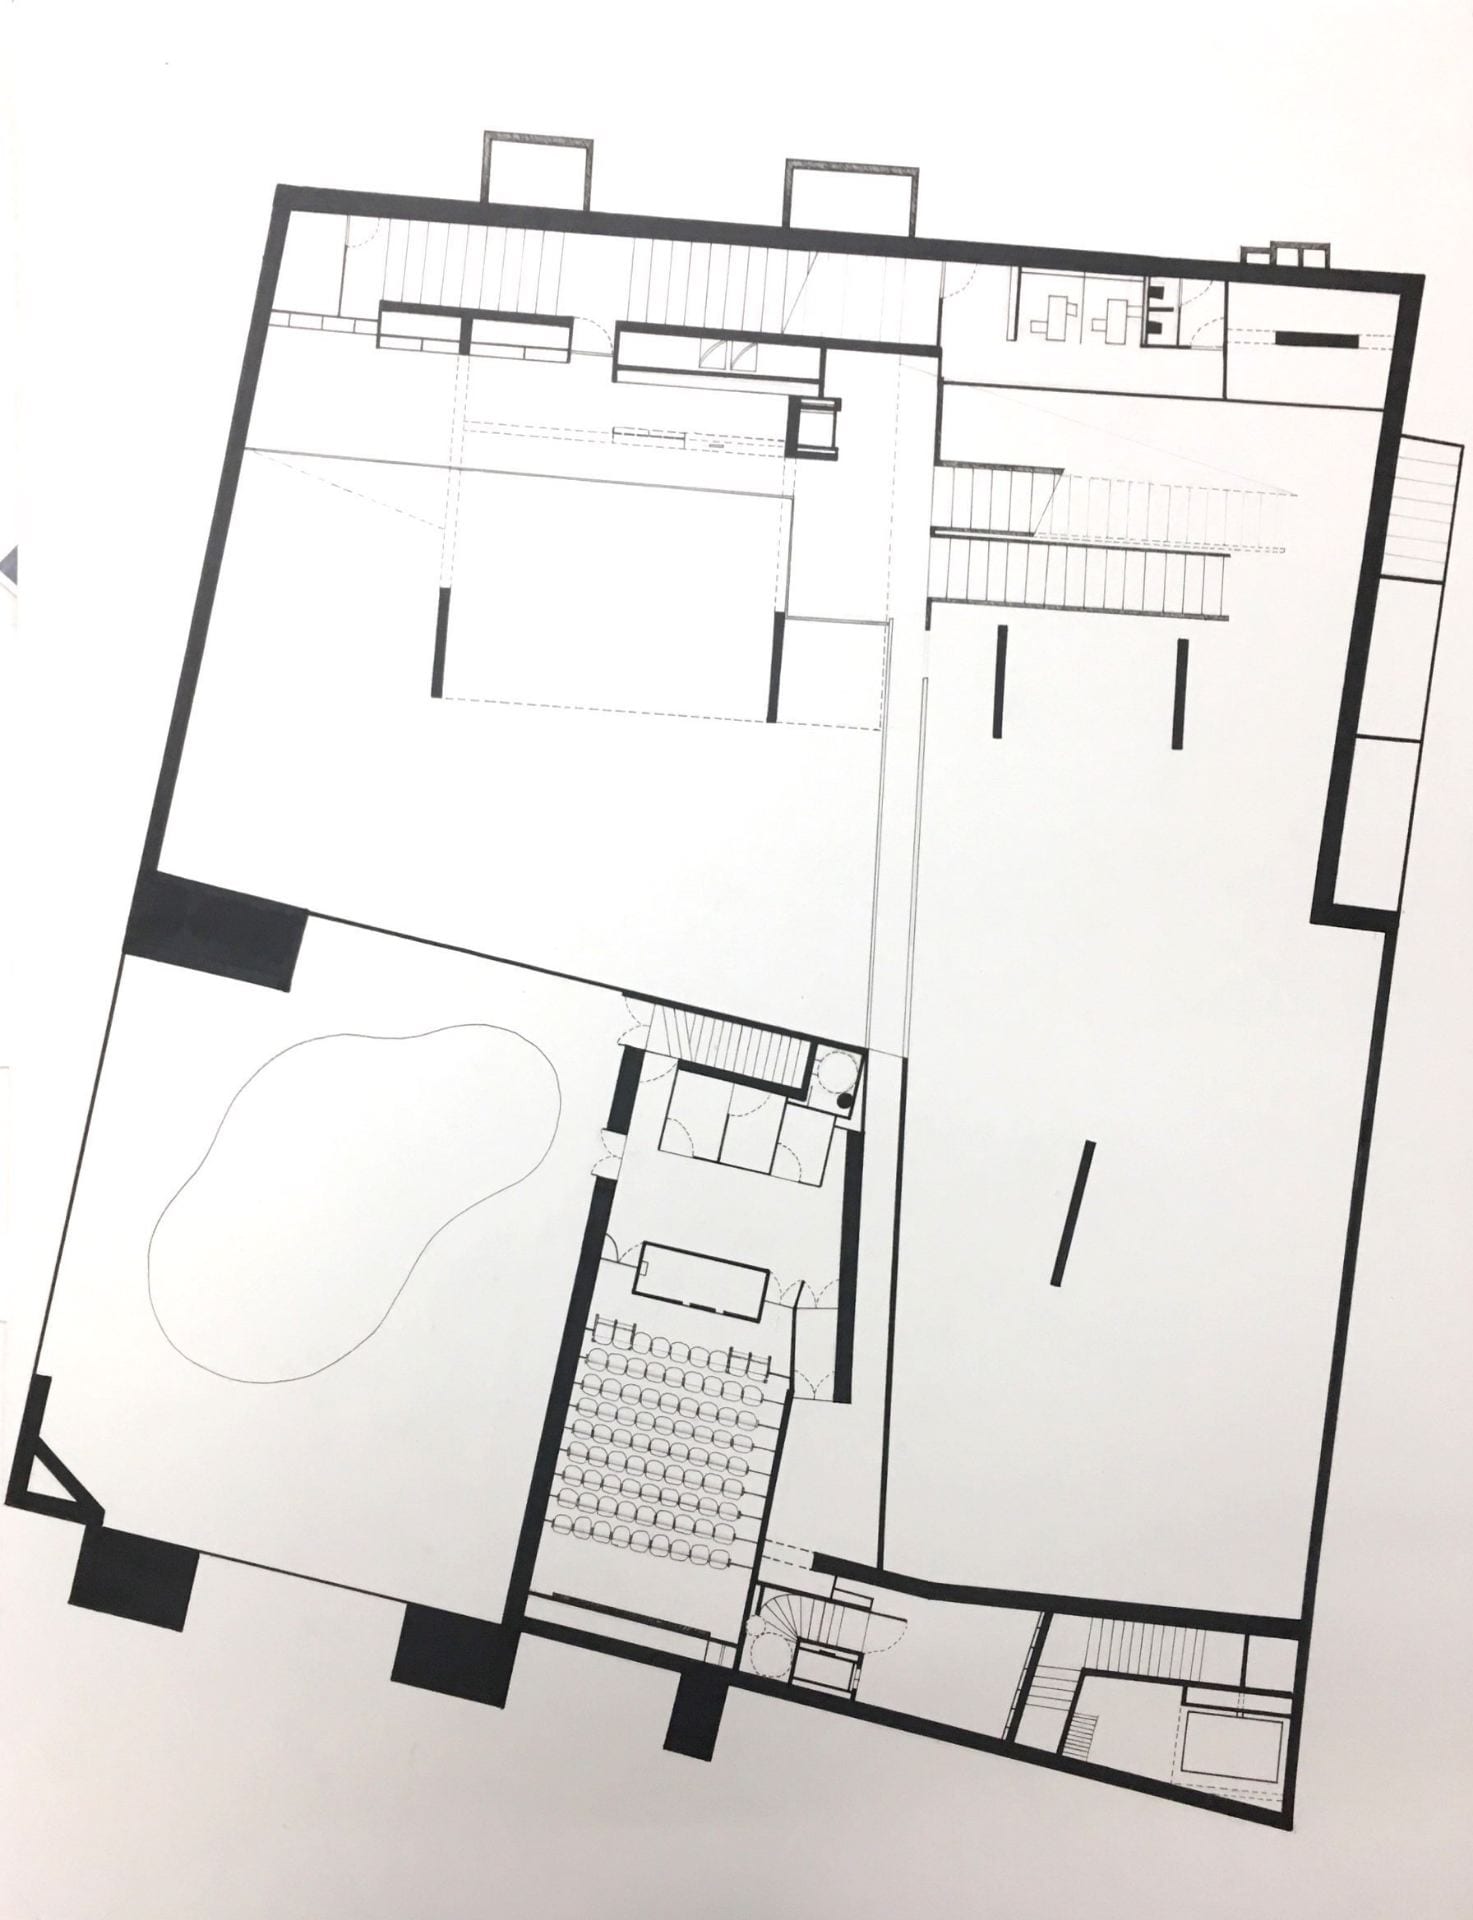
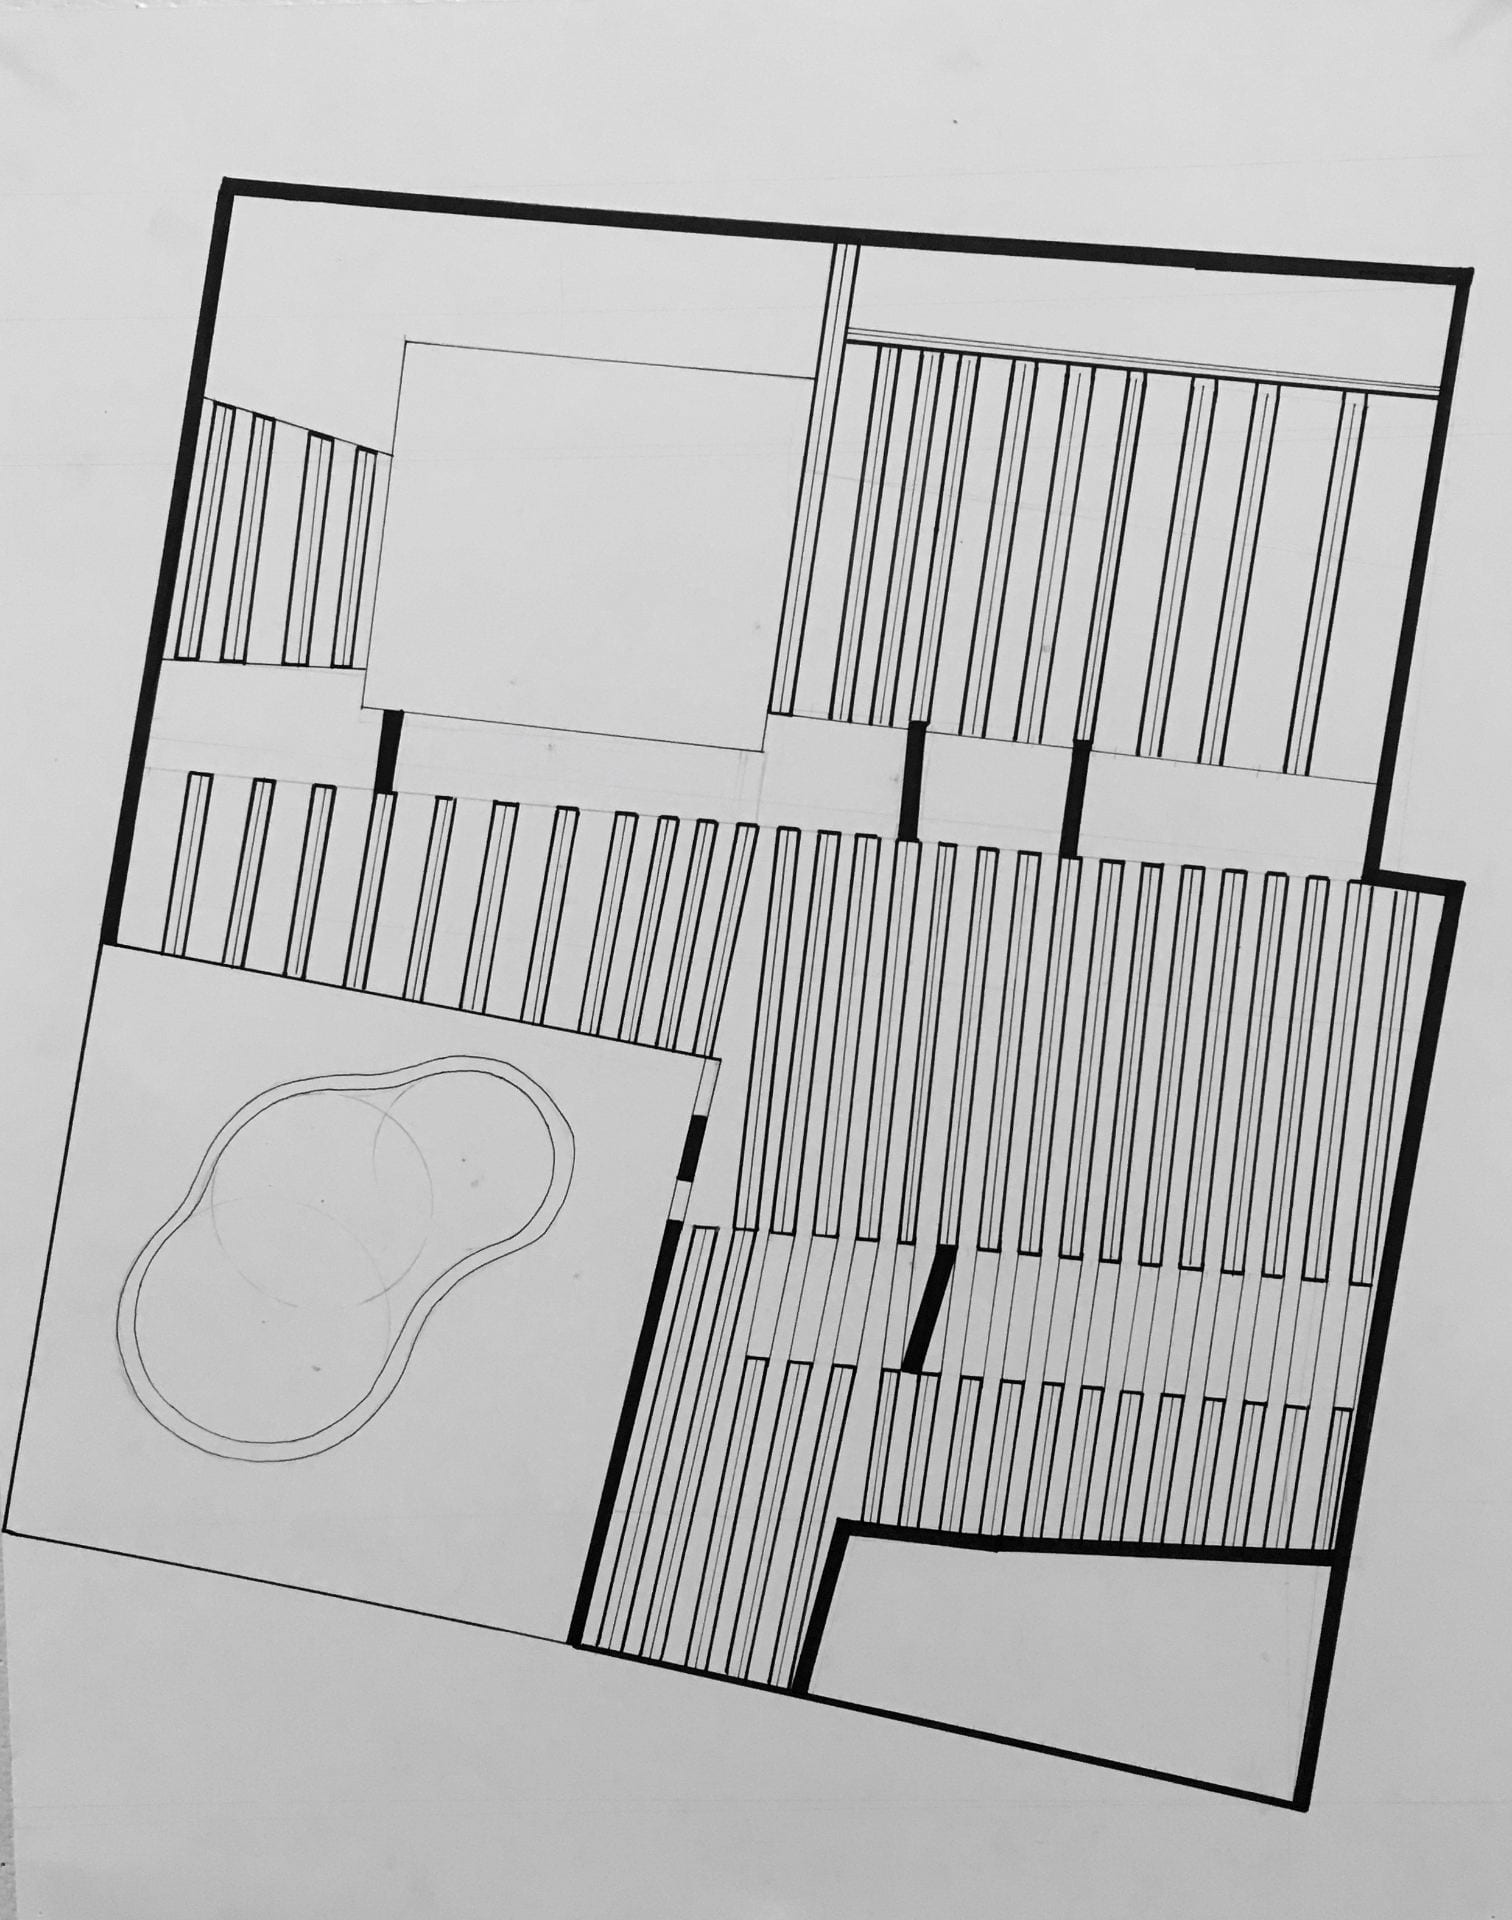
Plan Drawing: Level +28.7Plan Drawing: Level 20.70Plan of the construction site that further proves my hypothesis of the skateboard pool, as we can recognise a double outline. The plan also showcases vertical beams used to create the concave structure.
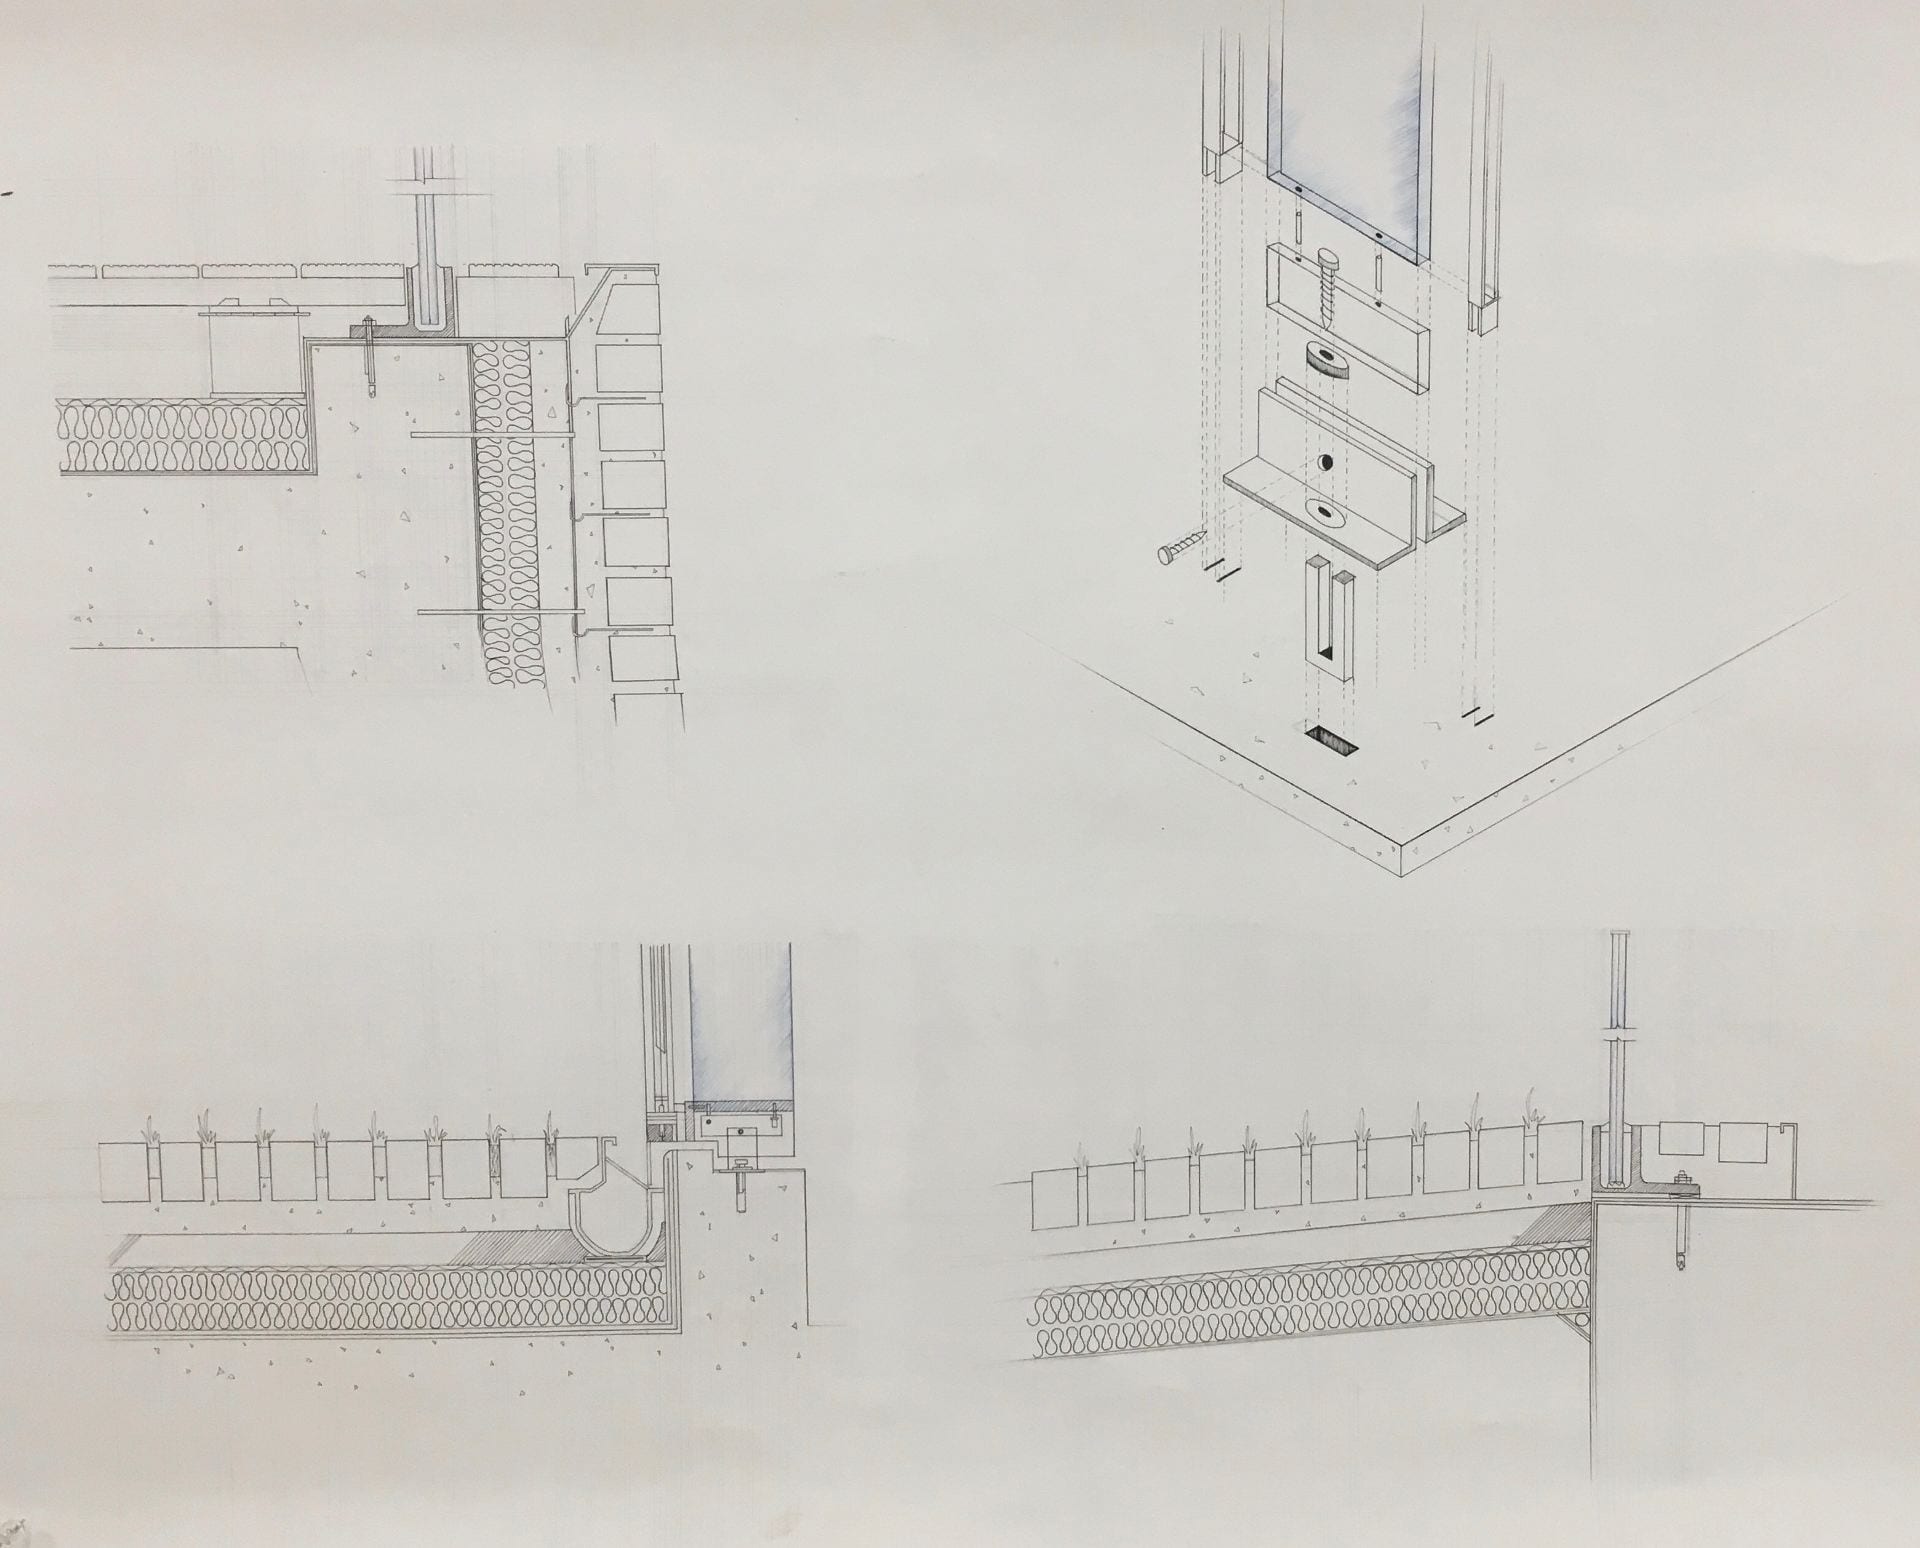
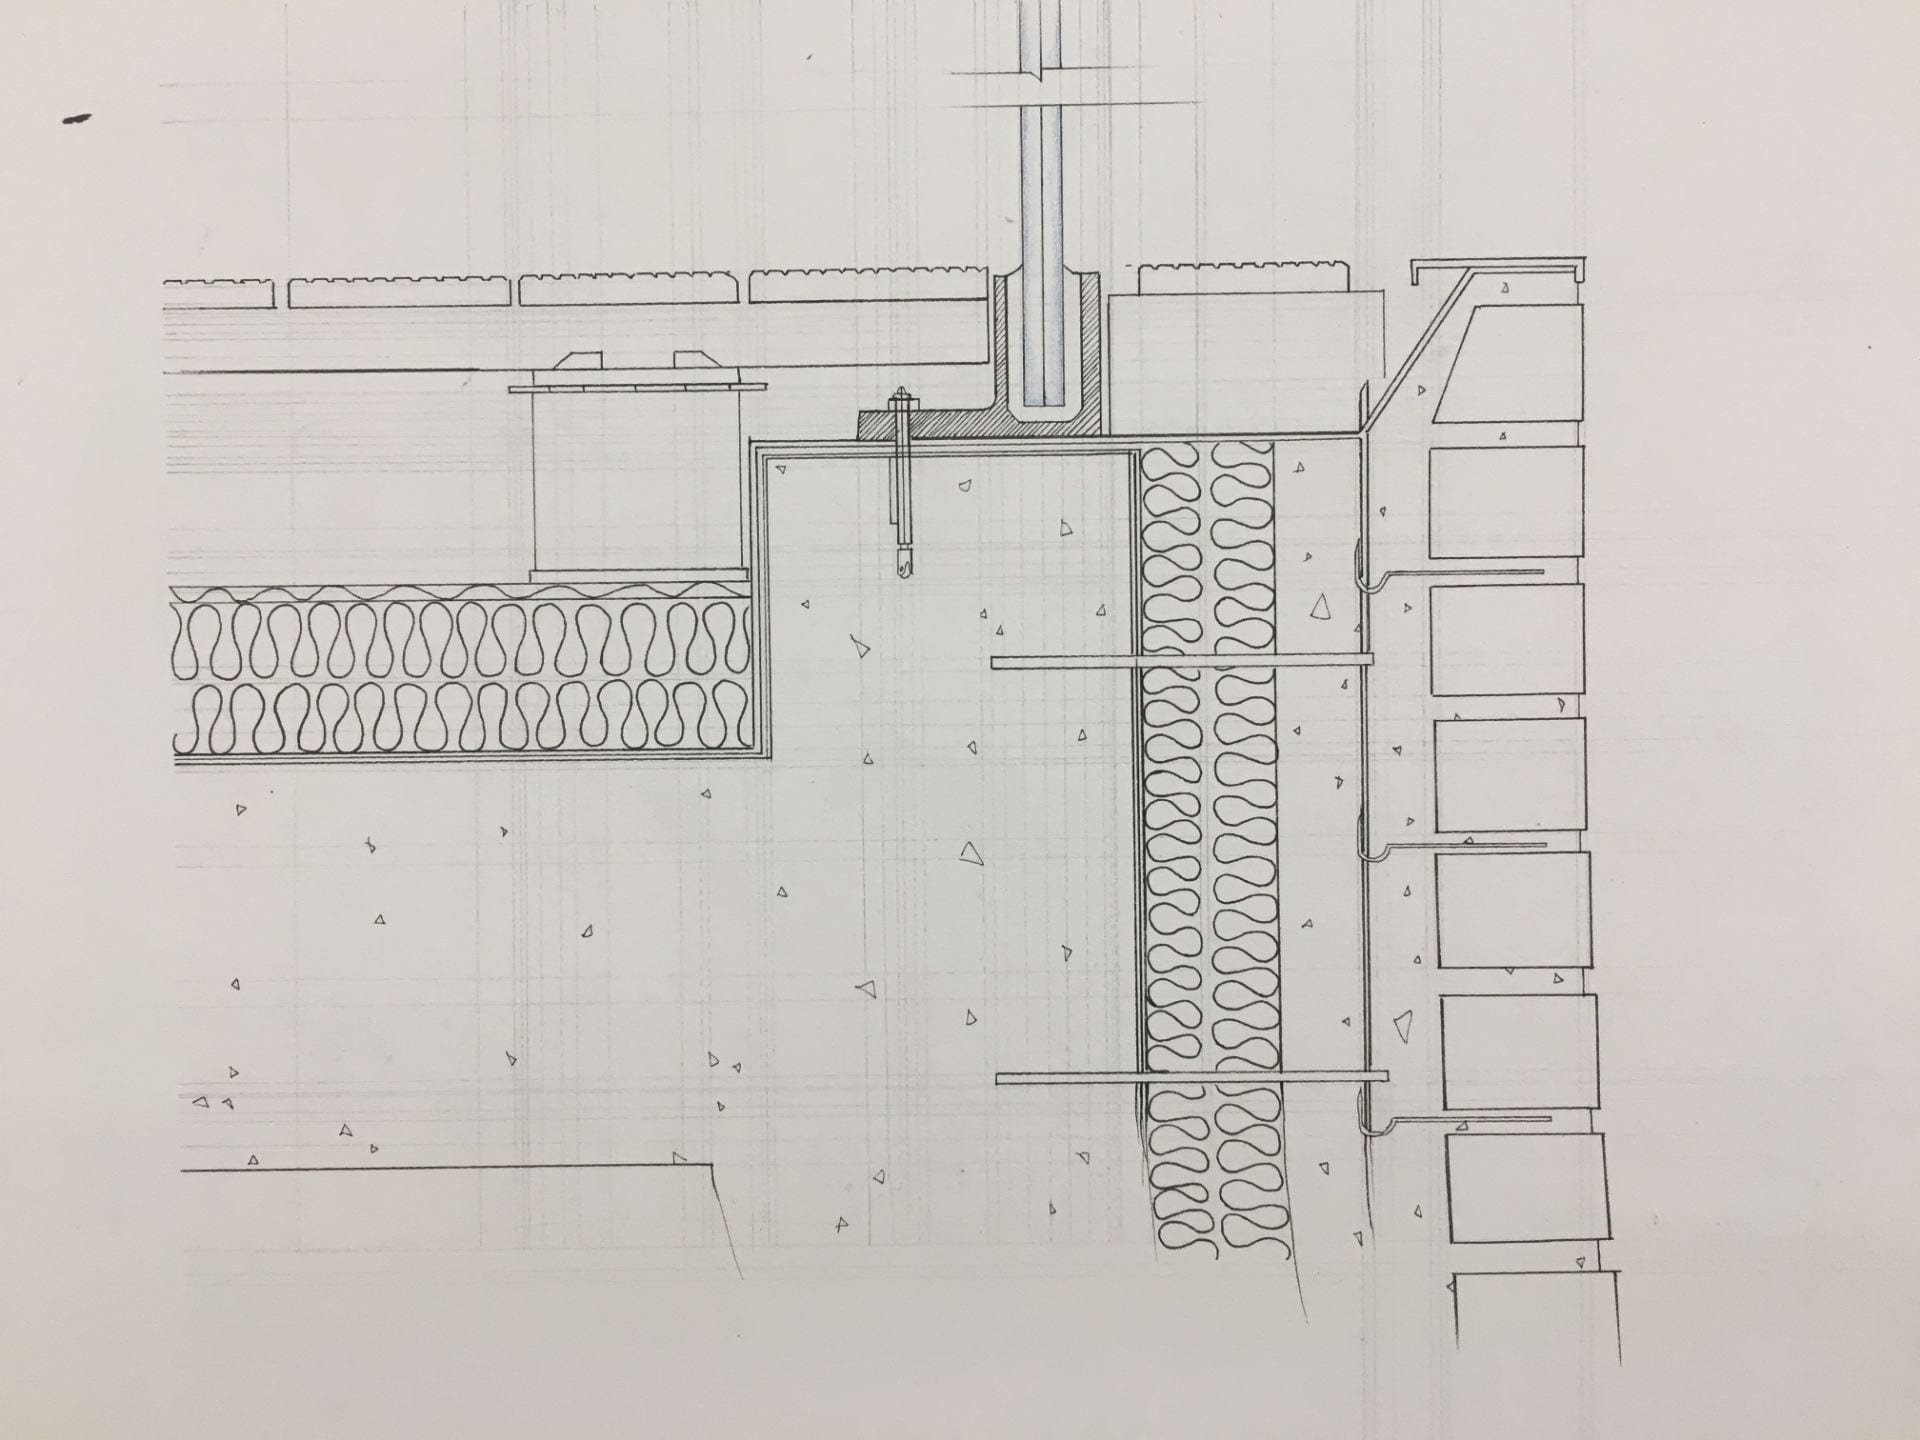
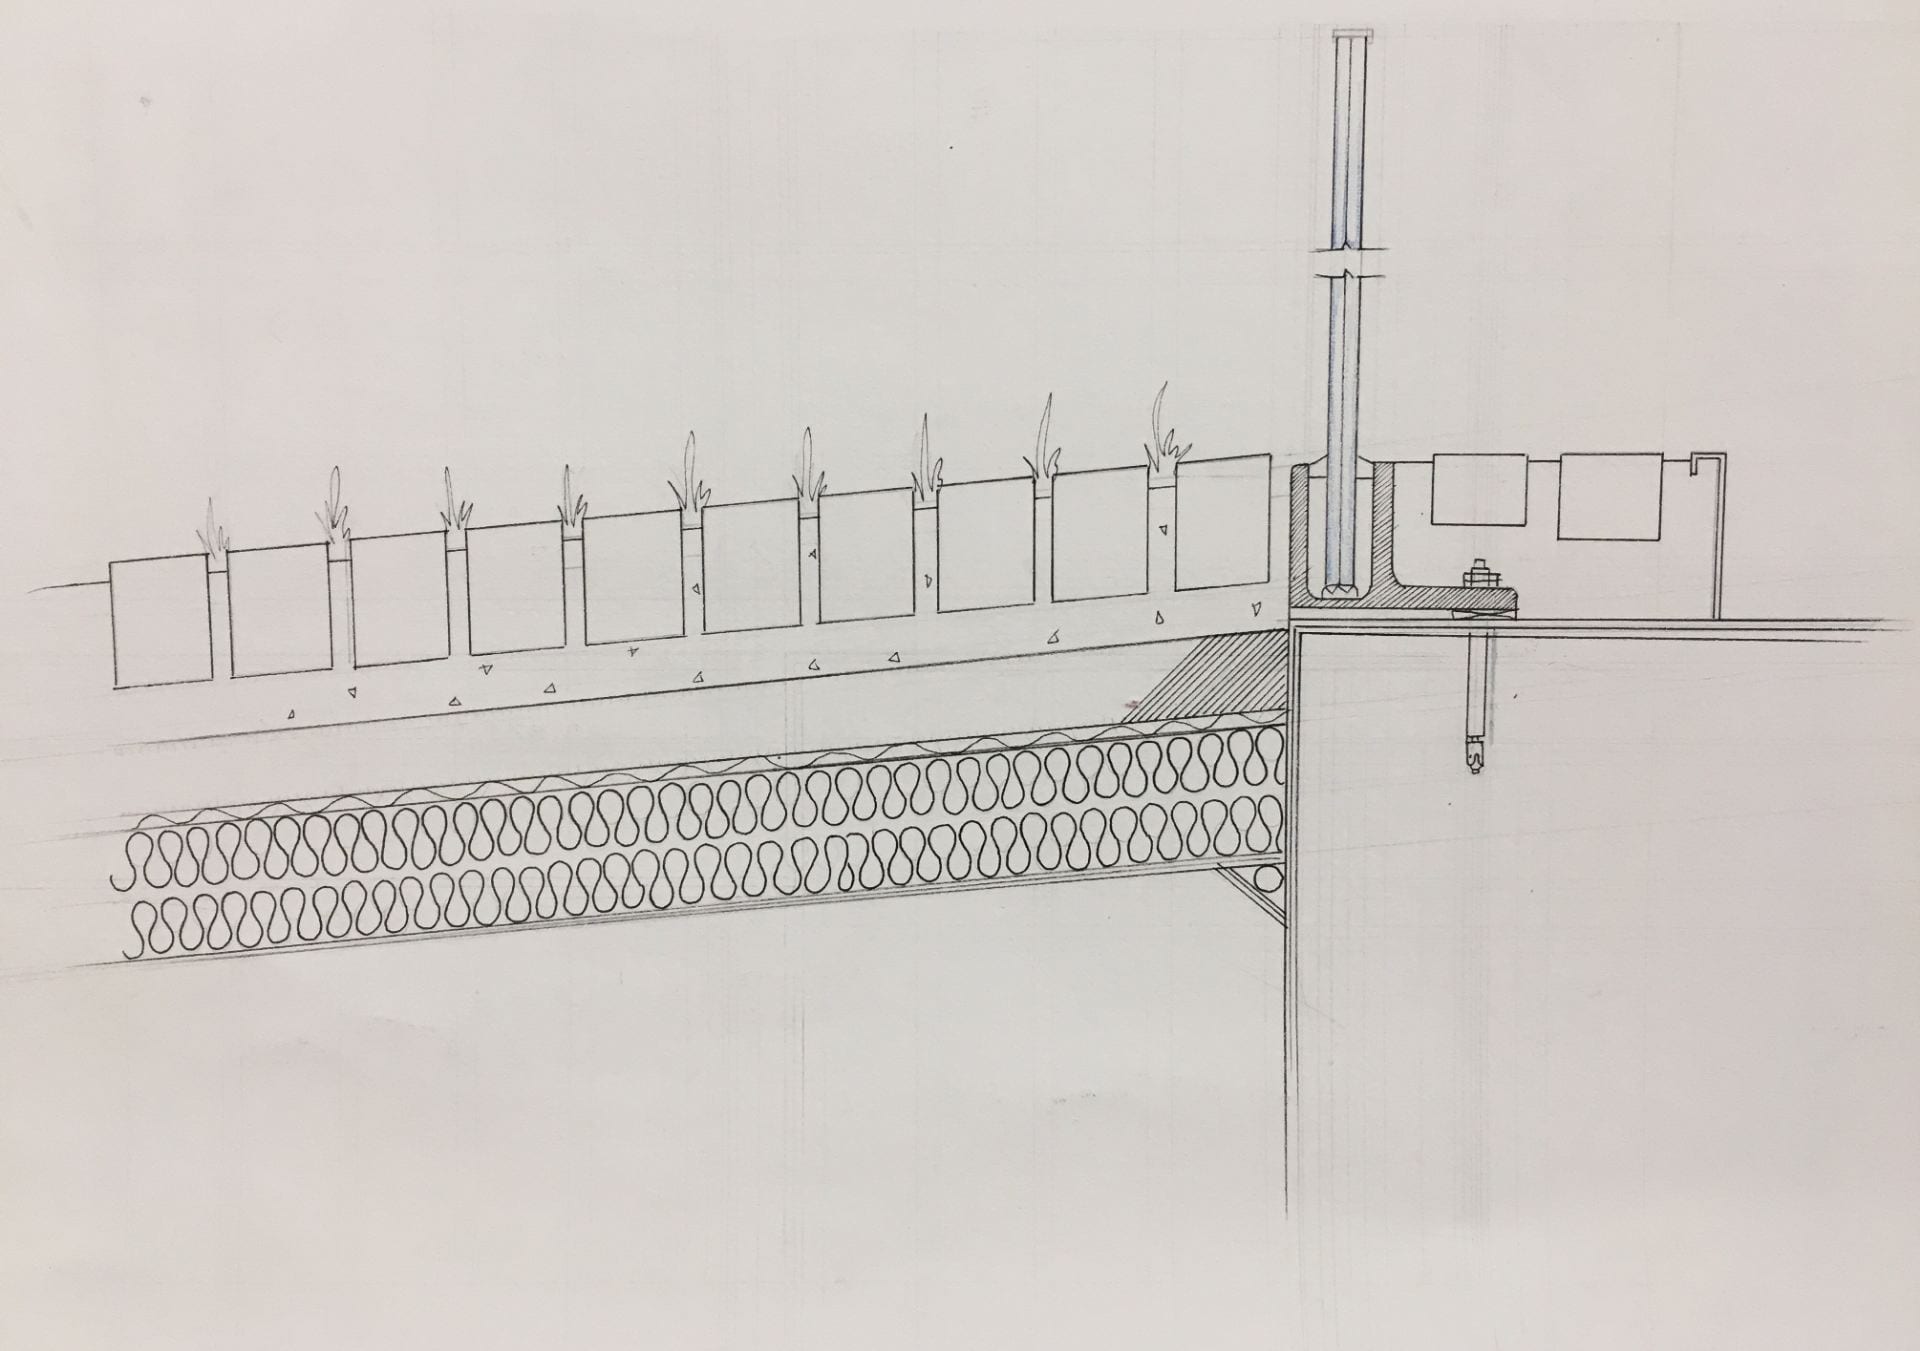
Detail Drawing.1Detail Drawing.2
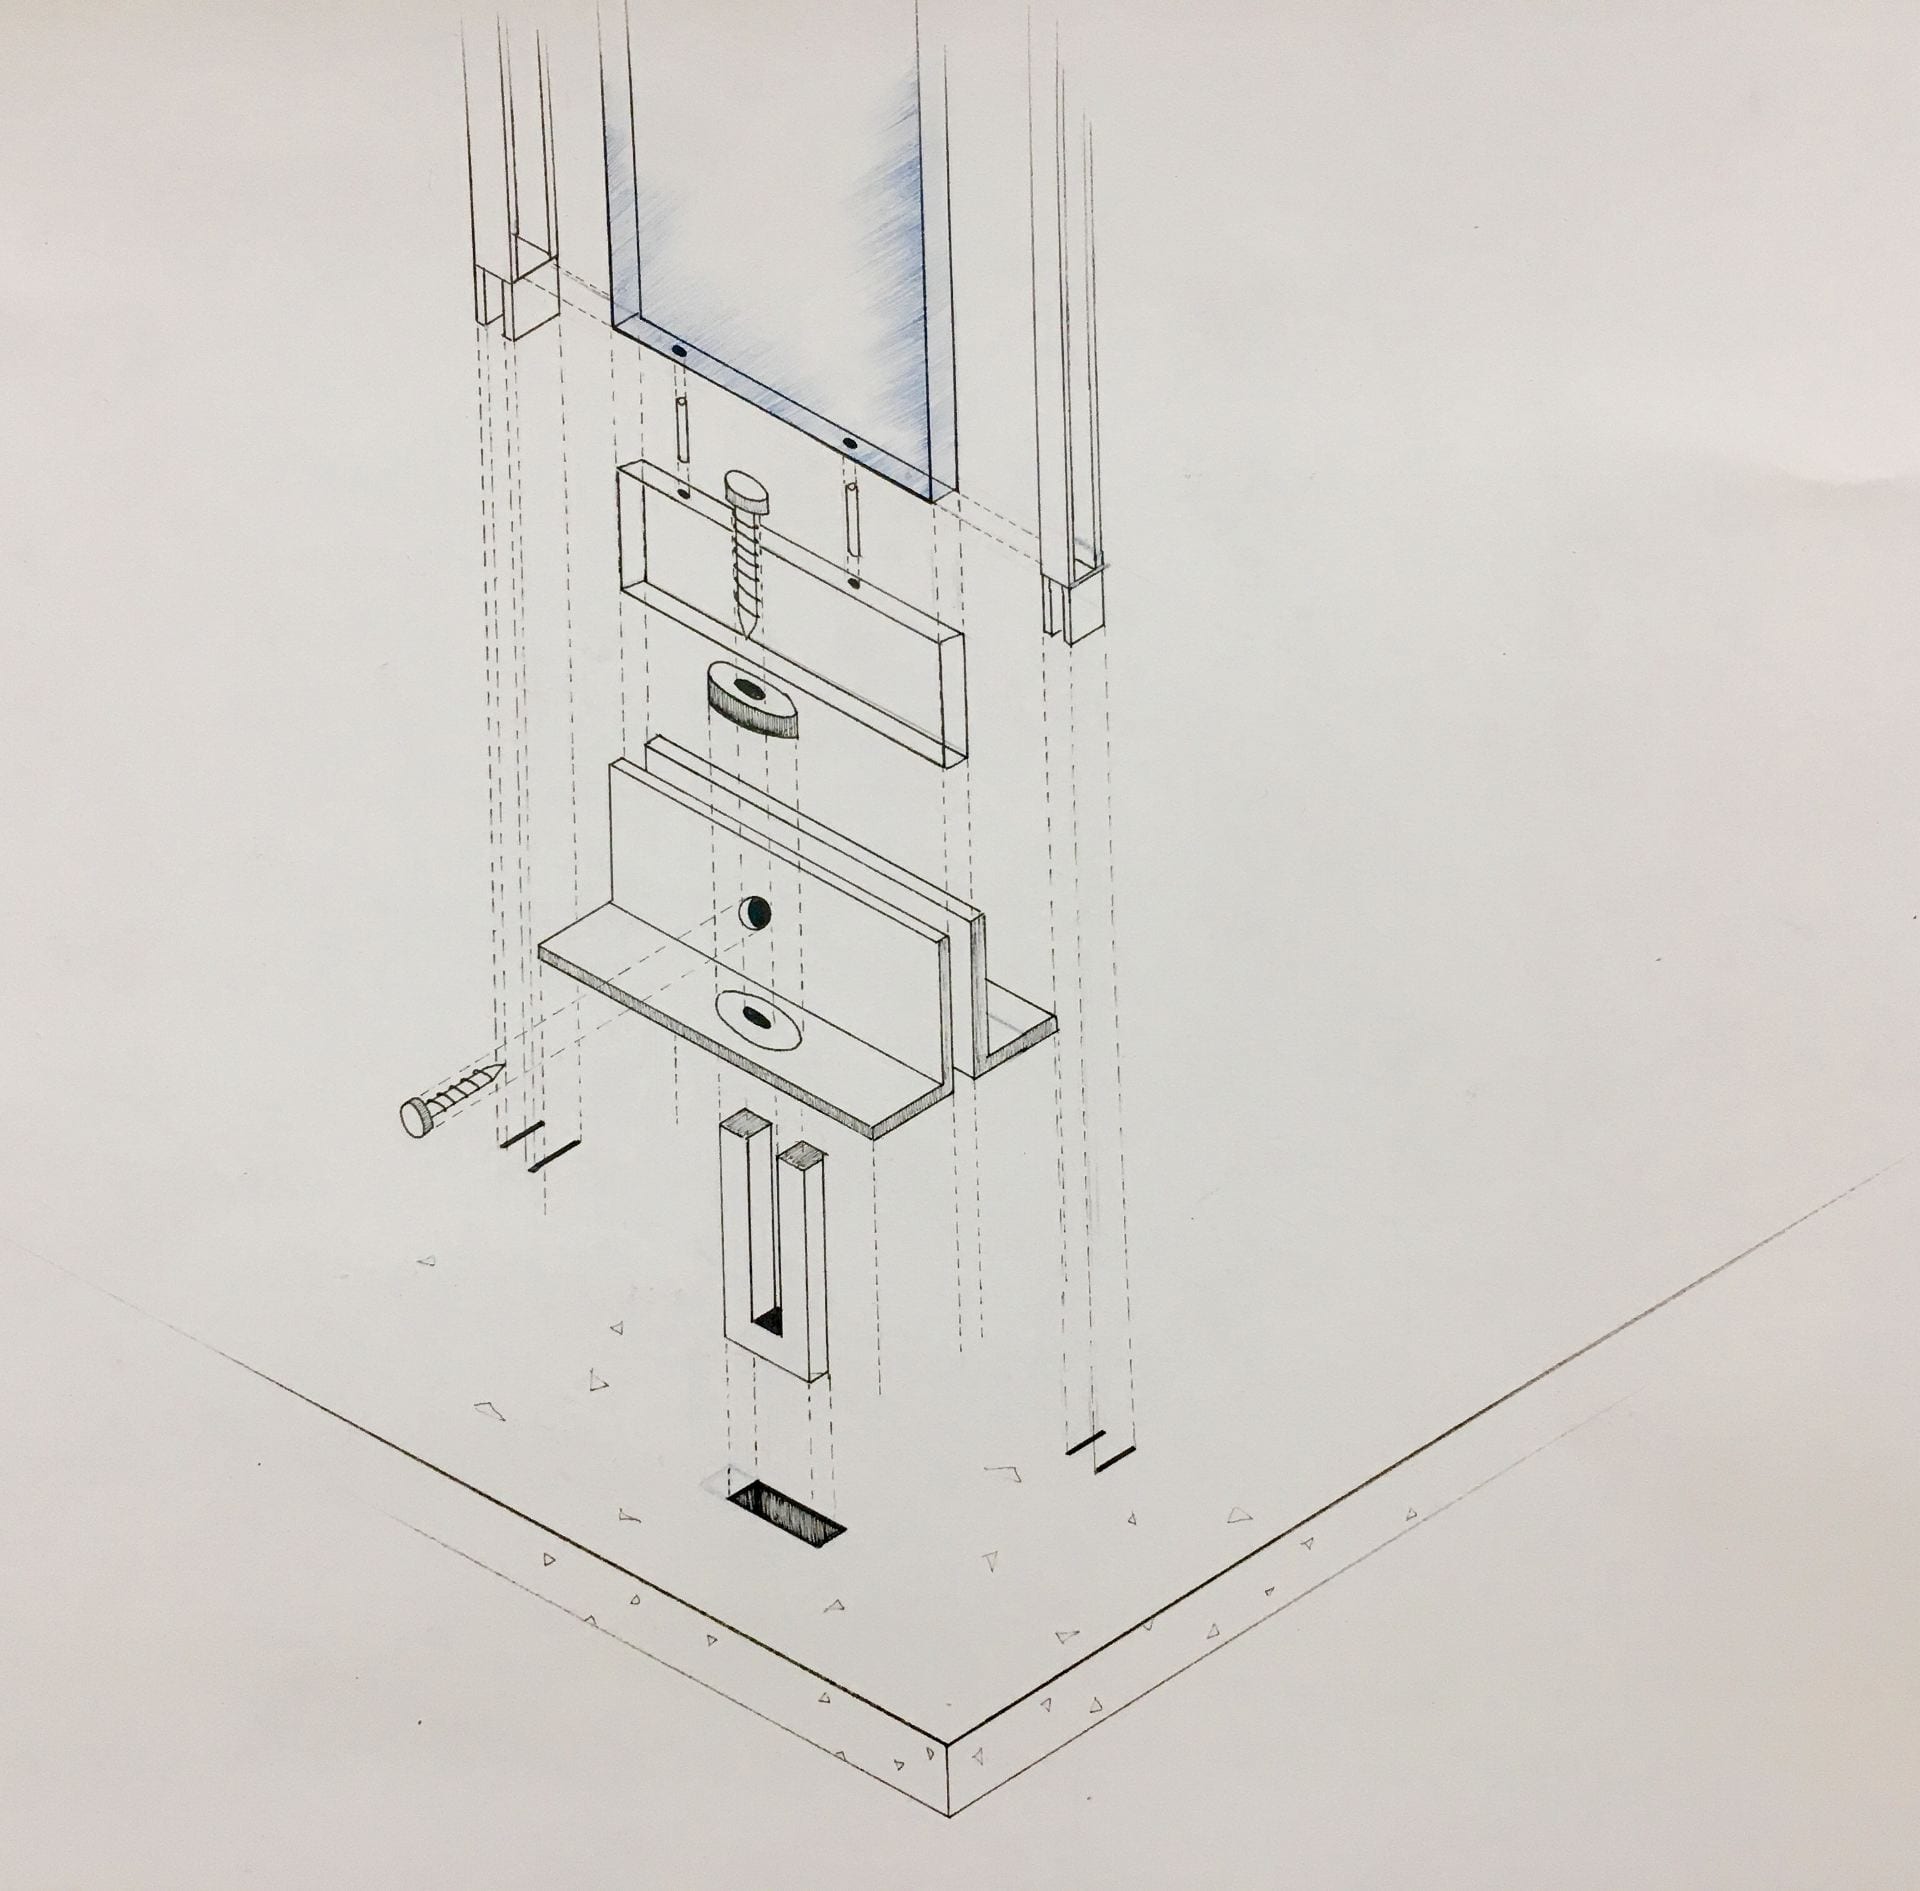
Inference Sketch of the glass assembly of the facade
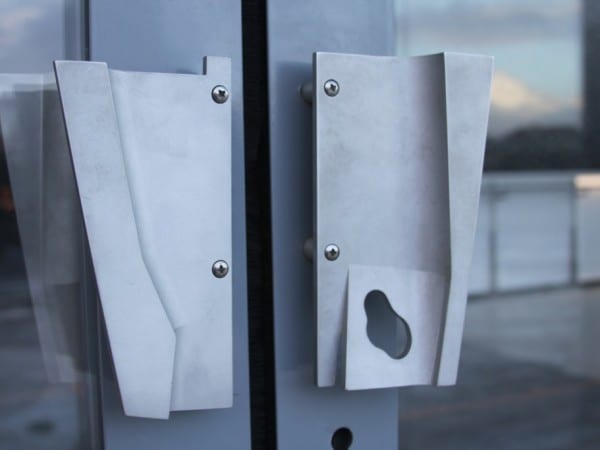
Through further research on other structures by Steven Holl, I was able to unravel that he leaves, in a way his signature by representing a key feature of the structure on the door knob. I was then able to find an image of the door knob. As you can see in the image below the skateboard pool happened to be an important element of the structure.
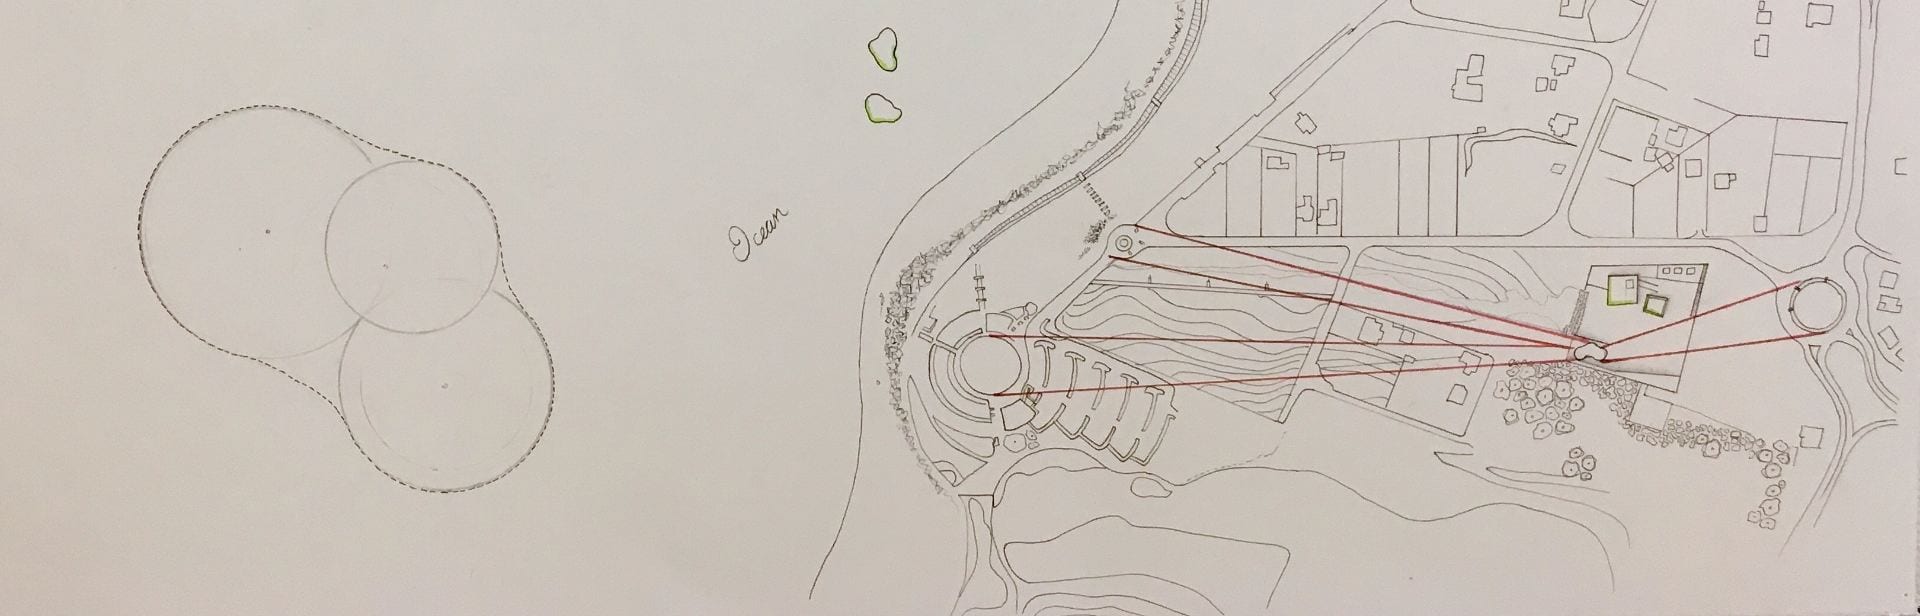
At first I assumed that the shape was probably derived from a an oceanic microorganism, since it was after all the oceanographic museum. However, I couldn’t find any specific microorganism that fit this exact shape. Hence, I then just started drawing random circles and tried to figure out the right size and placement that created the kidney like shape. Finally, I was able to identify that the structure was made up of three different circles. This led me to broaden my exploration as the architect also focused on creating a metamorphic link between the site environment and the structure. Through the above exploration, I was able to puzzle out the three circles used to create the shape of the skateboard pool were scaled down circles put together from major roundabouts around the site.
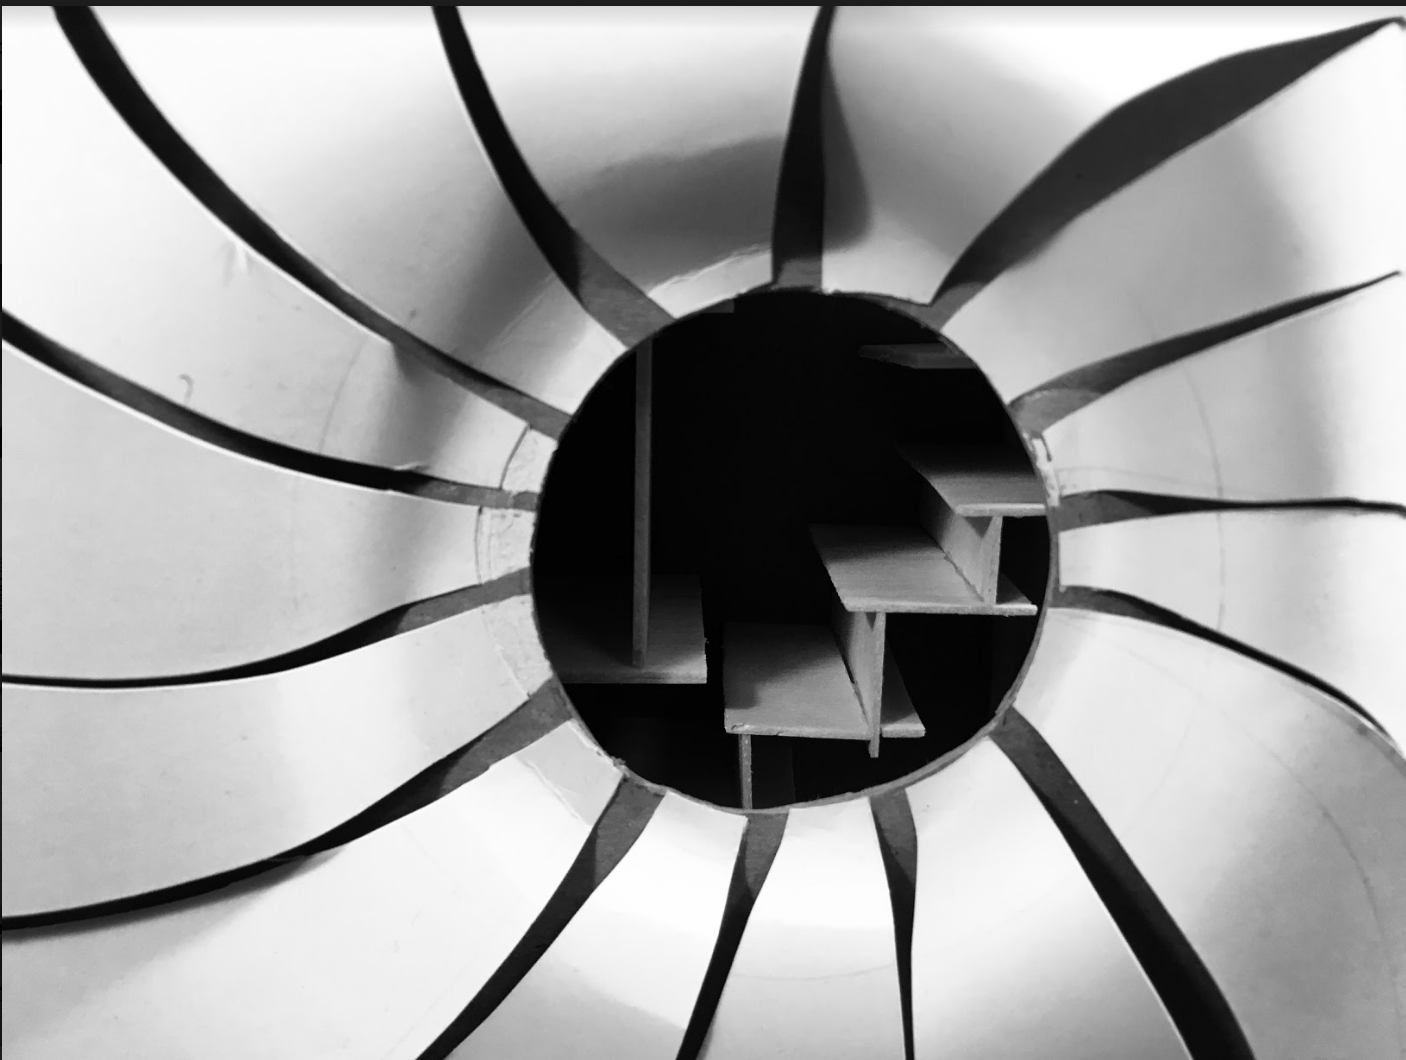
In regards to the wooden structure discussed earlier, I was able to recognise that skateboard pool are usually built by first placing the reinforcement and then spraying on the cement. However, due to the location of this site where there’s excess moisture and salt in the air spraying cement was not only hazardous but the structure itself would not sustain. Therefor, came the need of the wooden structure that creates the perfect shape of the interior walls without any inconsistency. The interior also consists of a crisscross pattern, this pattern as seen in the image below is created to hold tension from the heavy cement to avoid any dents or deformation of the wooden structure.
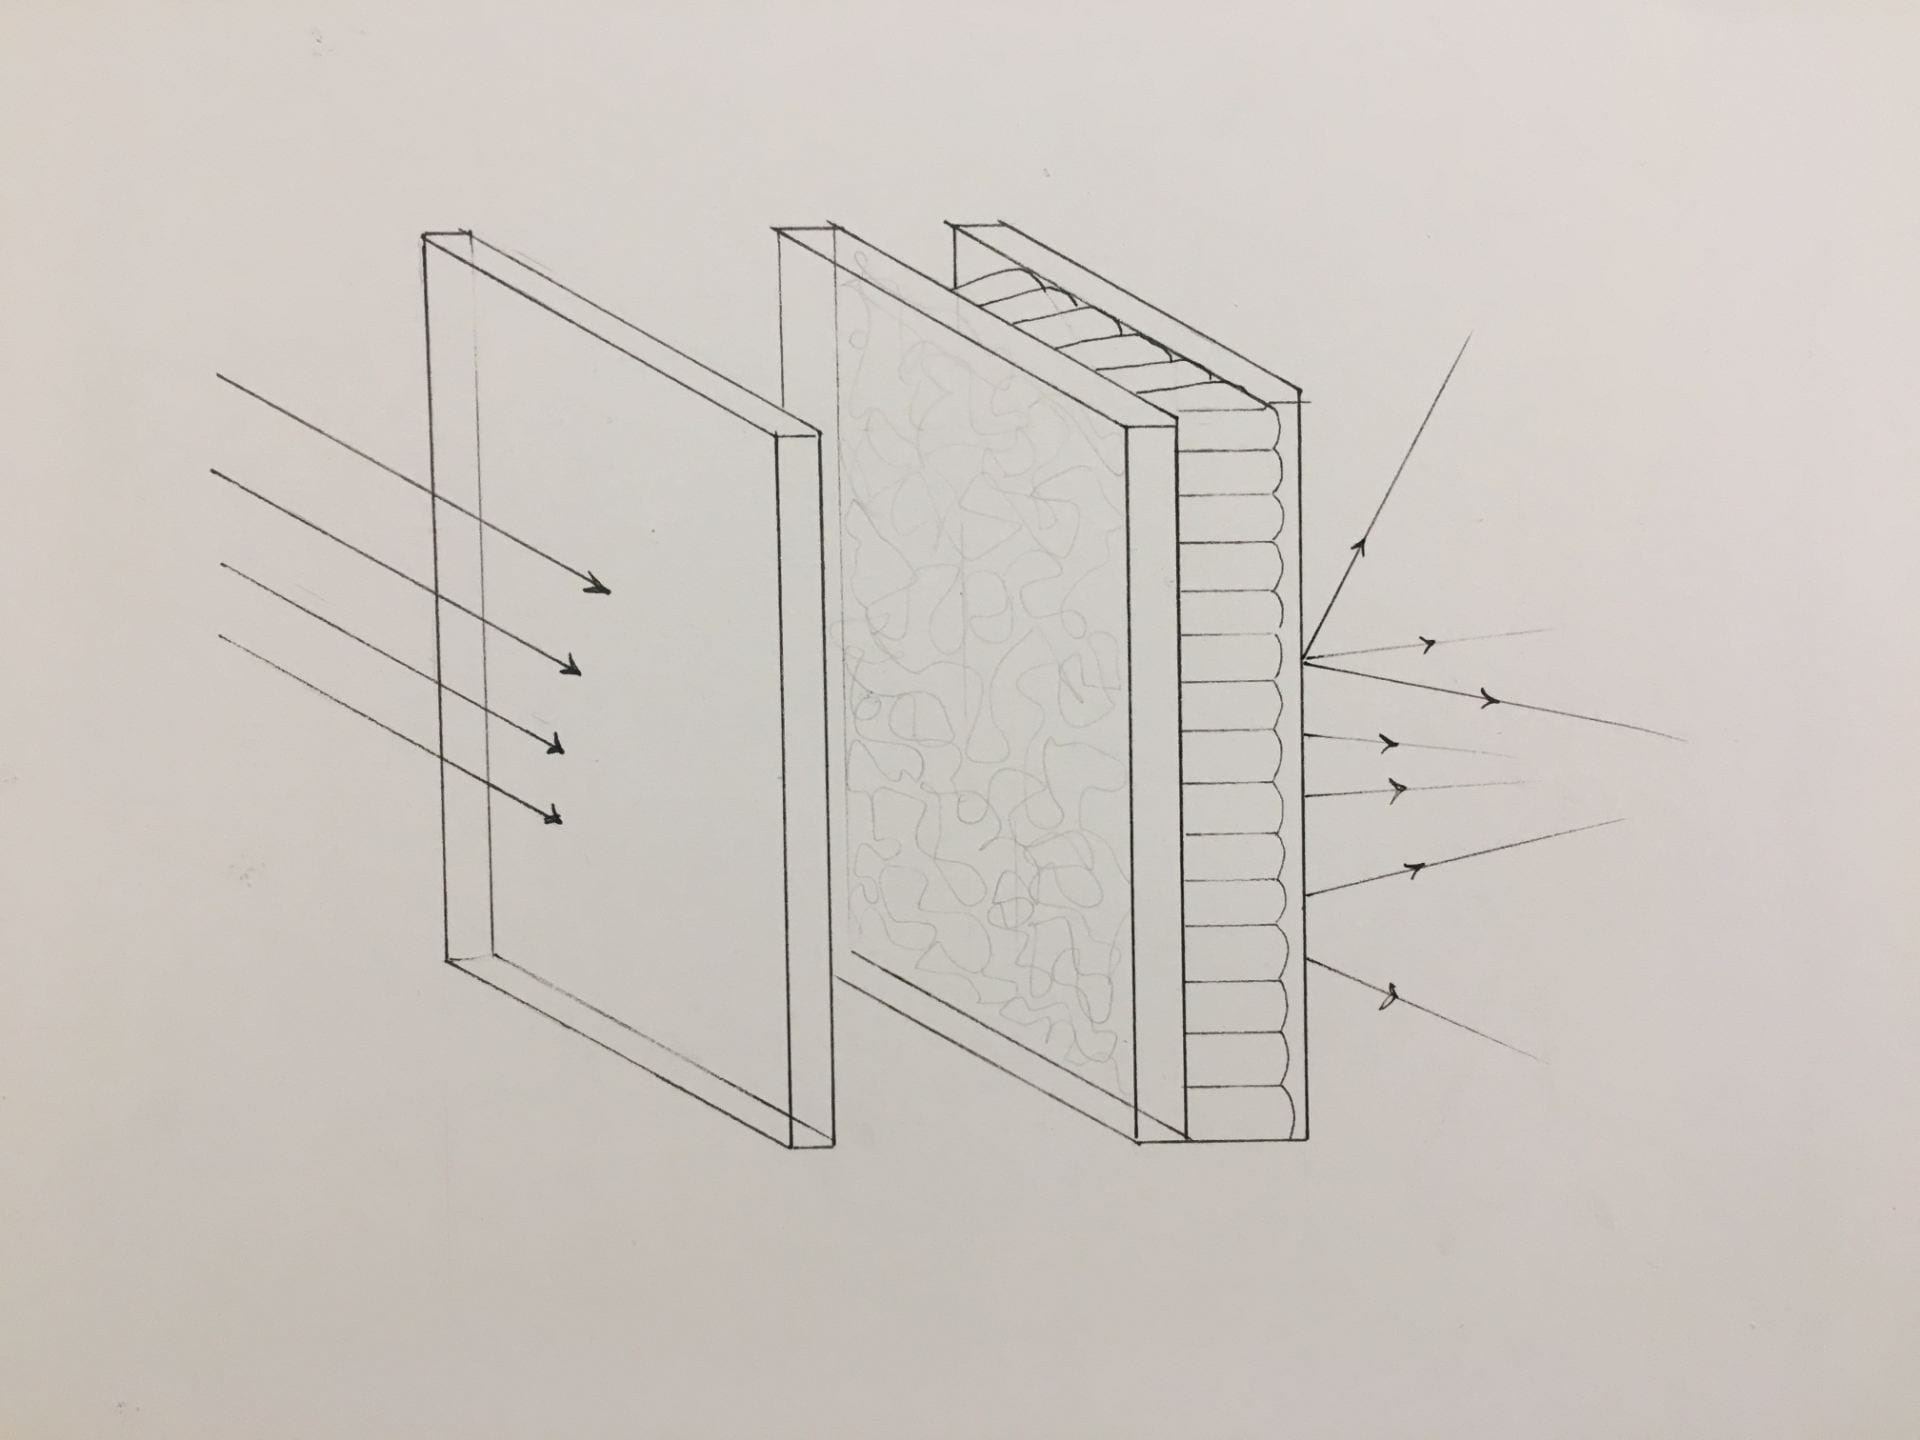
The structure also uses a special type of glass called Okalux glass.
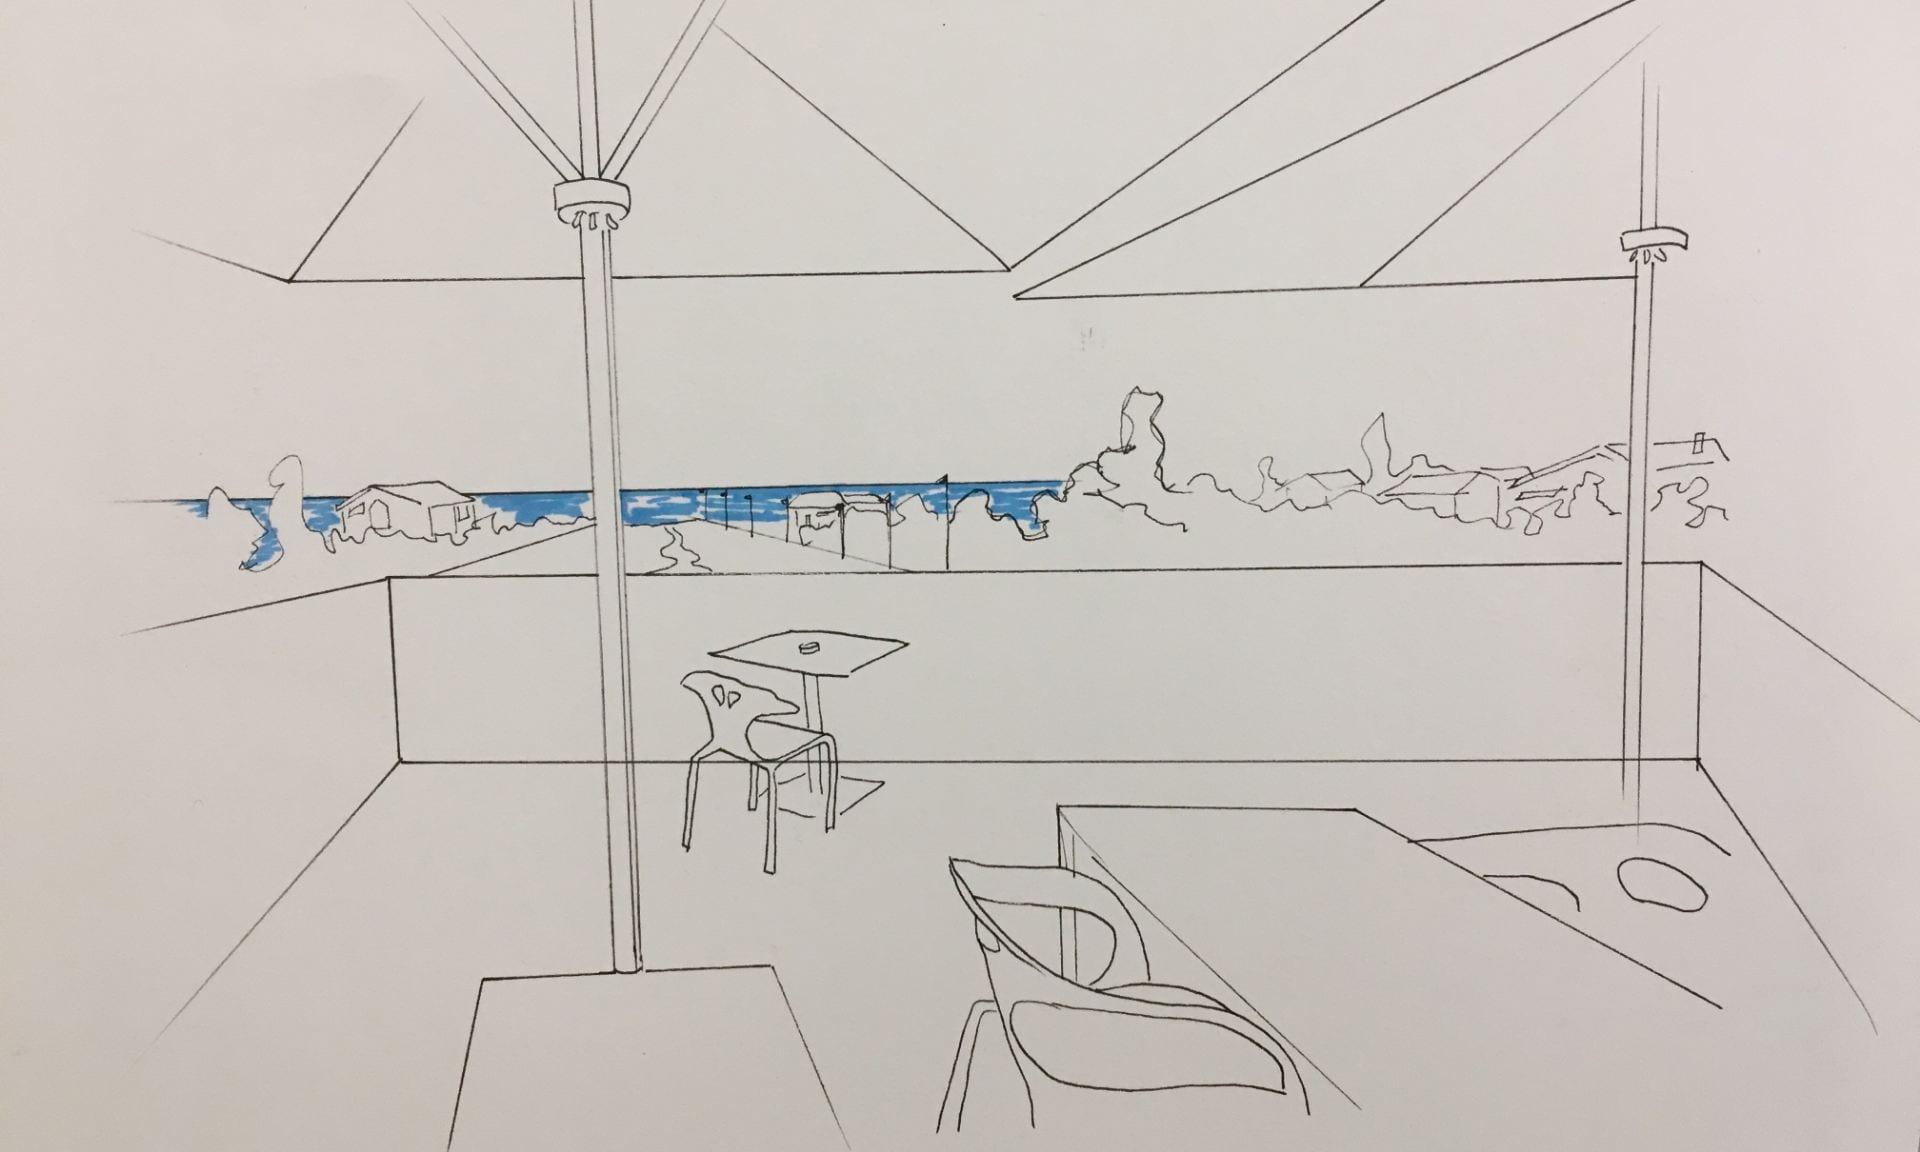
Drawing the indicates how the rooftop cafe is perfectly aligned to the ocean horizon, to enhance the view.
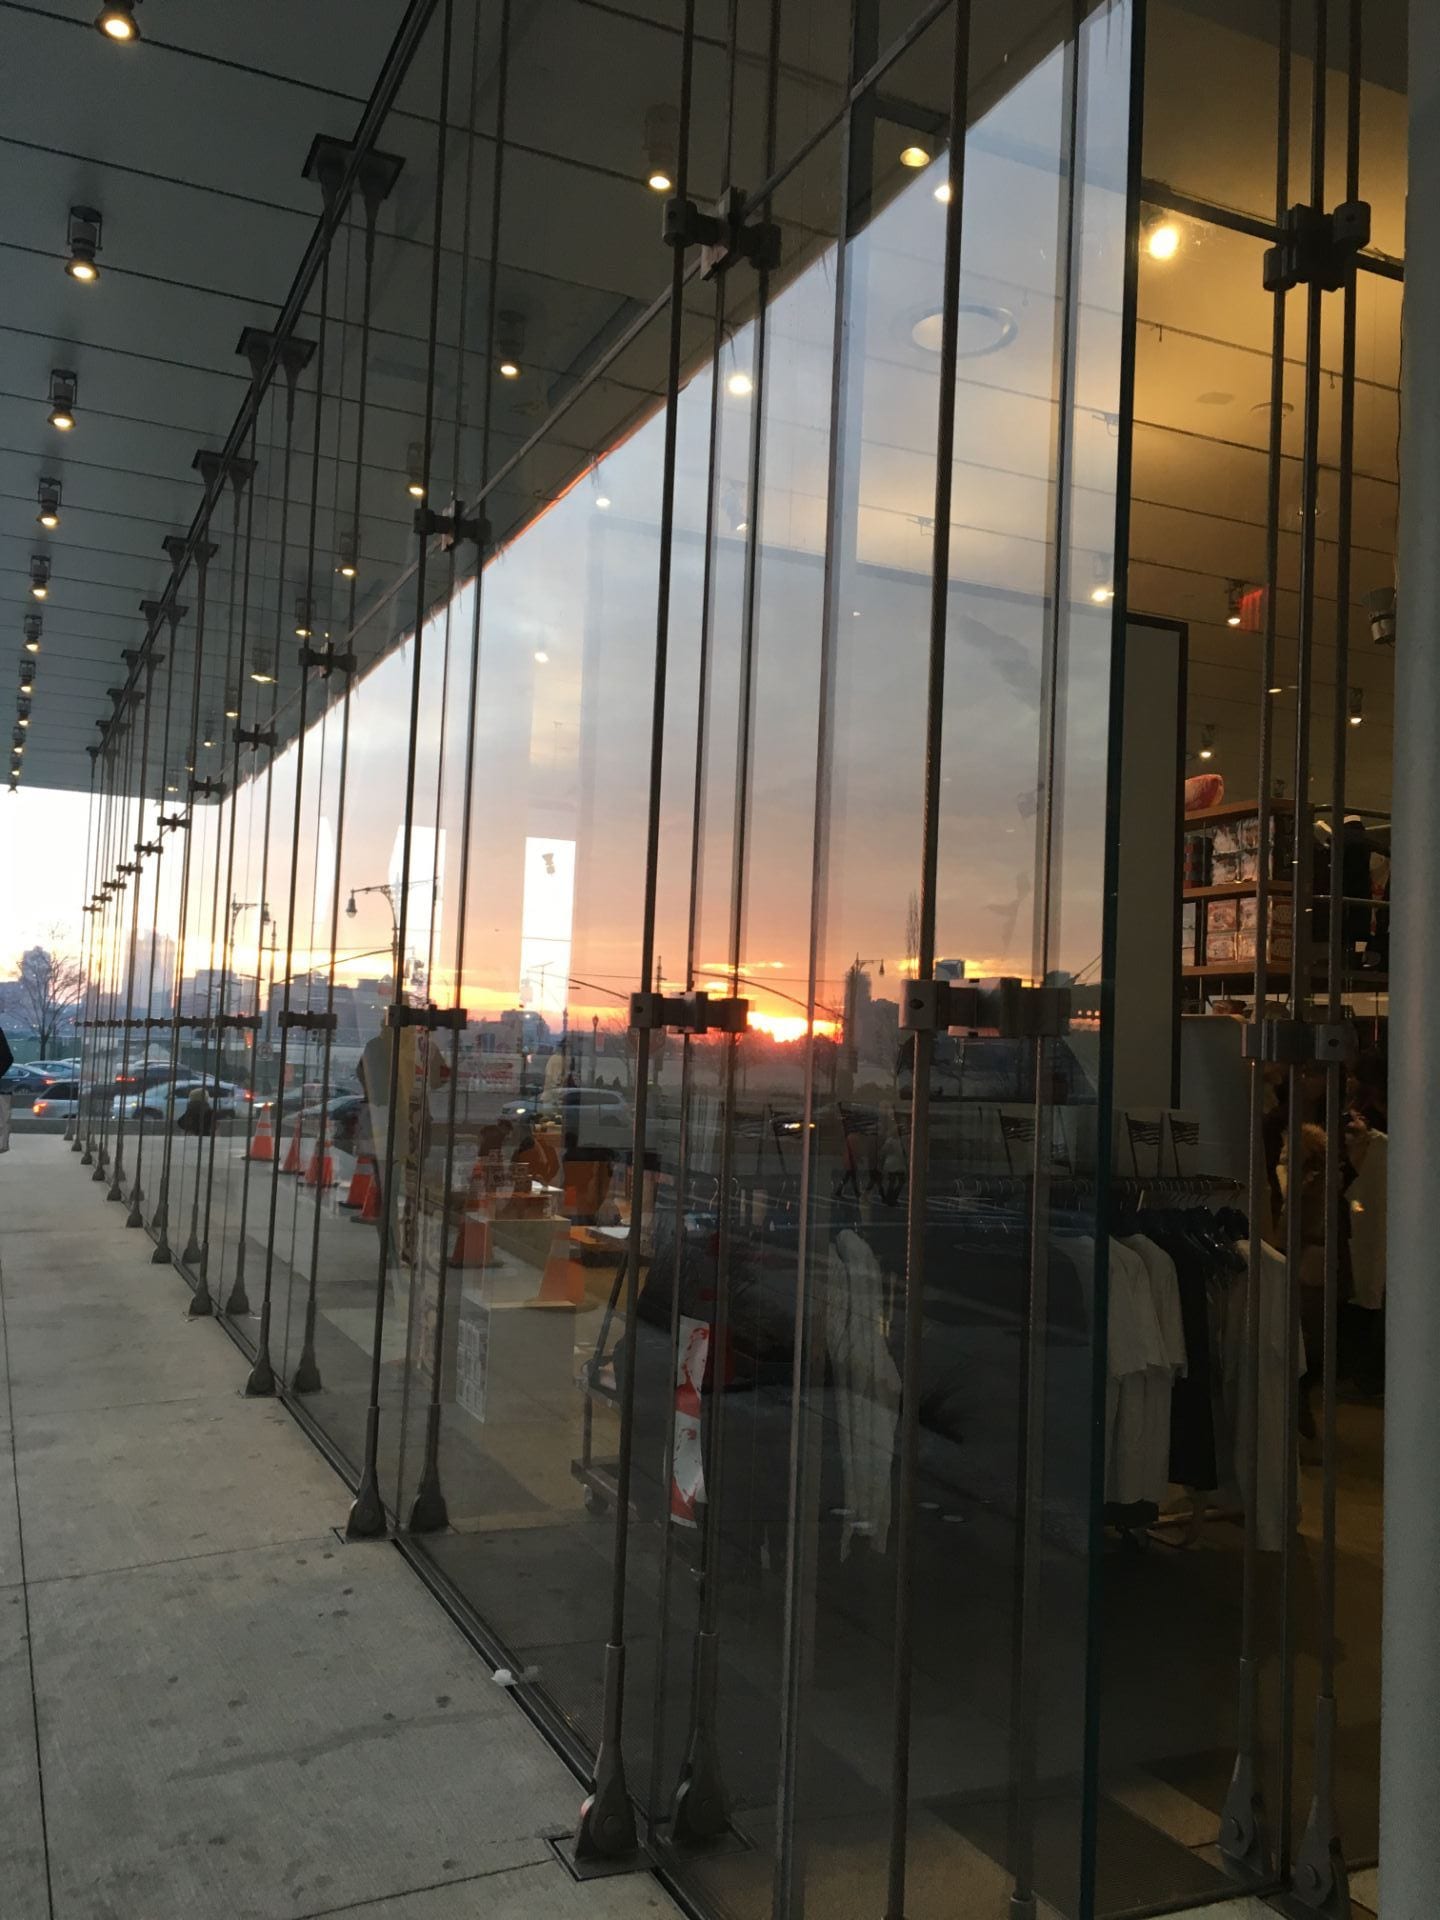
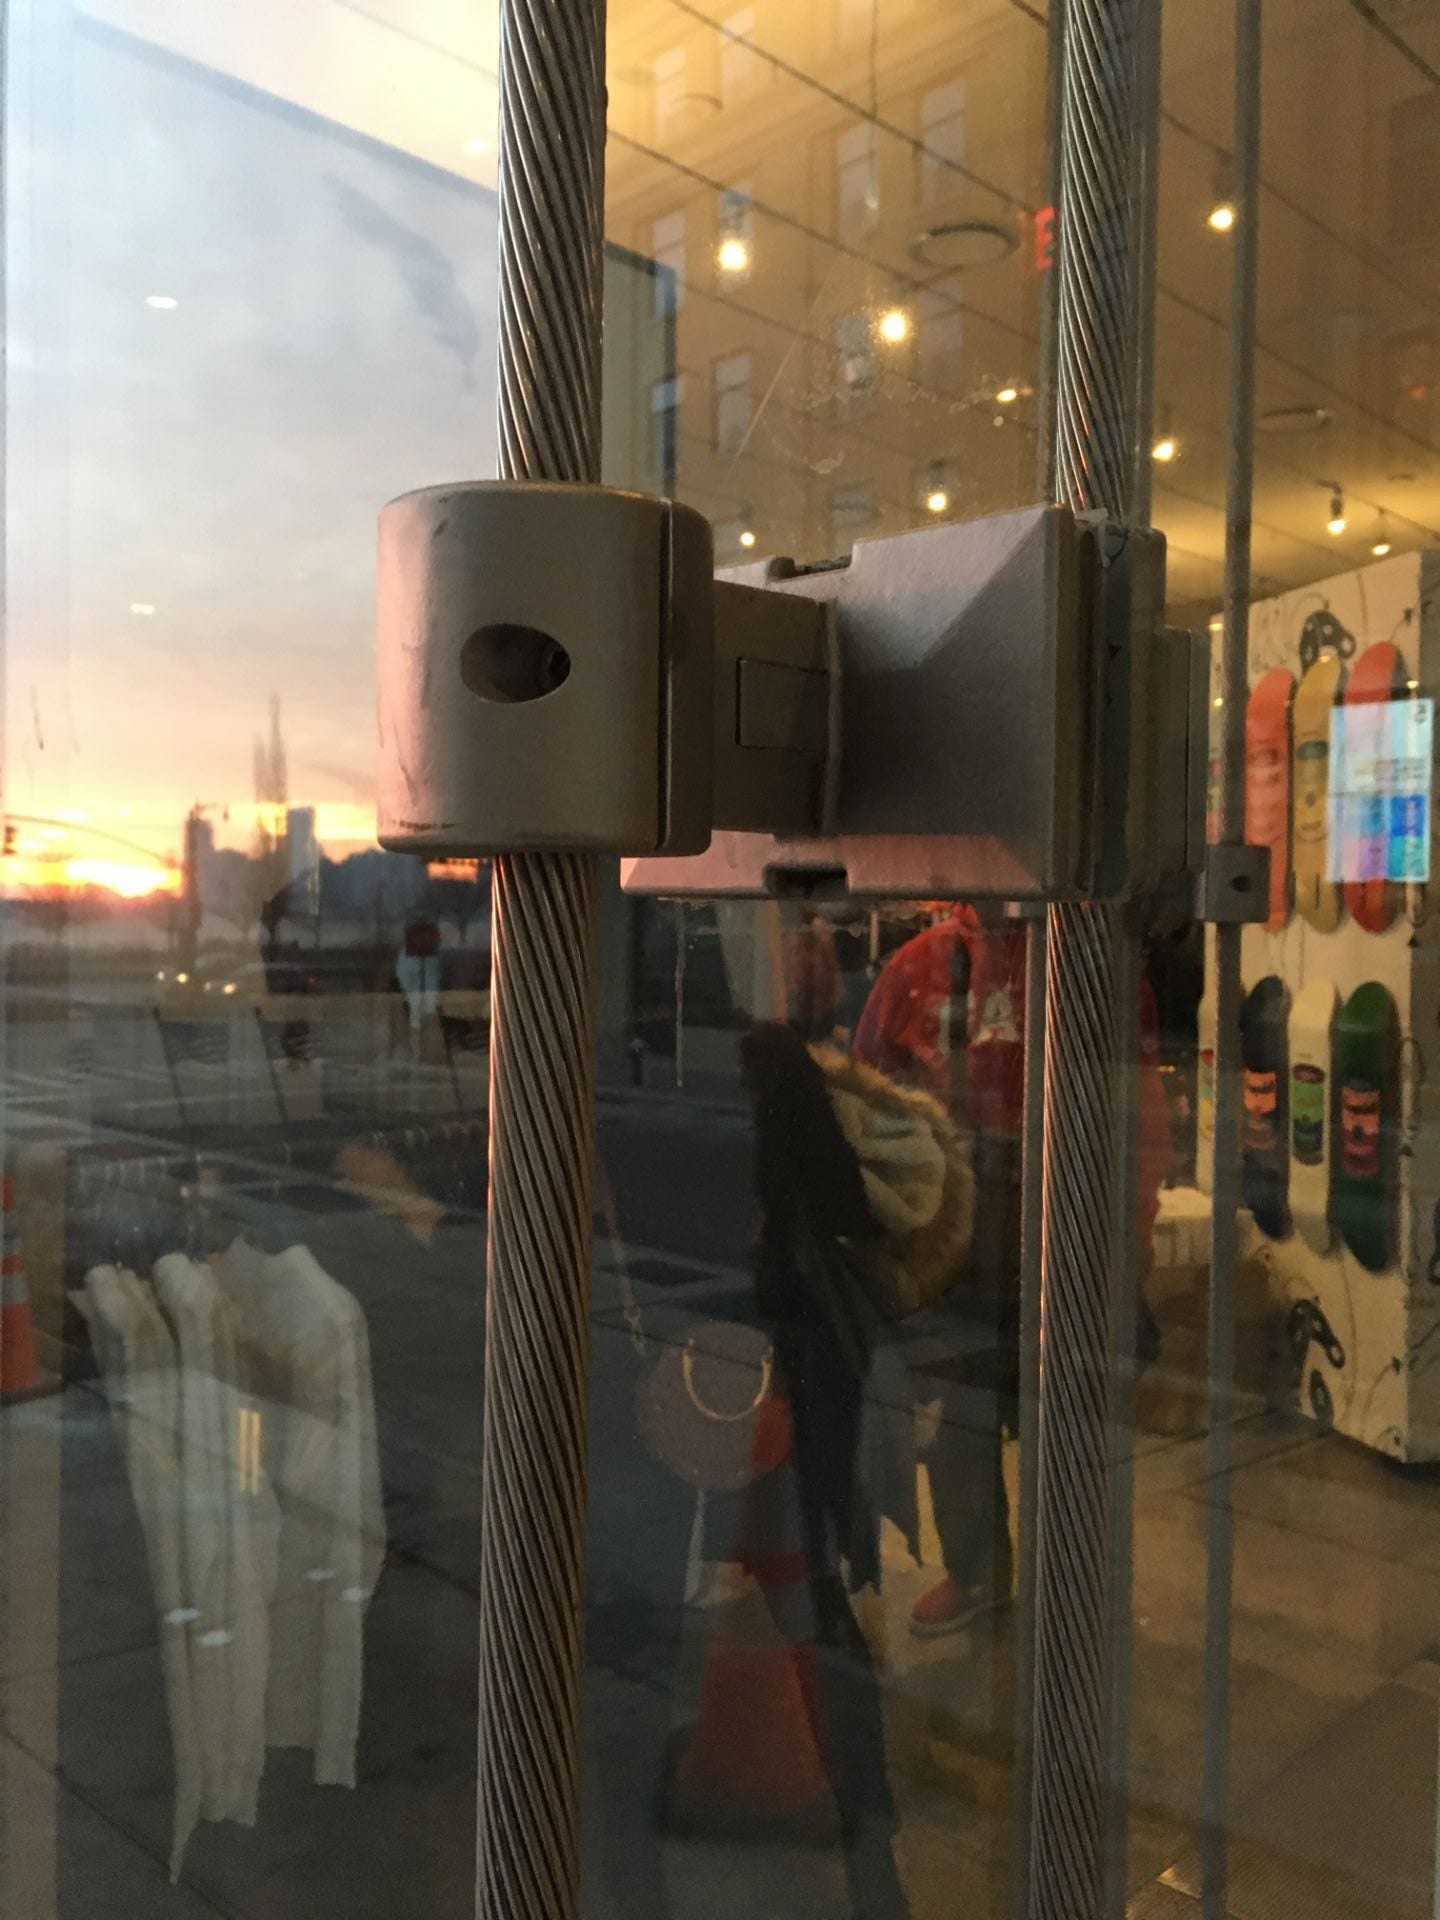
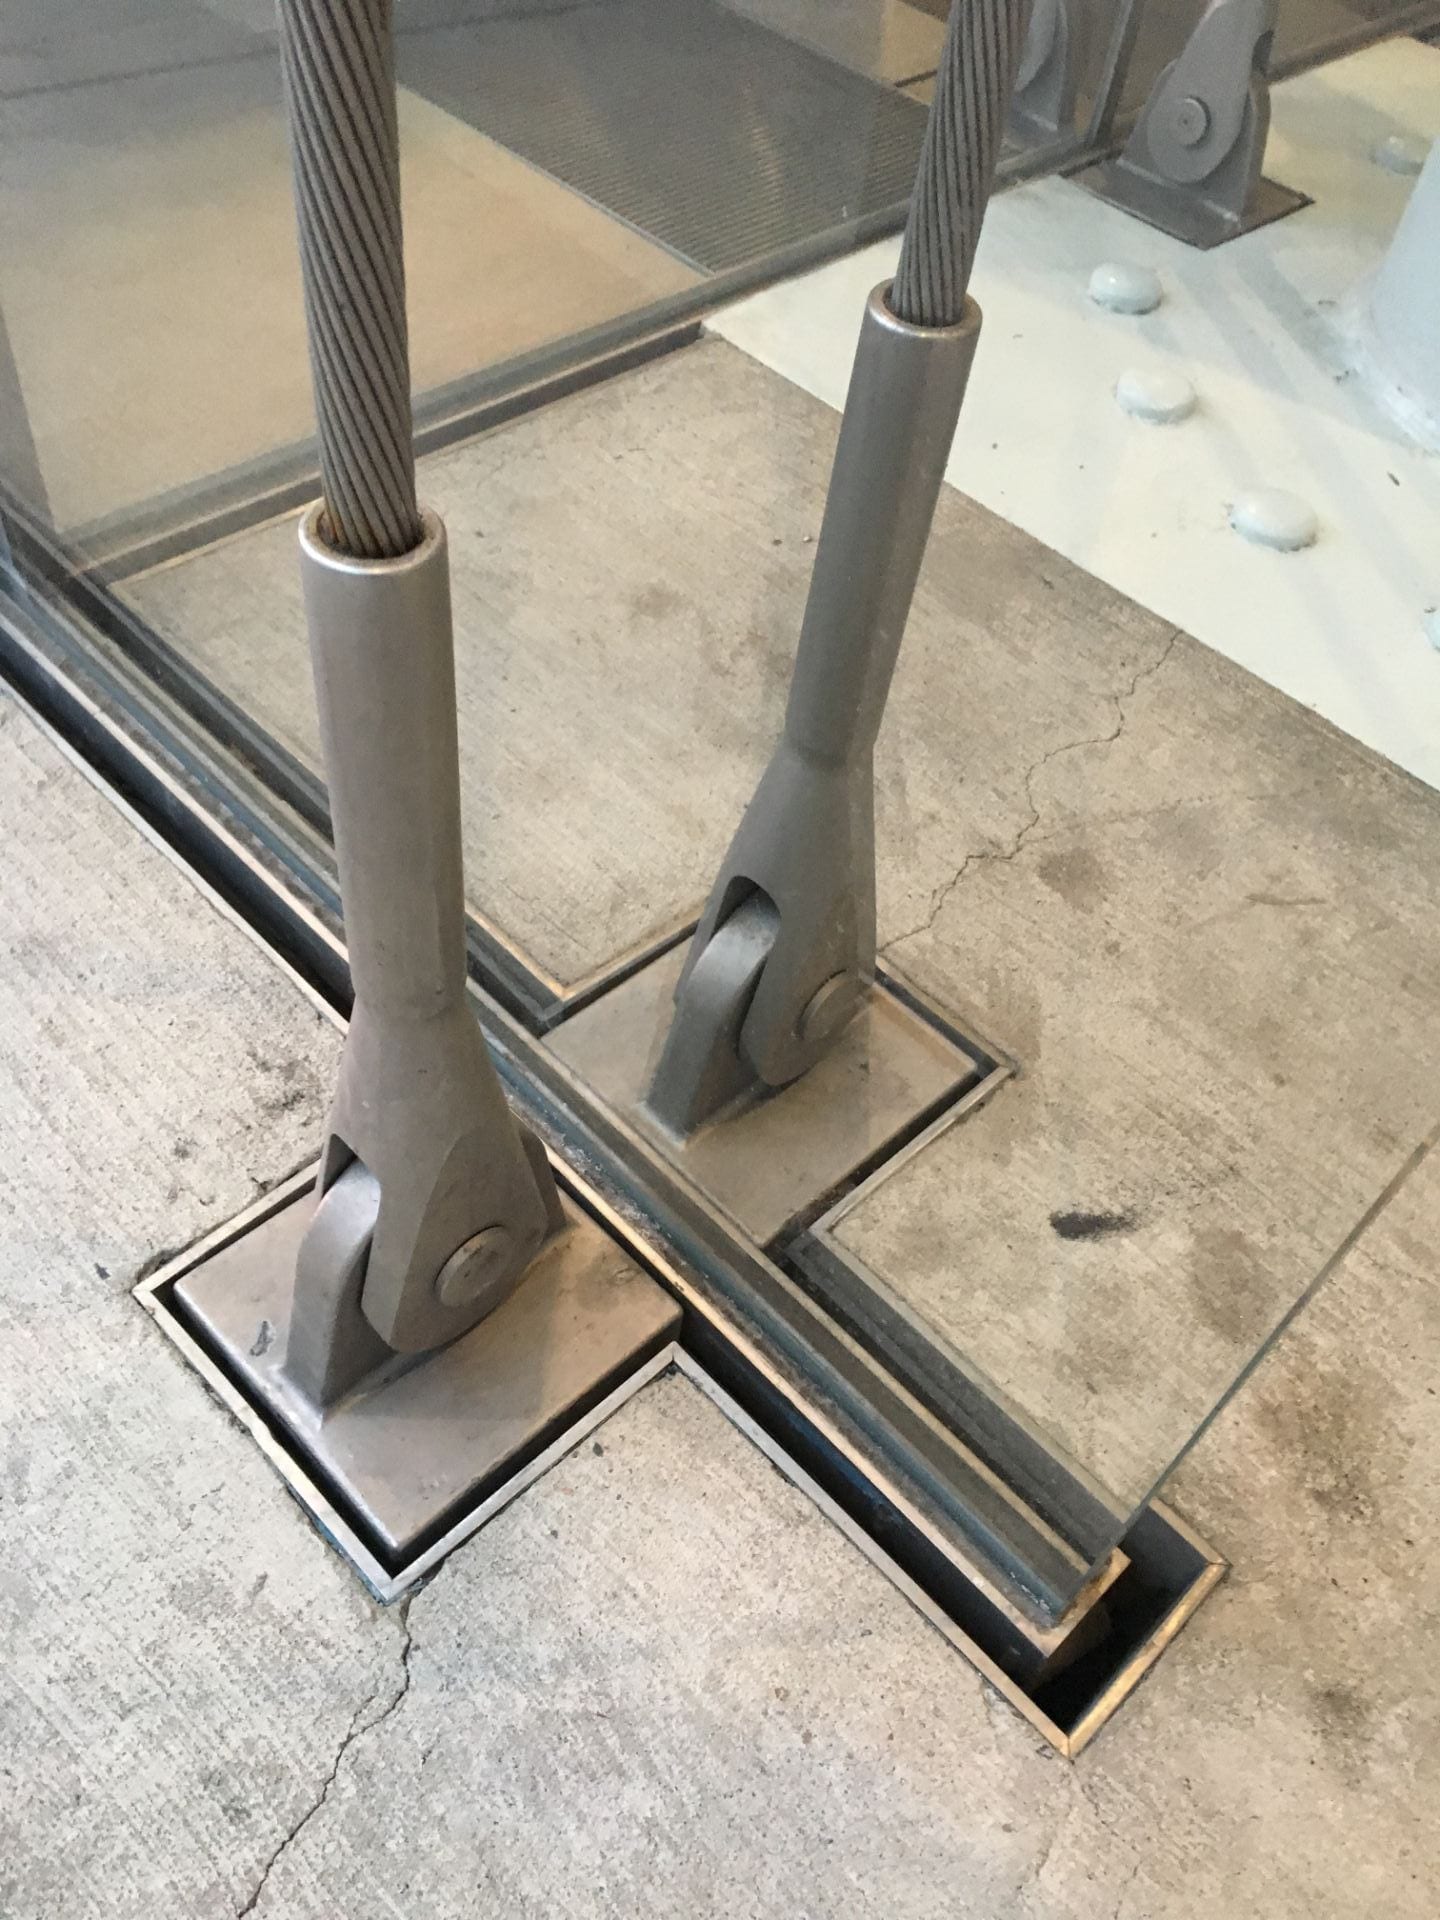
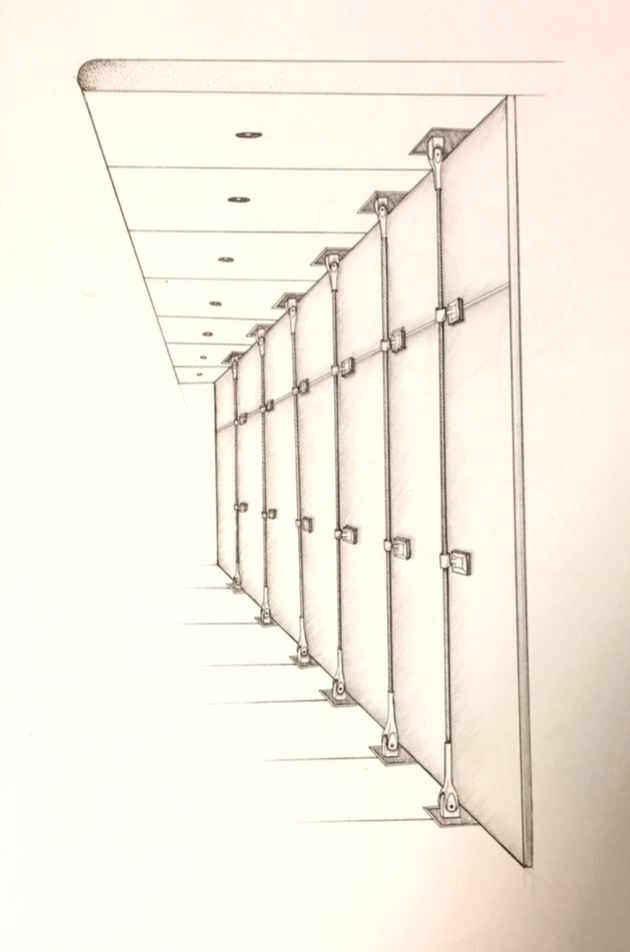
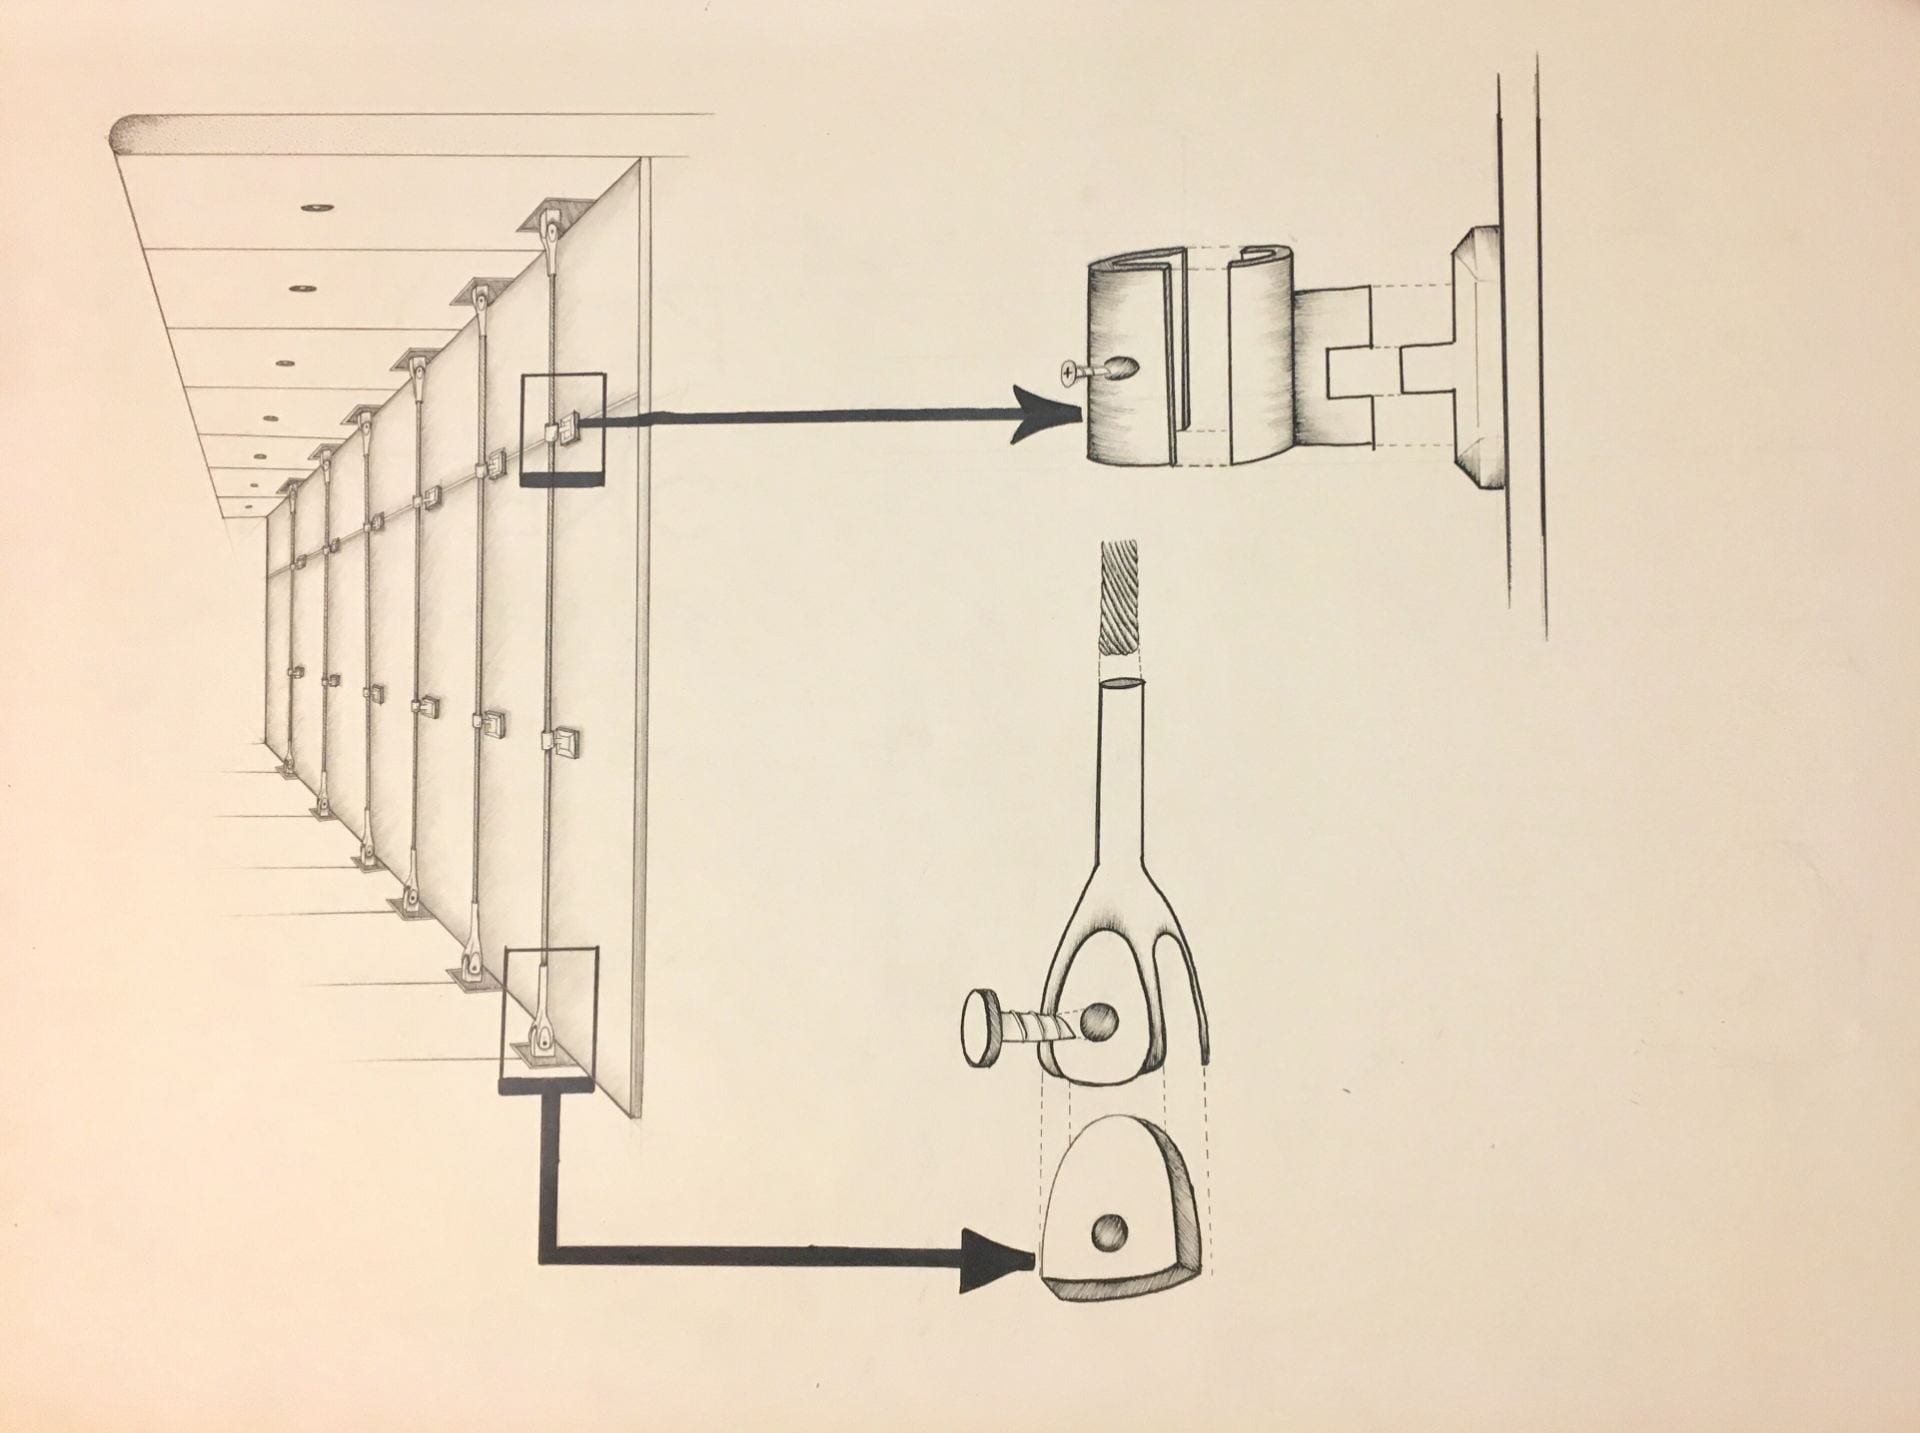
The images below illustrate the use of Spider fitting system used at the Whitney Museum. The system acts as a force that holds the glass and also protects the glass from heavy wind load.
The long wires as seen in the sketch below arise from the ground and move all the way up to the ceiling. There’s also an apparent rhythm present in the front facade of the structure, where horizontal and vertical lines meet to create a linear pattern.
The Final Studio project focused on designing a 100,000square feet Dance Center in New York City that is committed to the performing arts. The center would also be a space that advocates the education and history of dance
The structure also required the following set program
Small theatre with minimum 50 seats
Main Auditorium with 150 seats
Small recording studio
Library with small archive
Lounge space for dancers
4 studios for rehearsal
3 class rooms
Restrooms
Staircase
Materials:
Chipboard
Bristol Paper
Double side tape
Glue
synthetic plastic sheets
Process:
The body is a vessel. It contains our organs (the infrastructure) held up by a skeleton (structure) and wrapped by a skin (envelope). Buildings are vessels for bodies and therefore the human body has always been in the center of interest for architects. Since we are focusing on creating a dance studio, its critical to understand the body movement in relation to space.
Part.1
Hence, we began the project by constructing a catalog of forms and diagrams that describe the body through selecting a particular dance form. The goal is to make yourself familiar with scale and proportion of the human body and in extension space.
Part.2
We then moved on to create possible iterations for the subdivision for the infrastructure.
Part.3
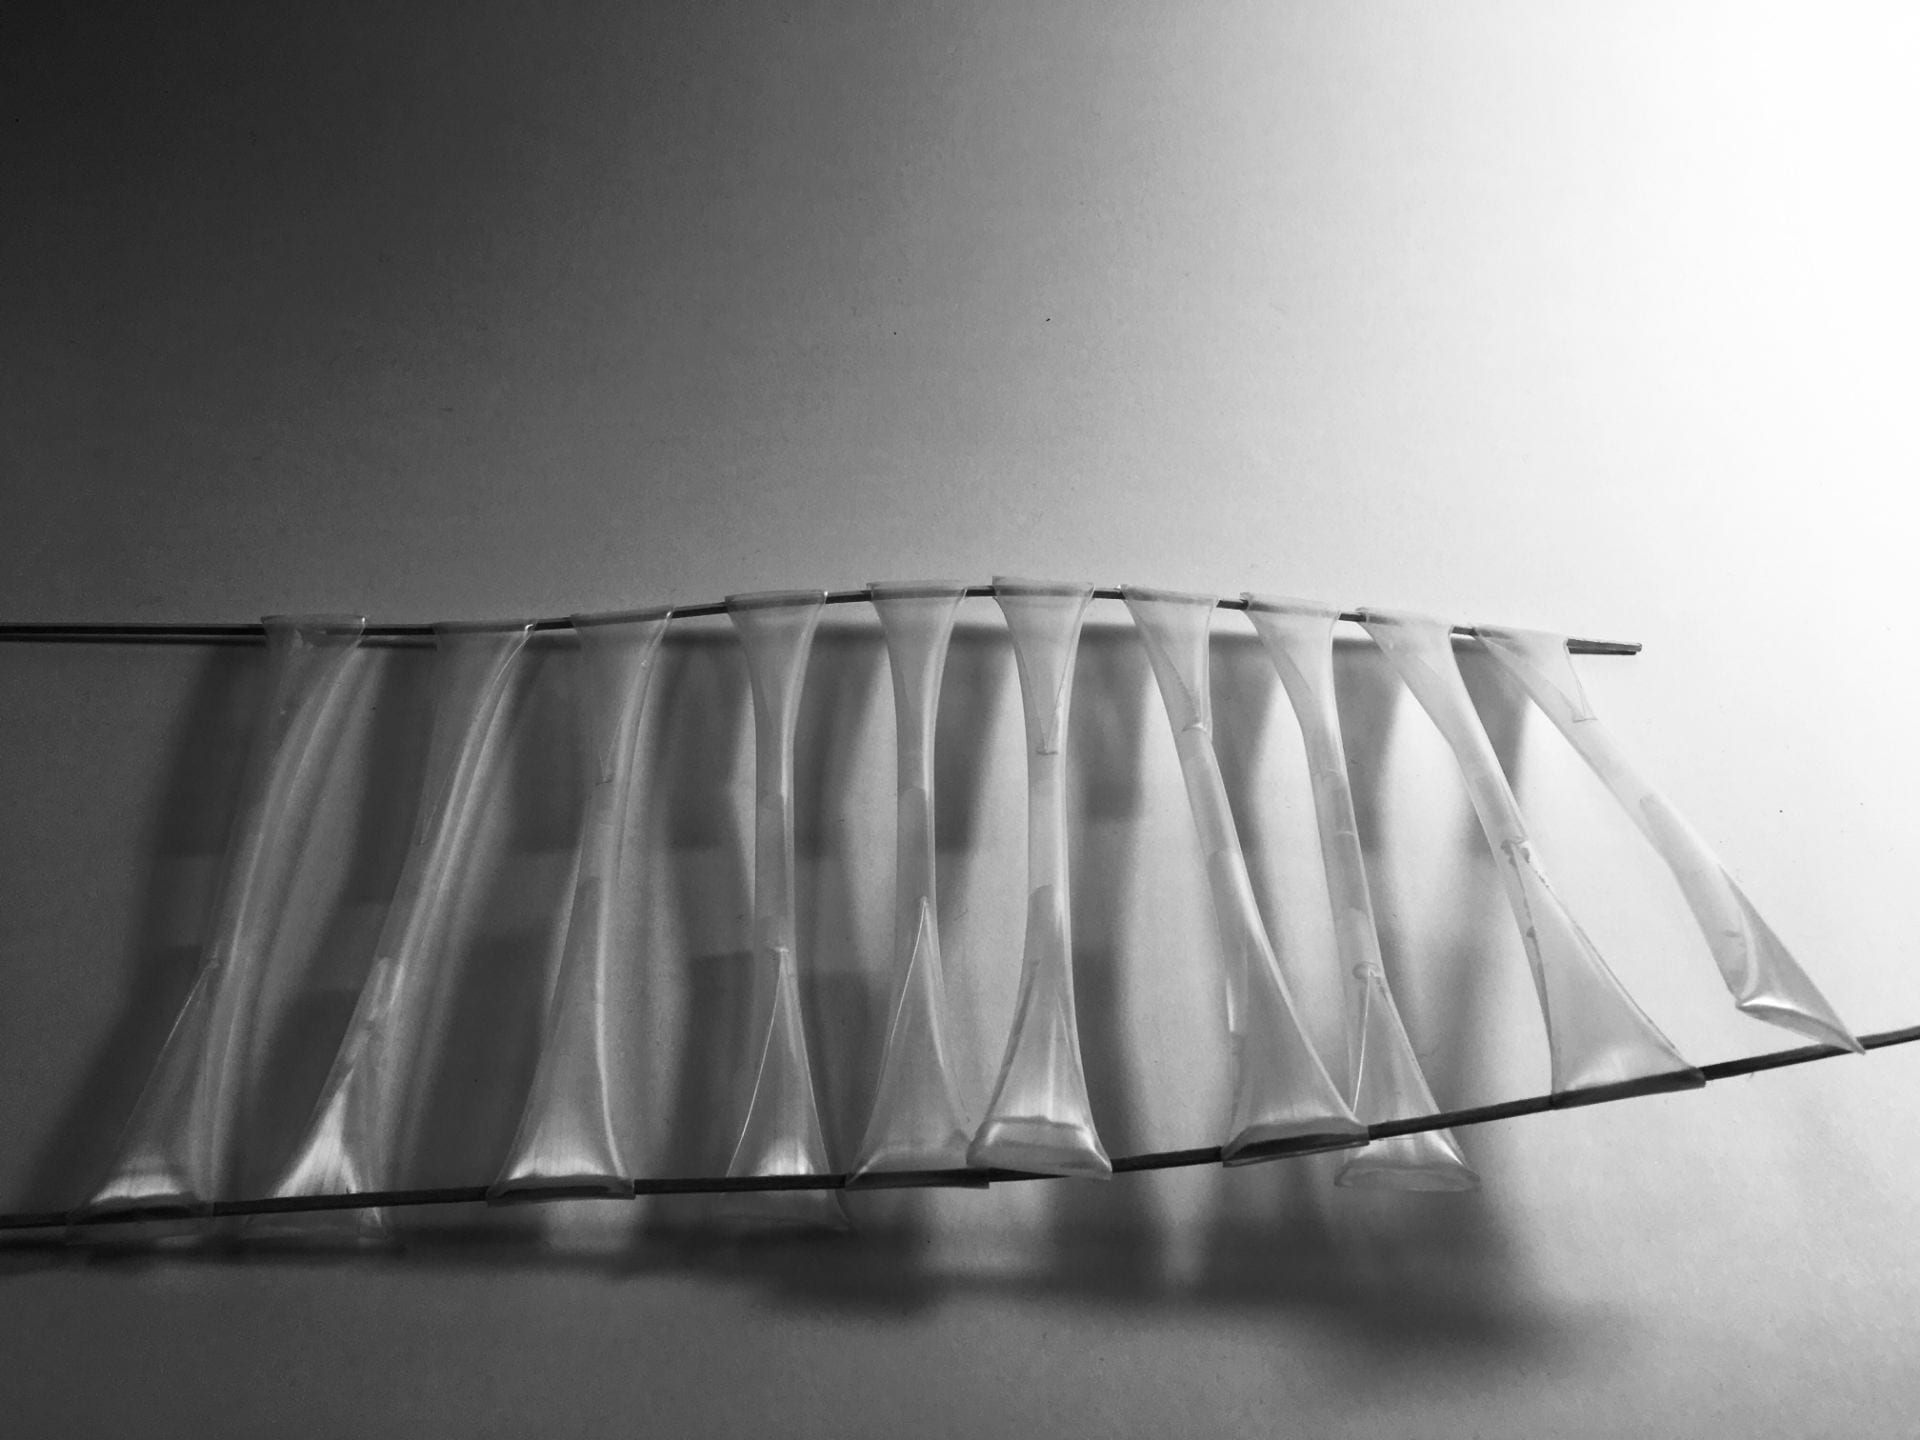
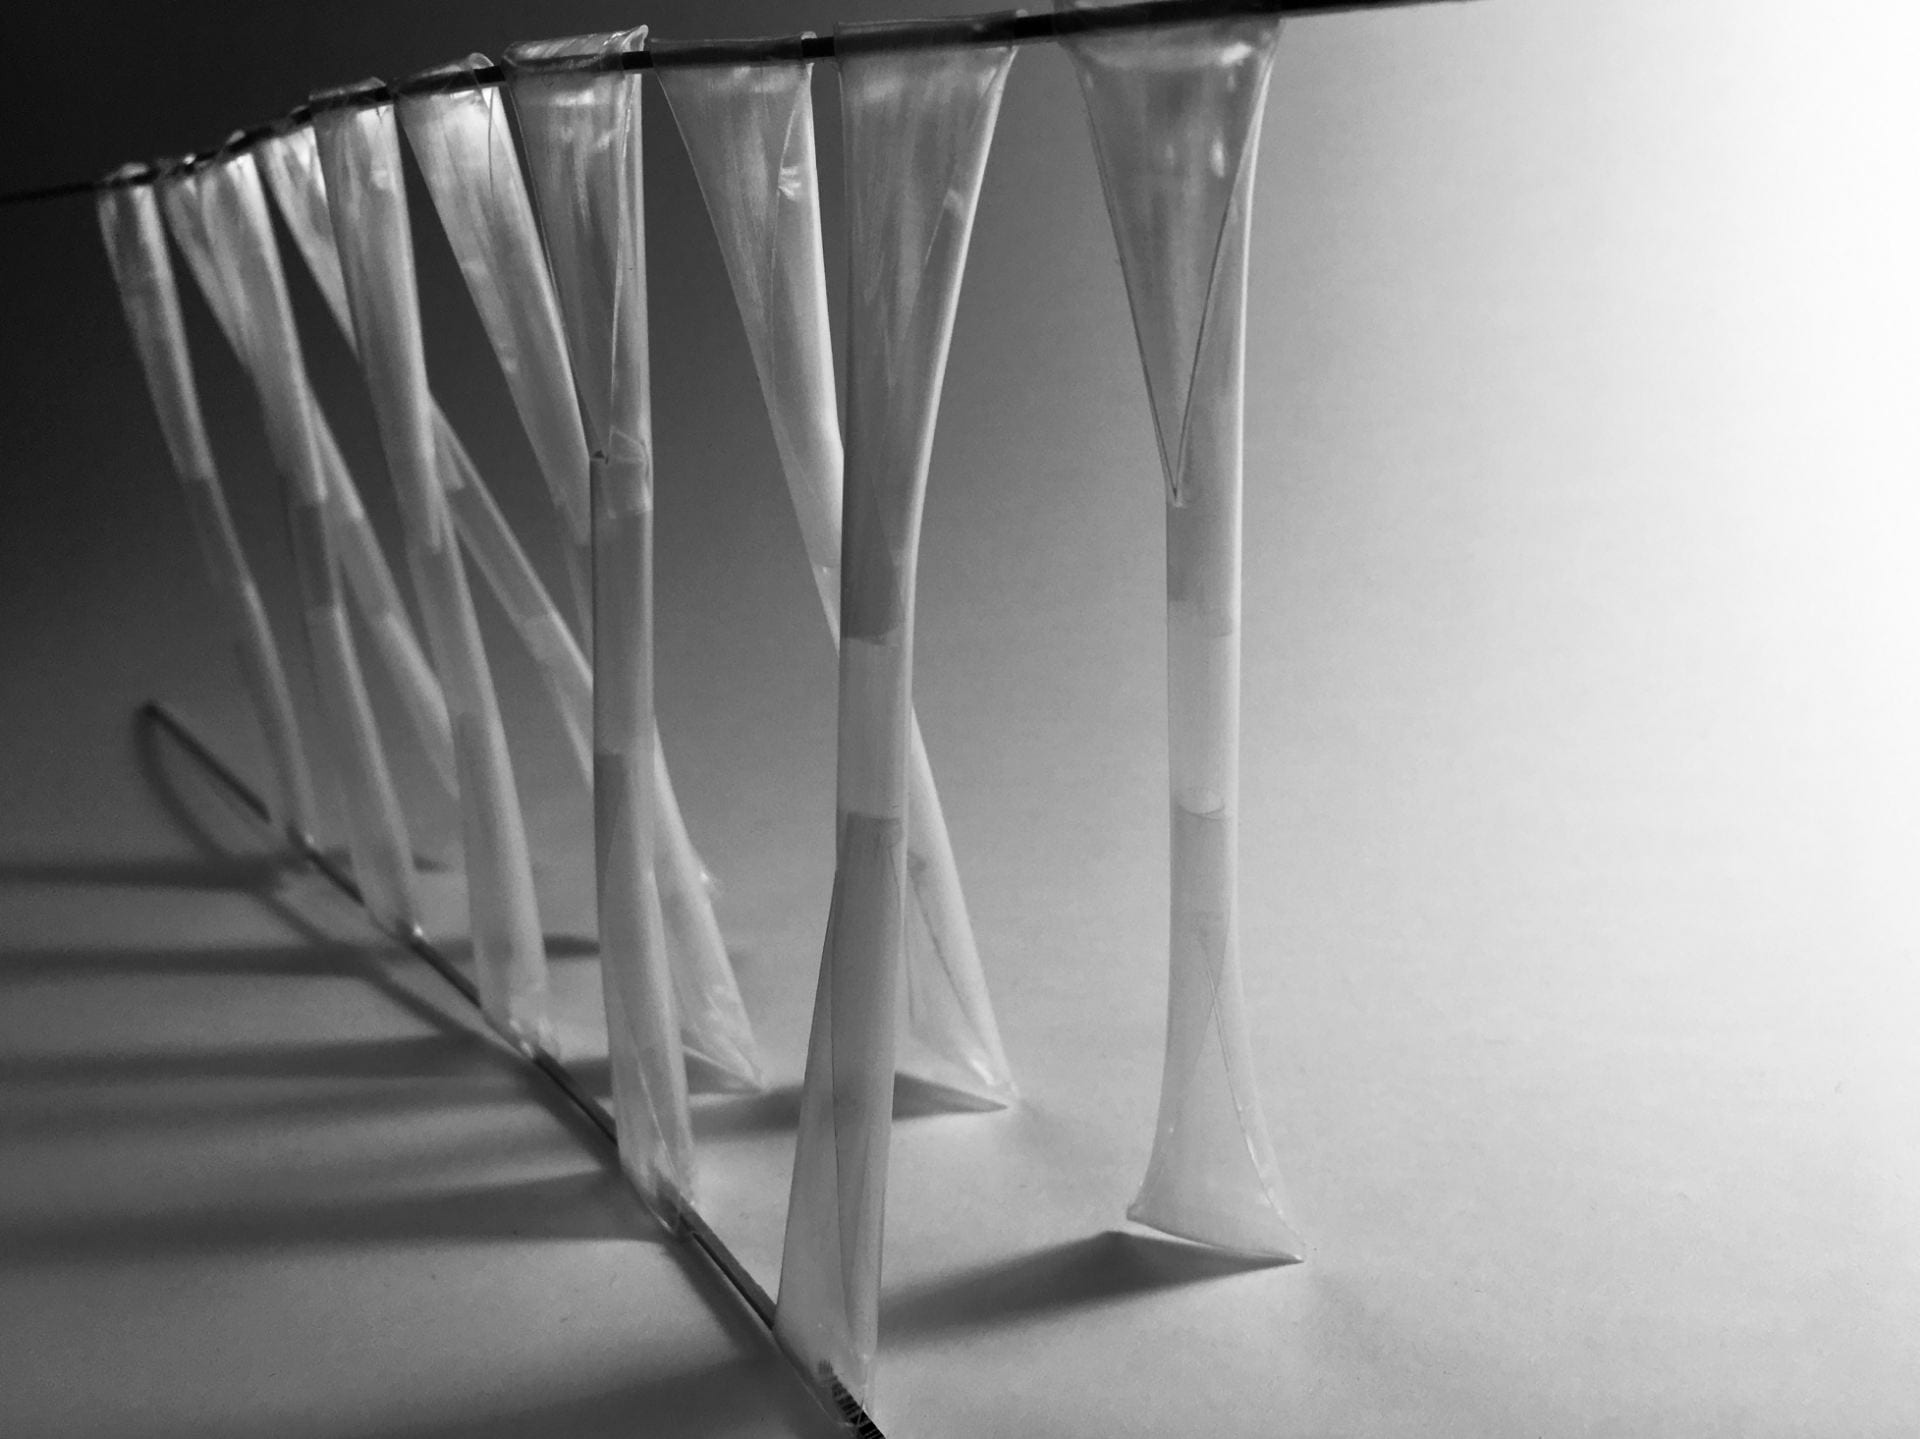
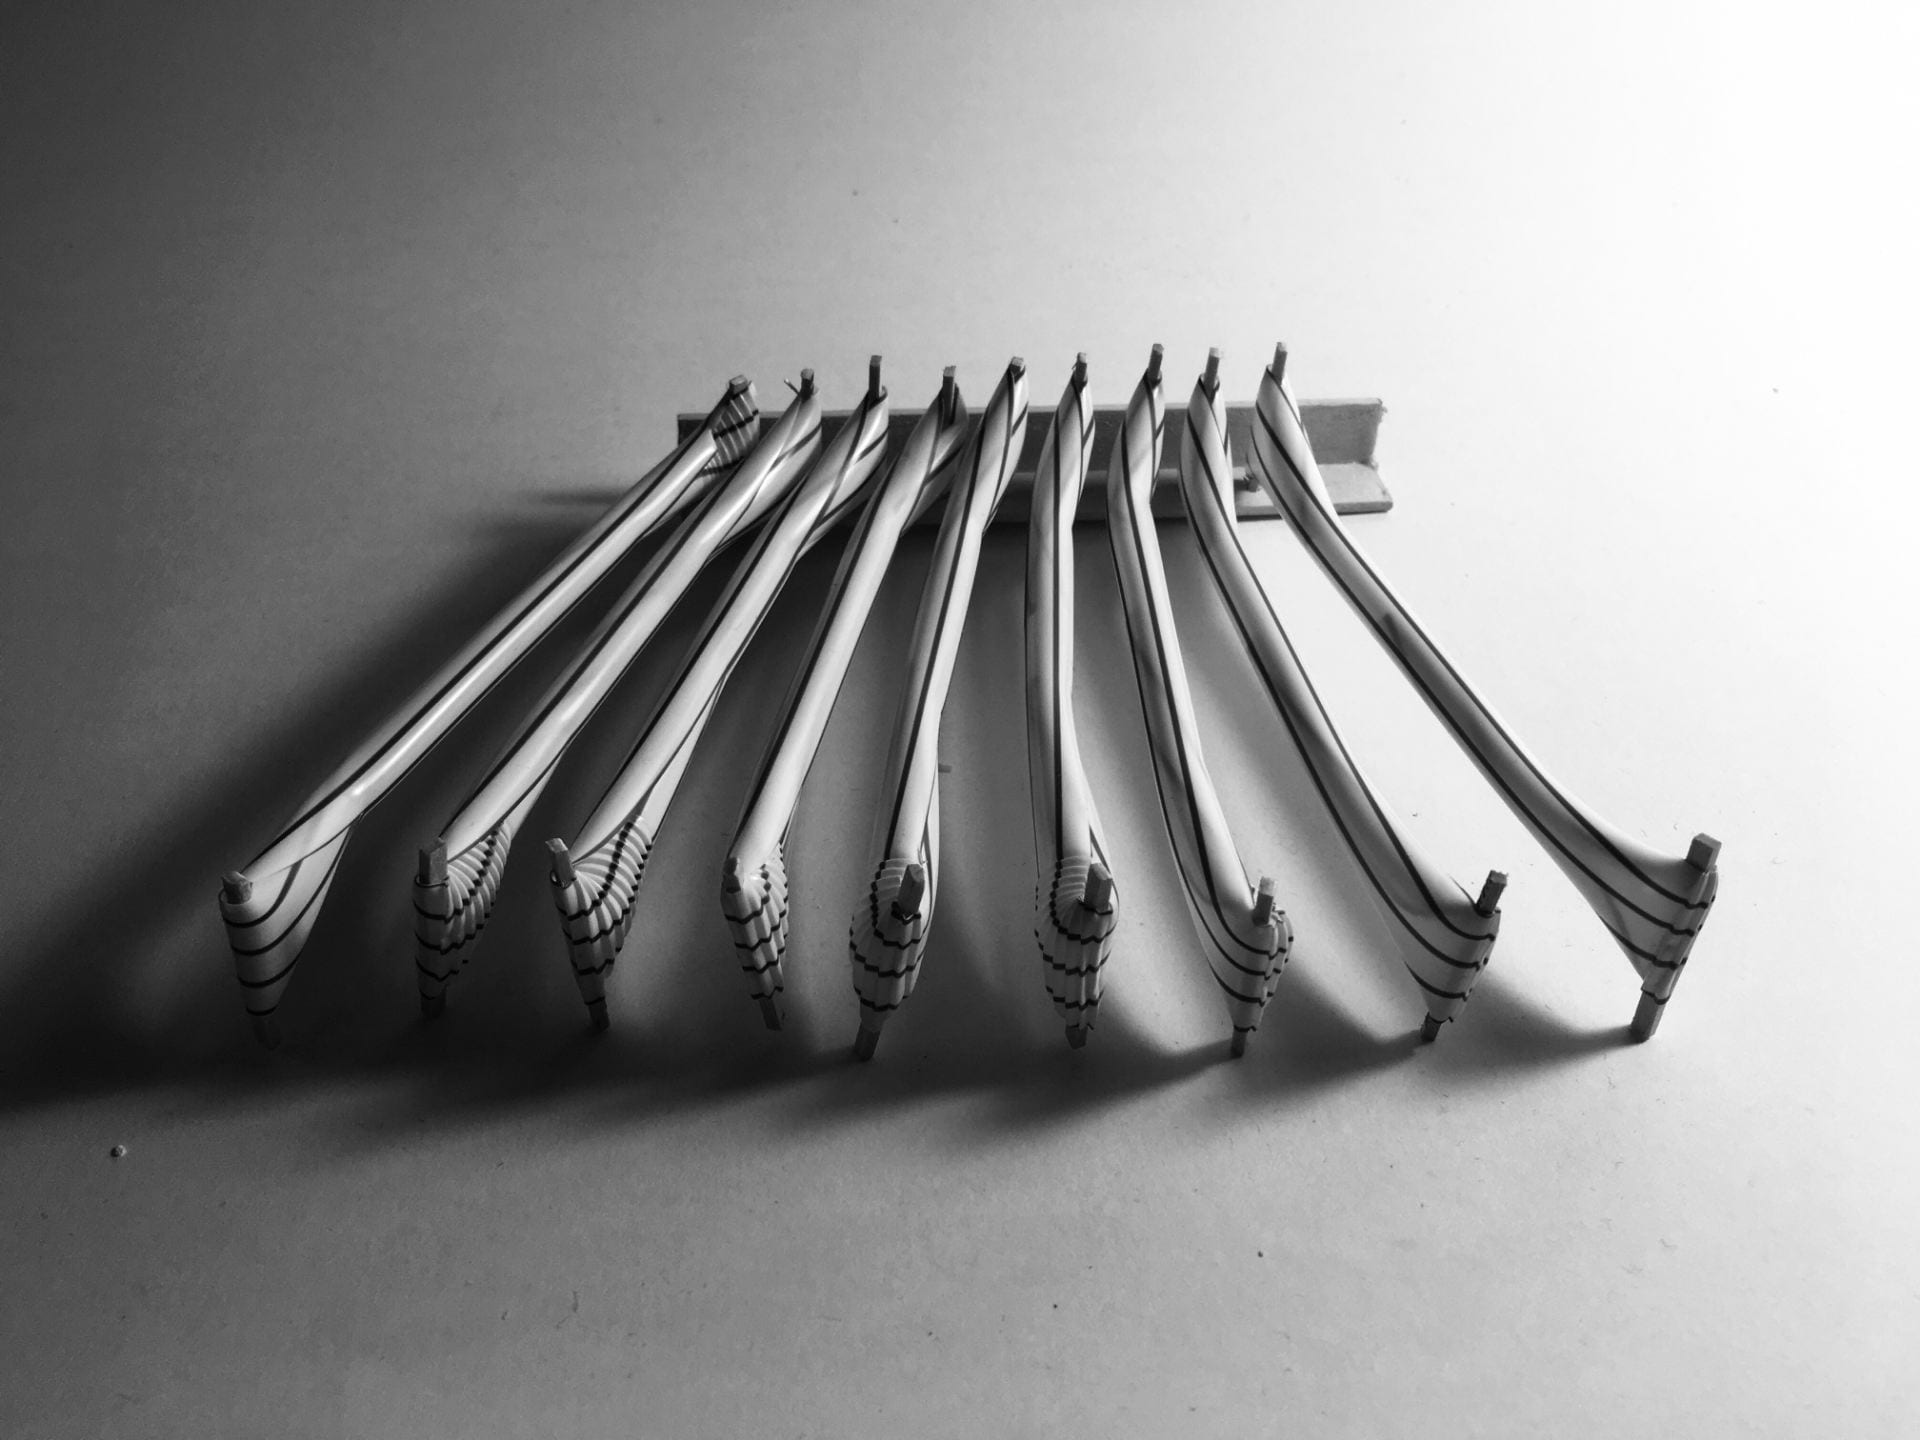
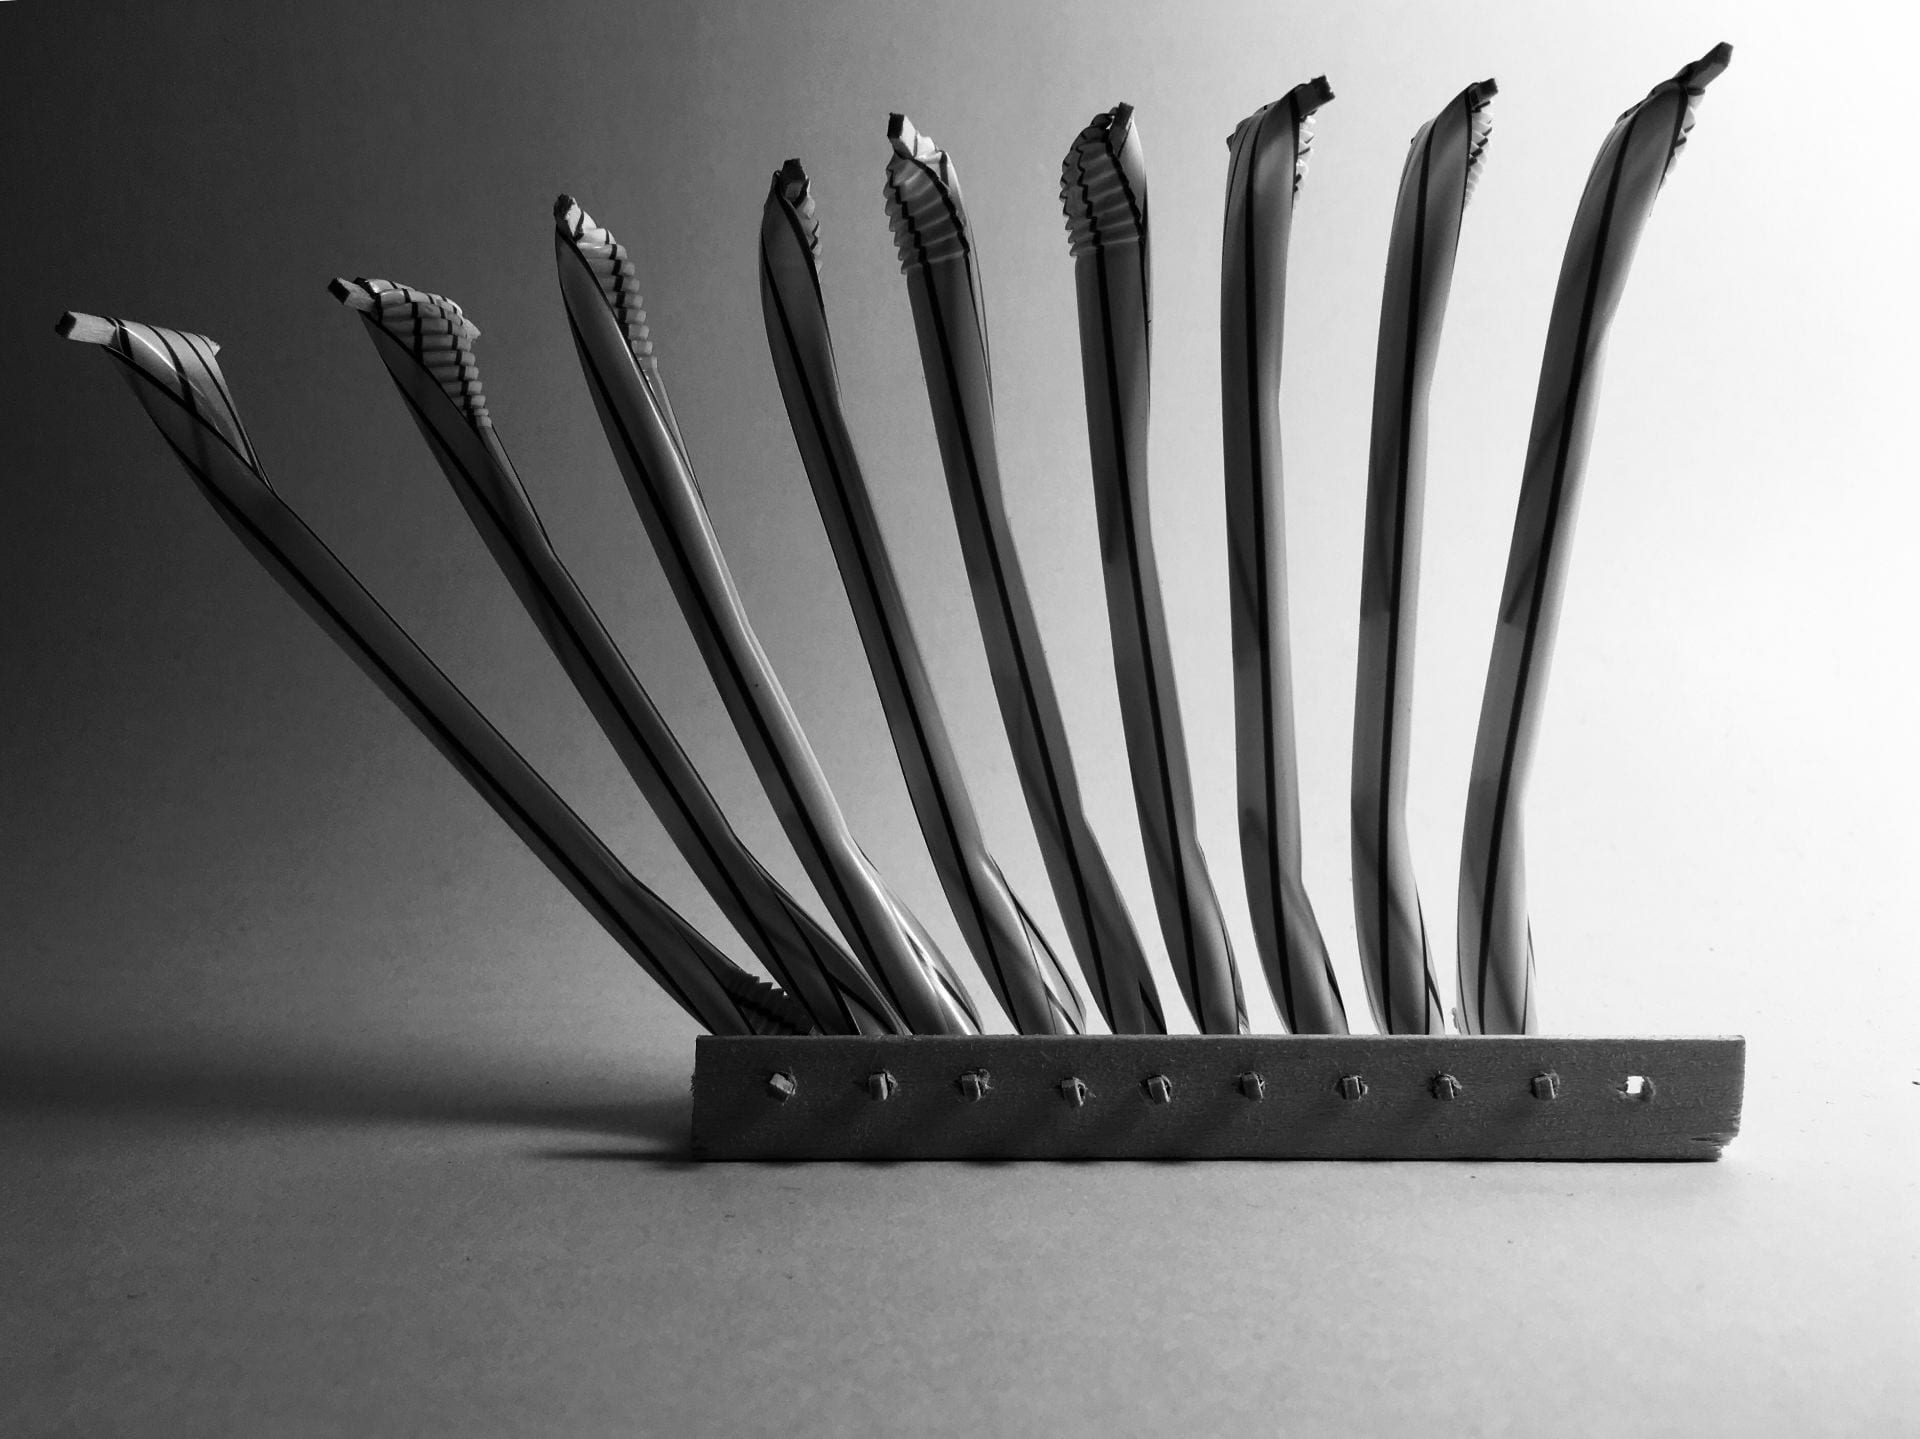
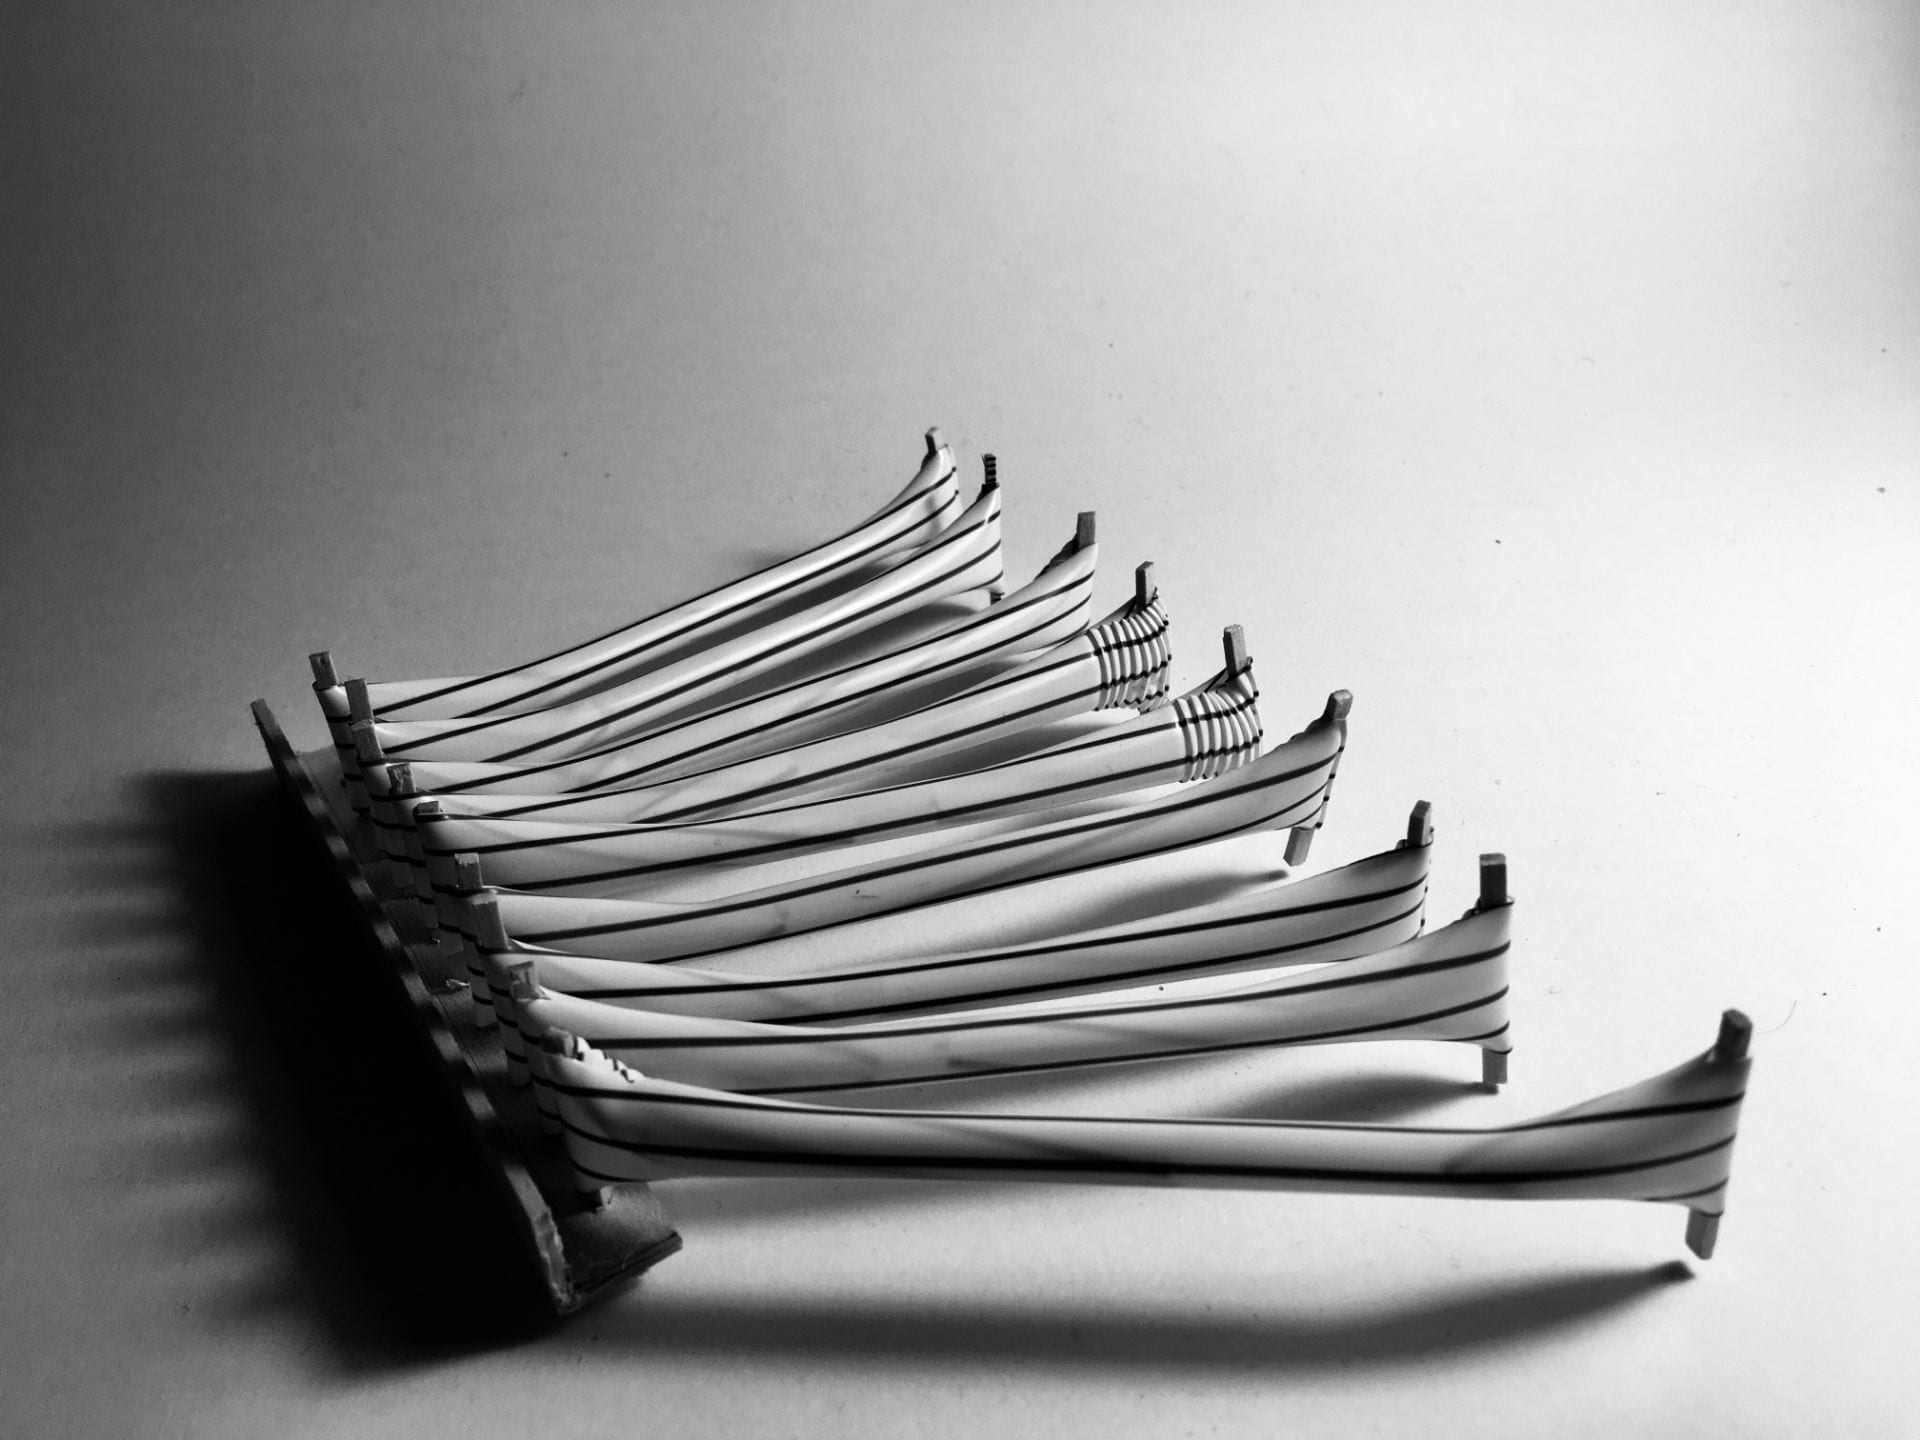
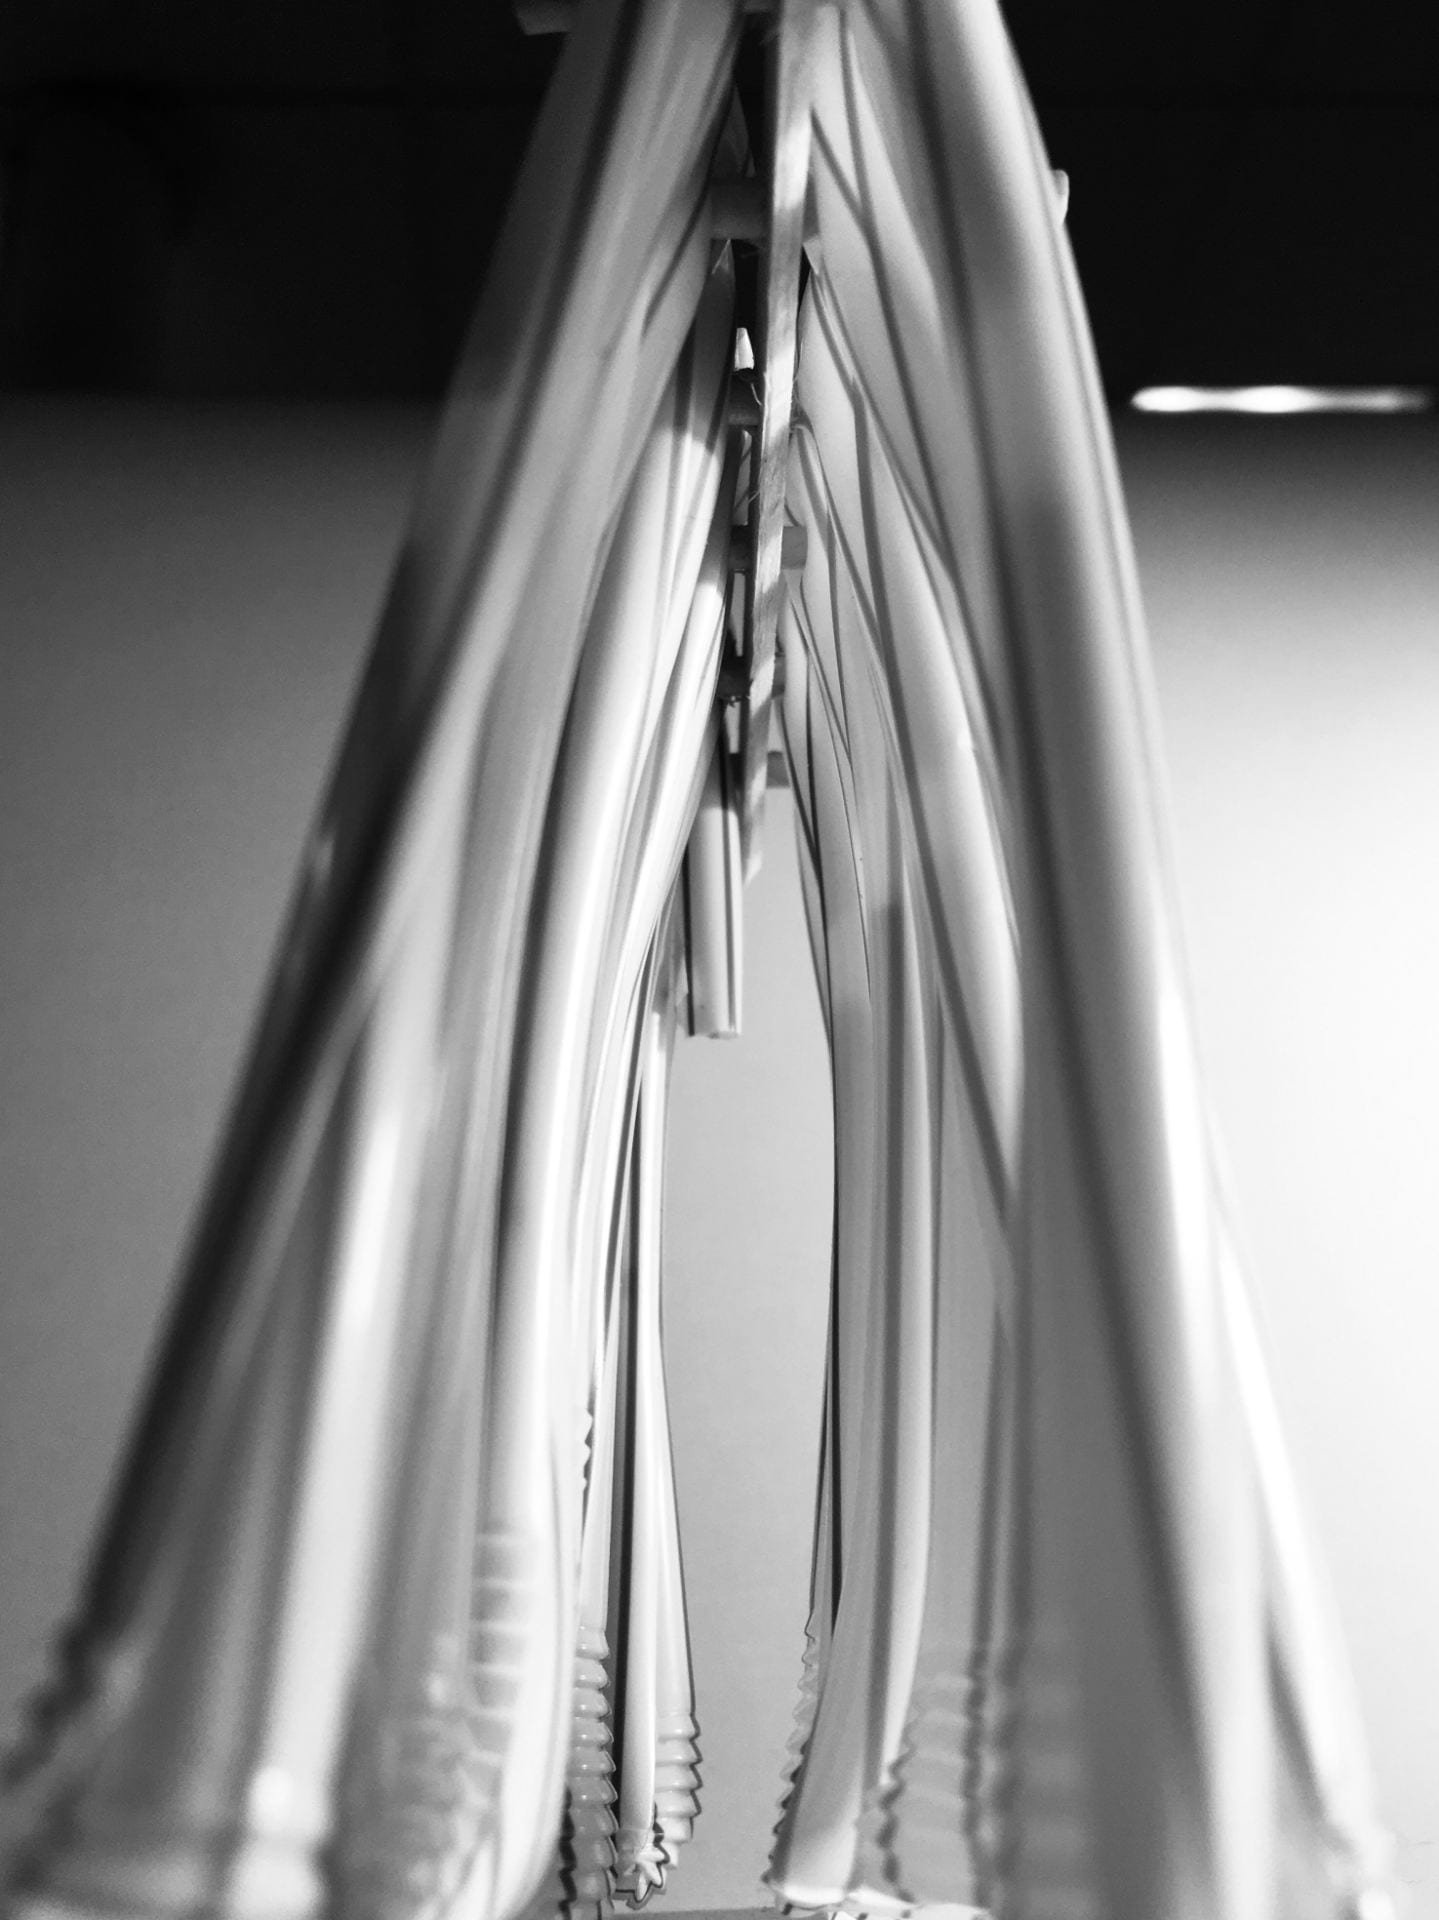
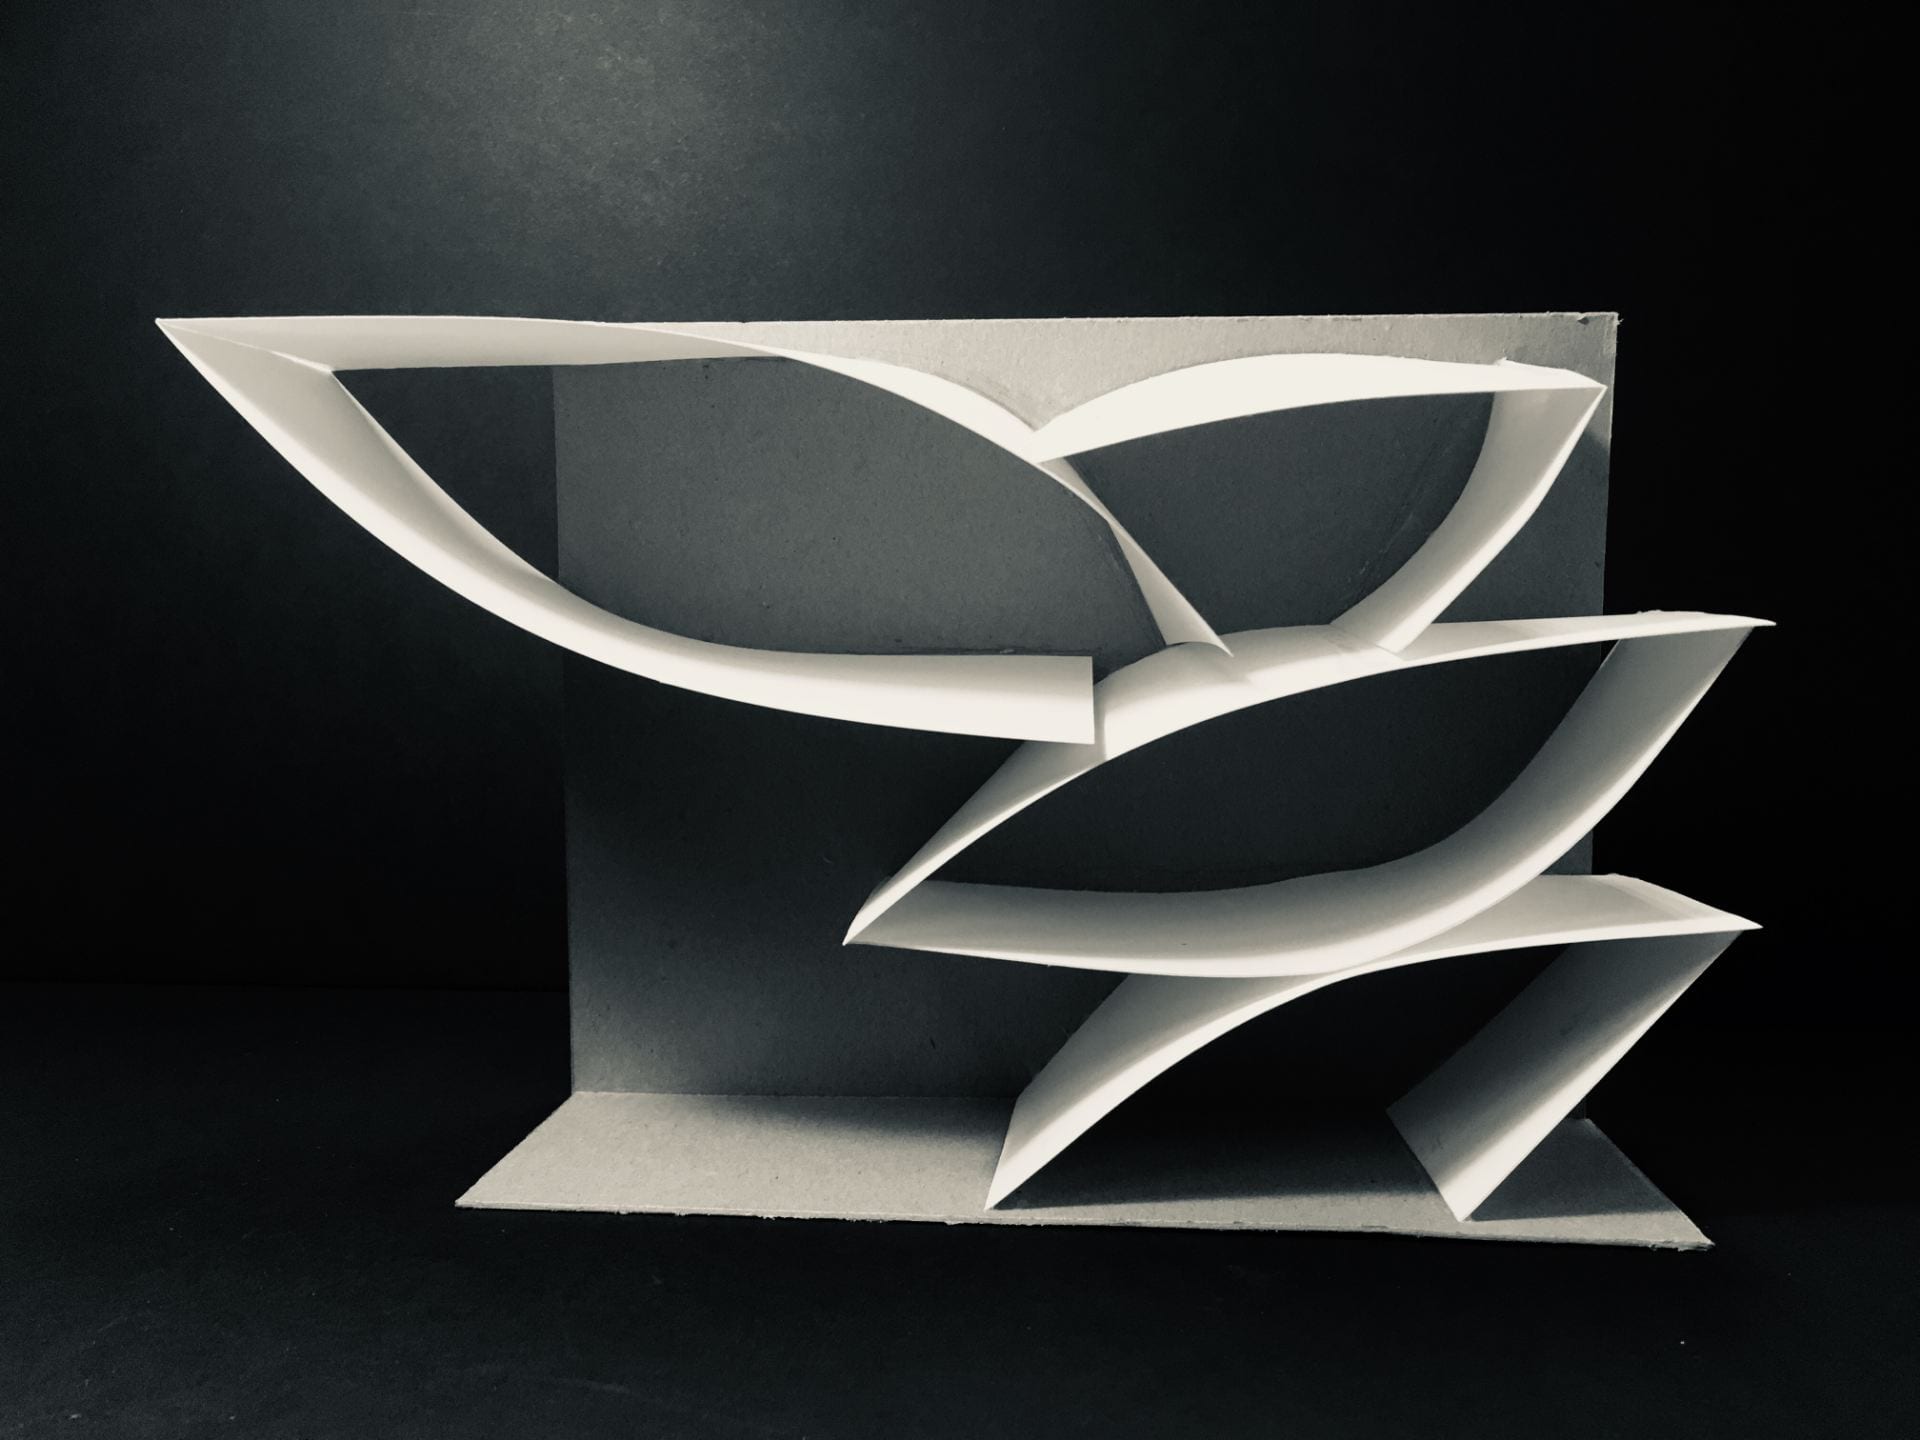
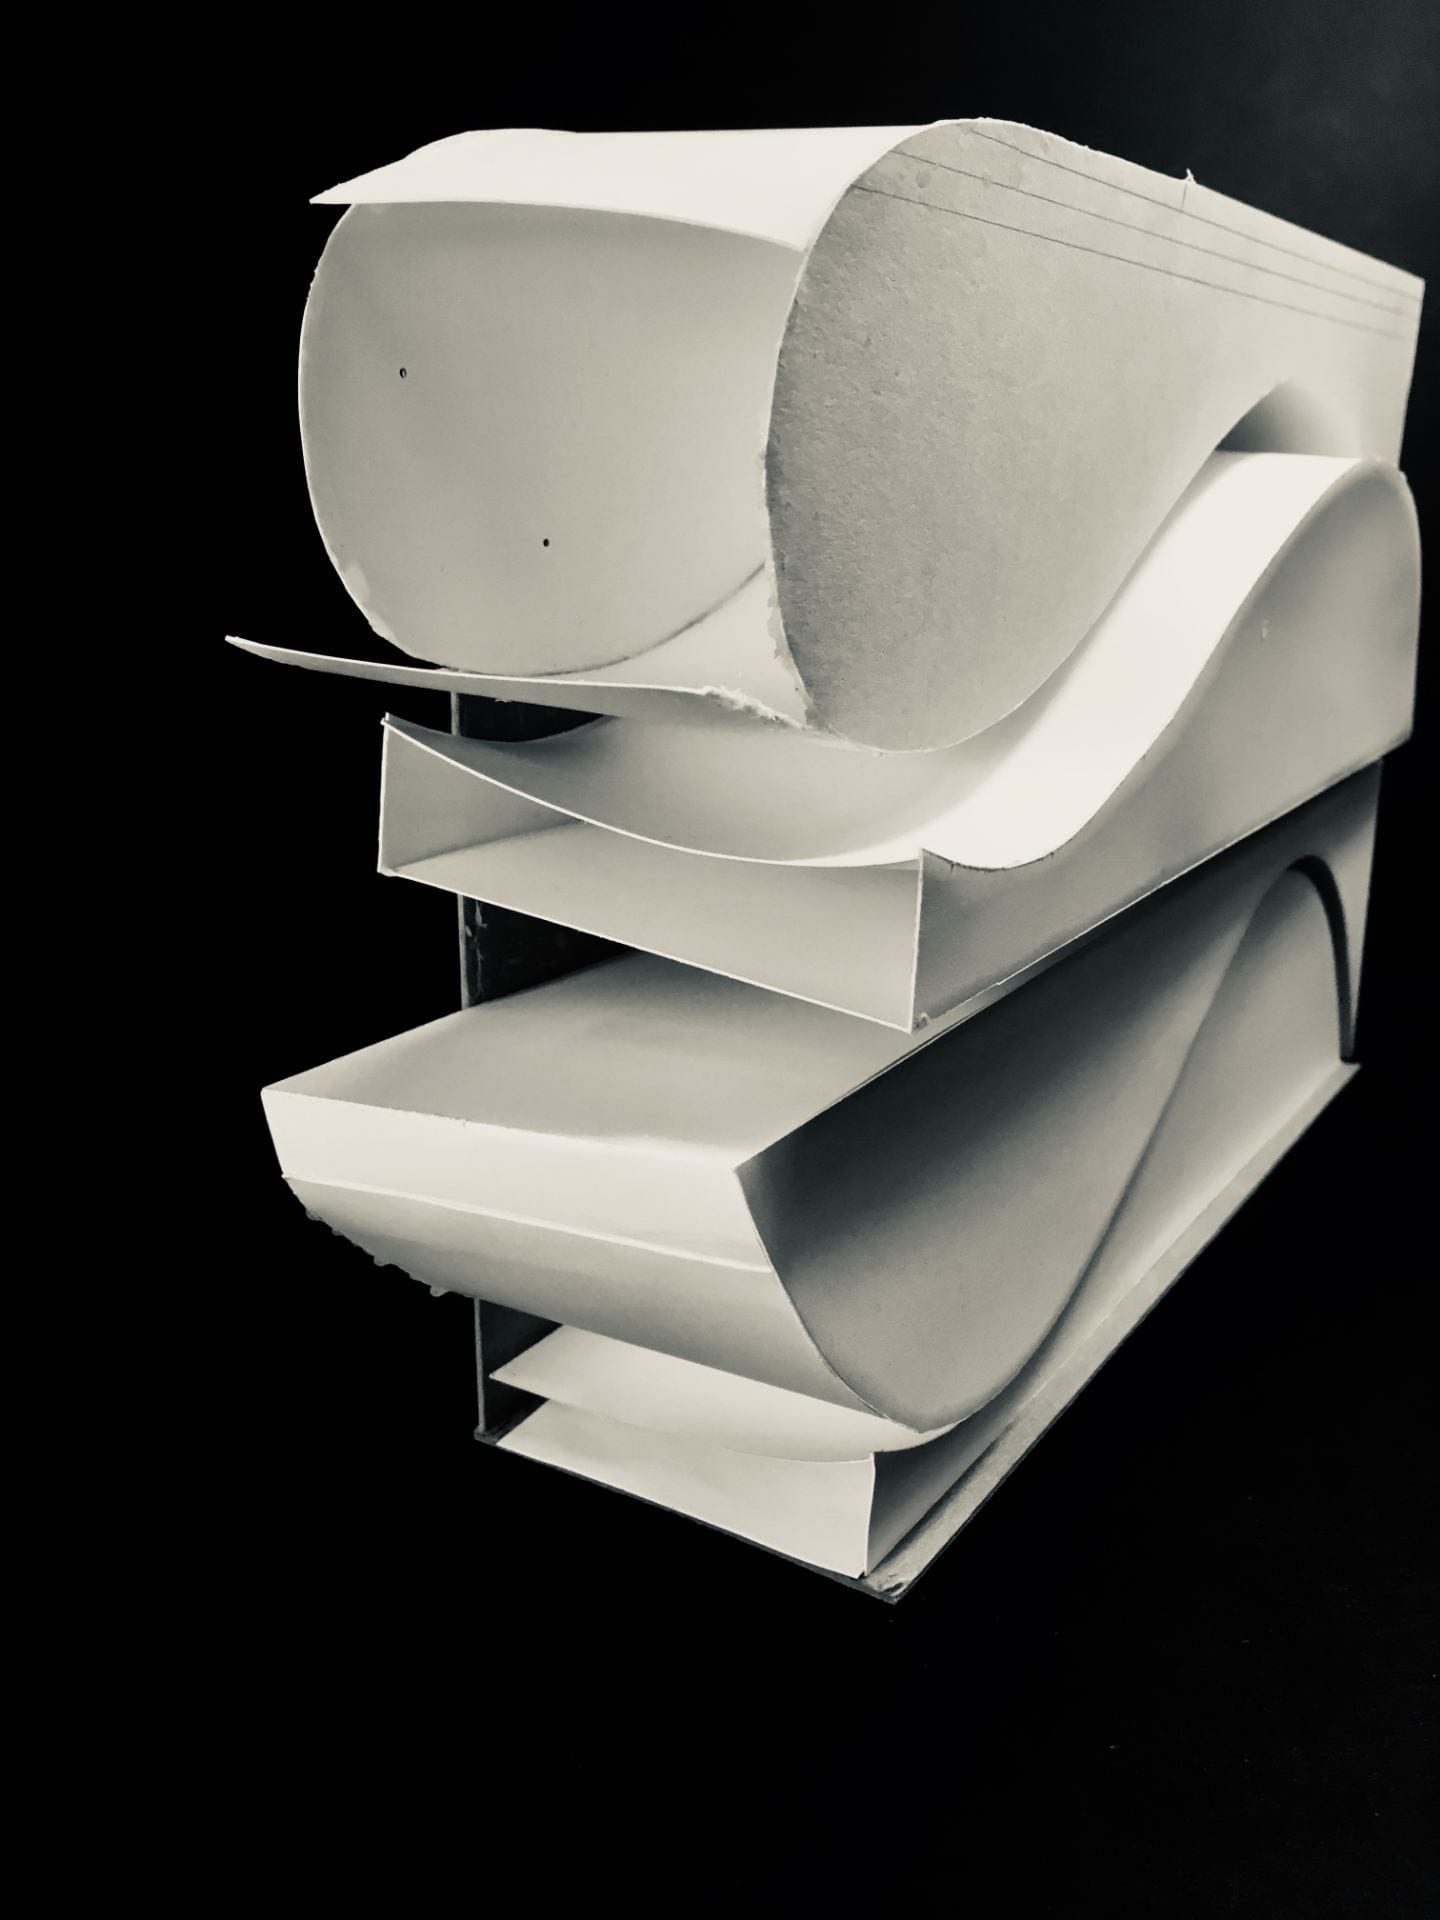
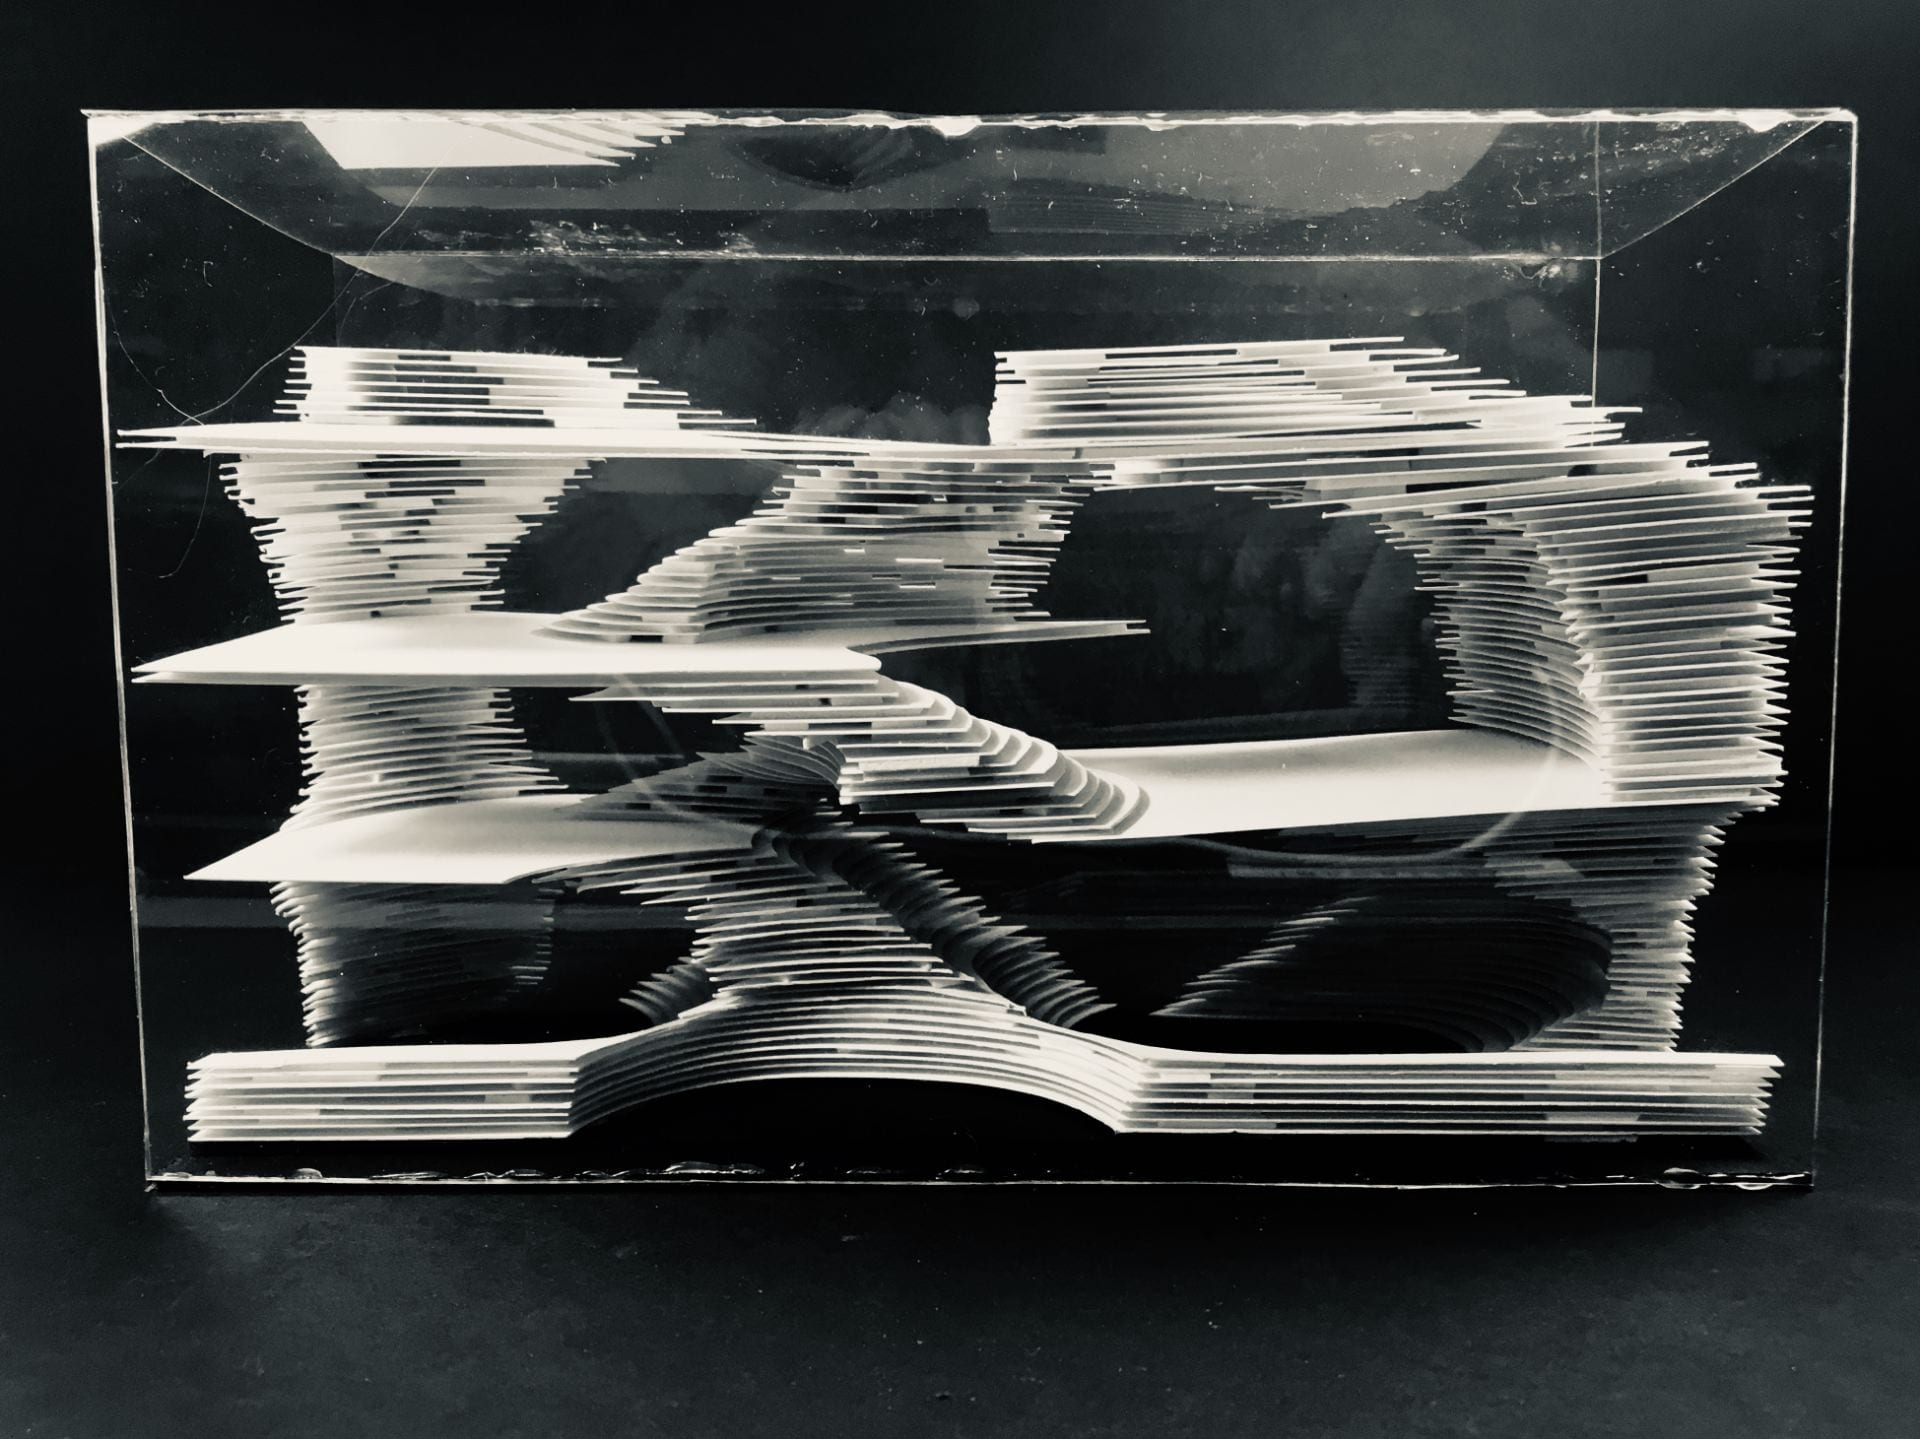
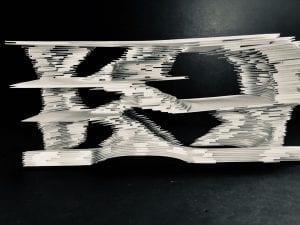
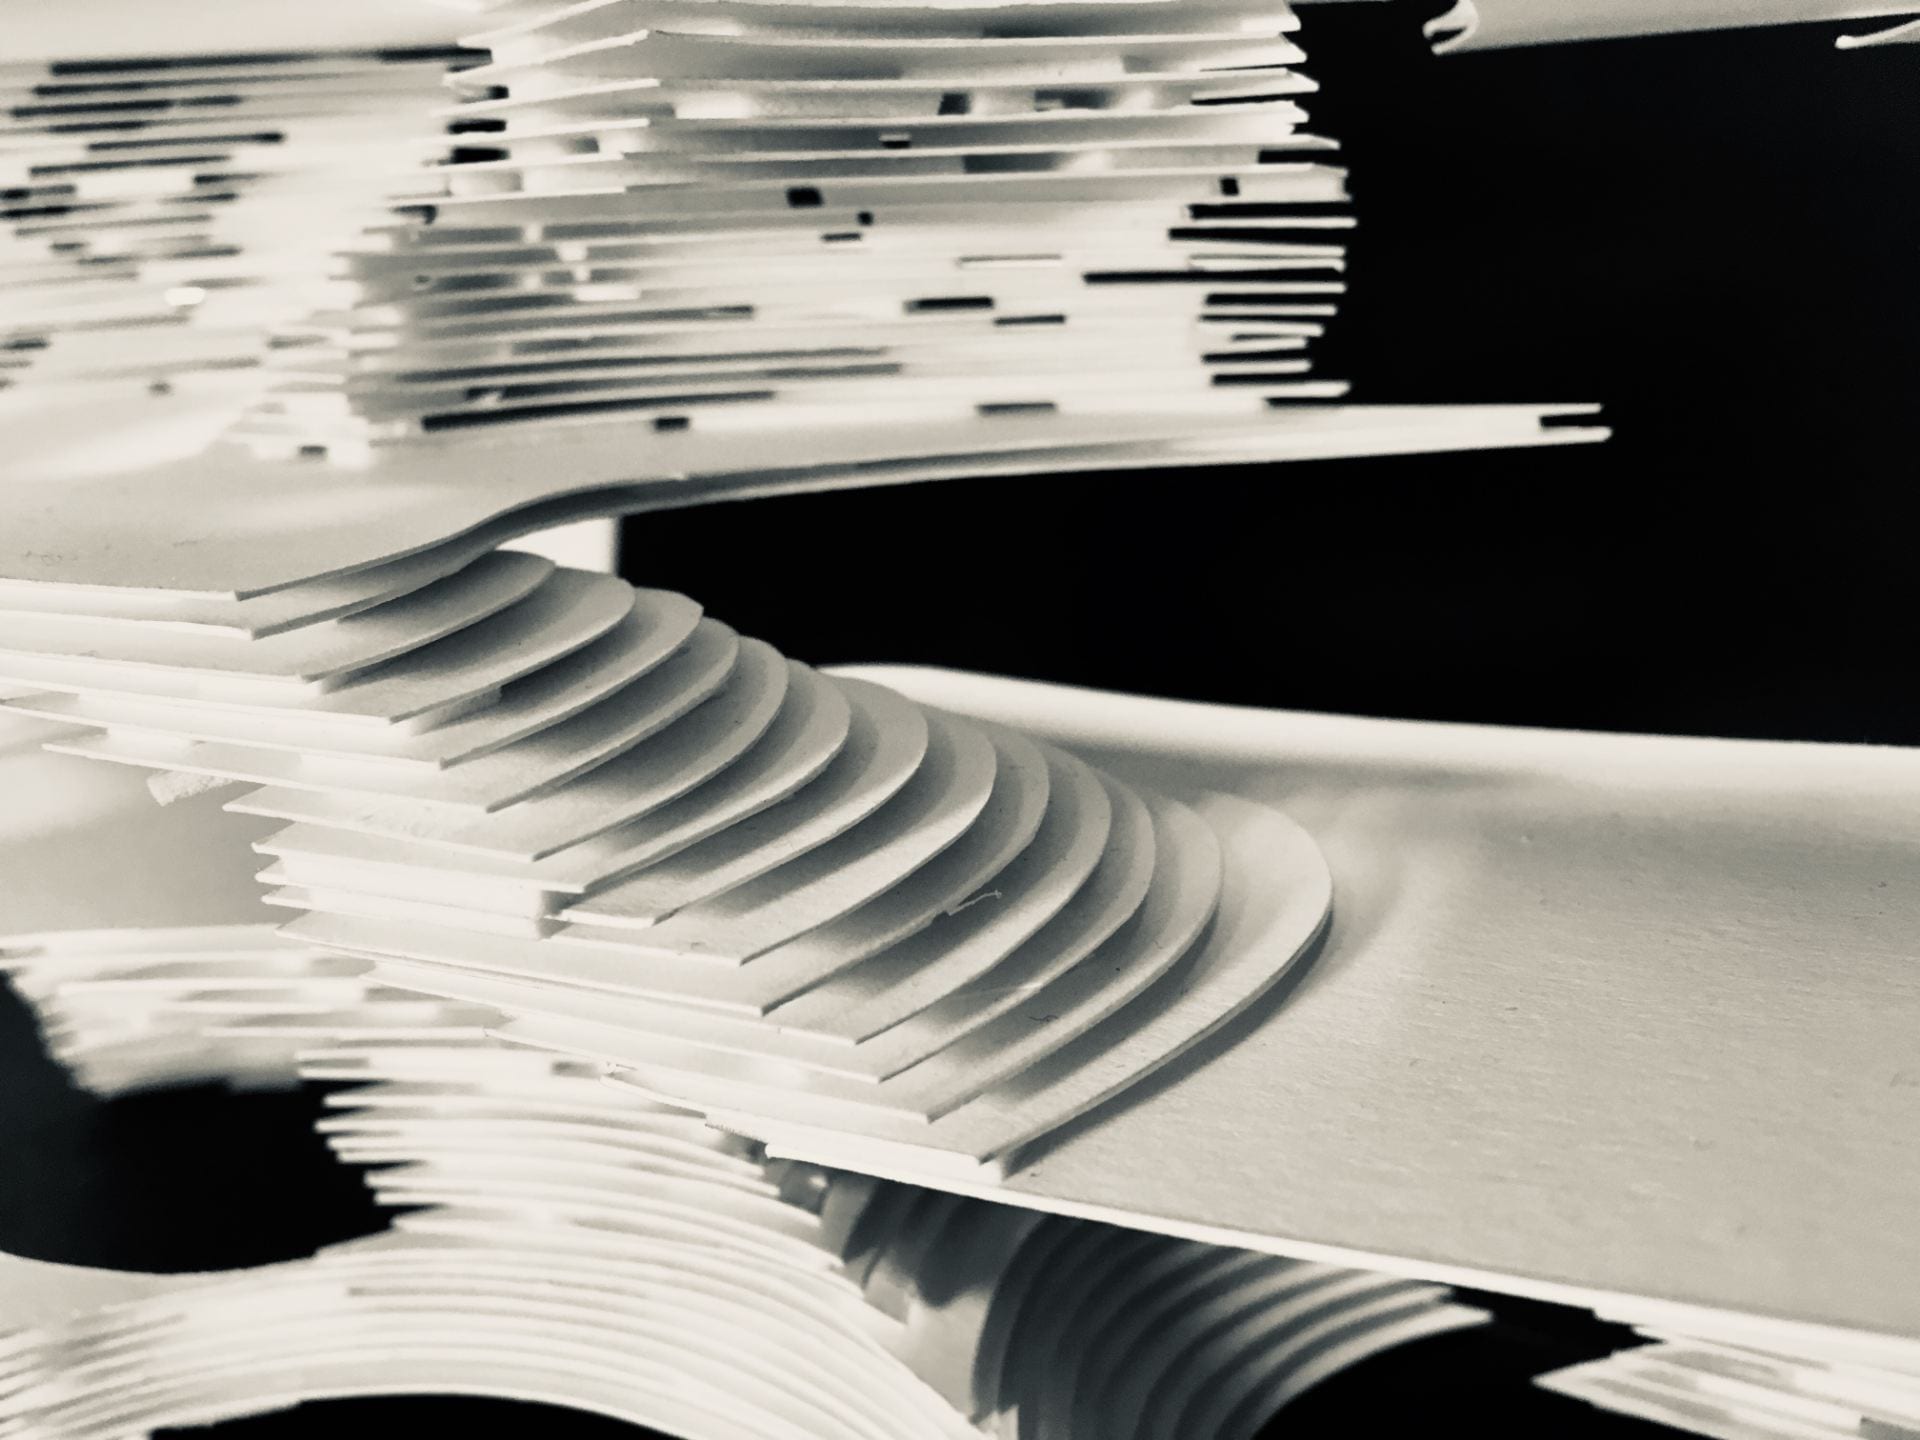
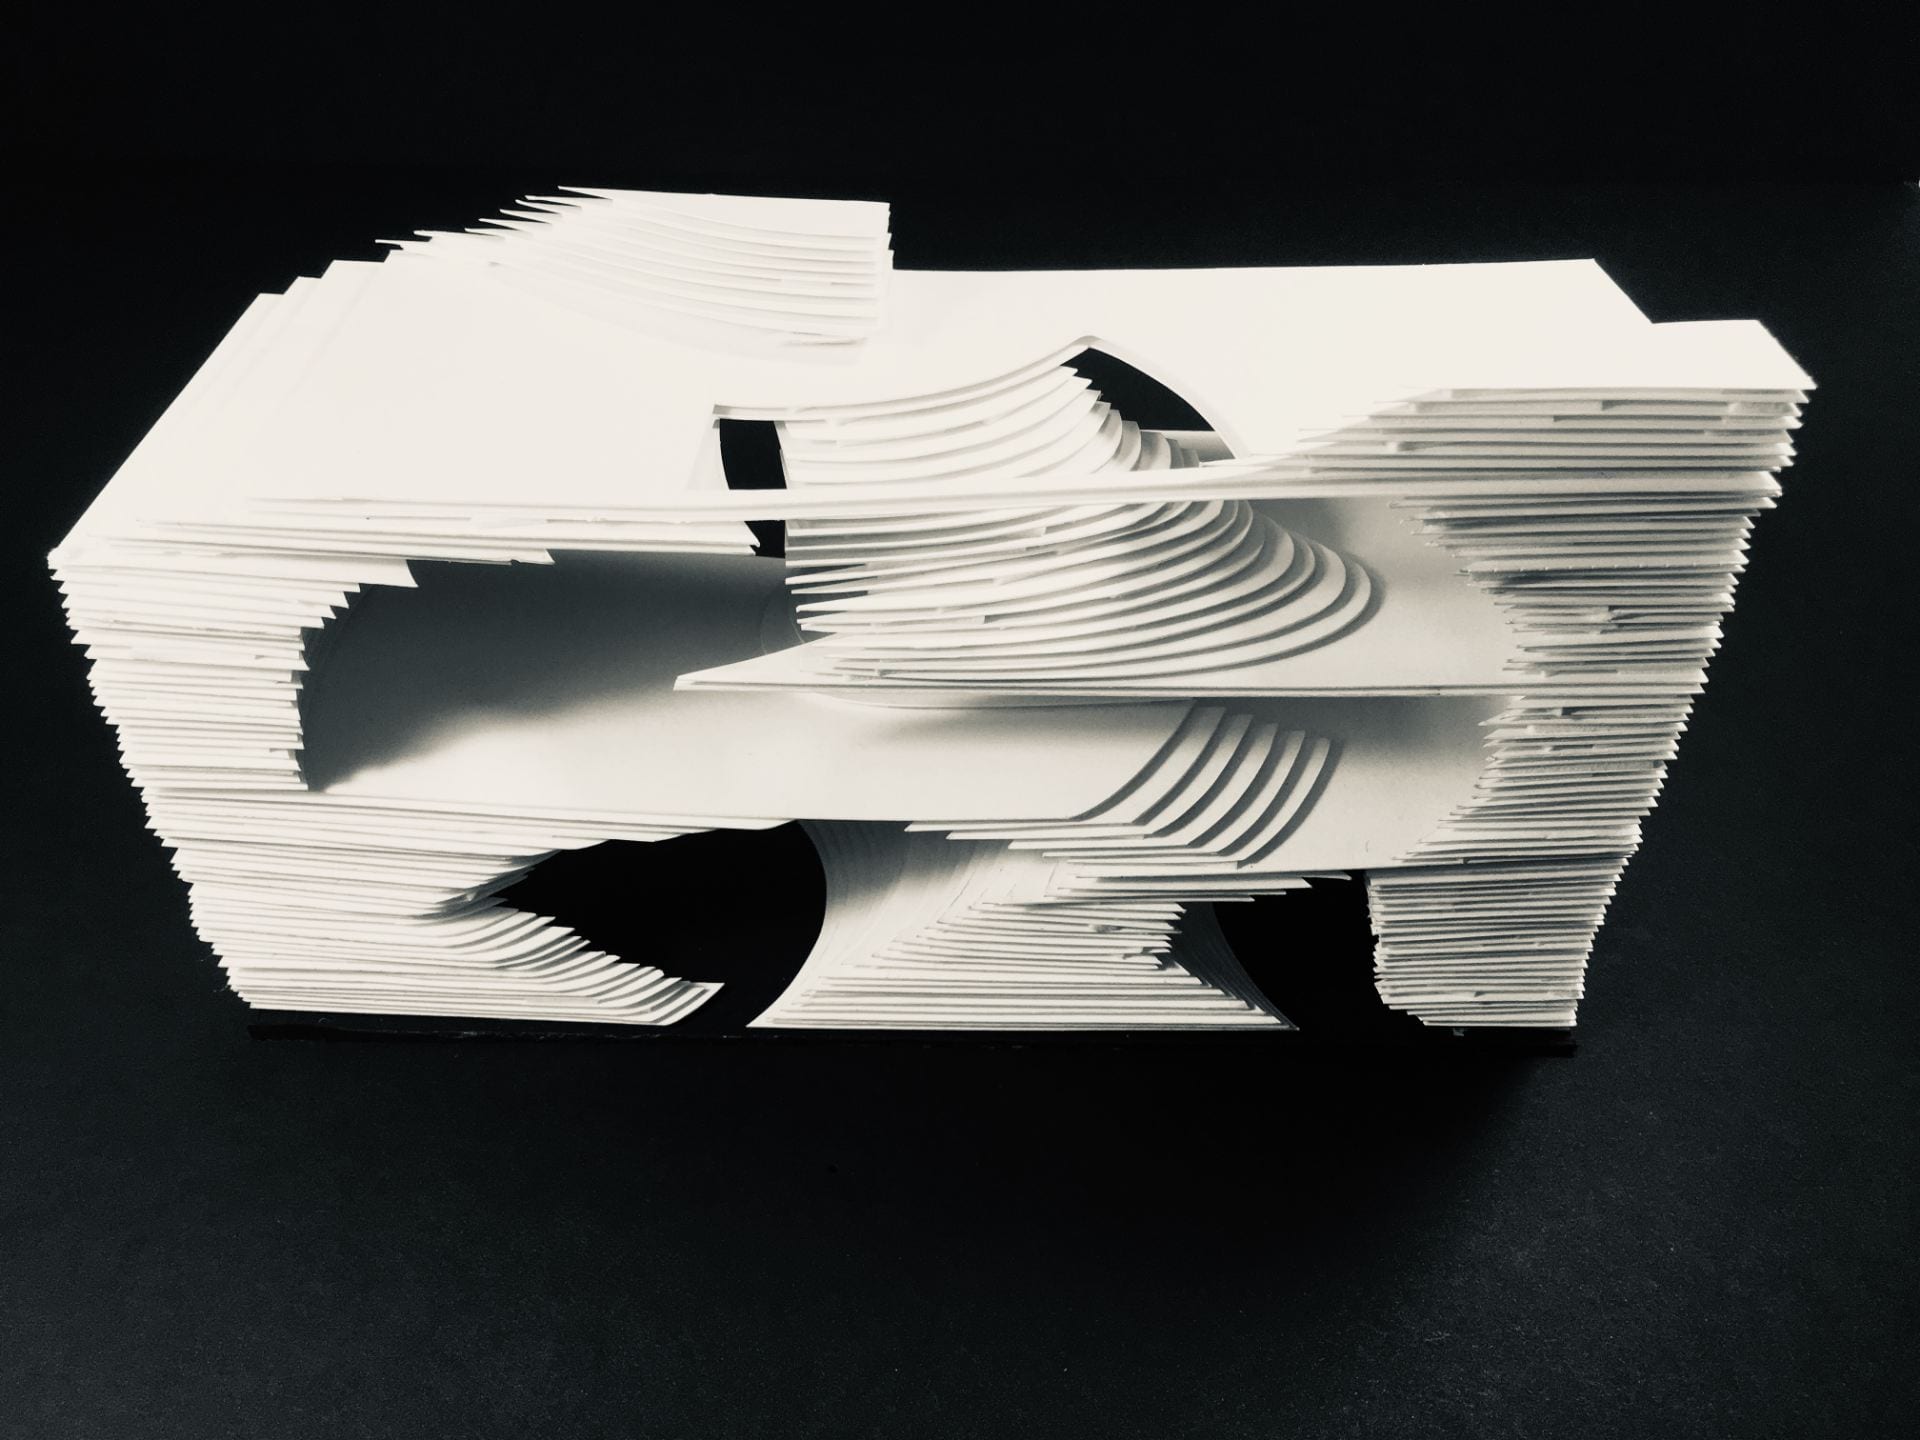
Once we figured out our infrastructure we moved on to work on designing a wrapper. As bachata and salsa was one of the dance forms that I looked into while sketching my figure drawings I tried to adapt building structures that showcased a wave like movement as seen in the close up images below.
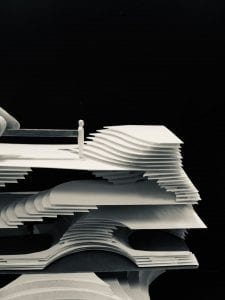
Images of the entire structure
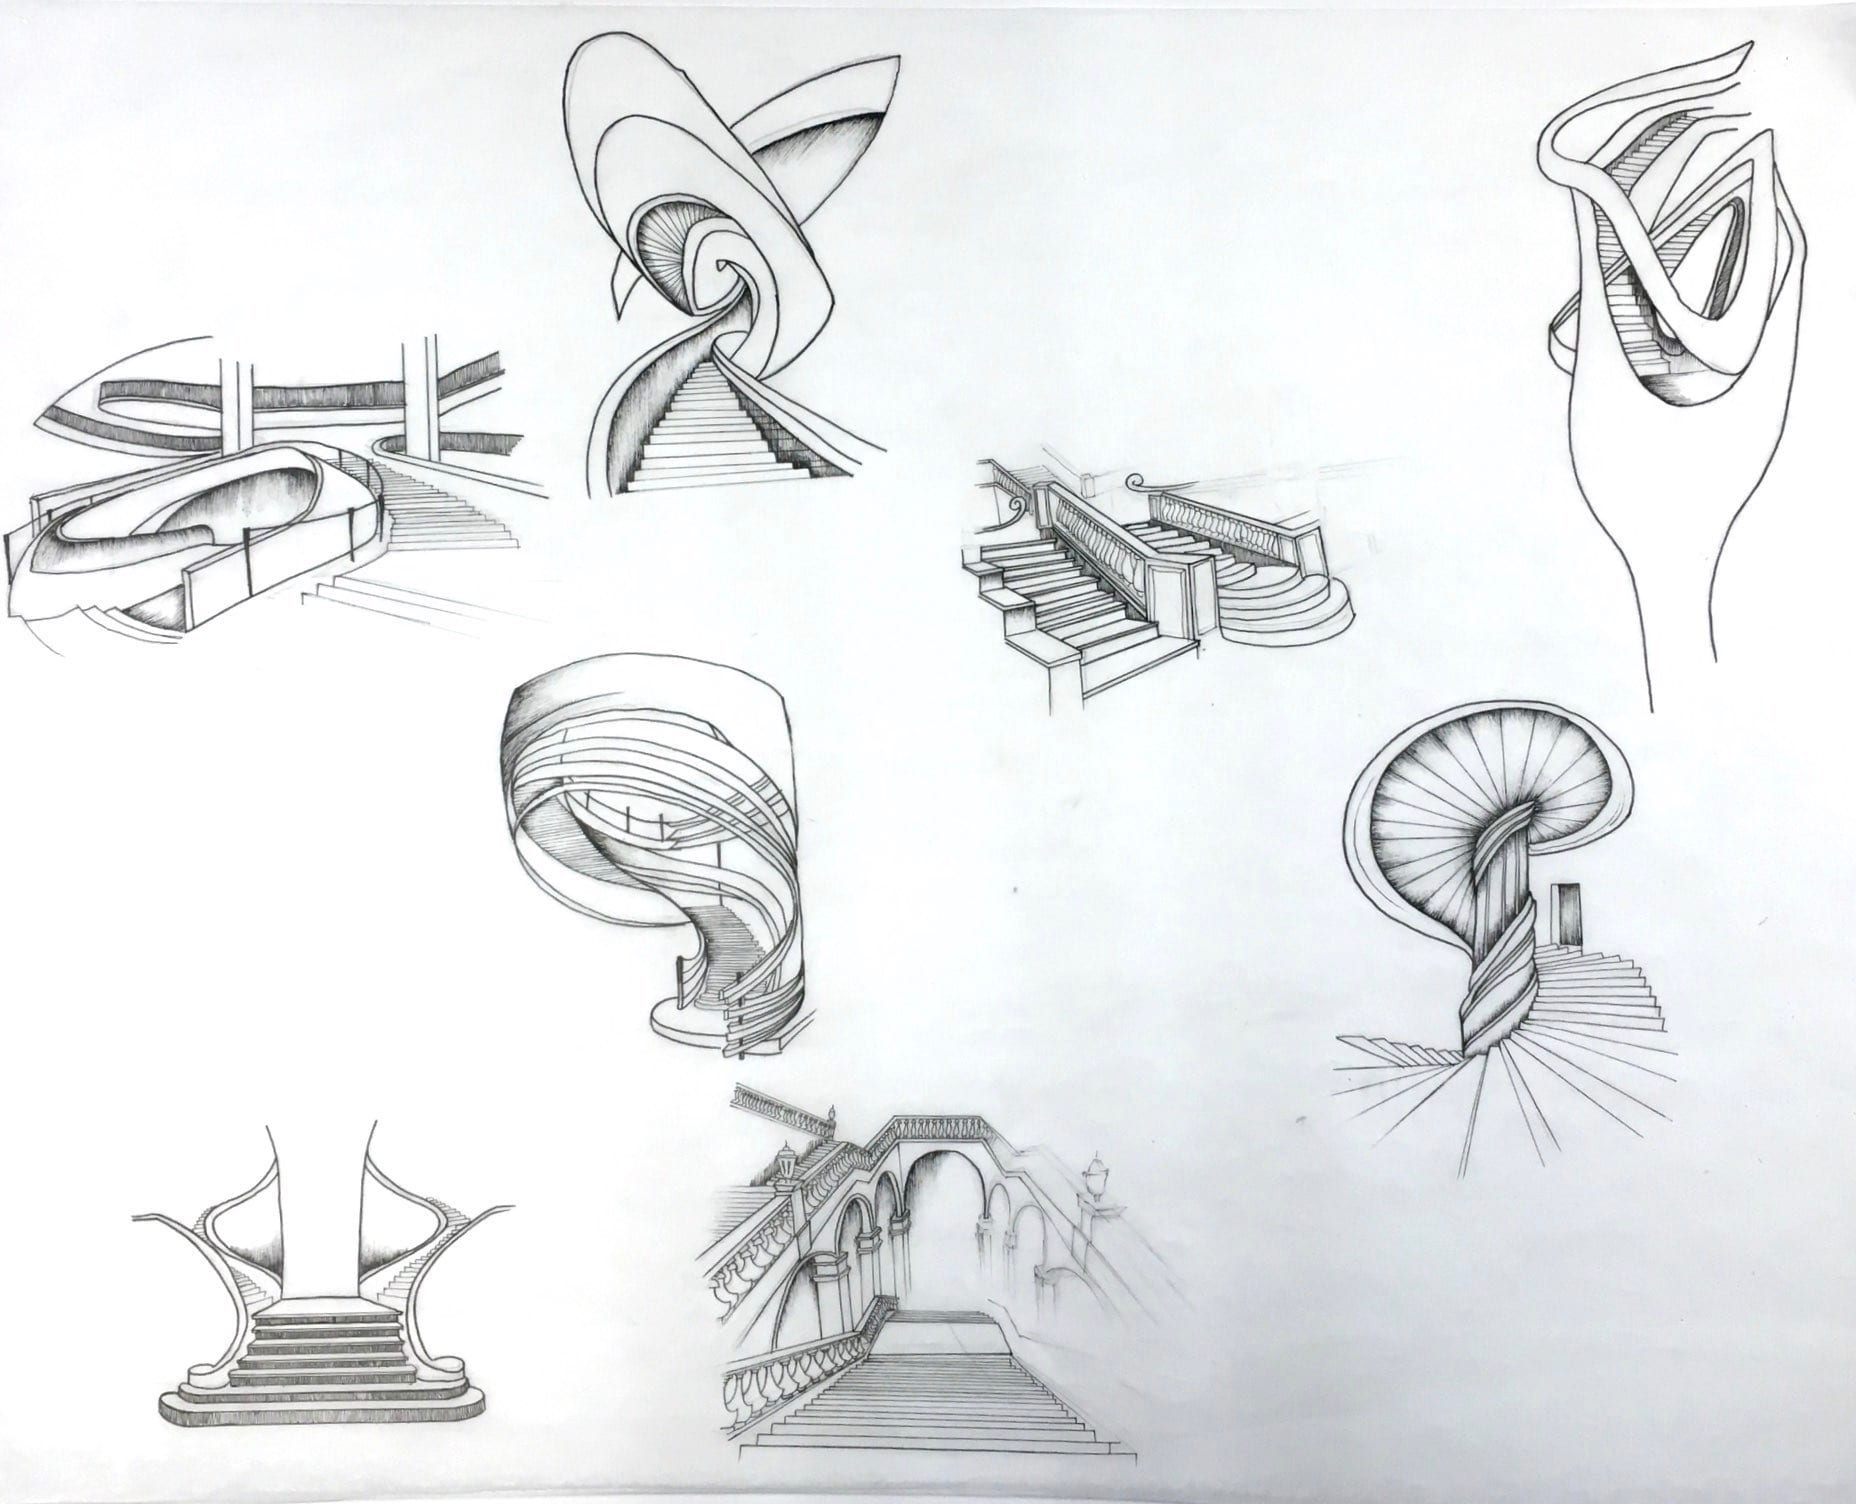
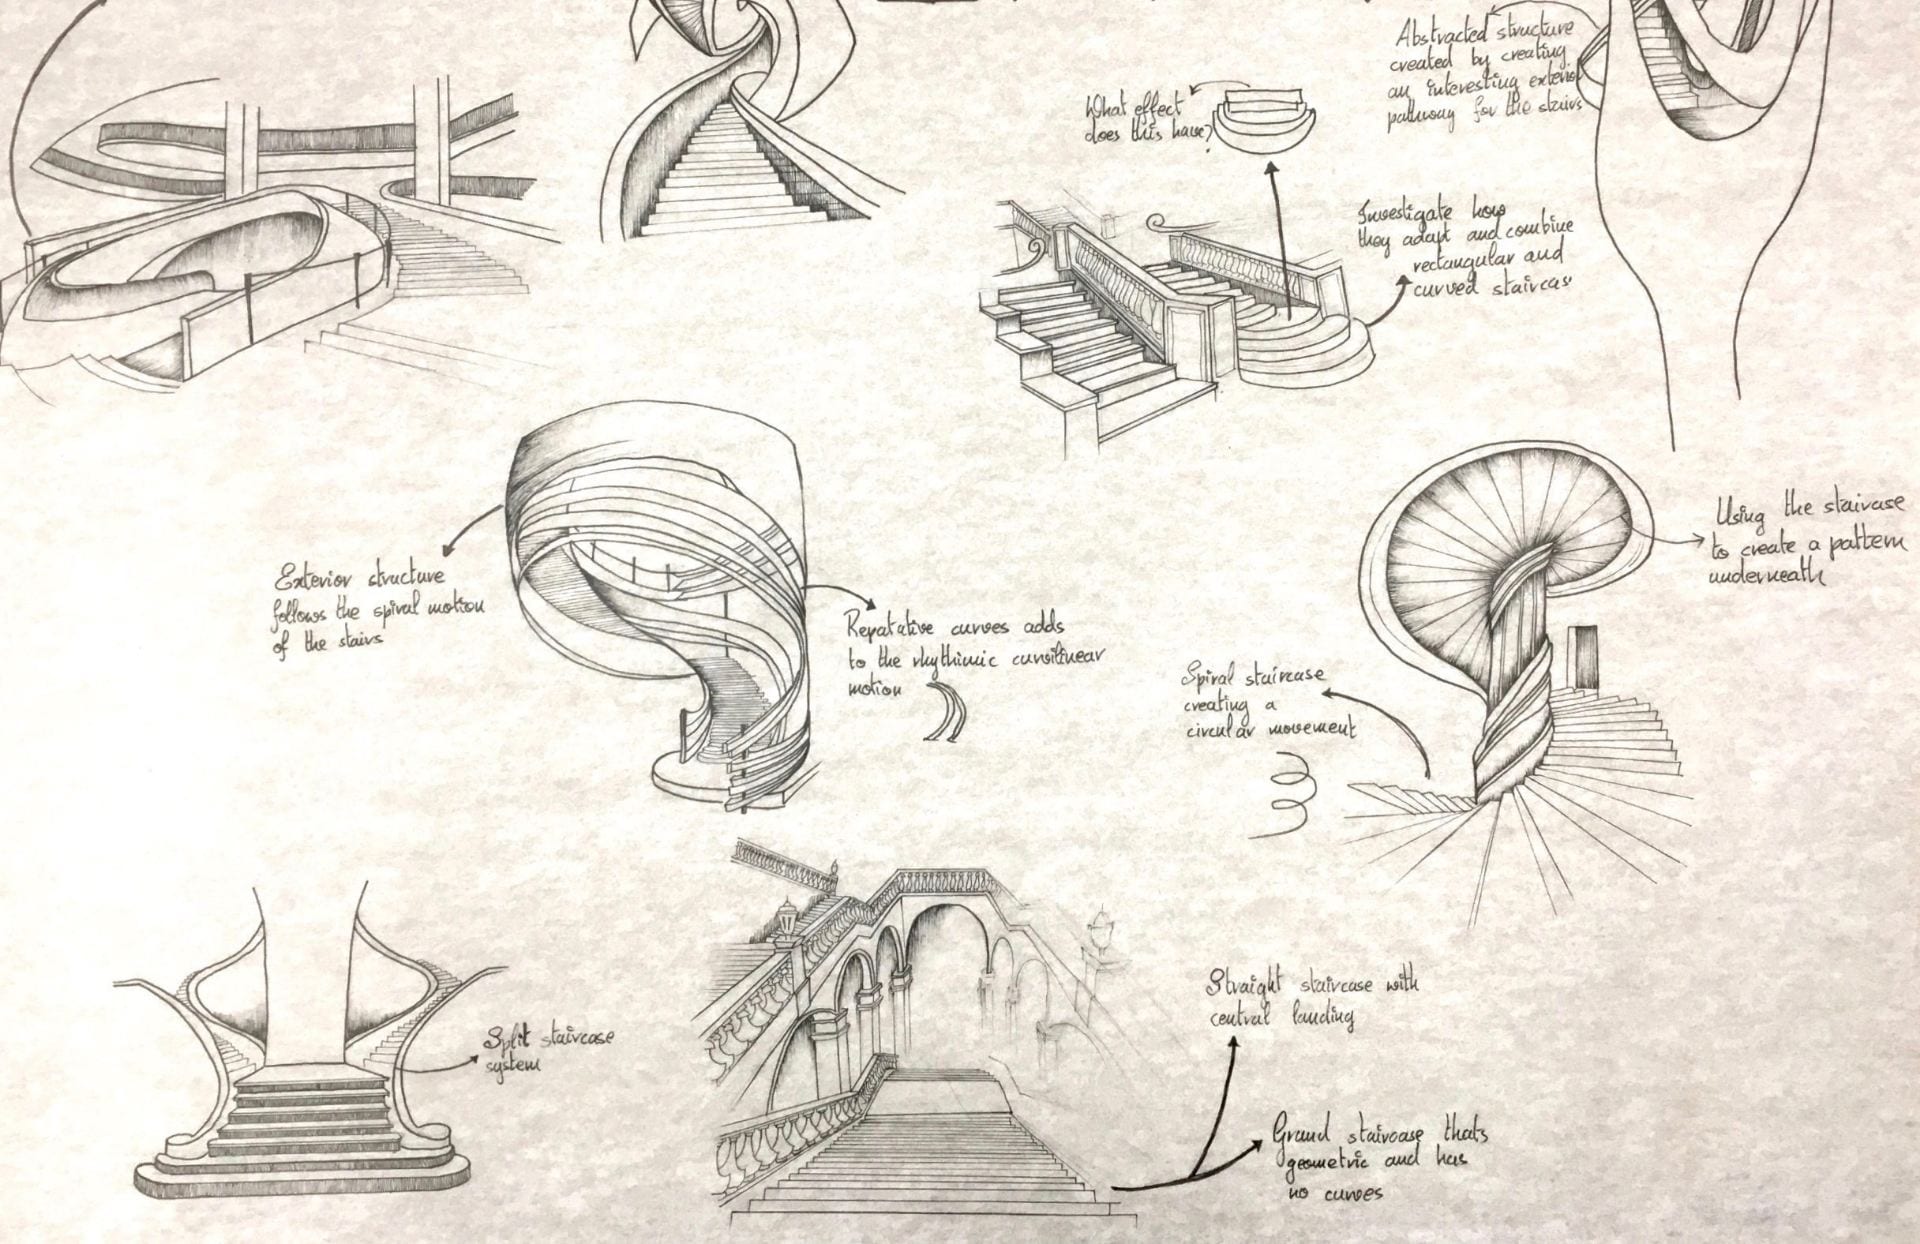
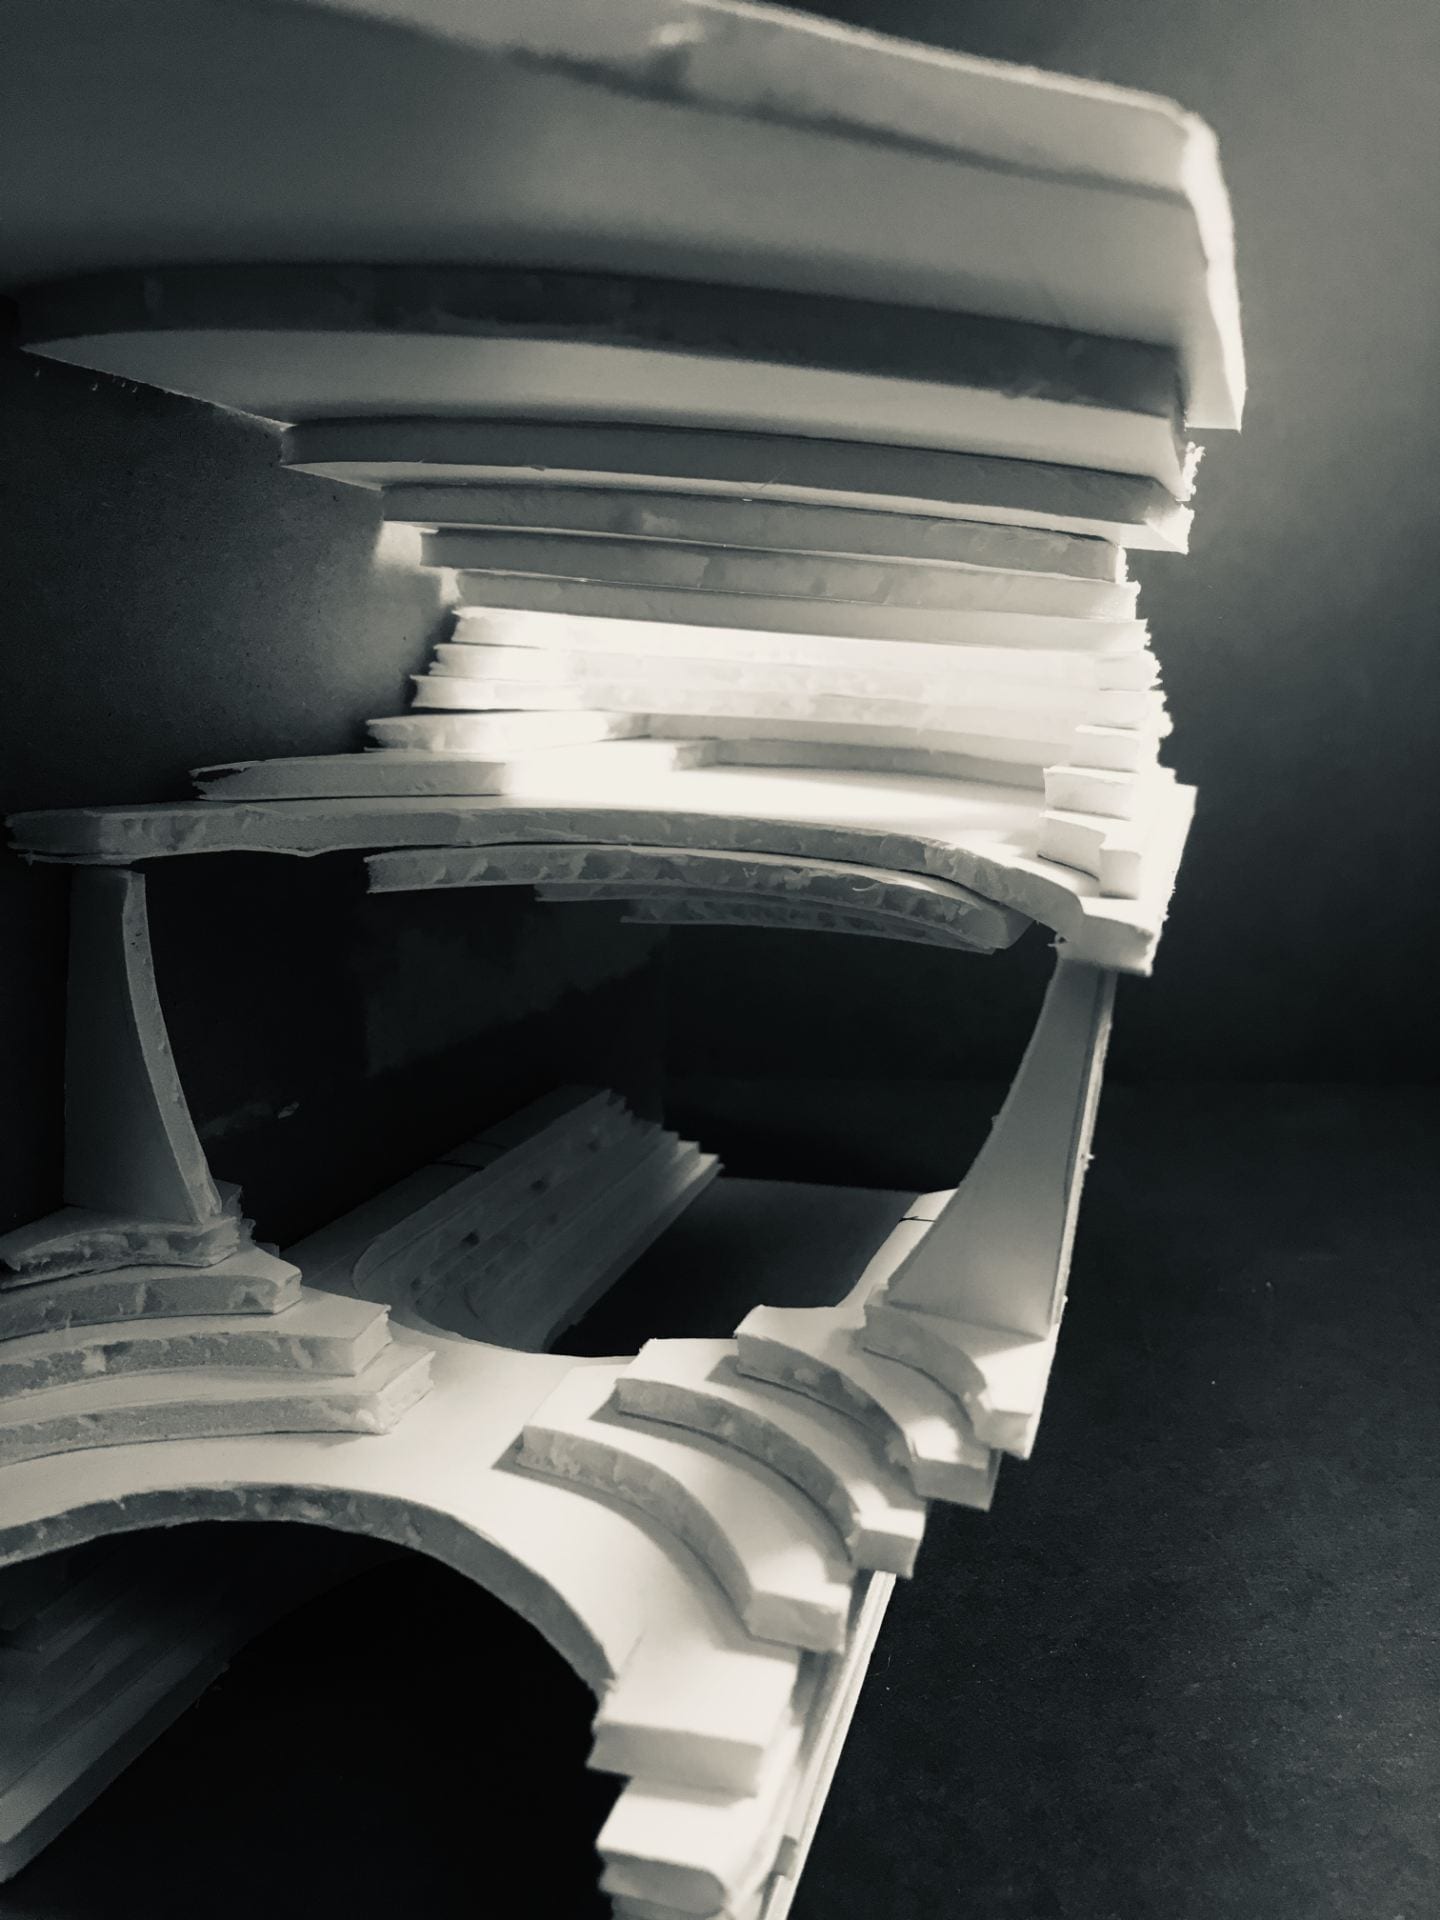
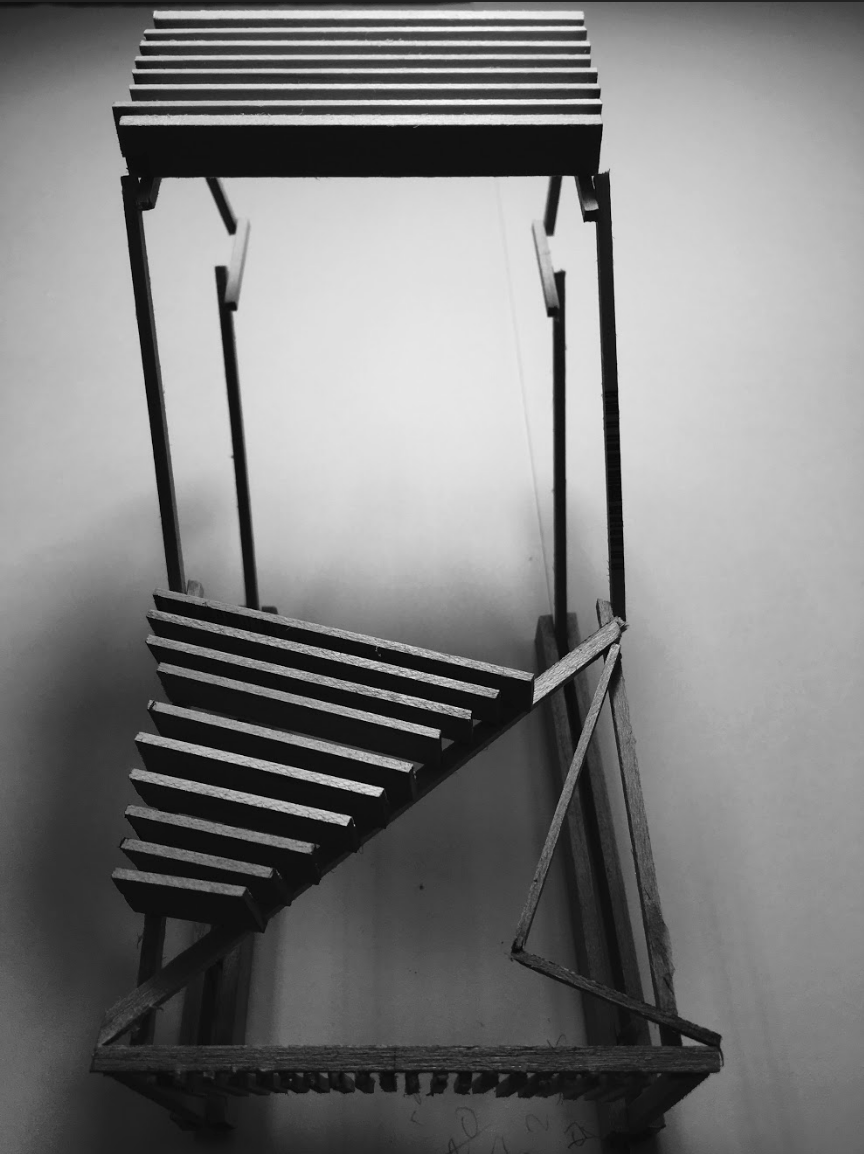
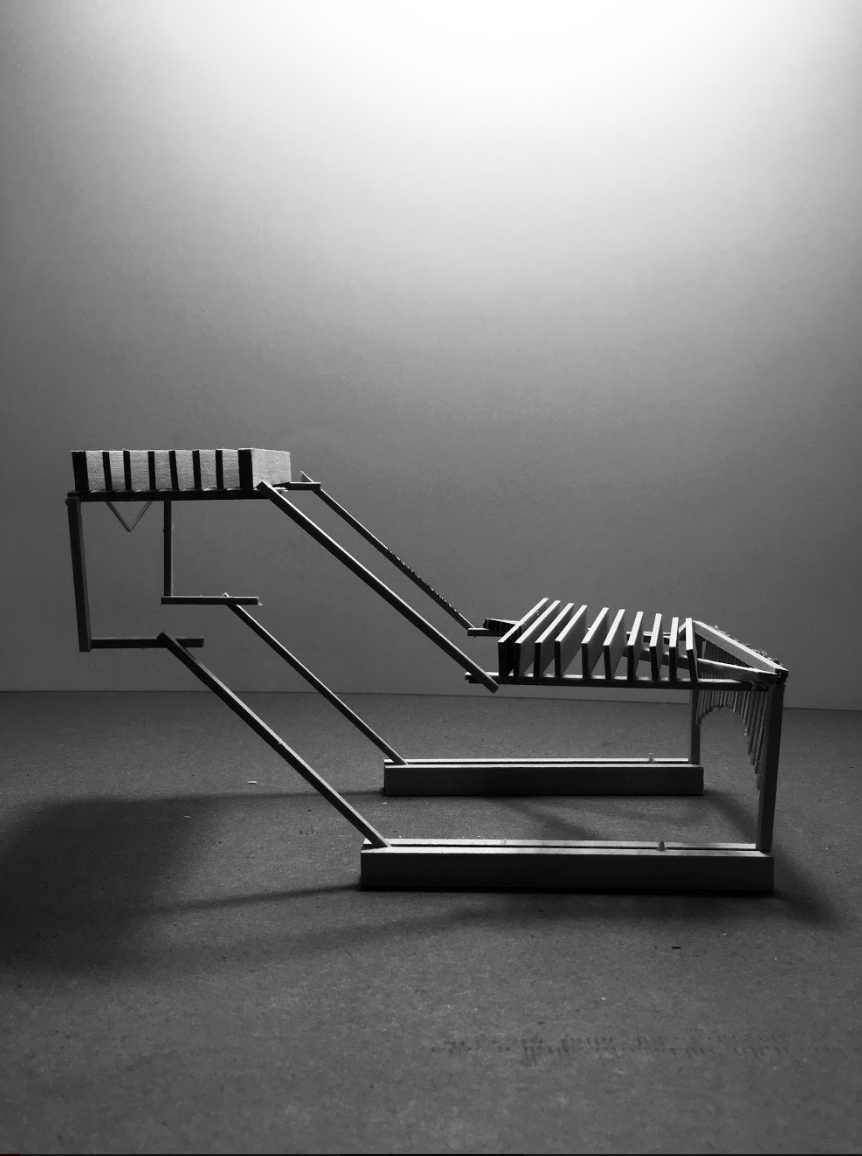
However, I was not quite queen with interior. Hence, I started focusing on the basic idea of what is dance. Dance is the process of rhythmic choreographed movement, now when I relate this to architecture one of the core elements that choreographs our movement in a structure our staircases. “Modern society thrives on performance. Our lives are public on social media and on display. Performance is a grand staircase.” Further on, I then decided to understand and investigate staircases, through borrowing from historic references like the Baux Art staircase and analyse interpret more staircases and comprehend how I would translate this element into an occupy-able space.
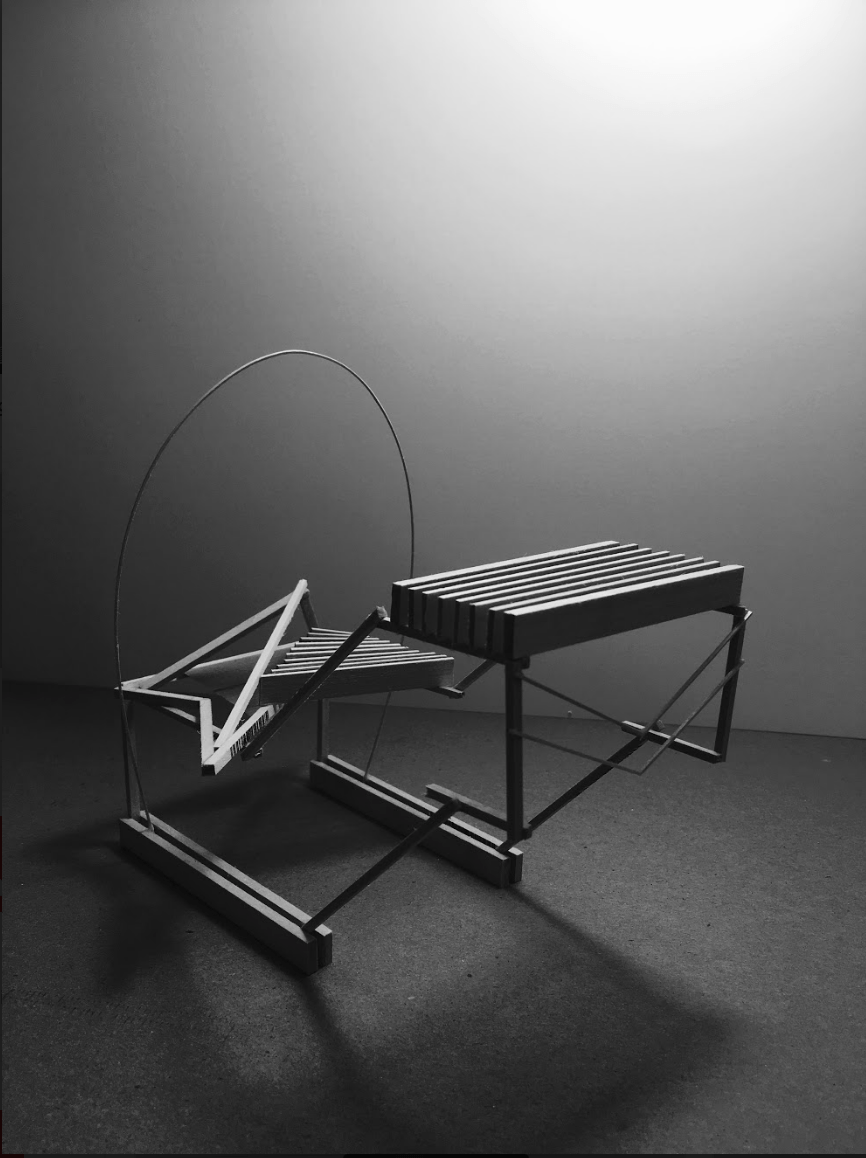
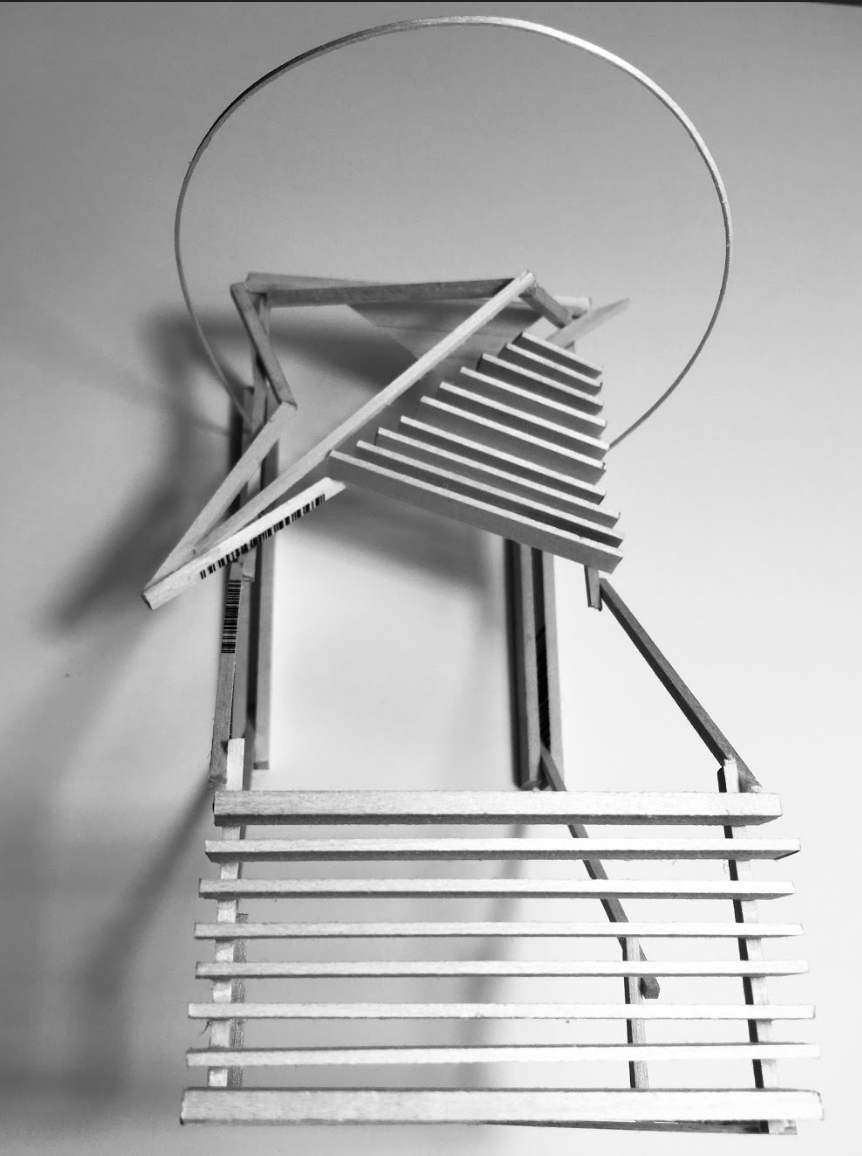
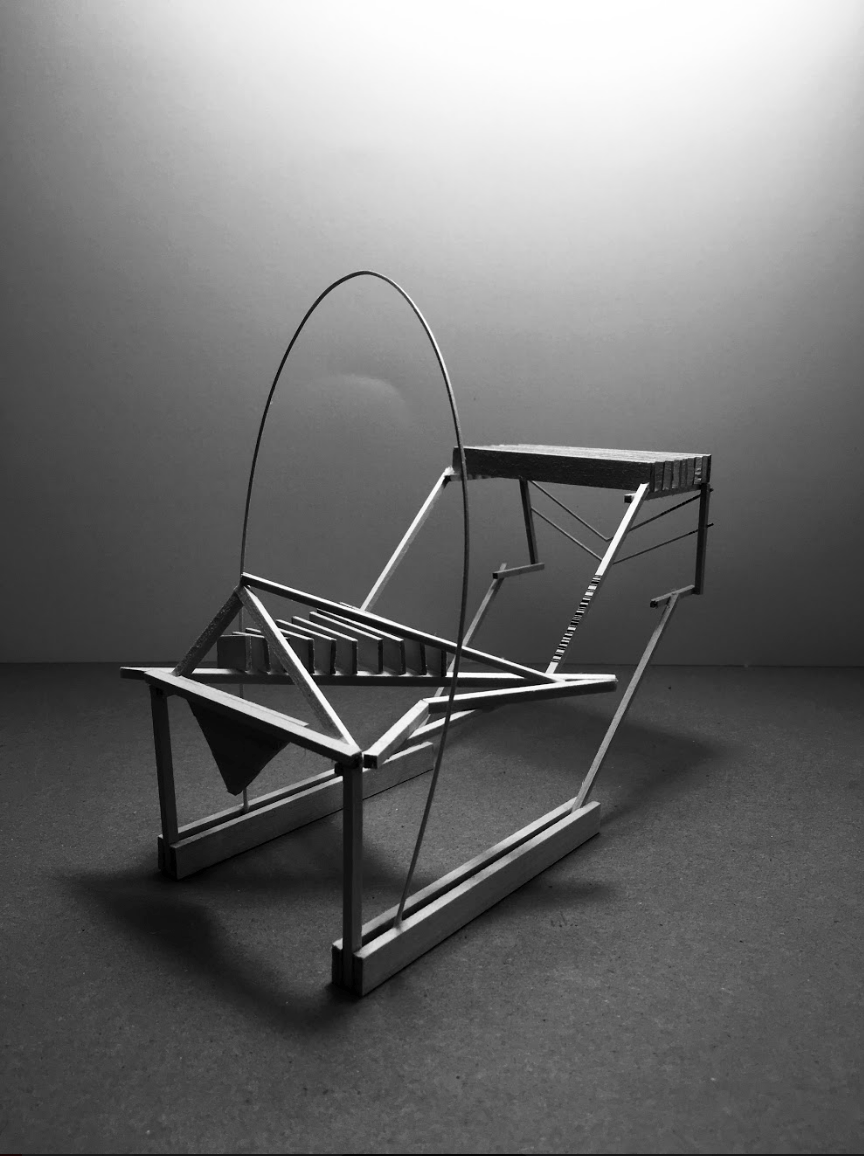
Through the above investigation, with the use of rhythmic patters, curvilinear structures and repetition. I further was exposed to the idea of topography and tried to adapt and understand how I could use it. With these factors, I began building small sketch models for the circulation.
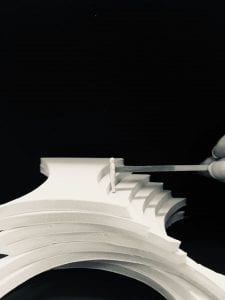
The above images of the sketch models helped in identifying that that the staircase itself would not only be a means through which one could move, sit or use. But would also play a major factor in being part of the envelope of the structure.
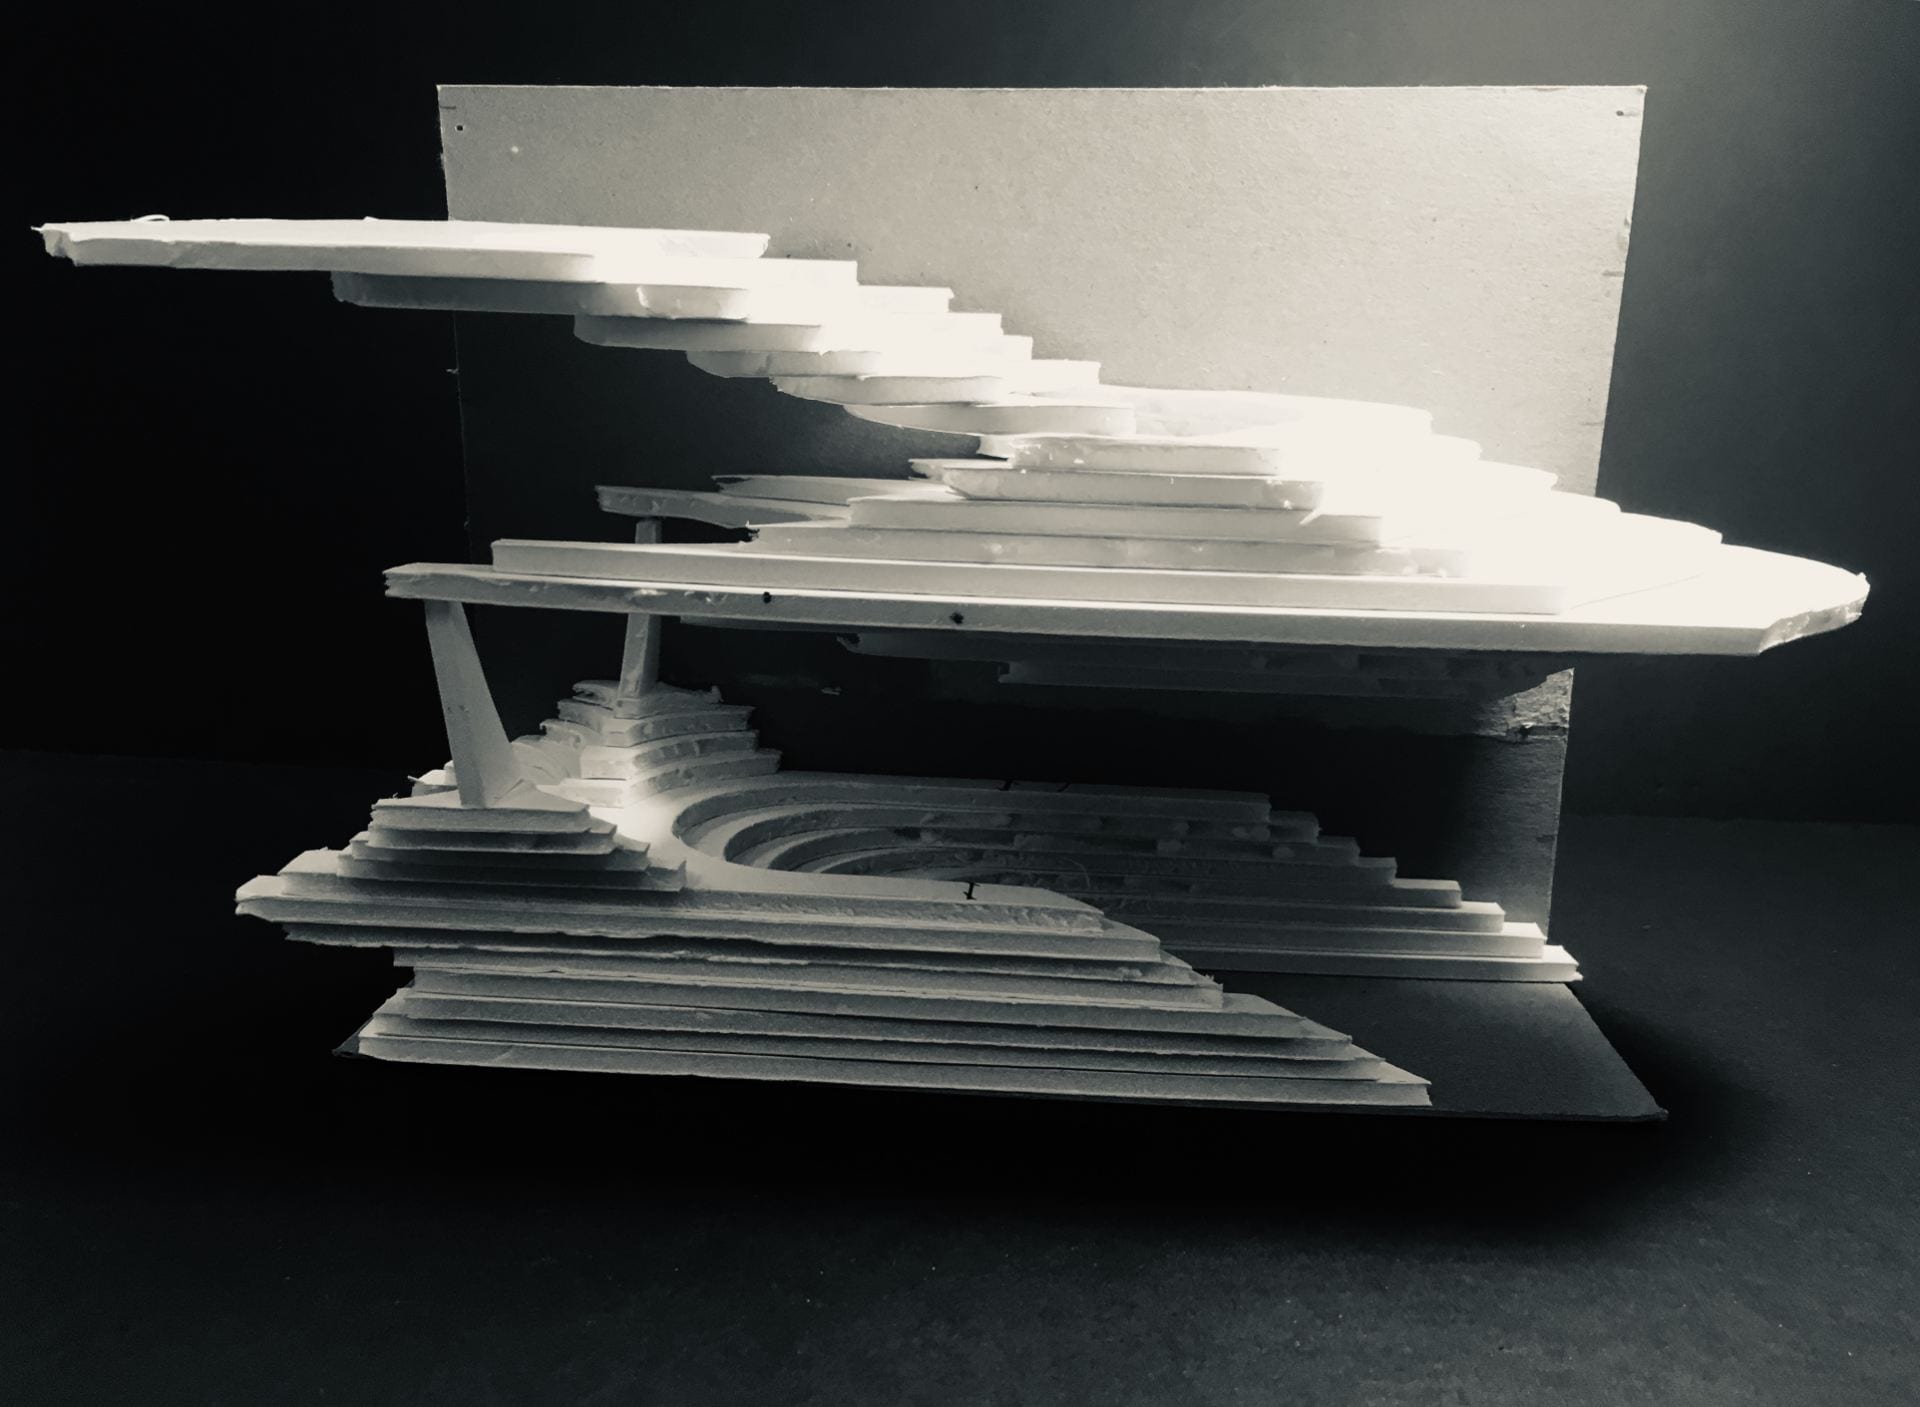
Using my initial iterations I then focused on creating a spacial system which is ideally my sectional drawing for my final model, as seen in the image below.
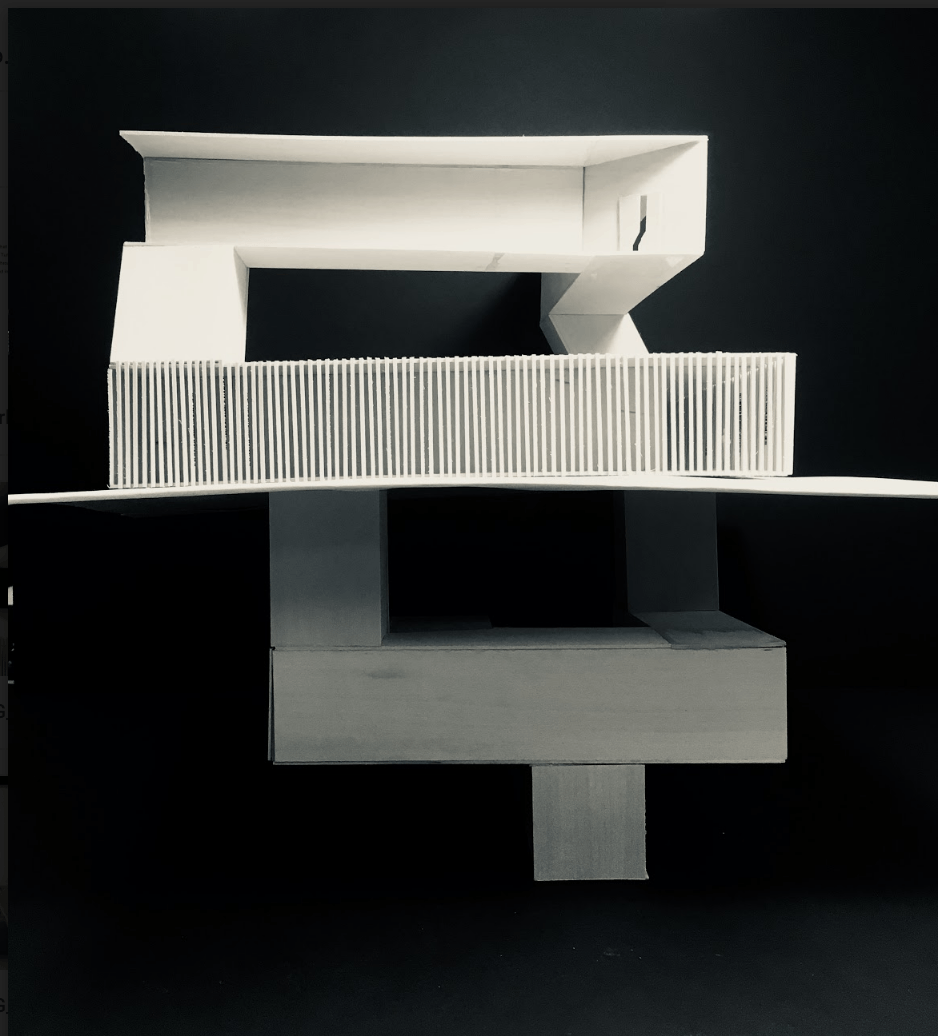
Once the above steps were completed, the next step was to build the final model.
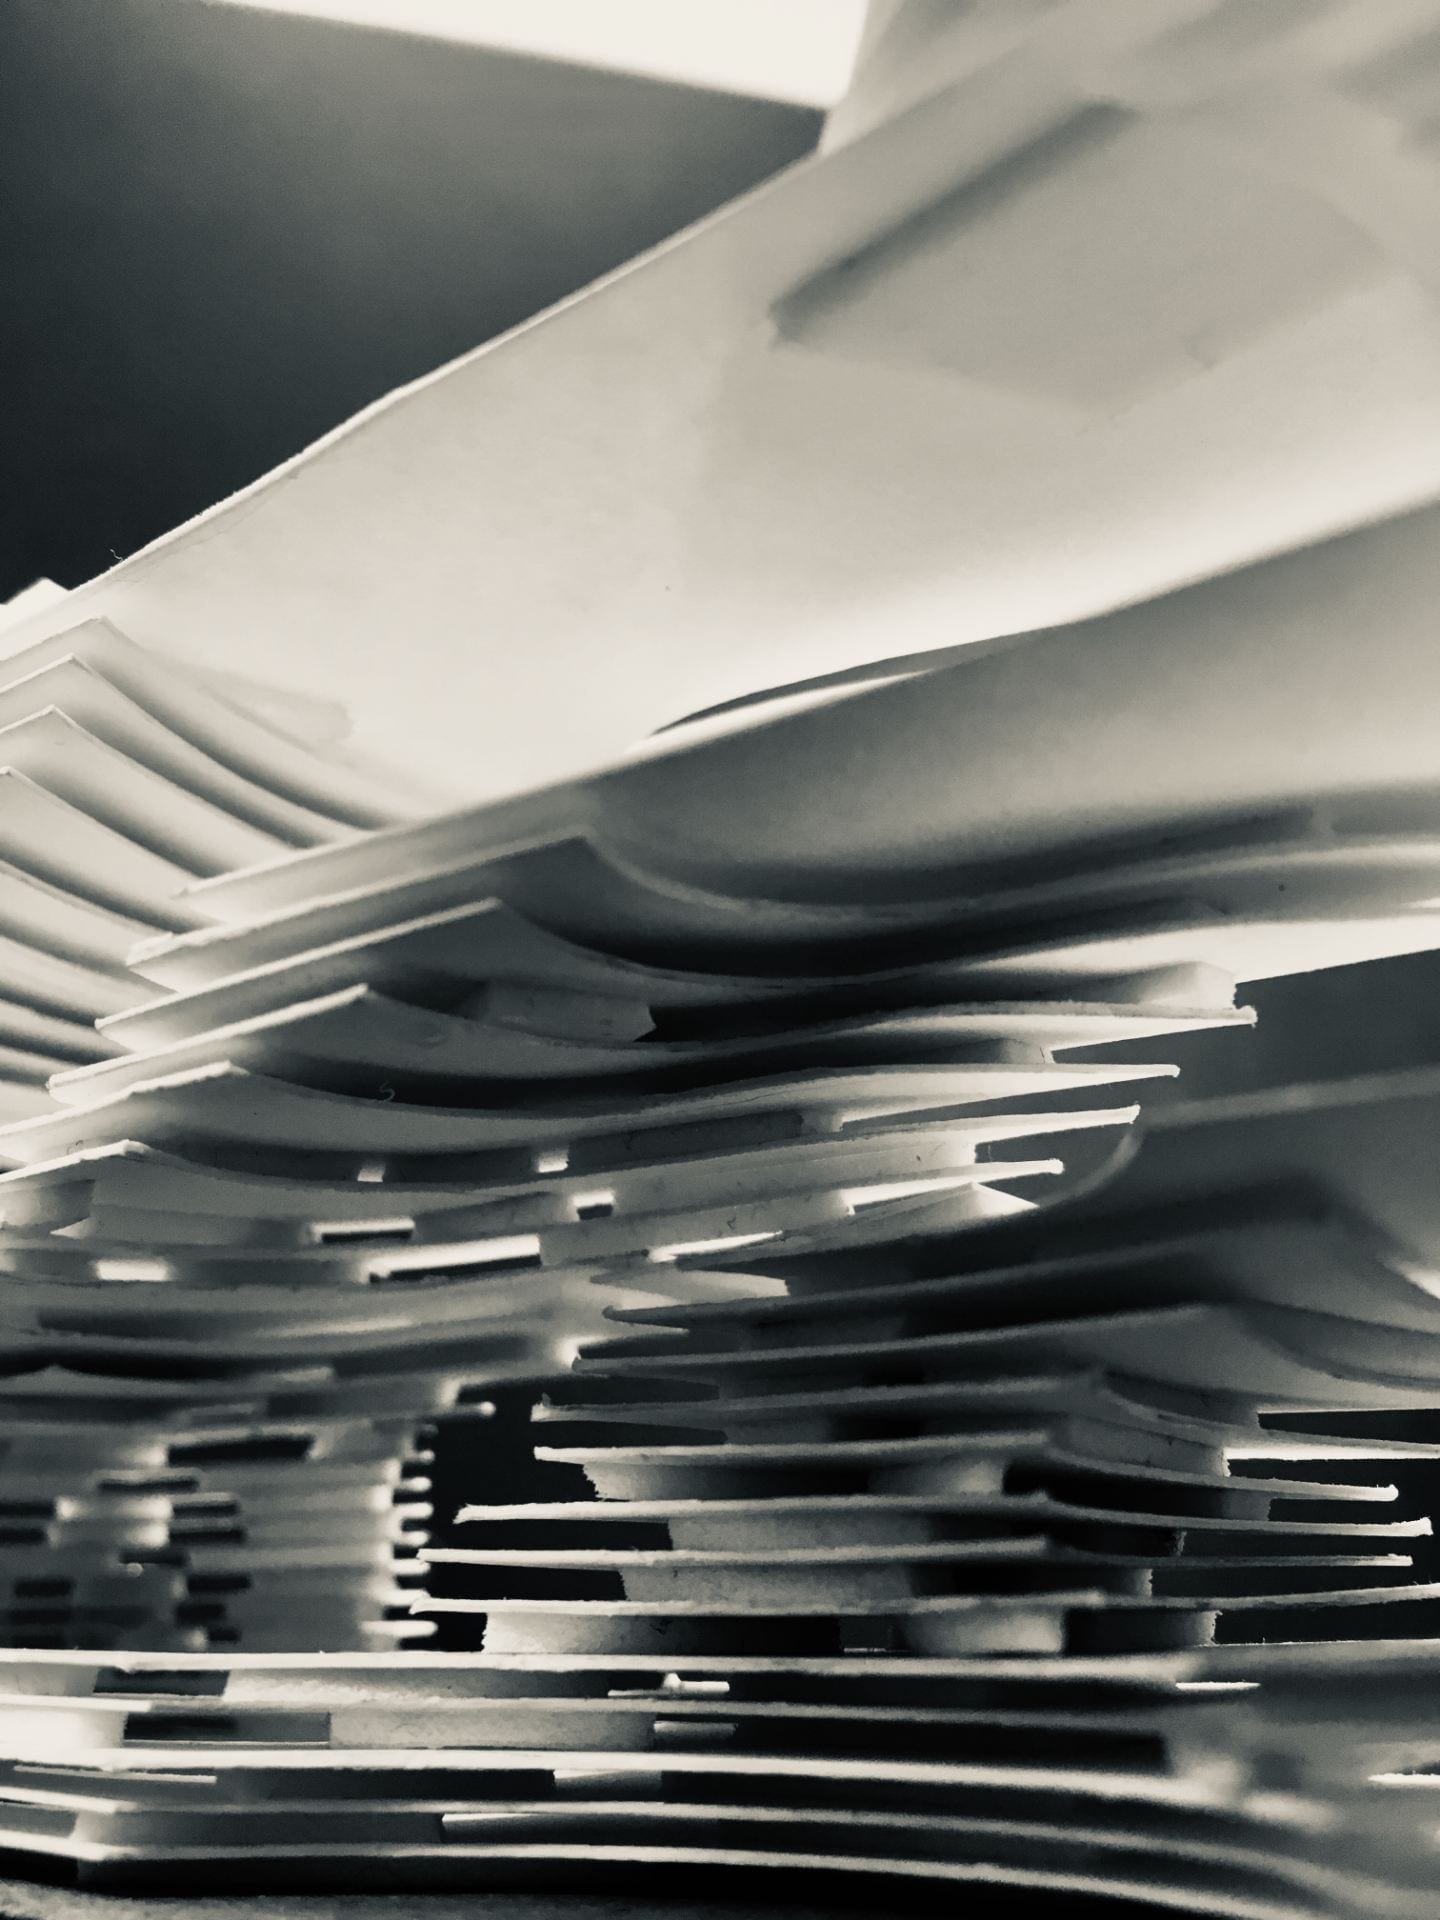
In terms of material when I started working with foam, however as I completed working with a sketch model using foam, it came to my notice that material was to thick for the scale which we were creating the sketch model.
After looking into several different materials, I decided to use paper and double sided tape (to create the thickness)
This material not only helped in gaining the right scale for my model but also helped in focusing on creating a visual balance throughout my structure.
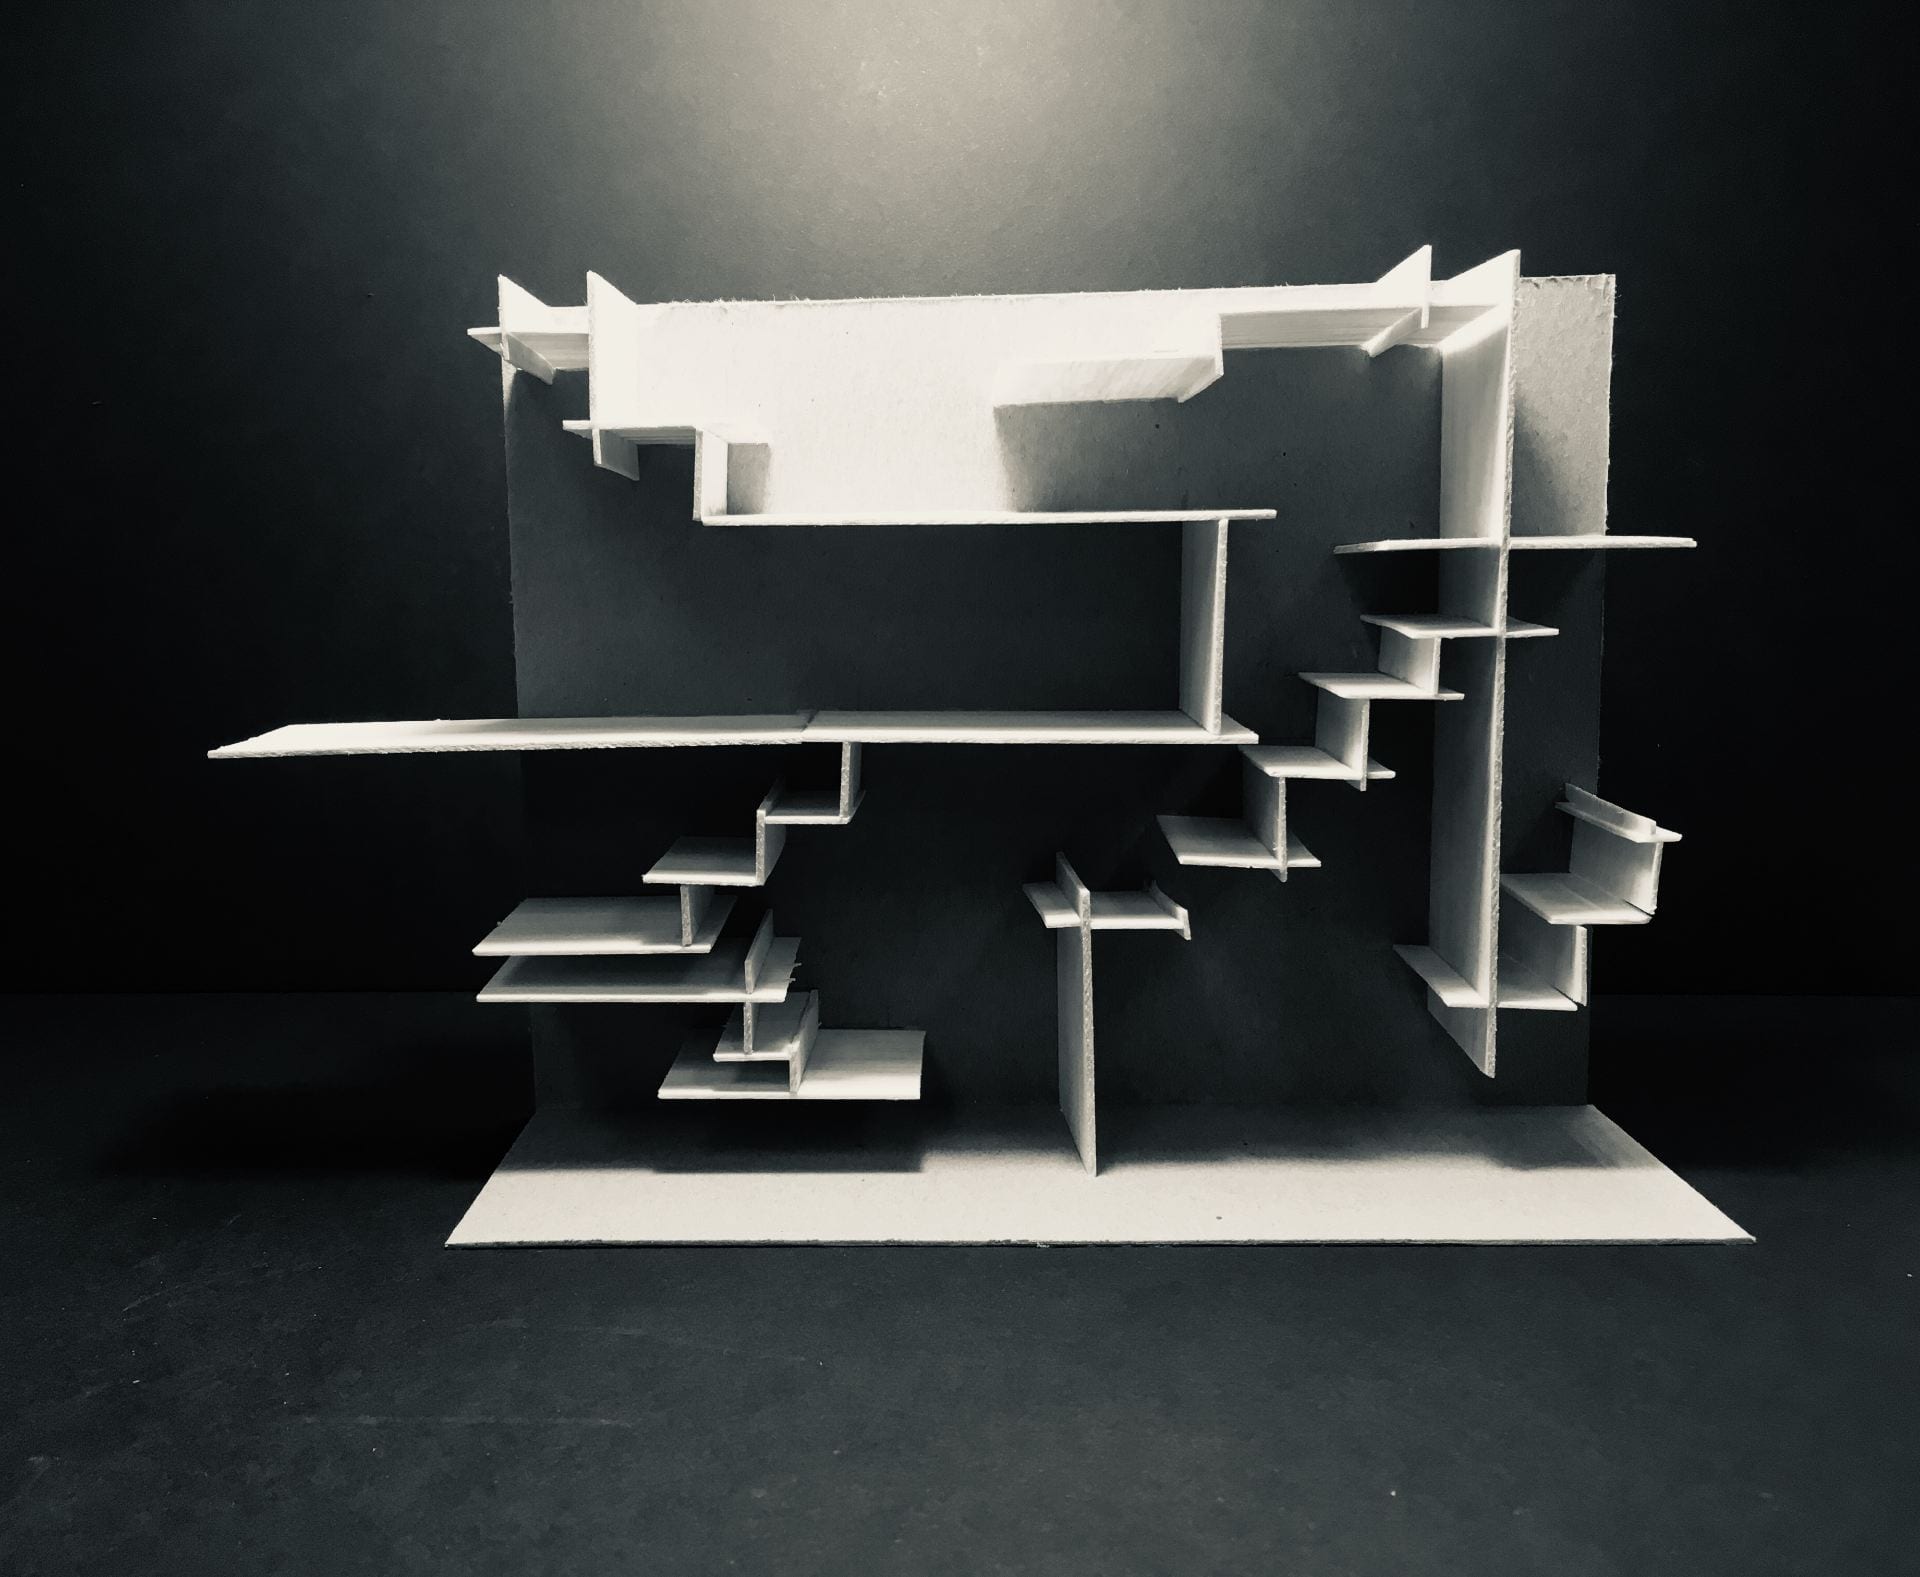
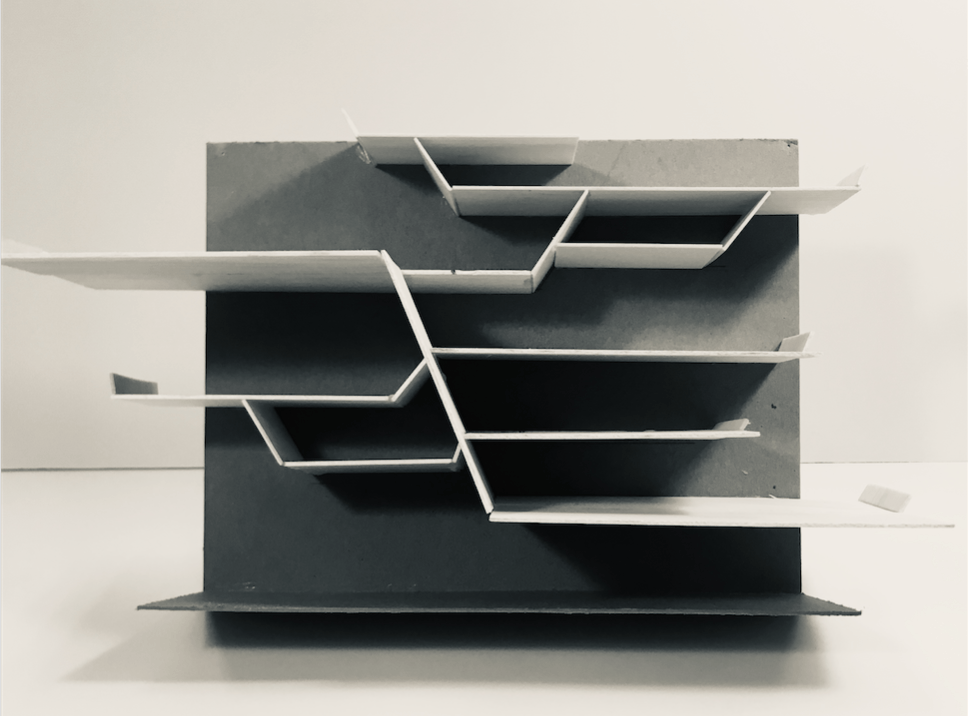
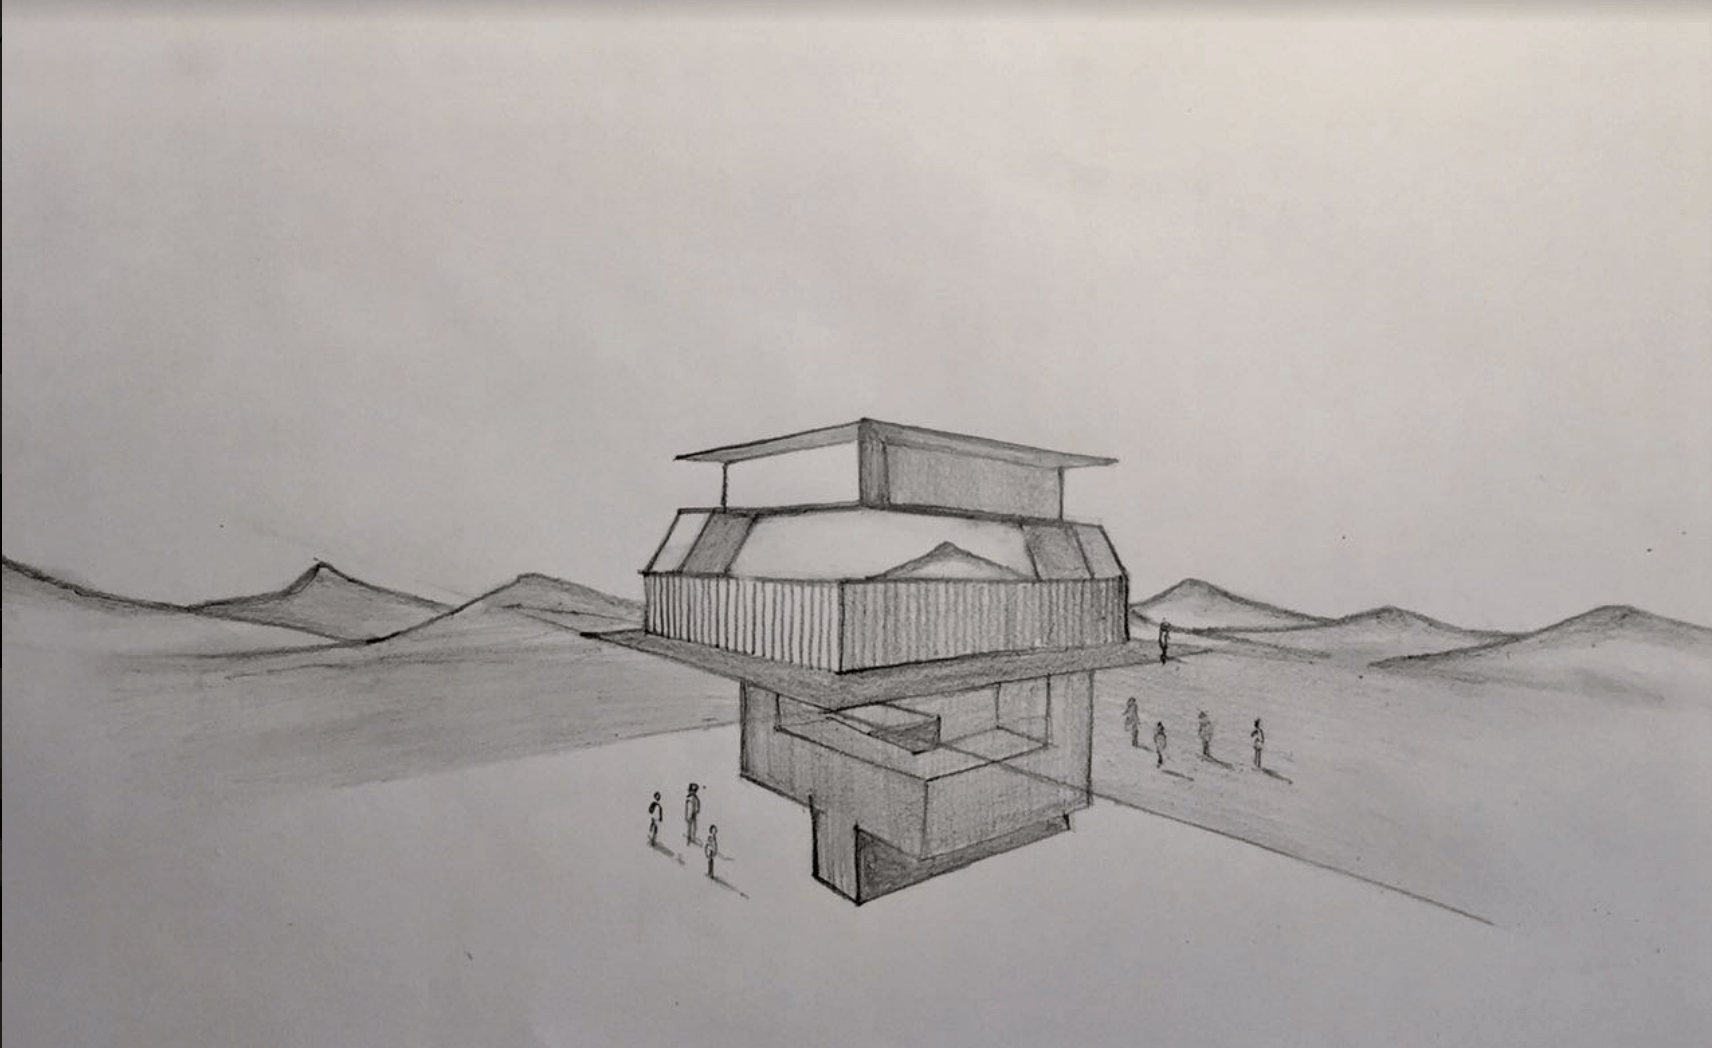
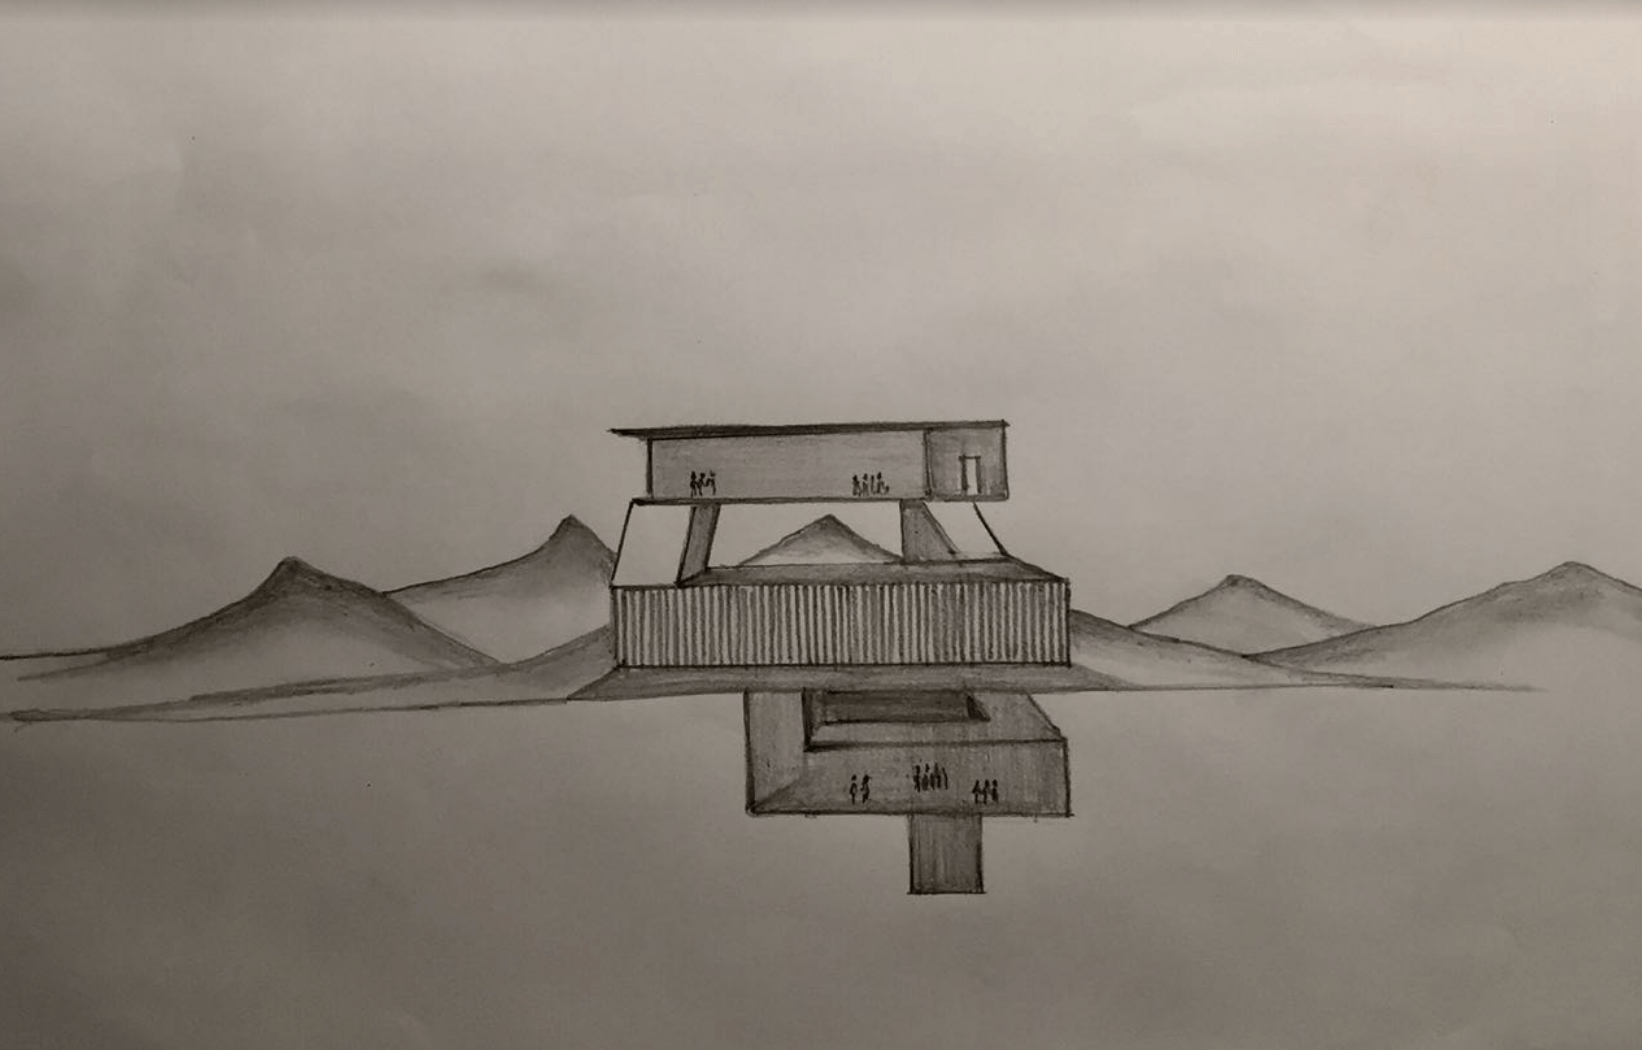
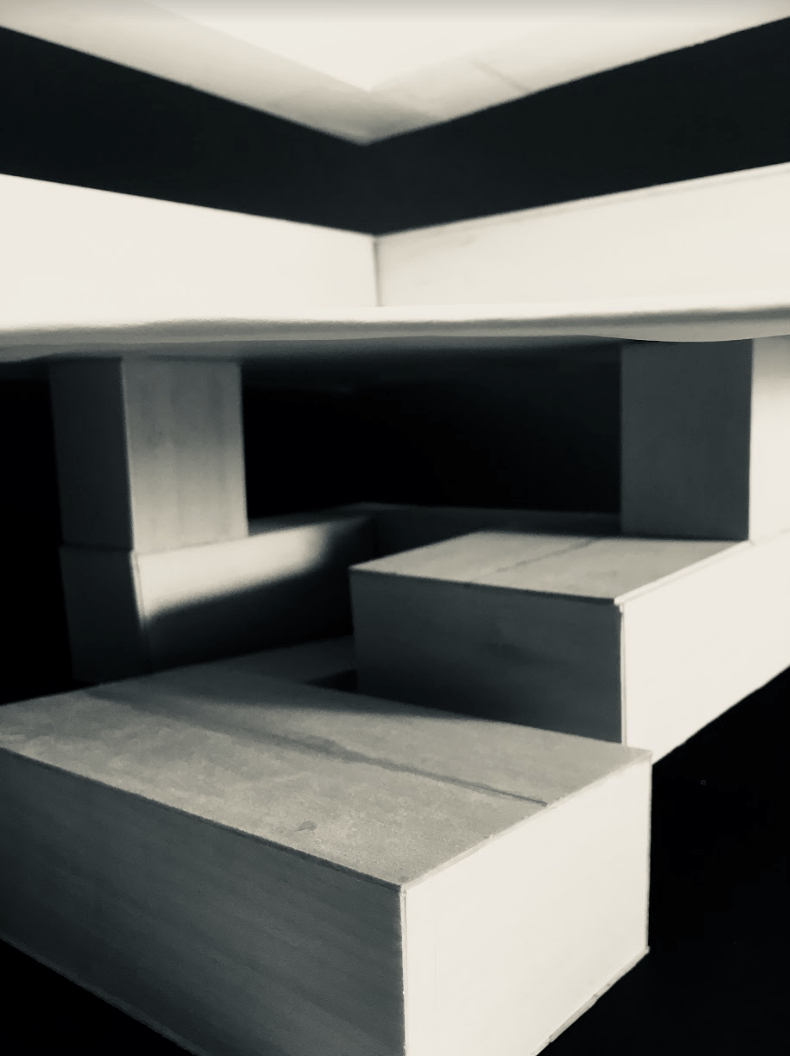
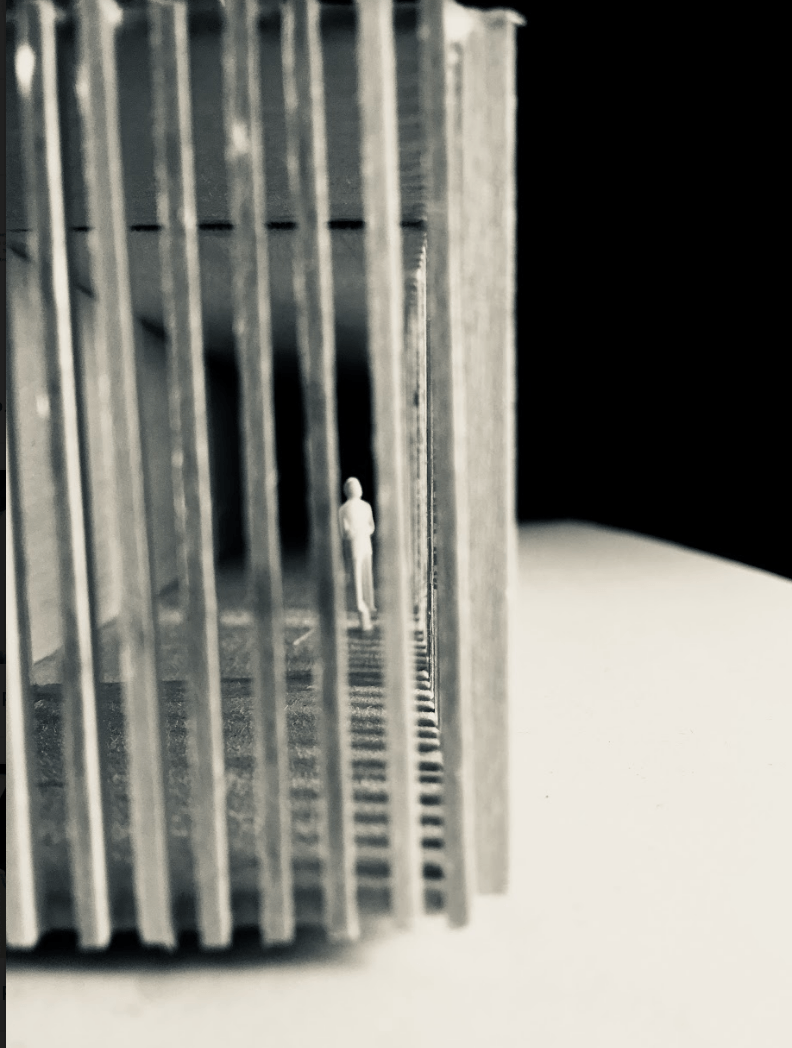
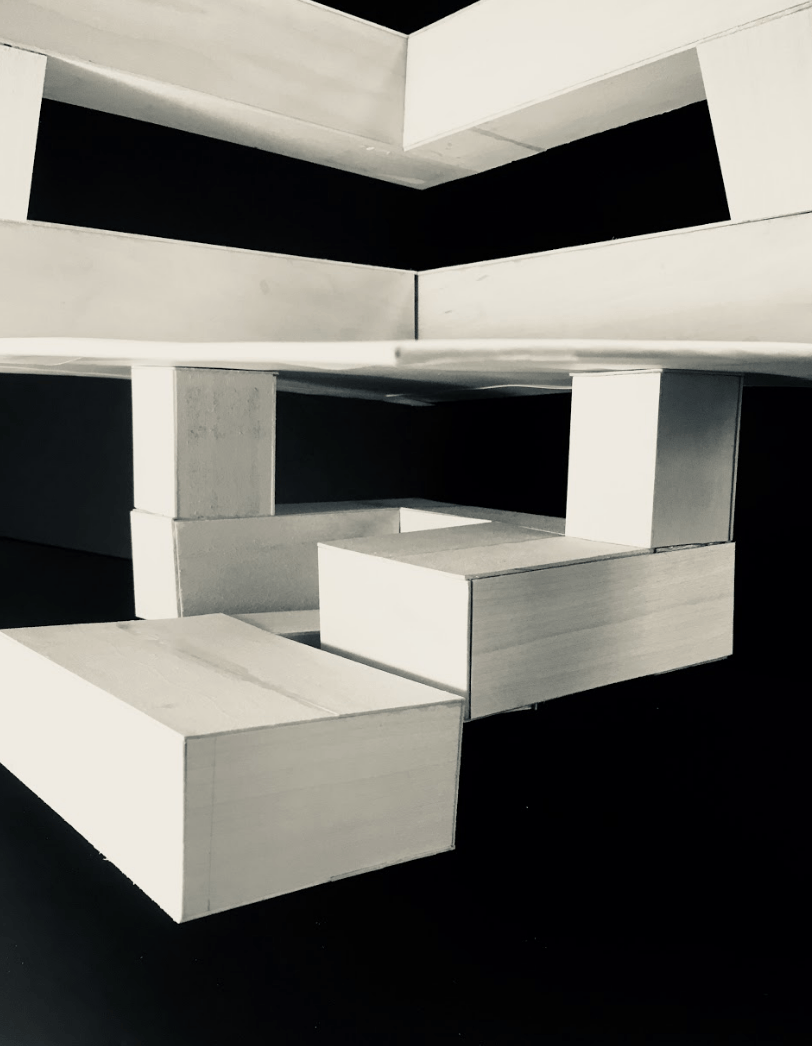
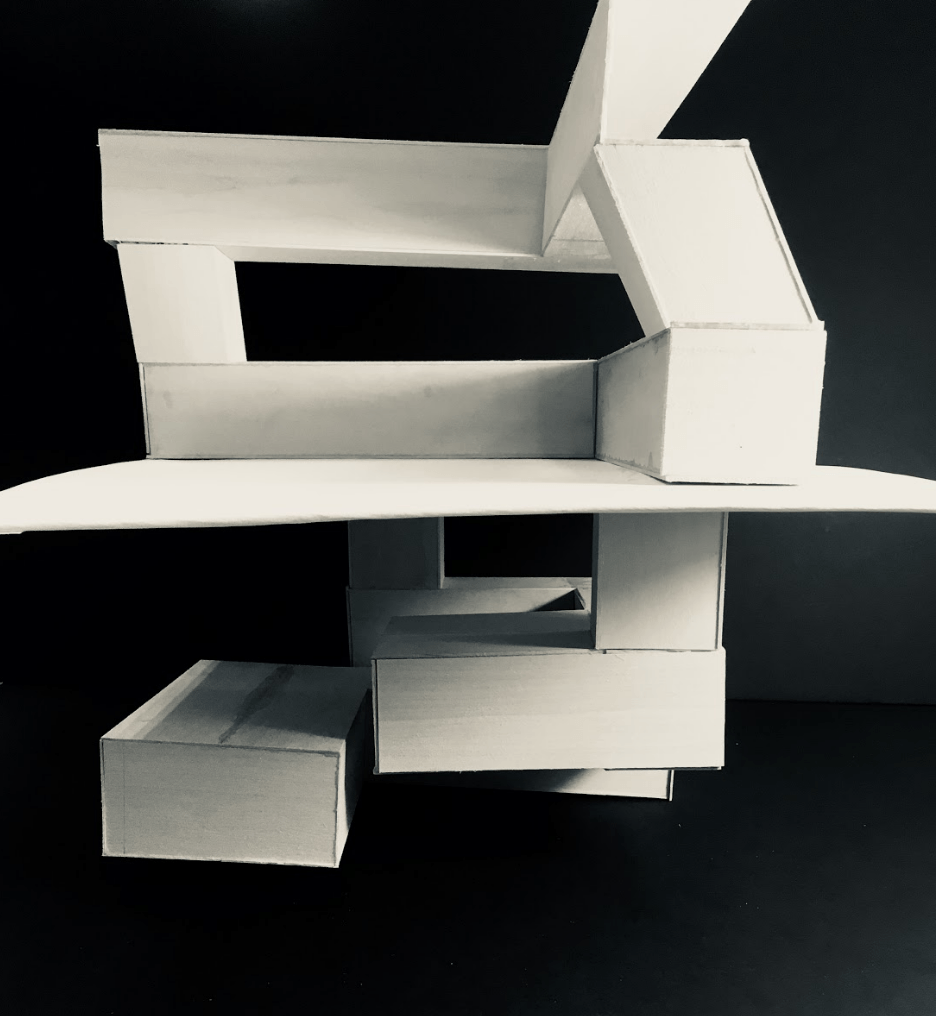
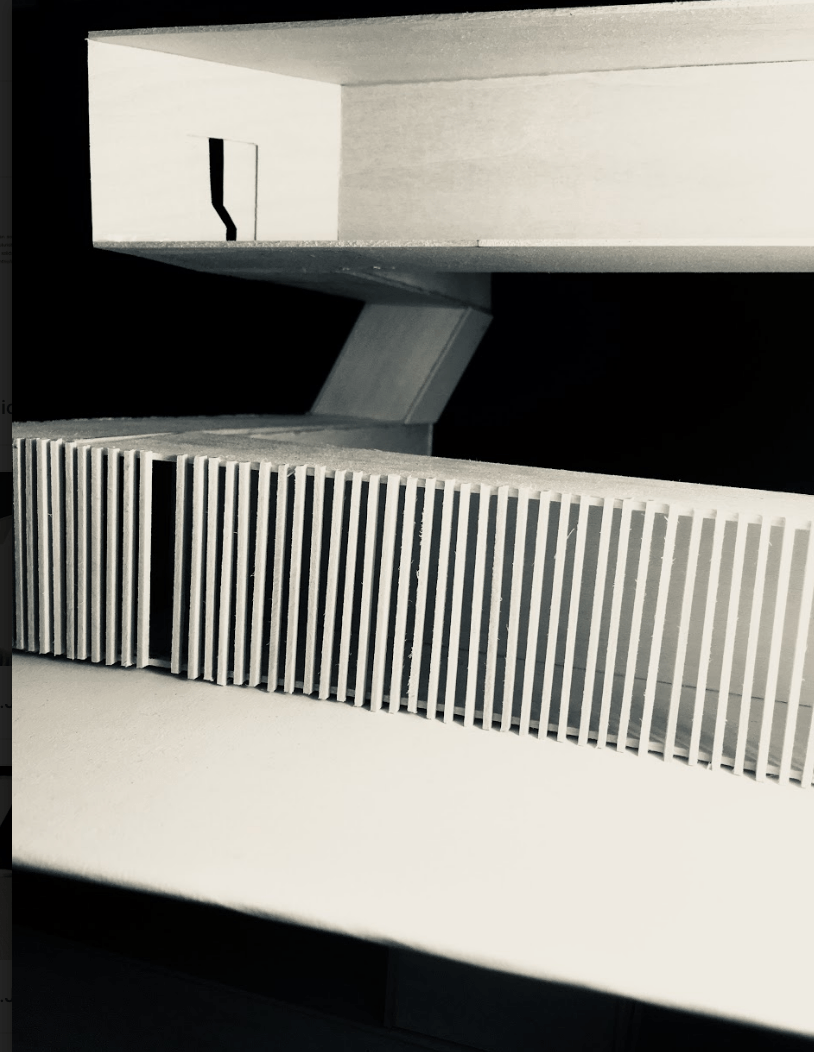
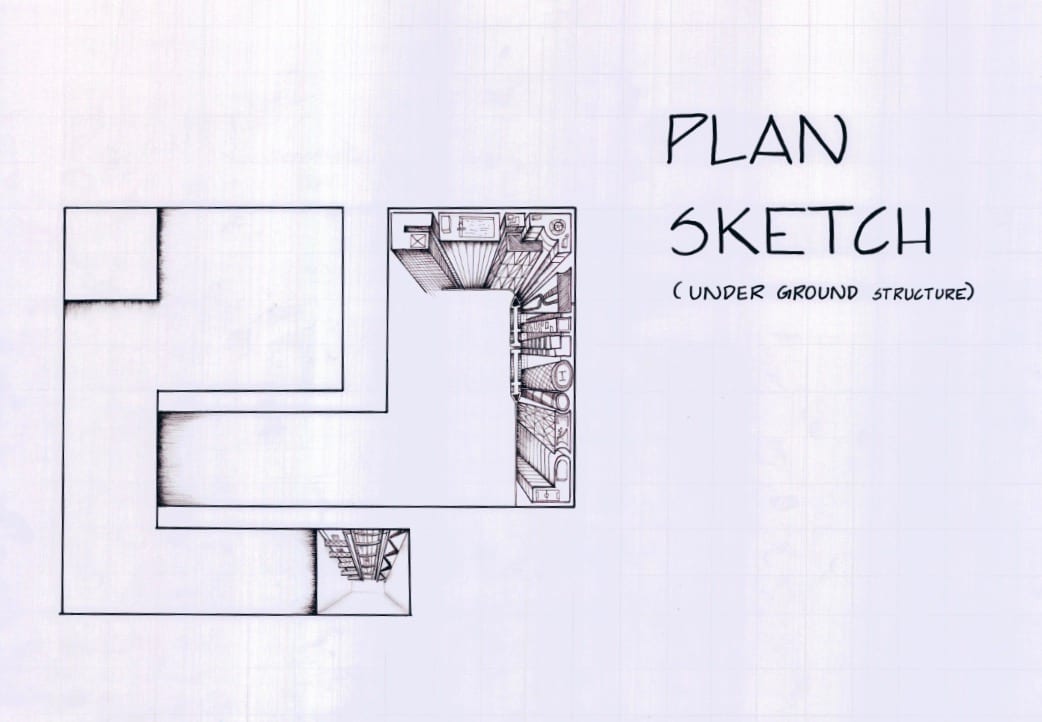
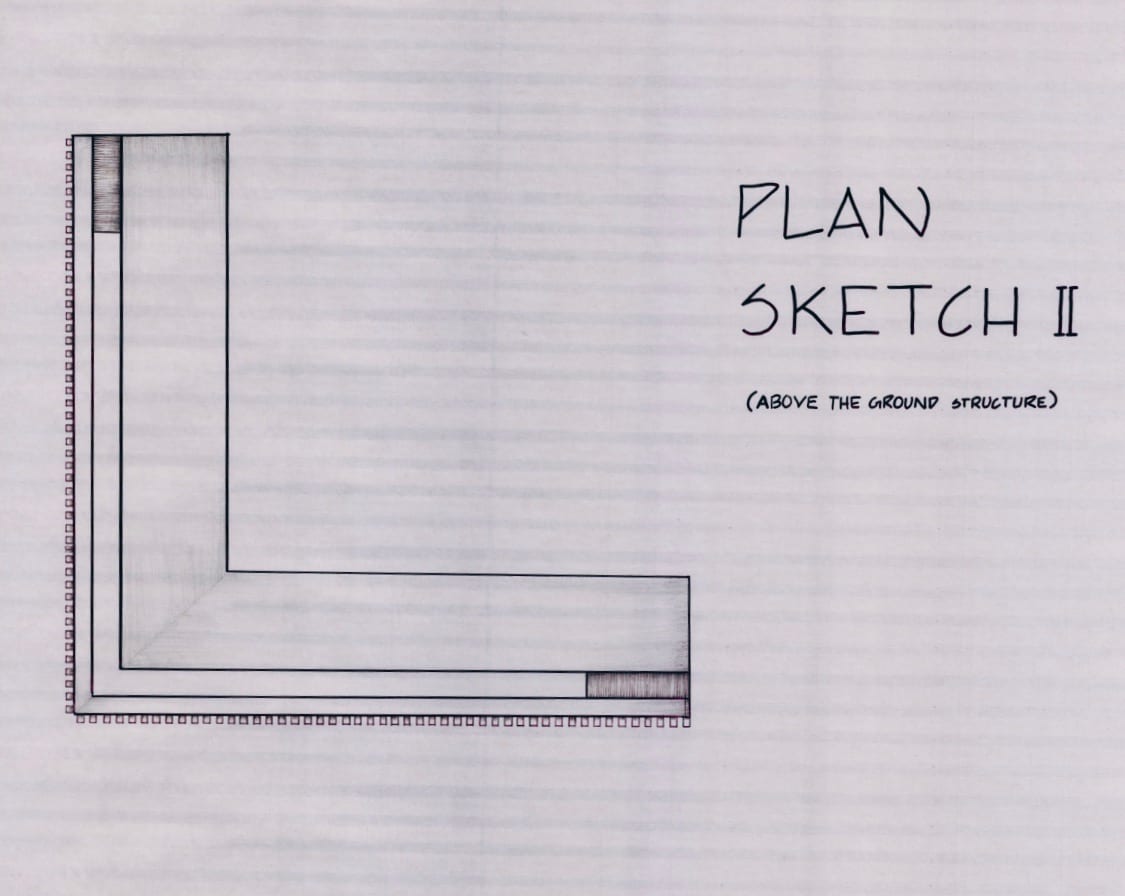
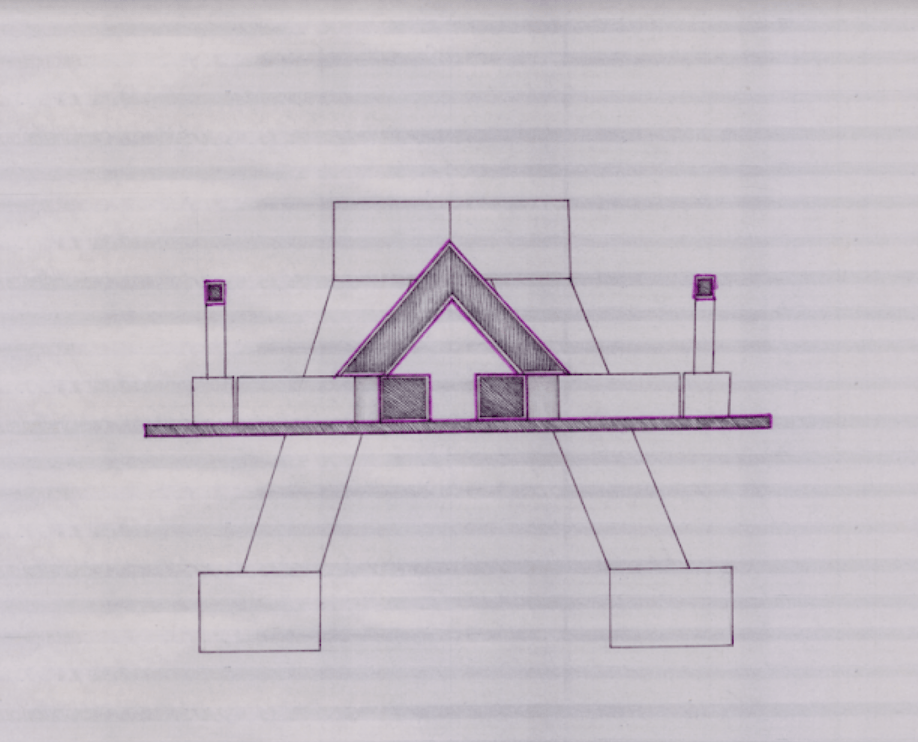
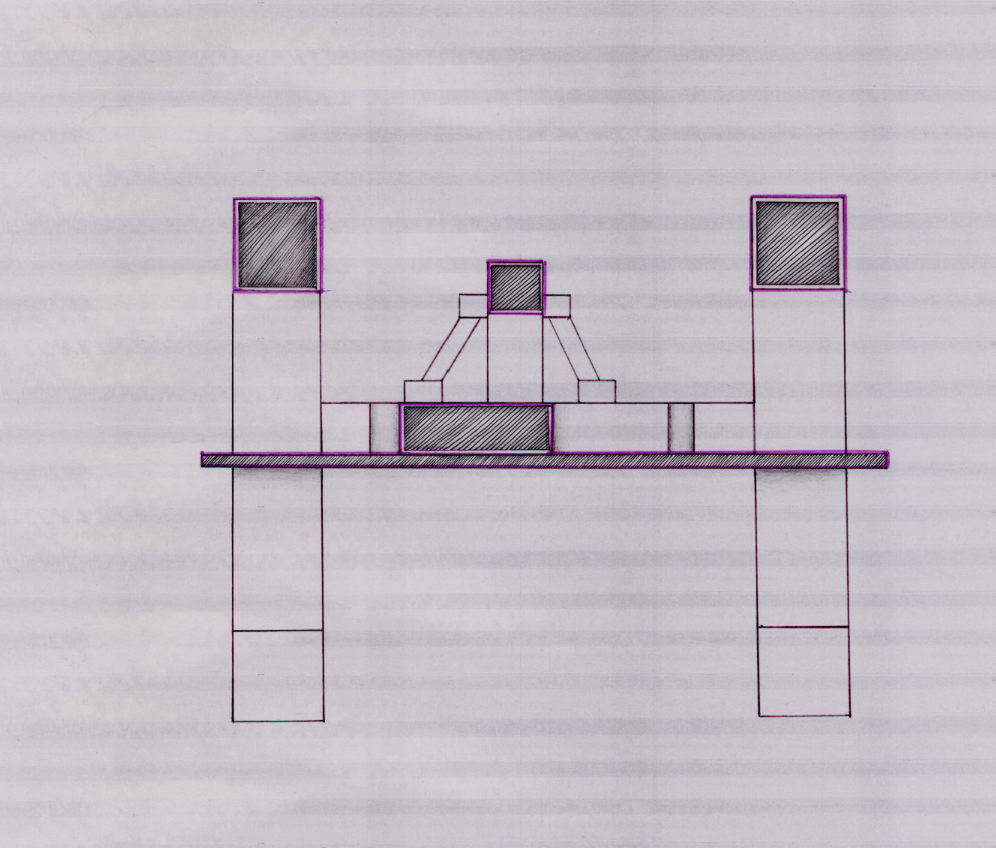
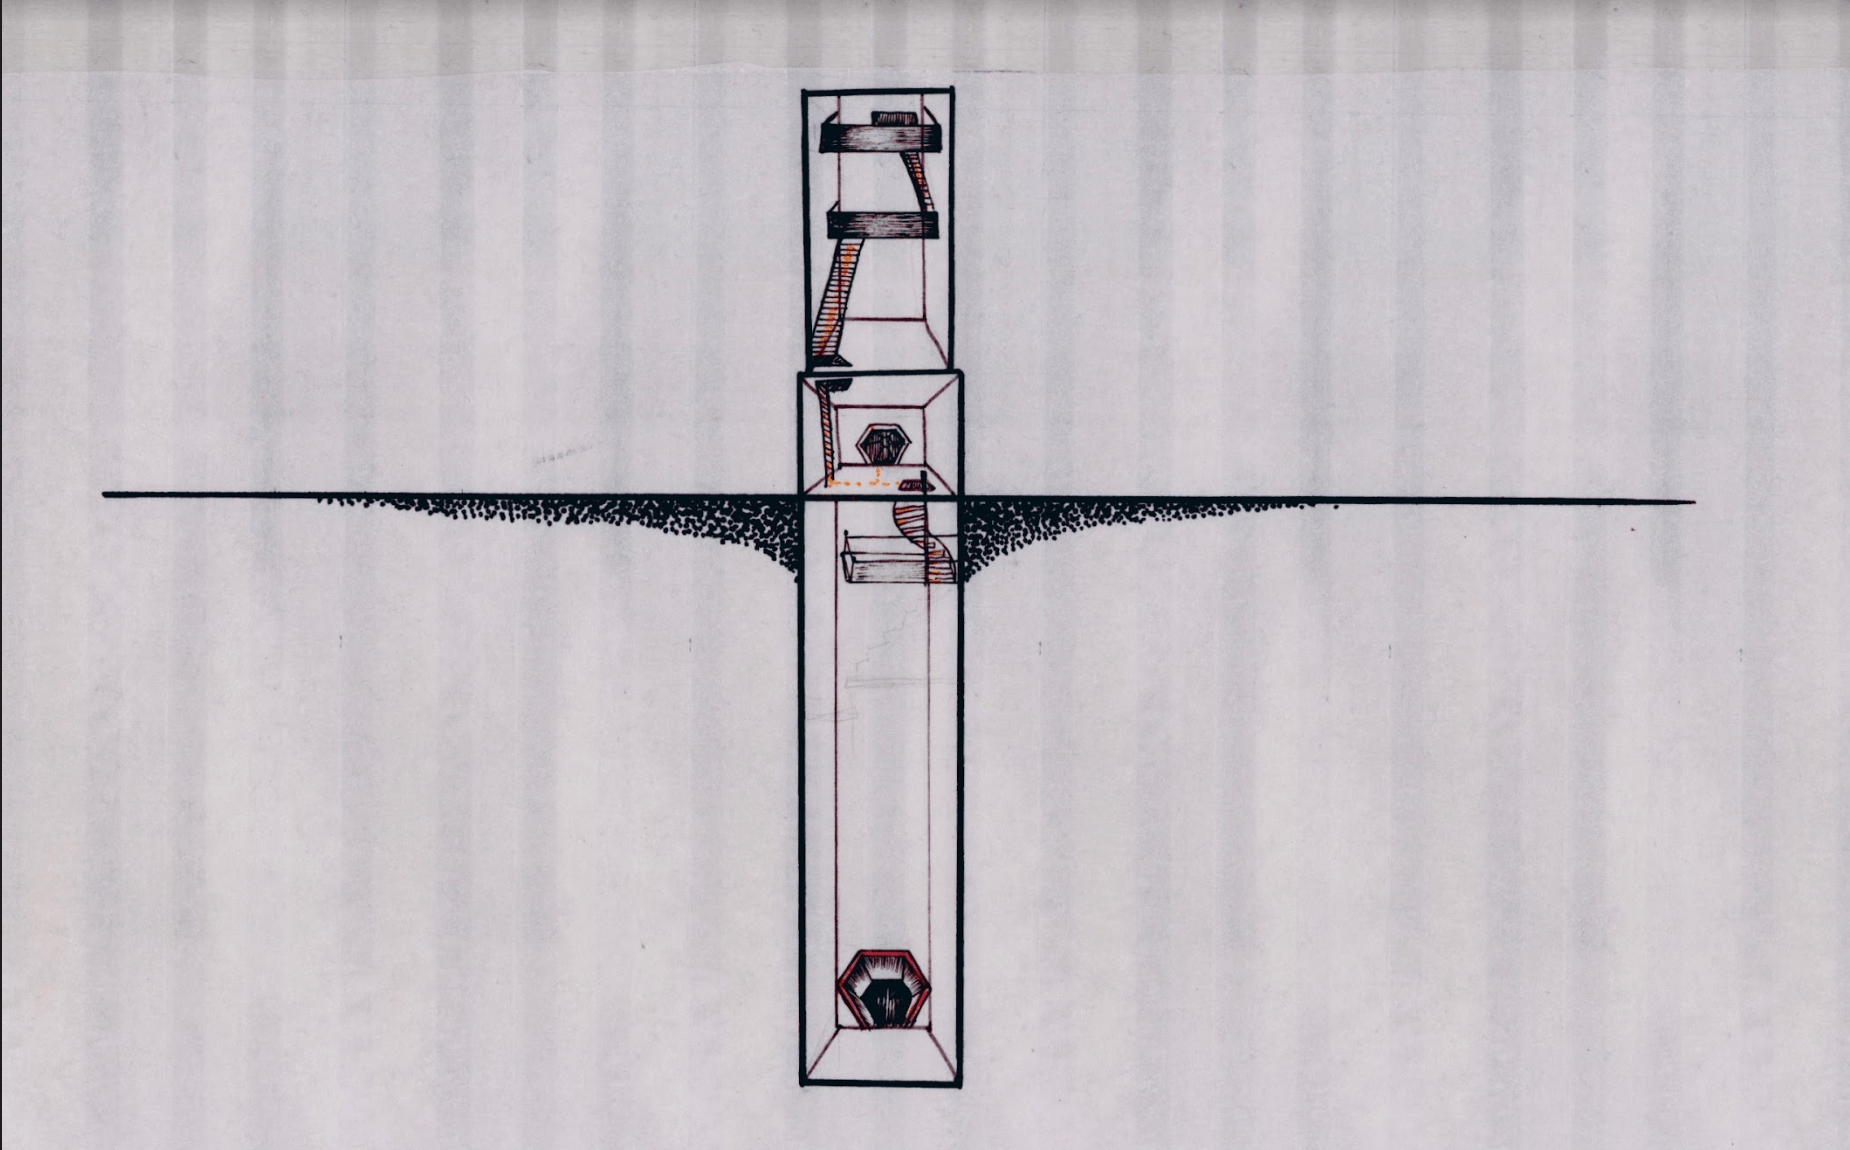
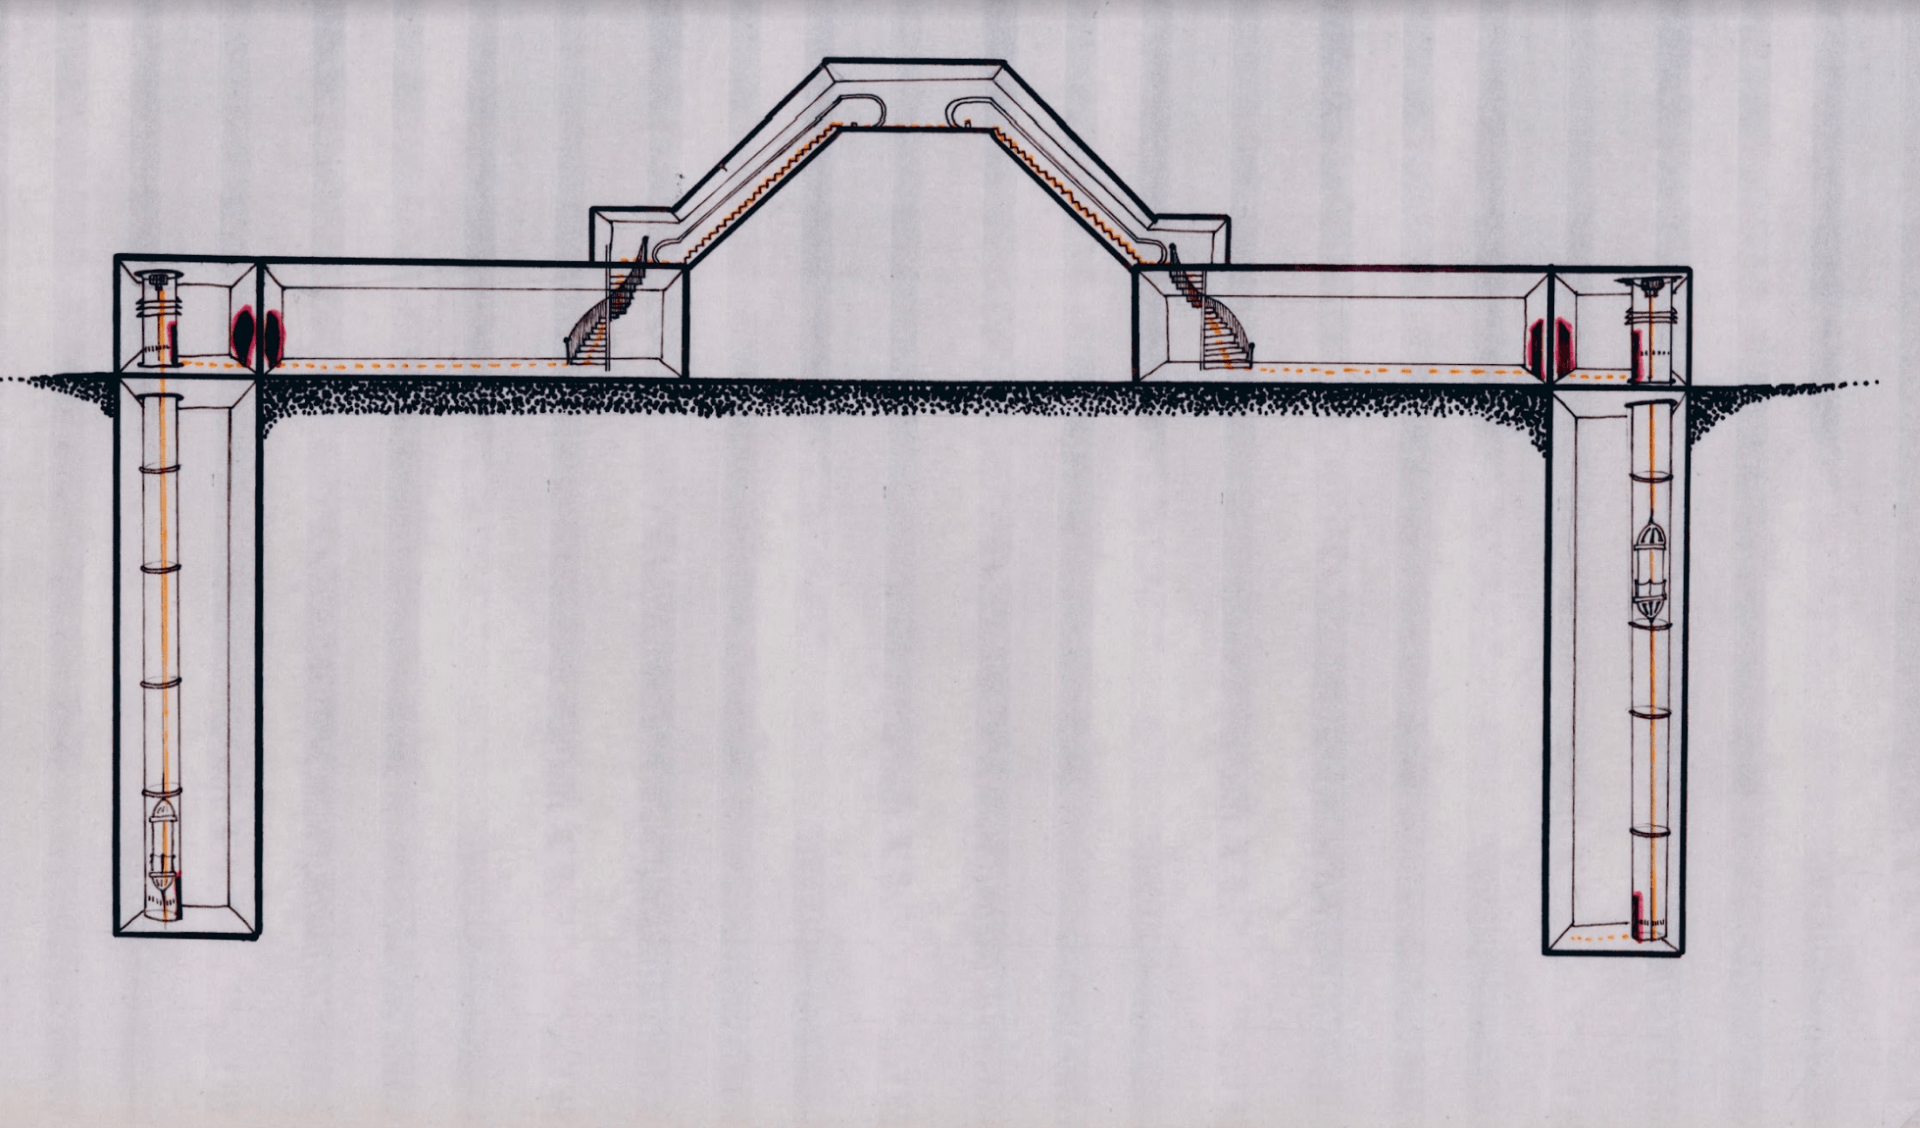
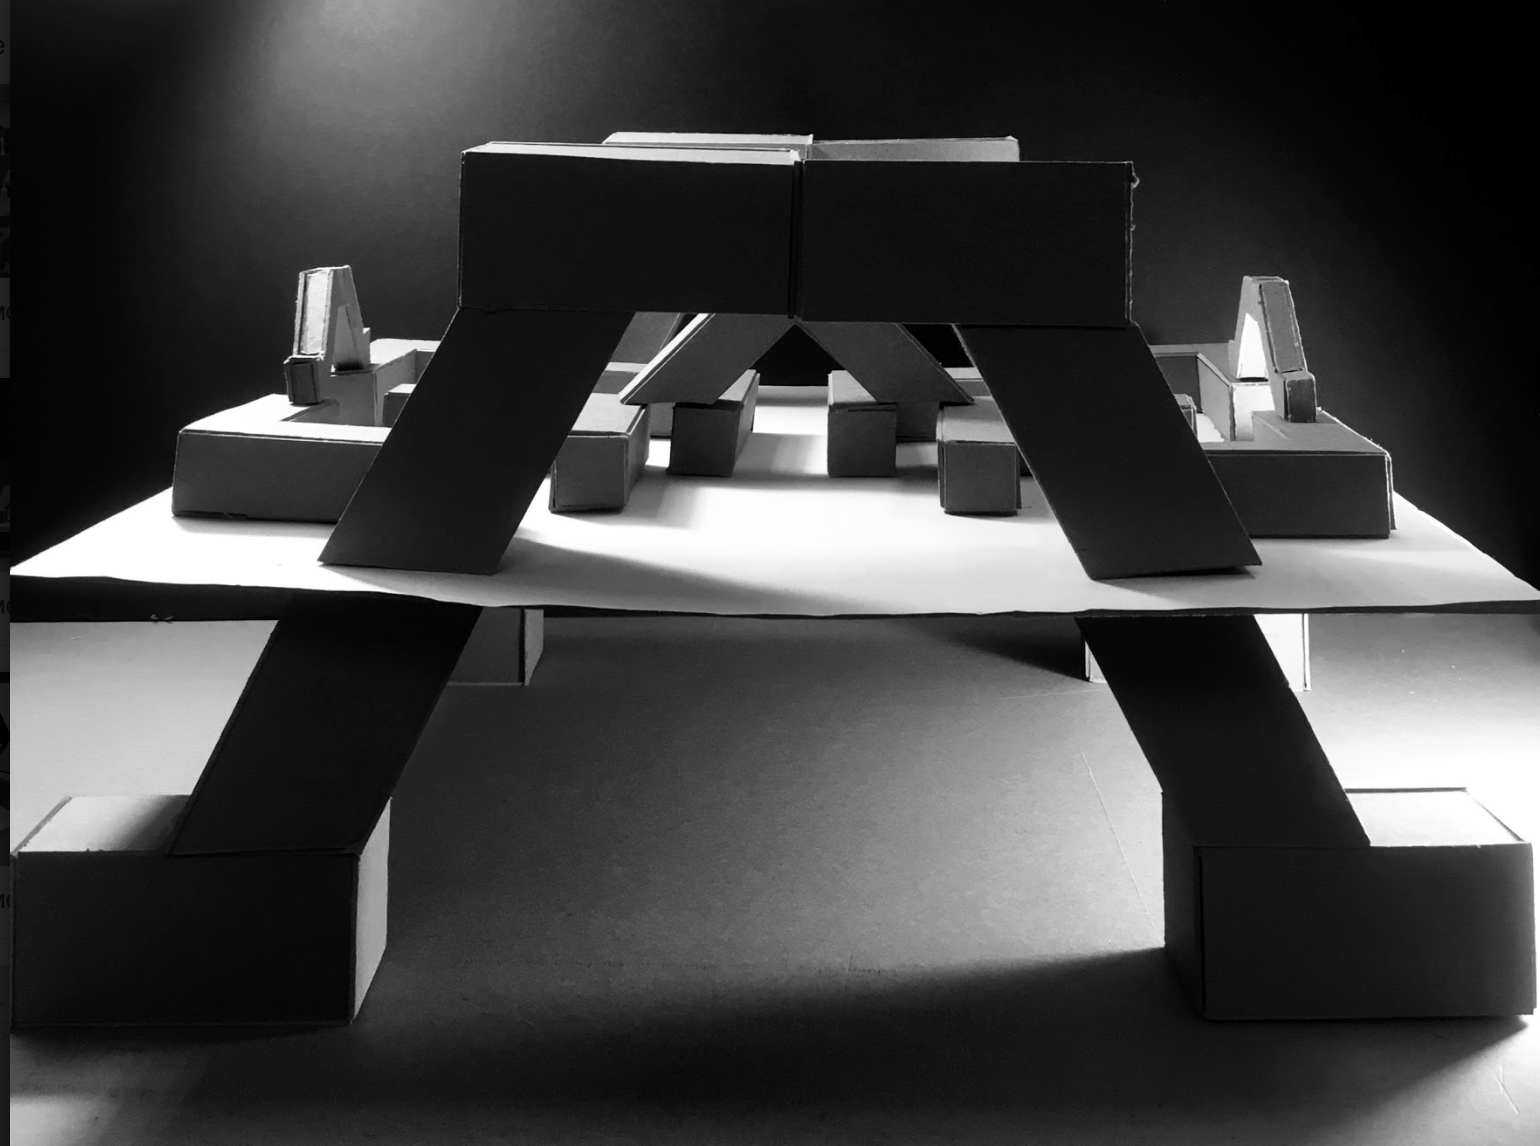
We ended the assignment projects with a path diagram and a map that allowed you to think about what constitutes a path. We then added spatial volumes that this path needs to connect. Using these ideas we we also focused on playing with the ground, a critical step for the assignment our spaces showcased at least 3 conditions: Above, On, In, Below the ground. These structure are to develop a visually interesting section.
Concept:
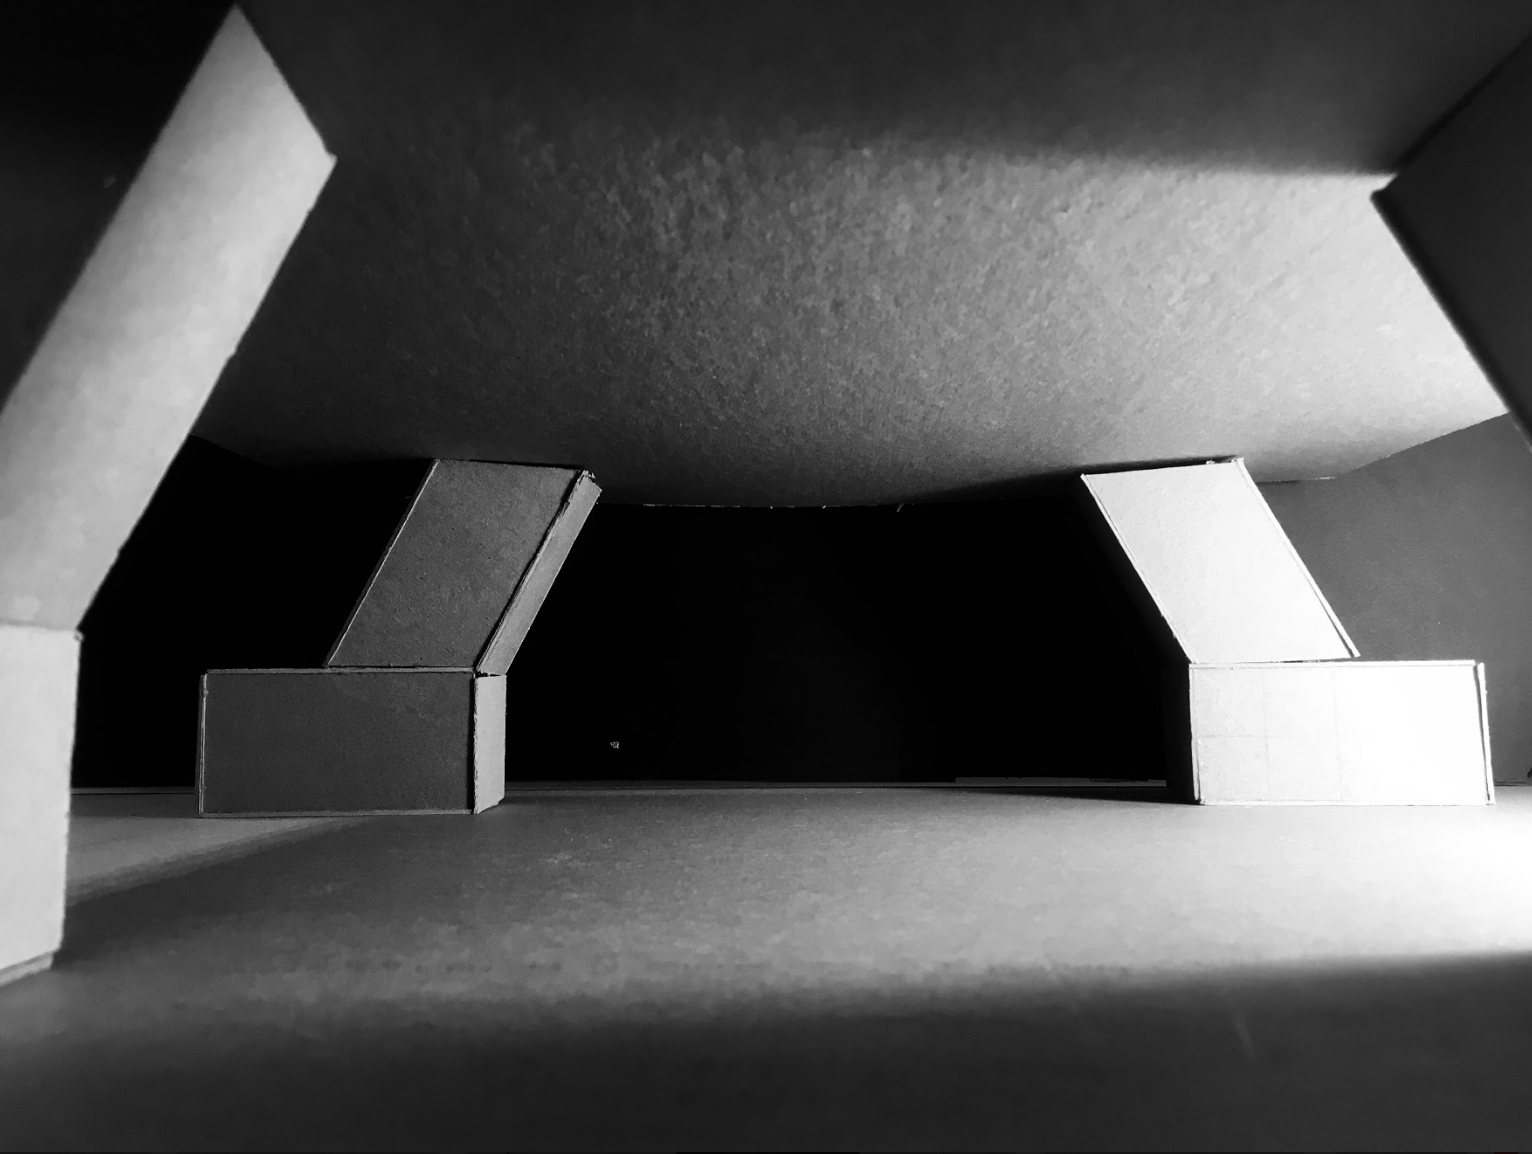
This project focuses on a portrayal of structure that exists within a dystopian society. The structure, influenced by an ancient underground Turkish City, reflects as a futuristic city that is built in response to an uninhabitable planet. Through a series of tube like solids I reflecting back to the concept of maze and tried to translate it into my final model. The structure also demonstrates the manipulation of ground in order to generate labyrinthic transition. Facade
Materials Used:
Glue
Basswood
Bristol Paper
Chip Board
Ink on Paper
Process:
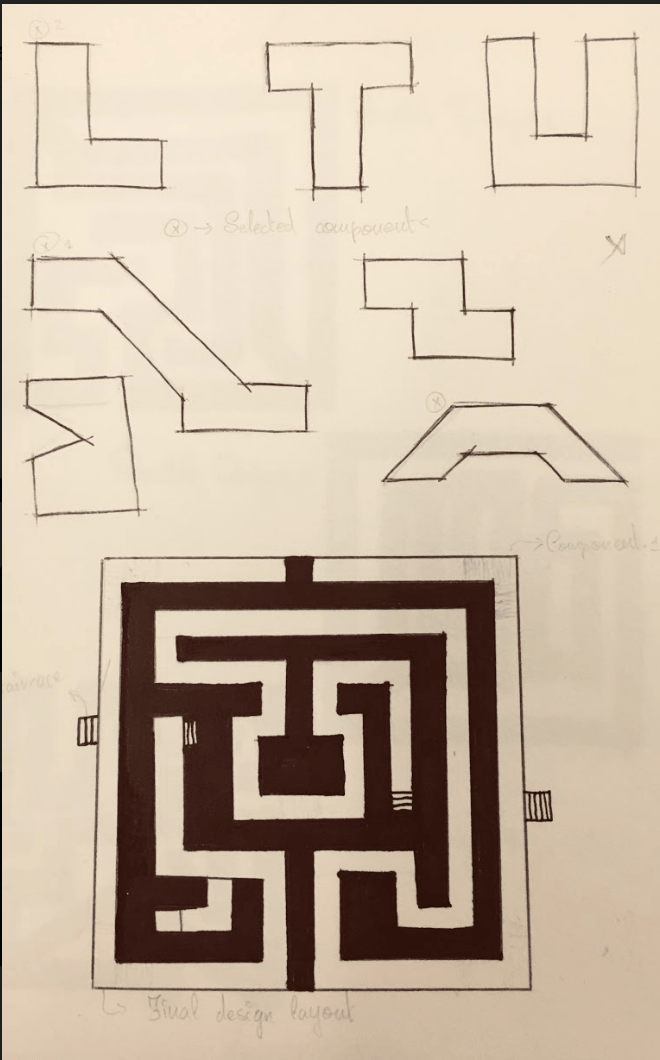
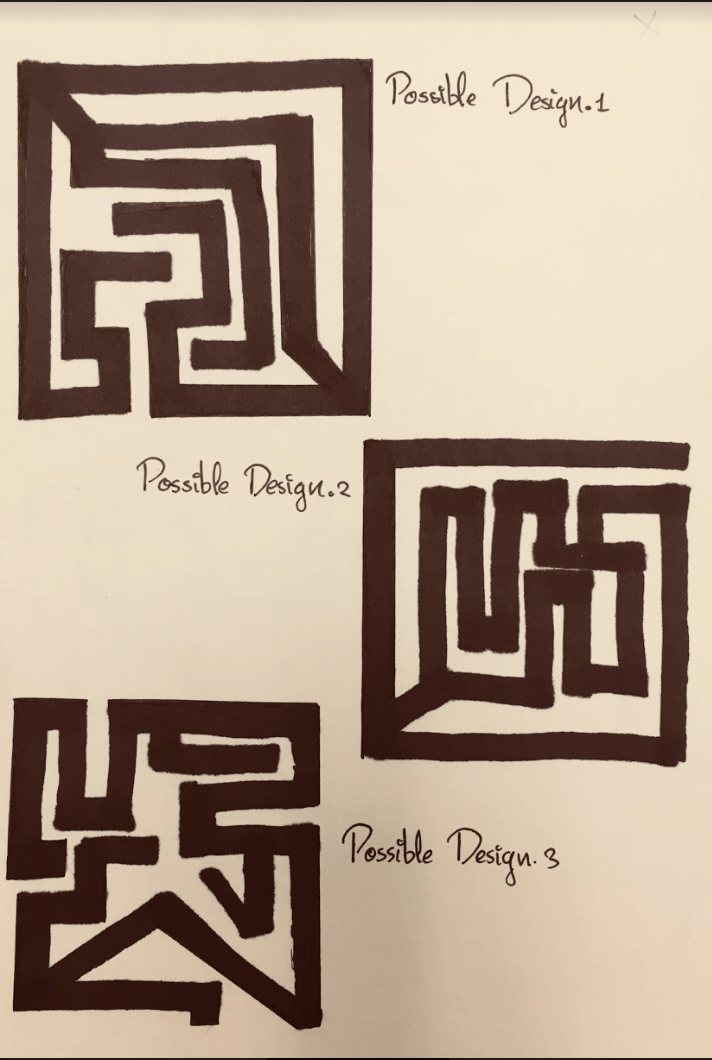
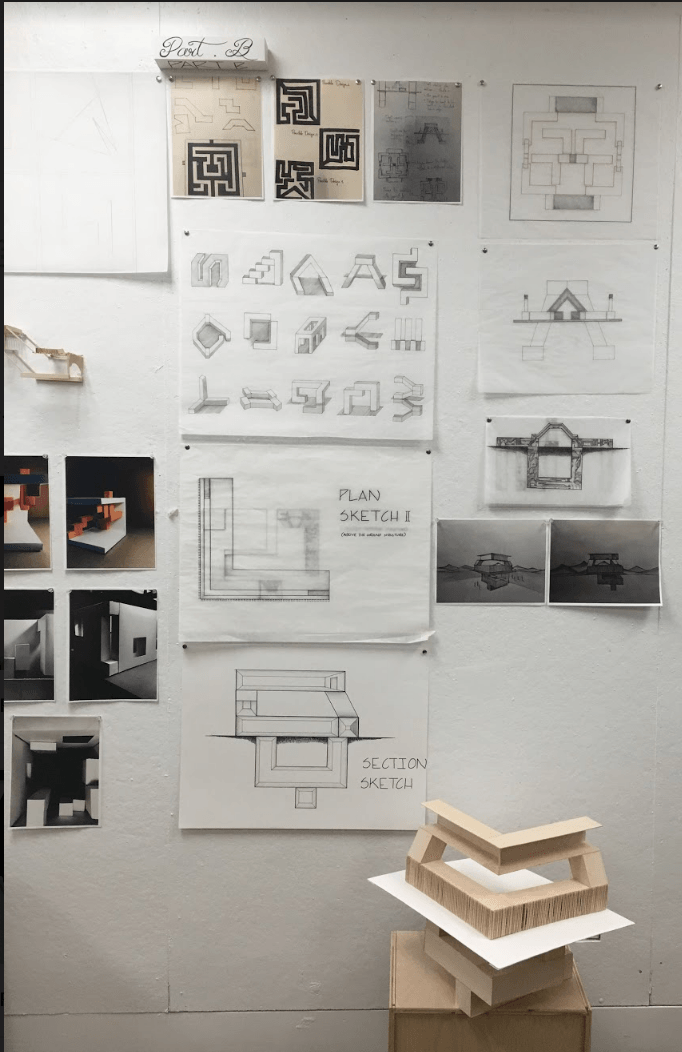
Going back to the Architectural Elements, I started with the basic idea of component. Began sketching out possible components to build from in order to create the labrynthic pattern.
Image.1Image.2
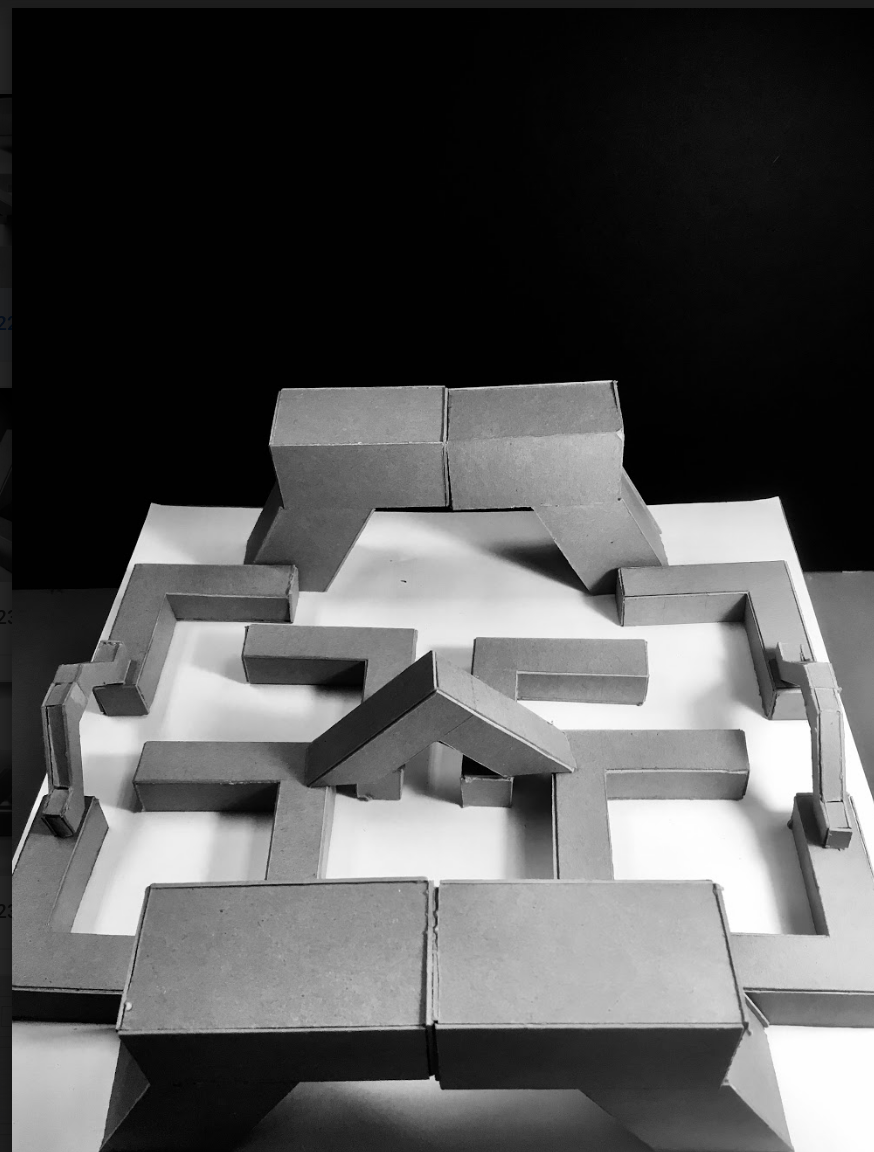
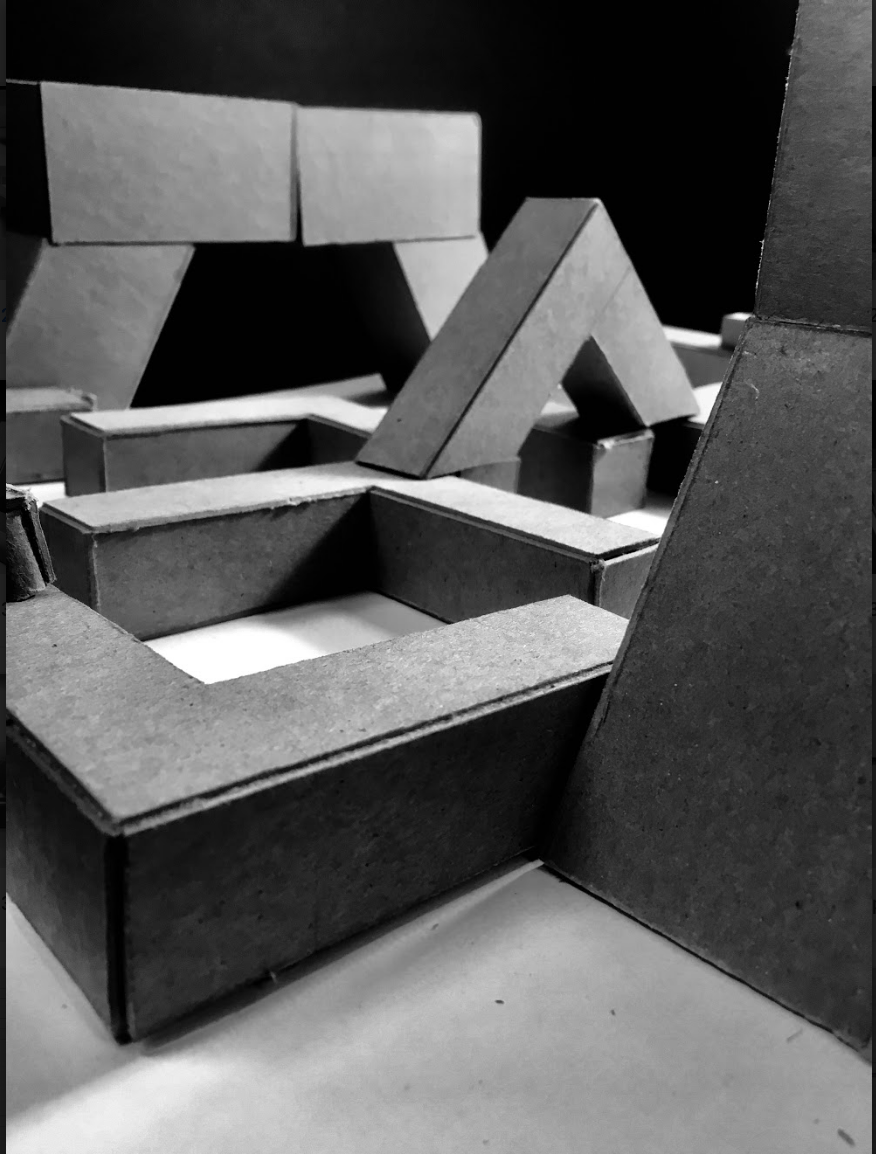
Through elimination and scaling, using Possible Design.1 from Image.2. I started working on a draft sketch of what the could look like.
On my final model using Basswood for model structure.
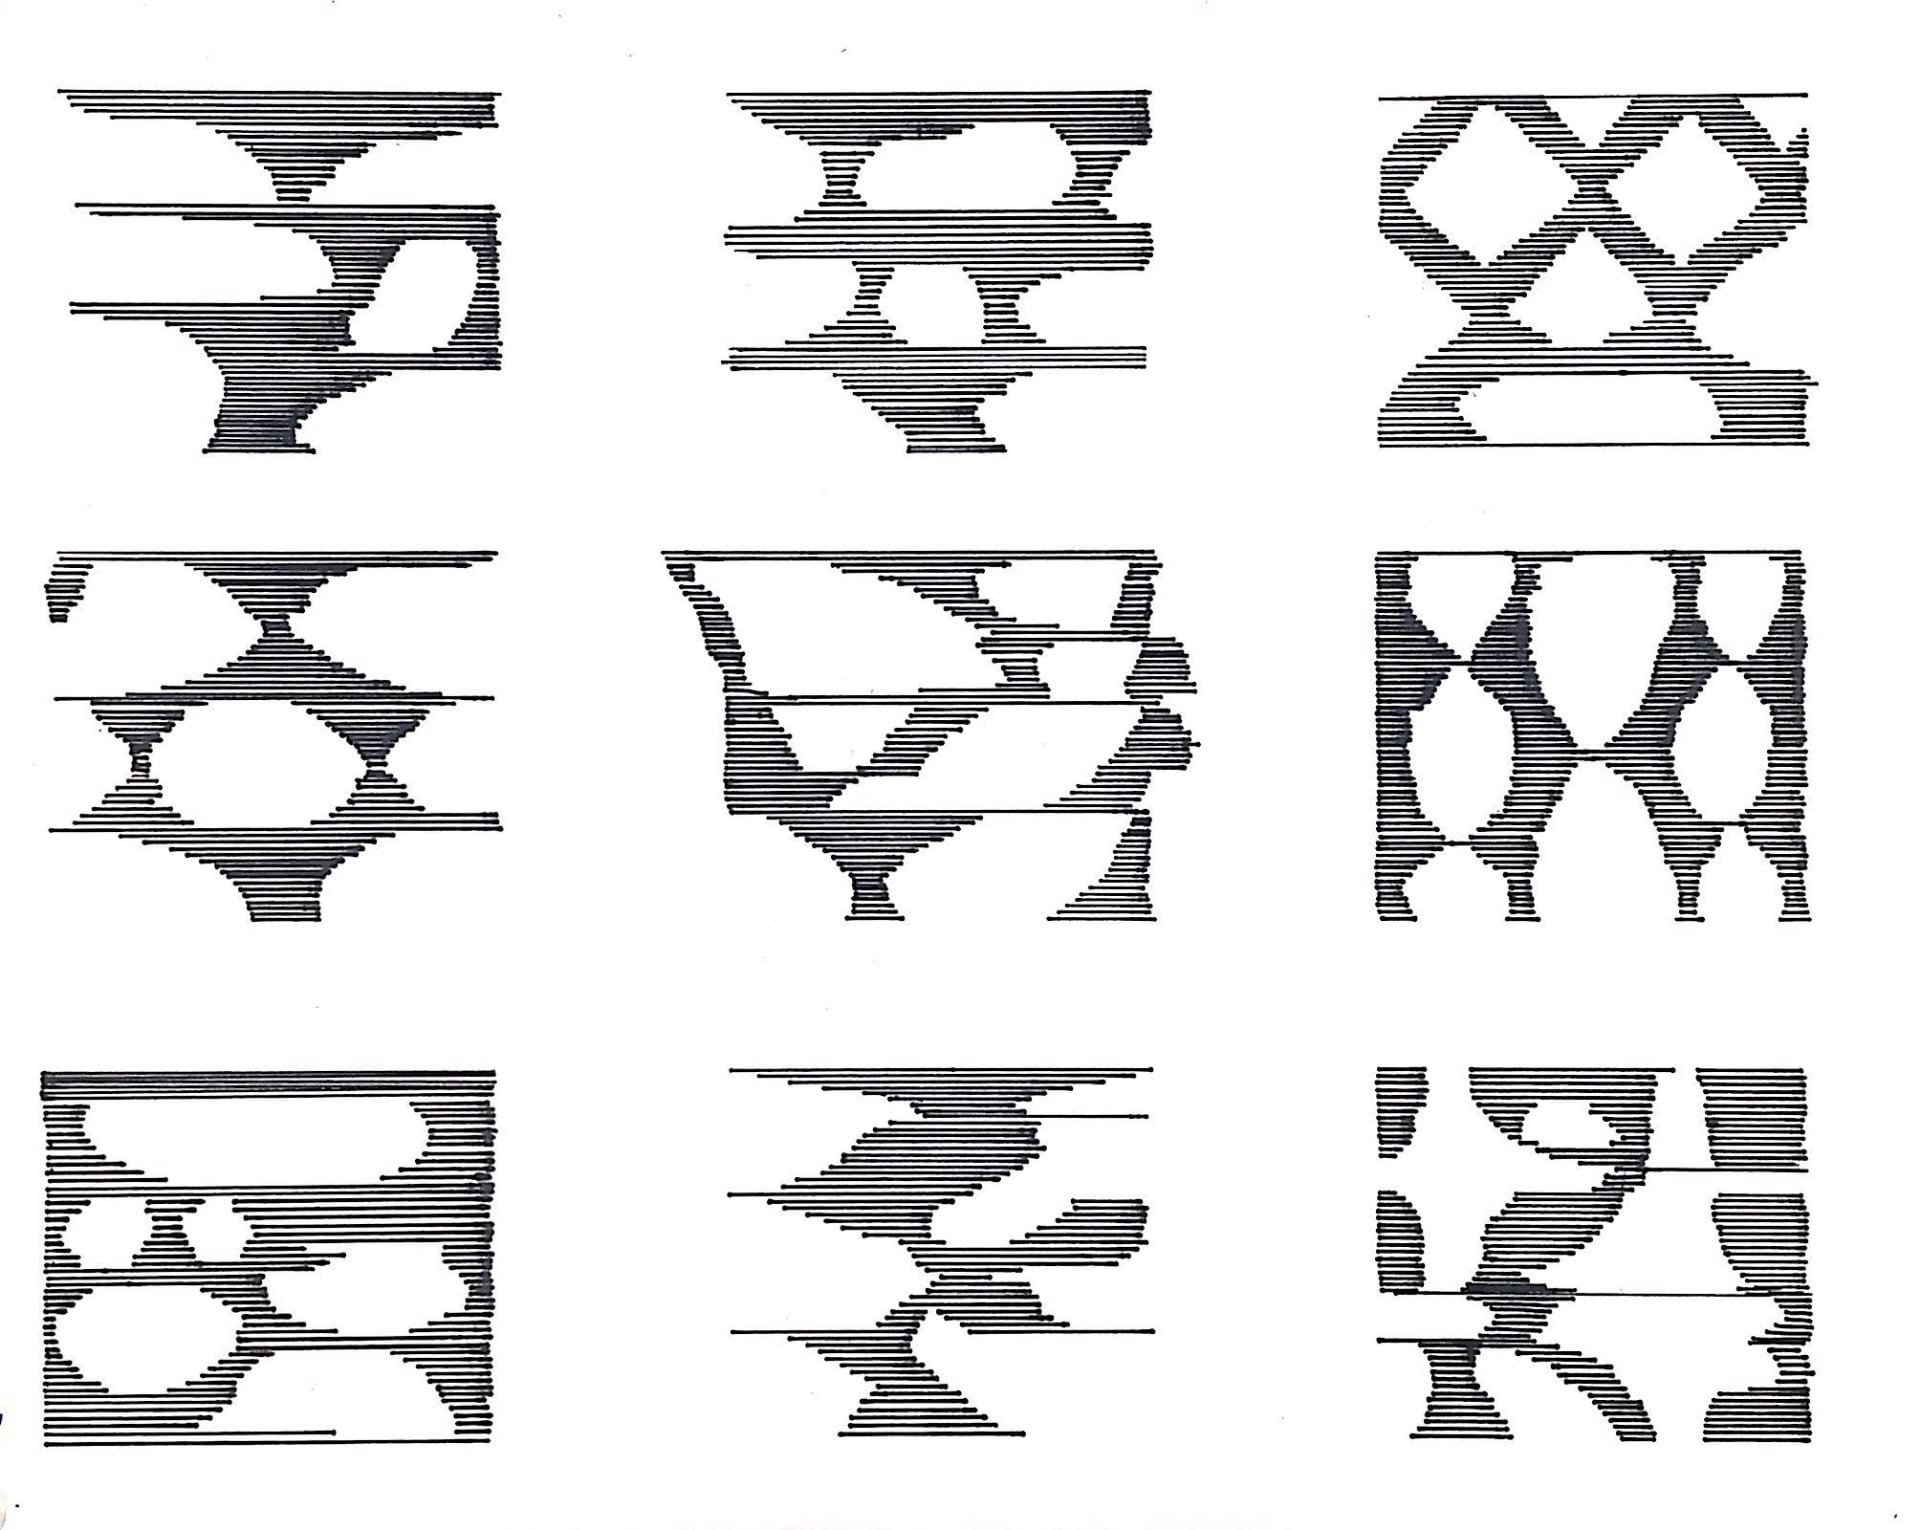
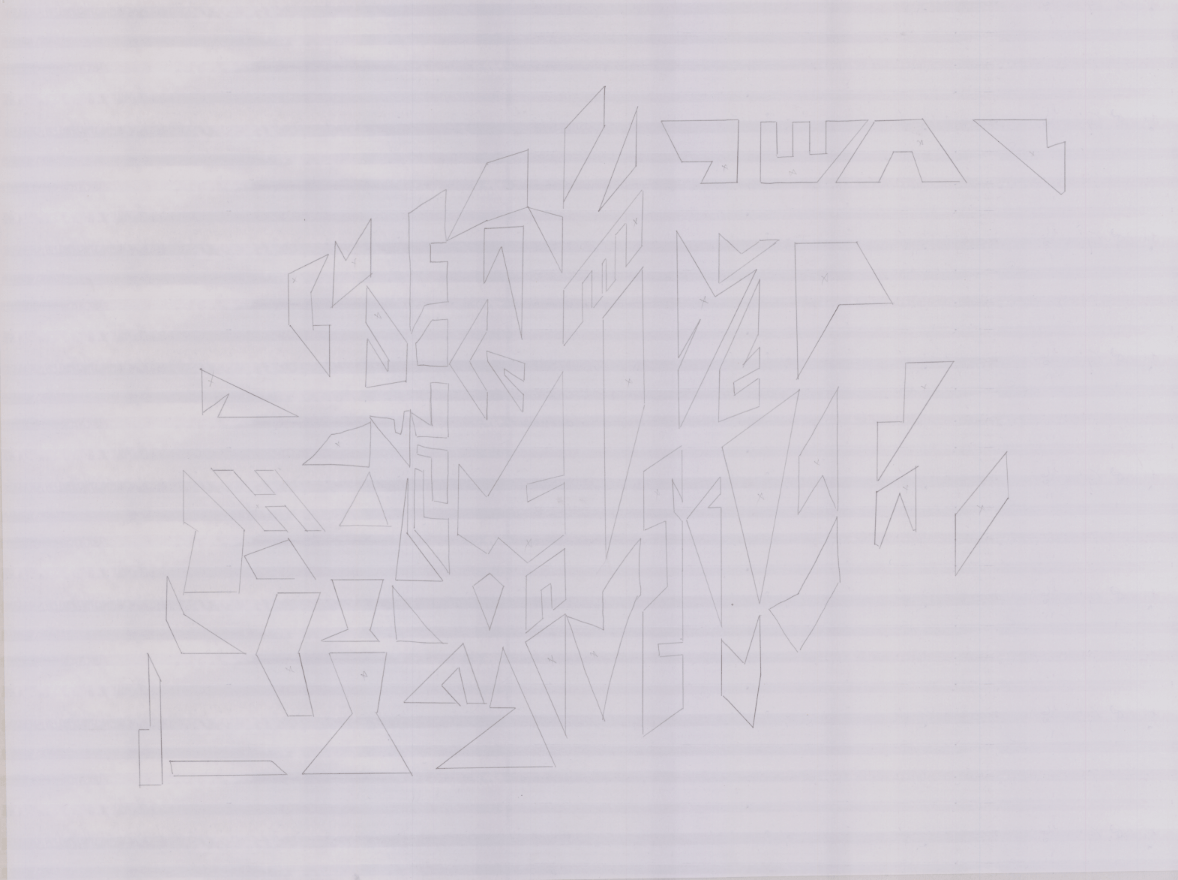
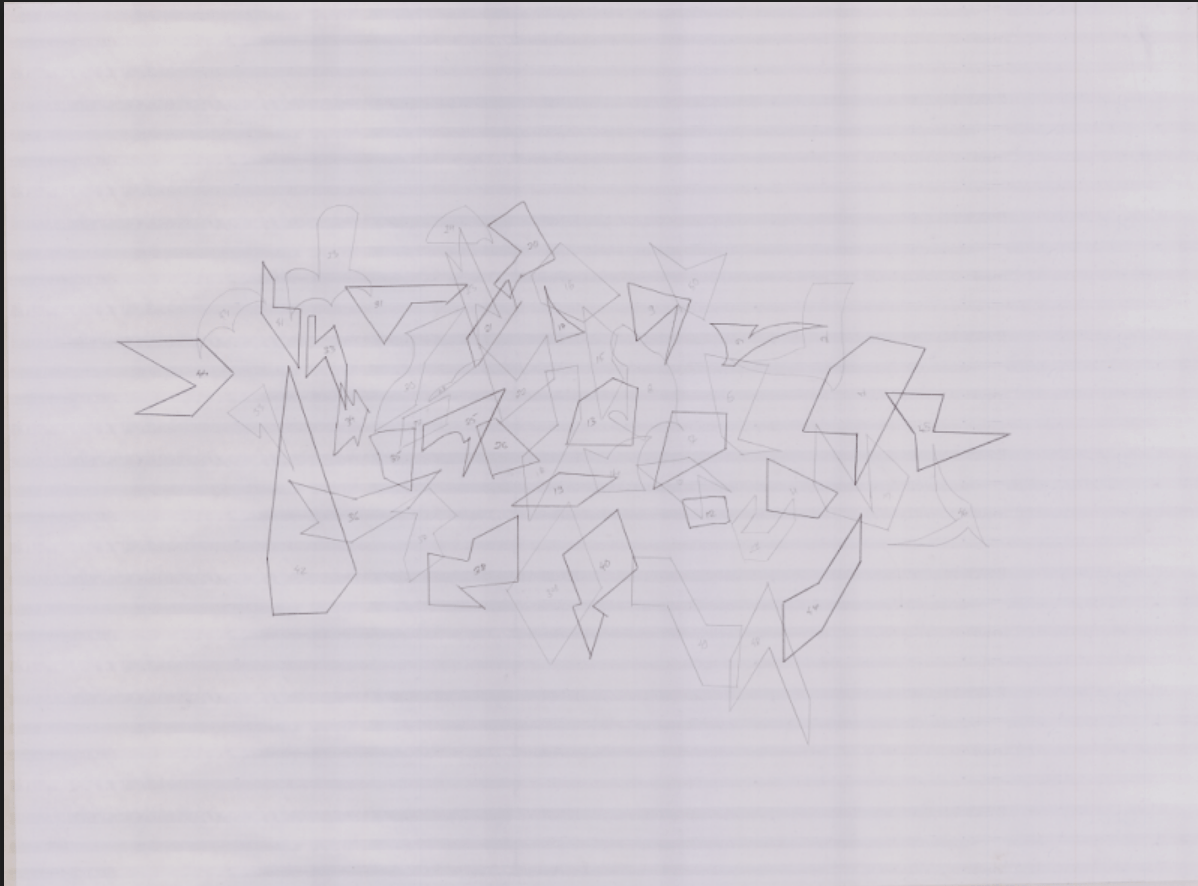
The objective of this assignment was to introduce rule based system and visual reading, through a set of drawings that will further be transformed into abstract relief models by creating iterations. In addition we became competent in inventing our own shapes, rules and also how to evaluate our own work.
Materials:
Vellum
Basswood
Glue
Process:
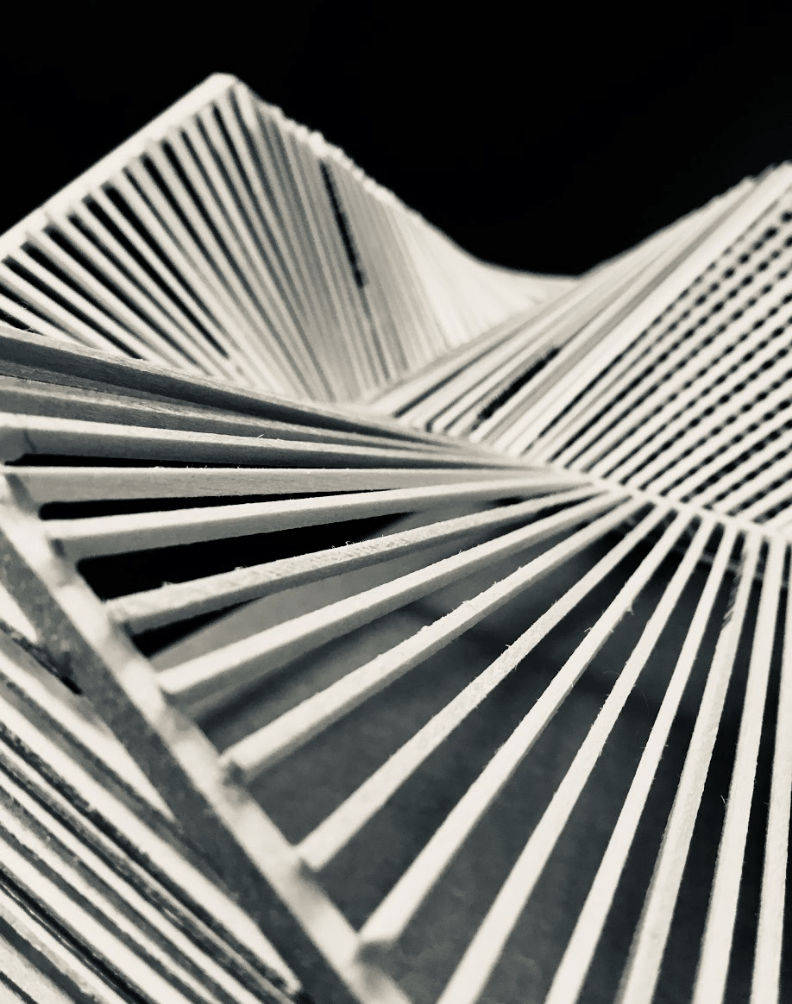
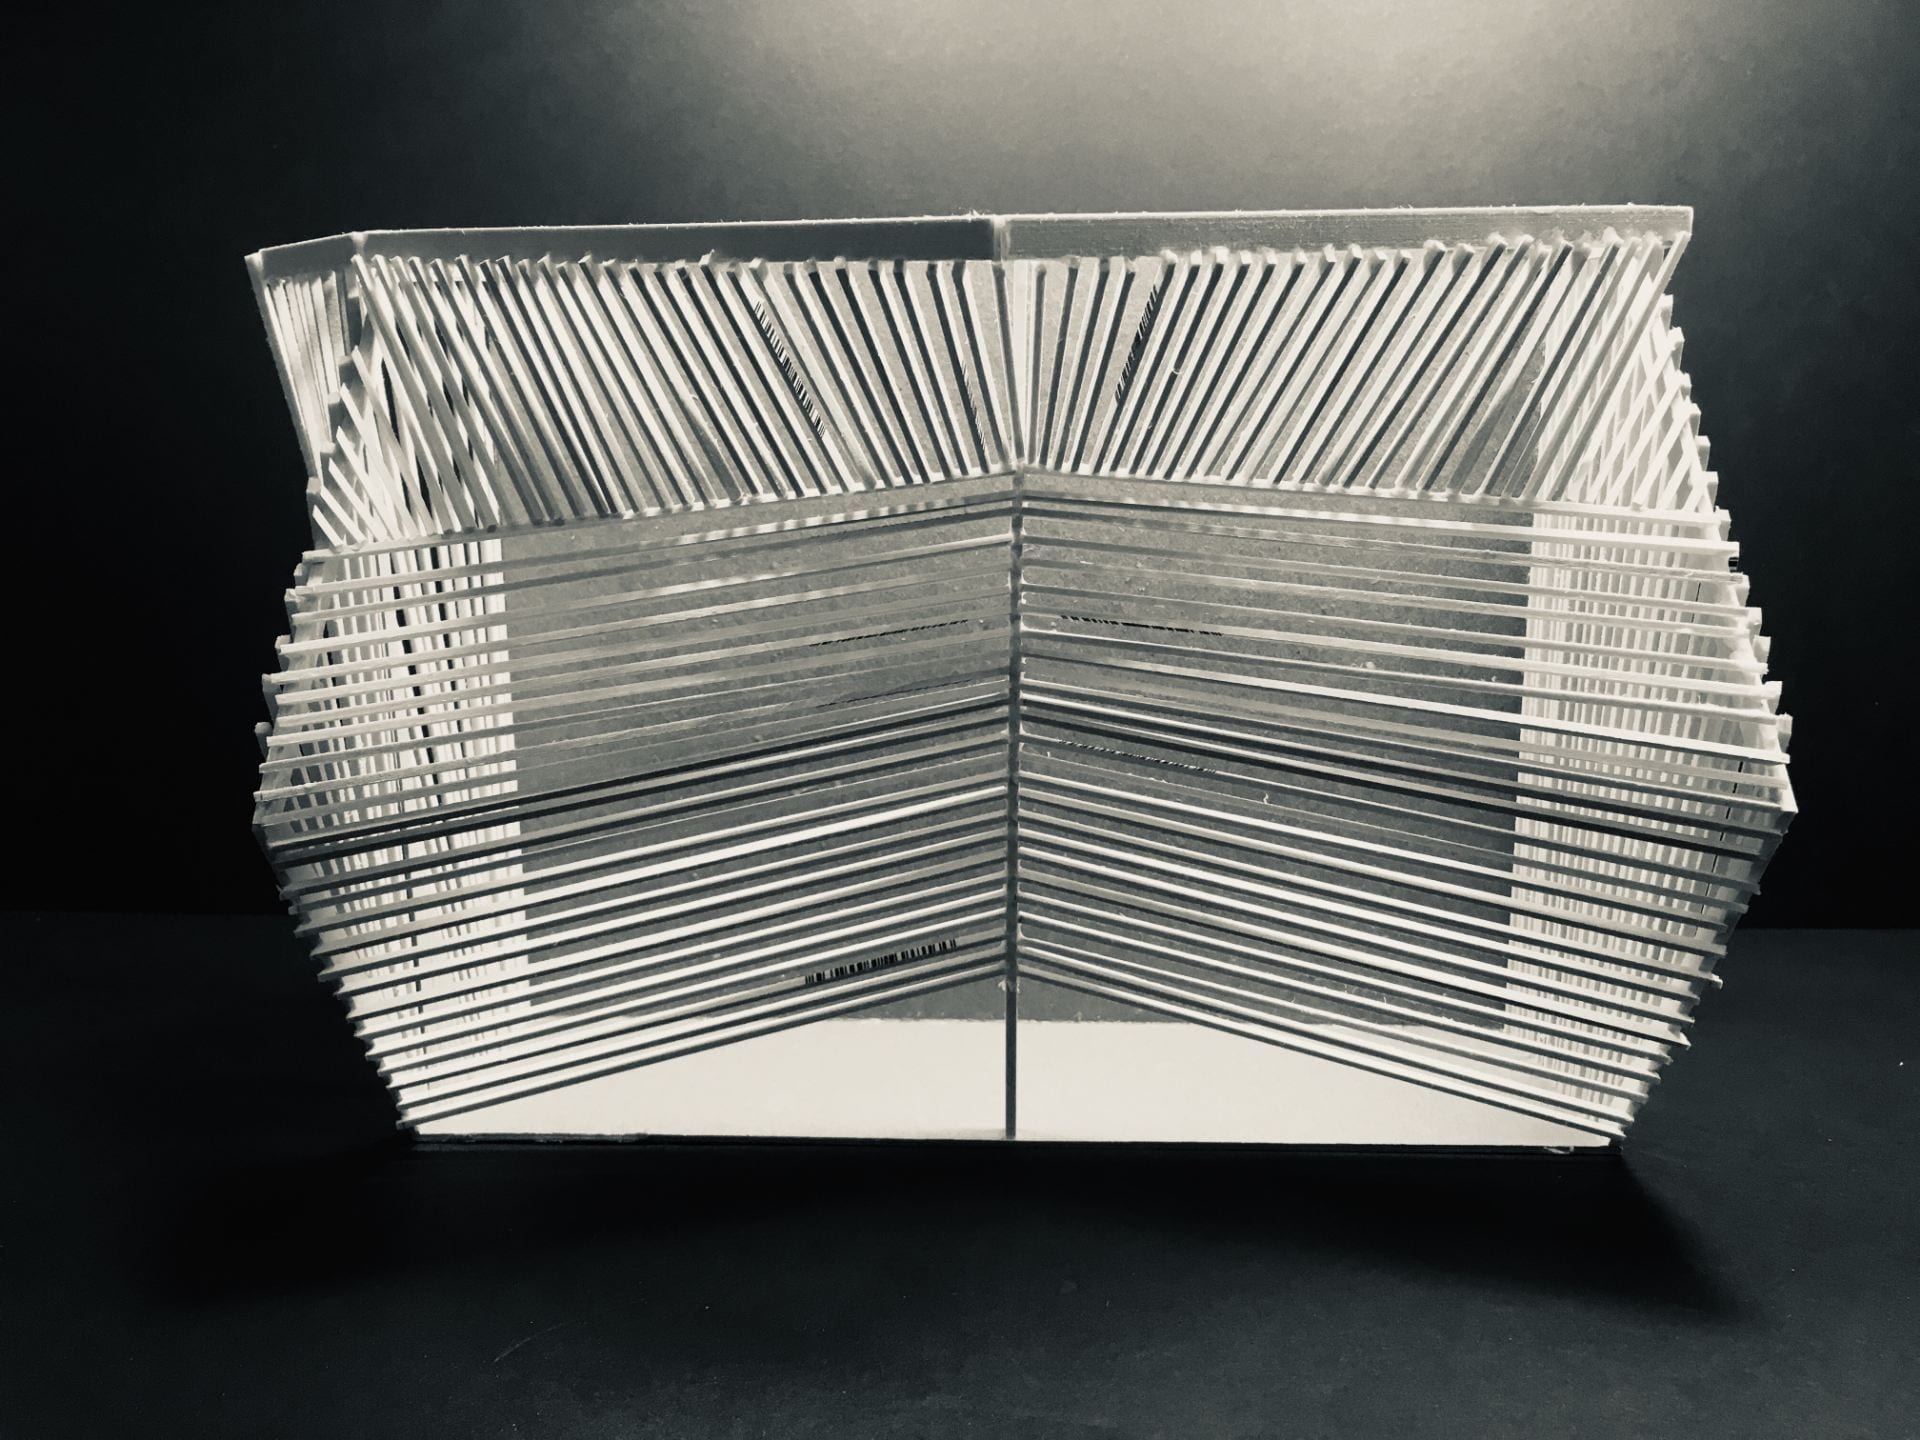
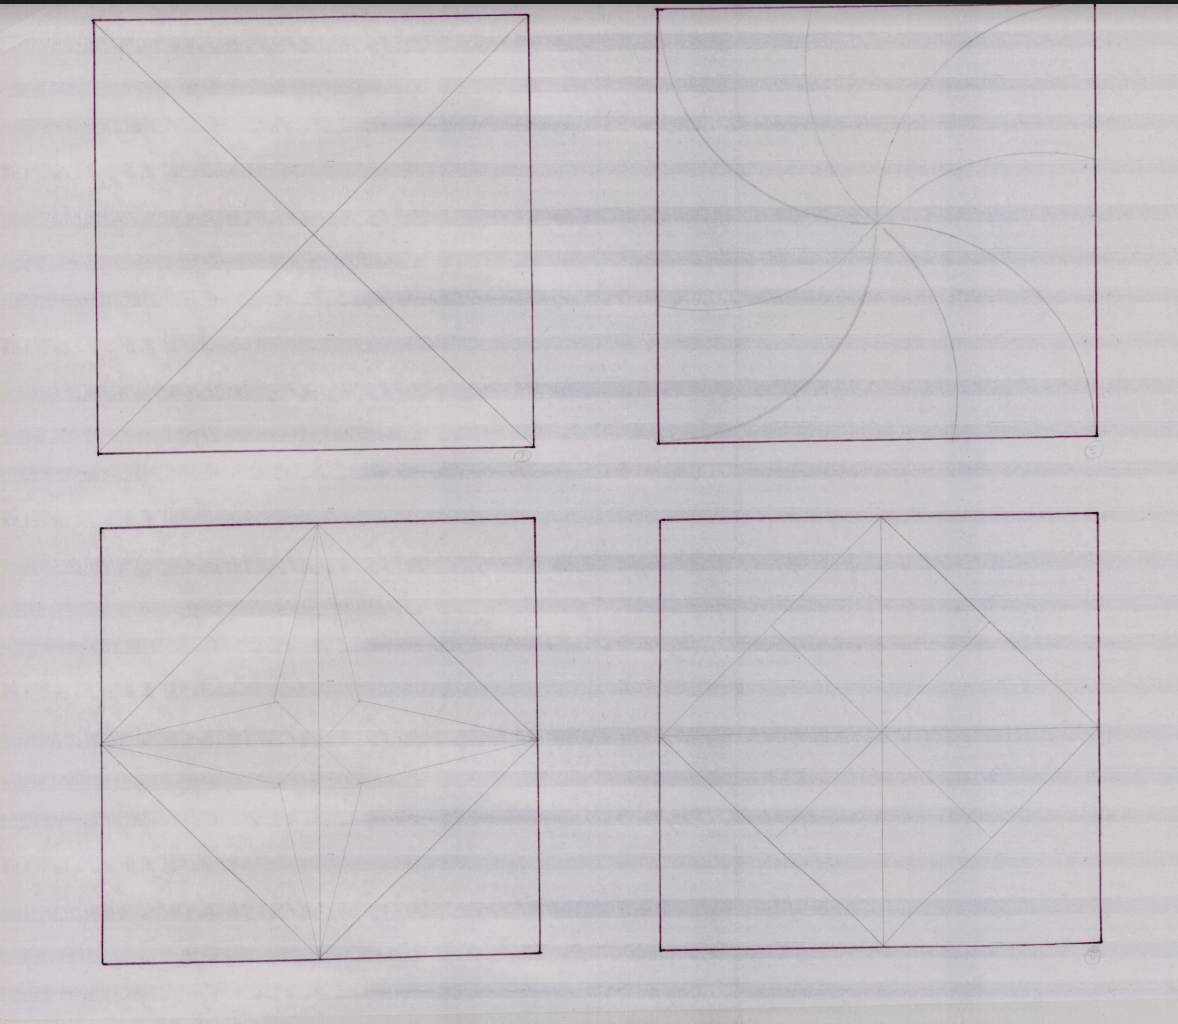
On a 18″ by 24″ sheet we were required to draw lines parallel to these edges using random or regular distances. On a new sheet of Vellum, extract shorter line segments. On the next we were required to extract Shapes from a the previous layer and then repeat the step and draw copies however we had to rotate or scale them.
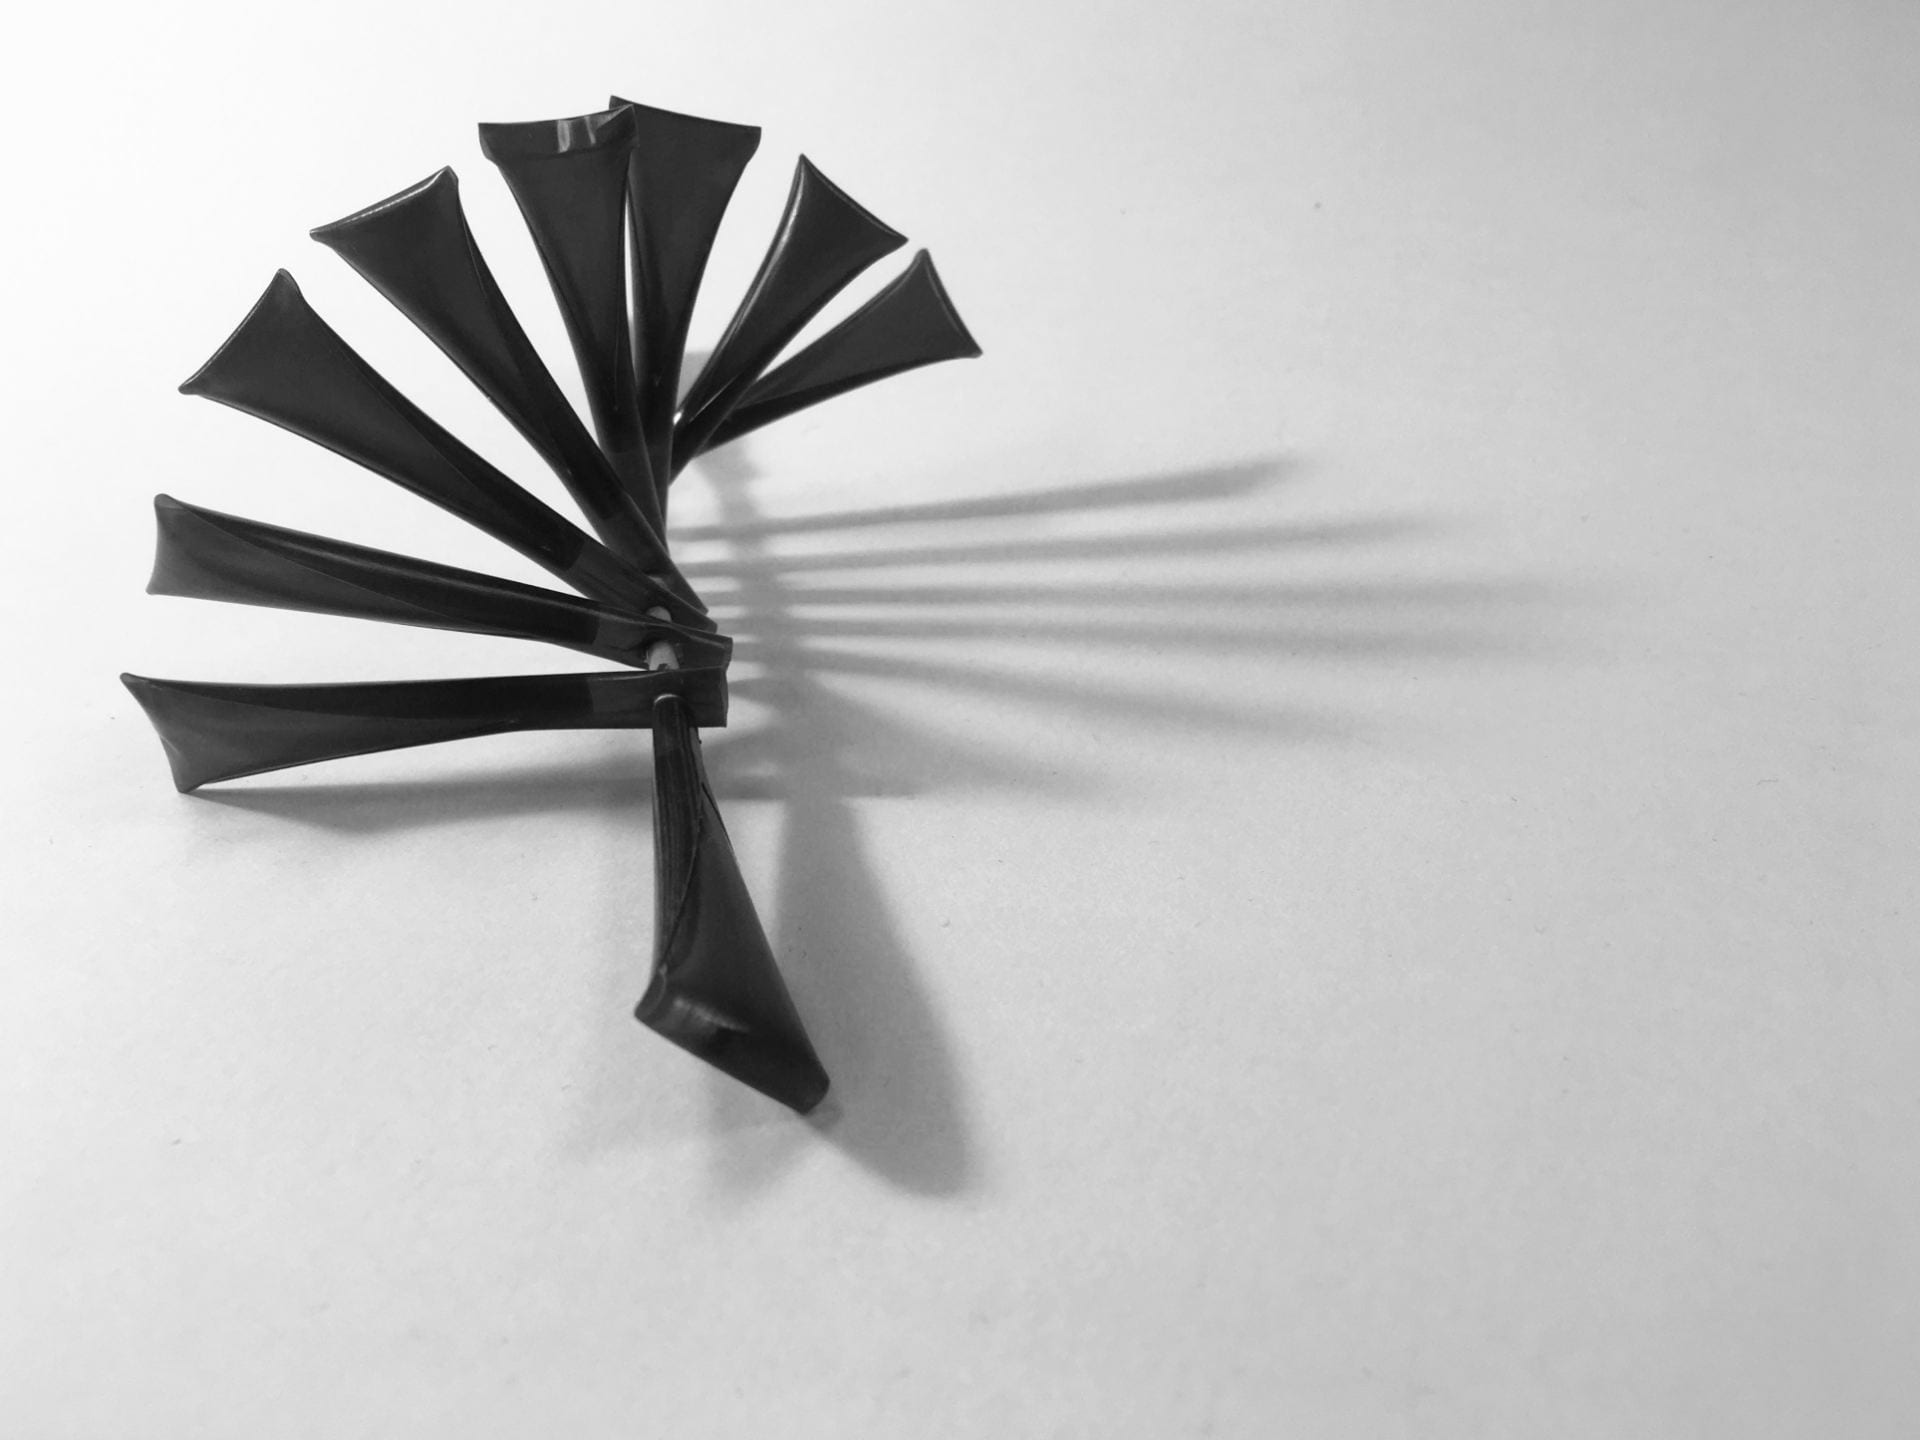
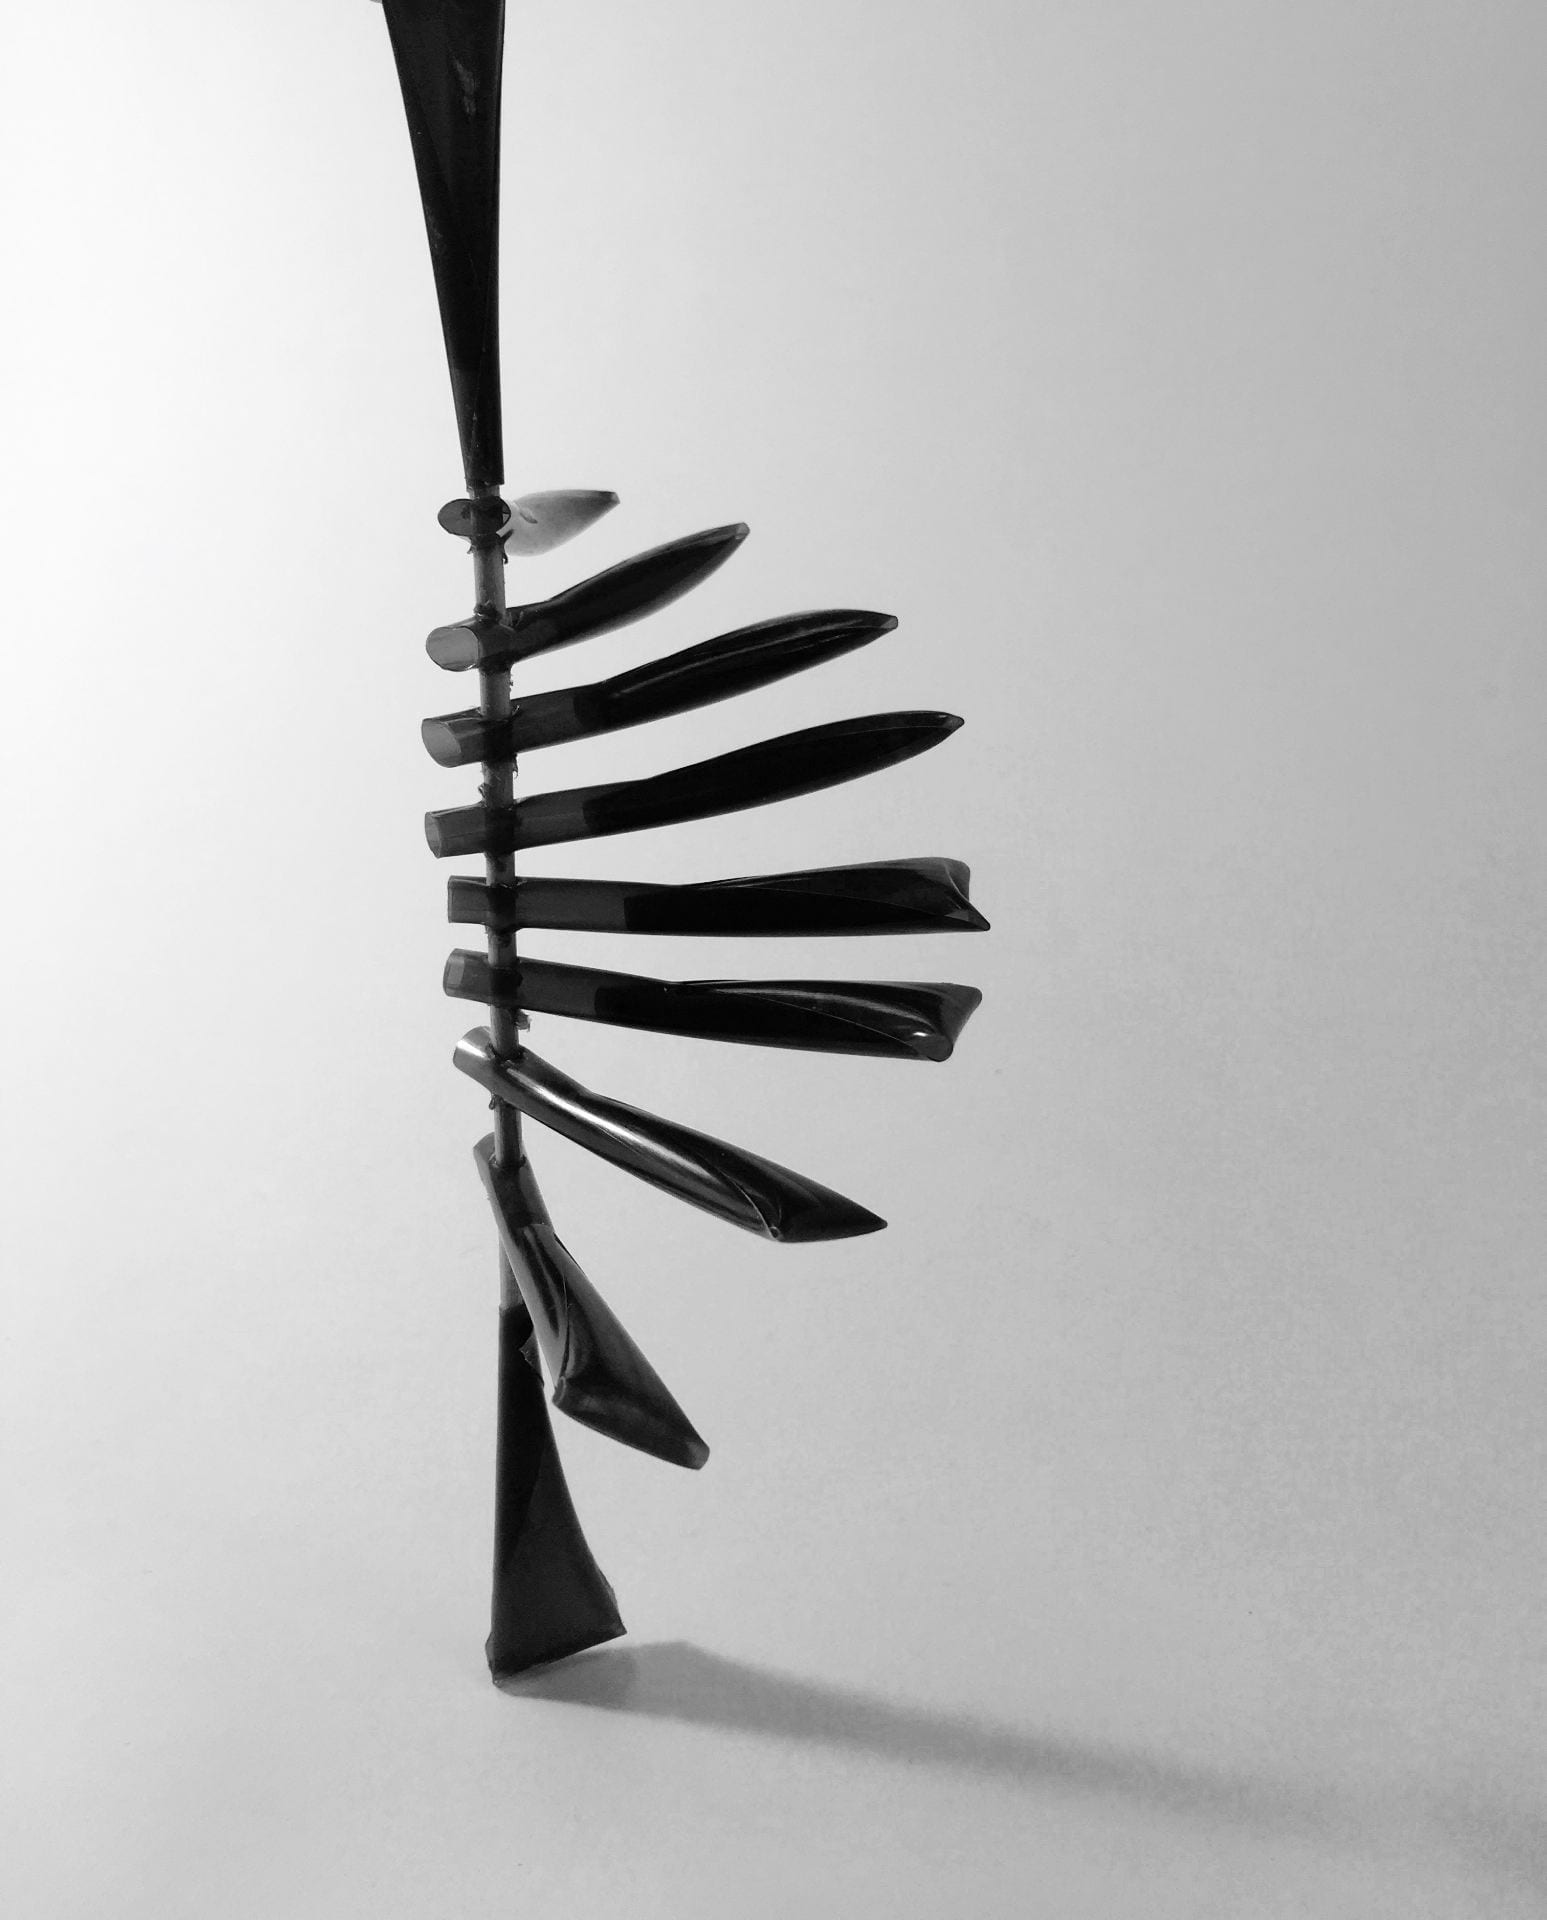
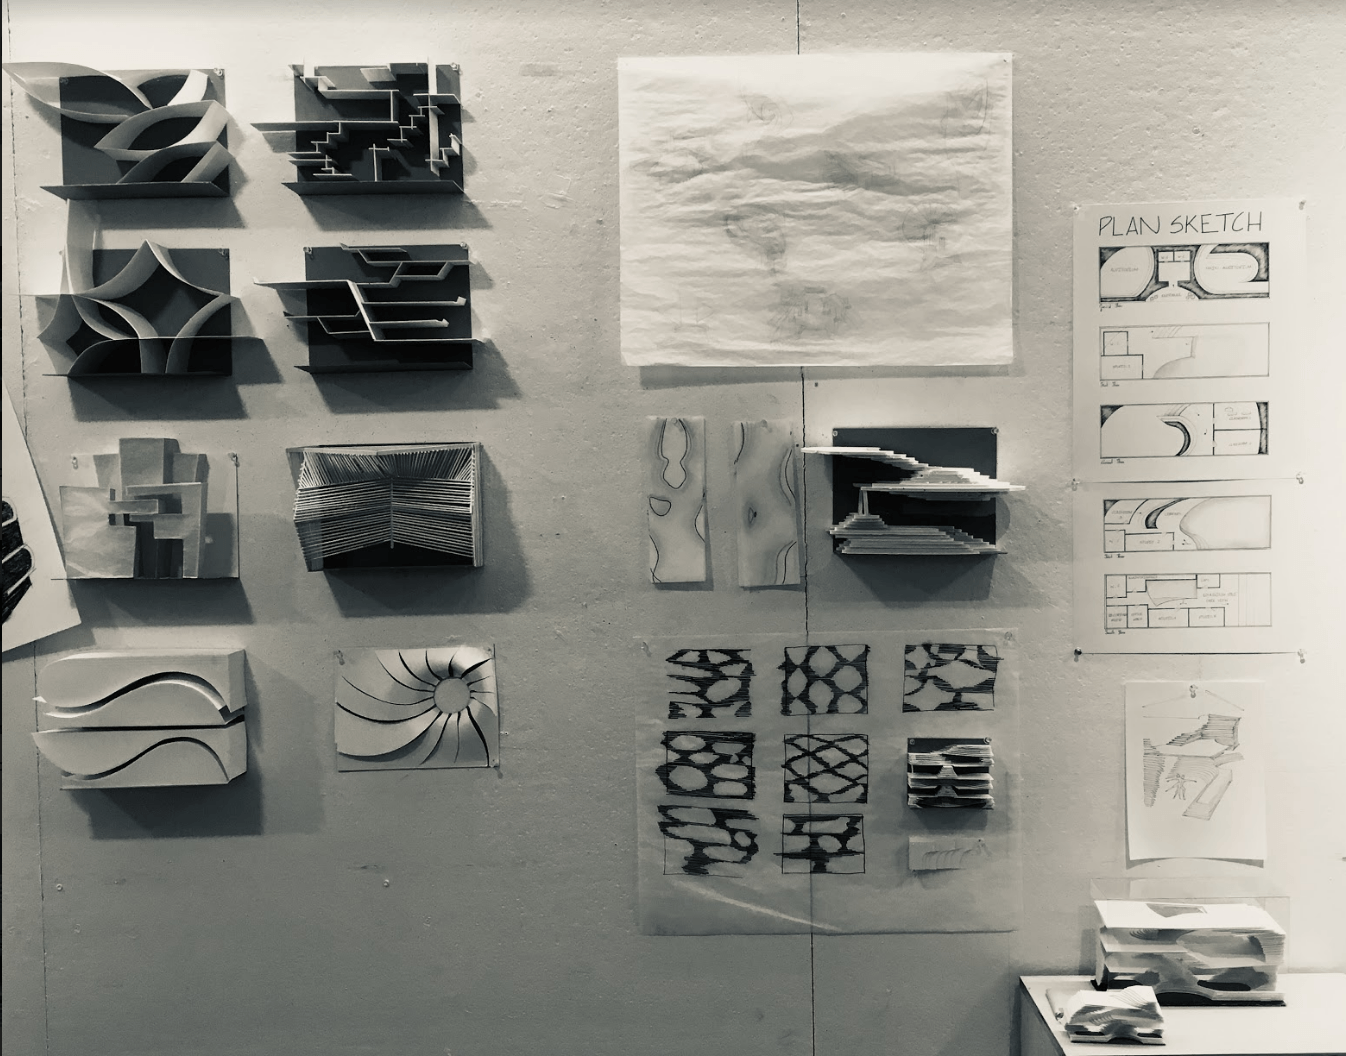
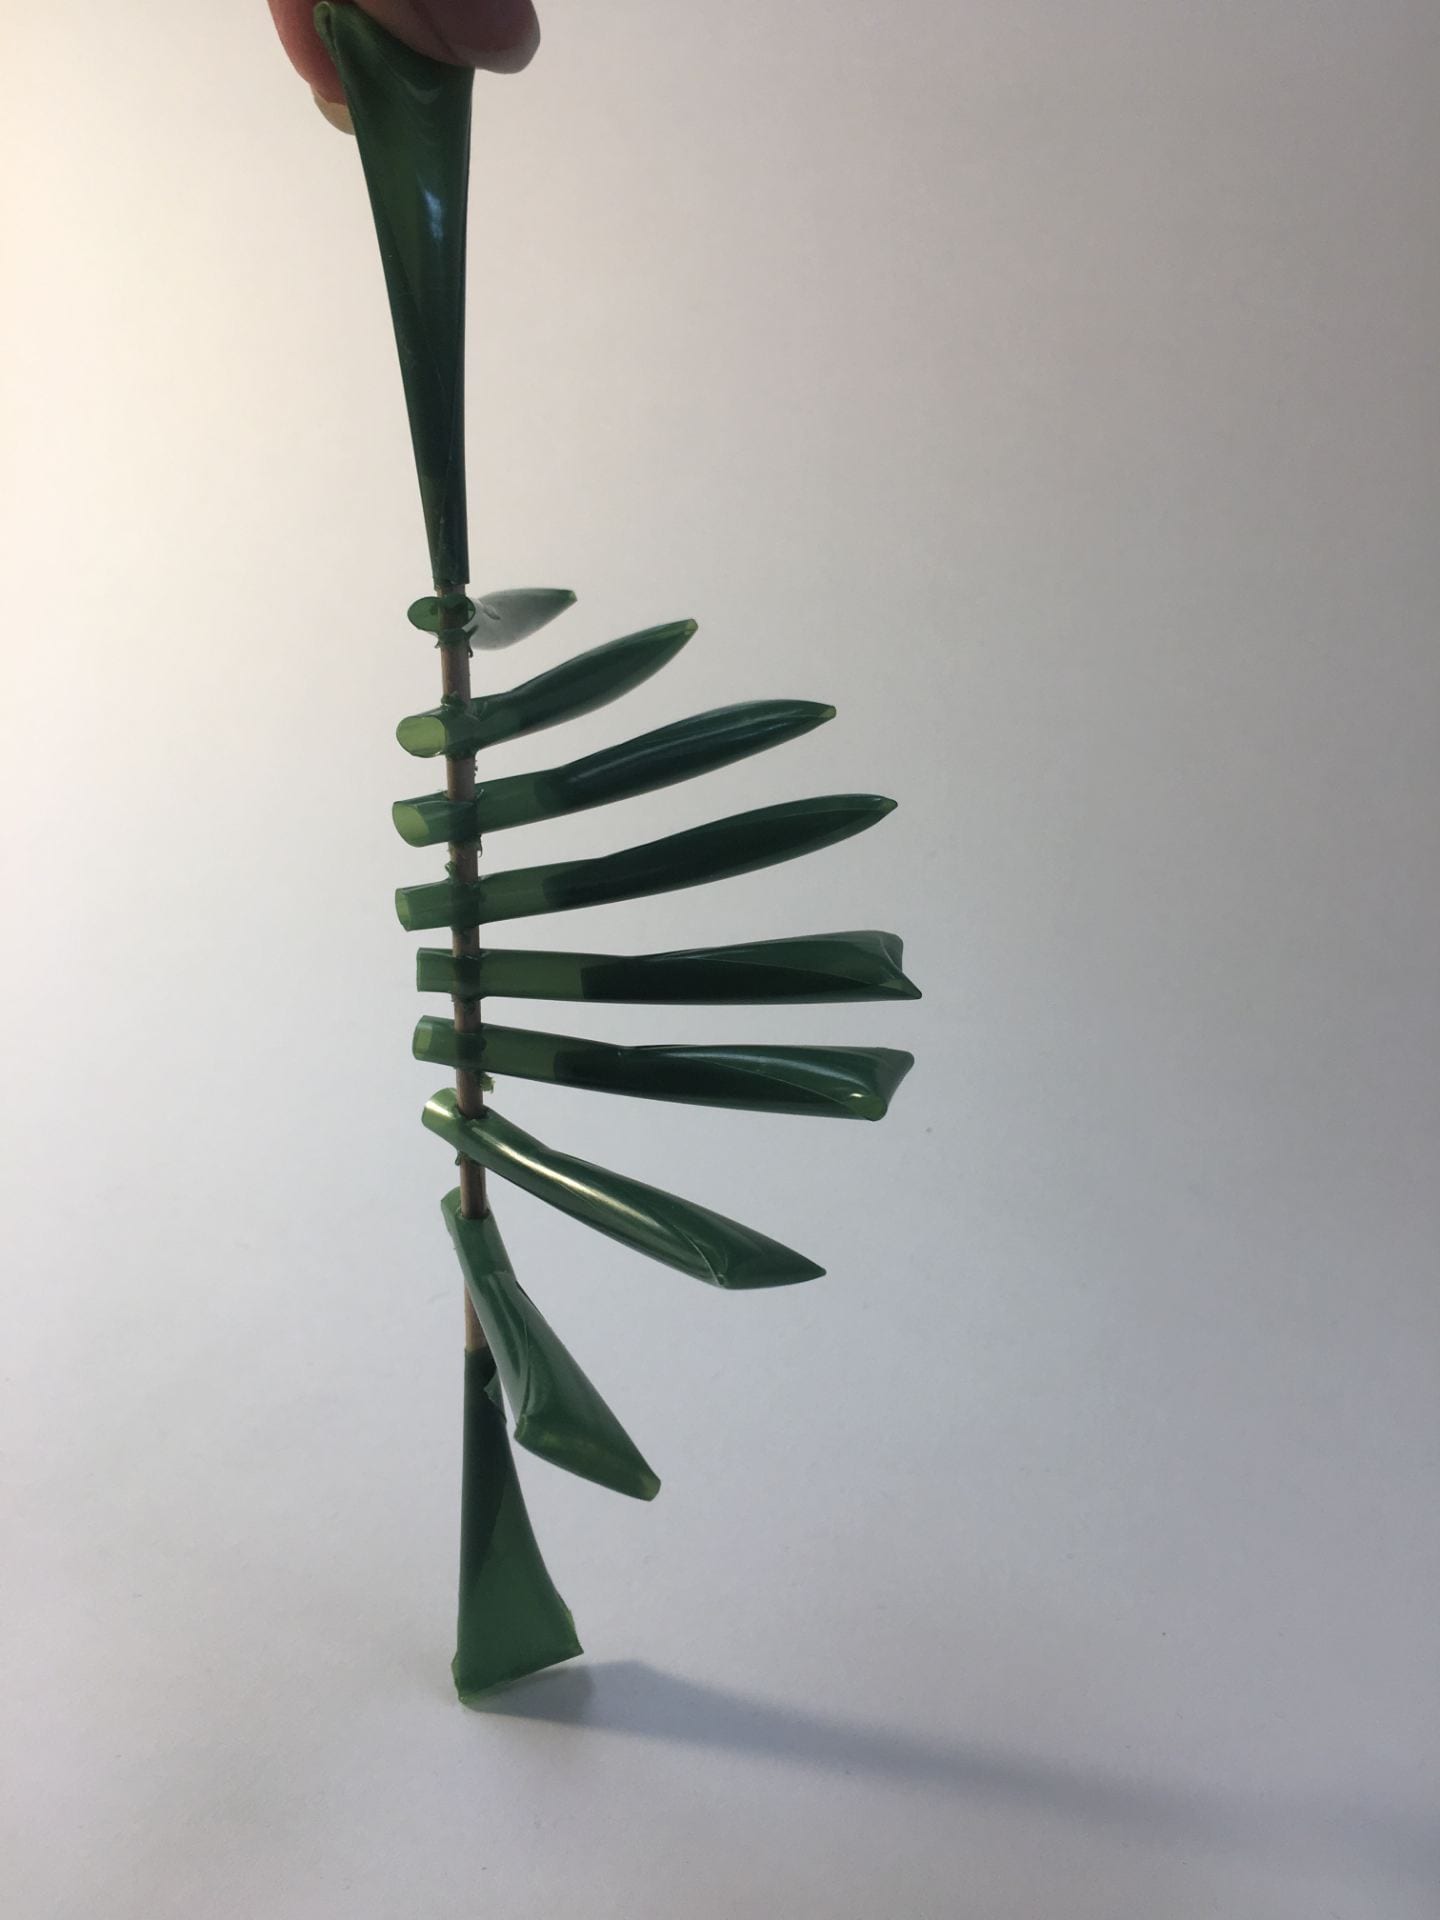
For the next step which was the relief model, we started by picking out our favourite layer from the set of drawings. From that layer through translating, rescaling, rotating the multiple axis points to form connection we developed out relief models. As a result the below relief model as seen in the images were developed.
….Week. 2 Planes and Surfaces….
Overview:
Through this assignment we were required to understand and create subdivided planes and surfaces through drawing and modelling. For the drawing (part.a) were required to draw a cube and then draw out subdivisions or components.In contrast, for the models (part.b) were to be made by components and then assembled into a cube.
Materials Used:
Bristol and Craft Paper
Glue
Process:
(Part.A) Part to Whole
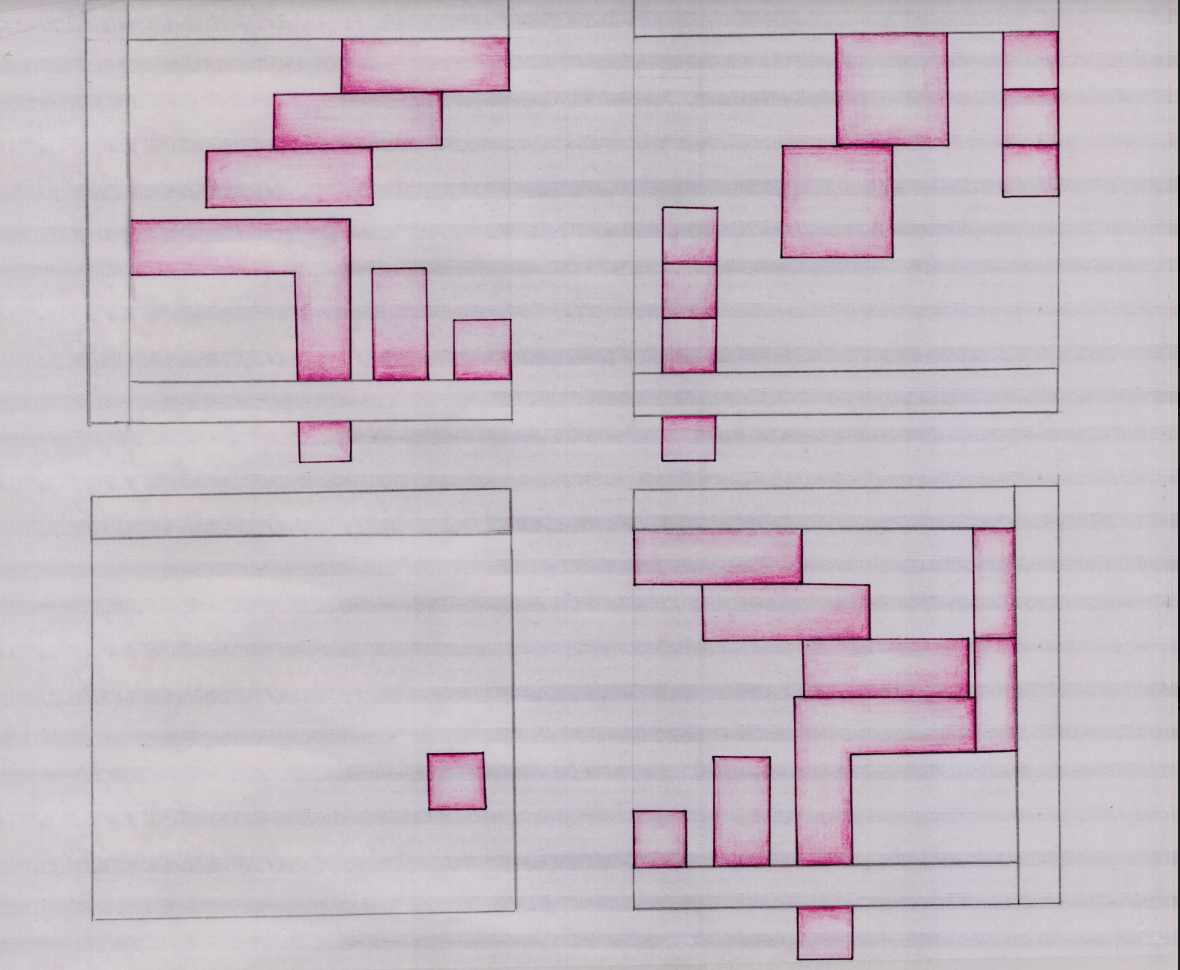
Through selecting our favourite shape layer composition from the “Points and Lines” project. We drew a a 12” by 12” on a sheet, within the borders of the square we were required to draw simplified shapes.
(Part B.1) Whole to Part
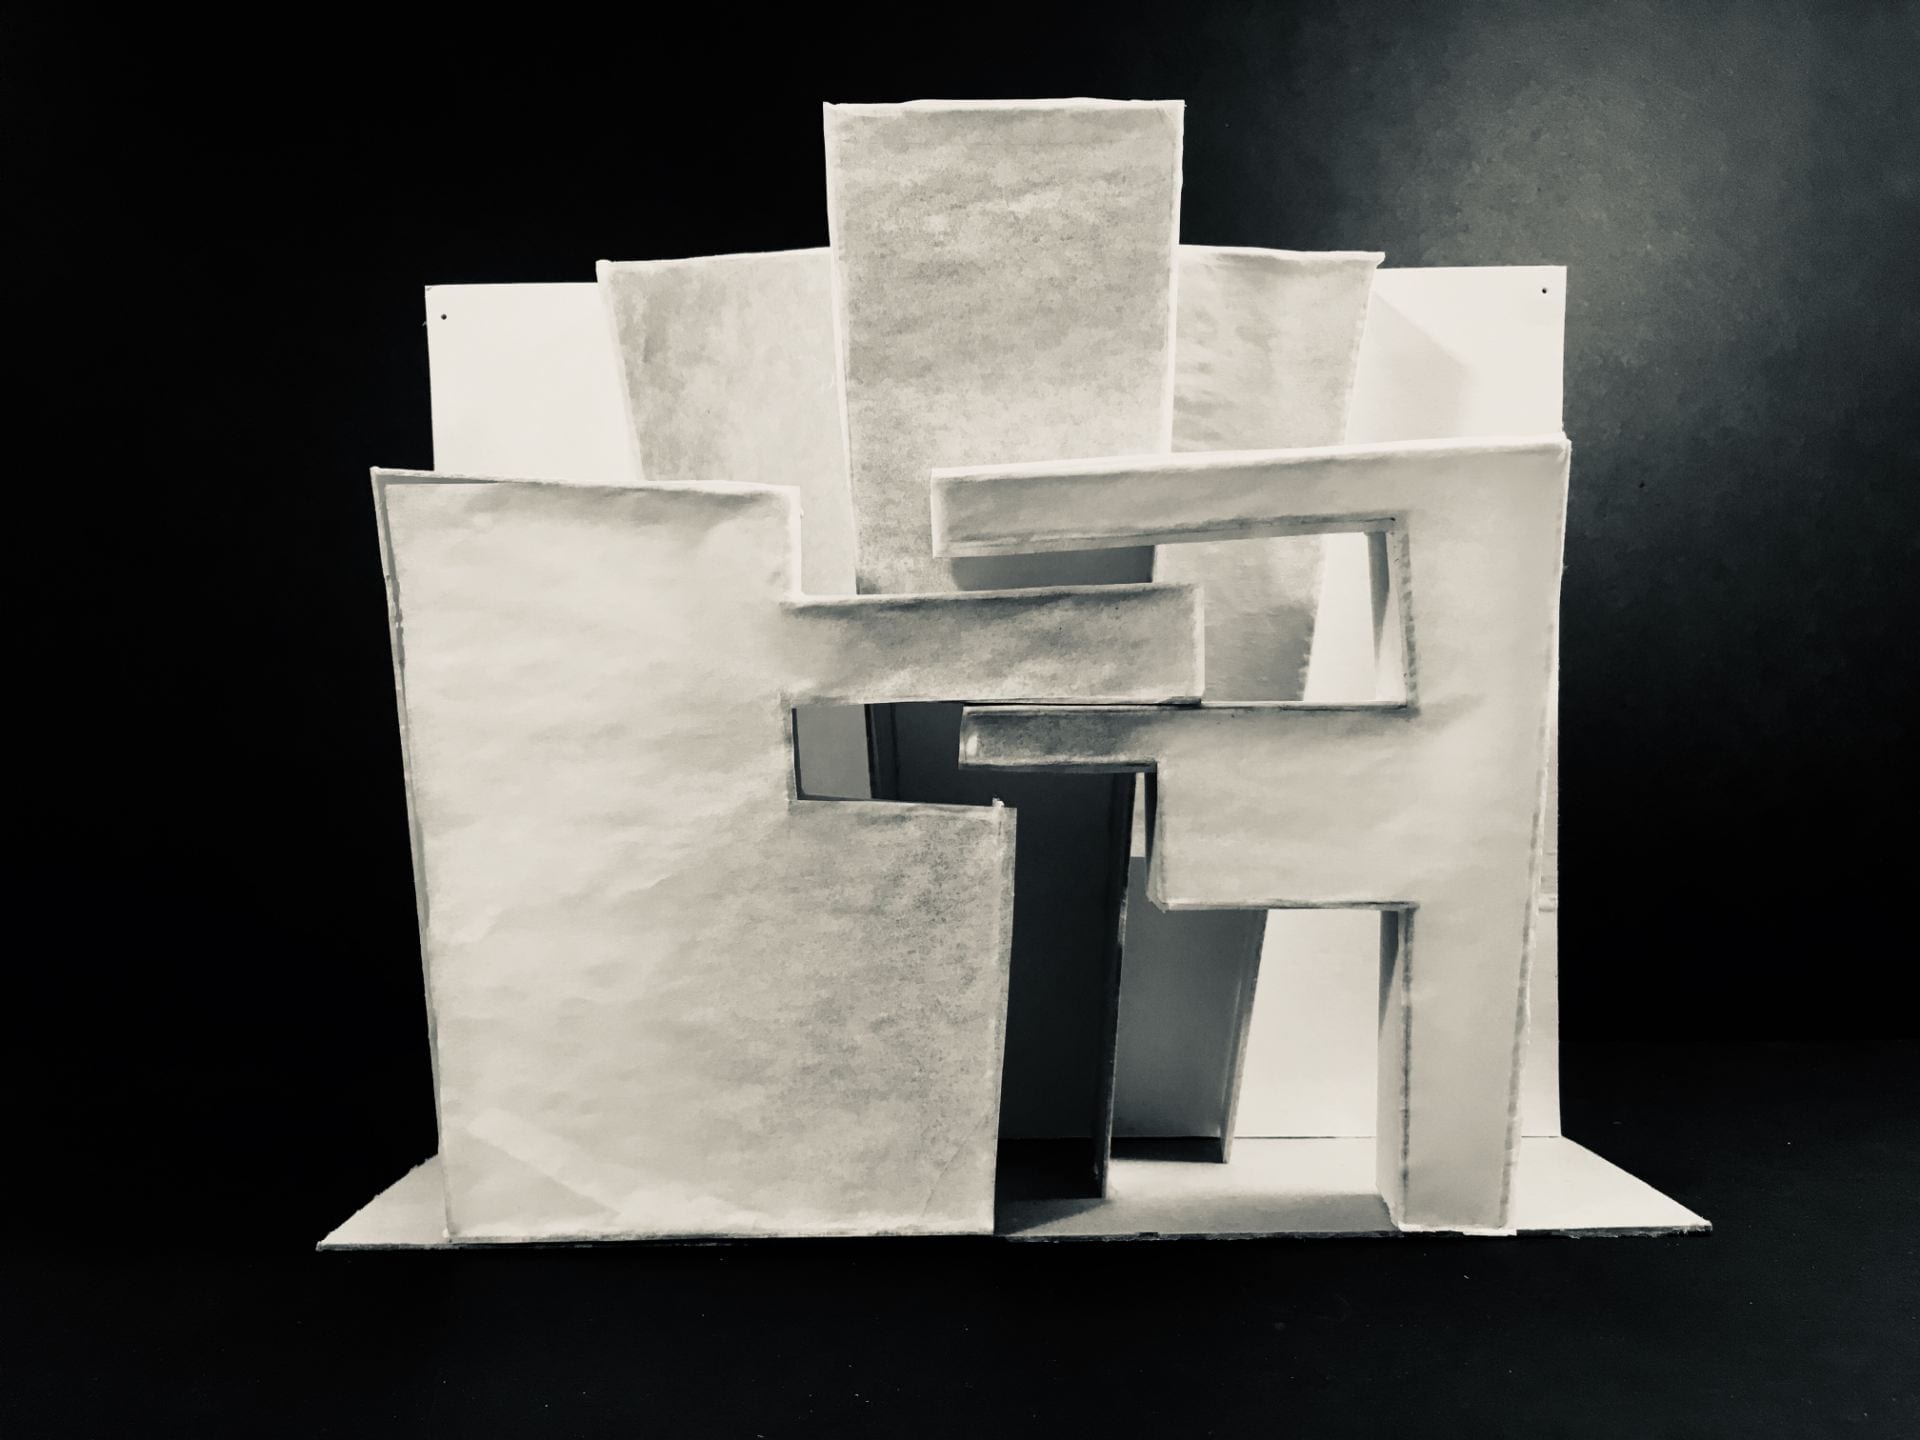
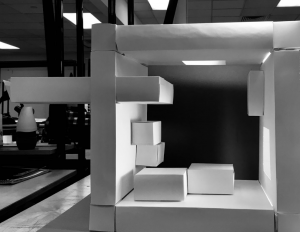
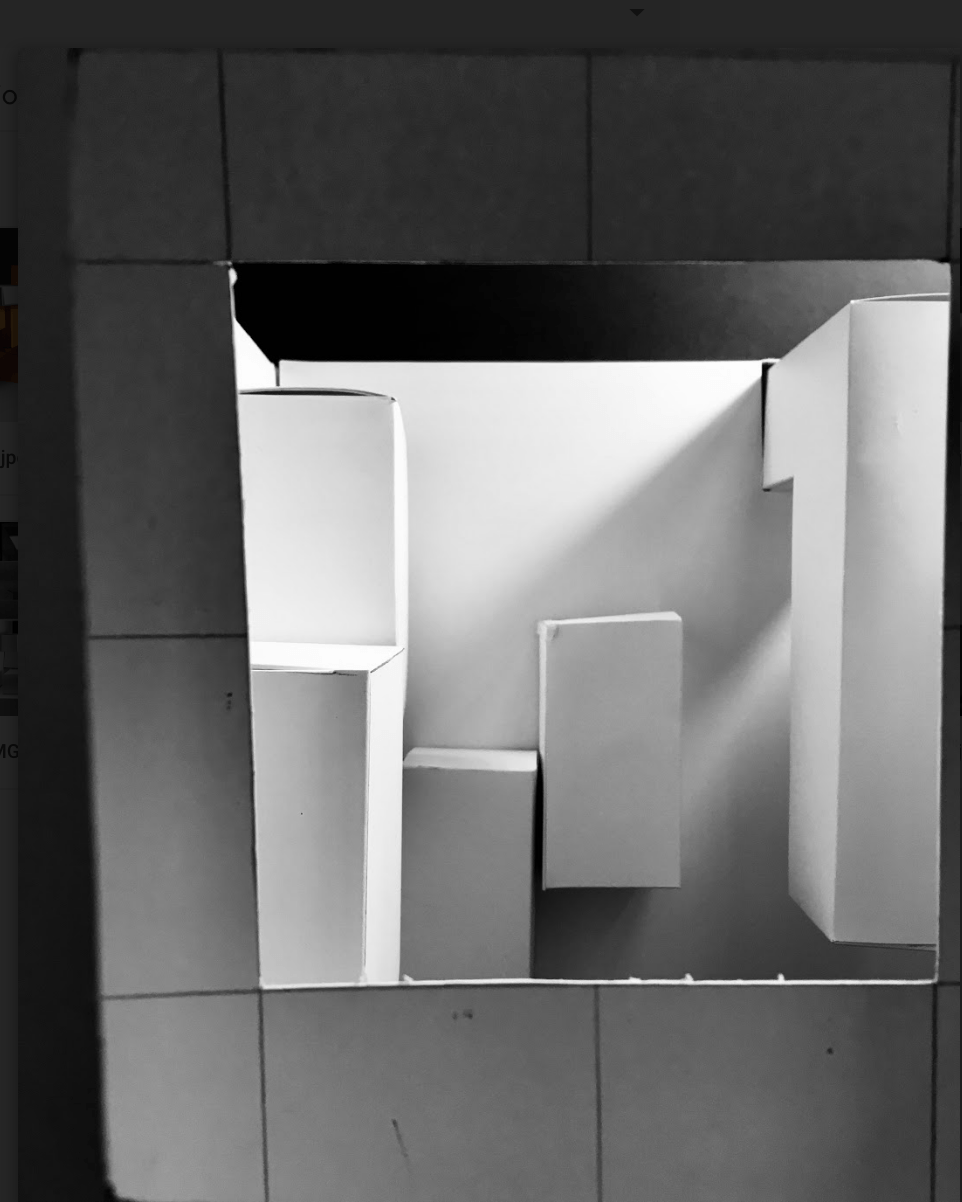
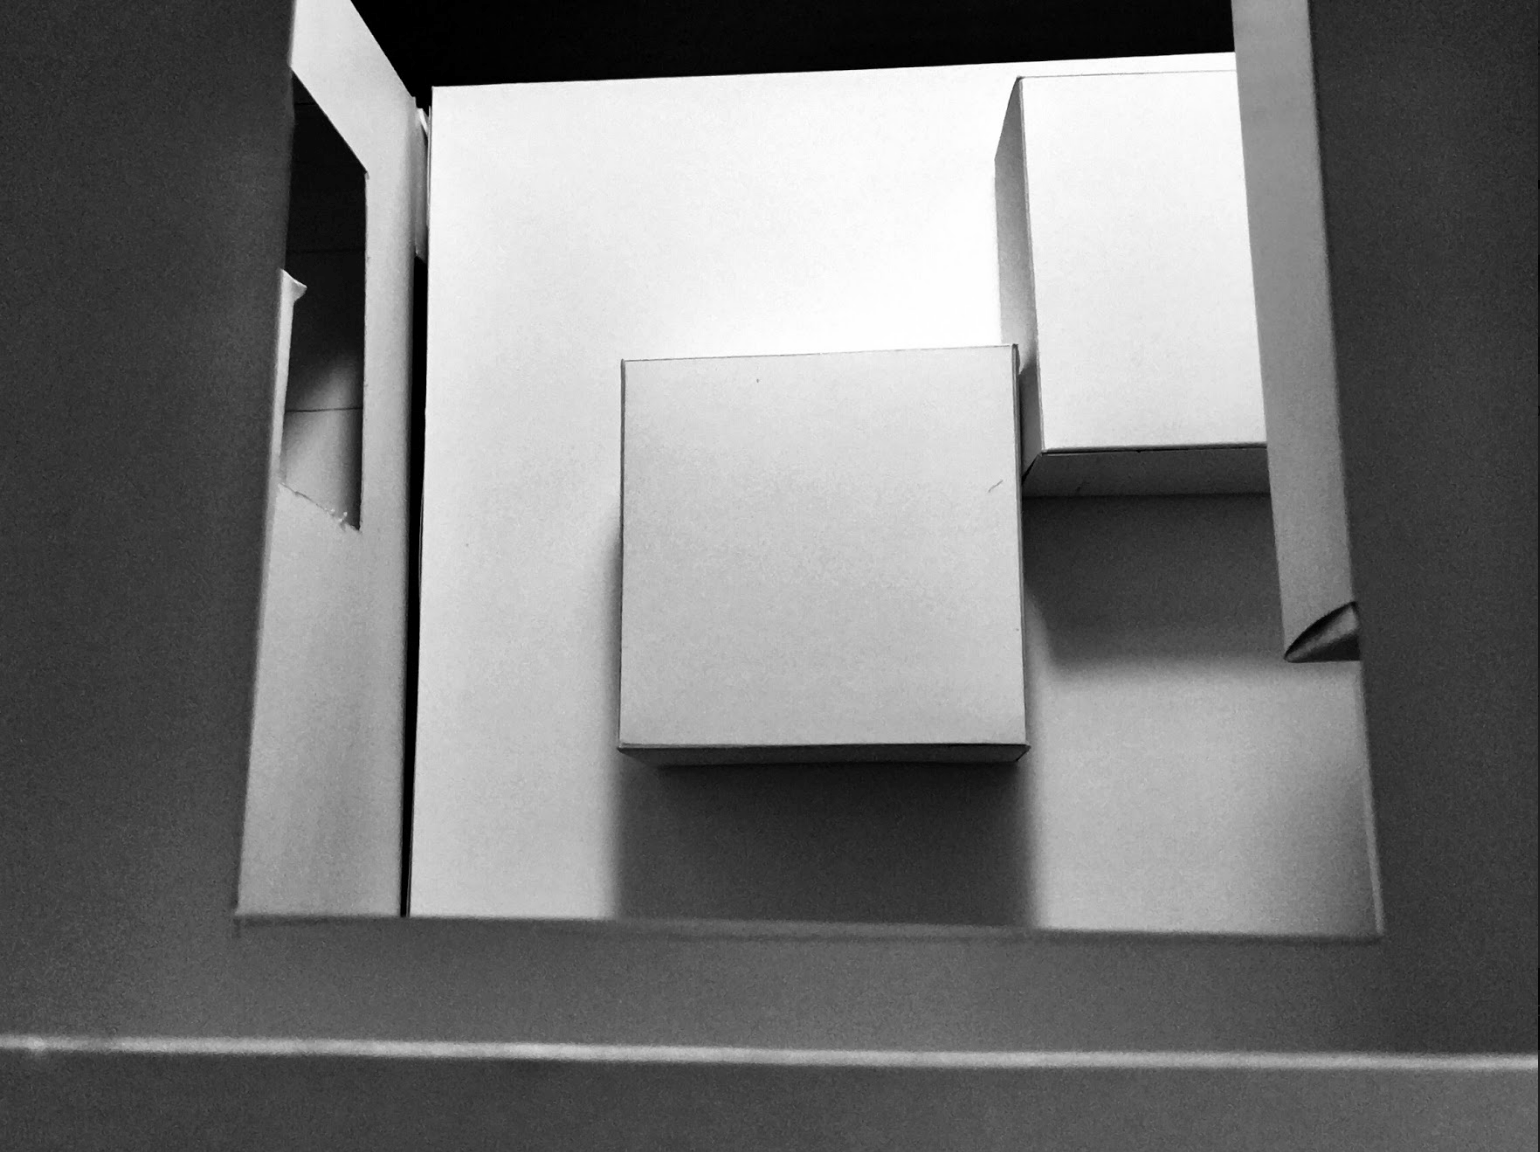
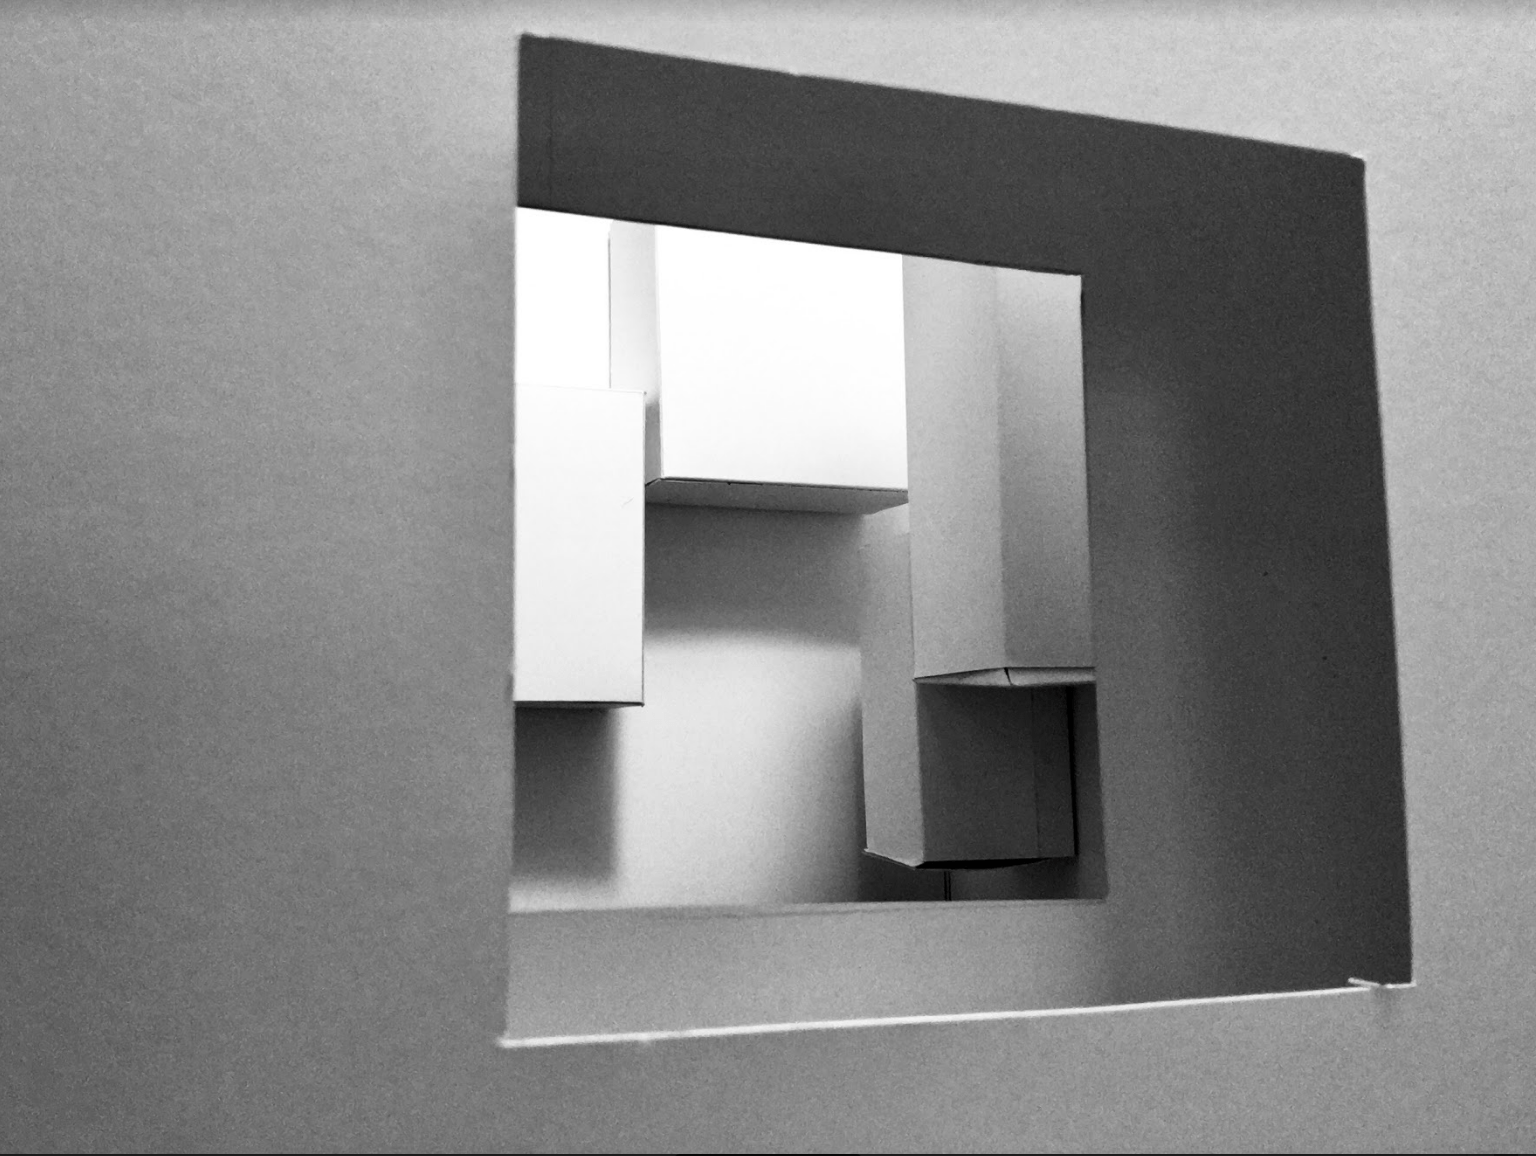
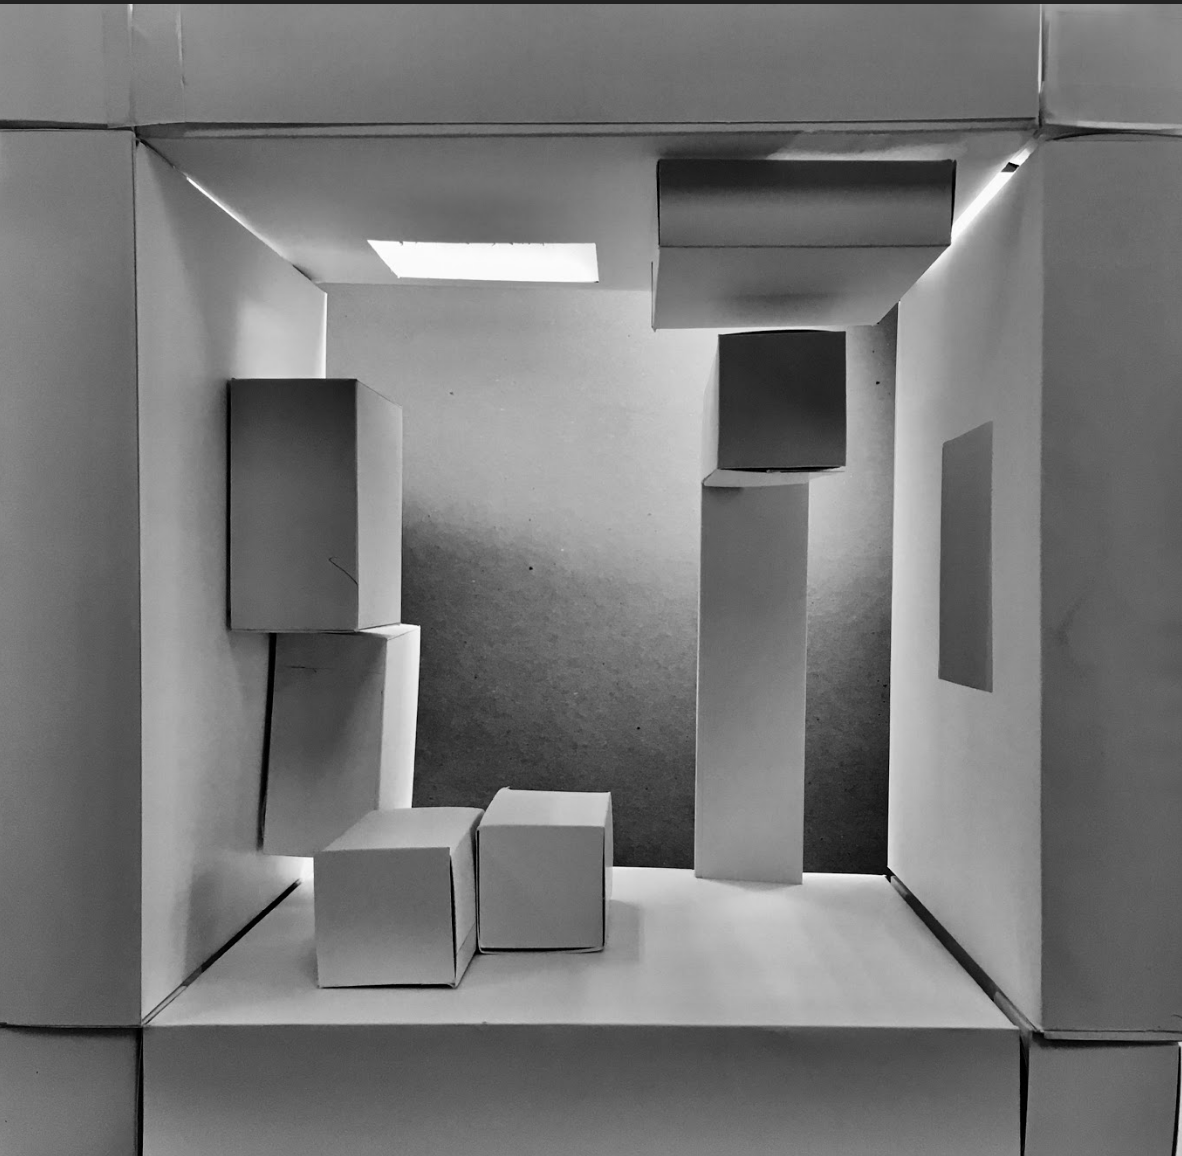
We were required to build a 12″ by 12″ cubical model, within the the model we were required to recreate and translate the layers through simplifying our shapes. For this assignment I decided to focus on the concept of hidden spaces and maze like structure. Hence, I wanted to play with idea of the size so I created my 12″ by 12″ square using the hollow space within, through creating an exterior structure that builds the actual cube size.
Interior view through windows created on the wallInterior view. 2Interior view. 3Interior view. 4
(Part B.2)
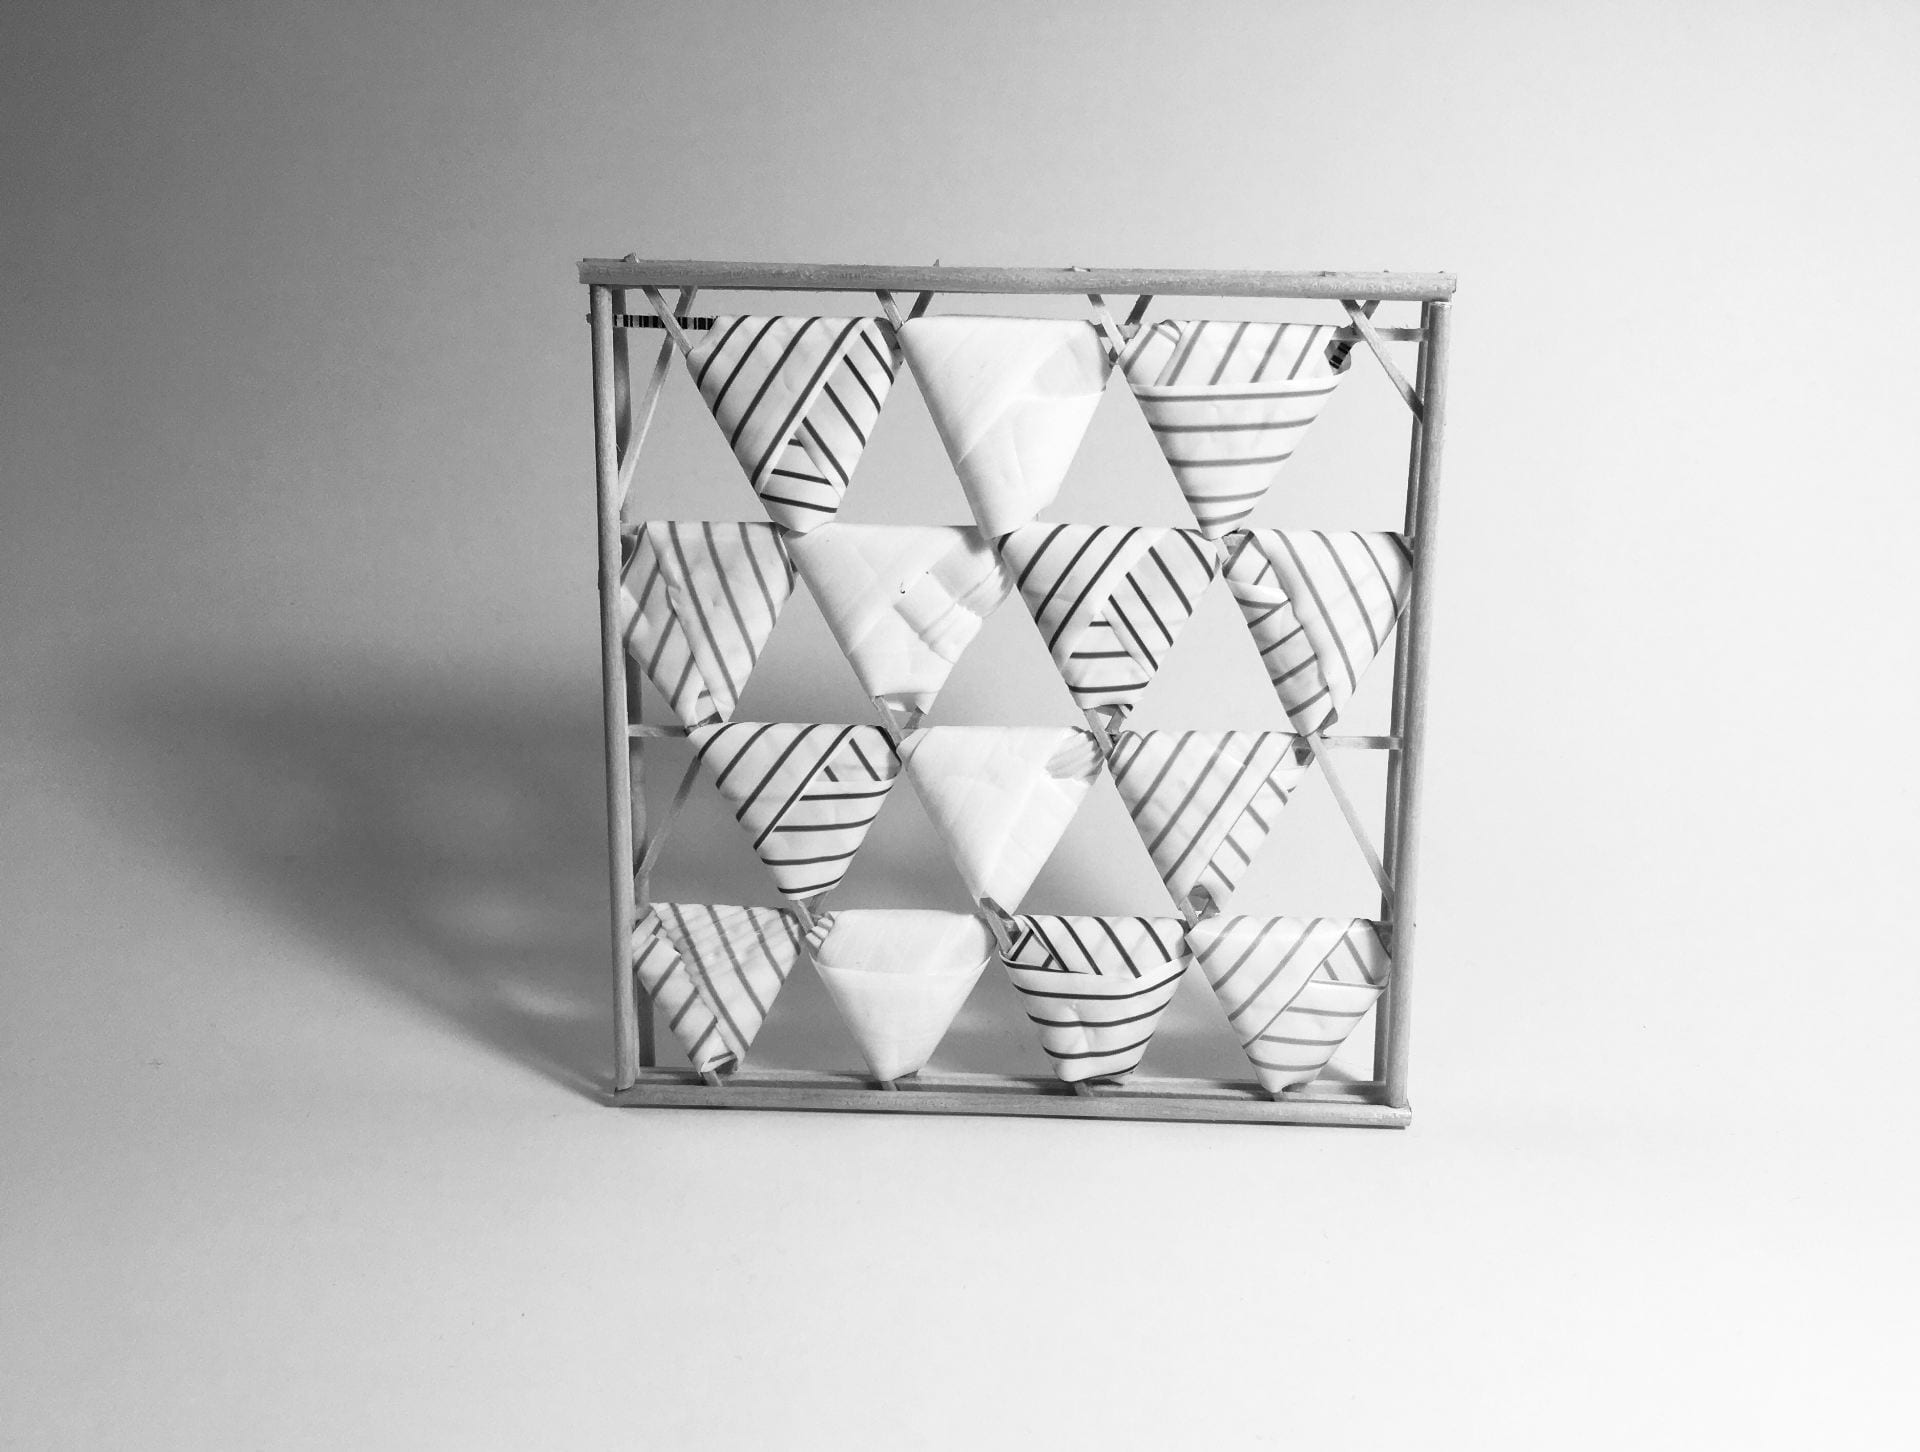
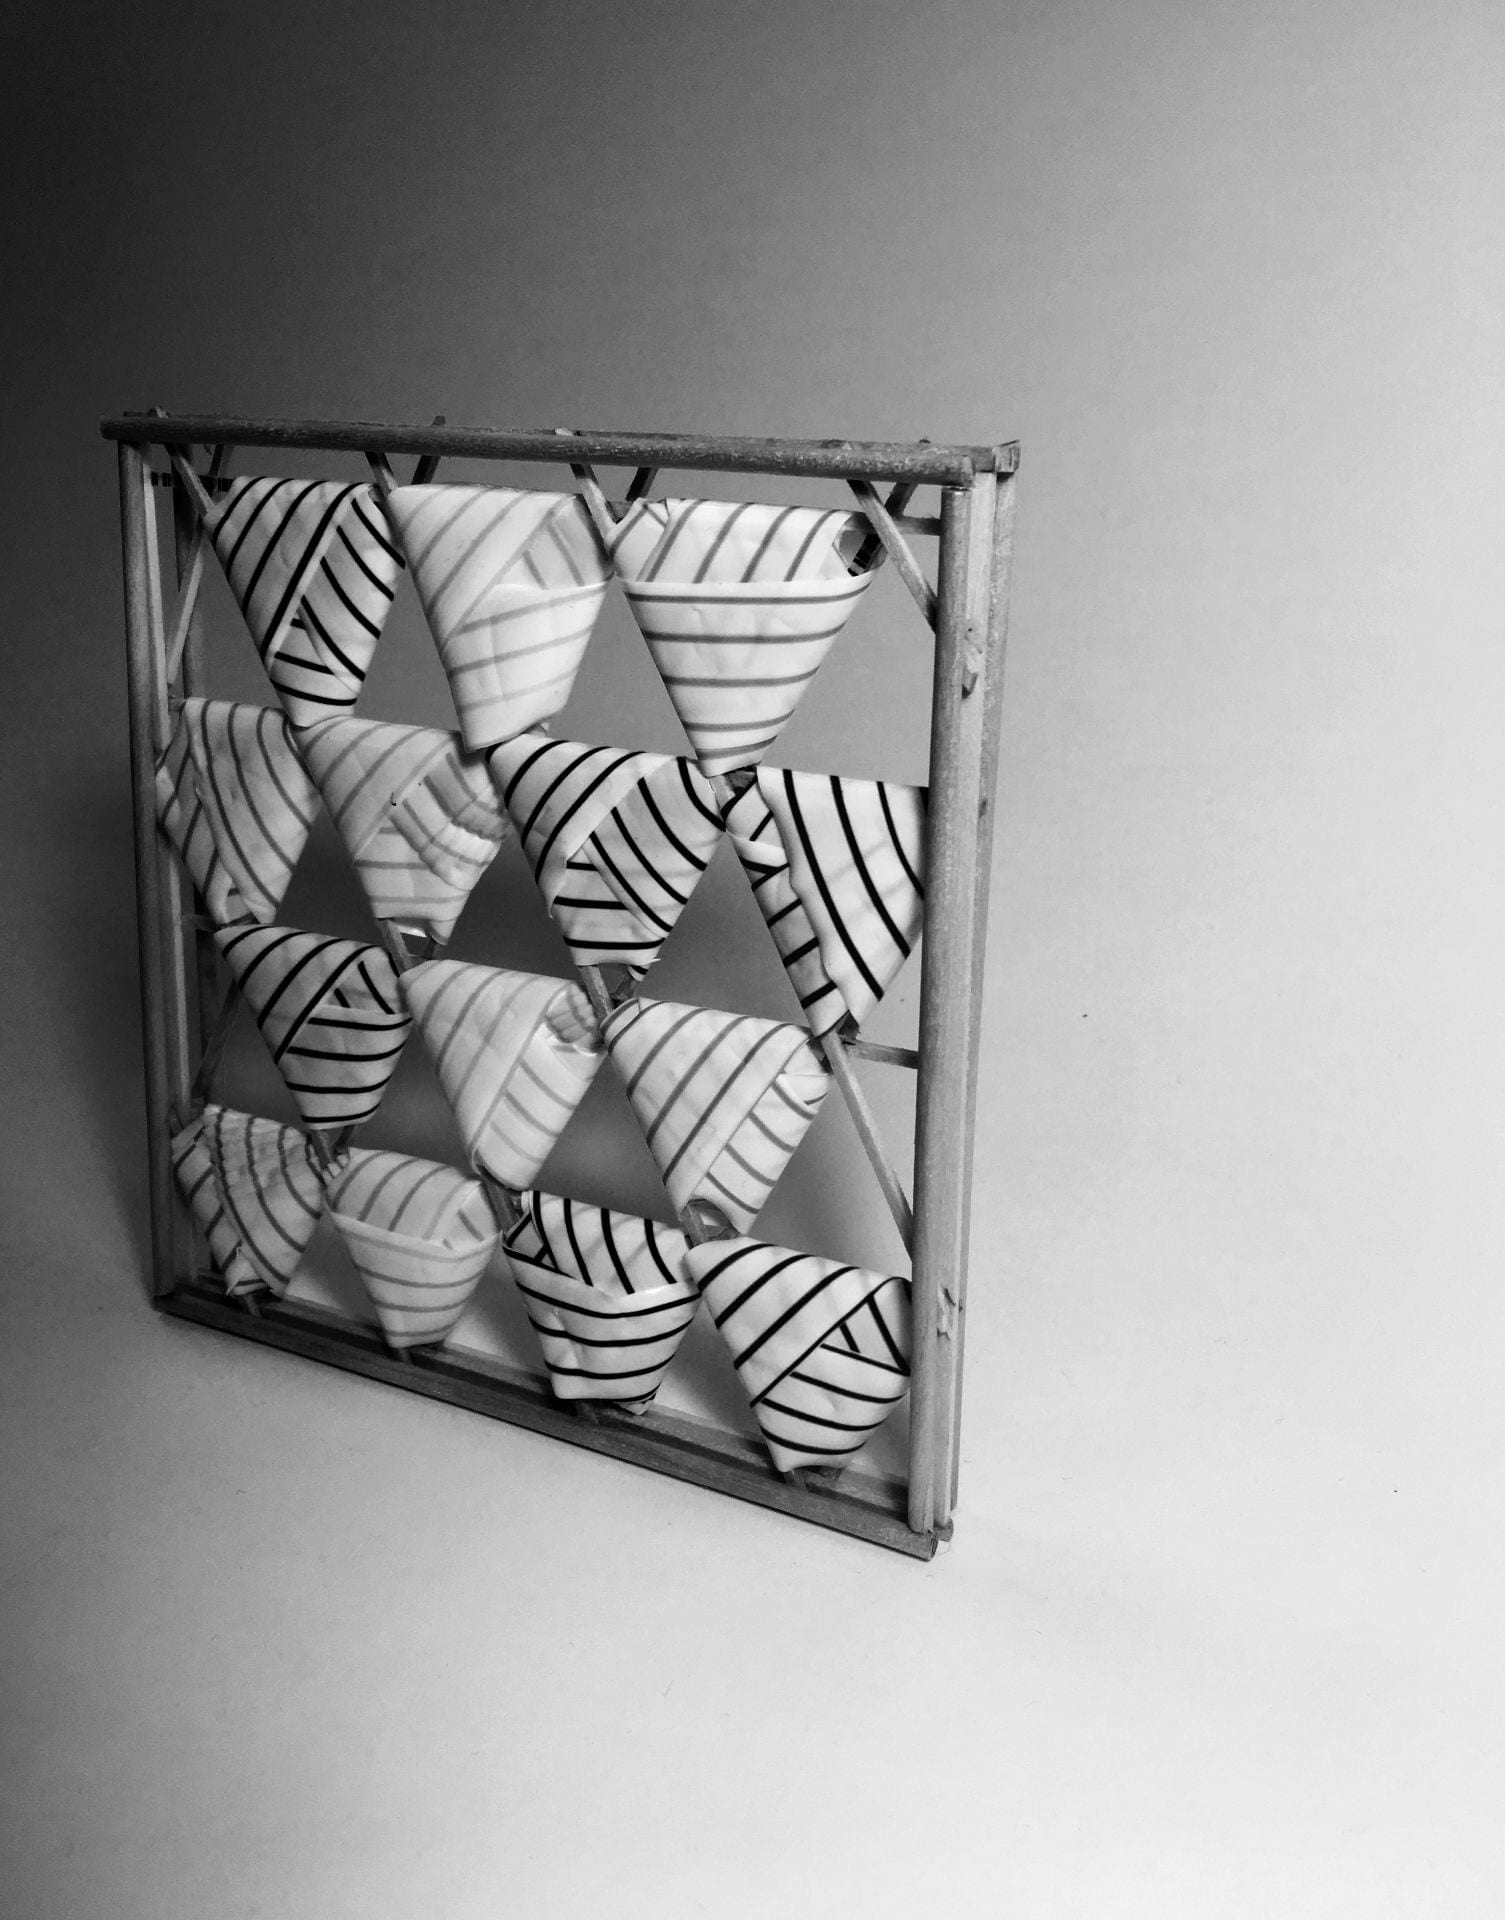
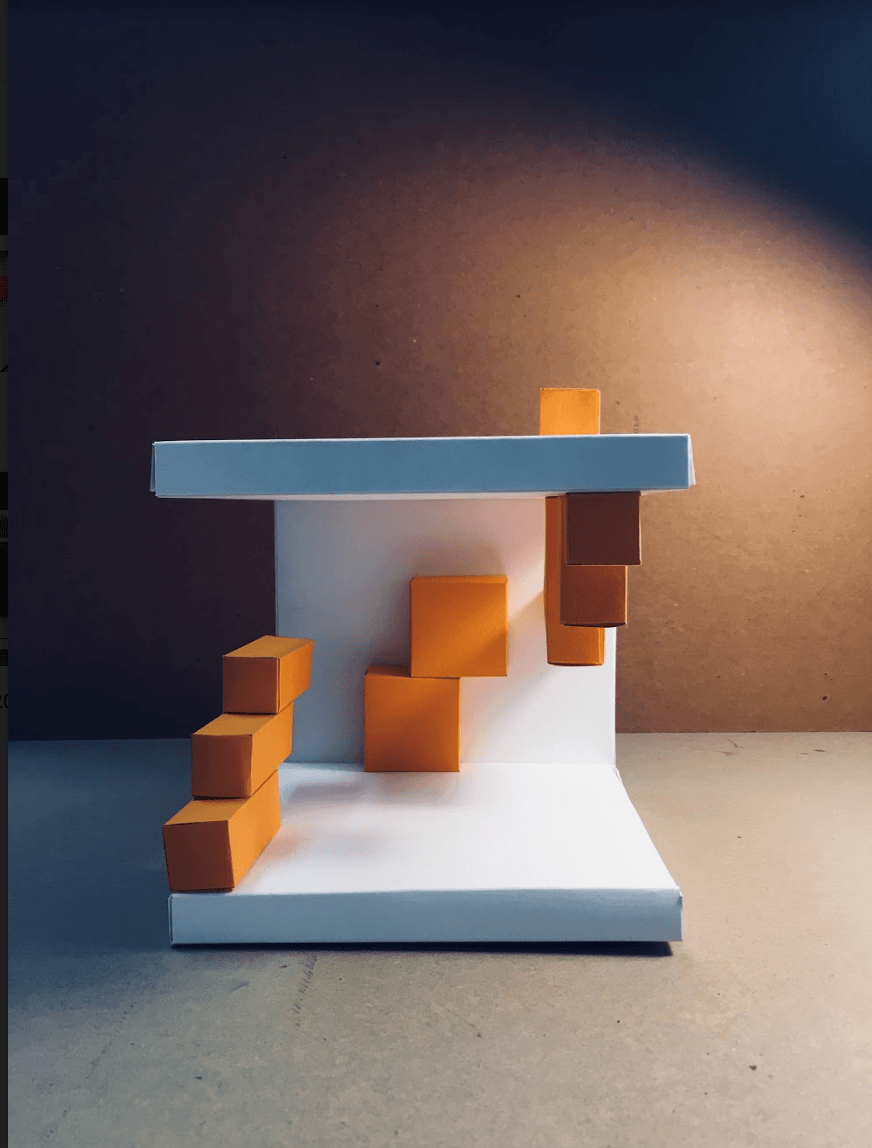
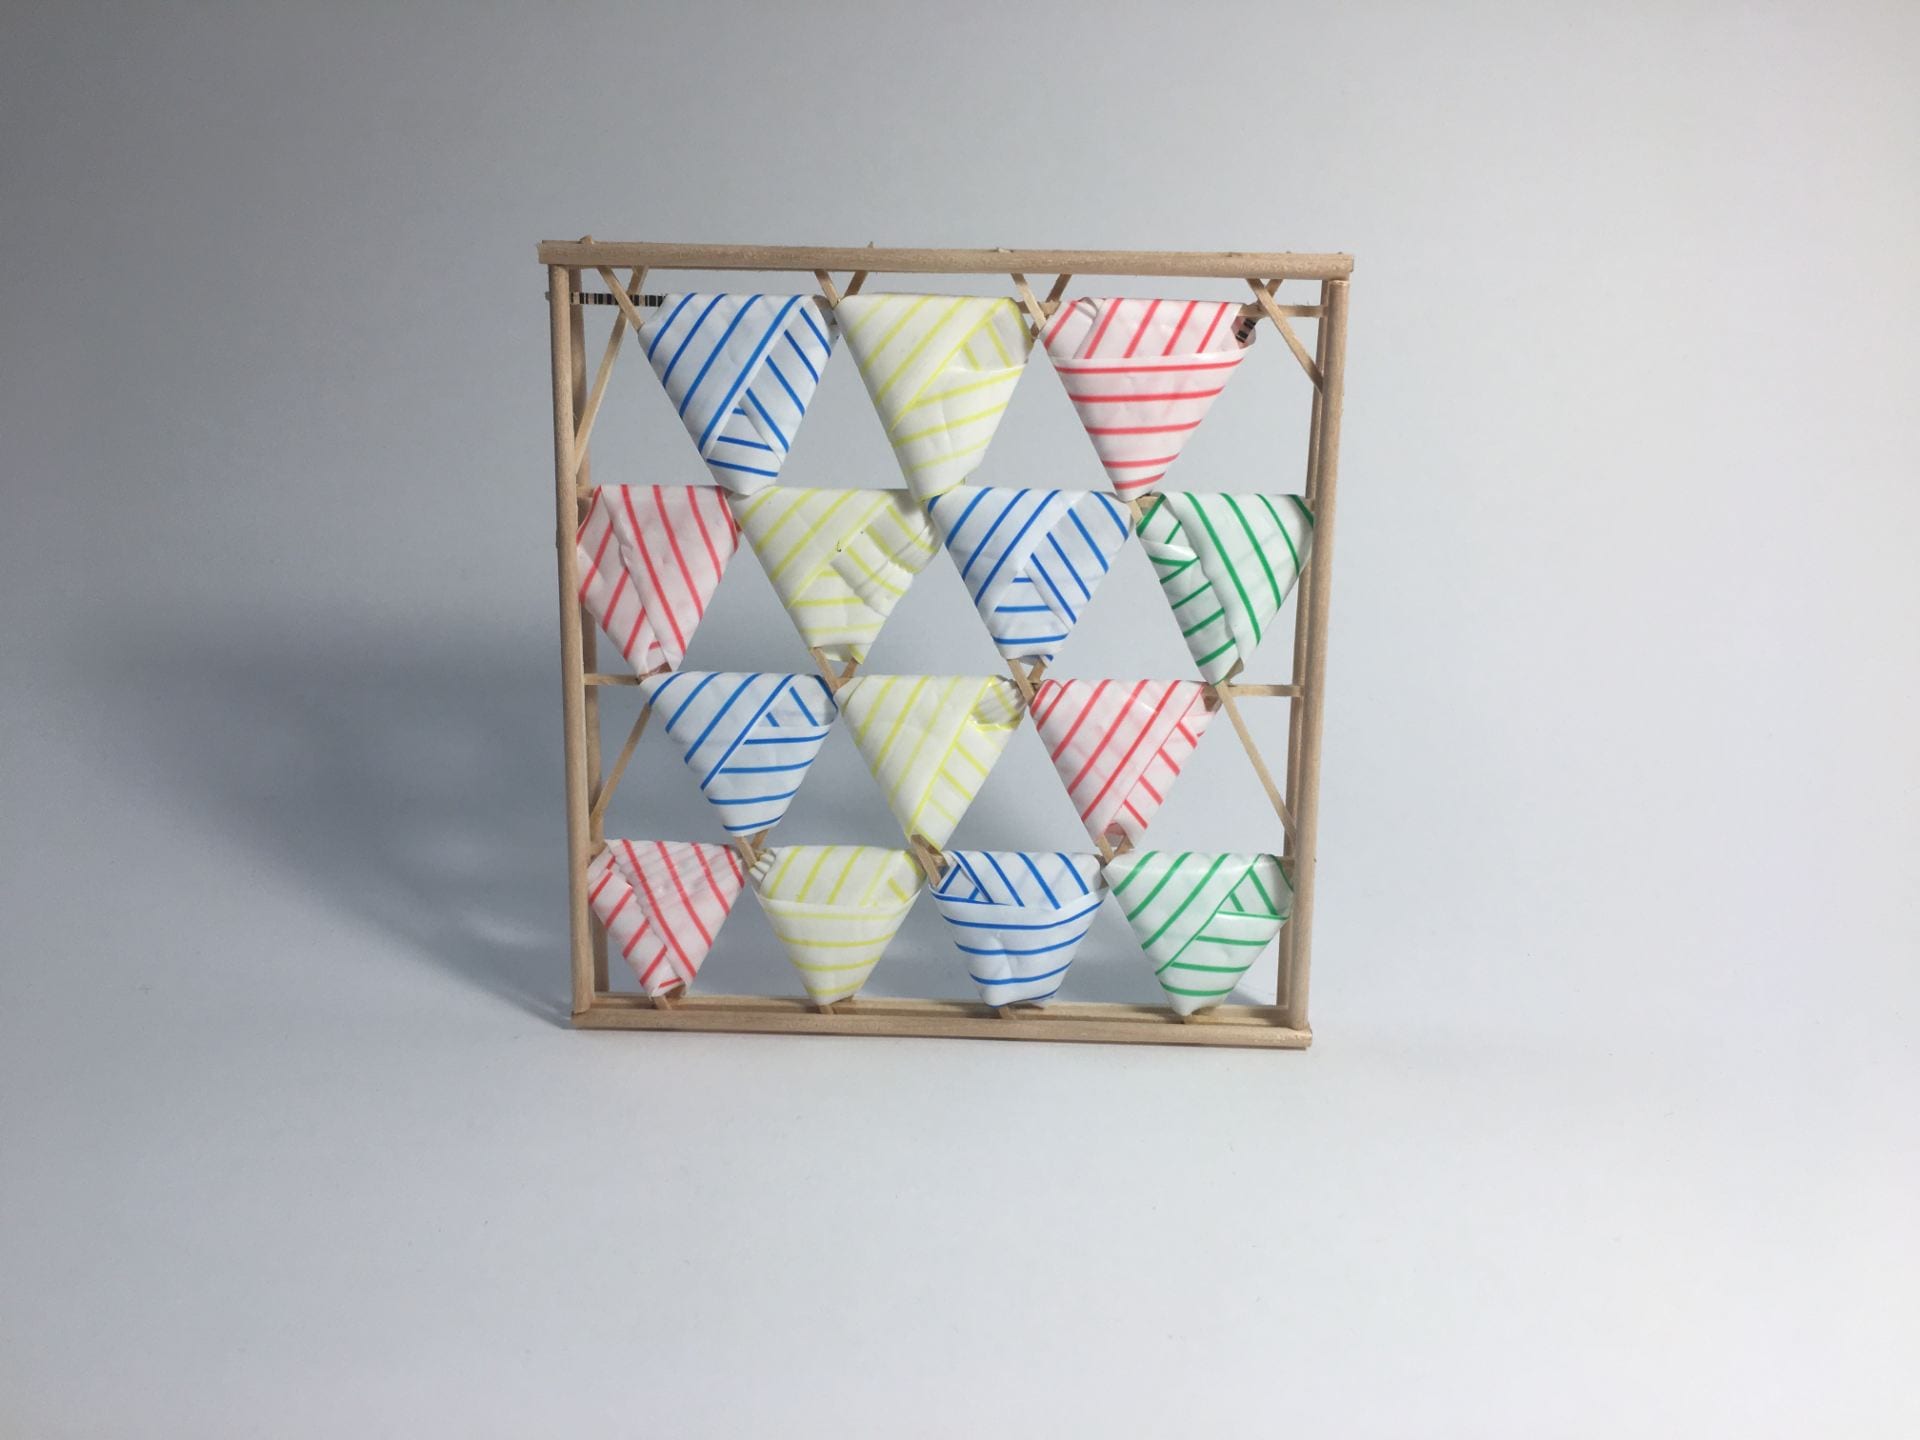
For the next part we were required to build a 6″ by 6″ model, the purpose of this process was to investigate and grasp how objects change with scale. I wanted to focus more on the concept of a maze and something more parasitic or disturbing if you may. This time I wanted represent the idea of frustration through solving a maze through the use of a bold colour and having my components performs minute yet disturbing movements. For example as seen in the images below, I have one component popping out on top or where the components follow a pattern but do stop in between and do not continue.
The above image is an illustration of the elevation drawing of the model
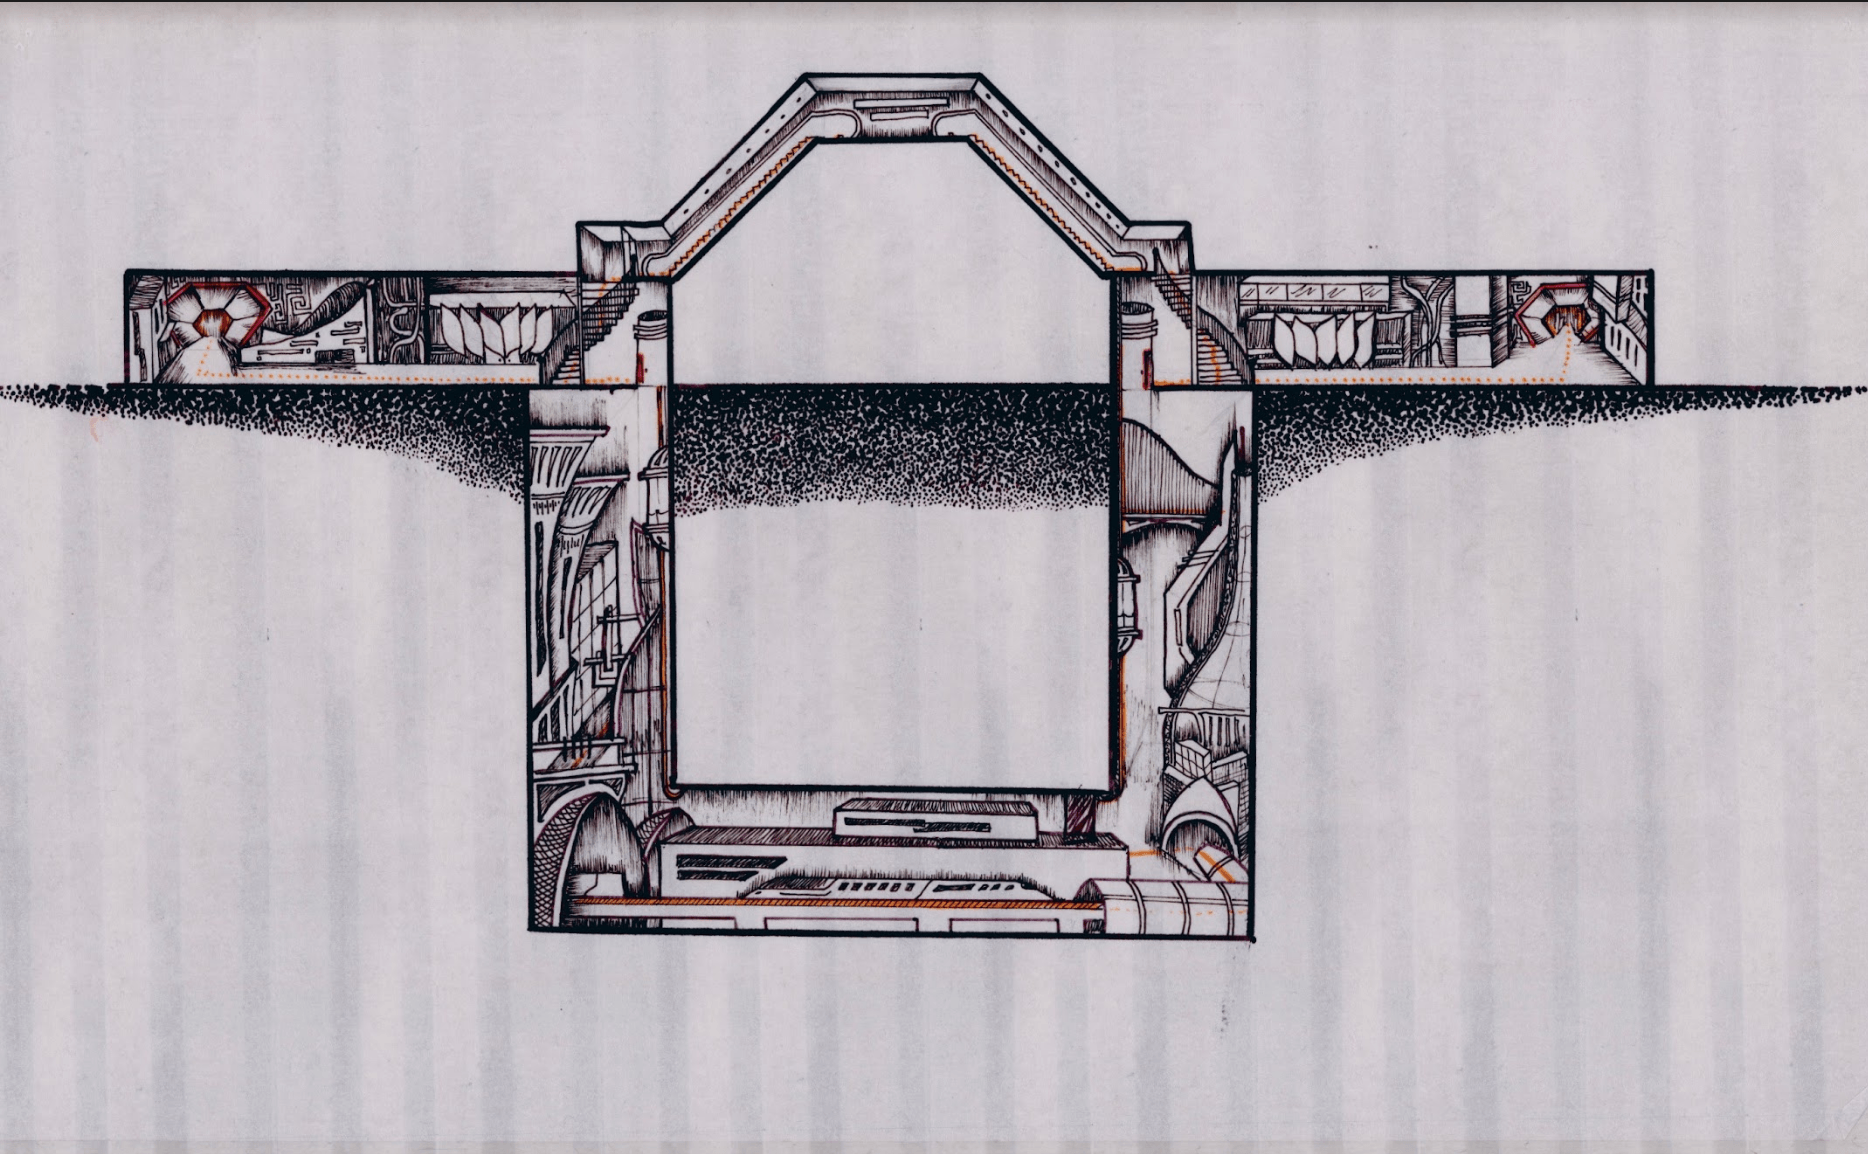
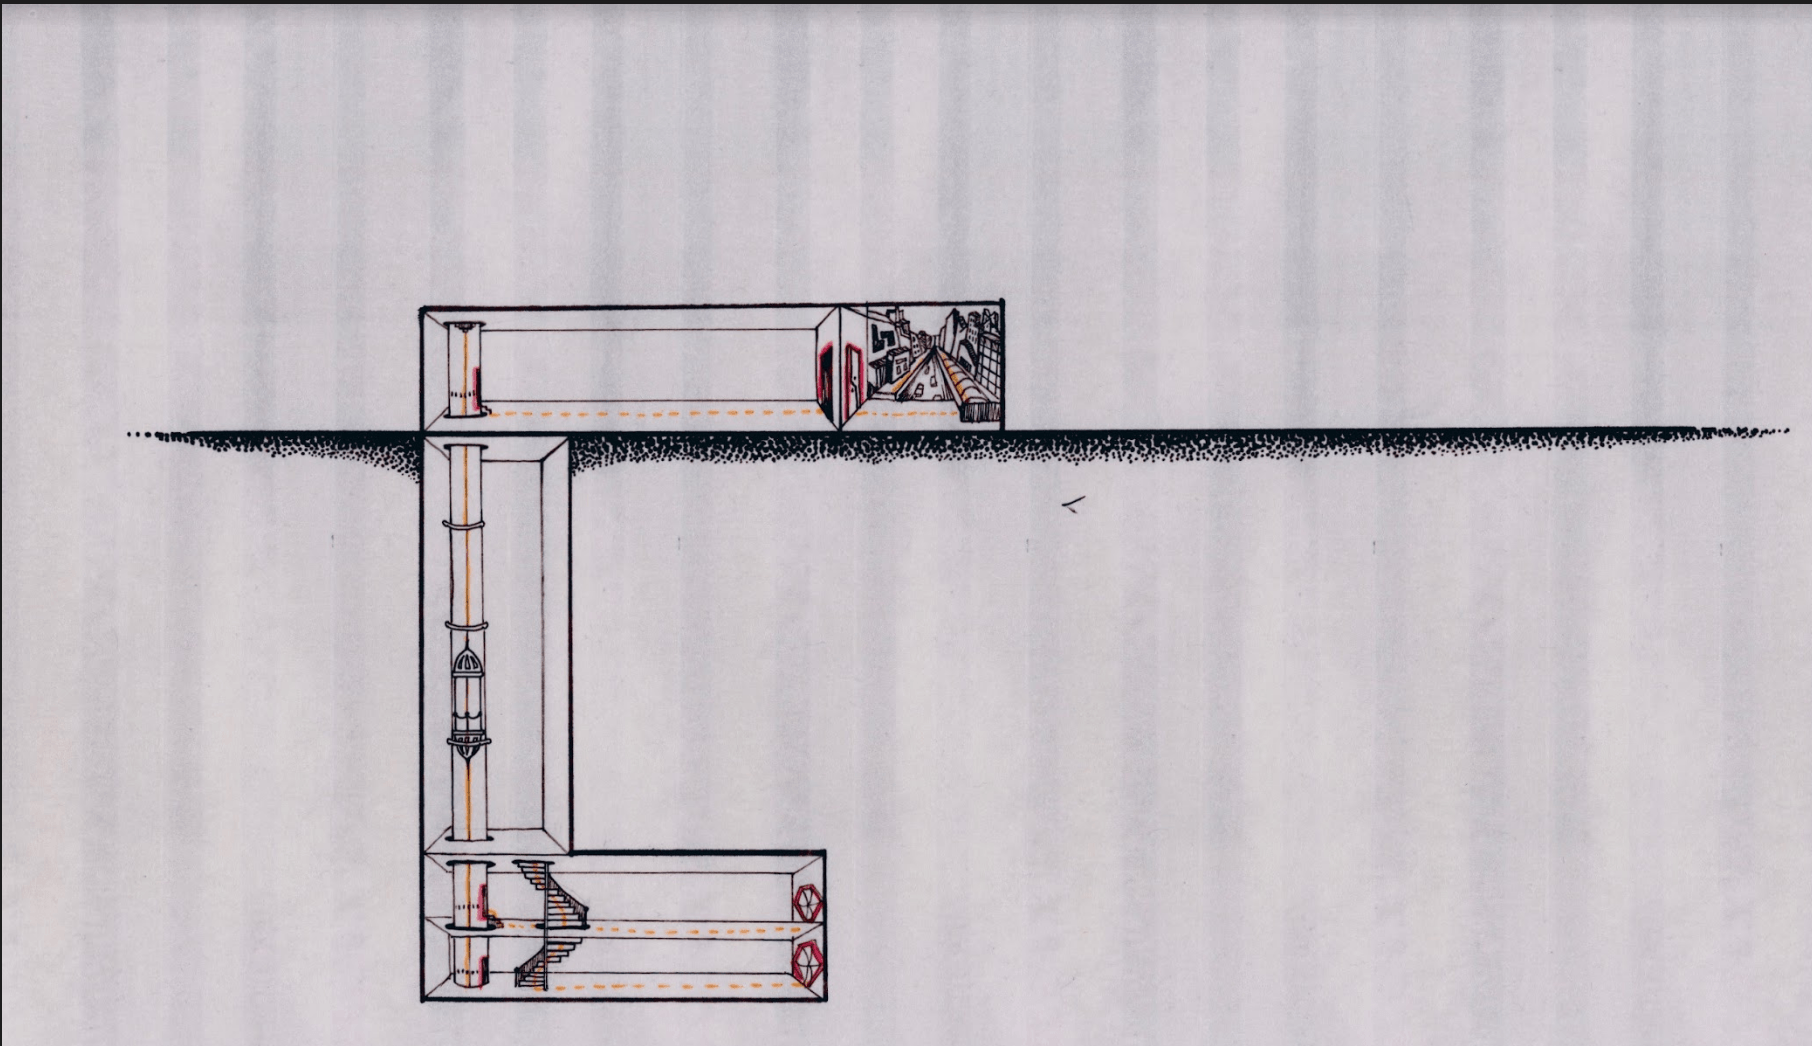
….Week.3 Solids,Voids & Thresholds….
Overview:
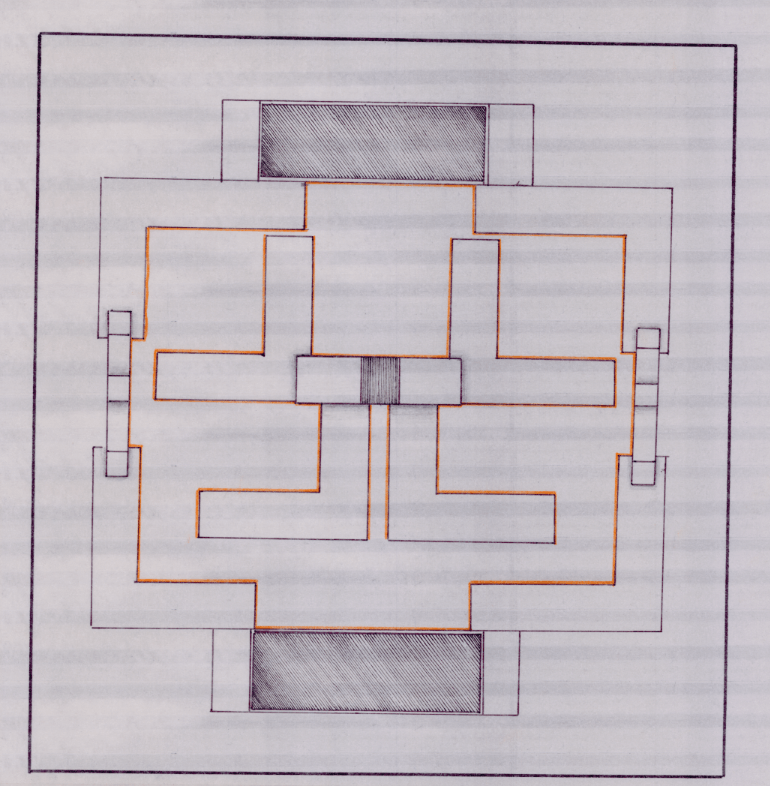
Architecture is experienced as a sequence of spaces which will be explored to investigate spatial definition, openness and complexity and the relationships between spaces. For the first part of the assignment we created a map telling us about the experiential quality of your path that tells us about the spatial quality of your path. I wanted to continue on the idea of a maze so I created map that illustrates a pathway through a tube like maze, each of the drawings were layered on top of each other to understand how they are placed and the orange colour was used in order to help in the direction of the movement.
(Plans & Section for the map)
(Pathways)
Using this basic map we were then required to translate these maps into physical models.
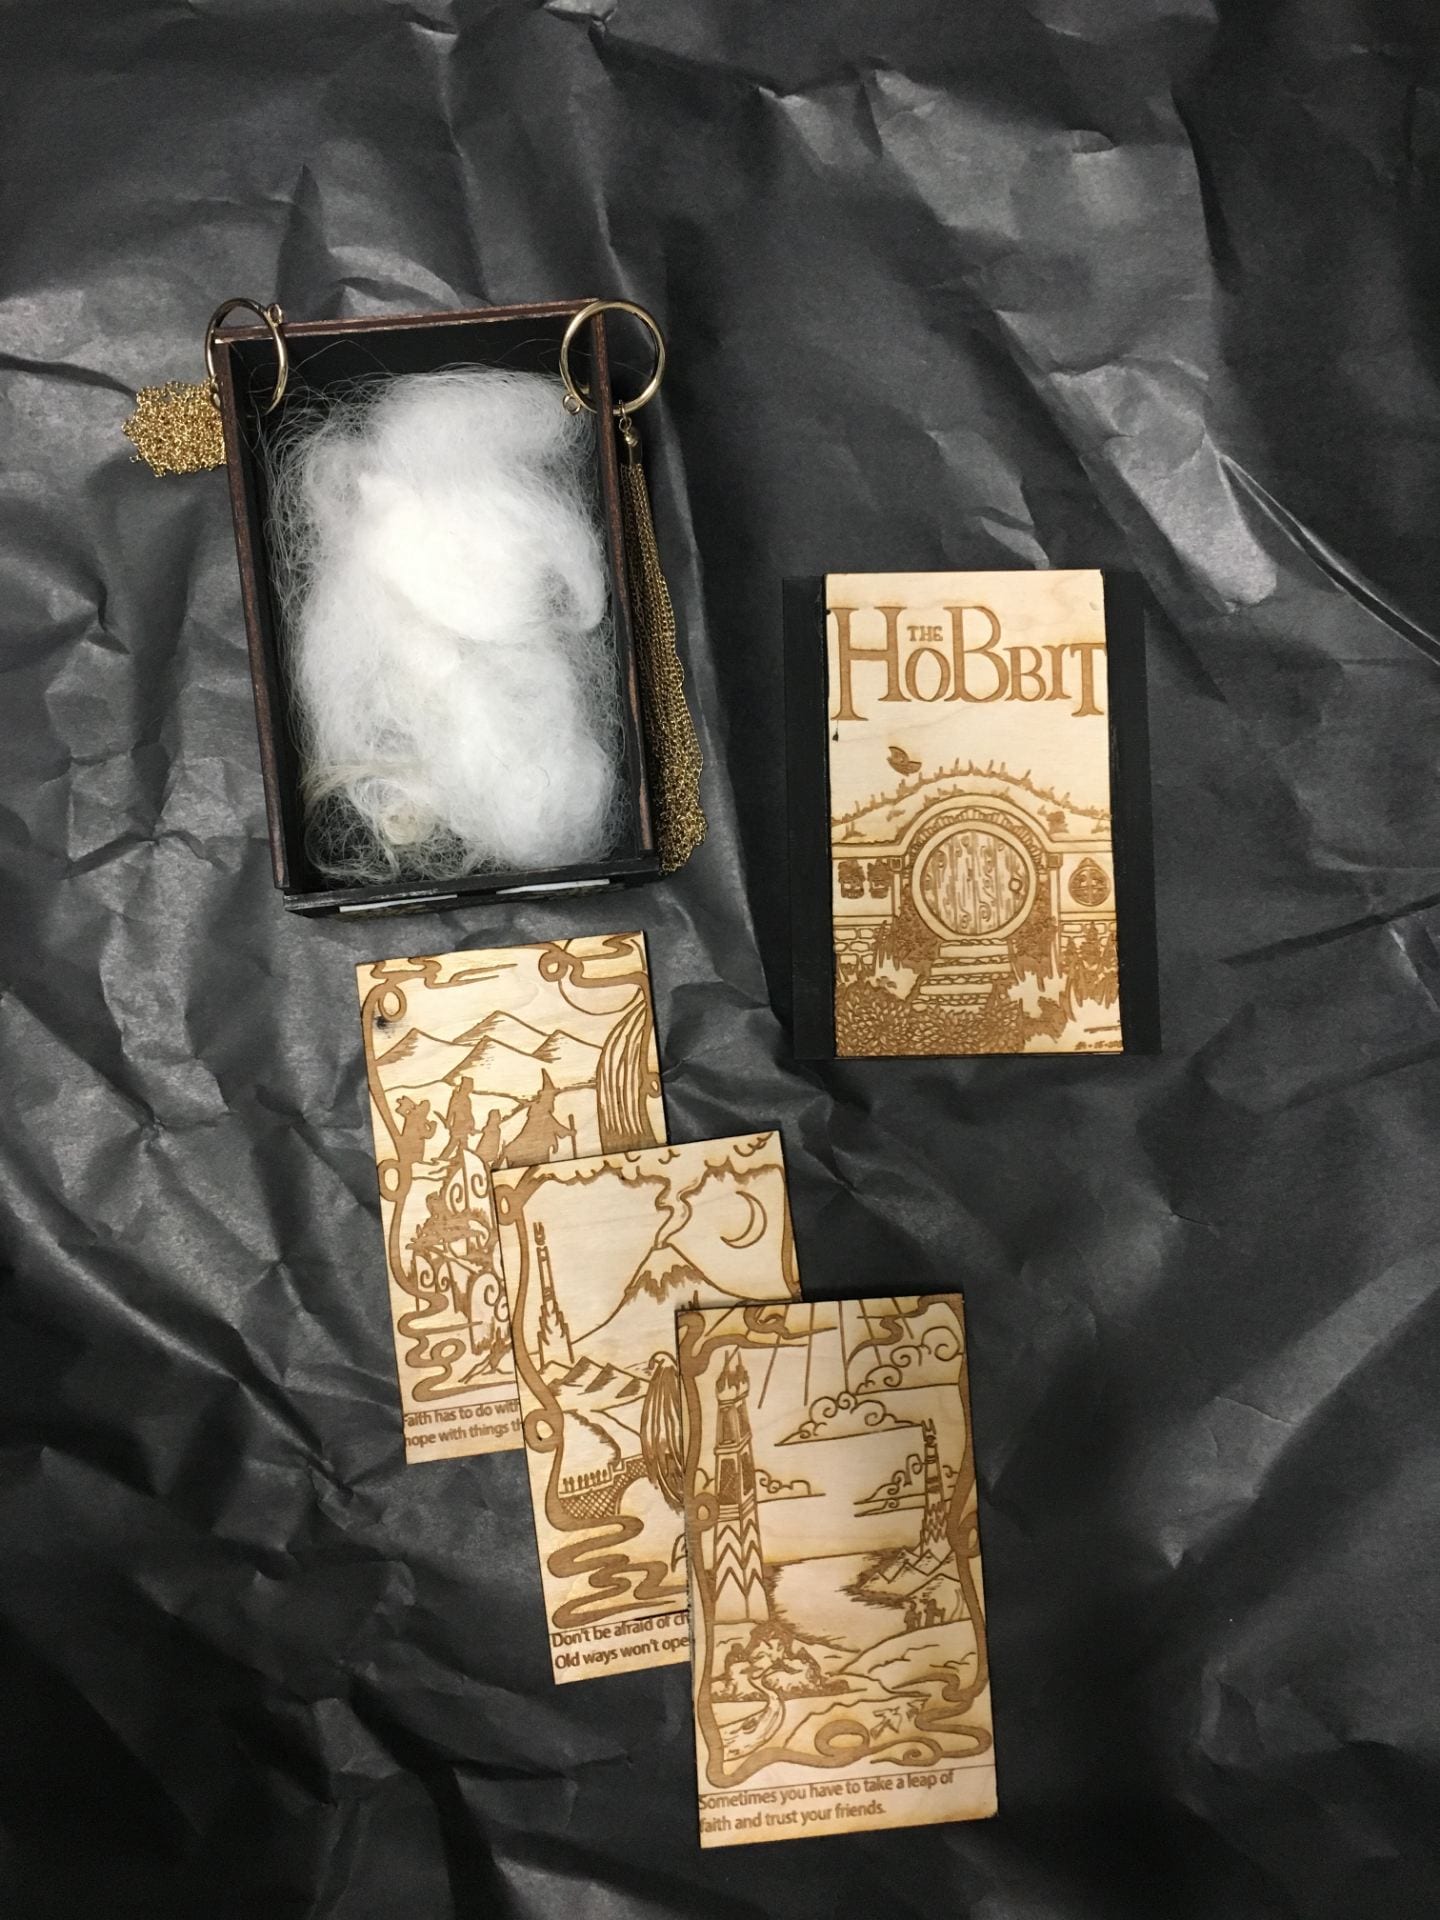
The open book project focused on the concept of “Printed Matter as it corresponds to the digital age and is a reflection of how communication has changed overtime. The project deals with questions like how does printed matter form a particular era encapsulate a moment in History or act as a nostalgic “artifact”?Or if the information presented in the print of your object still relevant or accurate?
Materials:
Wood
Cotton
Glue
Gold chain
Hoops
Craft paper
Concept:
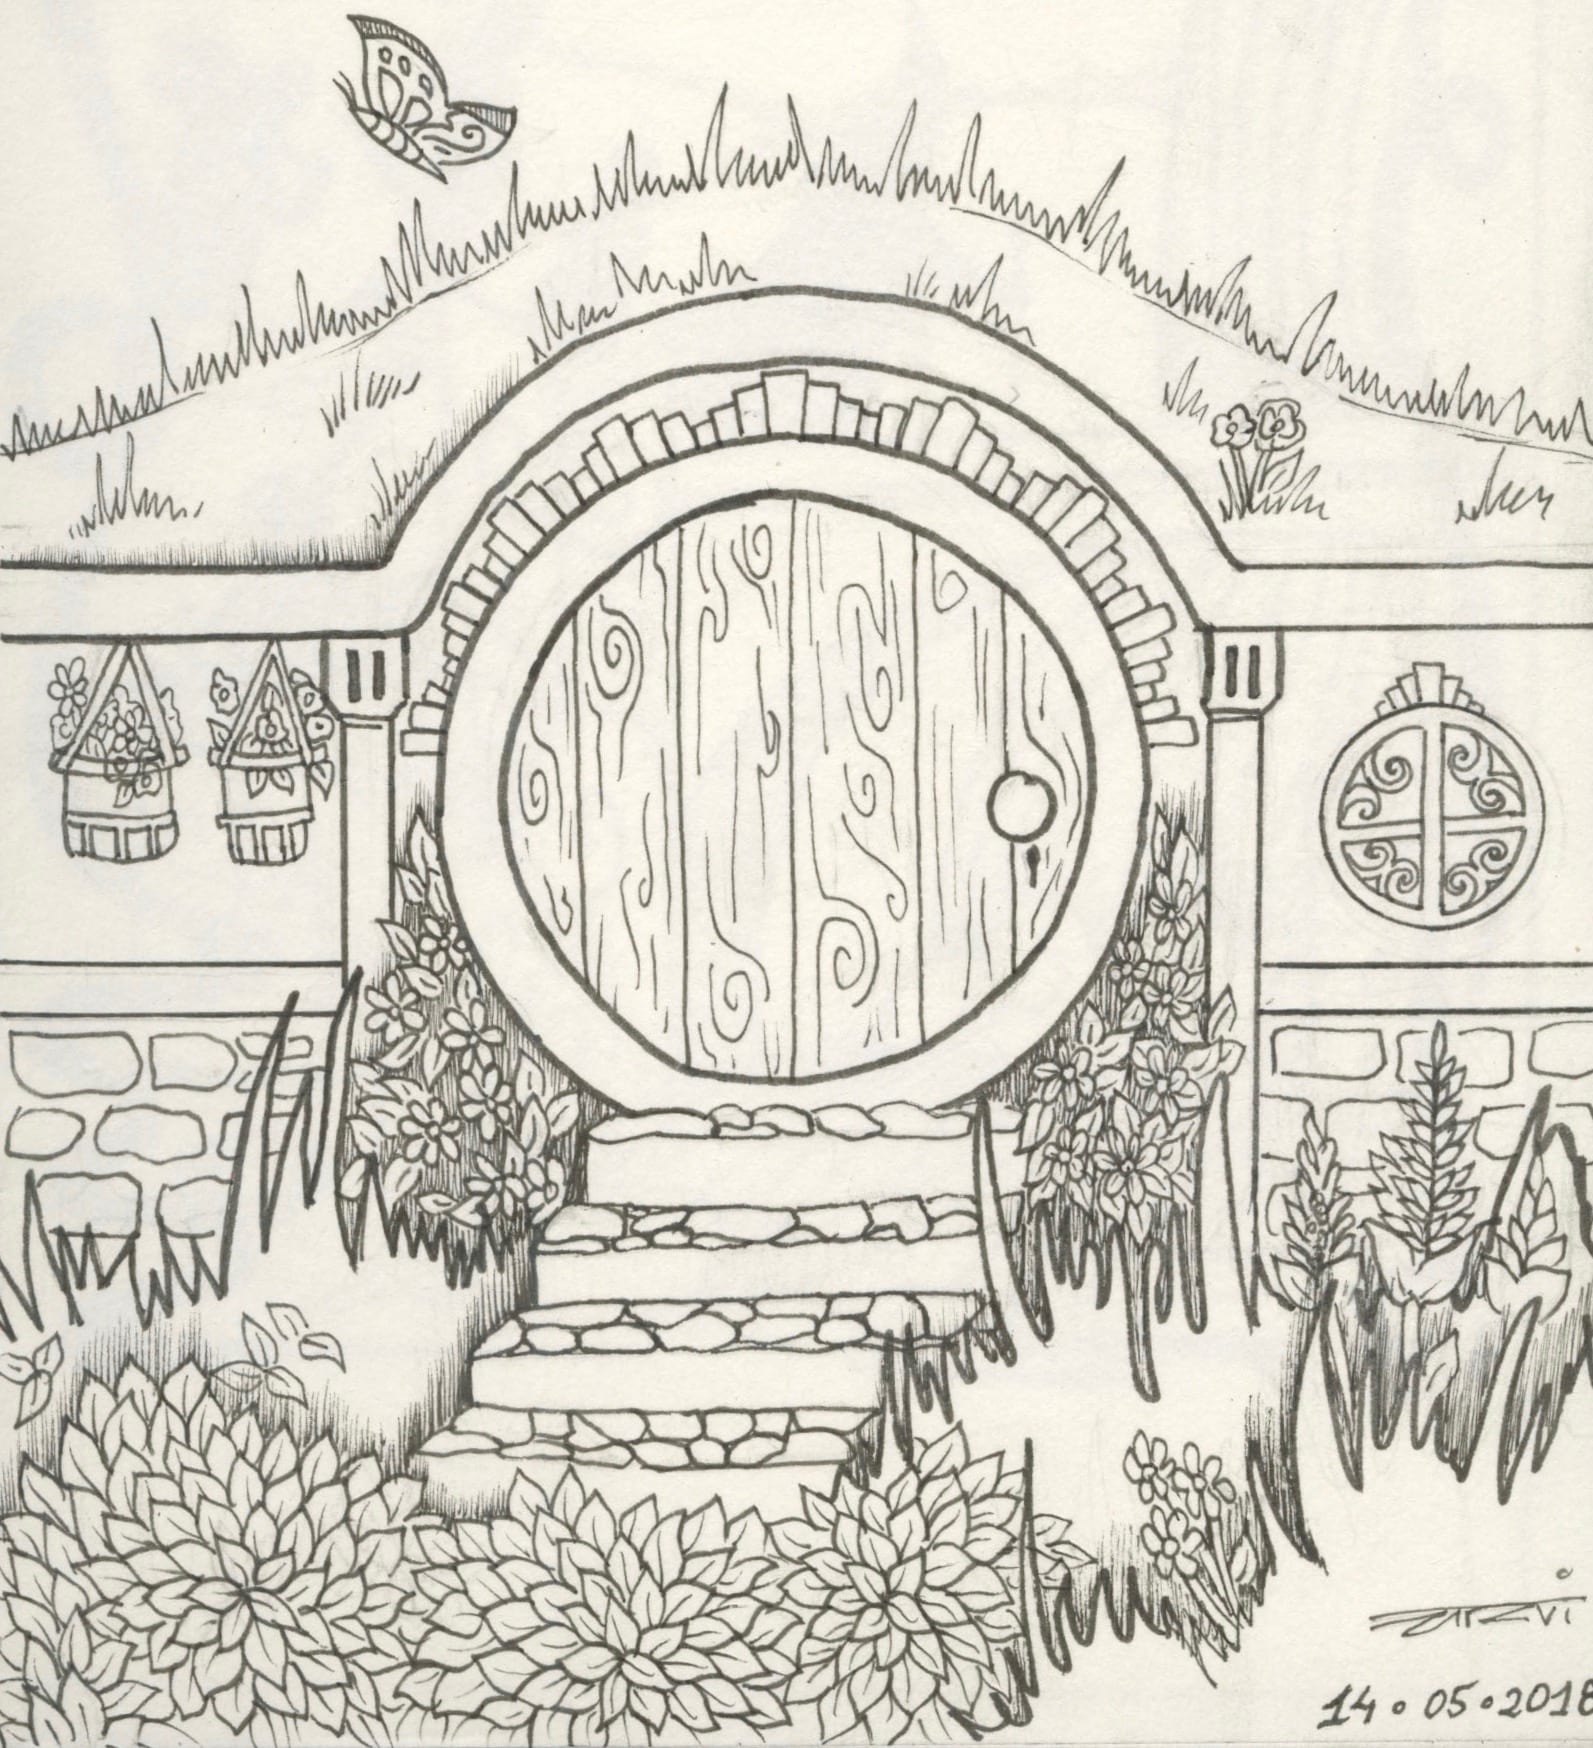
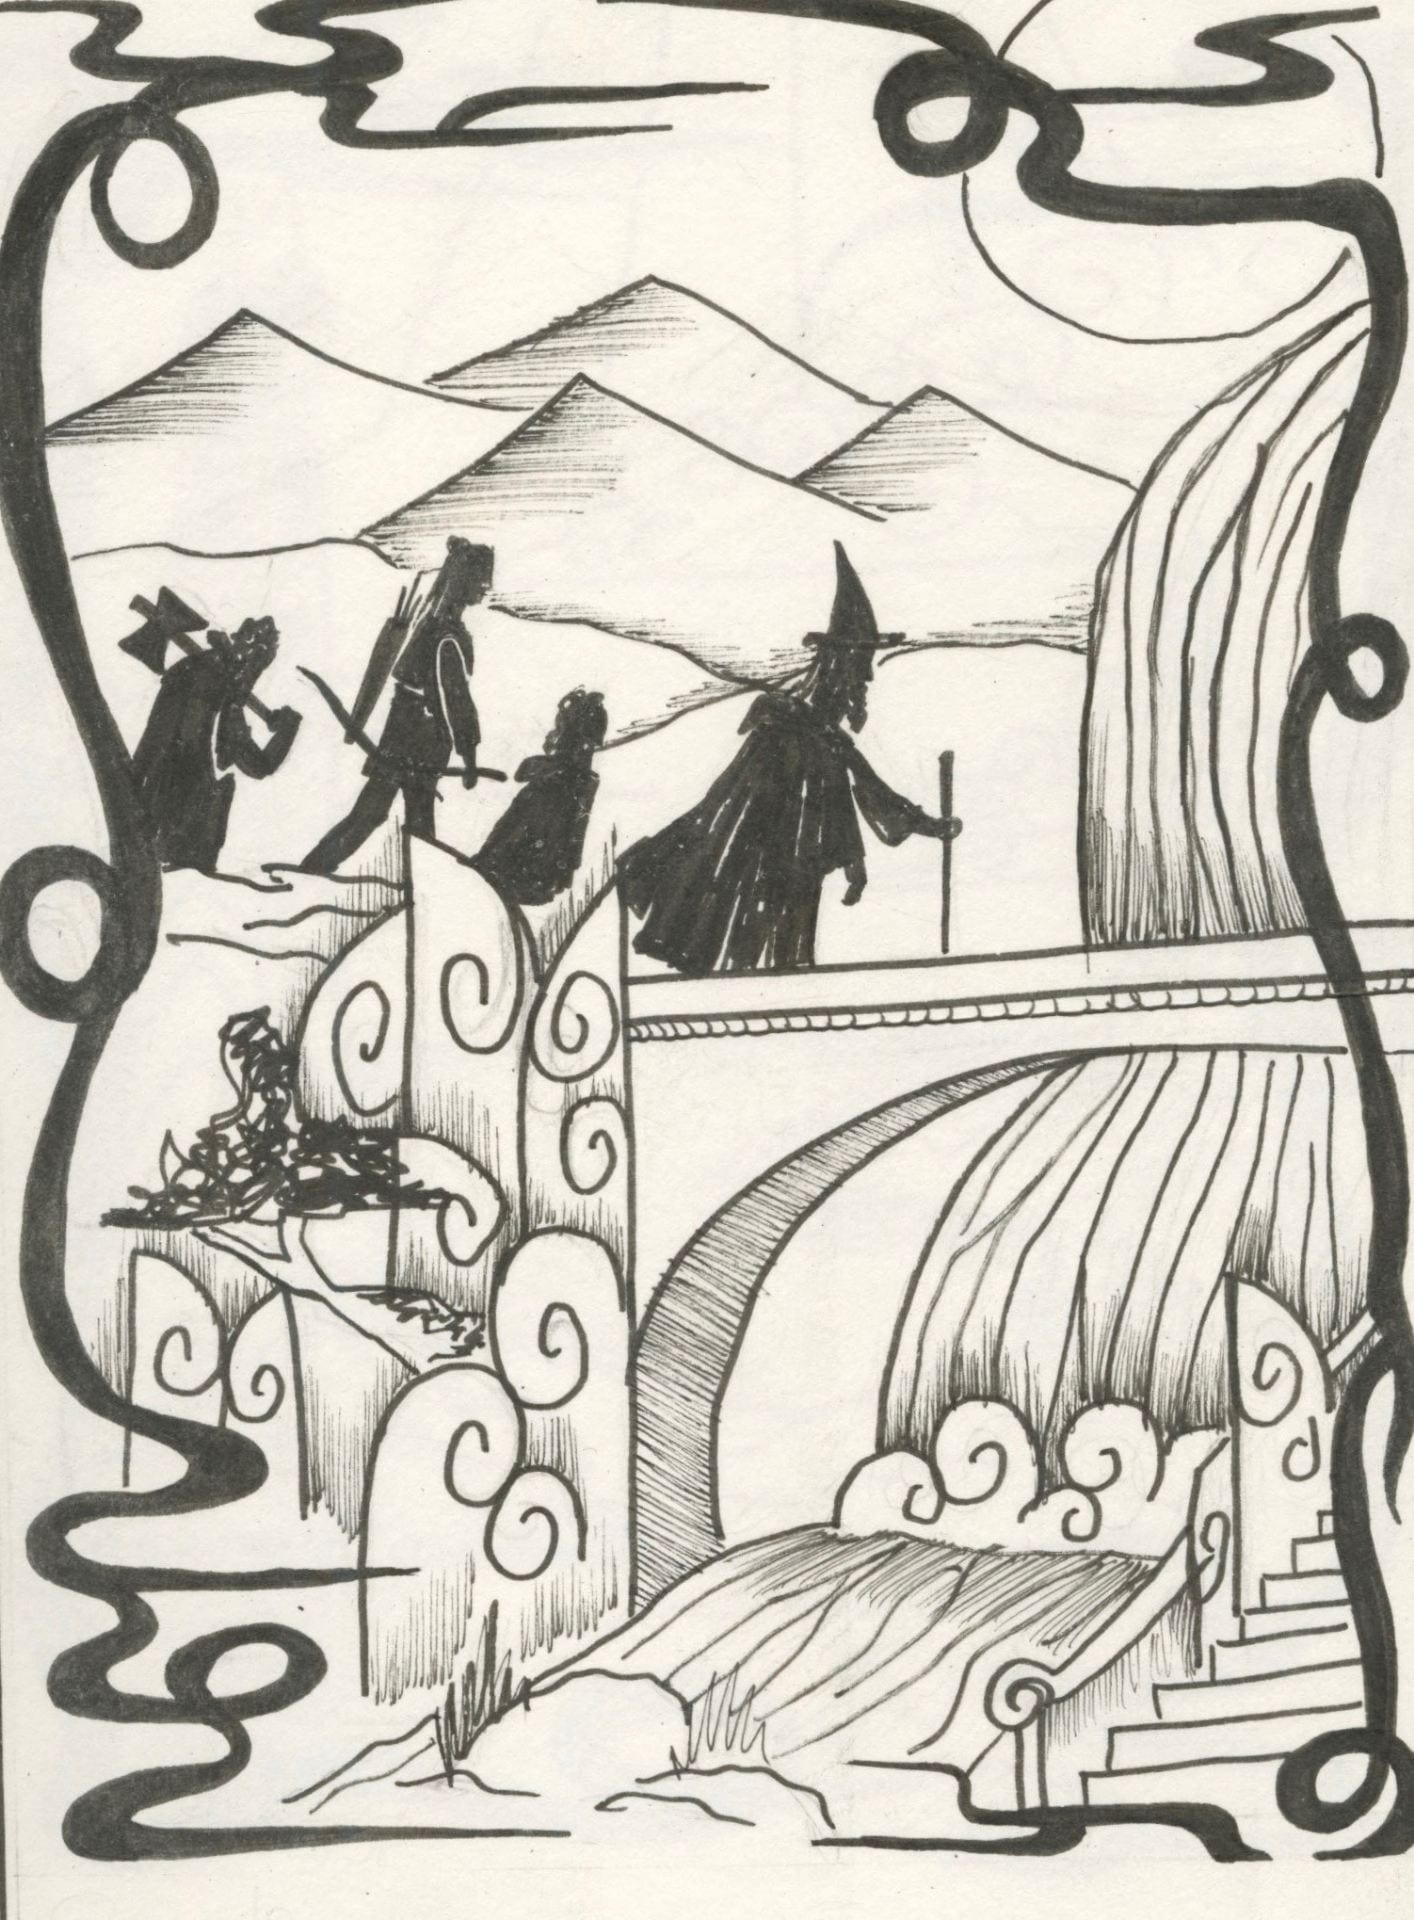
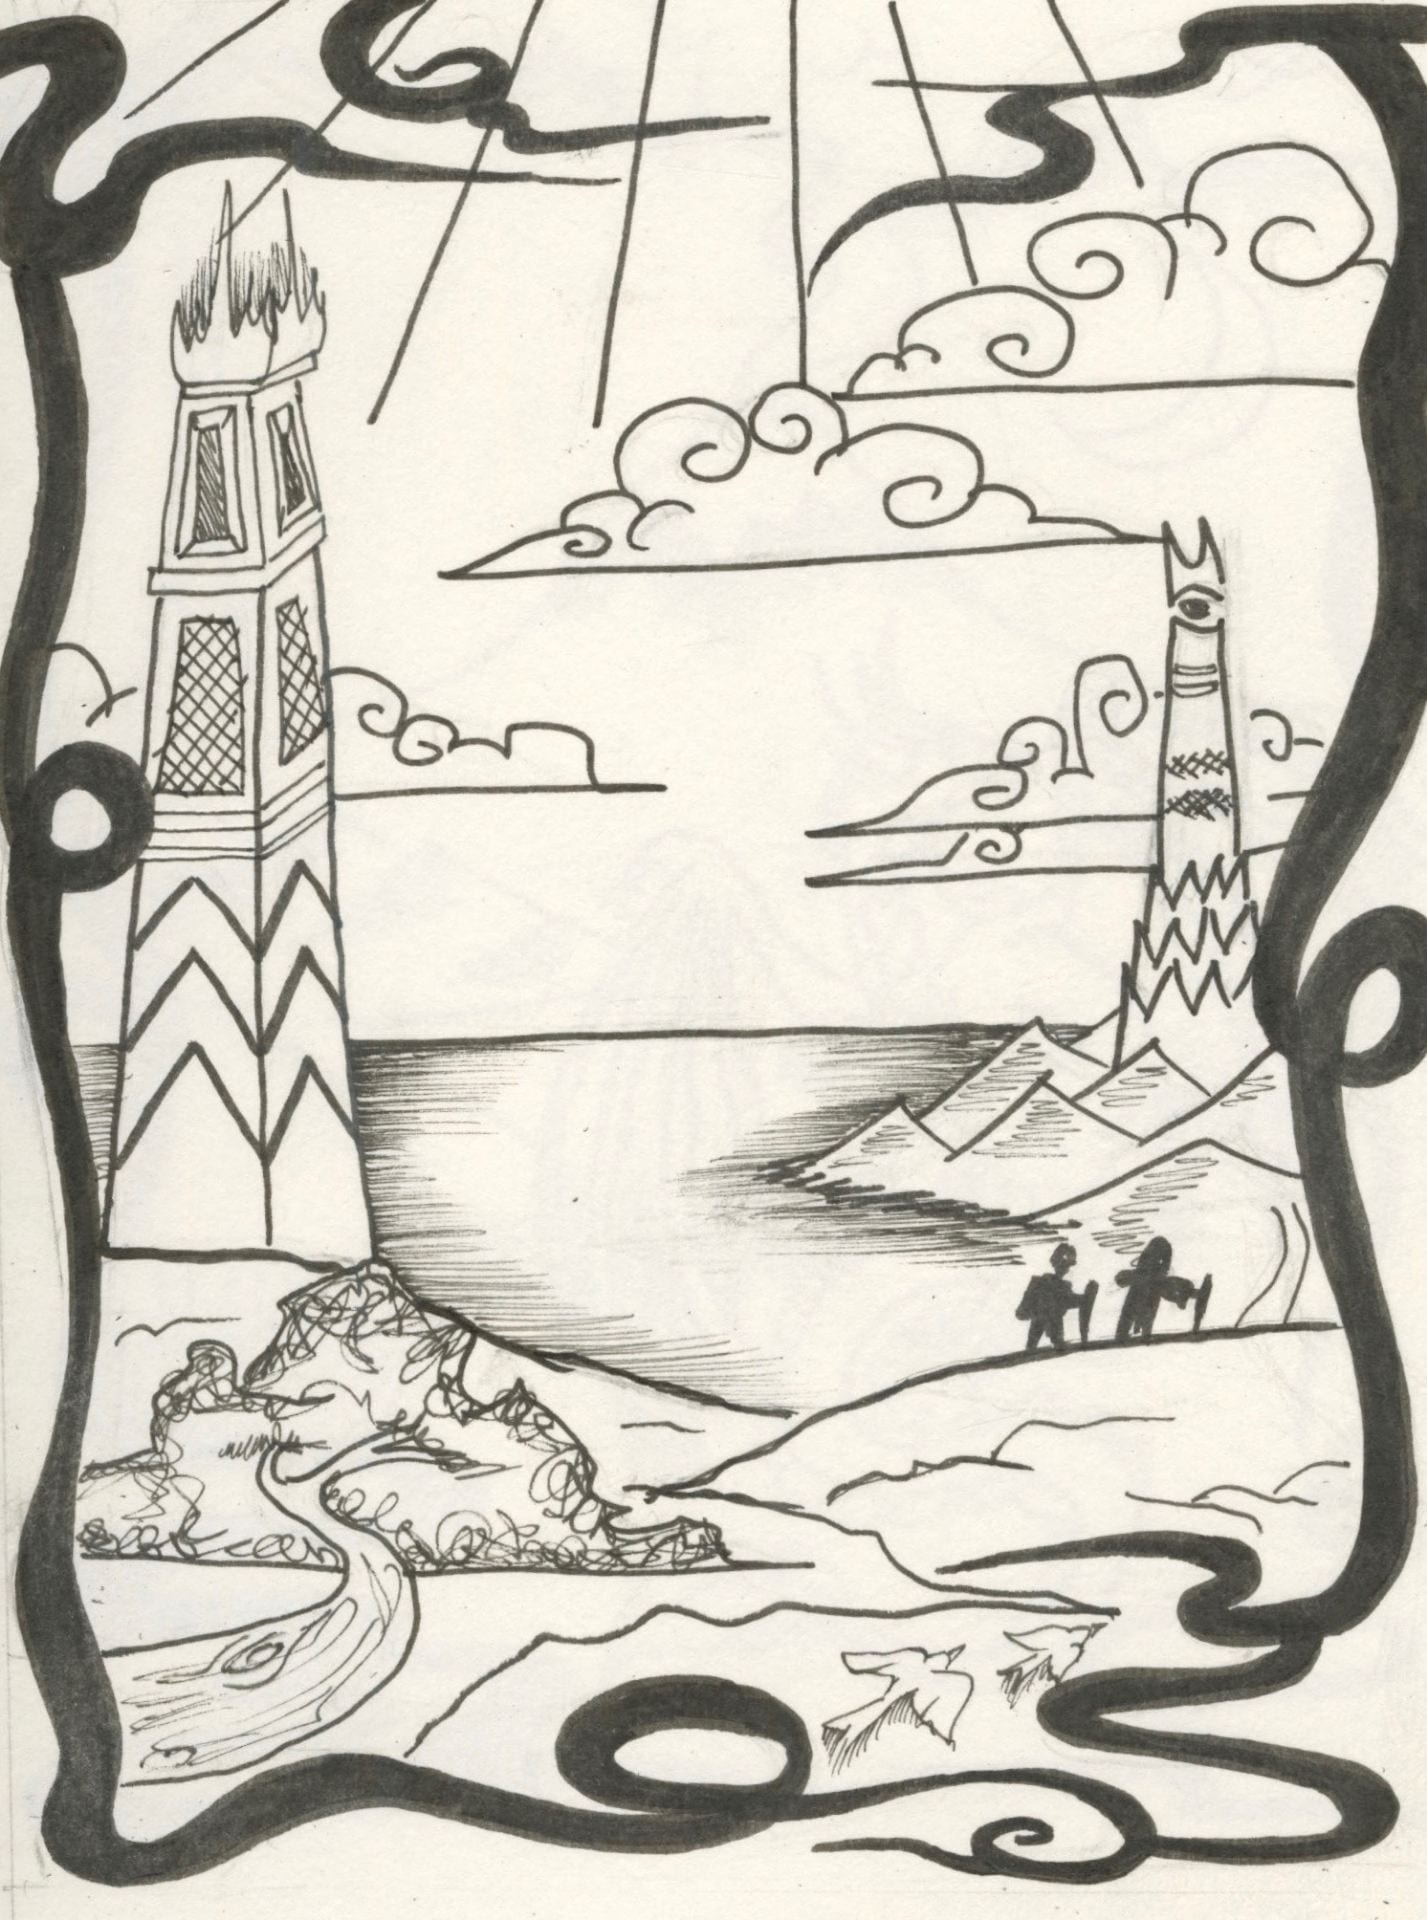
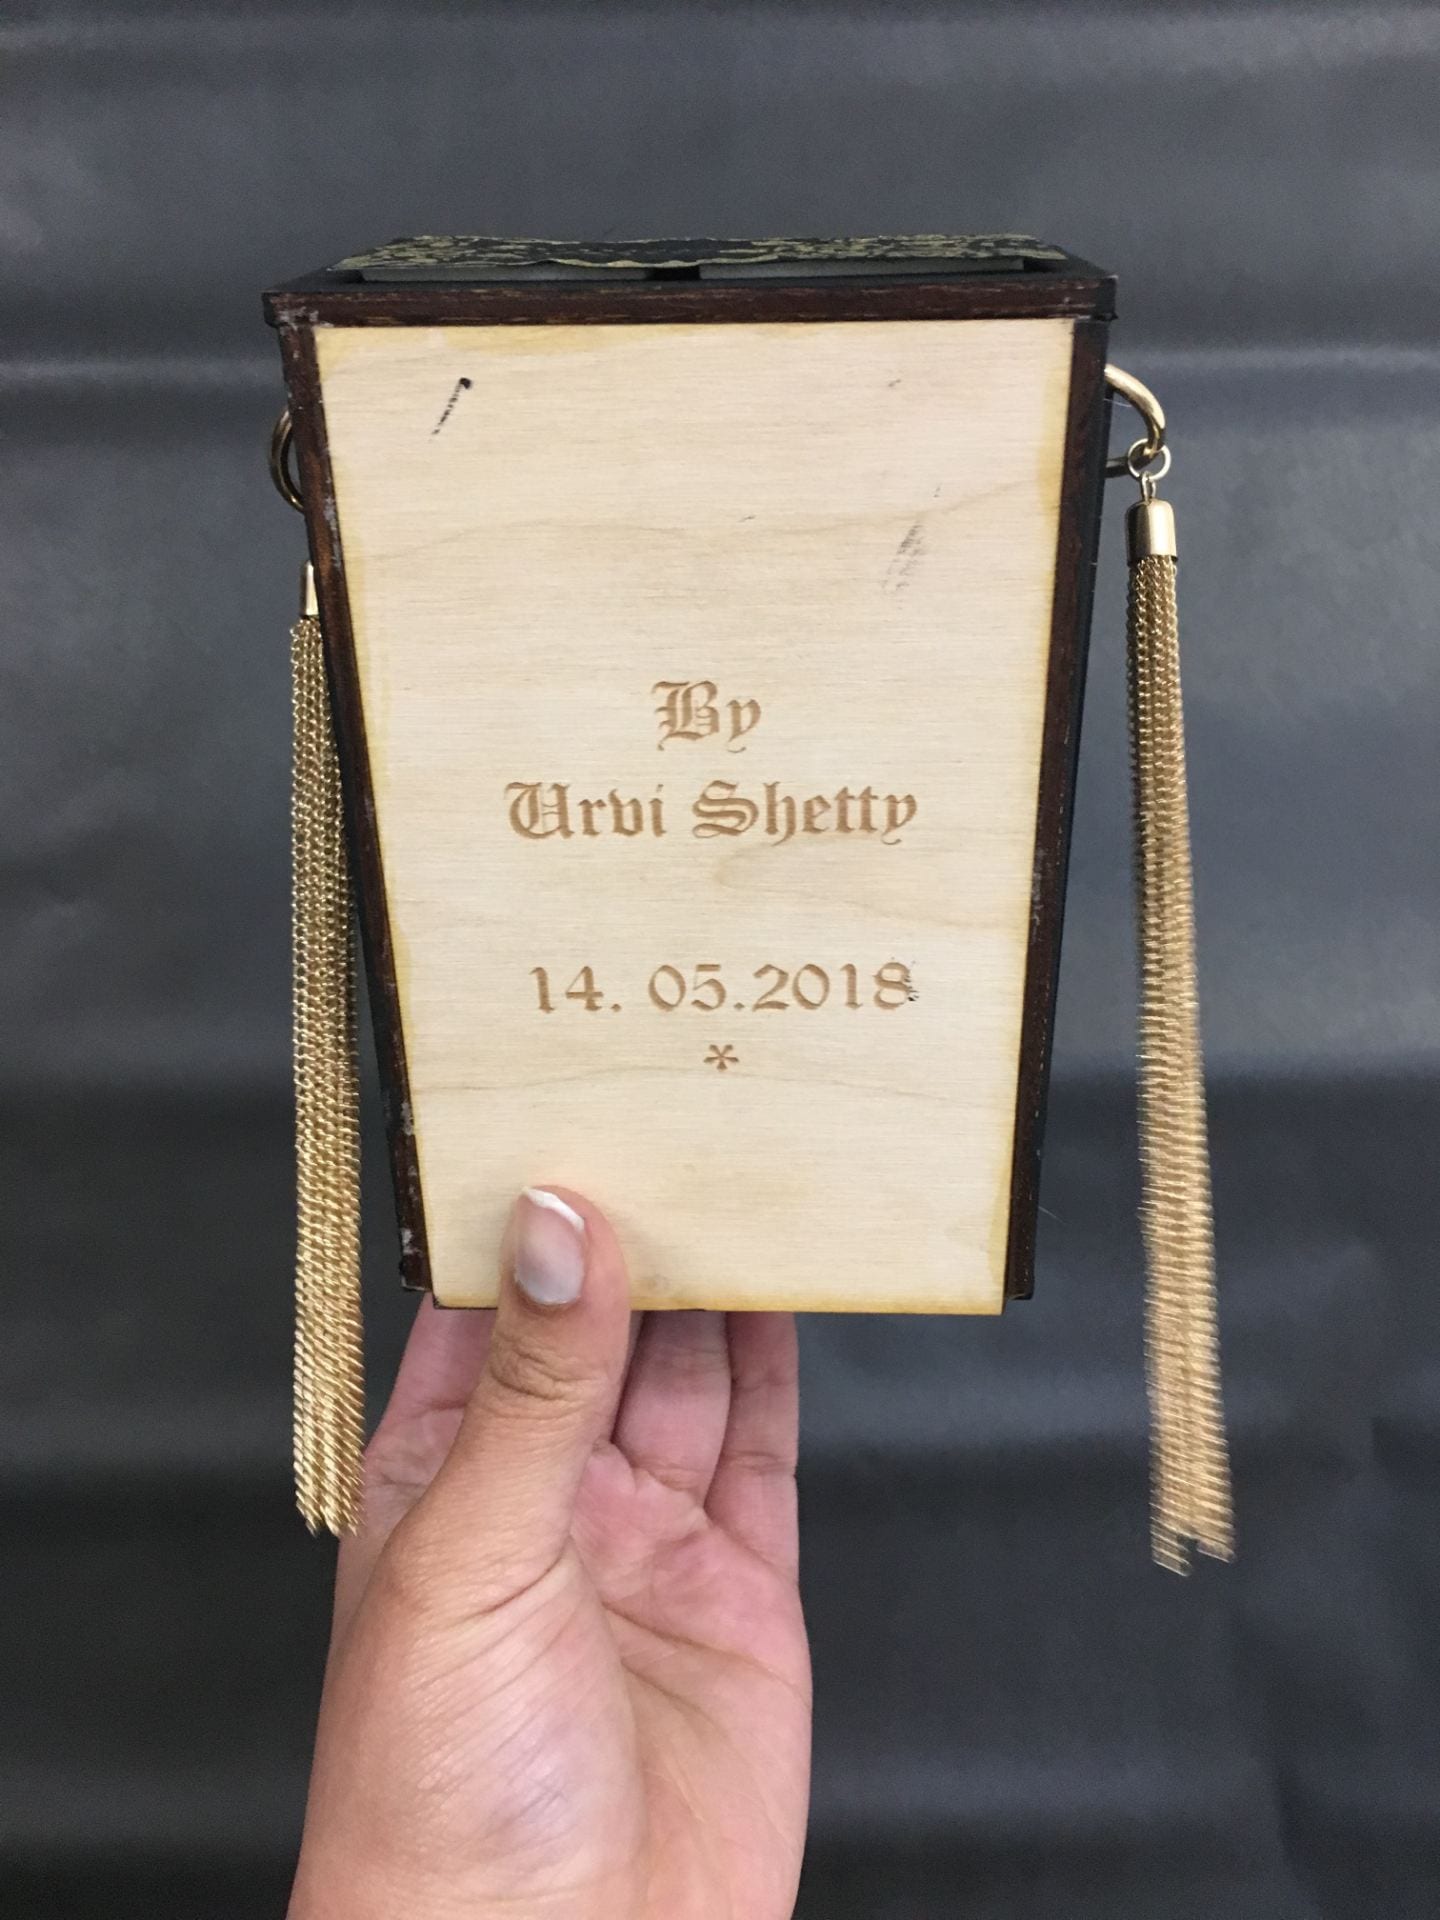
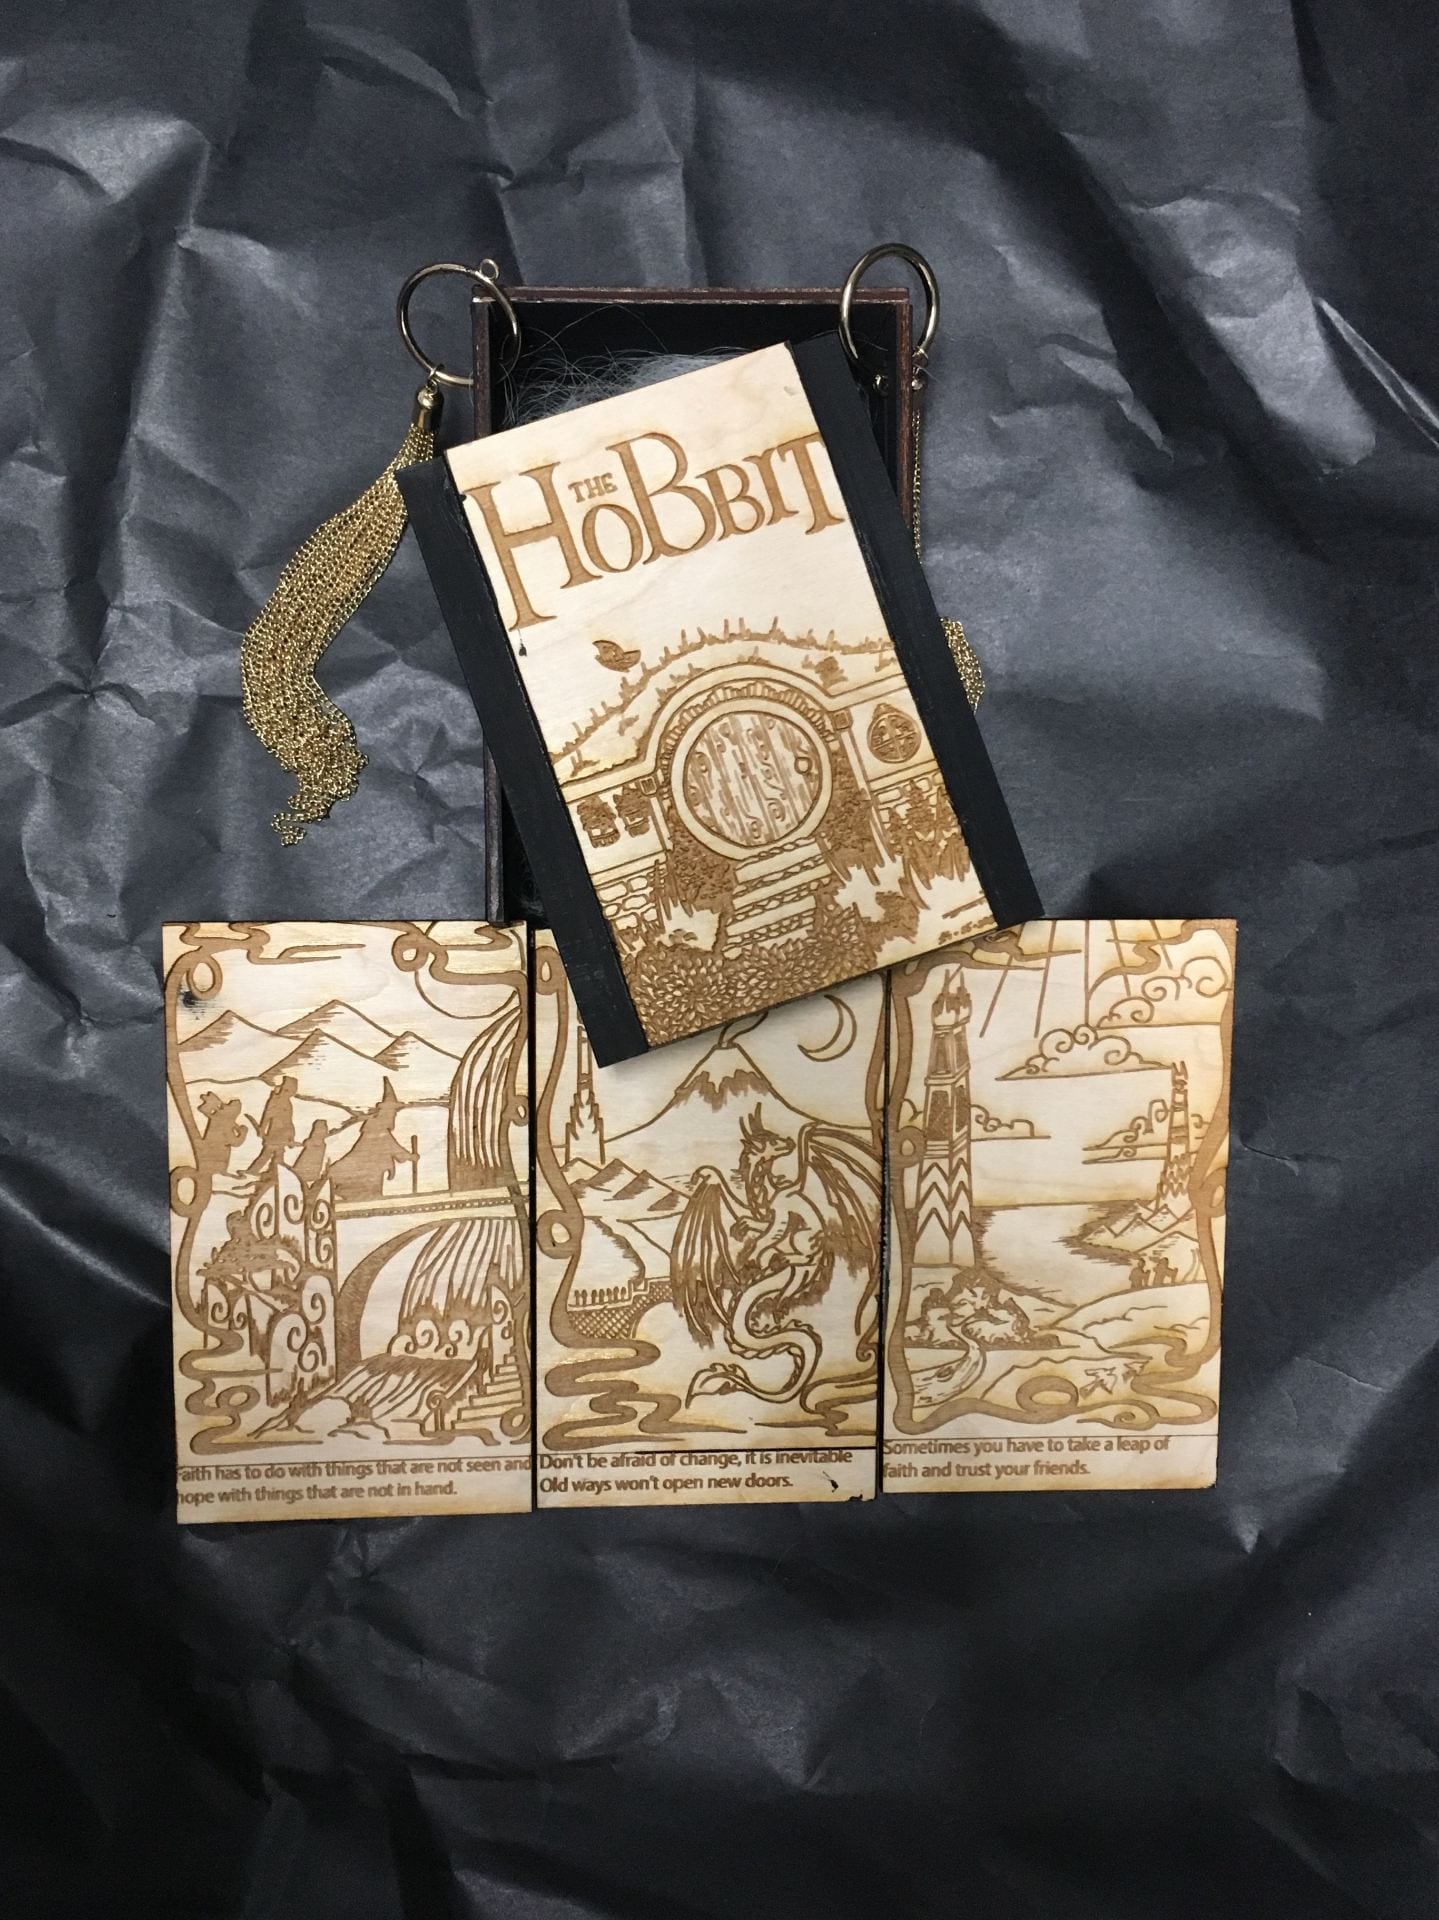
I focused on the only book Ive known and read; The Hobbit. Through my object I wanted illustrate how the series of books through time showcase and exemplify various moral values. Hence I designed a box that unravels the basic moral story of each book, through small blurbl and an illustration based on the story of each series.
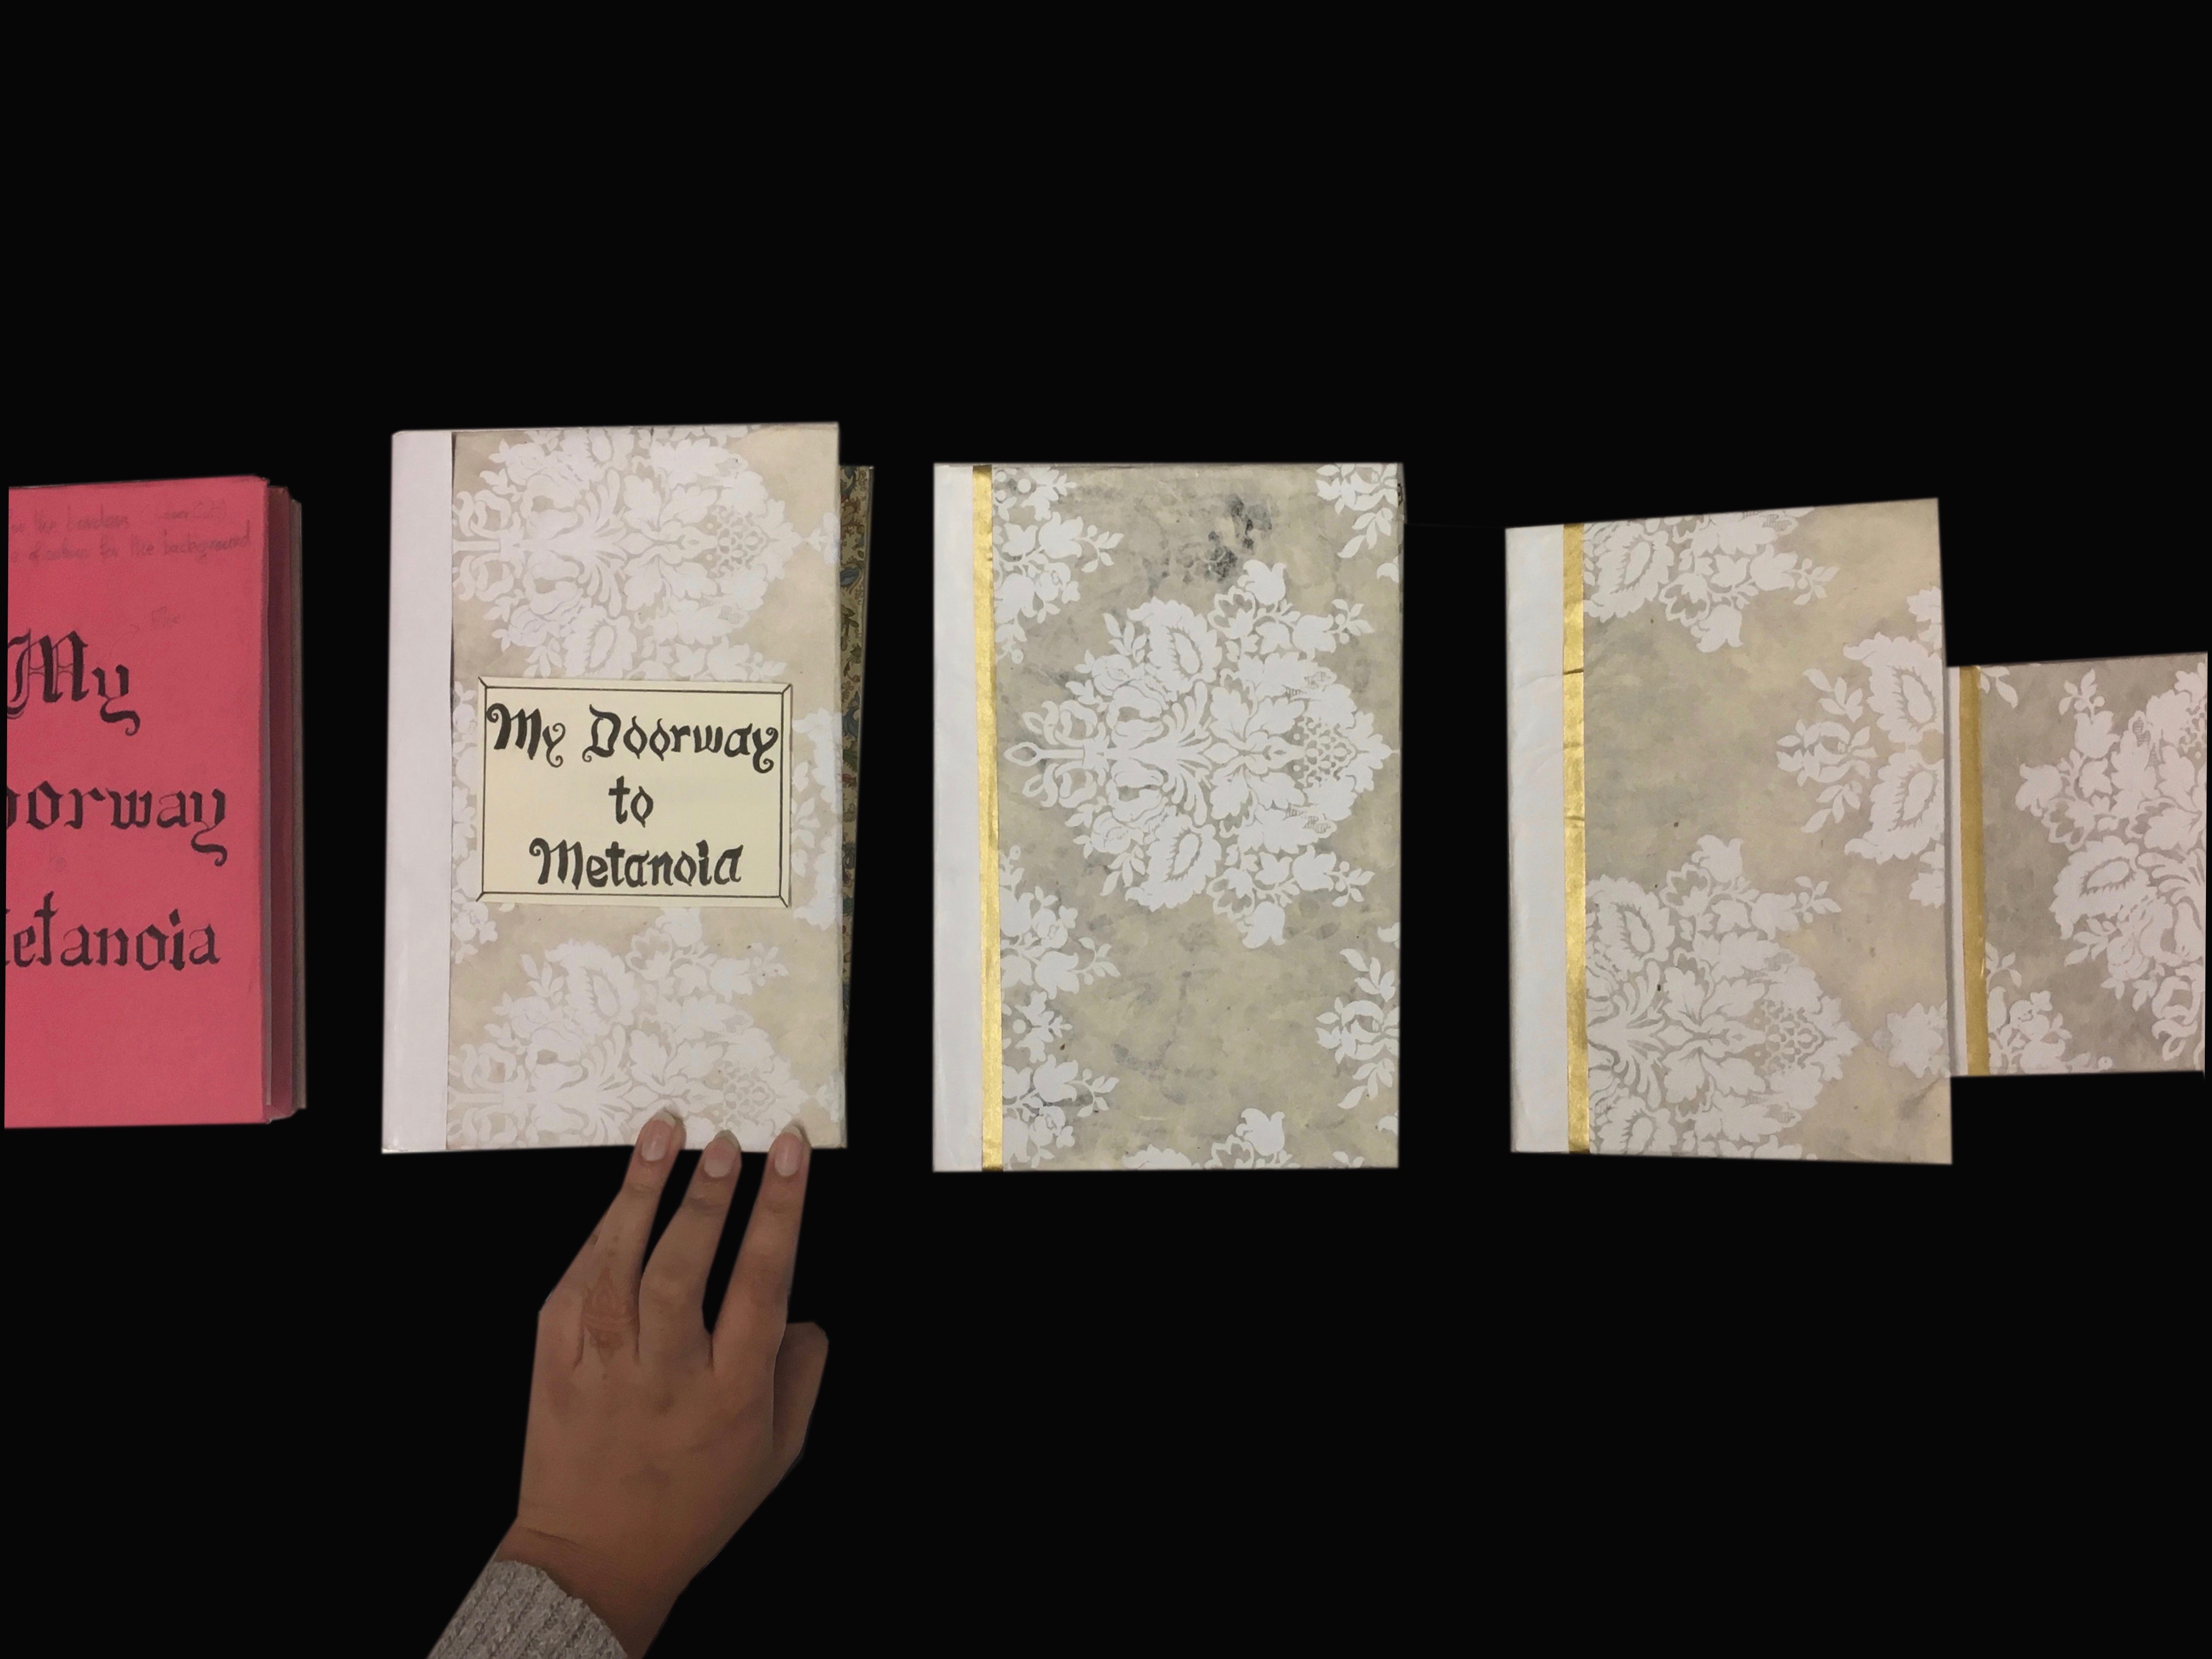
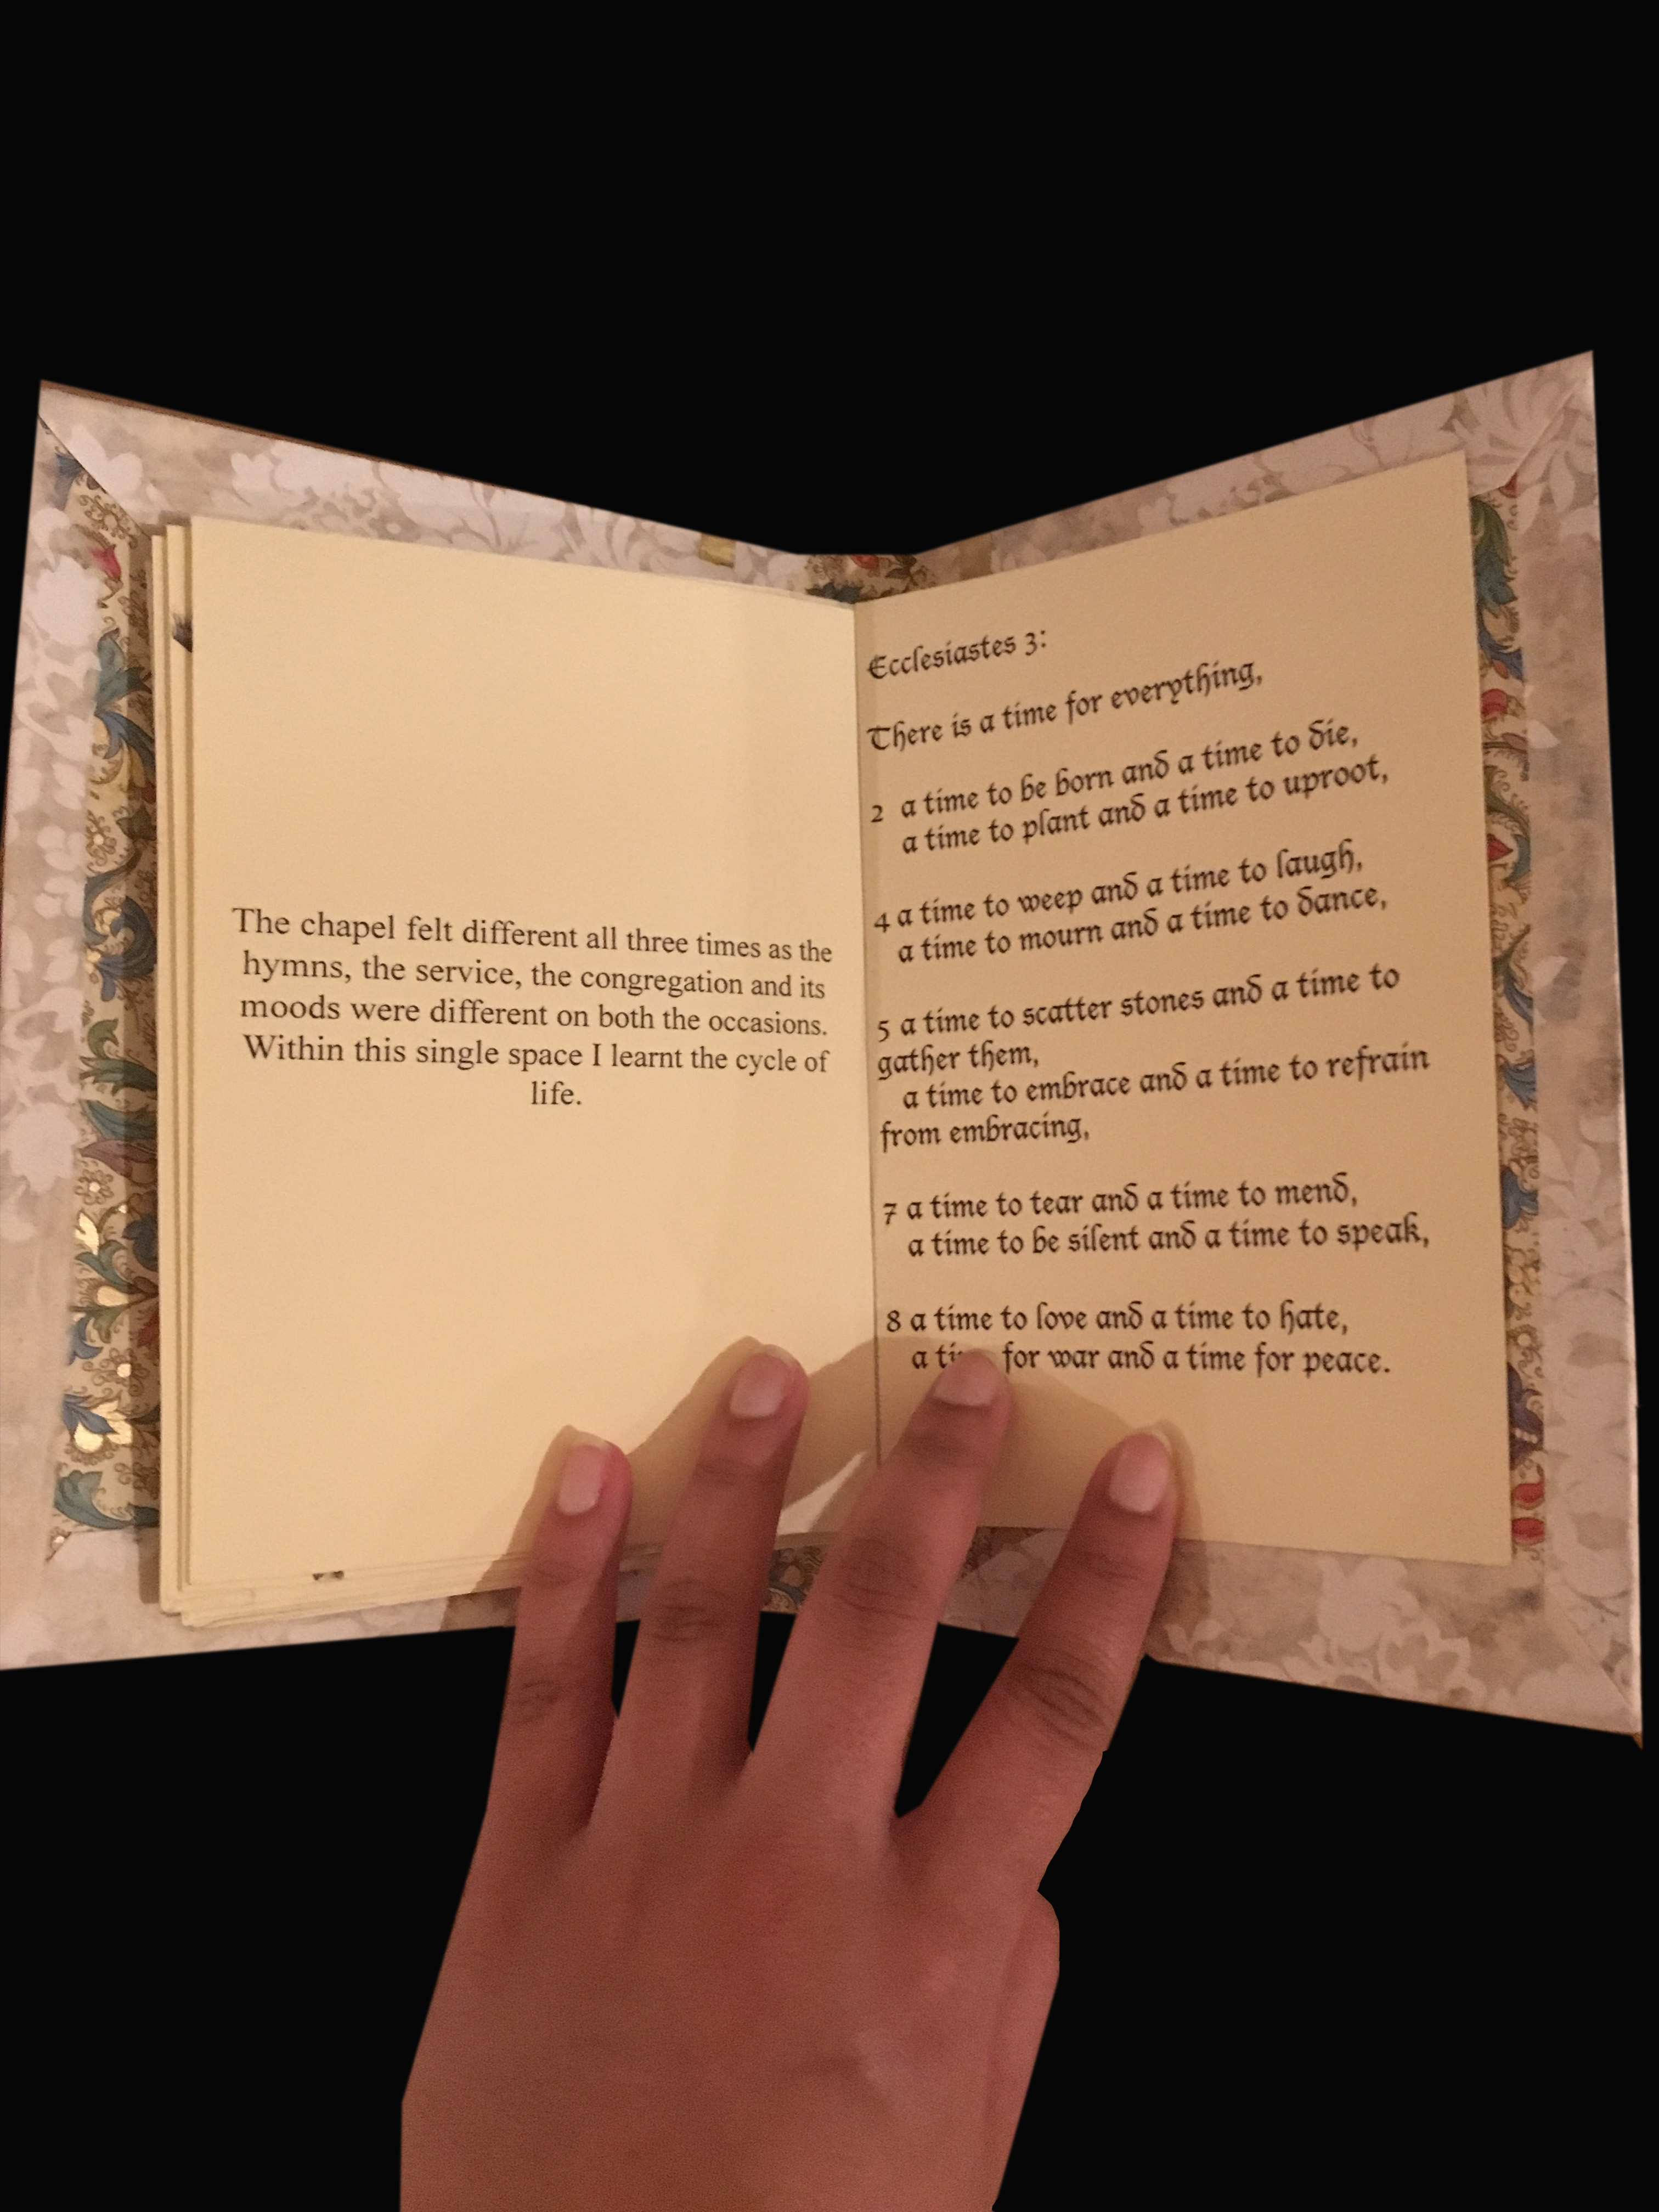
In this assignment we examined how personal, physical or an historic concepts of time, are intricately connected to our surrounding environment through creating a book. The book would also exemplify how time connects to a public or private space.
Materials:
Mount board
Paper
Ink
gold tape
wrapping paper
Adobe photoshop
Adhesive spray
Process:
Part.1
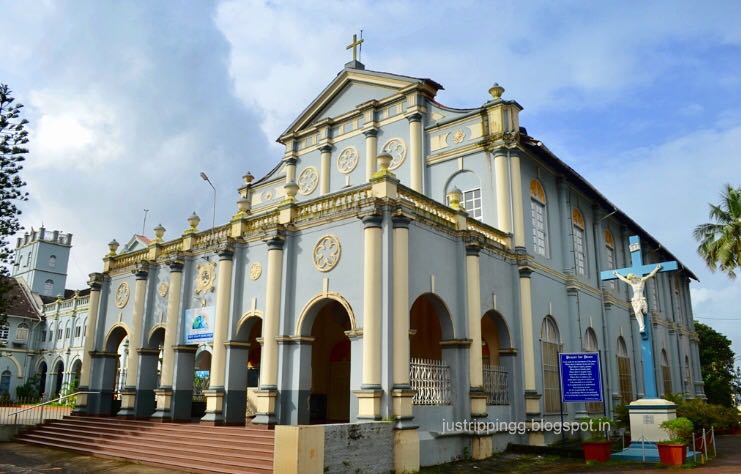
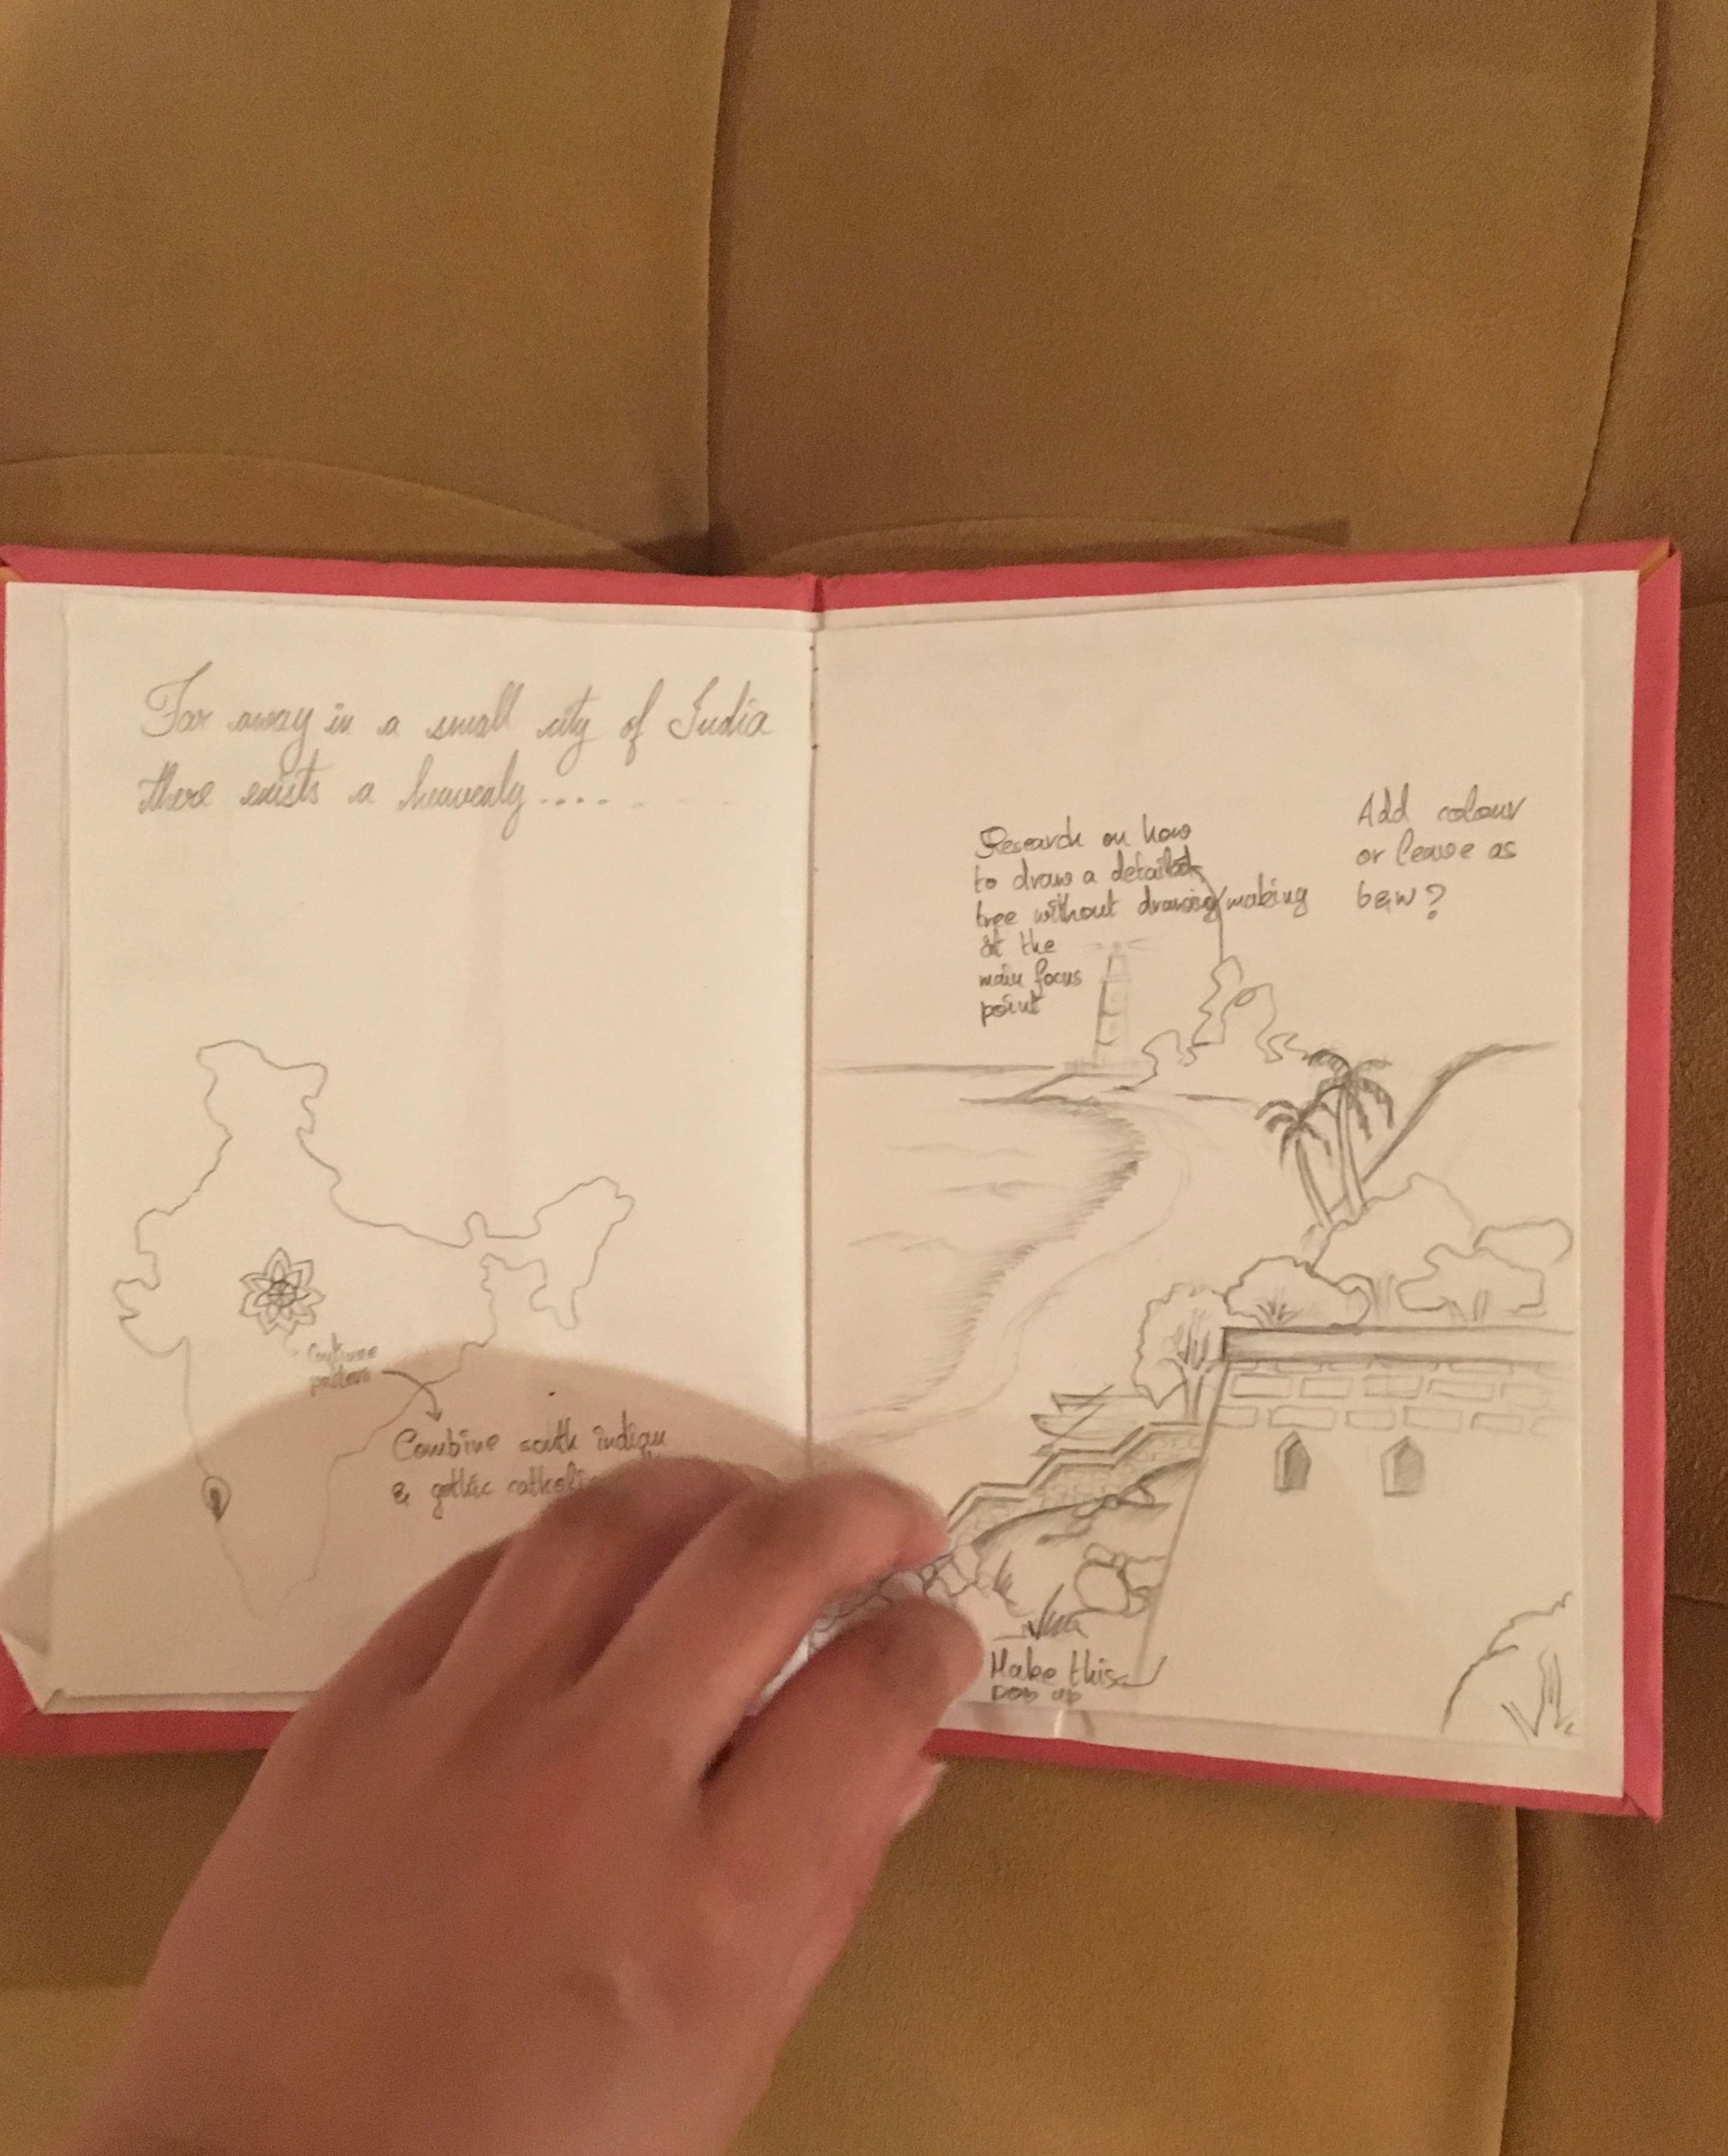
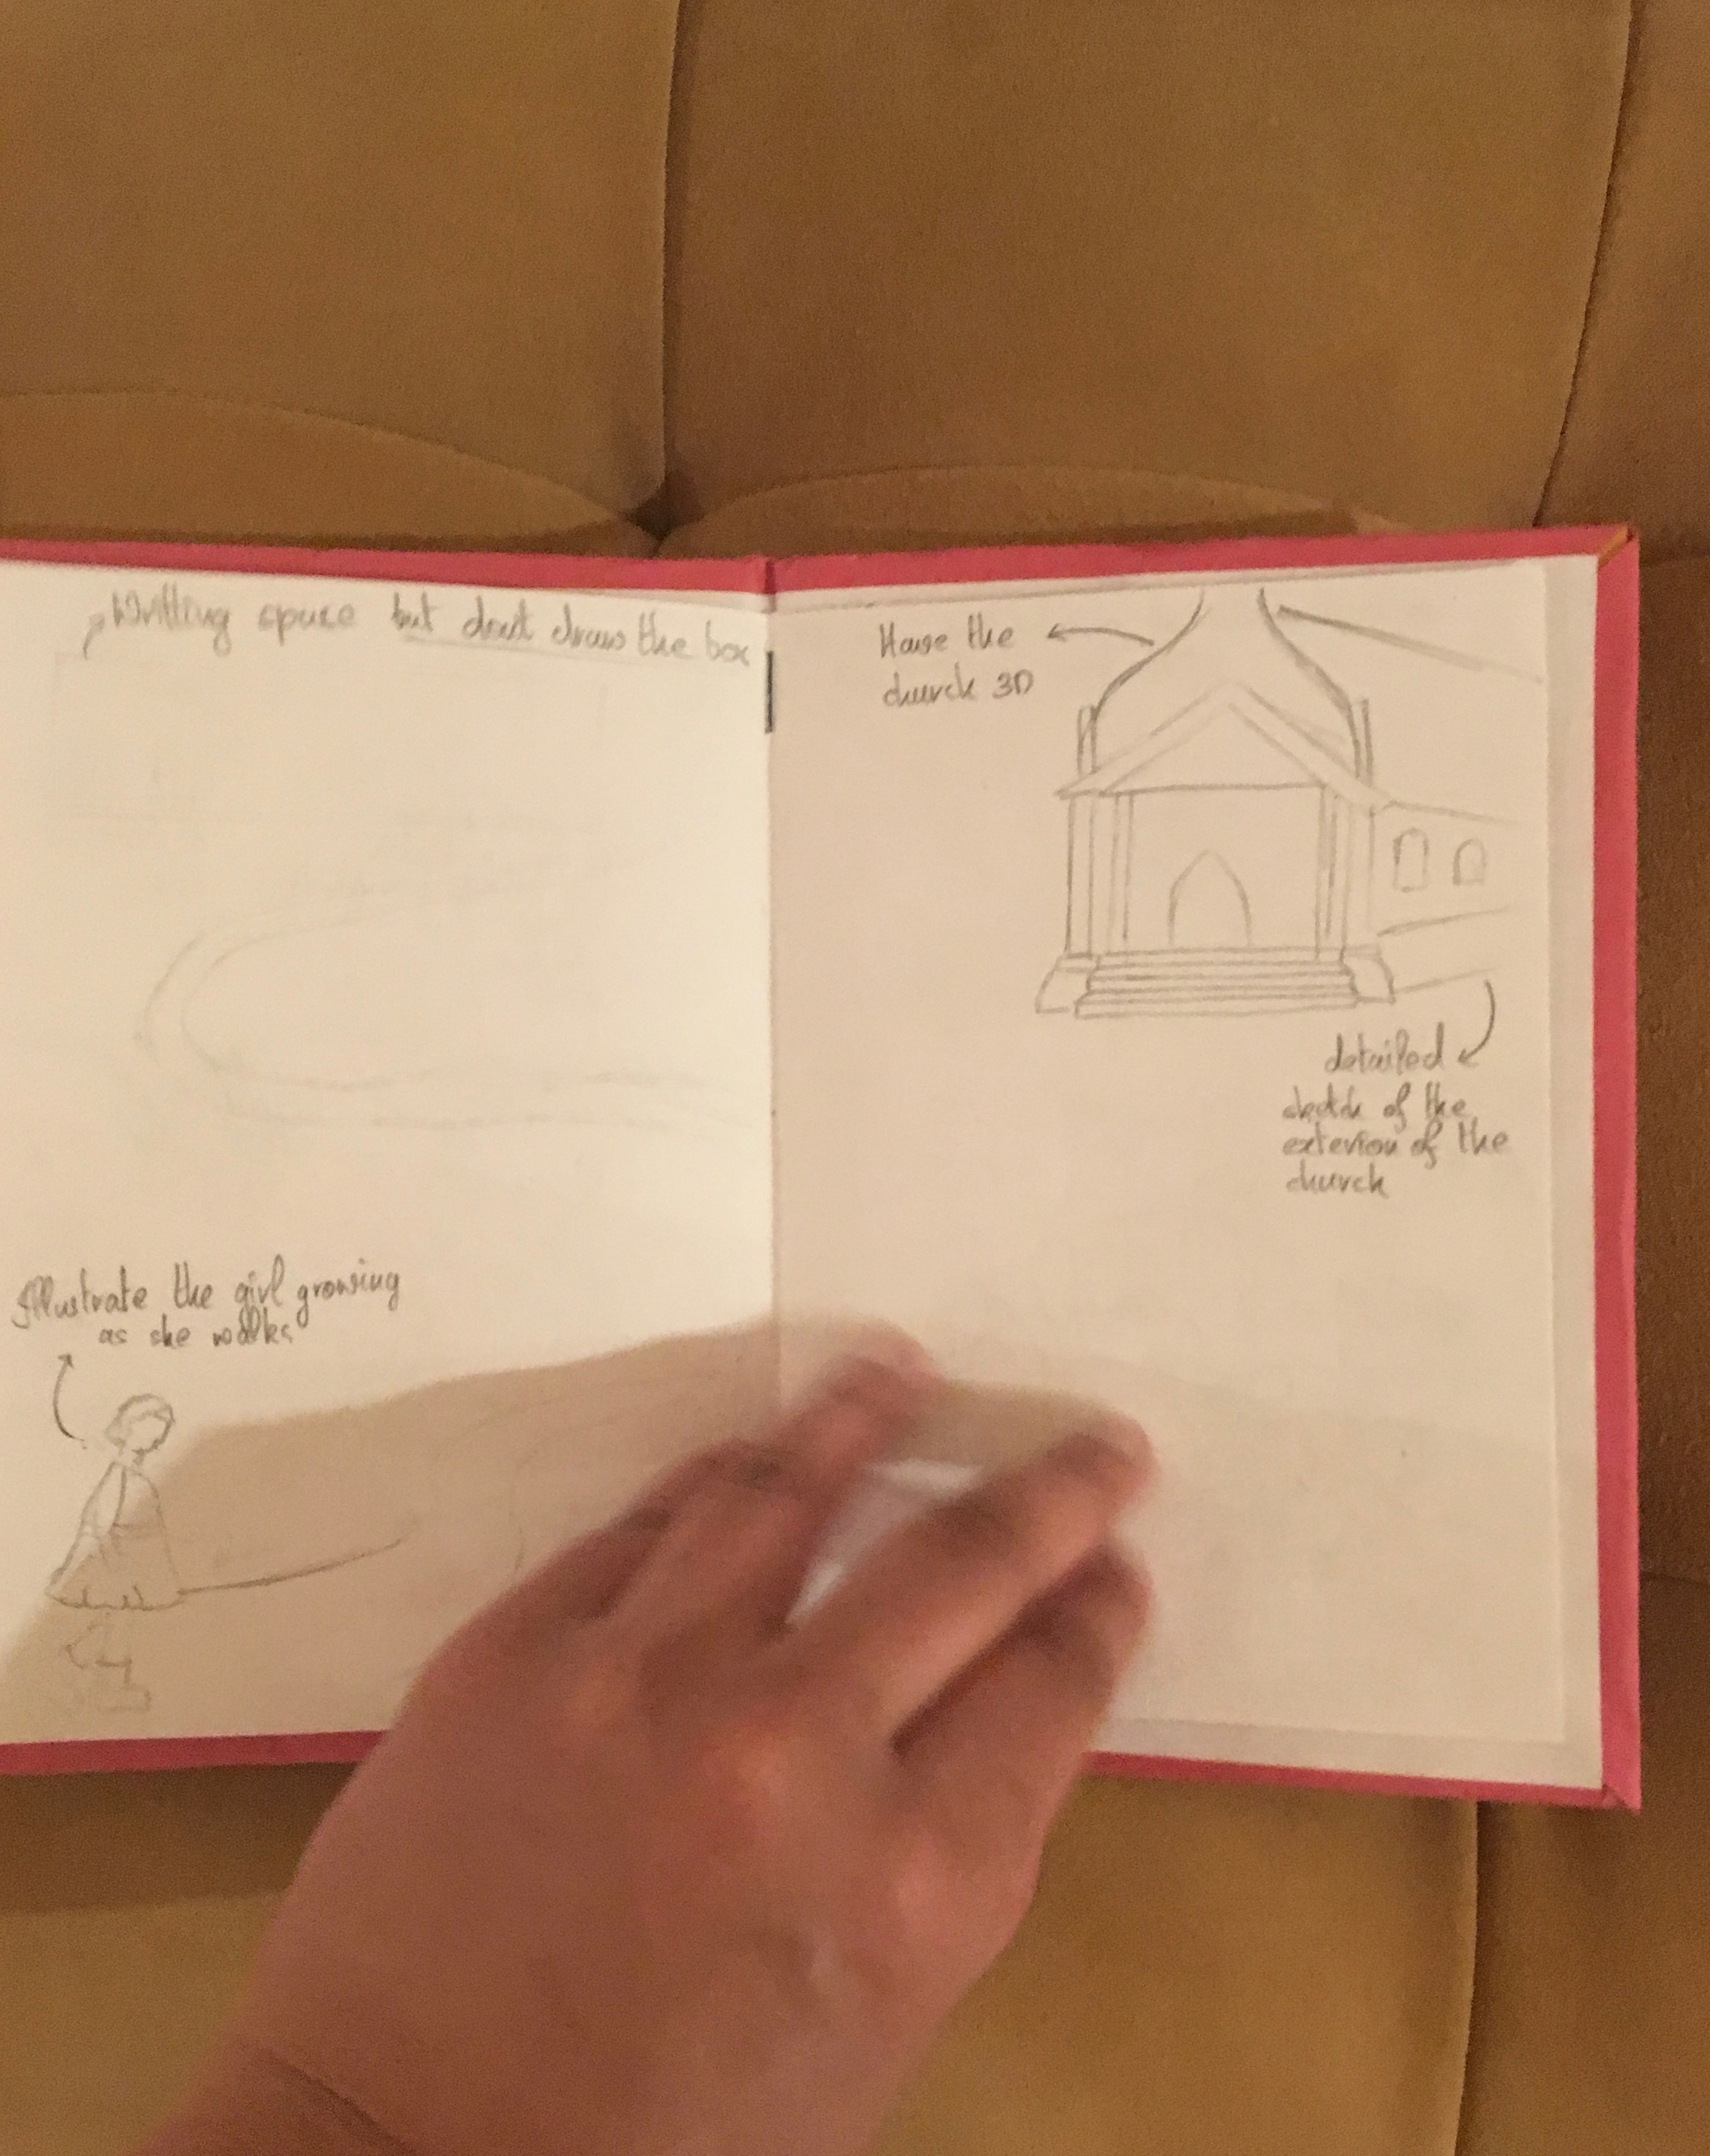
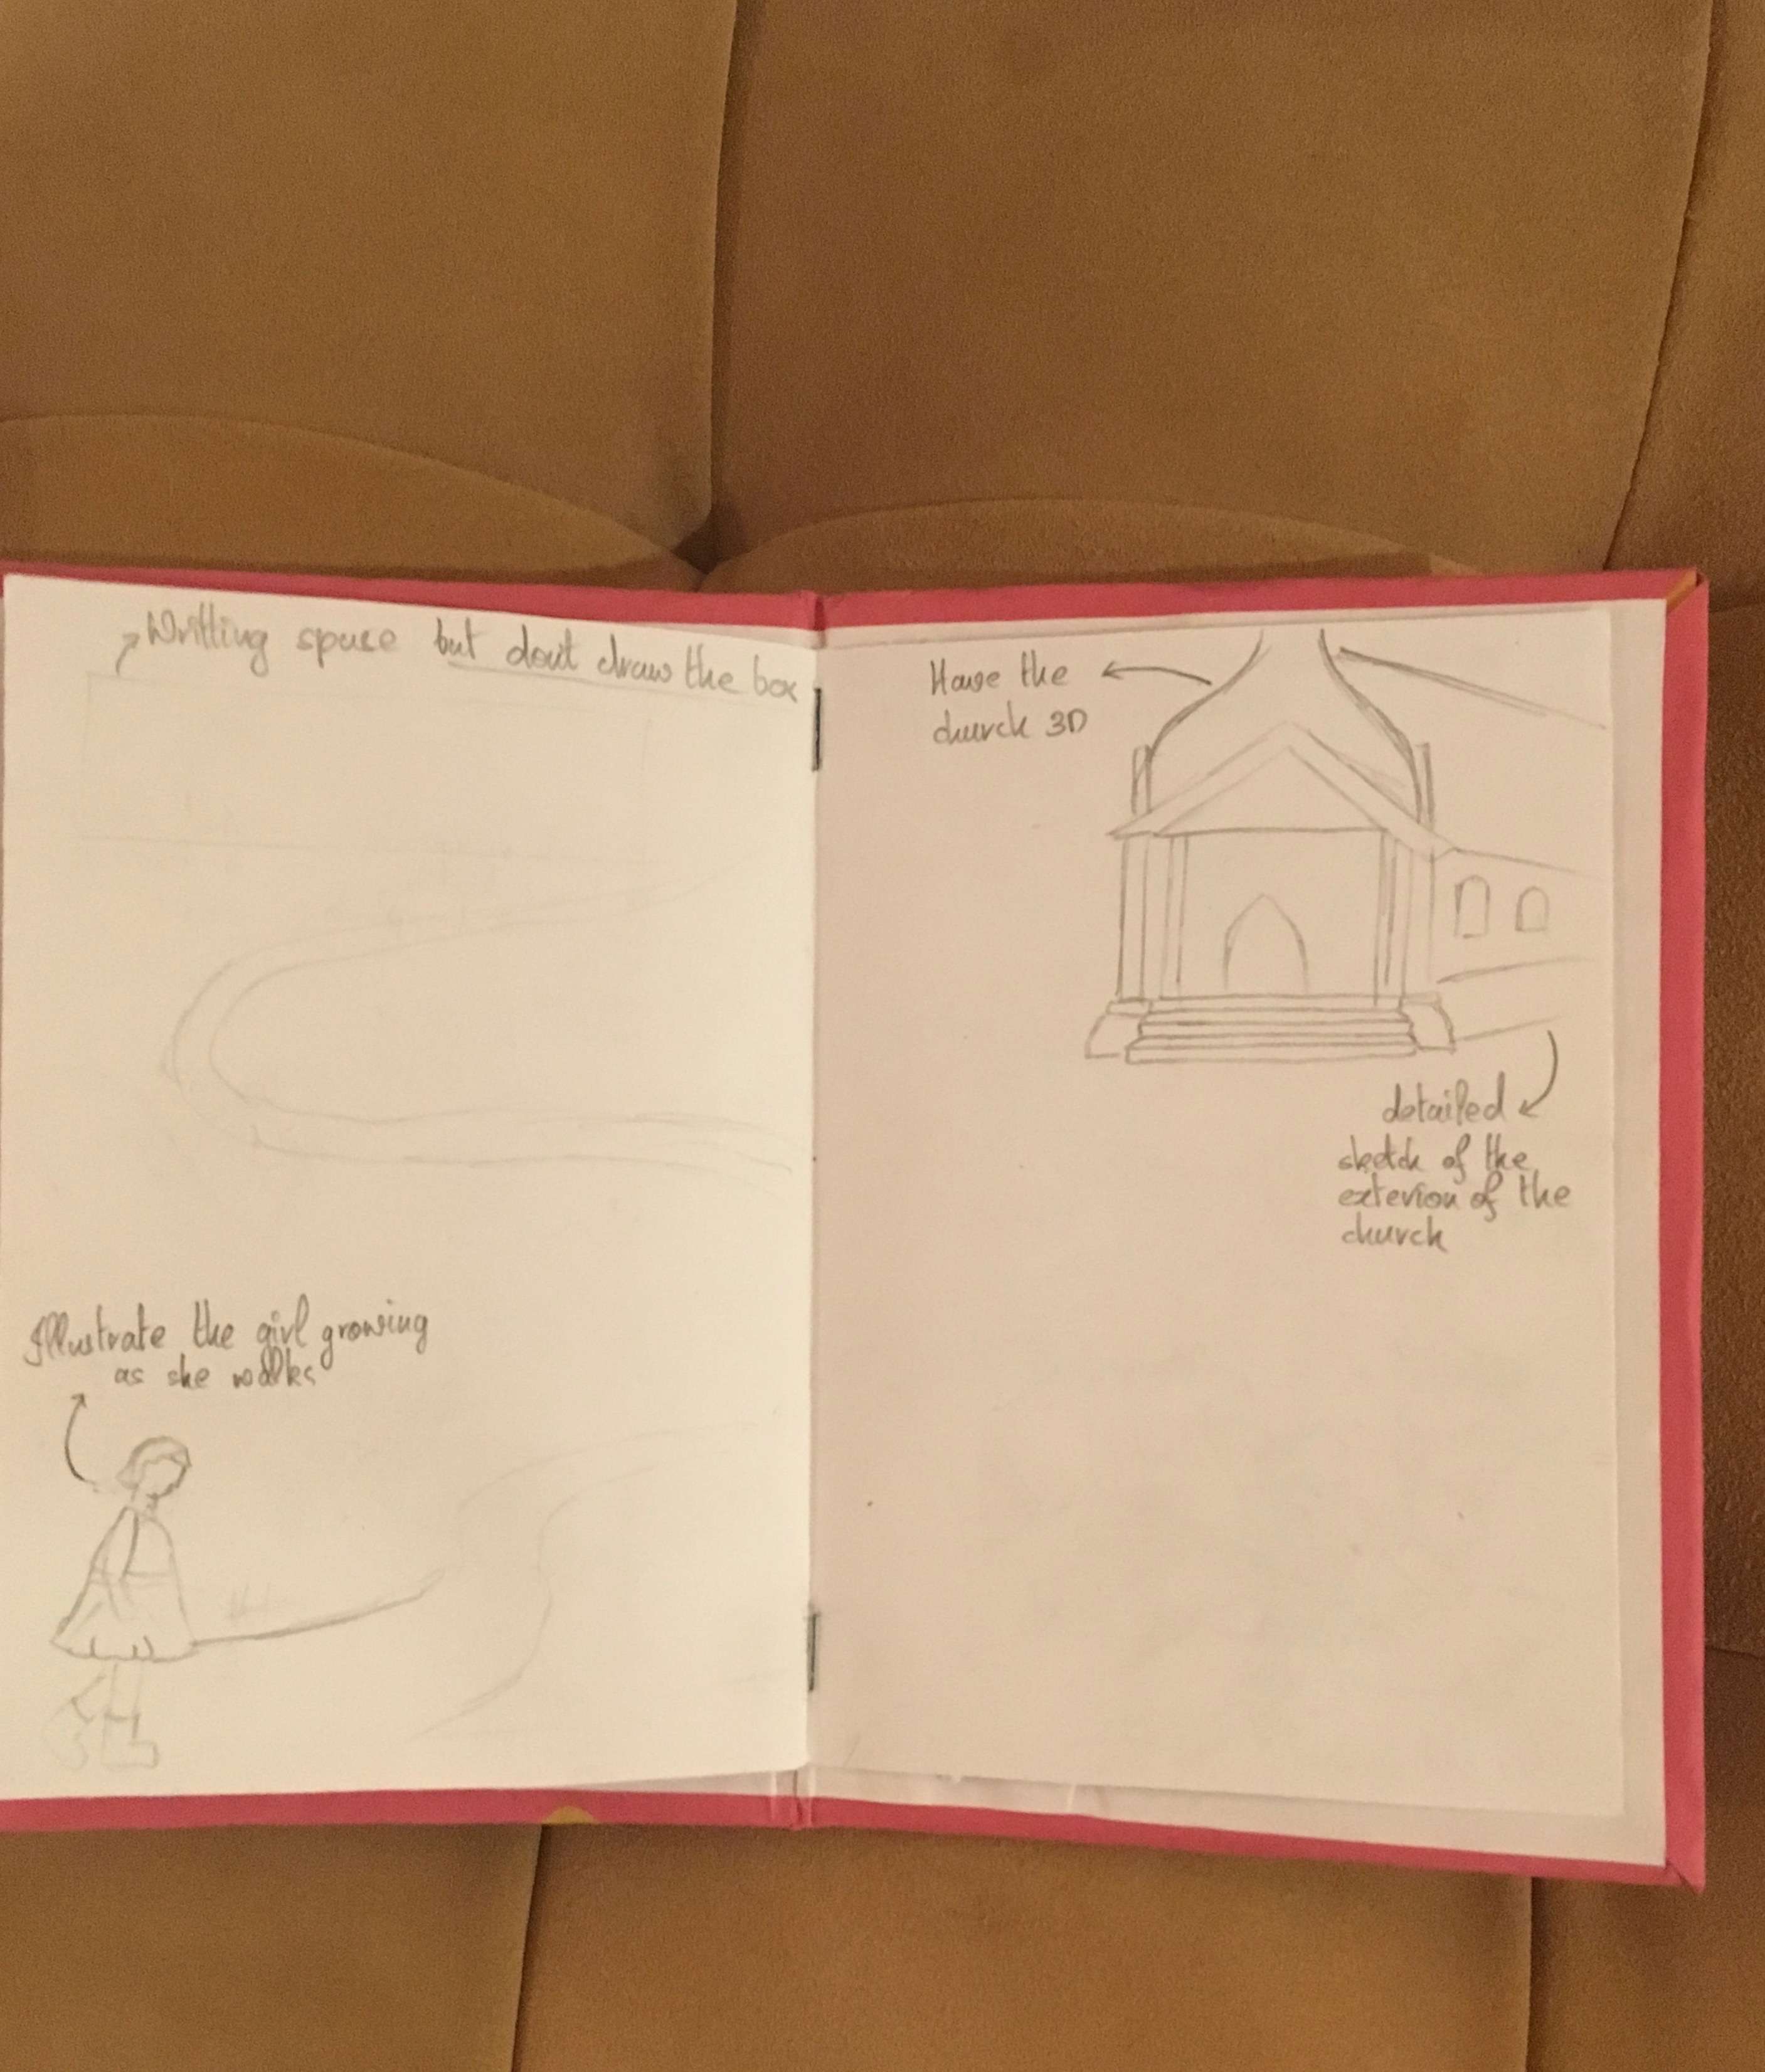
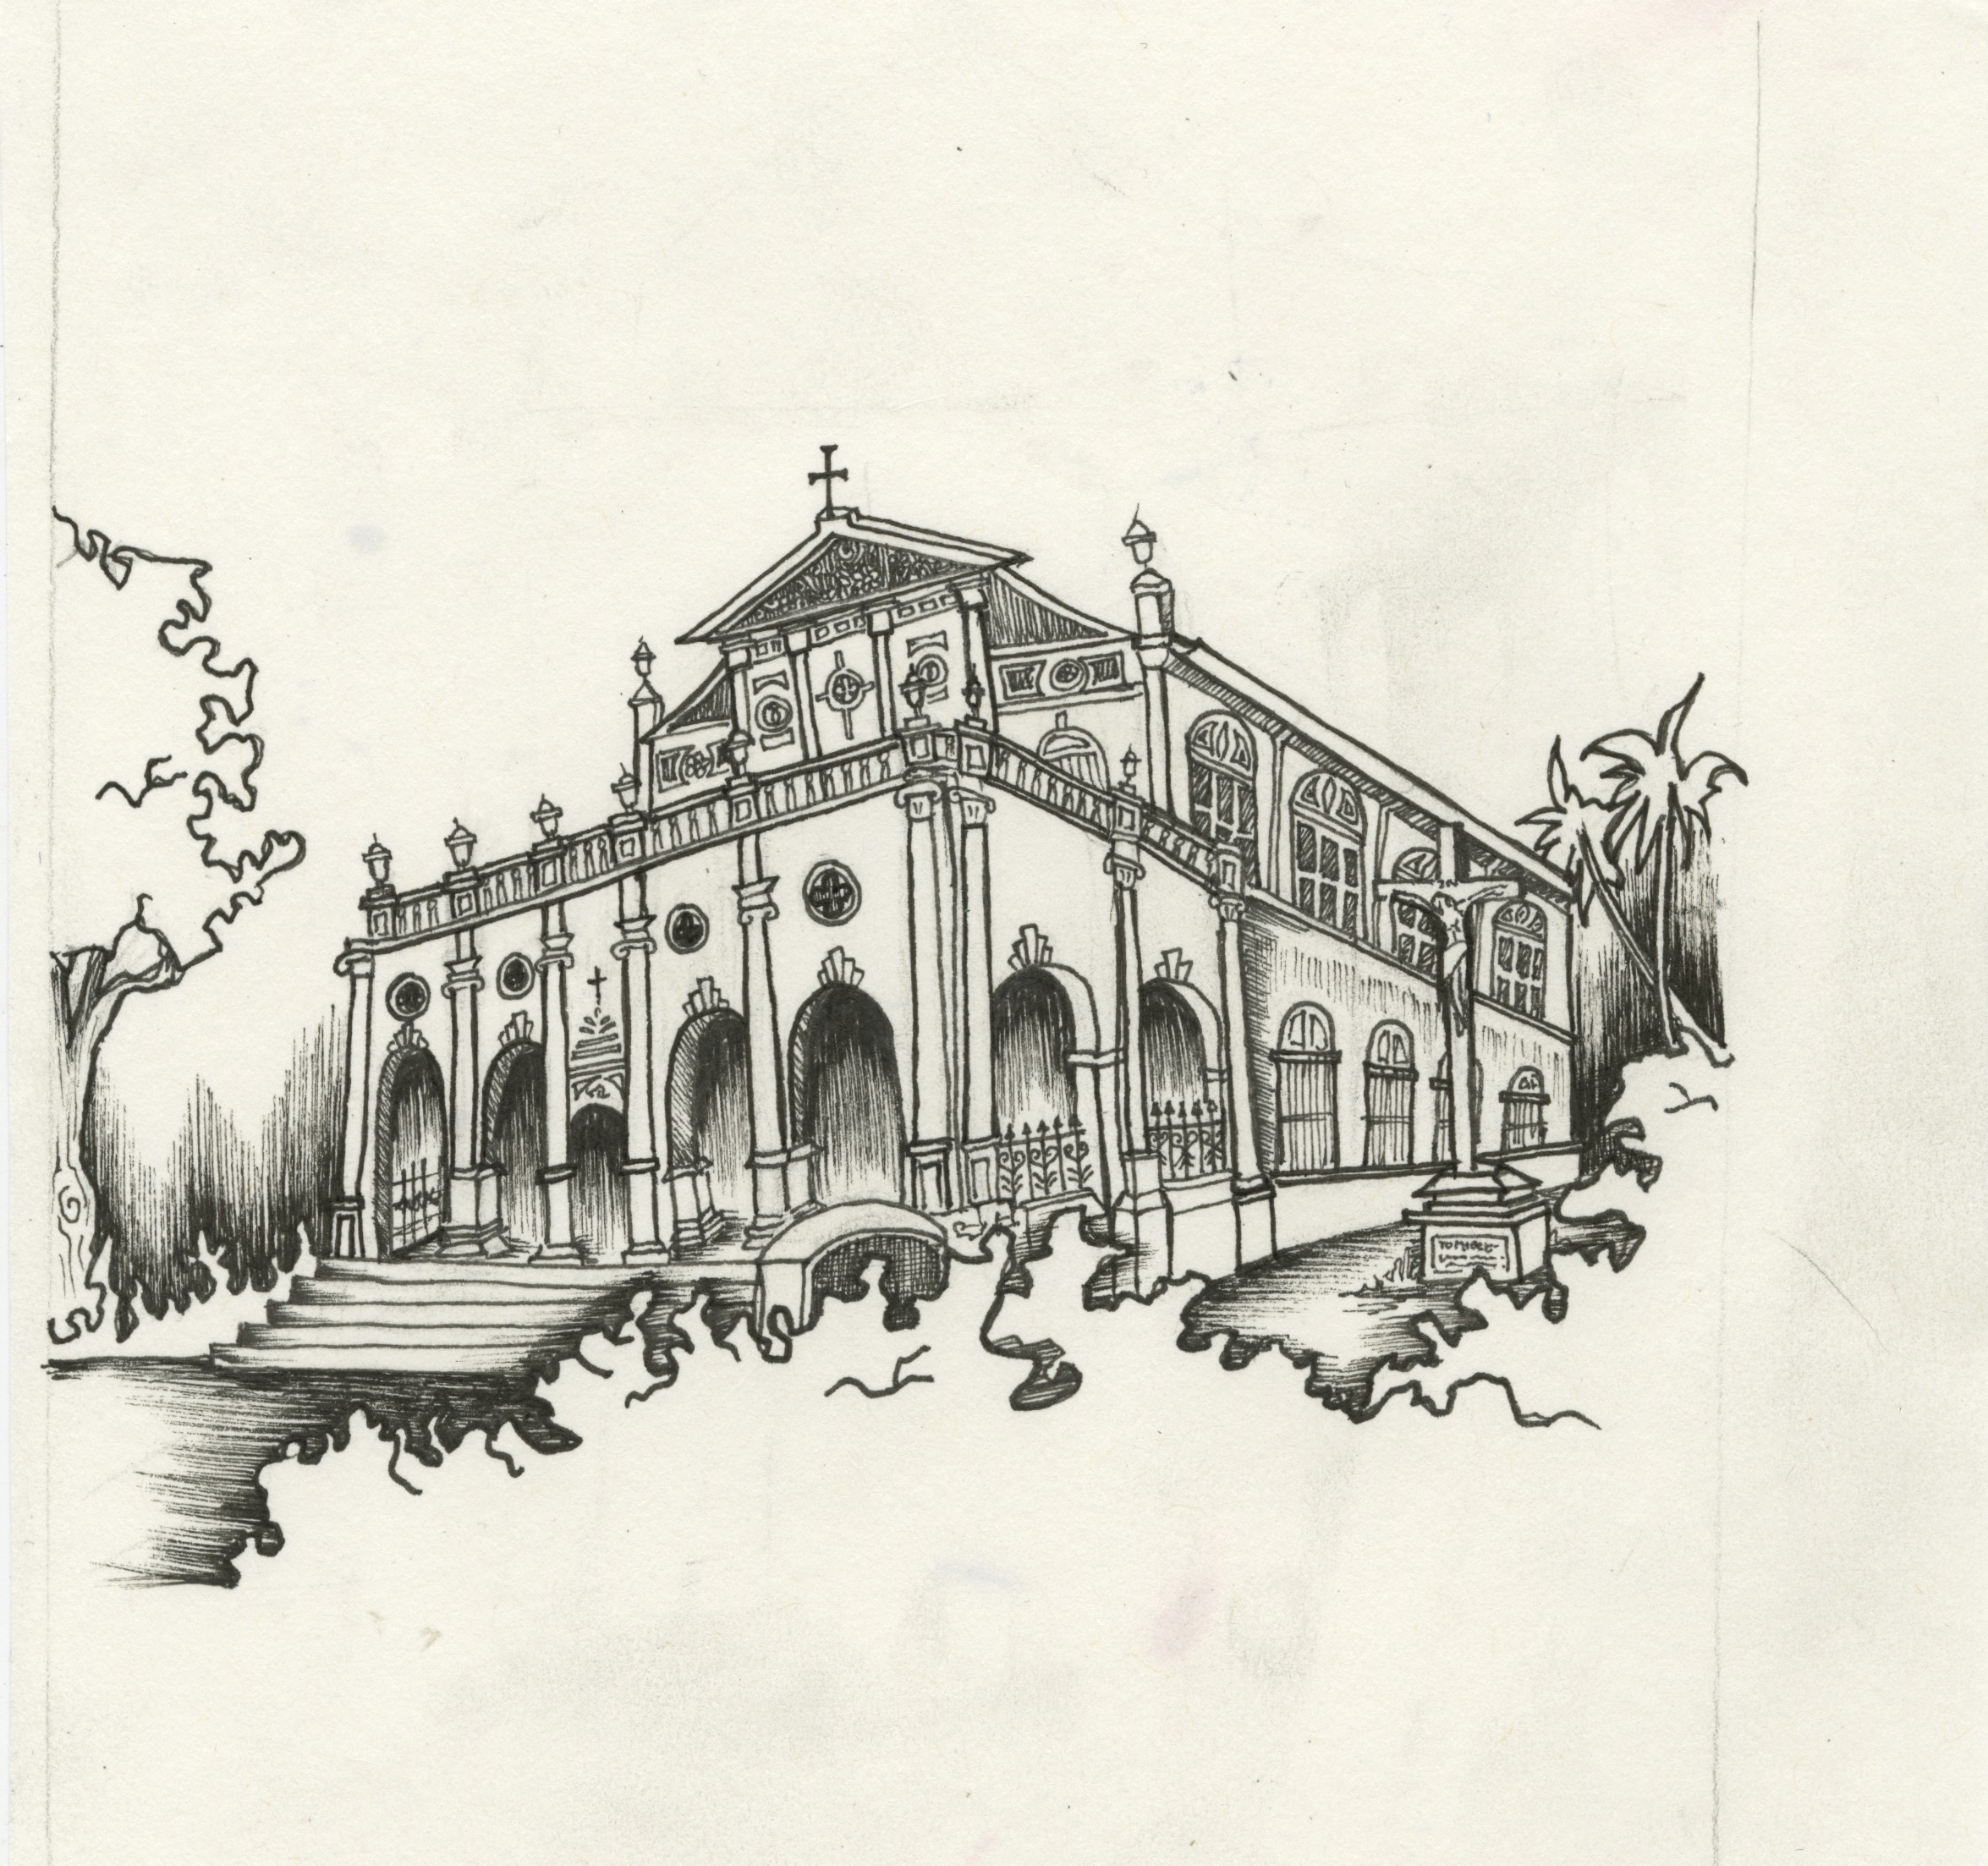
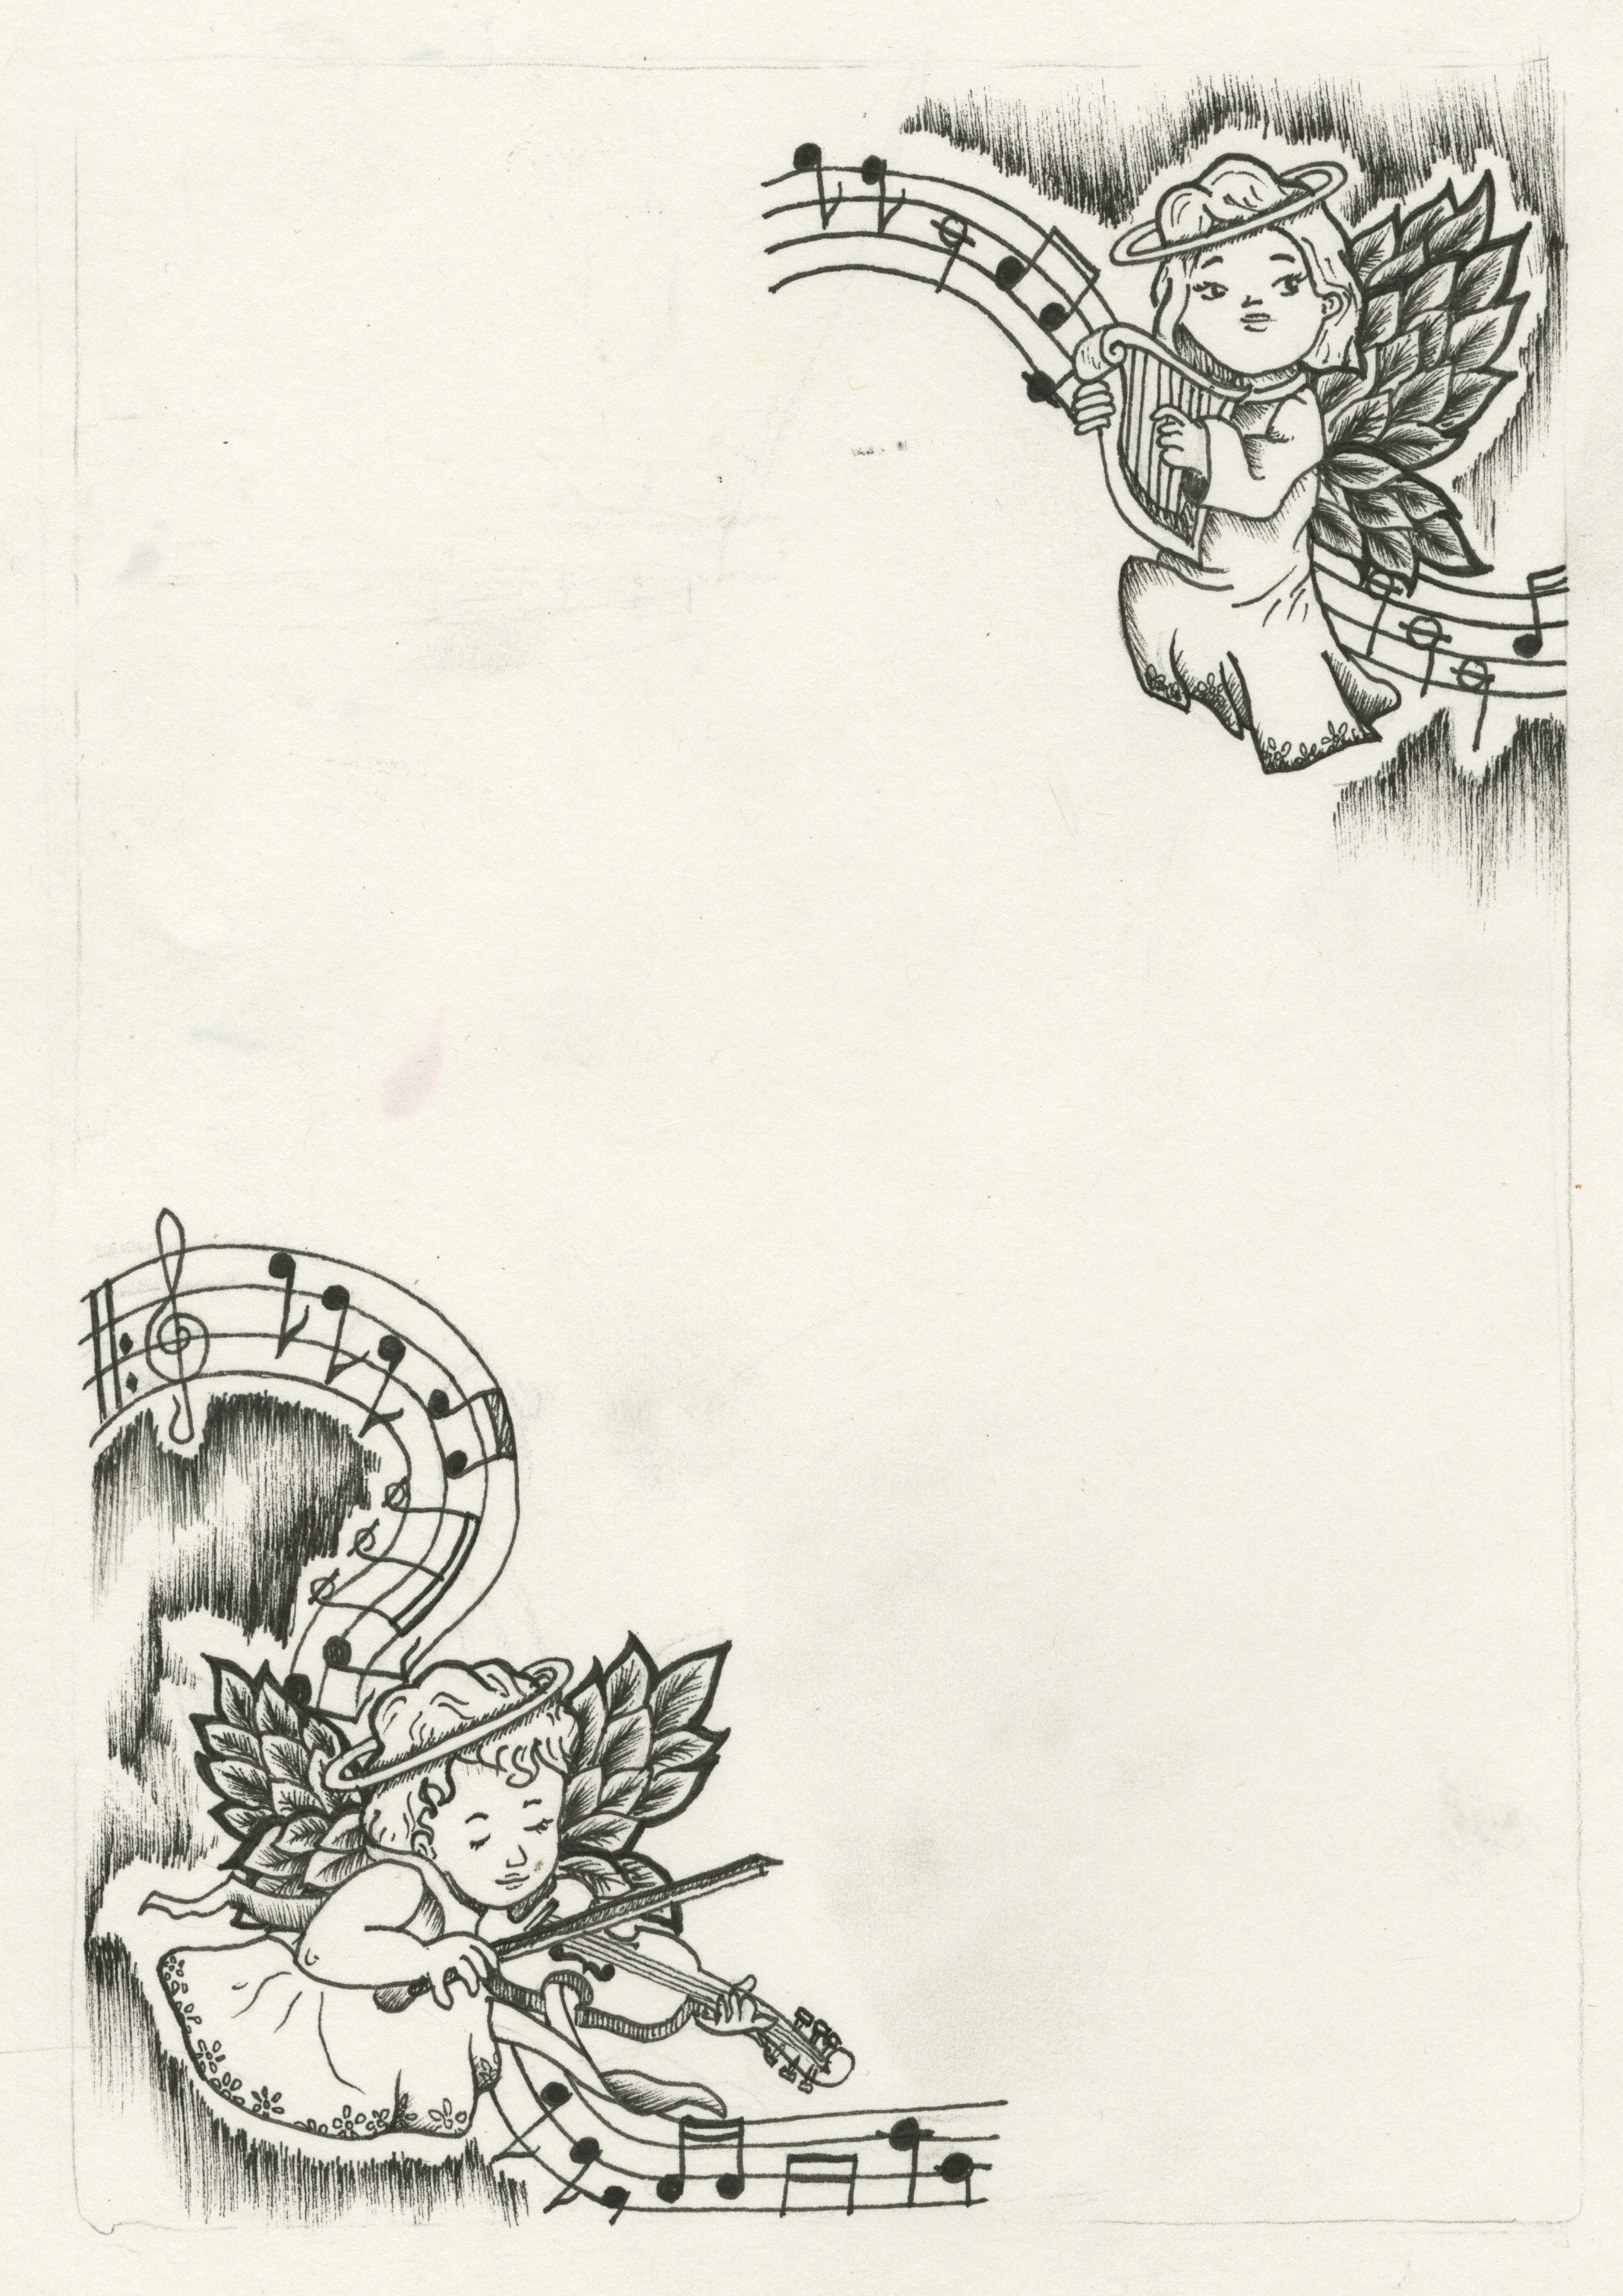
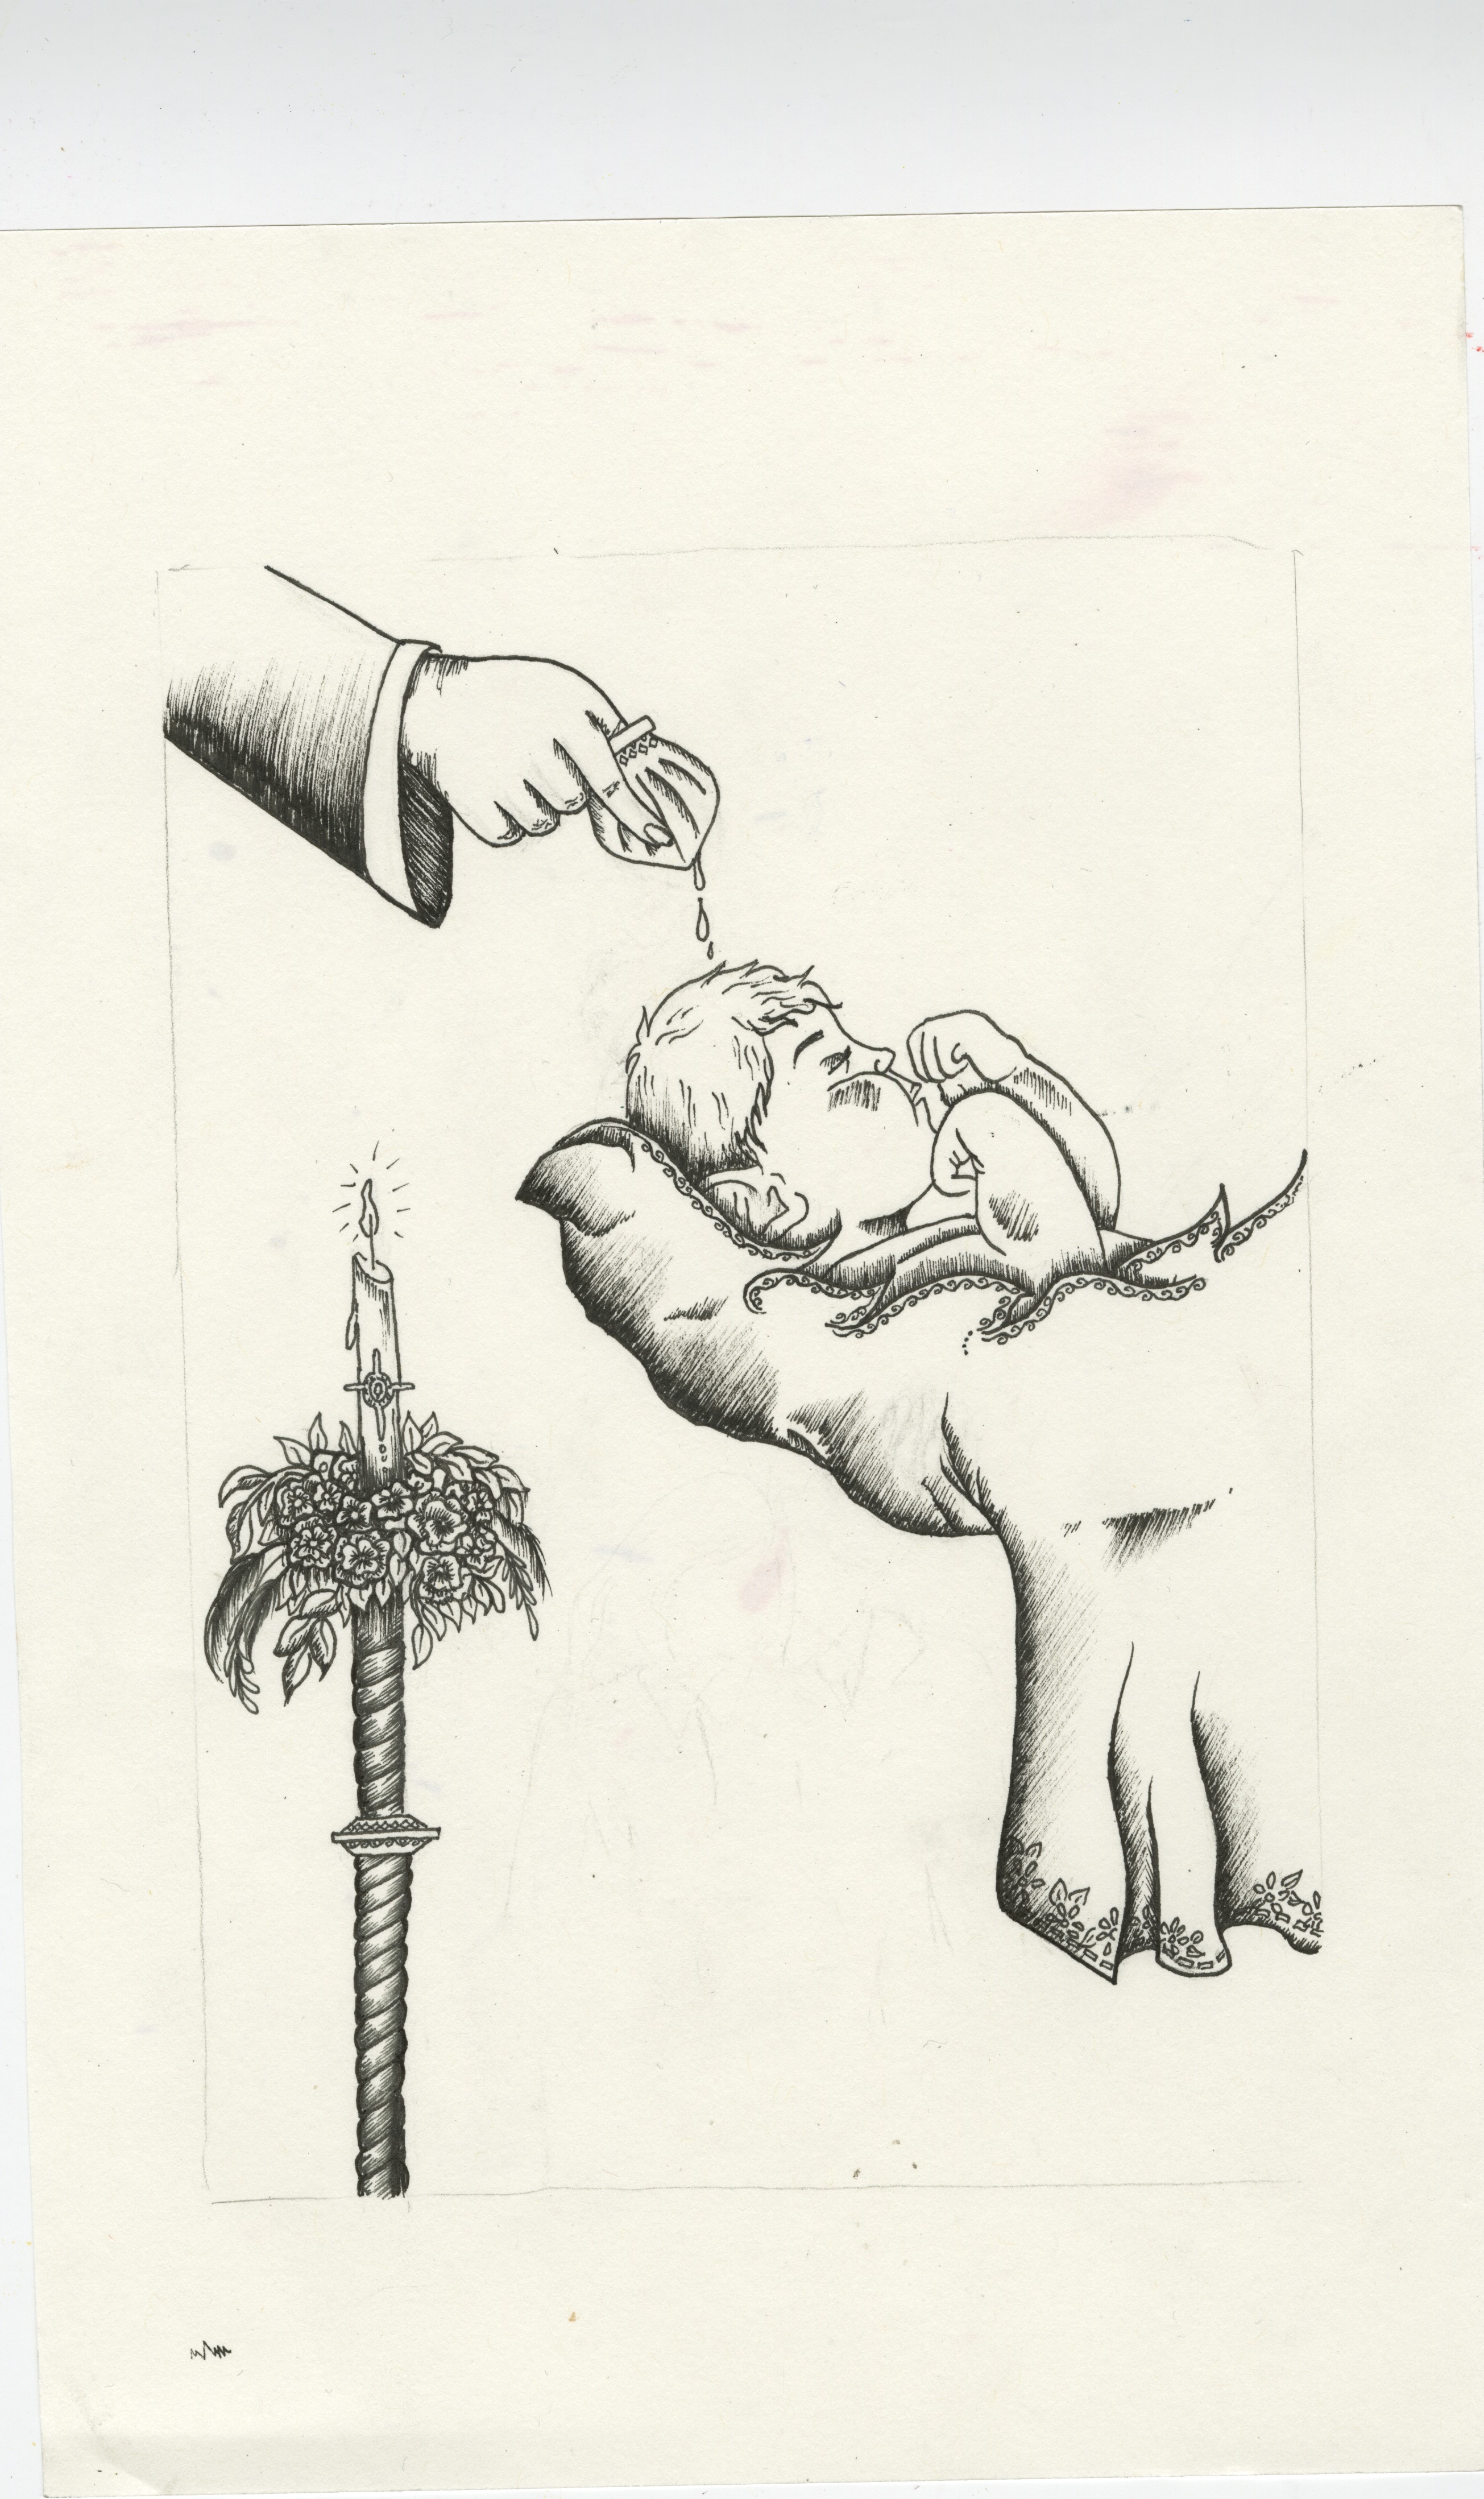
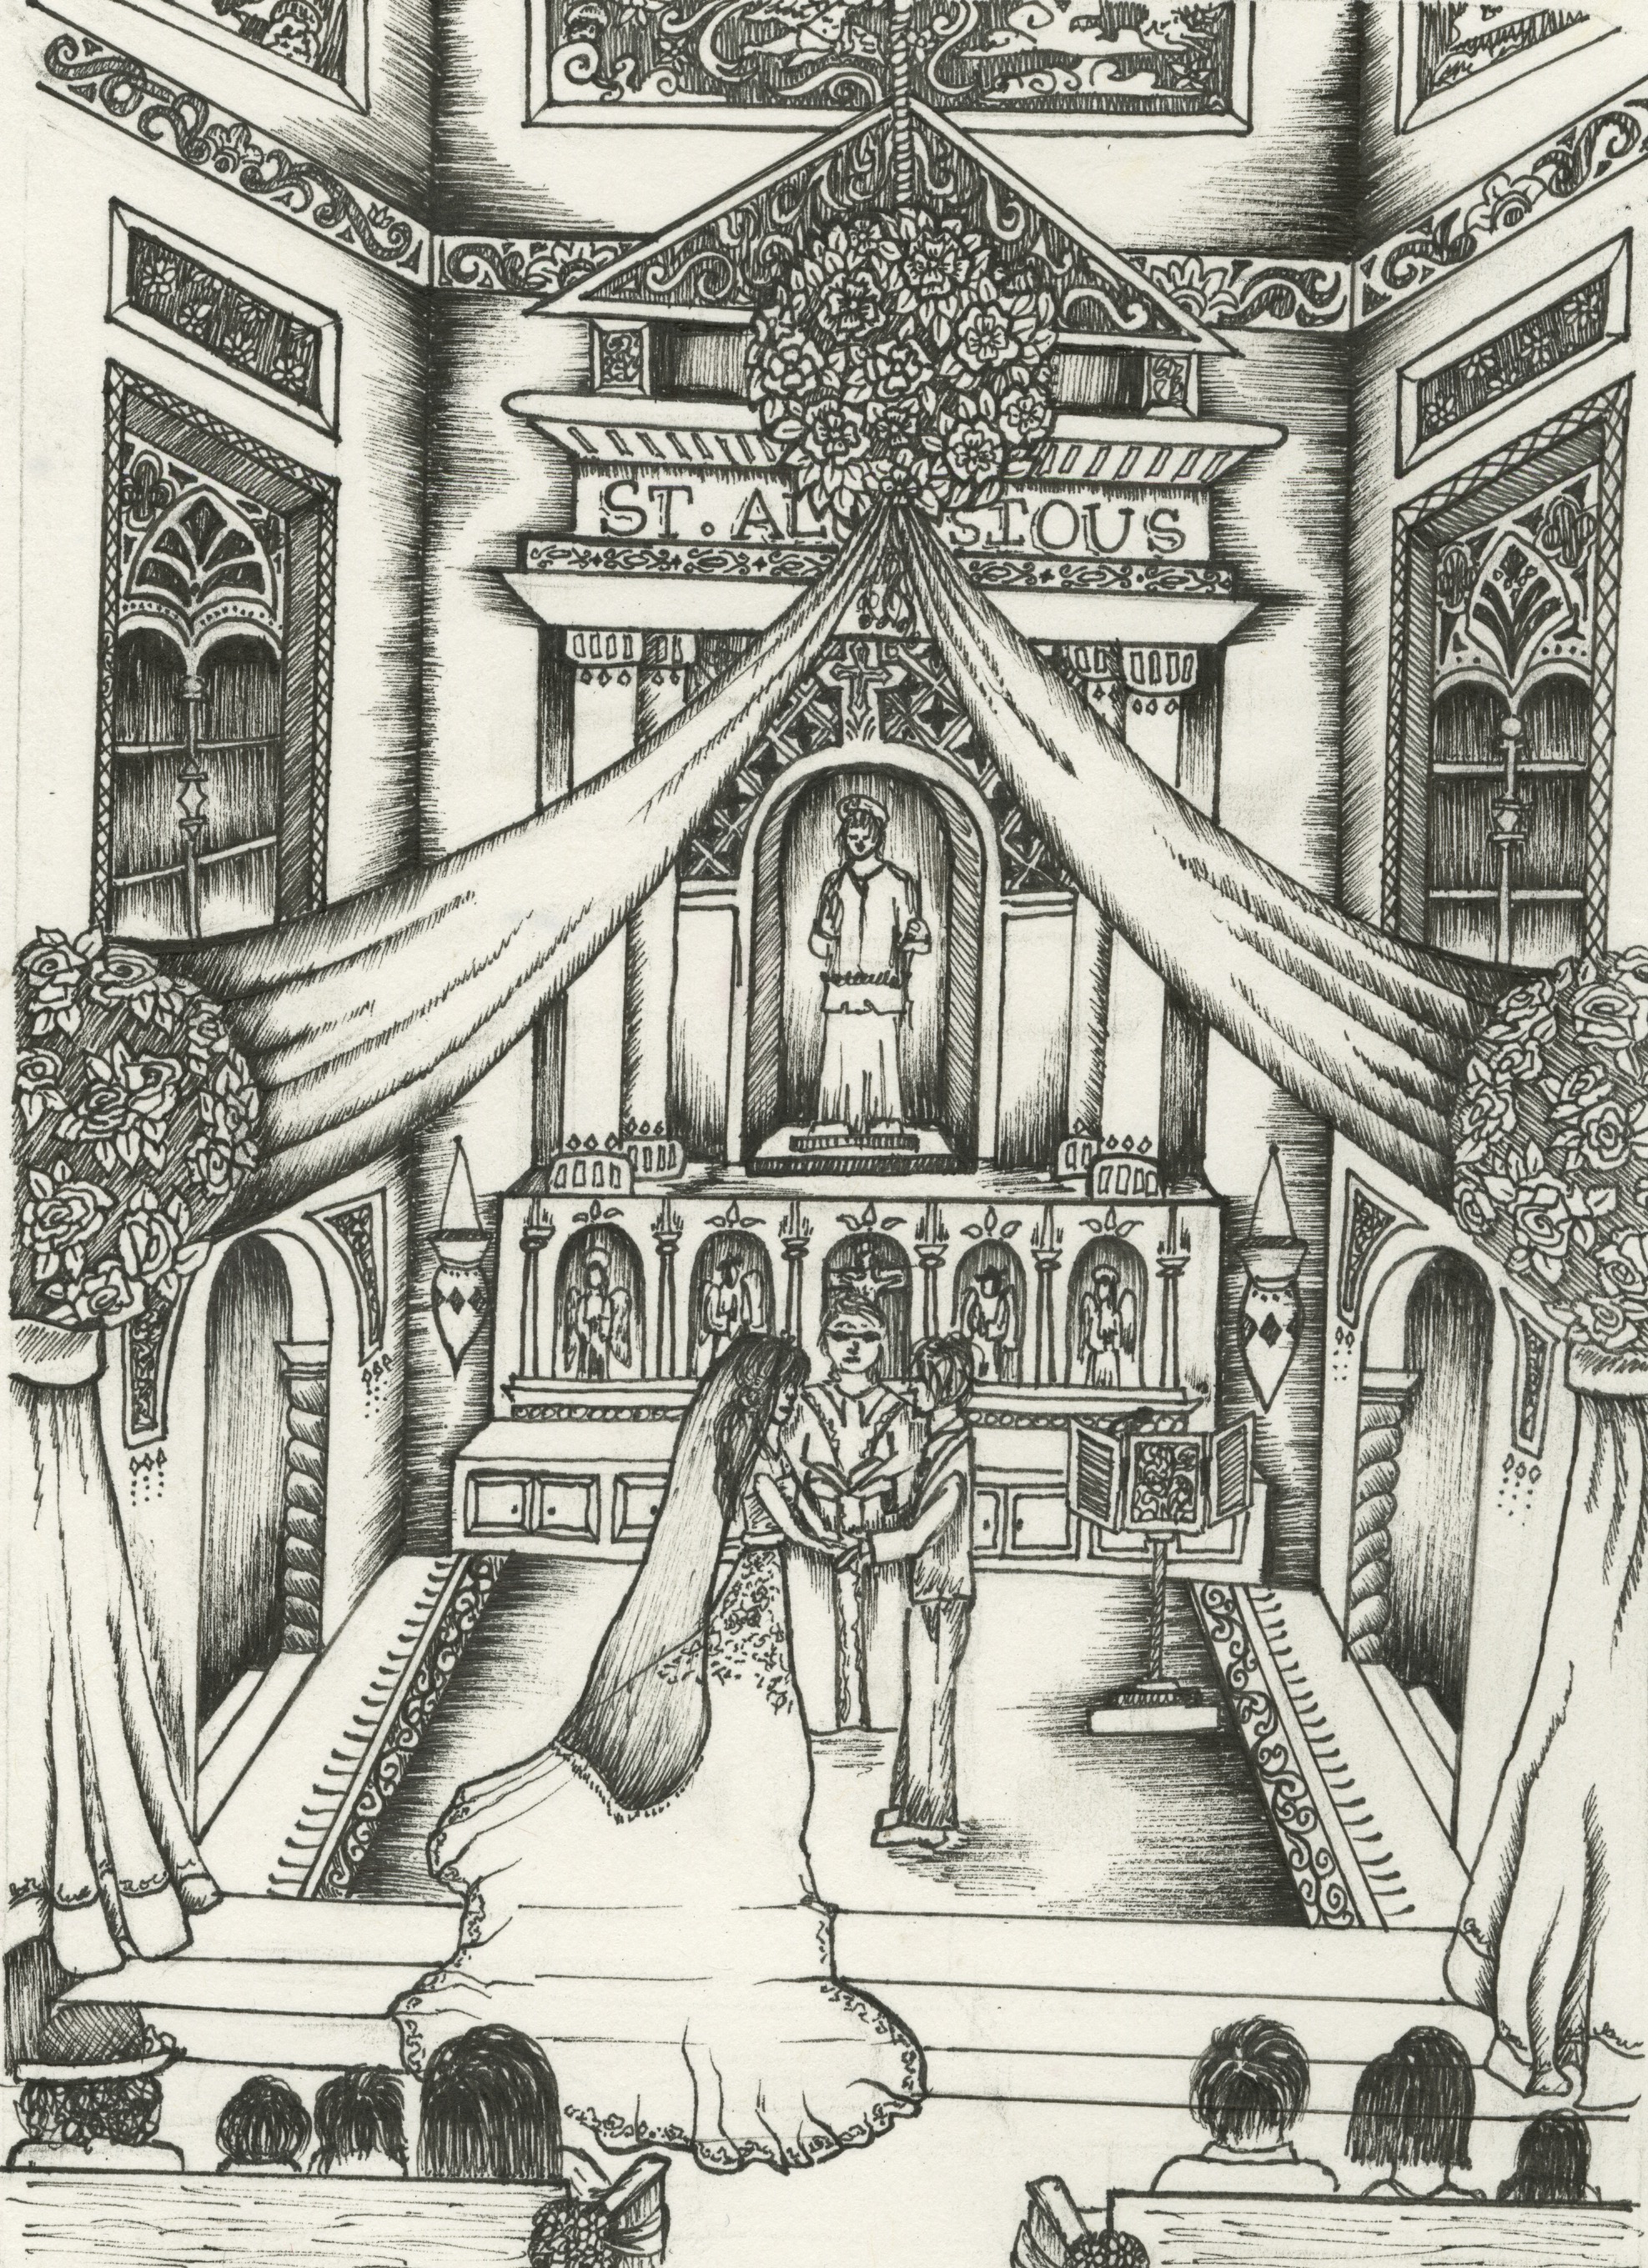
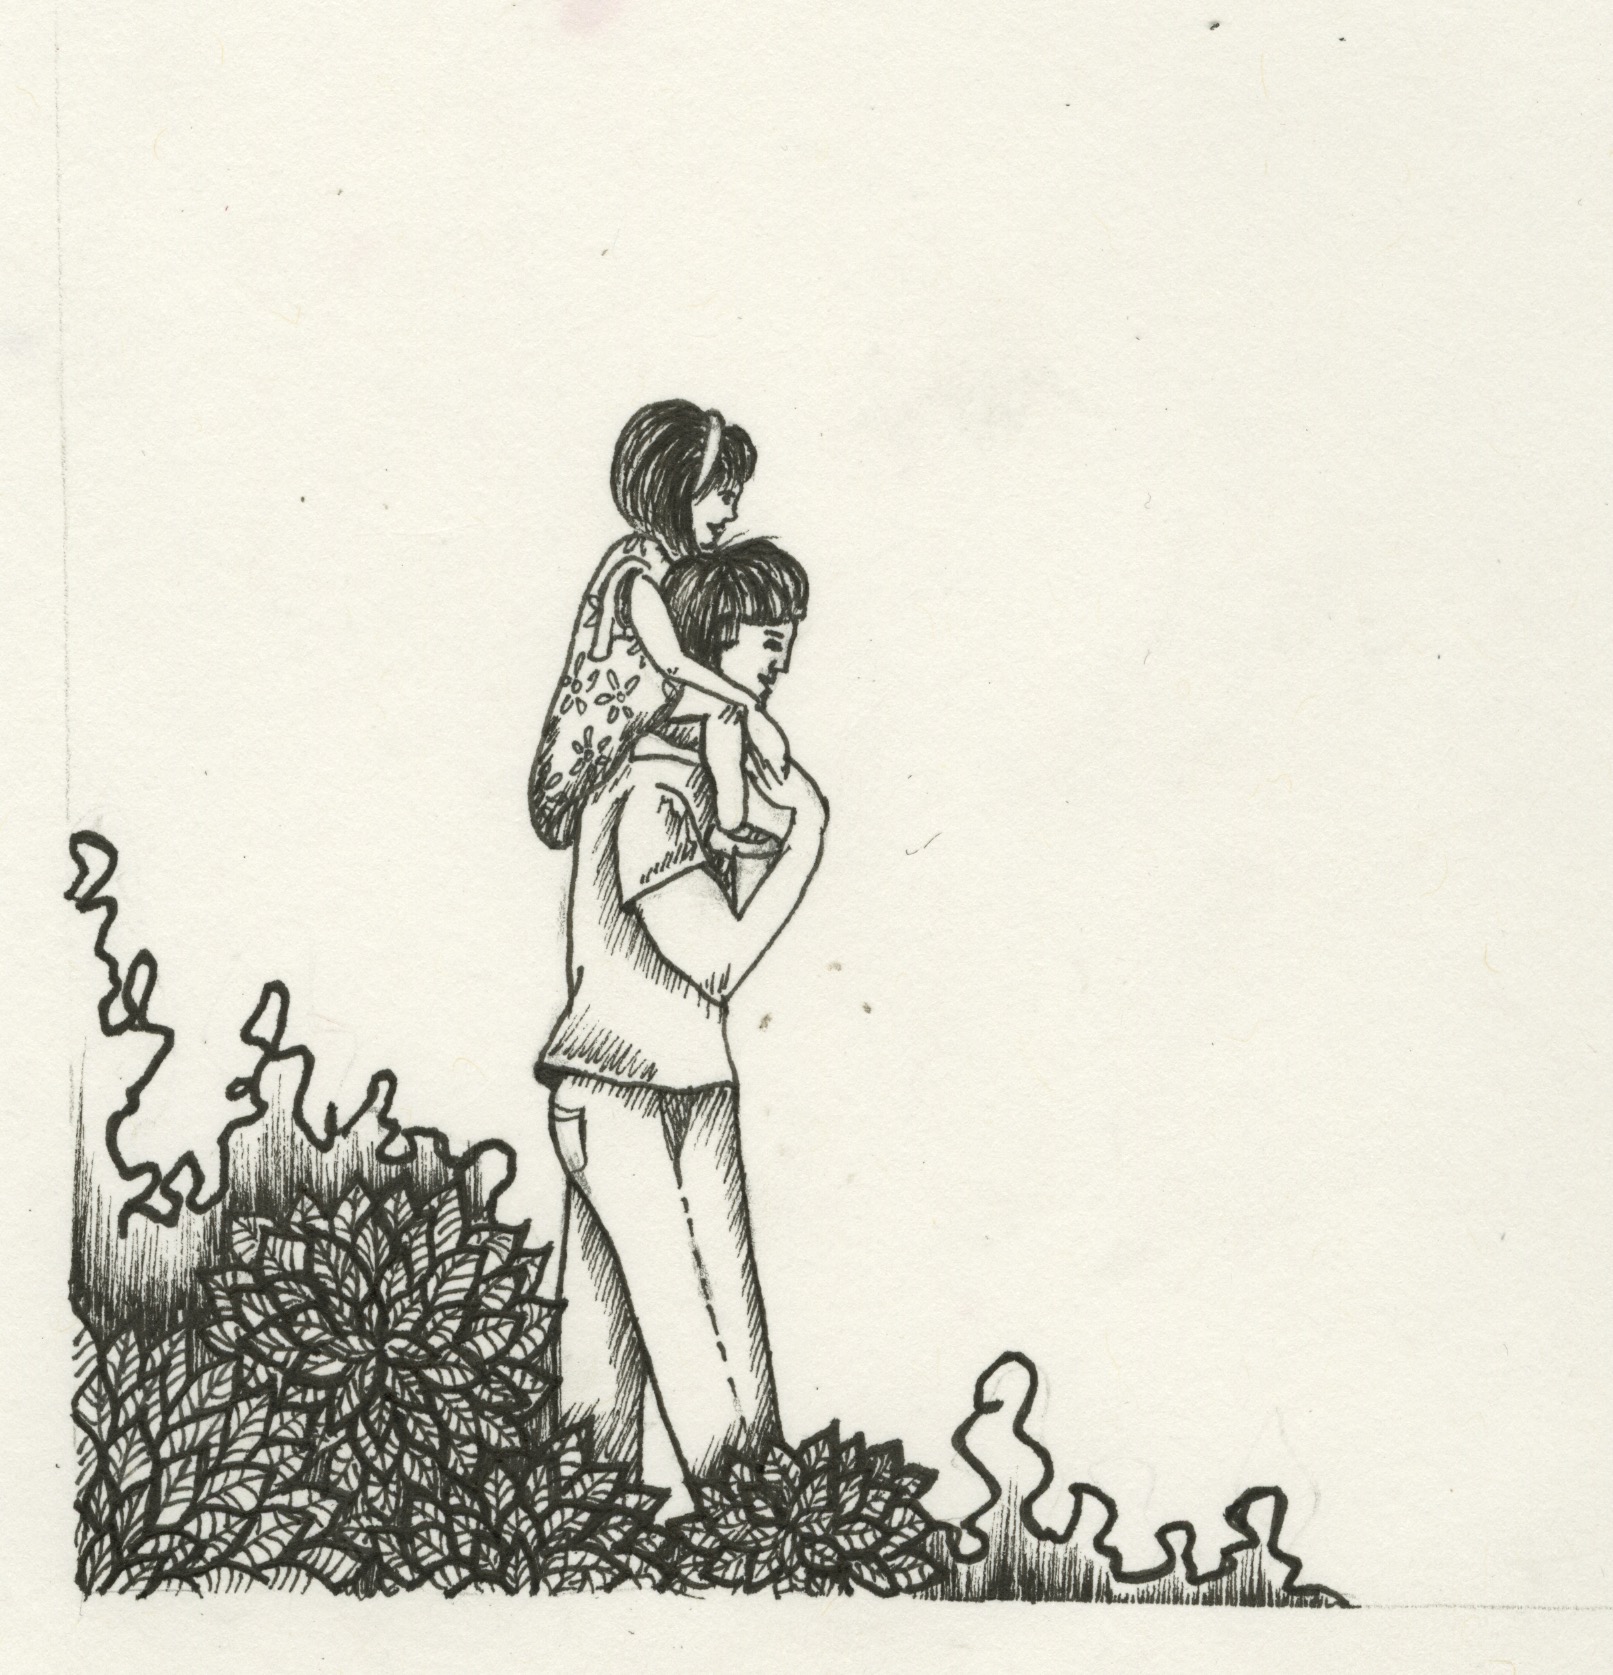
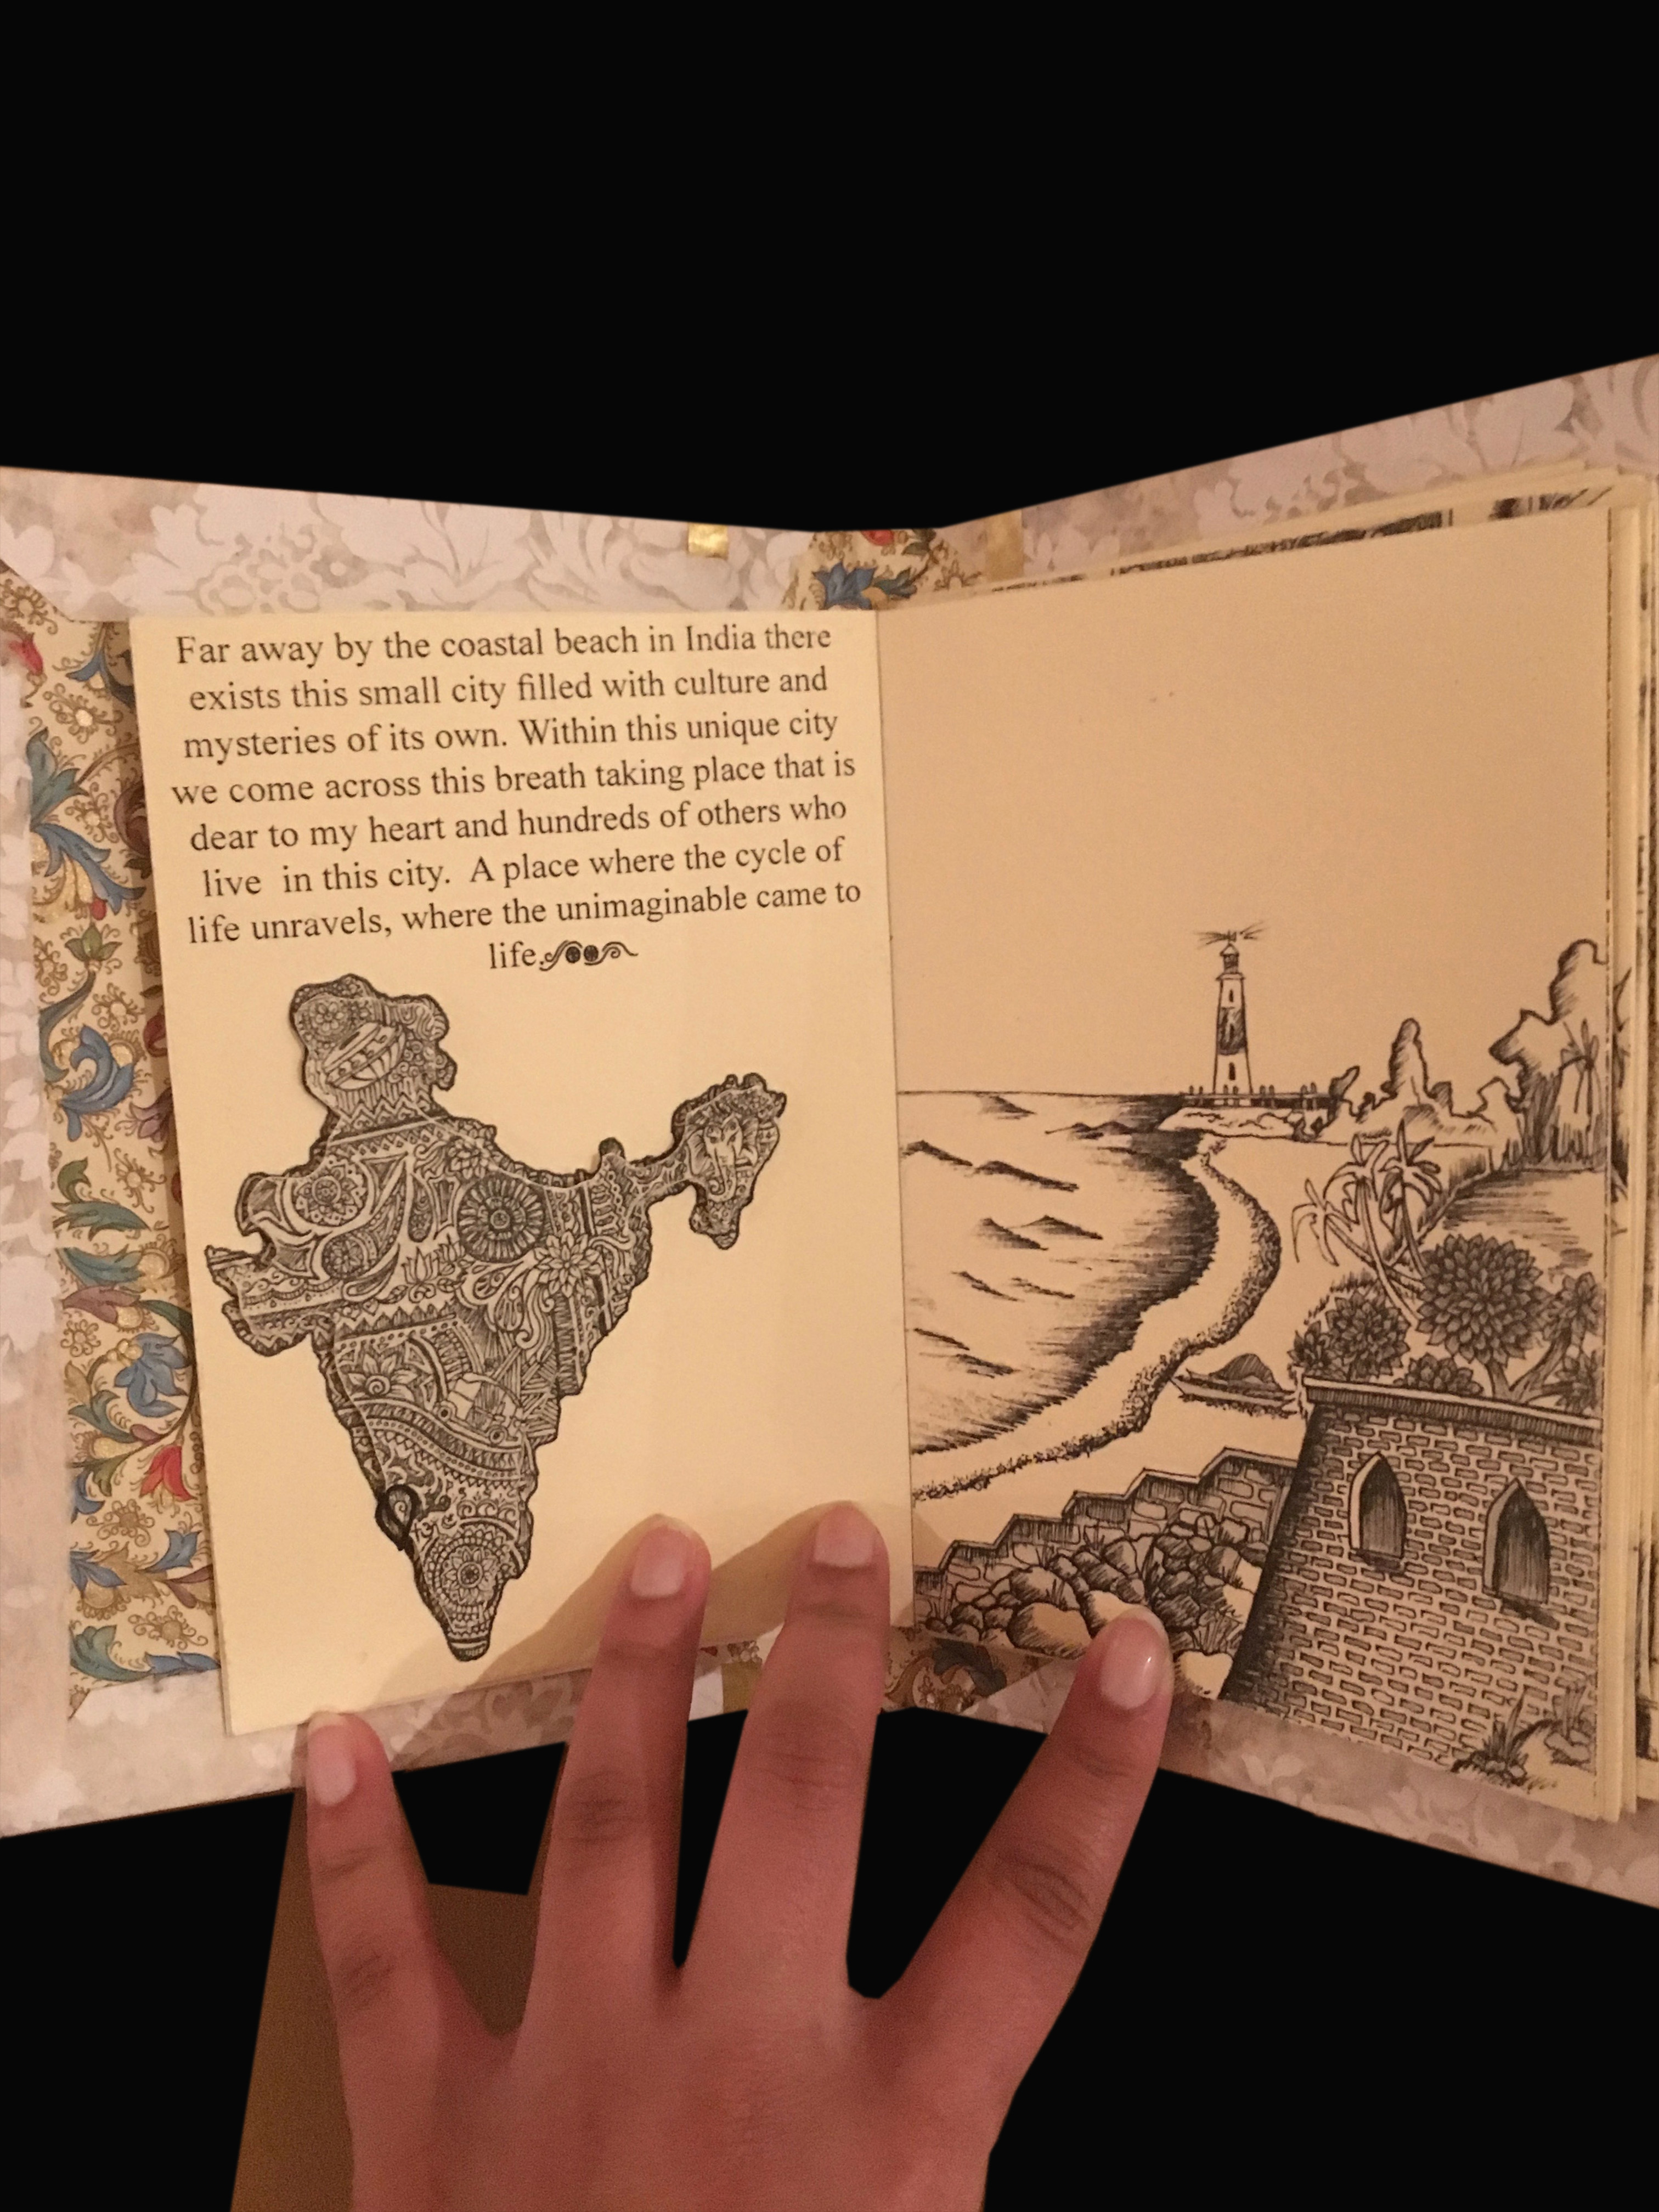
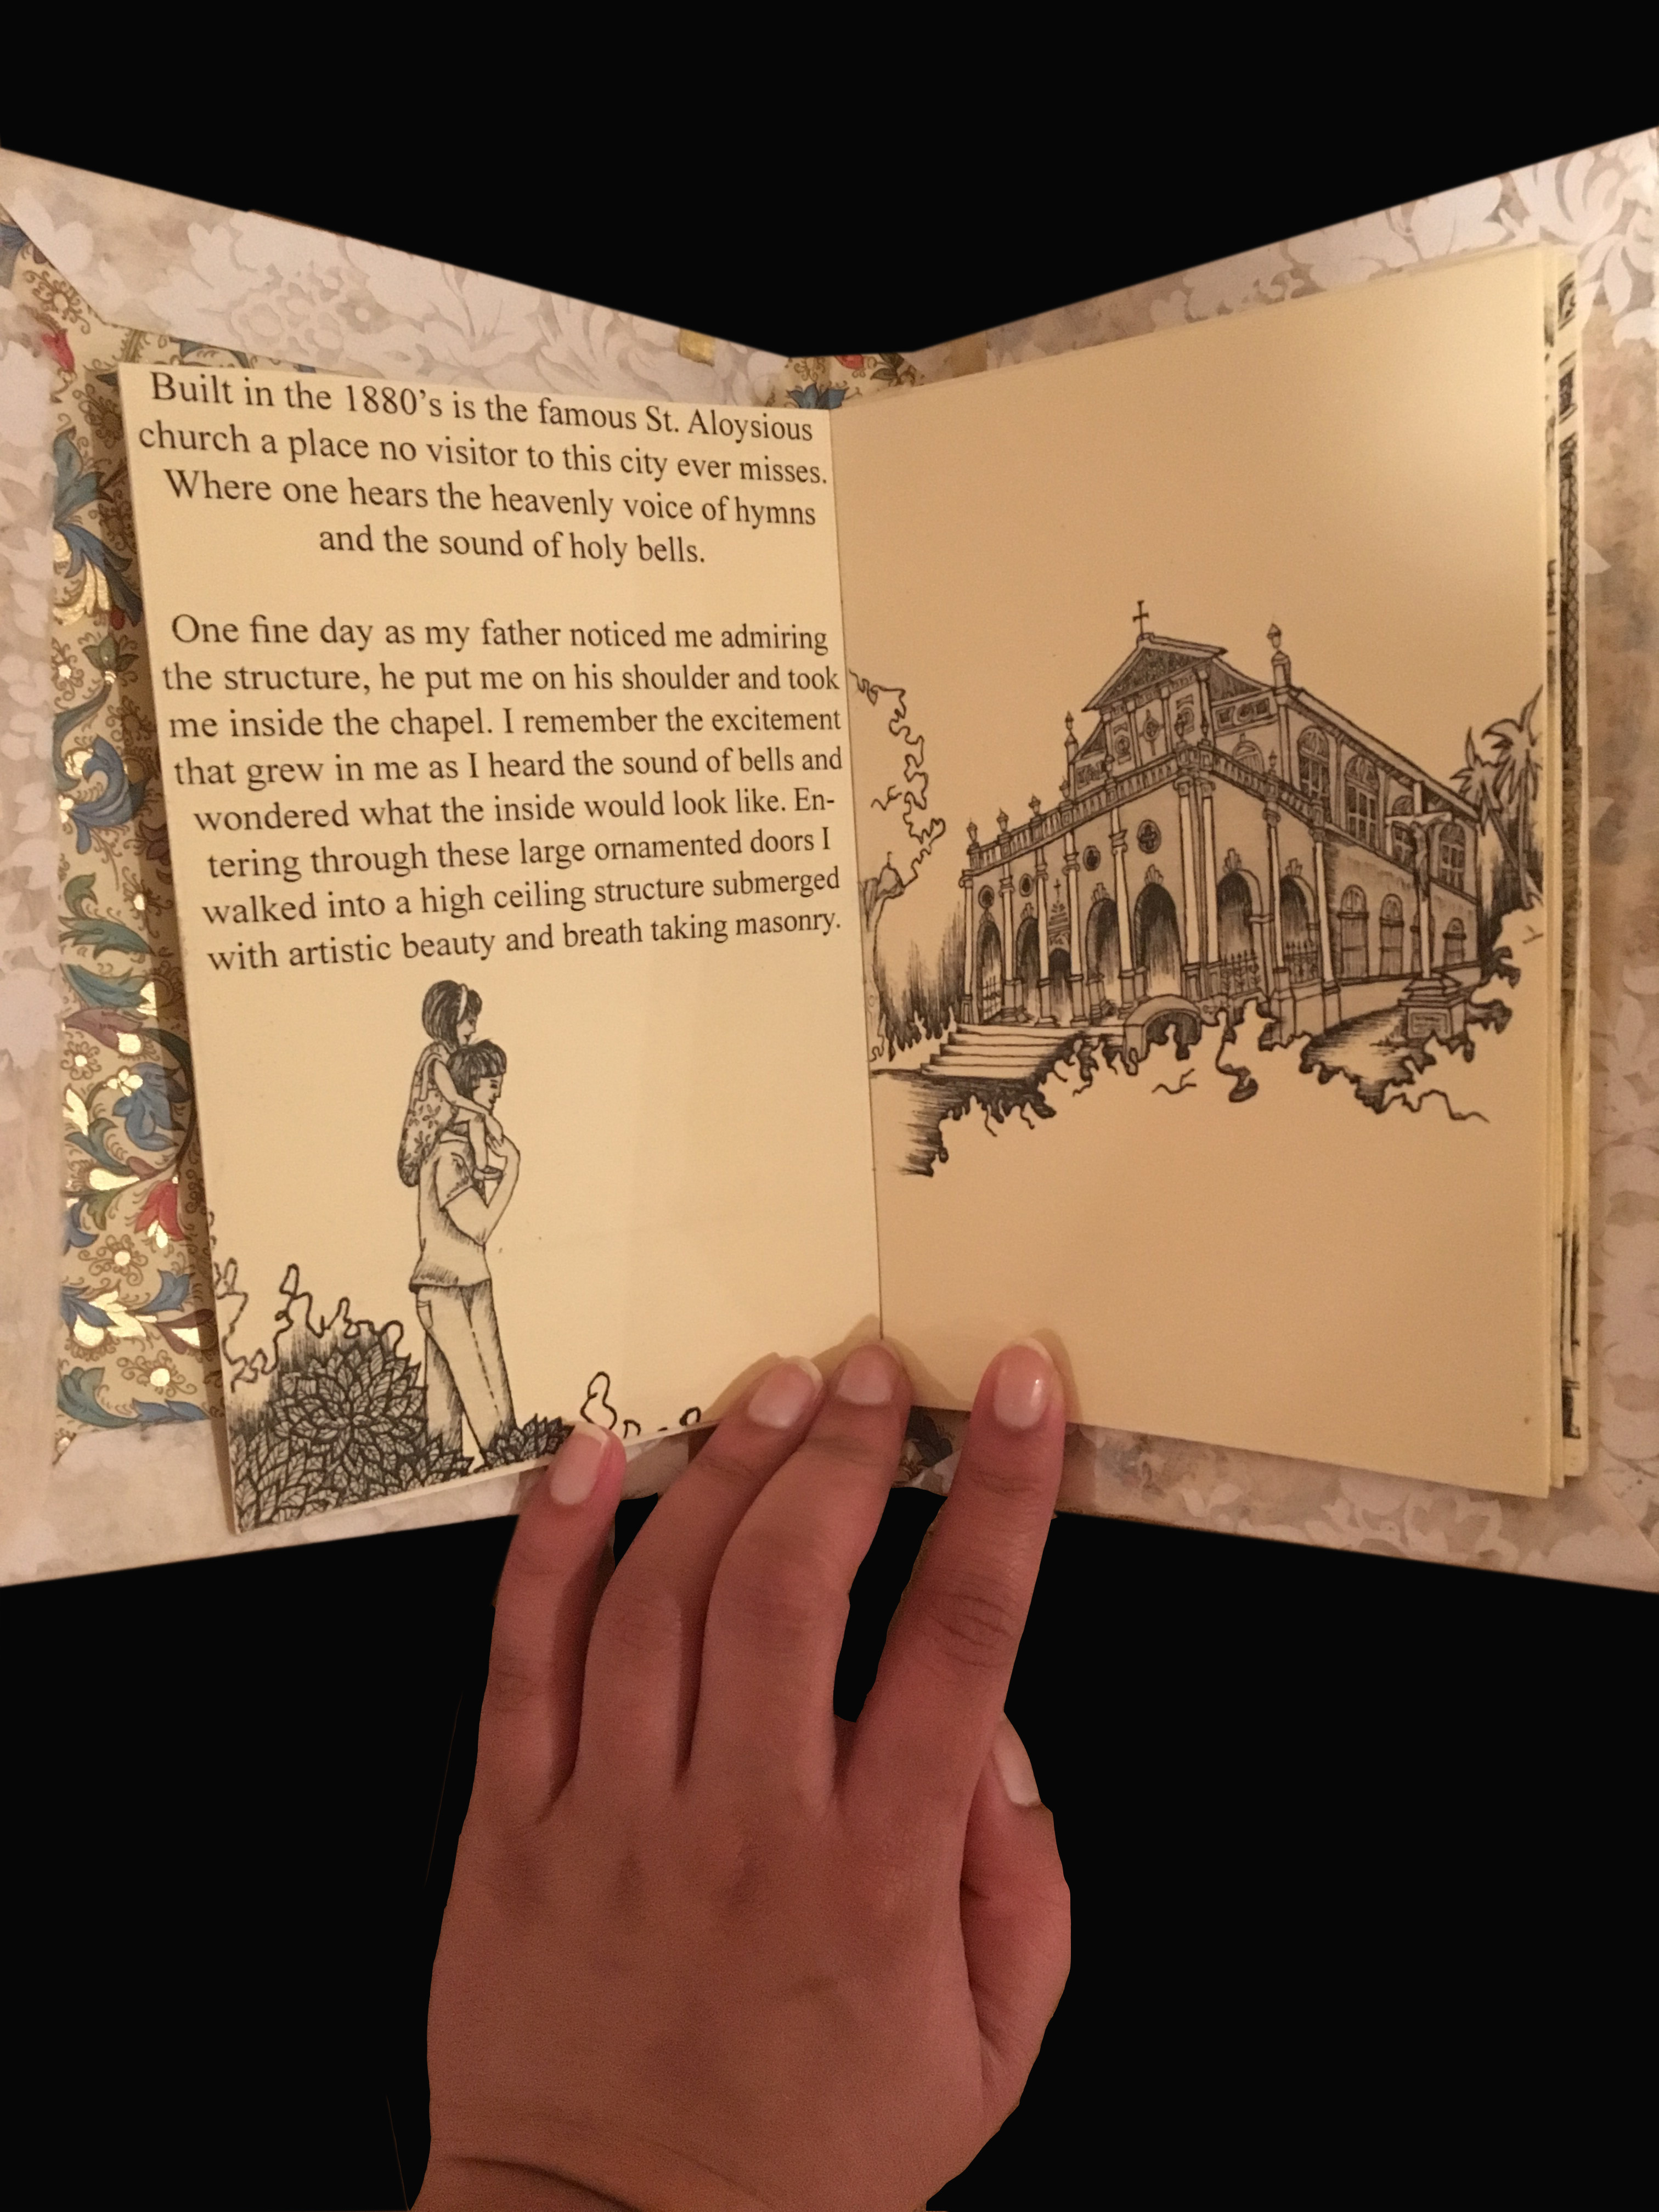
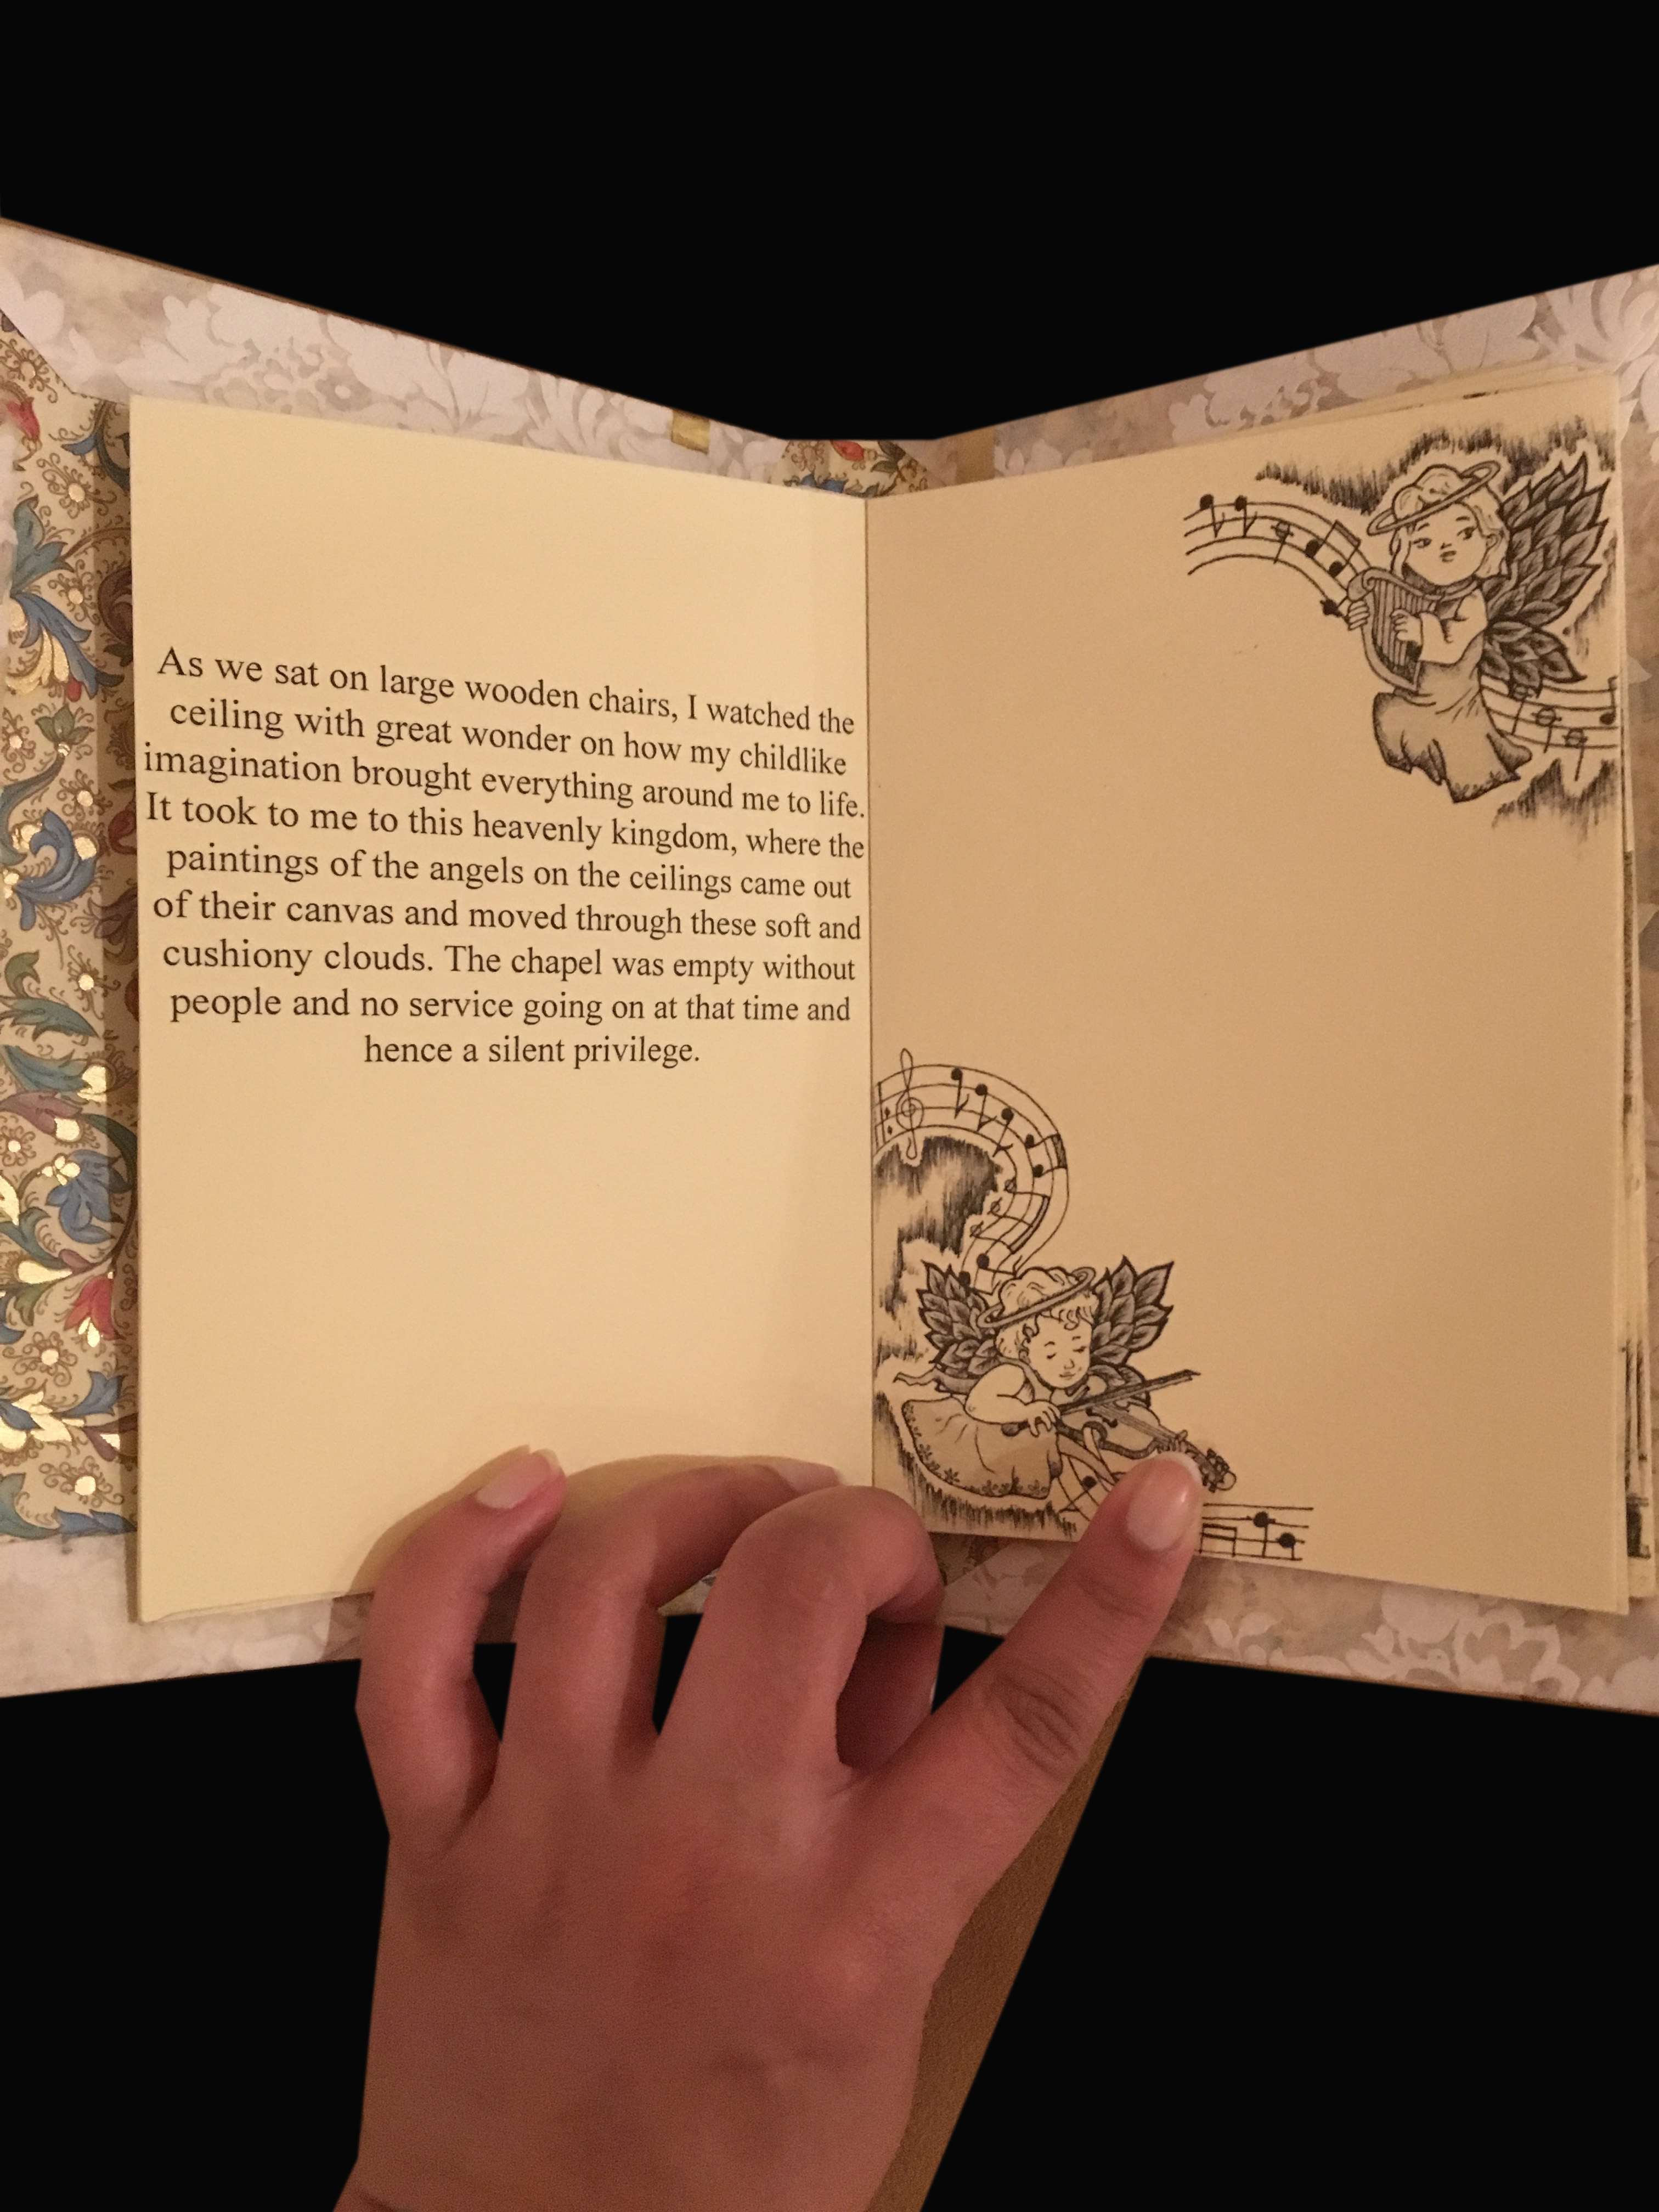
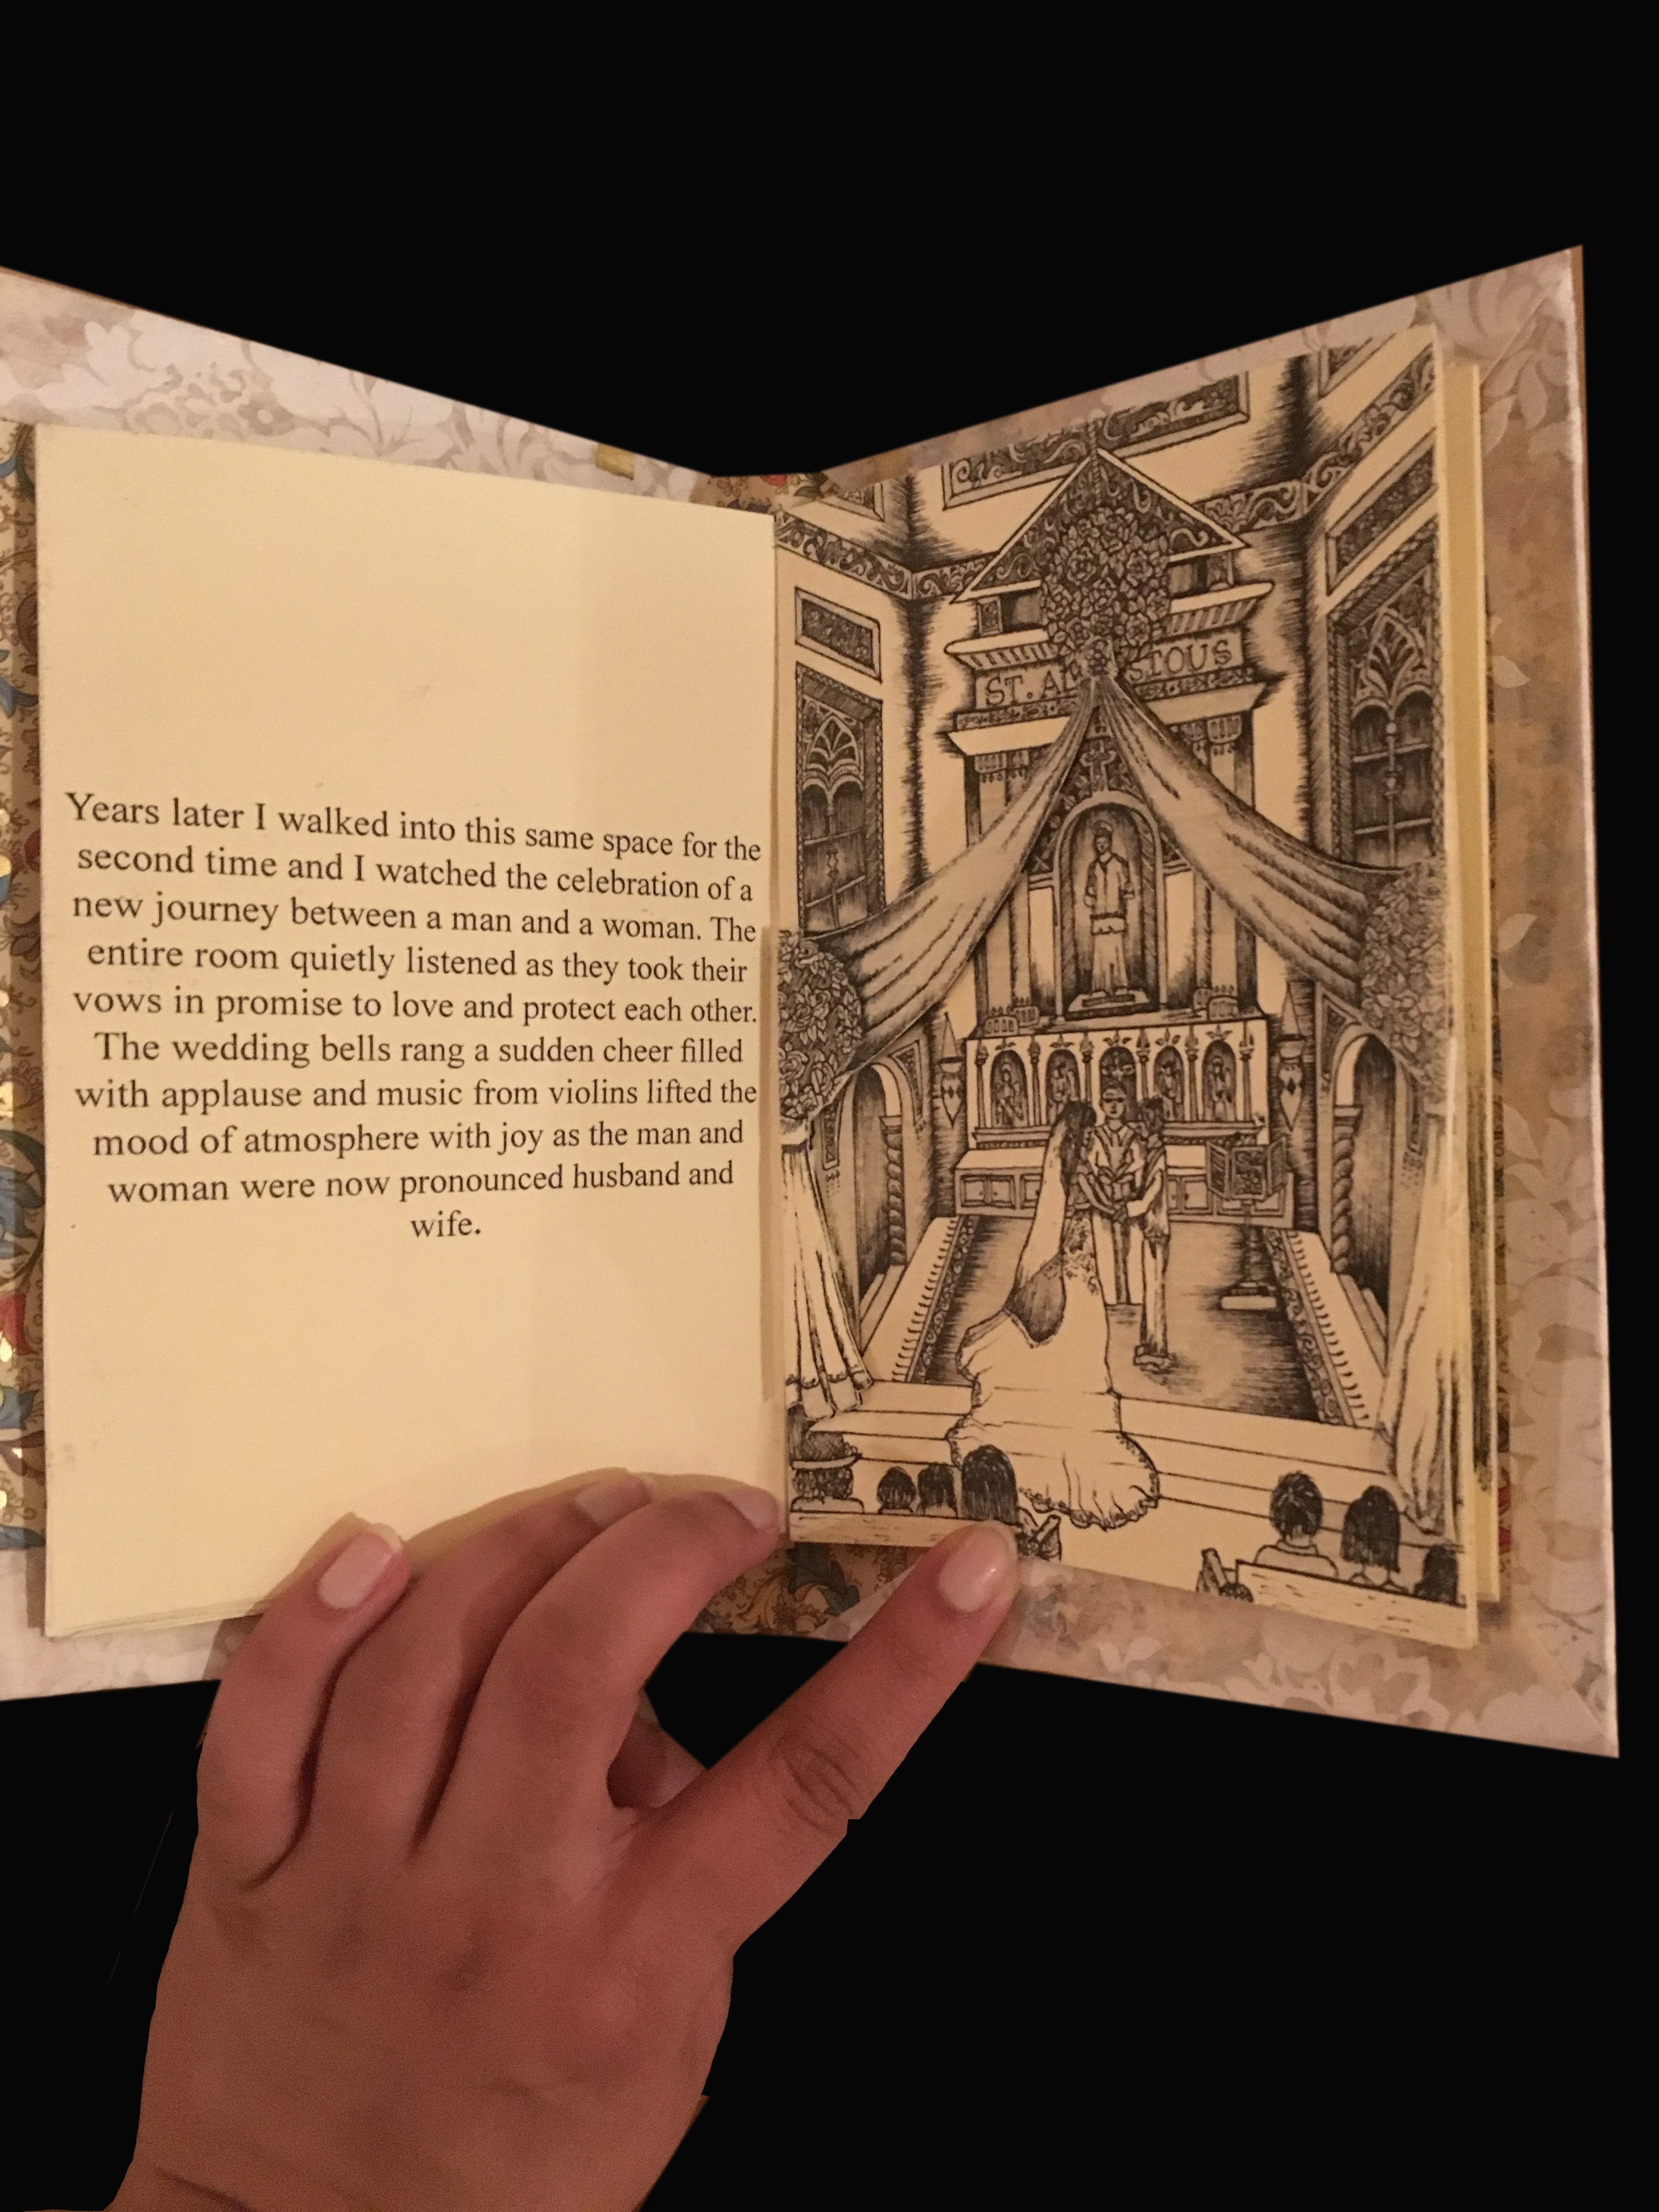
We started by selecting a specific place that exists within a larger architectural environment for which I decided to focus on a church back in my hometown. Built in the 1880’s St. Aloysius Church is a catholic church located in the central part of the city of Mangalore. The structure represents that of the sistine chapel and illustrates beautiful paintings on the wall of the church. The church is a sacred place for all citizens in Mangalore and is no site a tourist to the city misses.
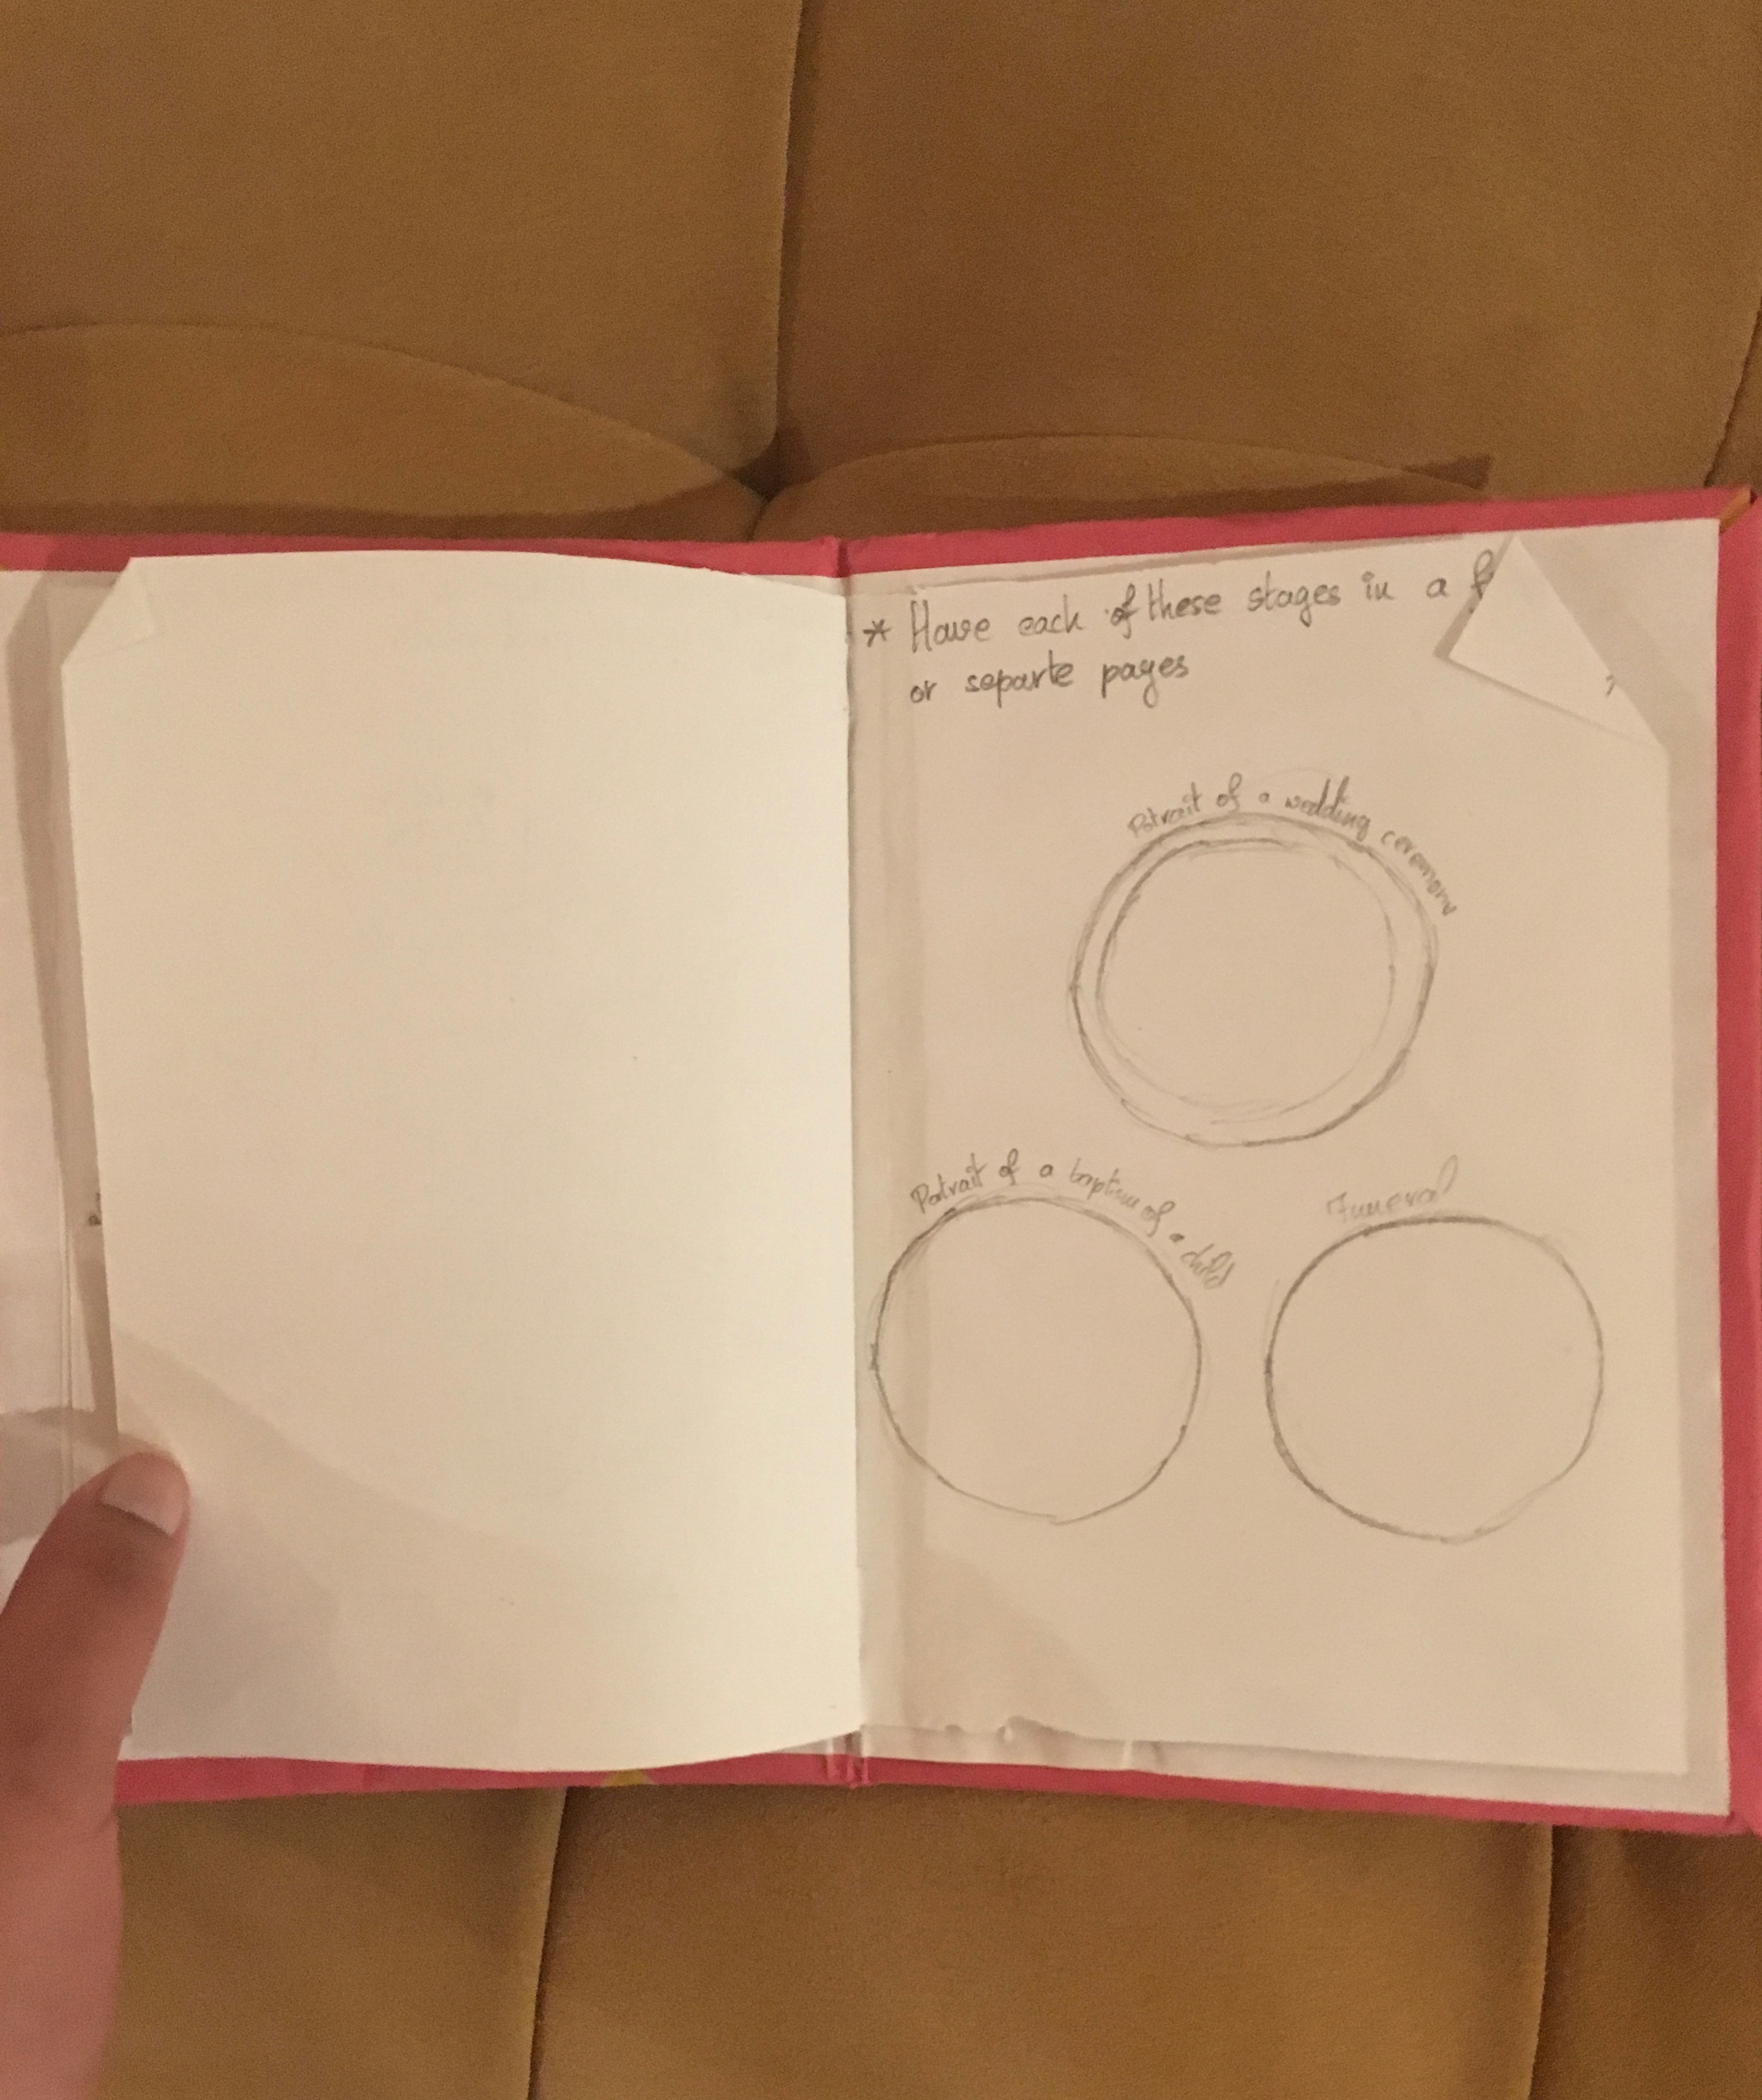
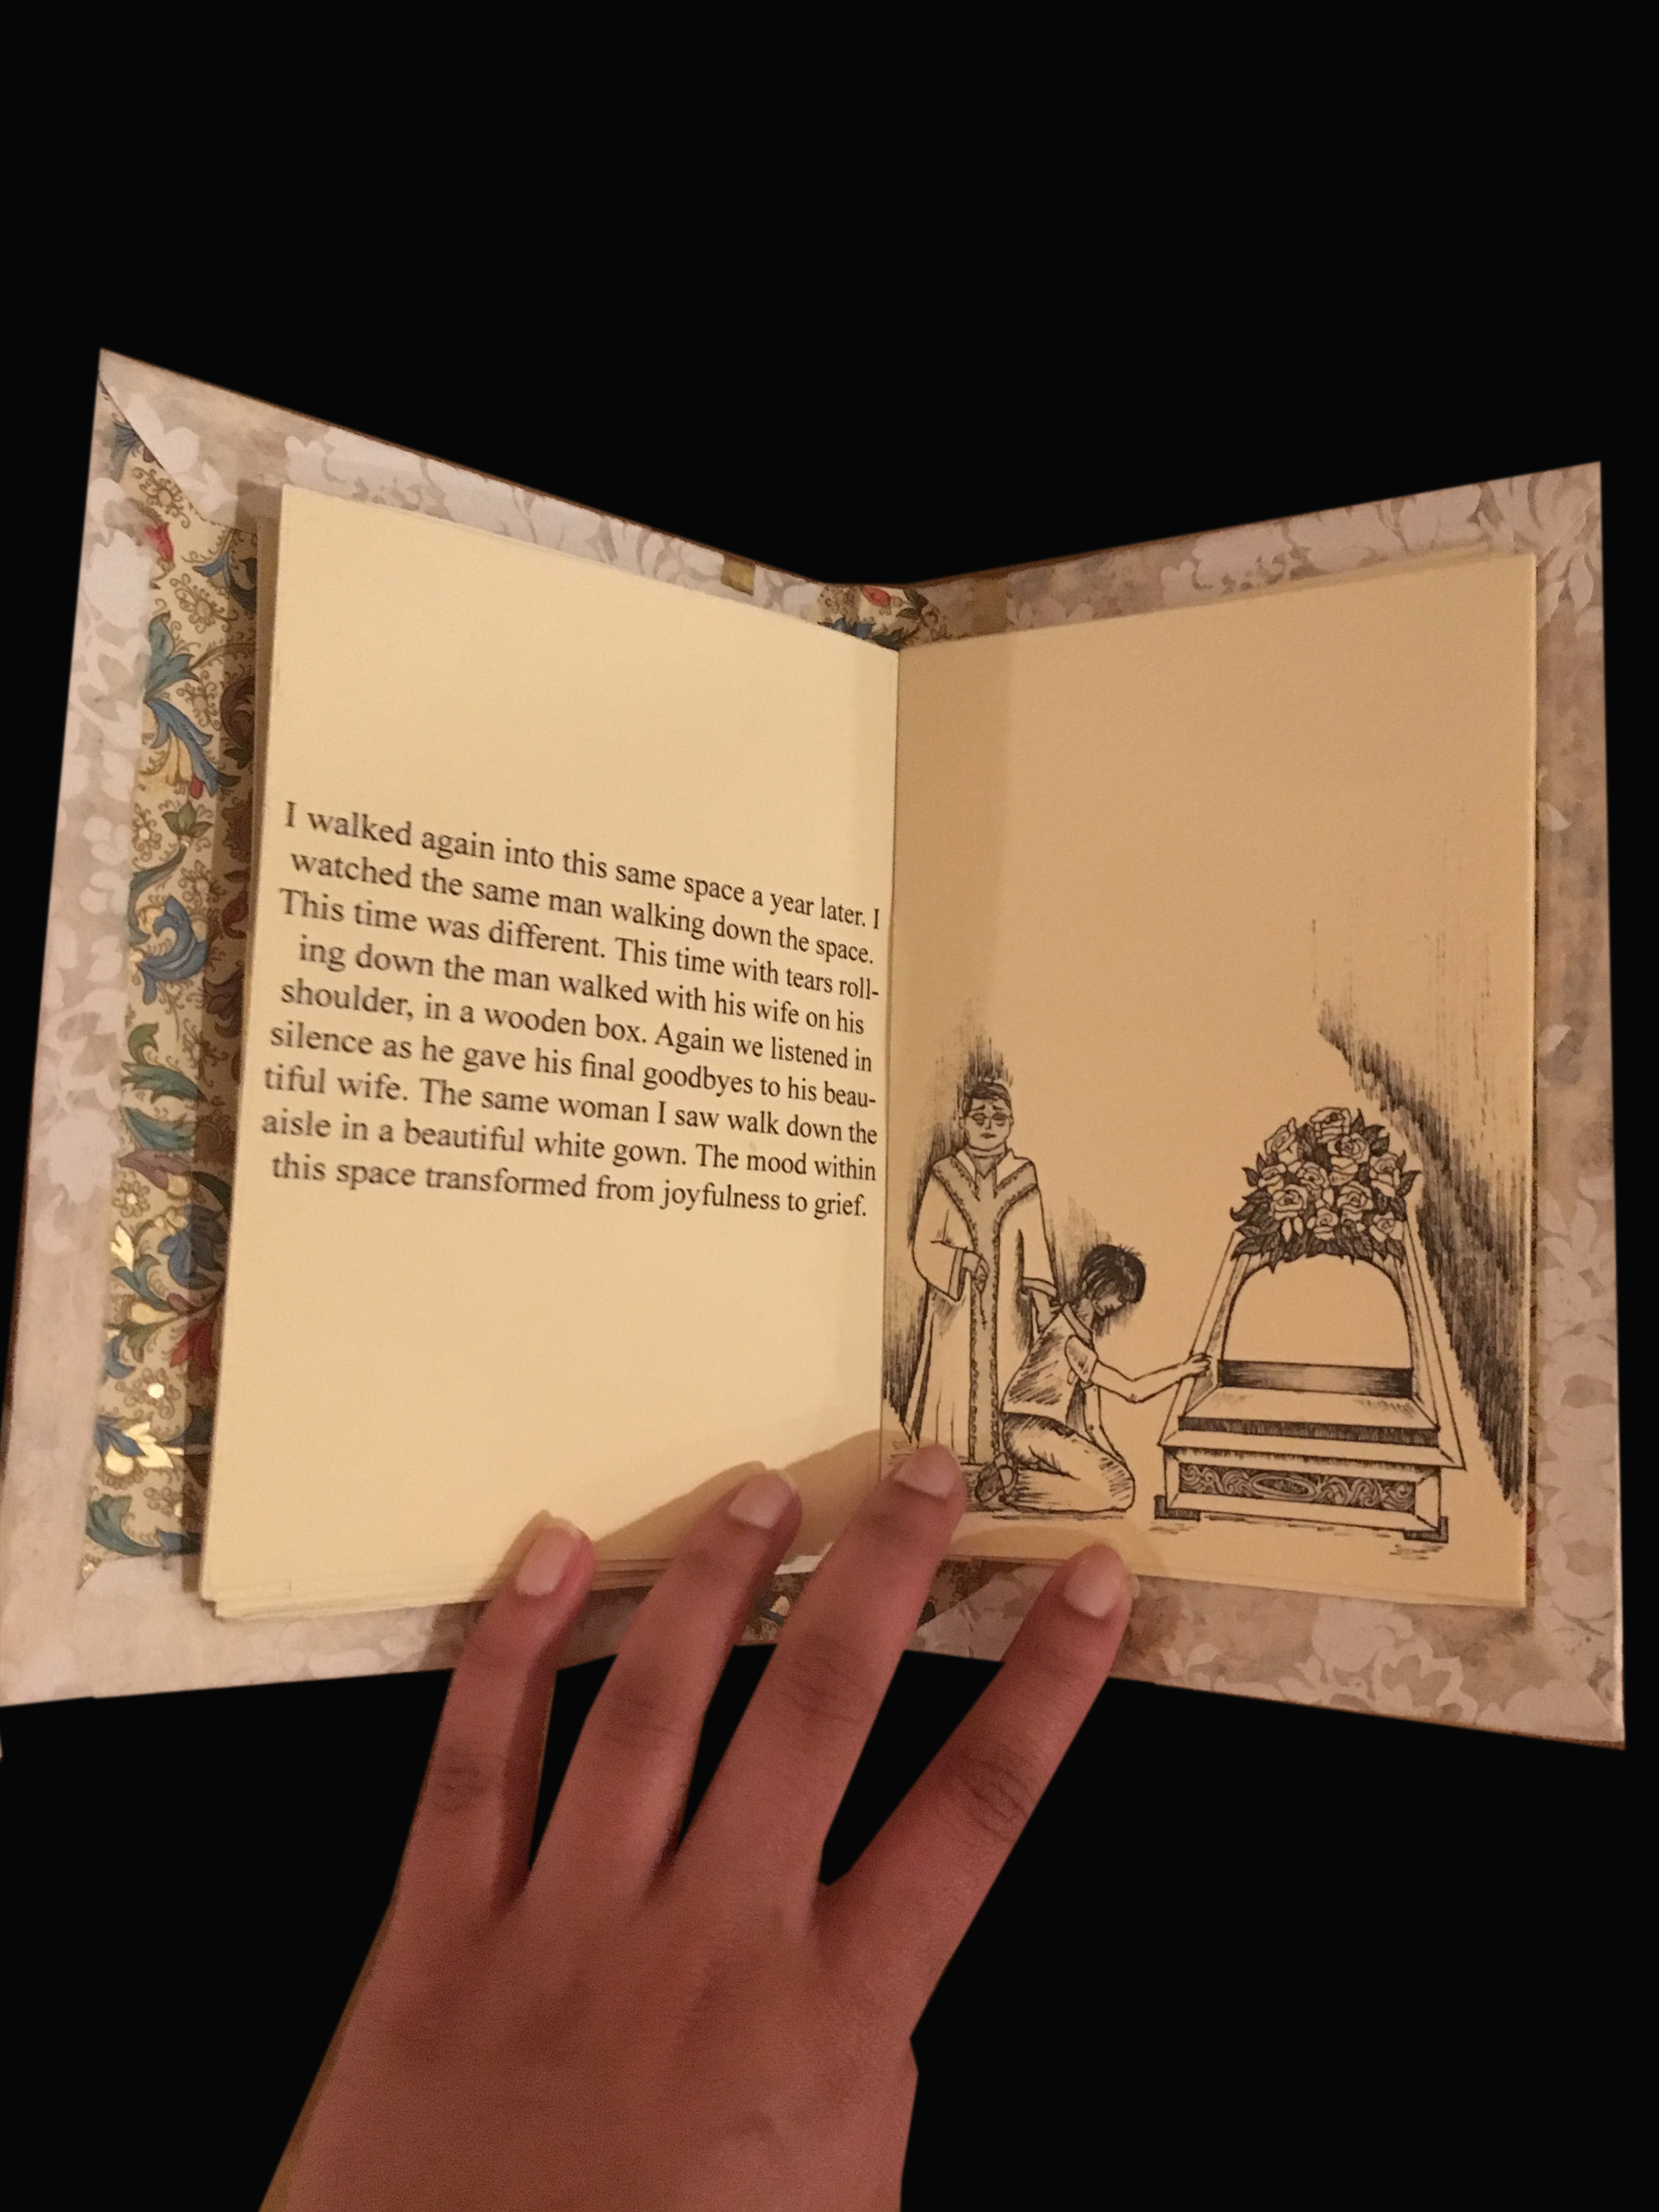
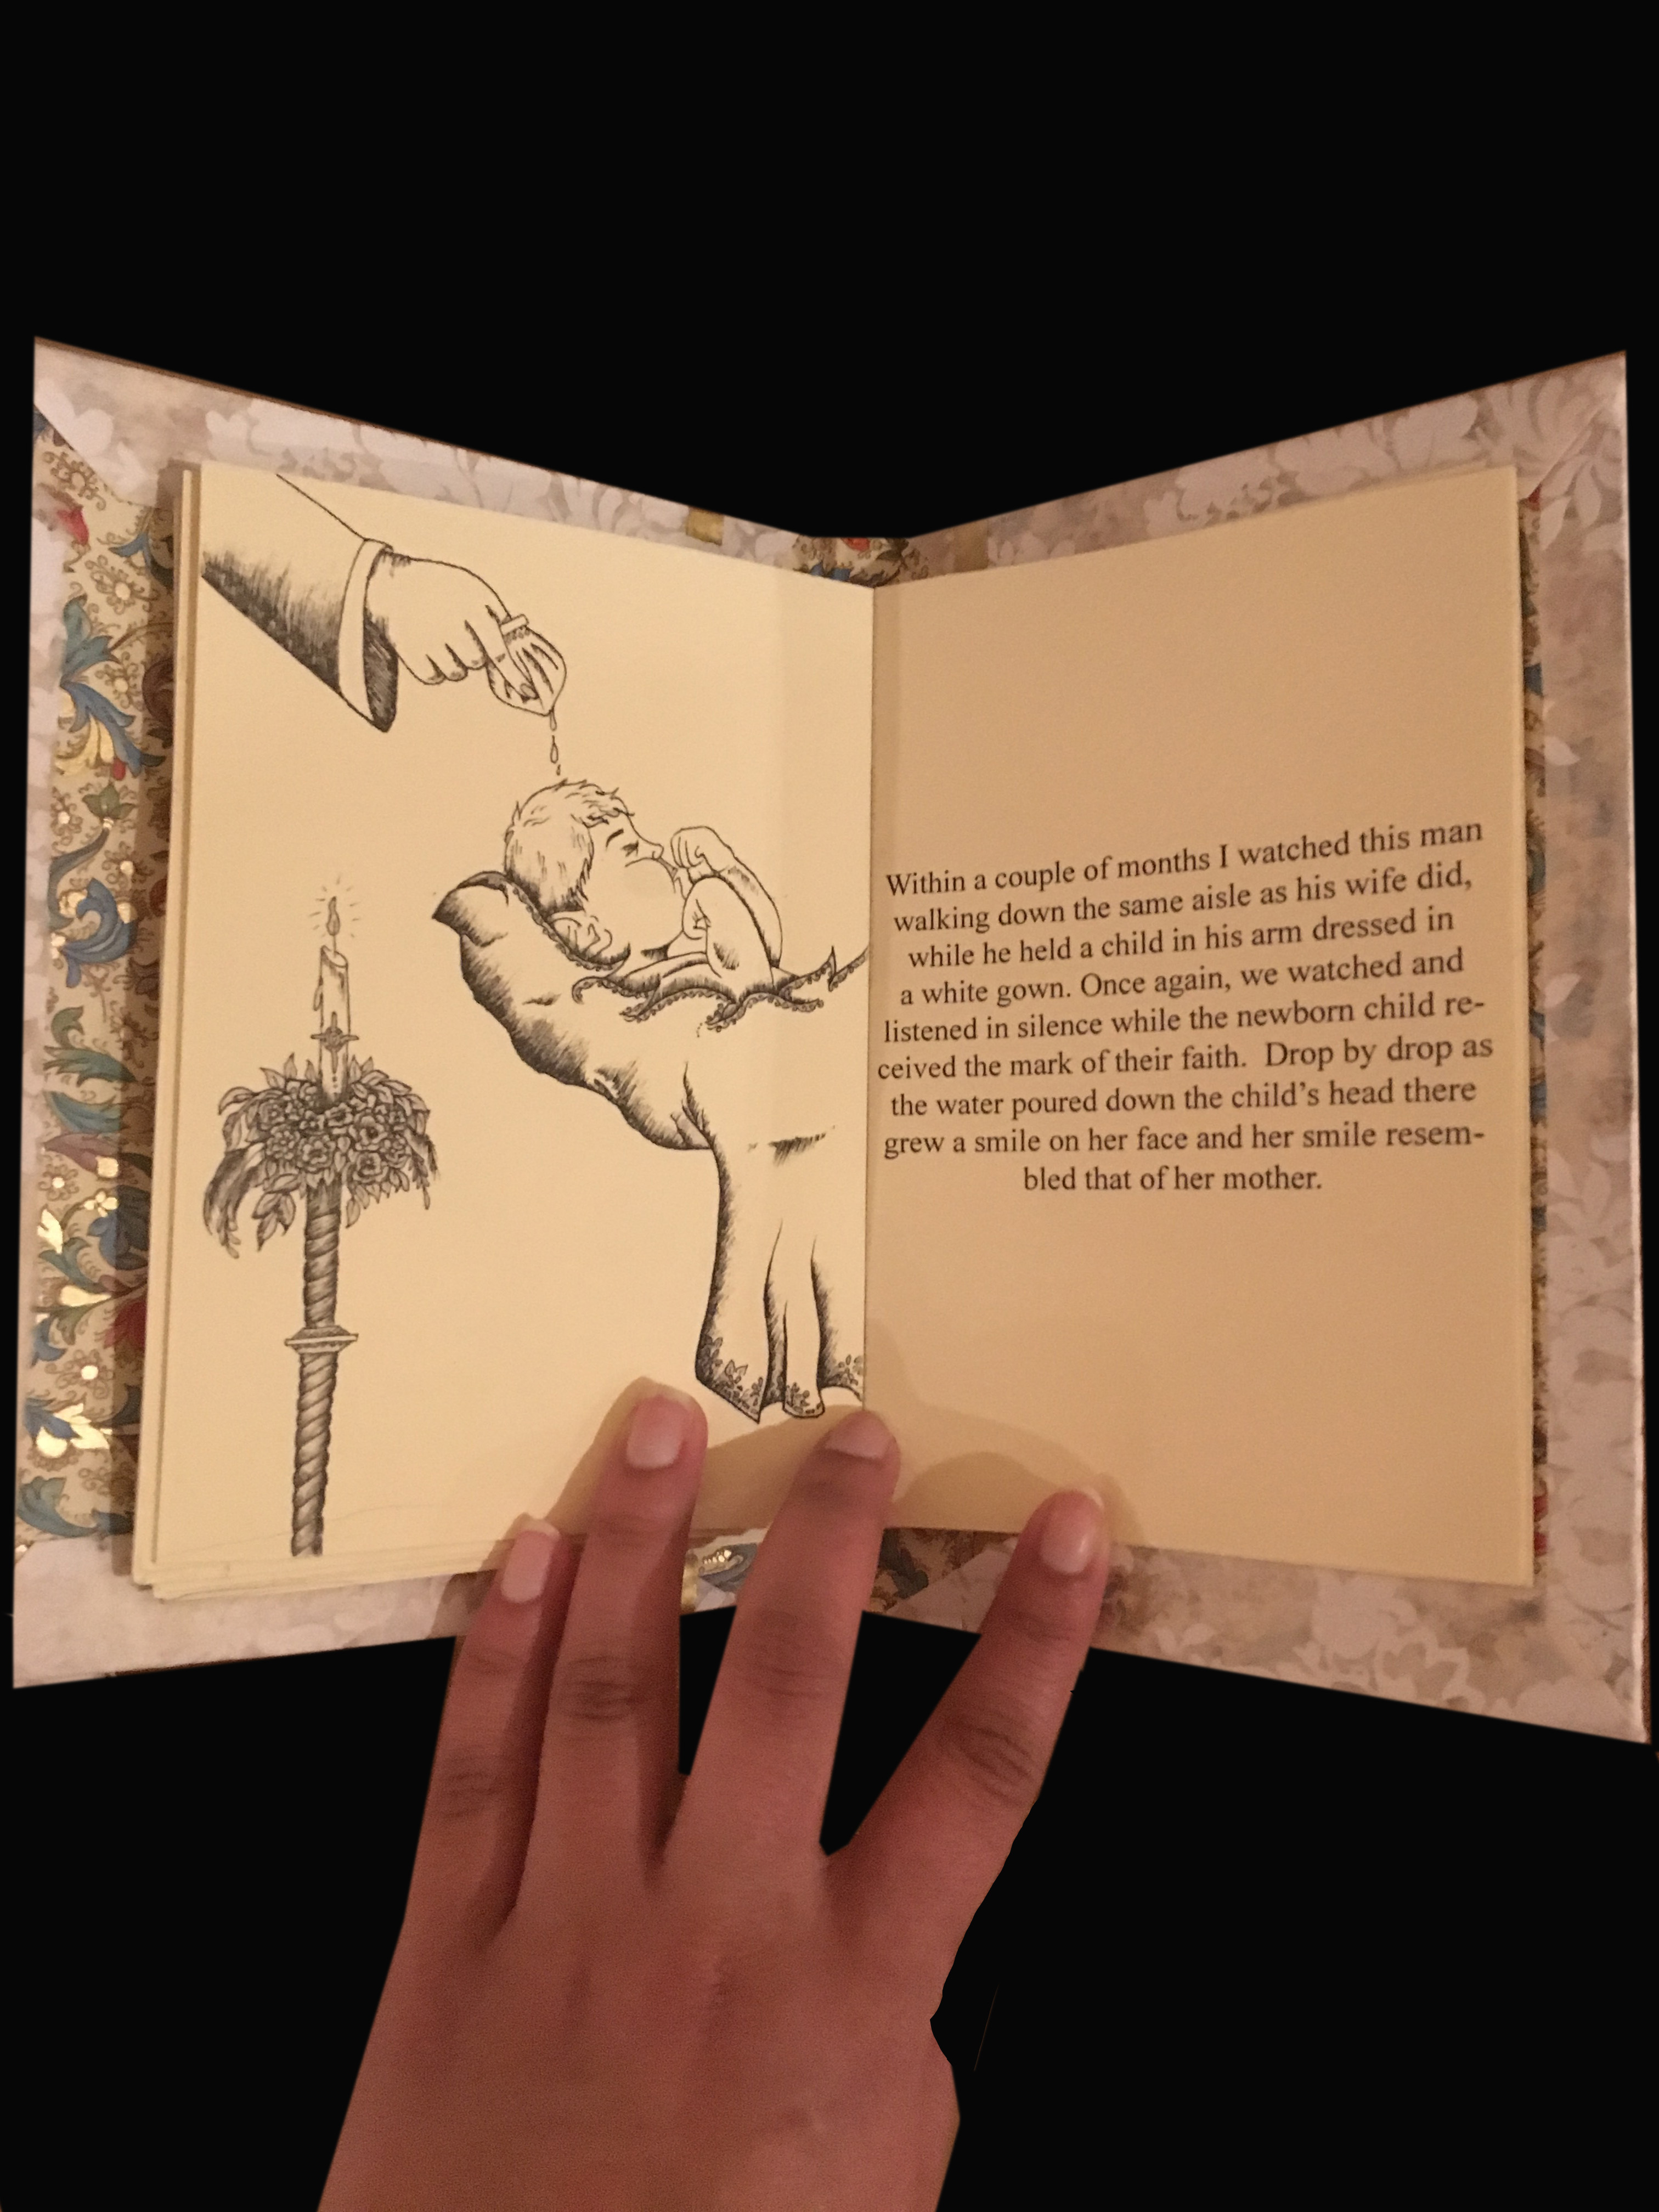
I then began by writing out my story, where I focused on the transition of the mood in the atmosphere that one senses, with time as different events take place in the church. The simple story revolves around one family and a childs experience within the church on the meaning of life over time.
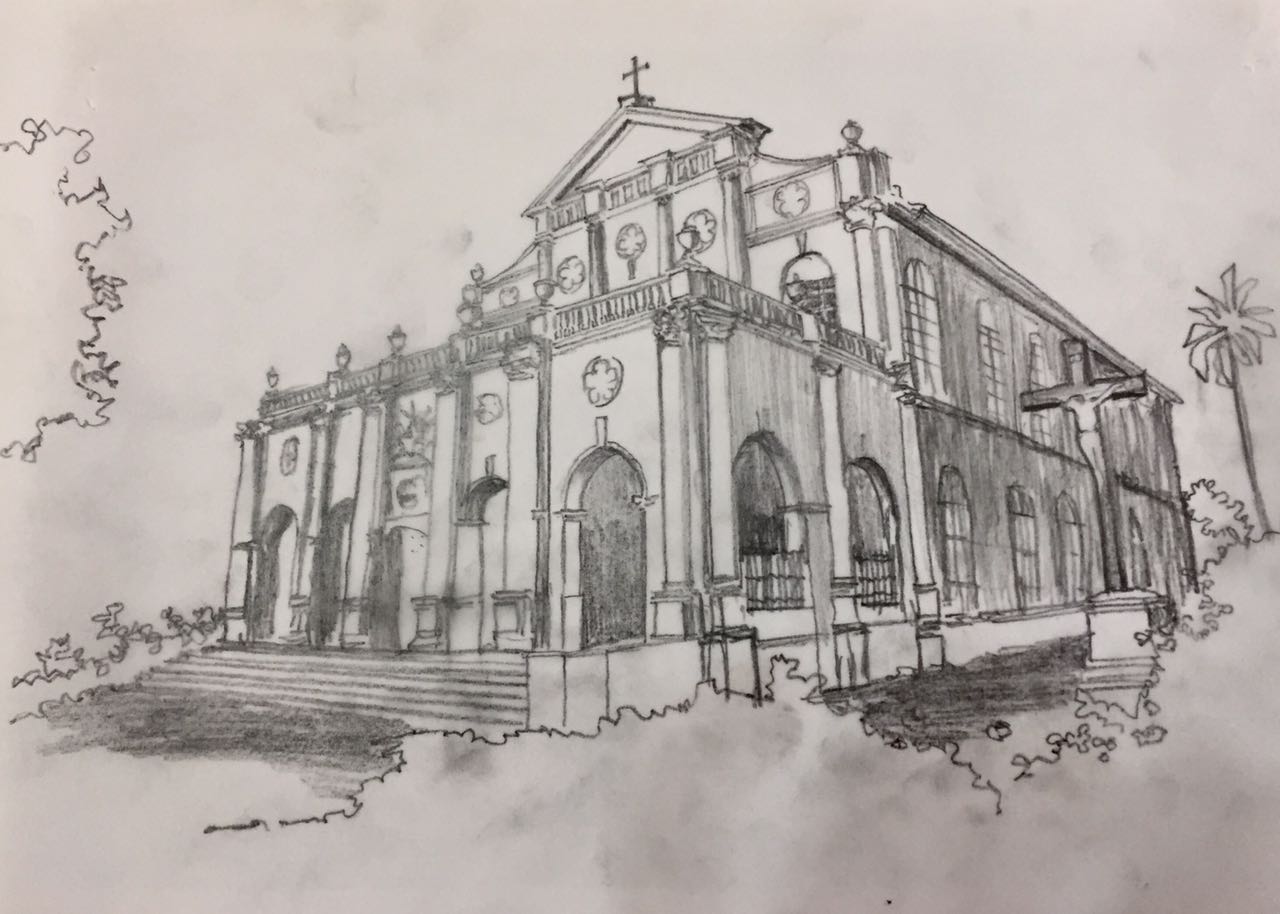
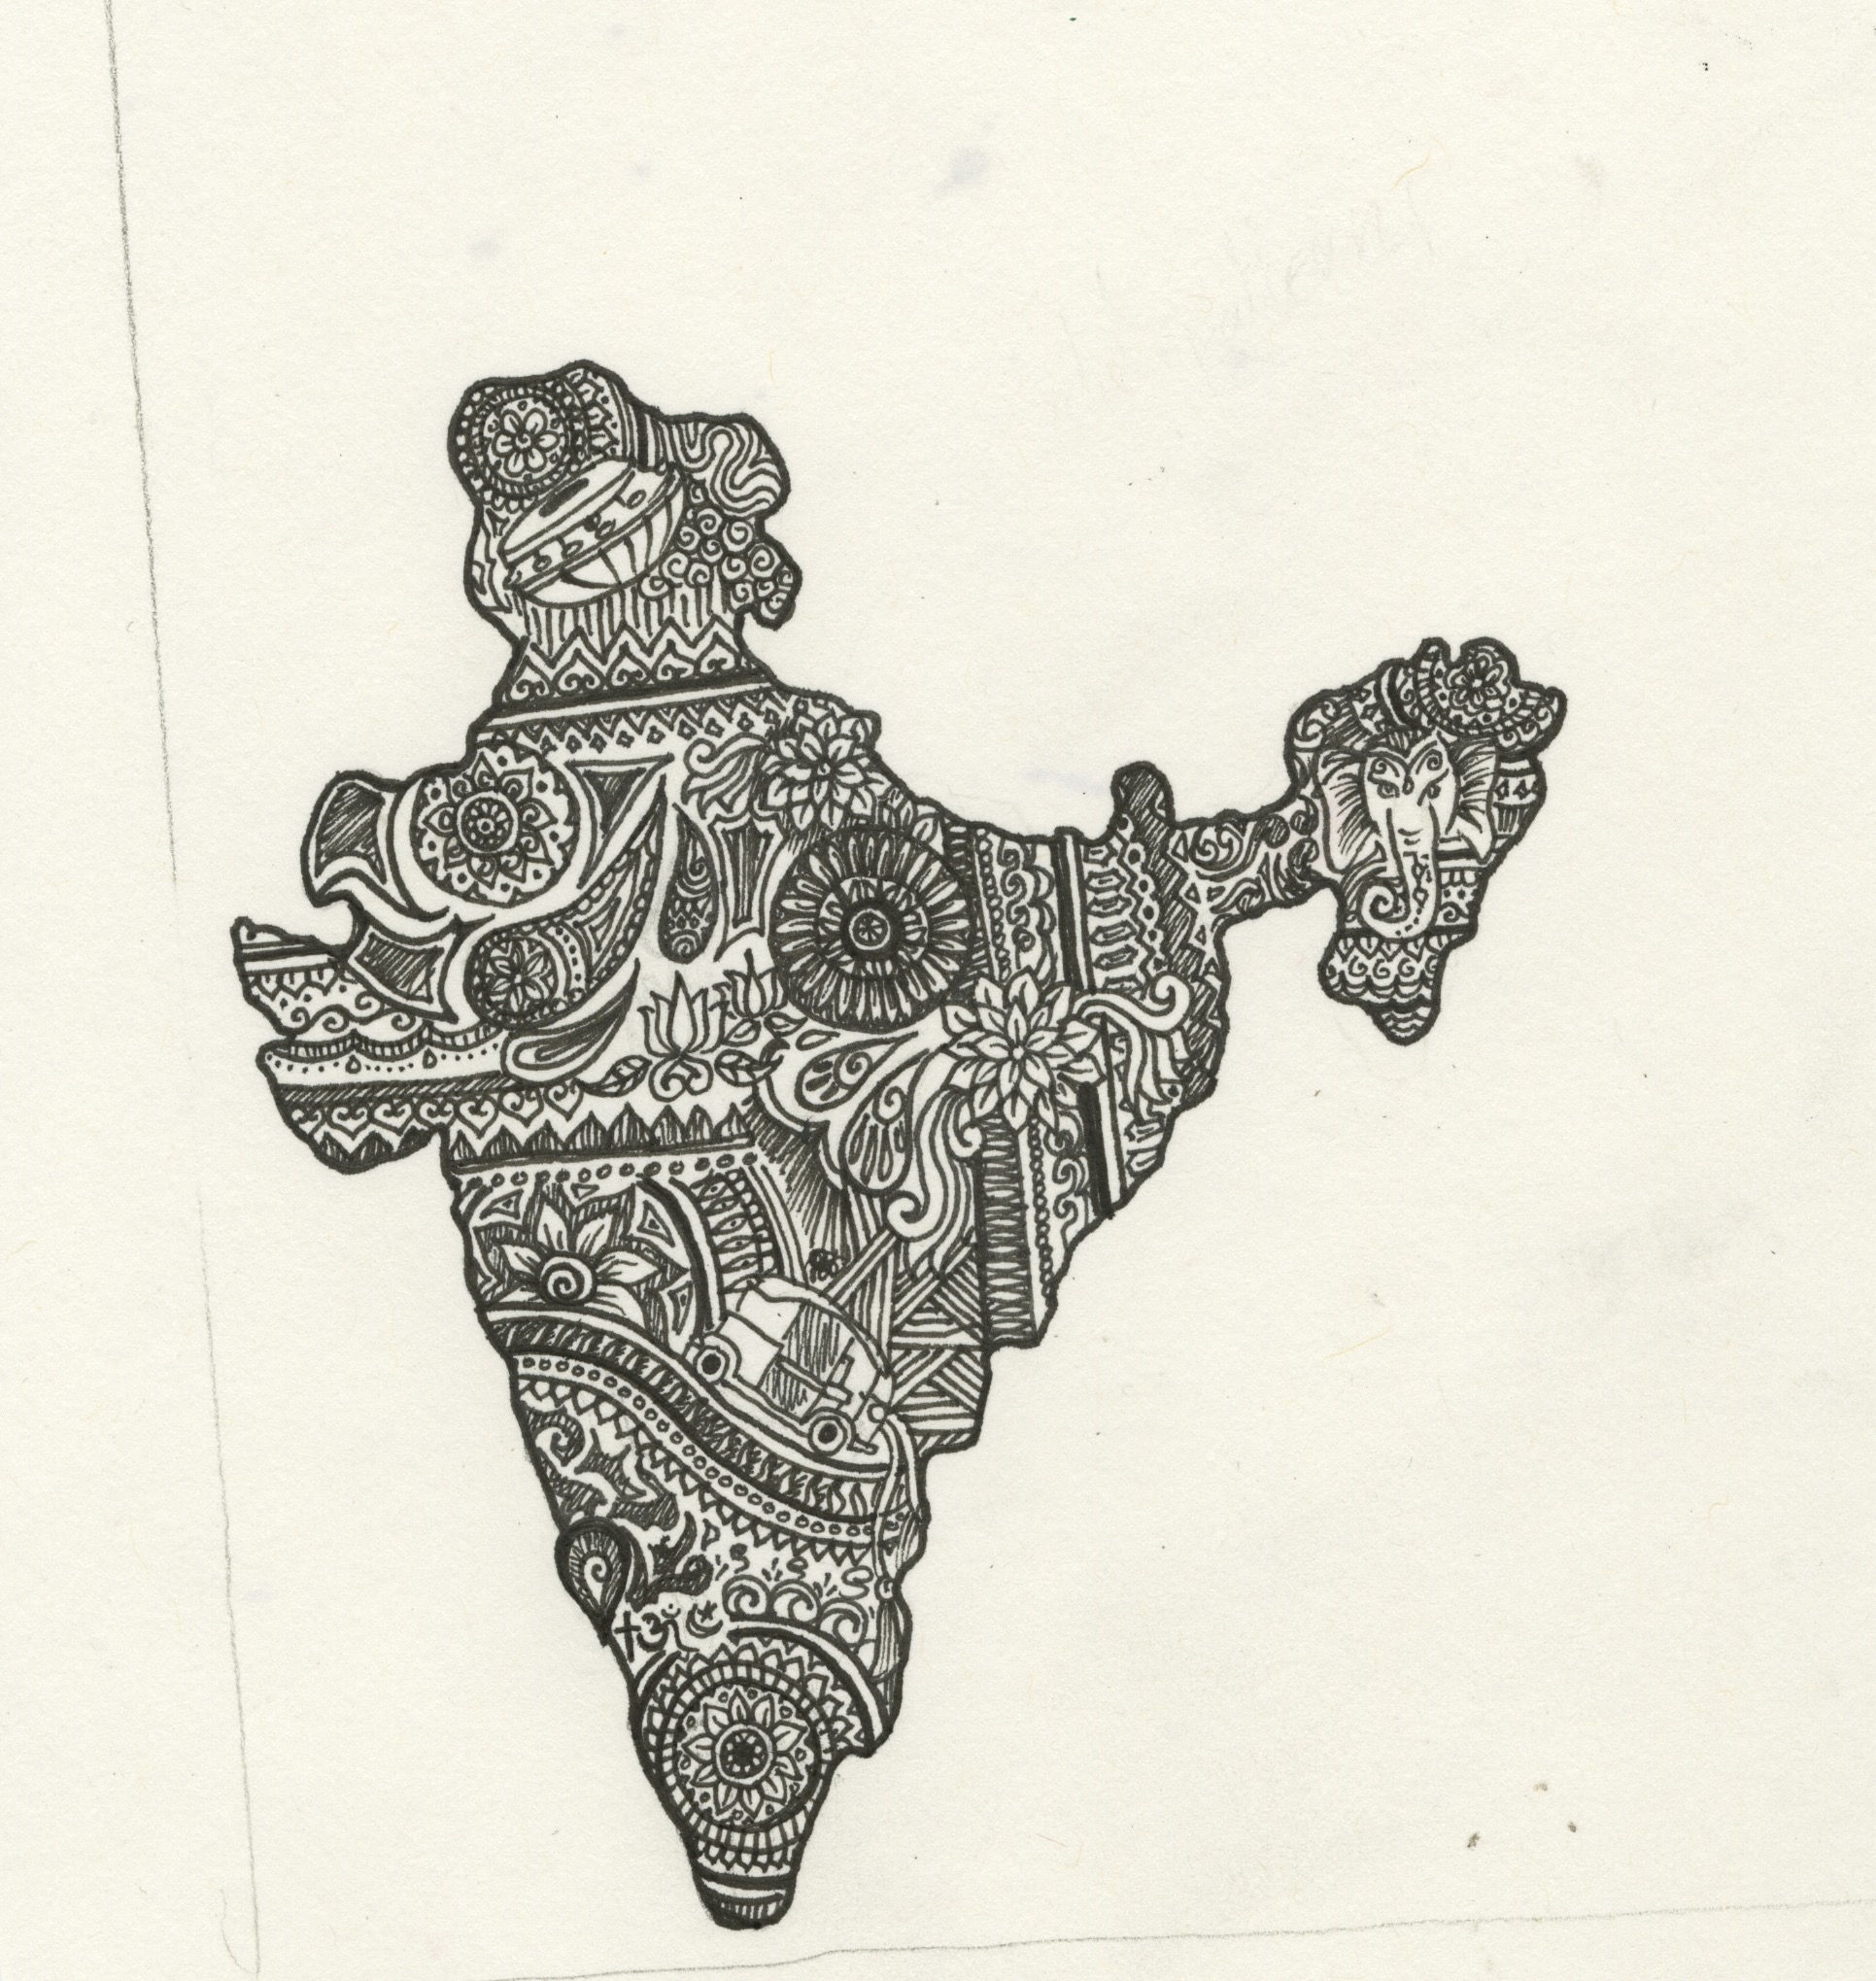
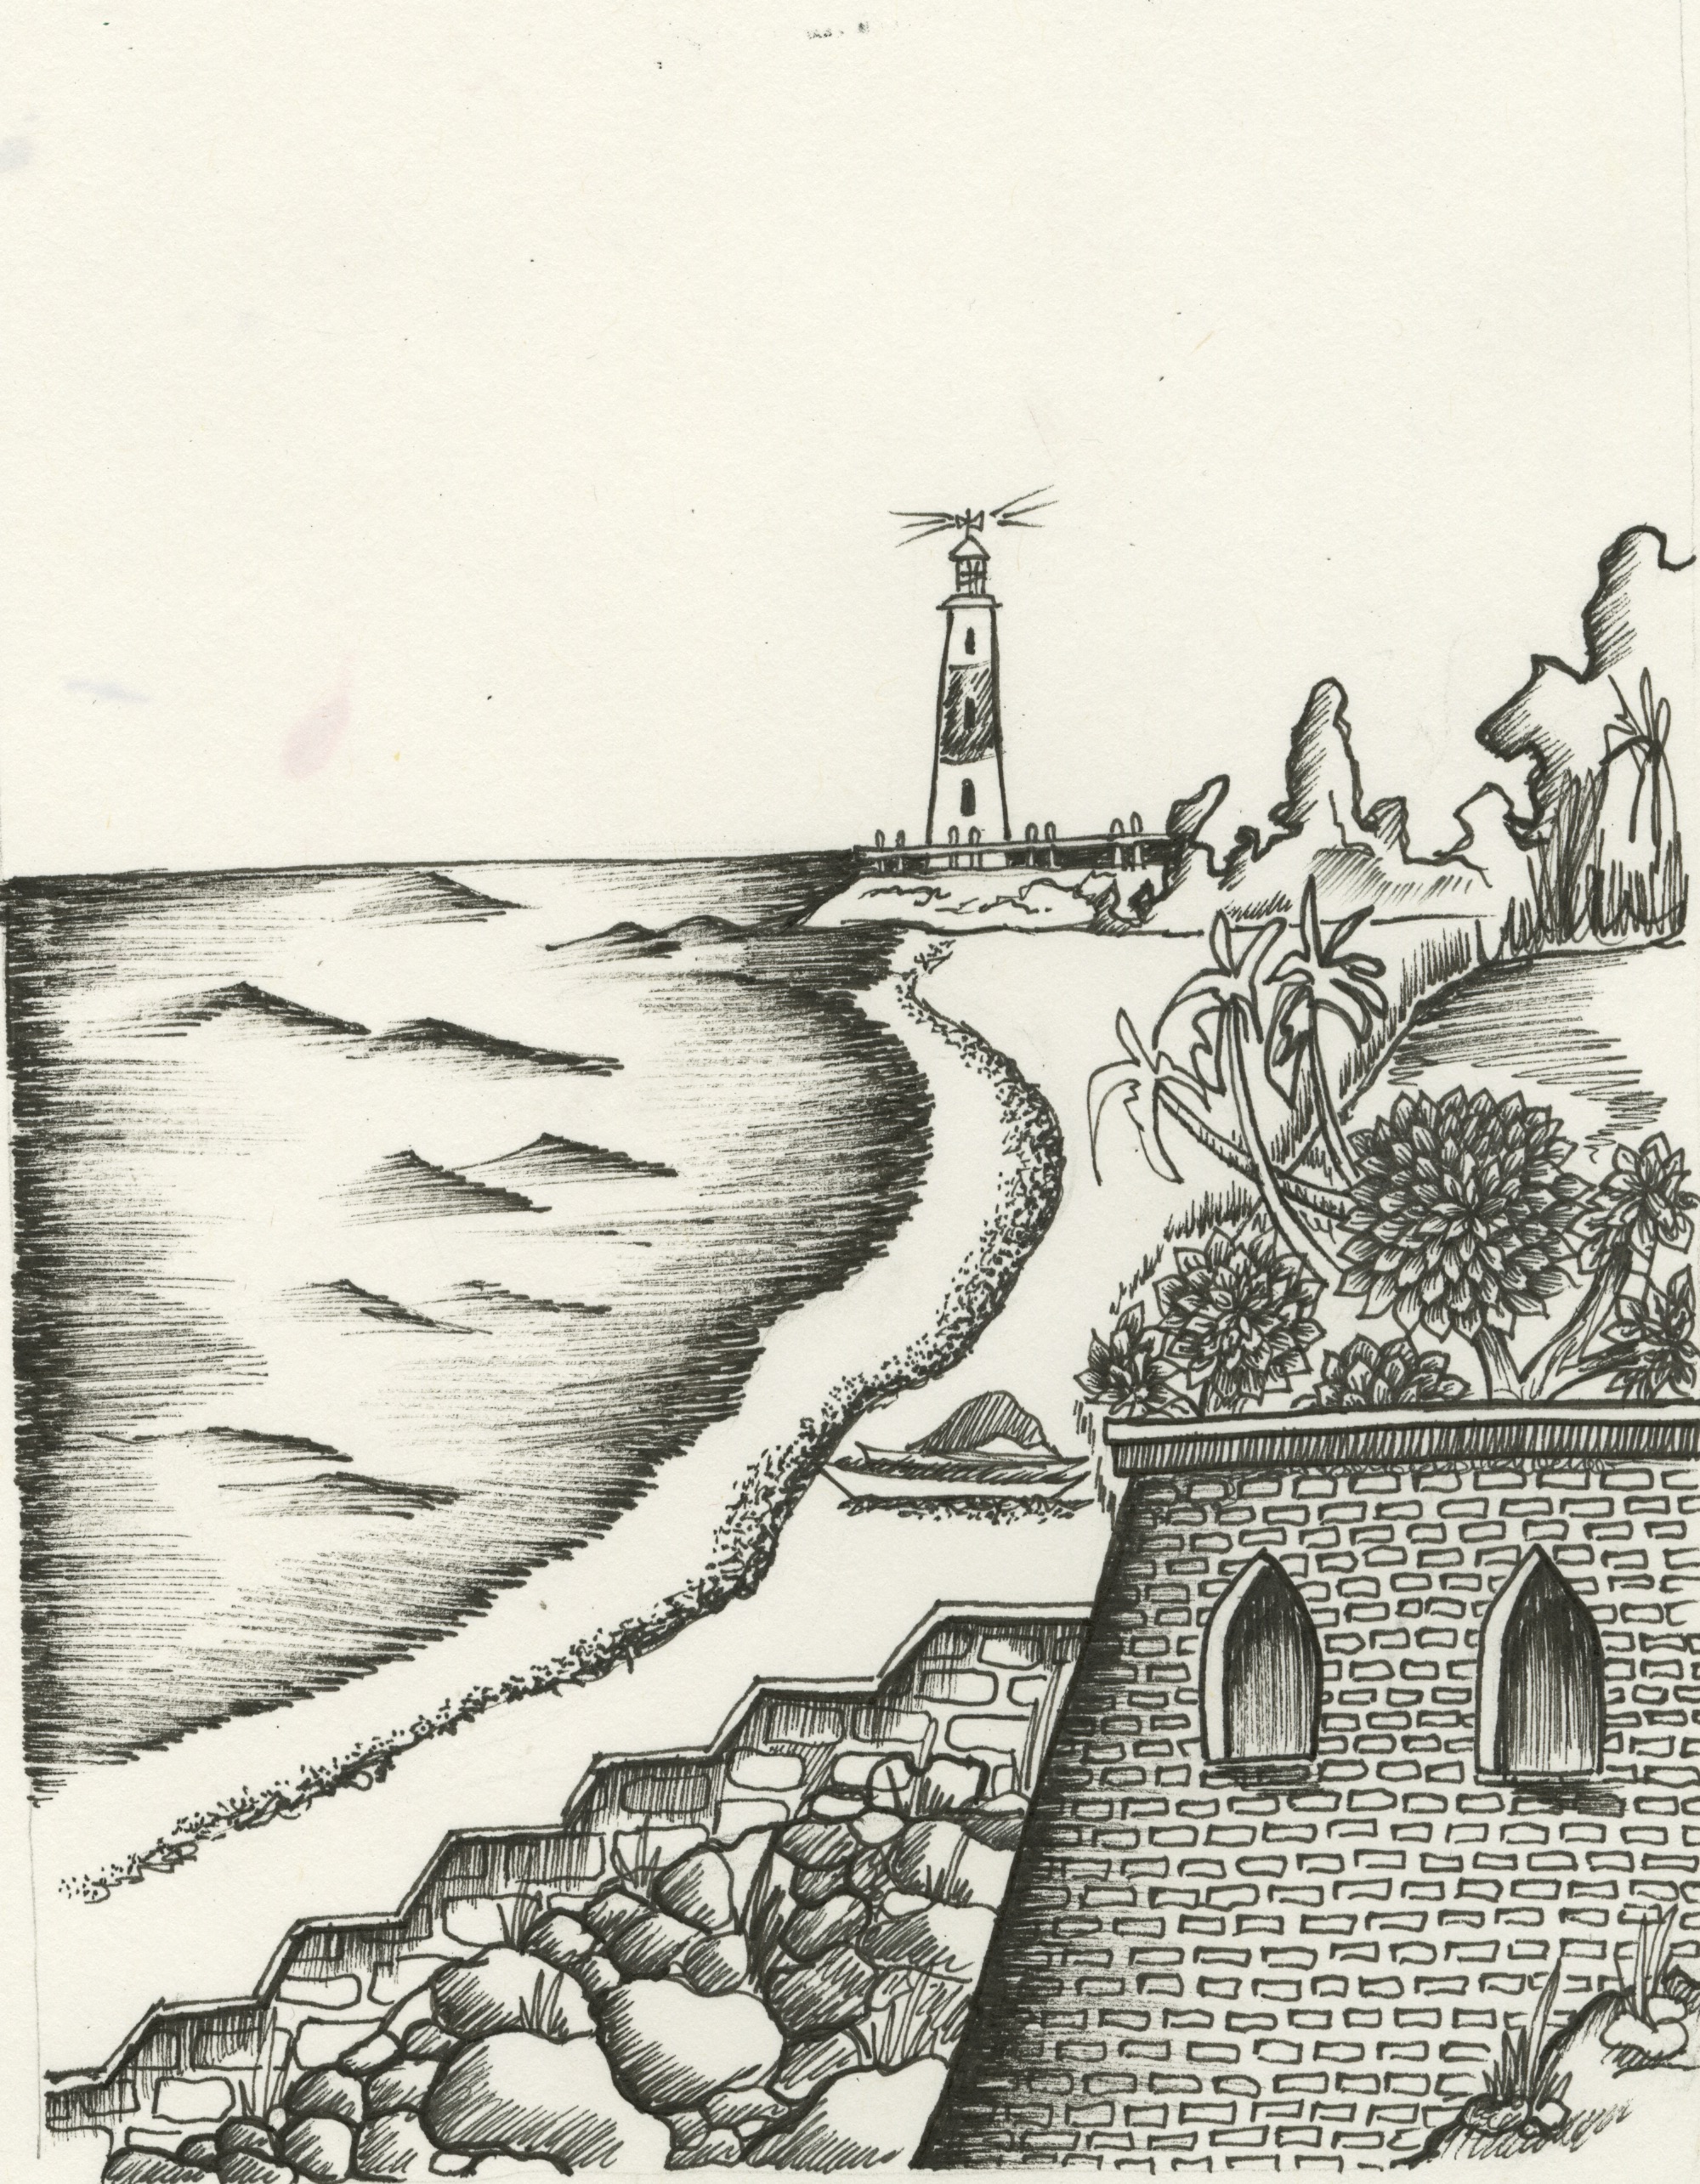
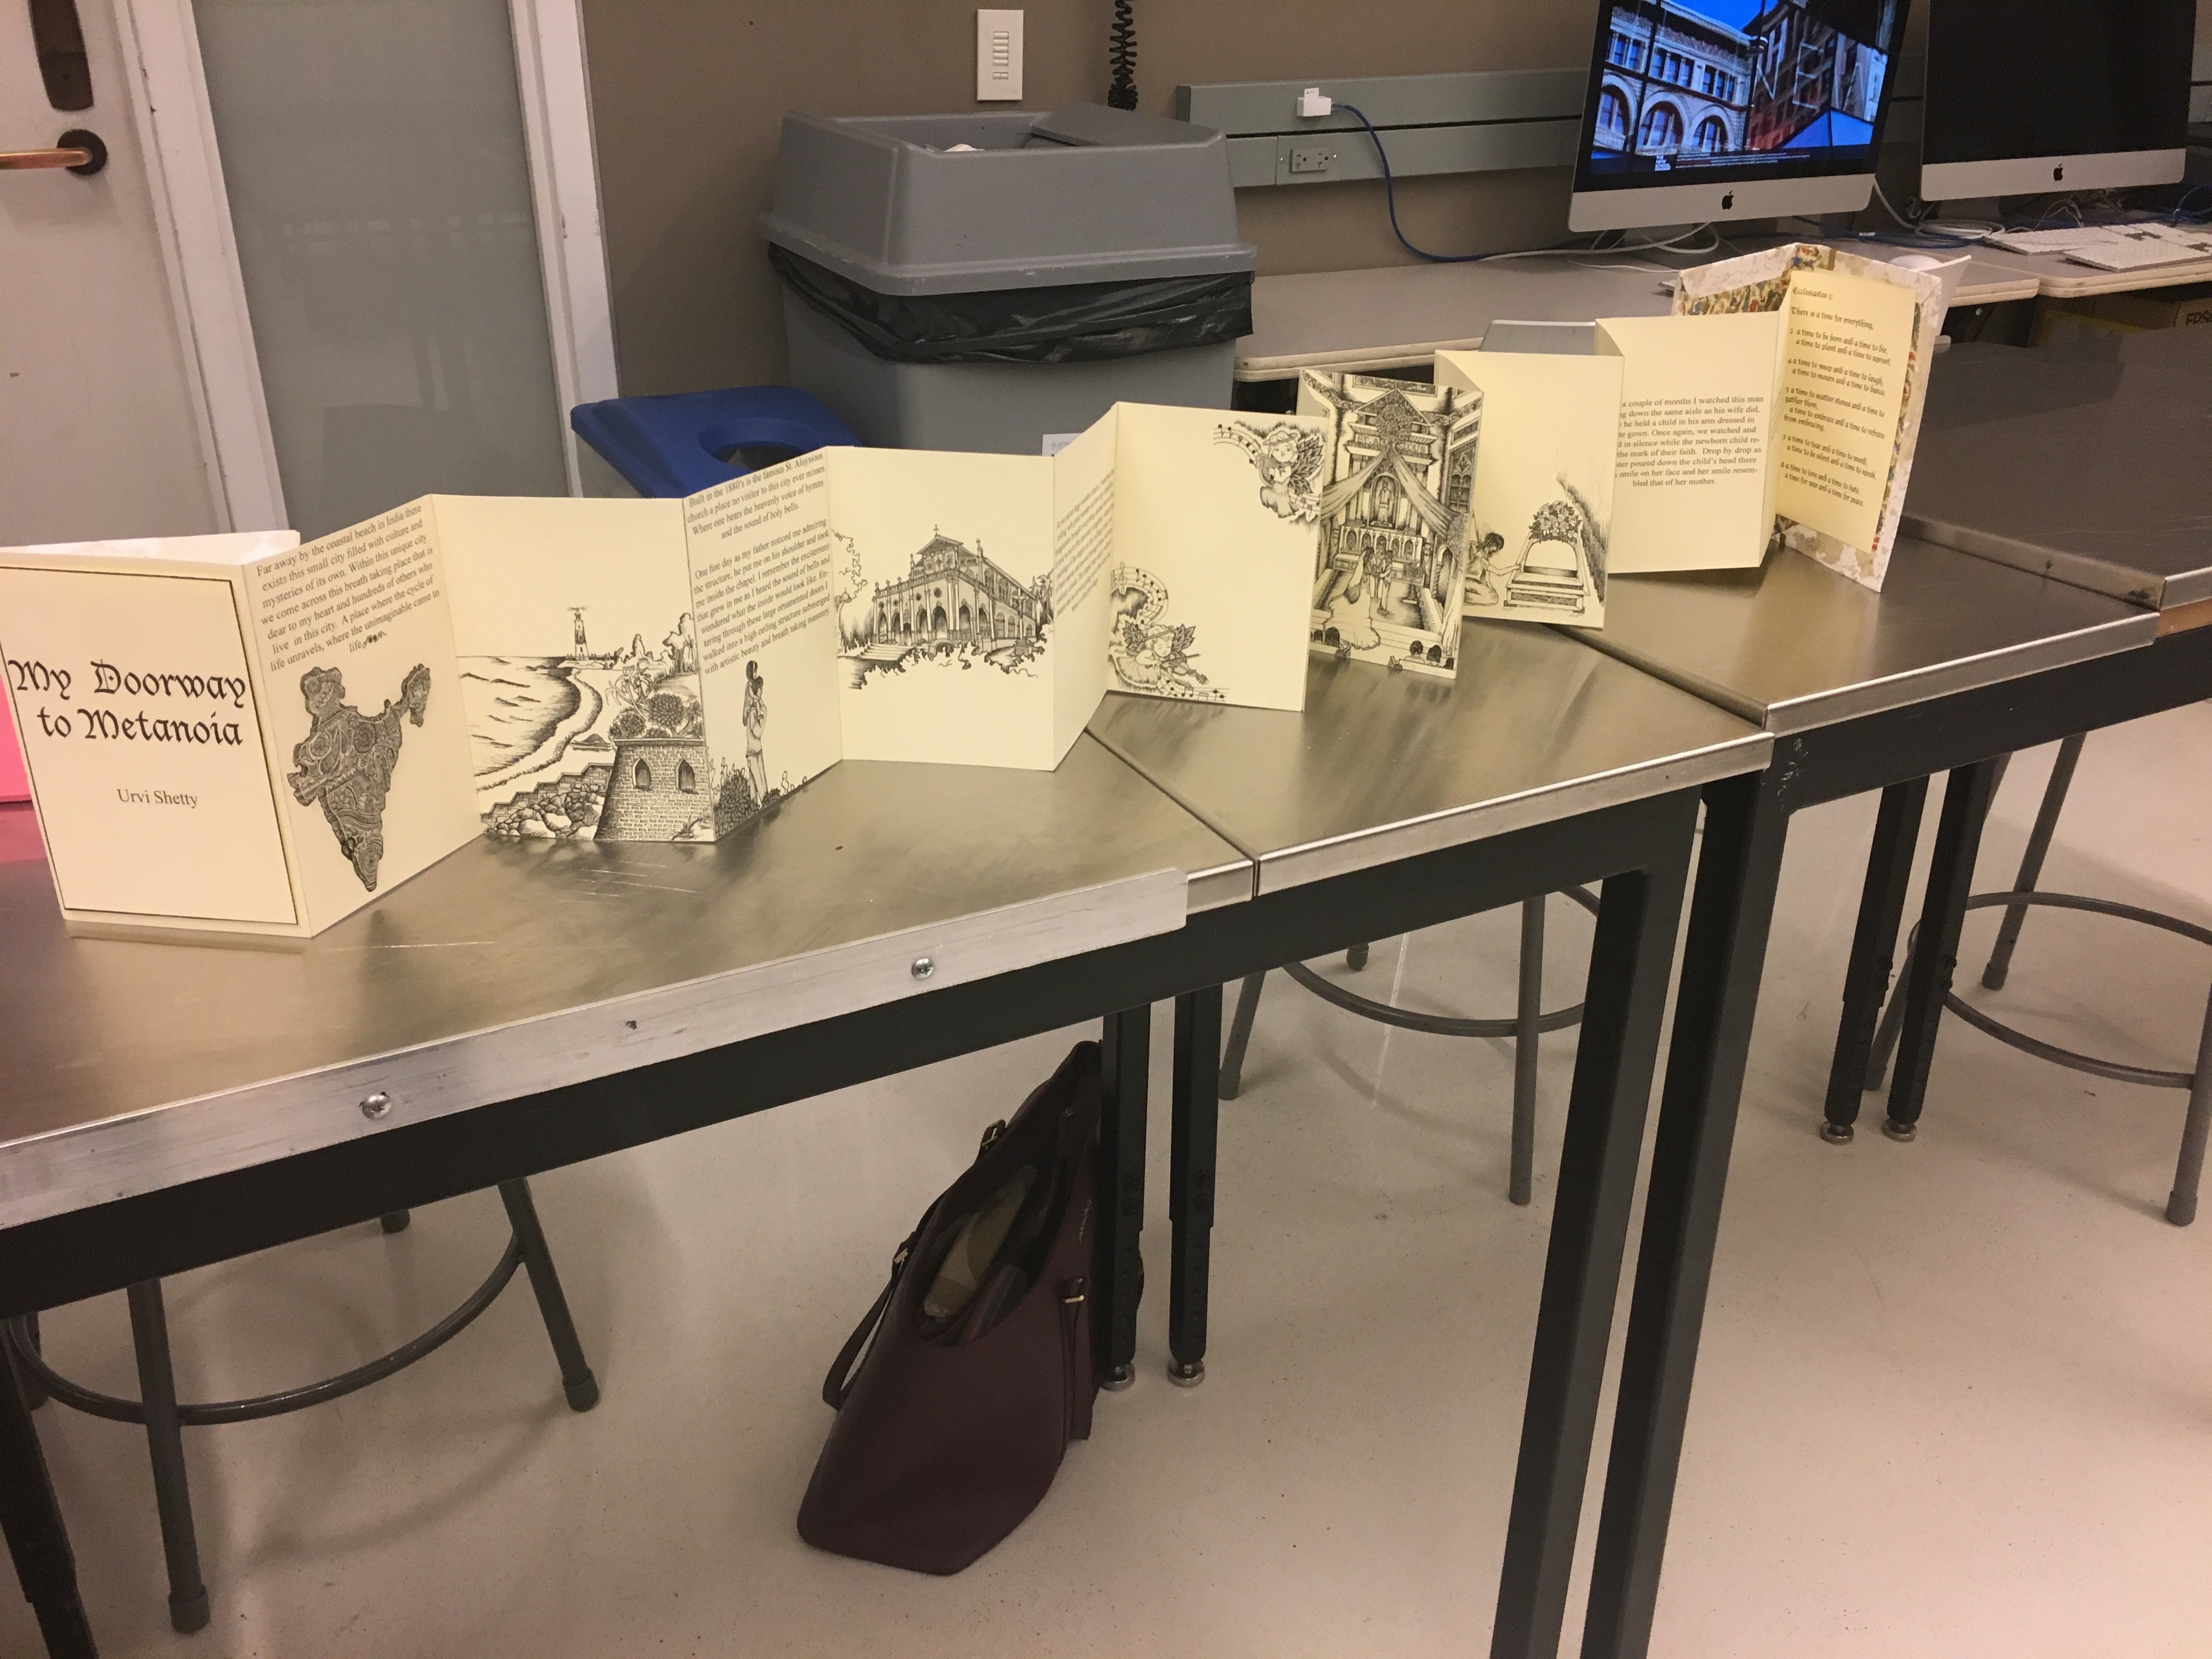
I then began collecting images and drawing out sketches based on the images for example, this is evident as seen in the images below.
Part.2
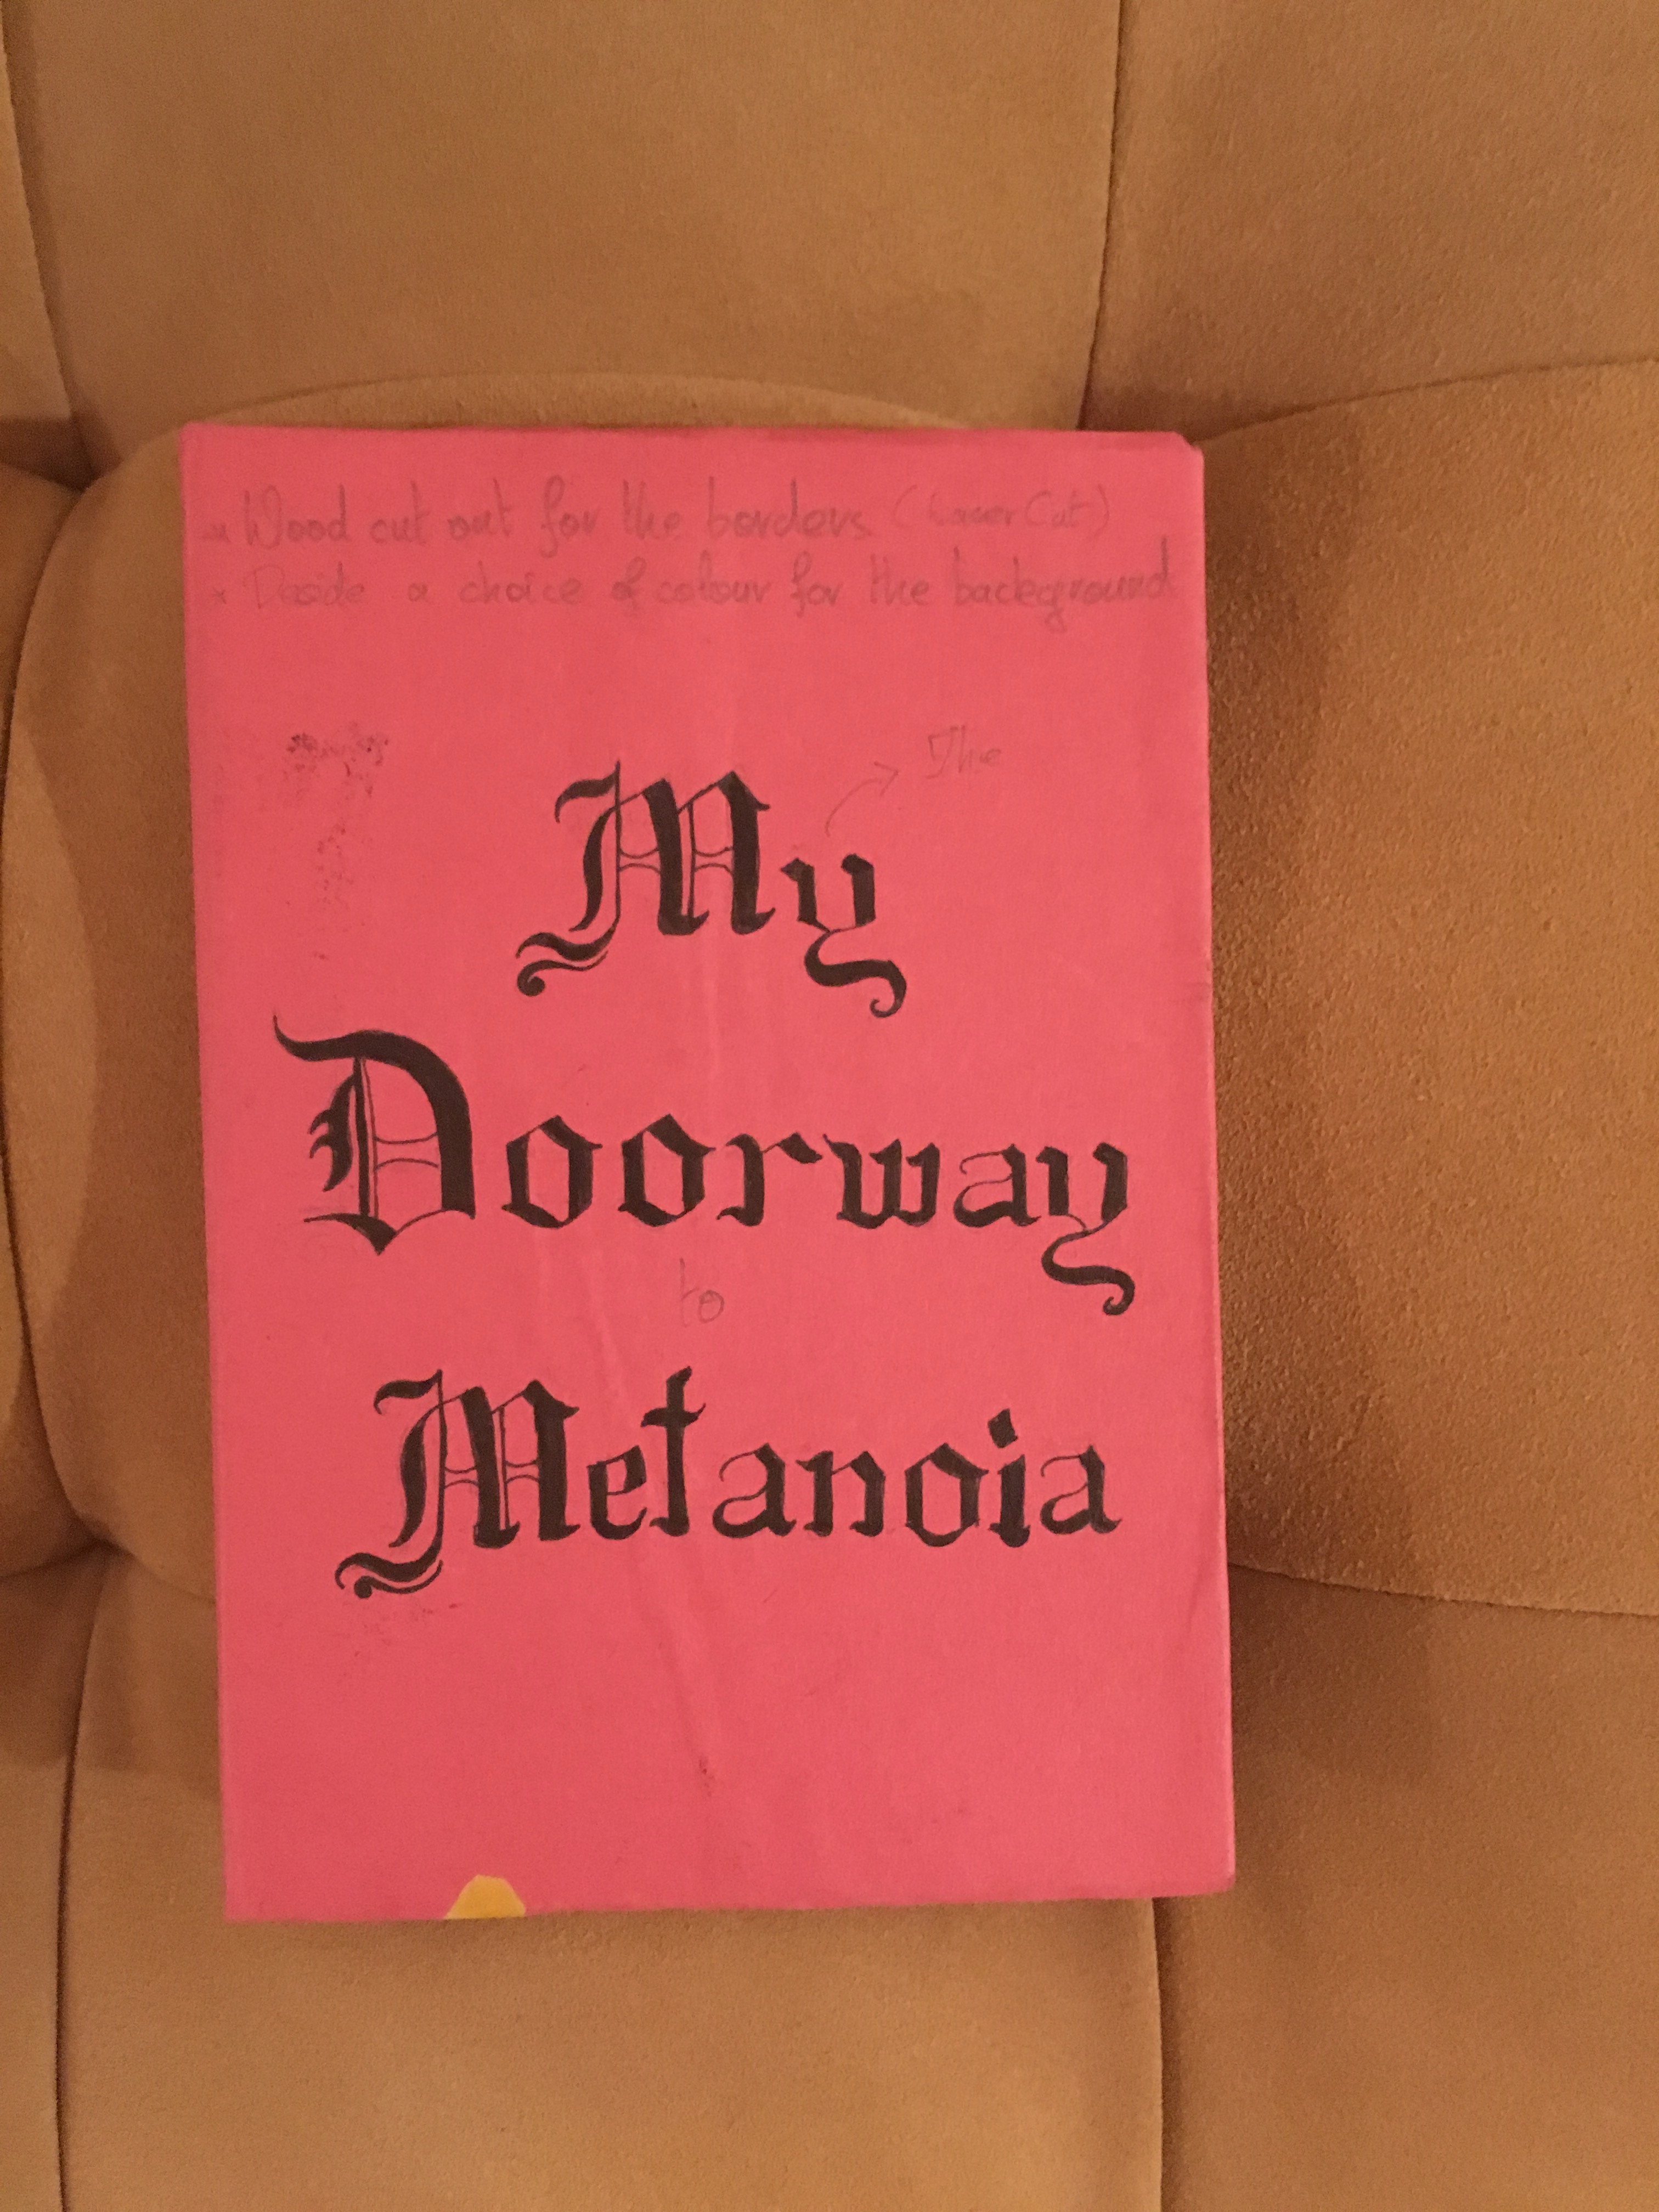
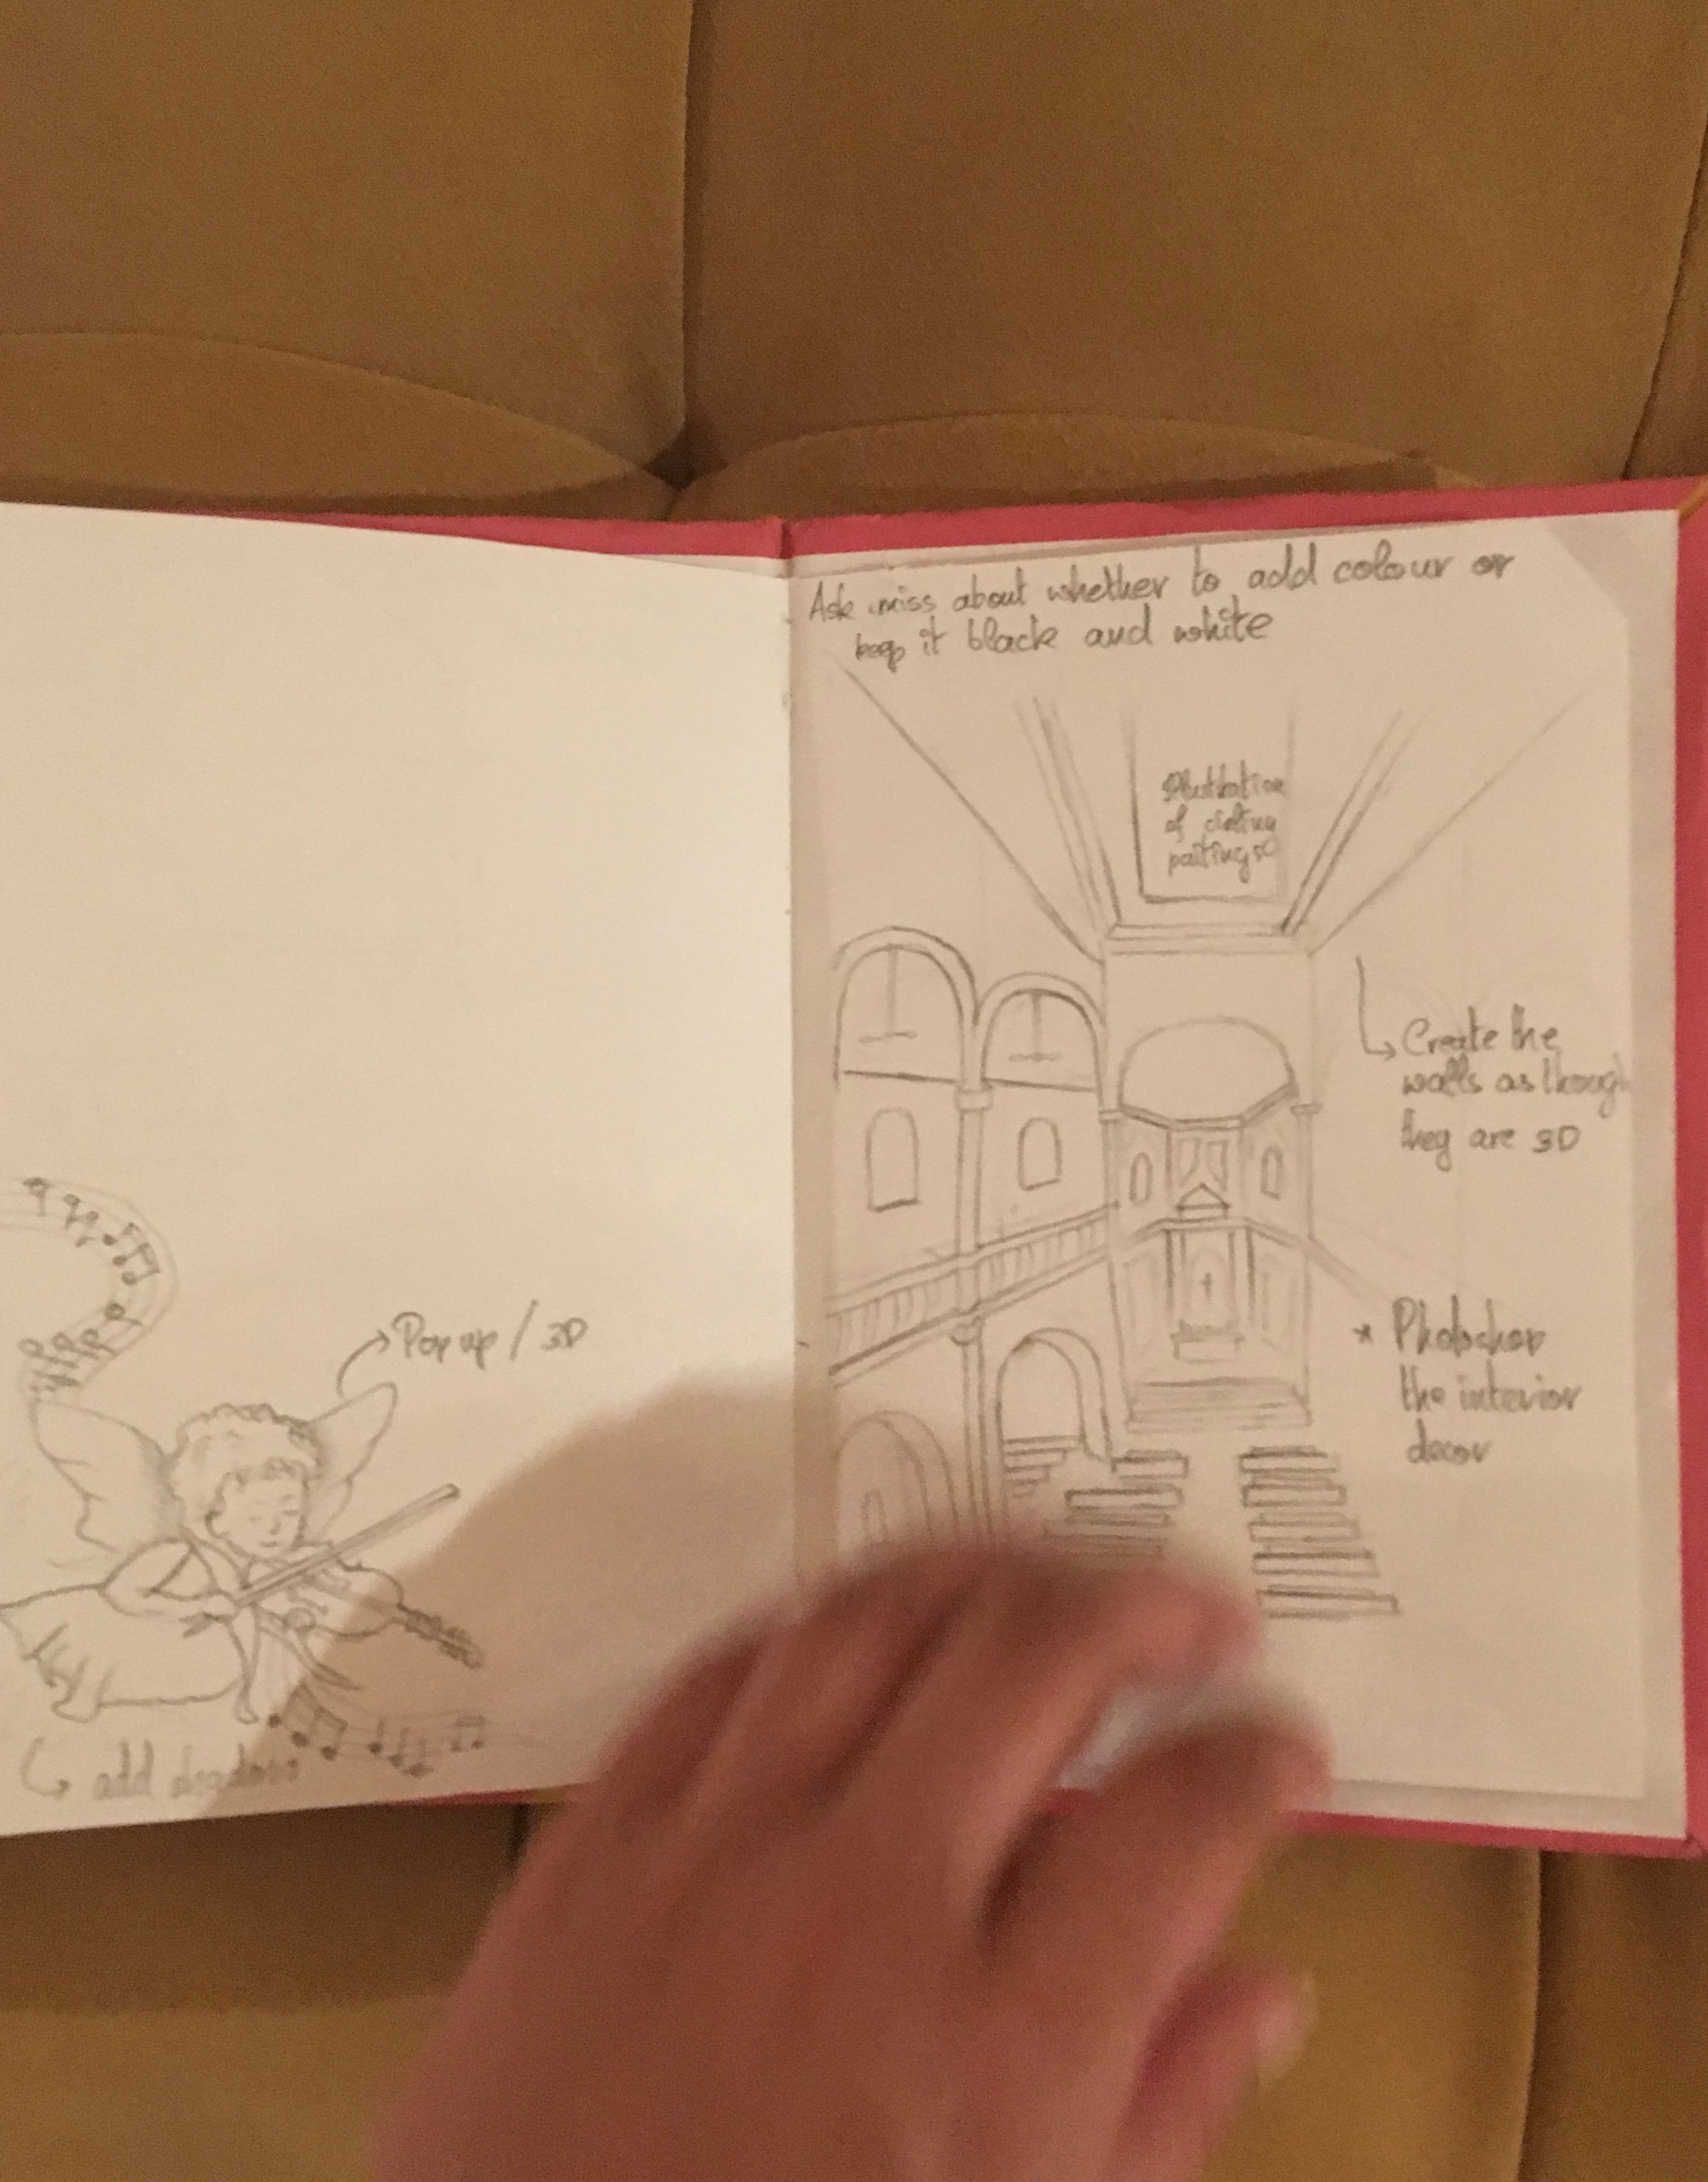
In order to help developing our concept we were then required to create a mood board that shows our visual concepts in relation to our story. This process helped in identifying how we could merge each image to the text. Hence, in this step I decided to create my mood board in the form a rough draft book. The book showcased rough sketches, how many pages I would like and side notes.
I then started sketching out the final drawings. The sketches were made in black ink on paper and were then scanned in order to printed on the final paper.
Once I had my images and texts ready, I began formatting my layout using InDesign a software application that helped in placing my images and texts wherever required and work on the spacing.
The next critical step was creating a prototype of our final project. Here I first created a small scaled version of the final book. This process helped in identifying if the text were aligned in the right spaces, the prototype also helped in recognising an unexpected error where the scanned images were printed in dark blue hue rather than in black.
The above image illustrates the different types of prototypes that we created before the final book was made.
As portrayed in the above images some of the sketches in the book were created in such a way that images appeared to pop out. This was done by having another cut out print out of the same sketch that was placed on top using double sided tape.
The pages were also taped together in order to help having it being layed out as seen in the image below. This format helped in providing more than one reader to look through the book at a time.
Reflection:
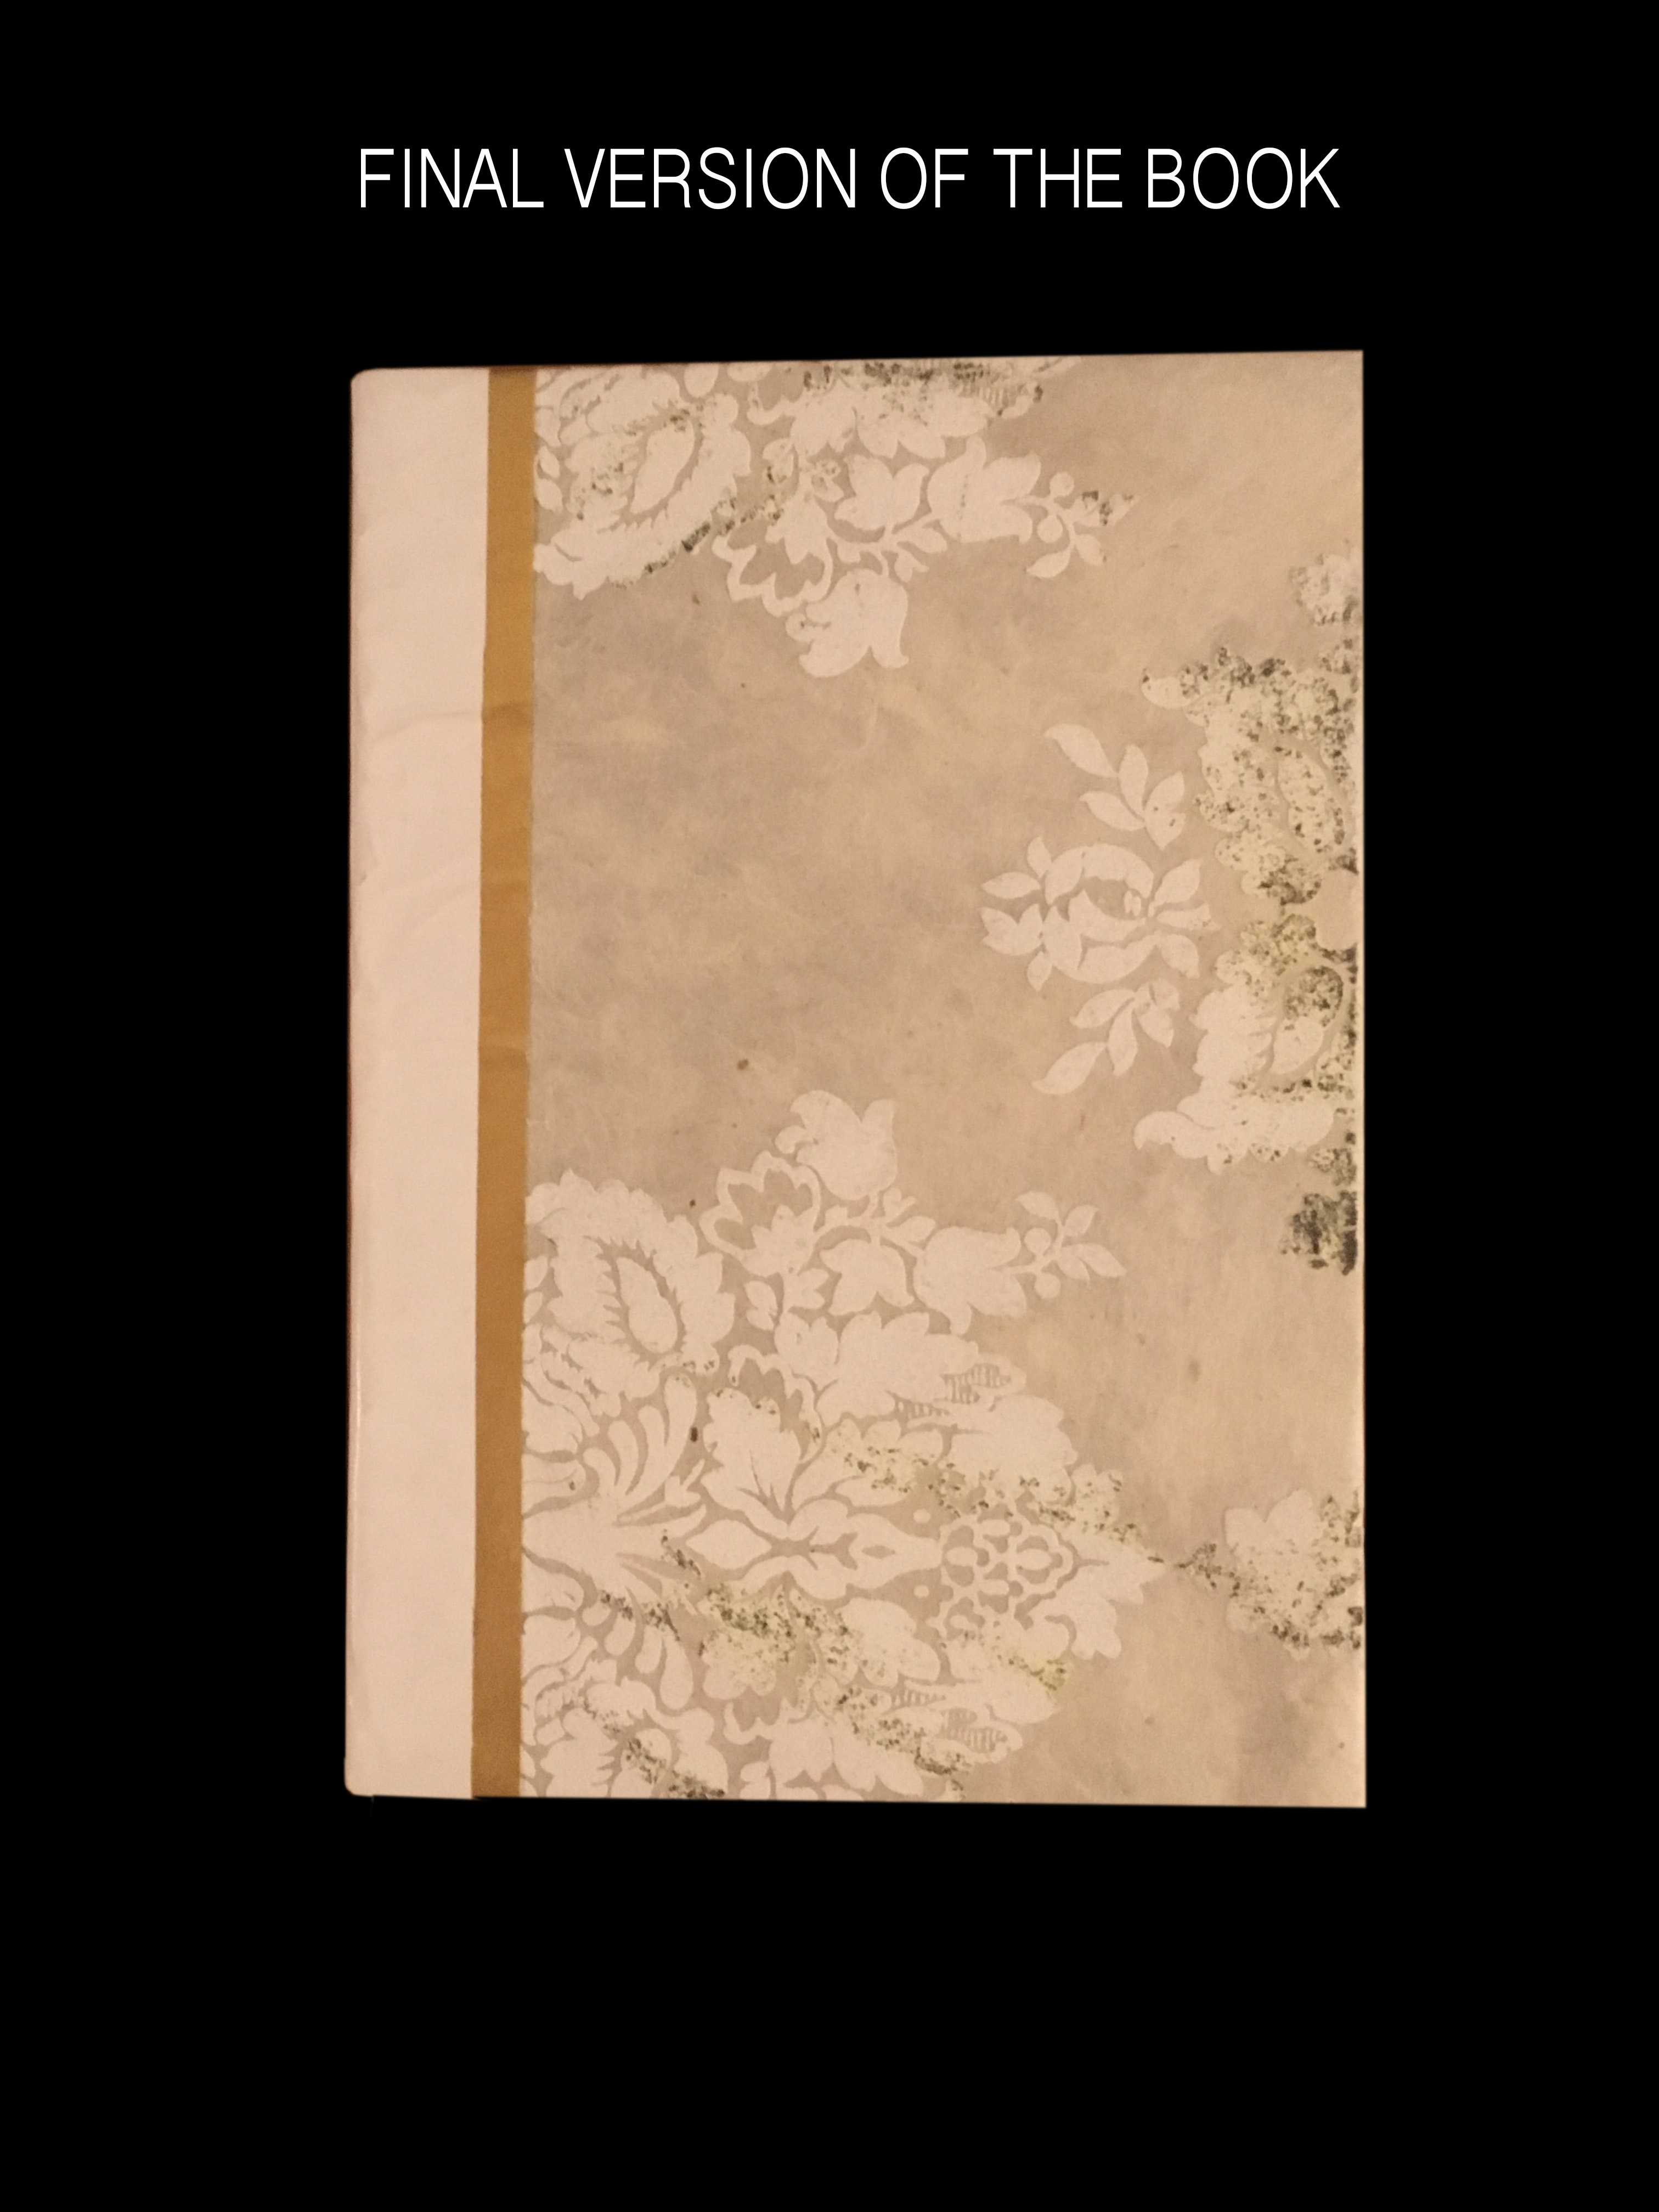
This project really helped in understanding the basics of using InDesign as I had never worked with this software. It also helped in learning about the fundamentals of making a book from creating a bounded exterior to something as simple as choosing the right font.


