Overview:
Architecture plays a critical role in our daily life, often we tend to lose sight of the heavy masonry and complex engineering that goes into creating these amusing structures. It explores the deep expression of human civilization from a particular generation. Architecture is on its own a form of visual art and frequently we also see artists drawing inspiration and even adapting architectural forms into the bases of their work. Hence, for our next project we were required to create a clay model of a structure existing in Greenwich Village.
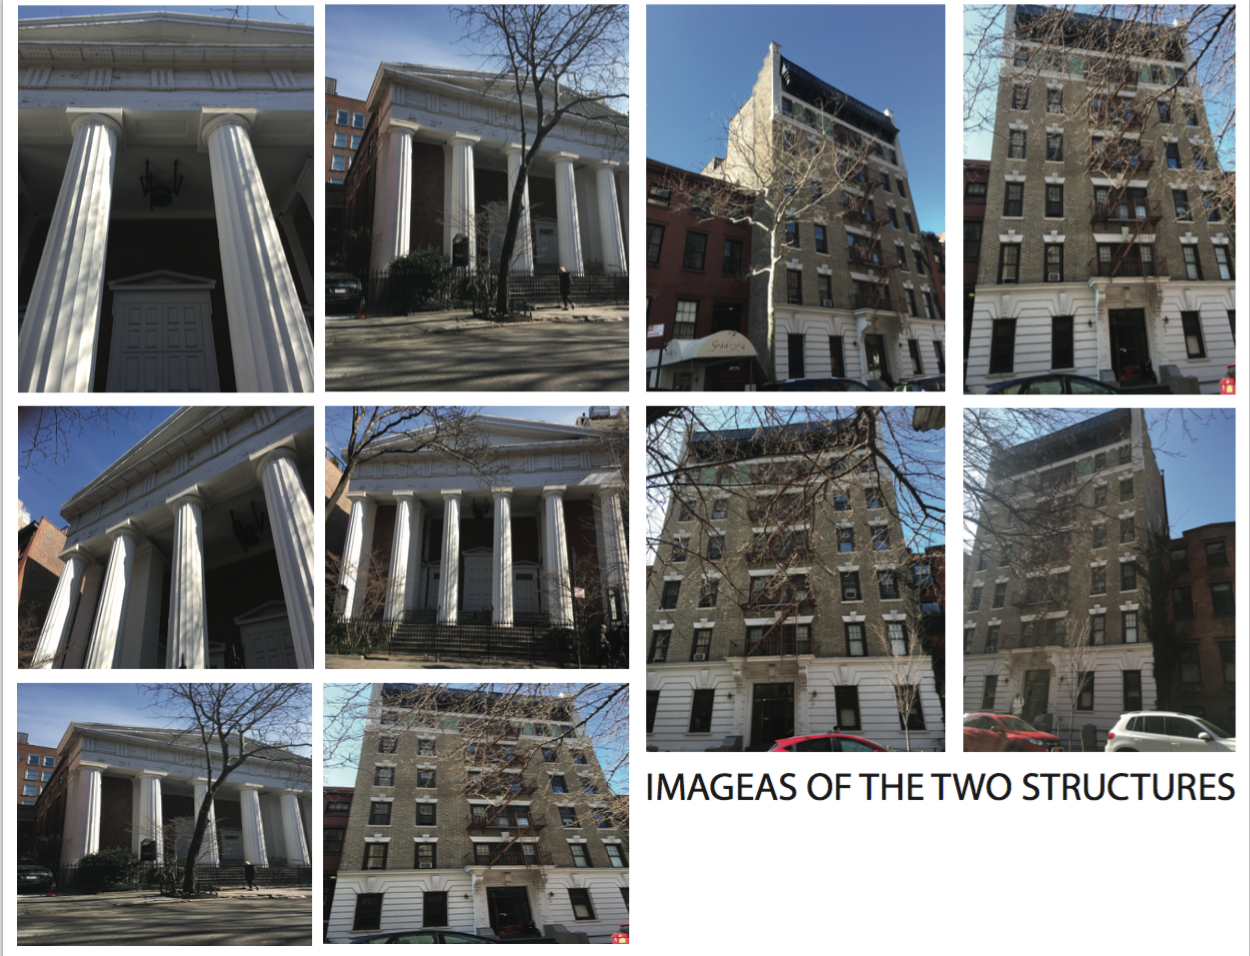
I wanted to focus on a historic structure that had a hidden meaning to it and regular building. So for this project I concentrated on the Thirteenth Street Presbyteria Church in 1902. The church was built between 1846 – 47 in the Greek revival style. The Greenwhich village was transforming into an suburb for refugee and in spite of its dignified appearance, the church traveled a rocky path from the beginning. The church later burned down in 1855. It was quickly rebuilt, but by April 1902 it burned down again, both times faithfully recreating the original 1840s design. The church went through a rough path. However, the facade was finally bought buy a developer and converted into an apartment.
Process:
In order to get started, the first step was to collect ten images of two structures where we captured visible sides of each building. This step helps in portraying how a 3D model of the structure could be created. Hence, I decided to capture the image the following images.
Once we finalized on the structure we wanted to create, we were then required to recreate a sketch of the building. This was done in order to modify our structure as it would quite challenging to adapt every single detail into the final model as we were beginners with working on clay and had certain time constraints. For my first sketch I created an almost realistic sketch of the structure as seen in the image below.

However, it was difficult for me to recreate it. Therefor, I brought out simple shapes and forms from the structure and created a separate sketch. I picked parts of the structure that helped identifying the structure from others. In this sketch I didn’t sketch the model as a 3D object but rather, drew how I would like each side of the structure to be seen. Through observing the image below, it becomes quite evident how the two sketches are quite different but come together to represent the same structure.

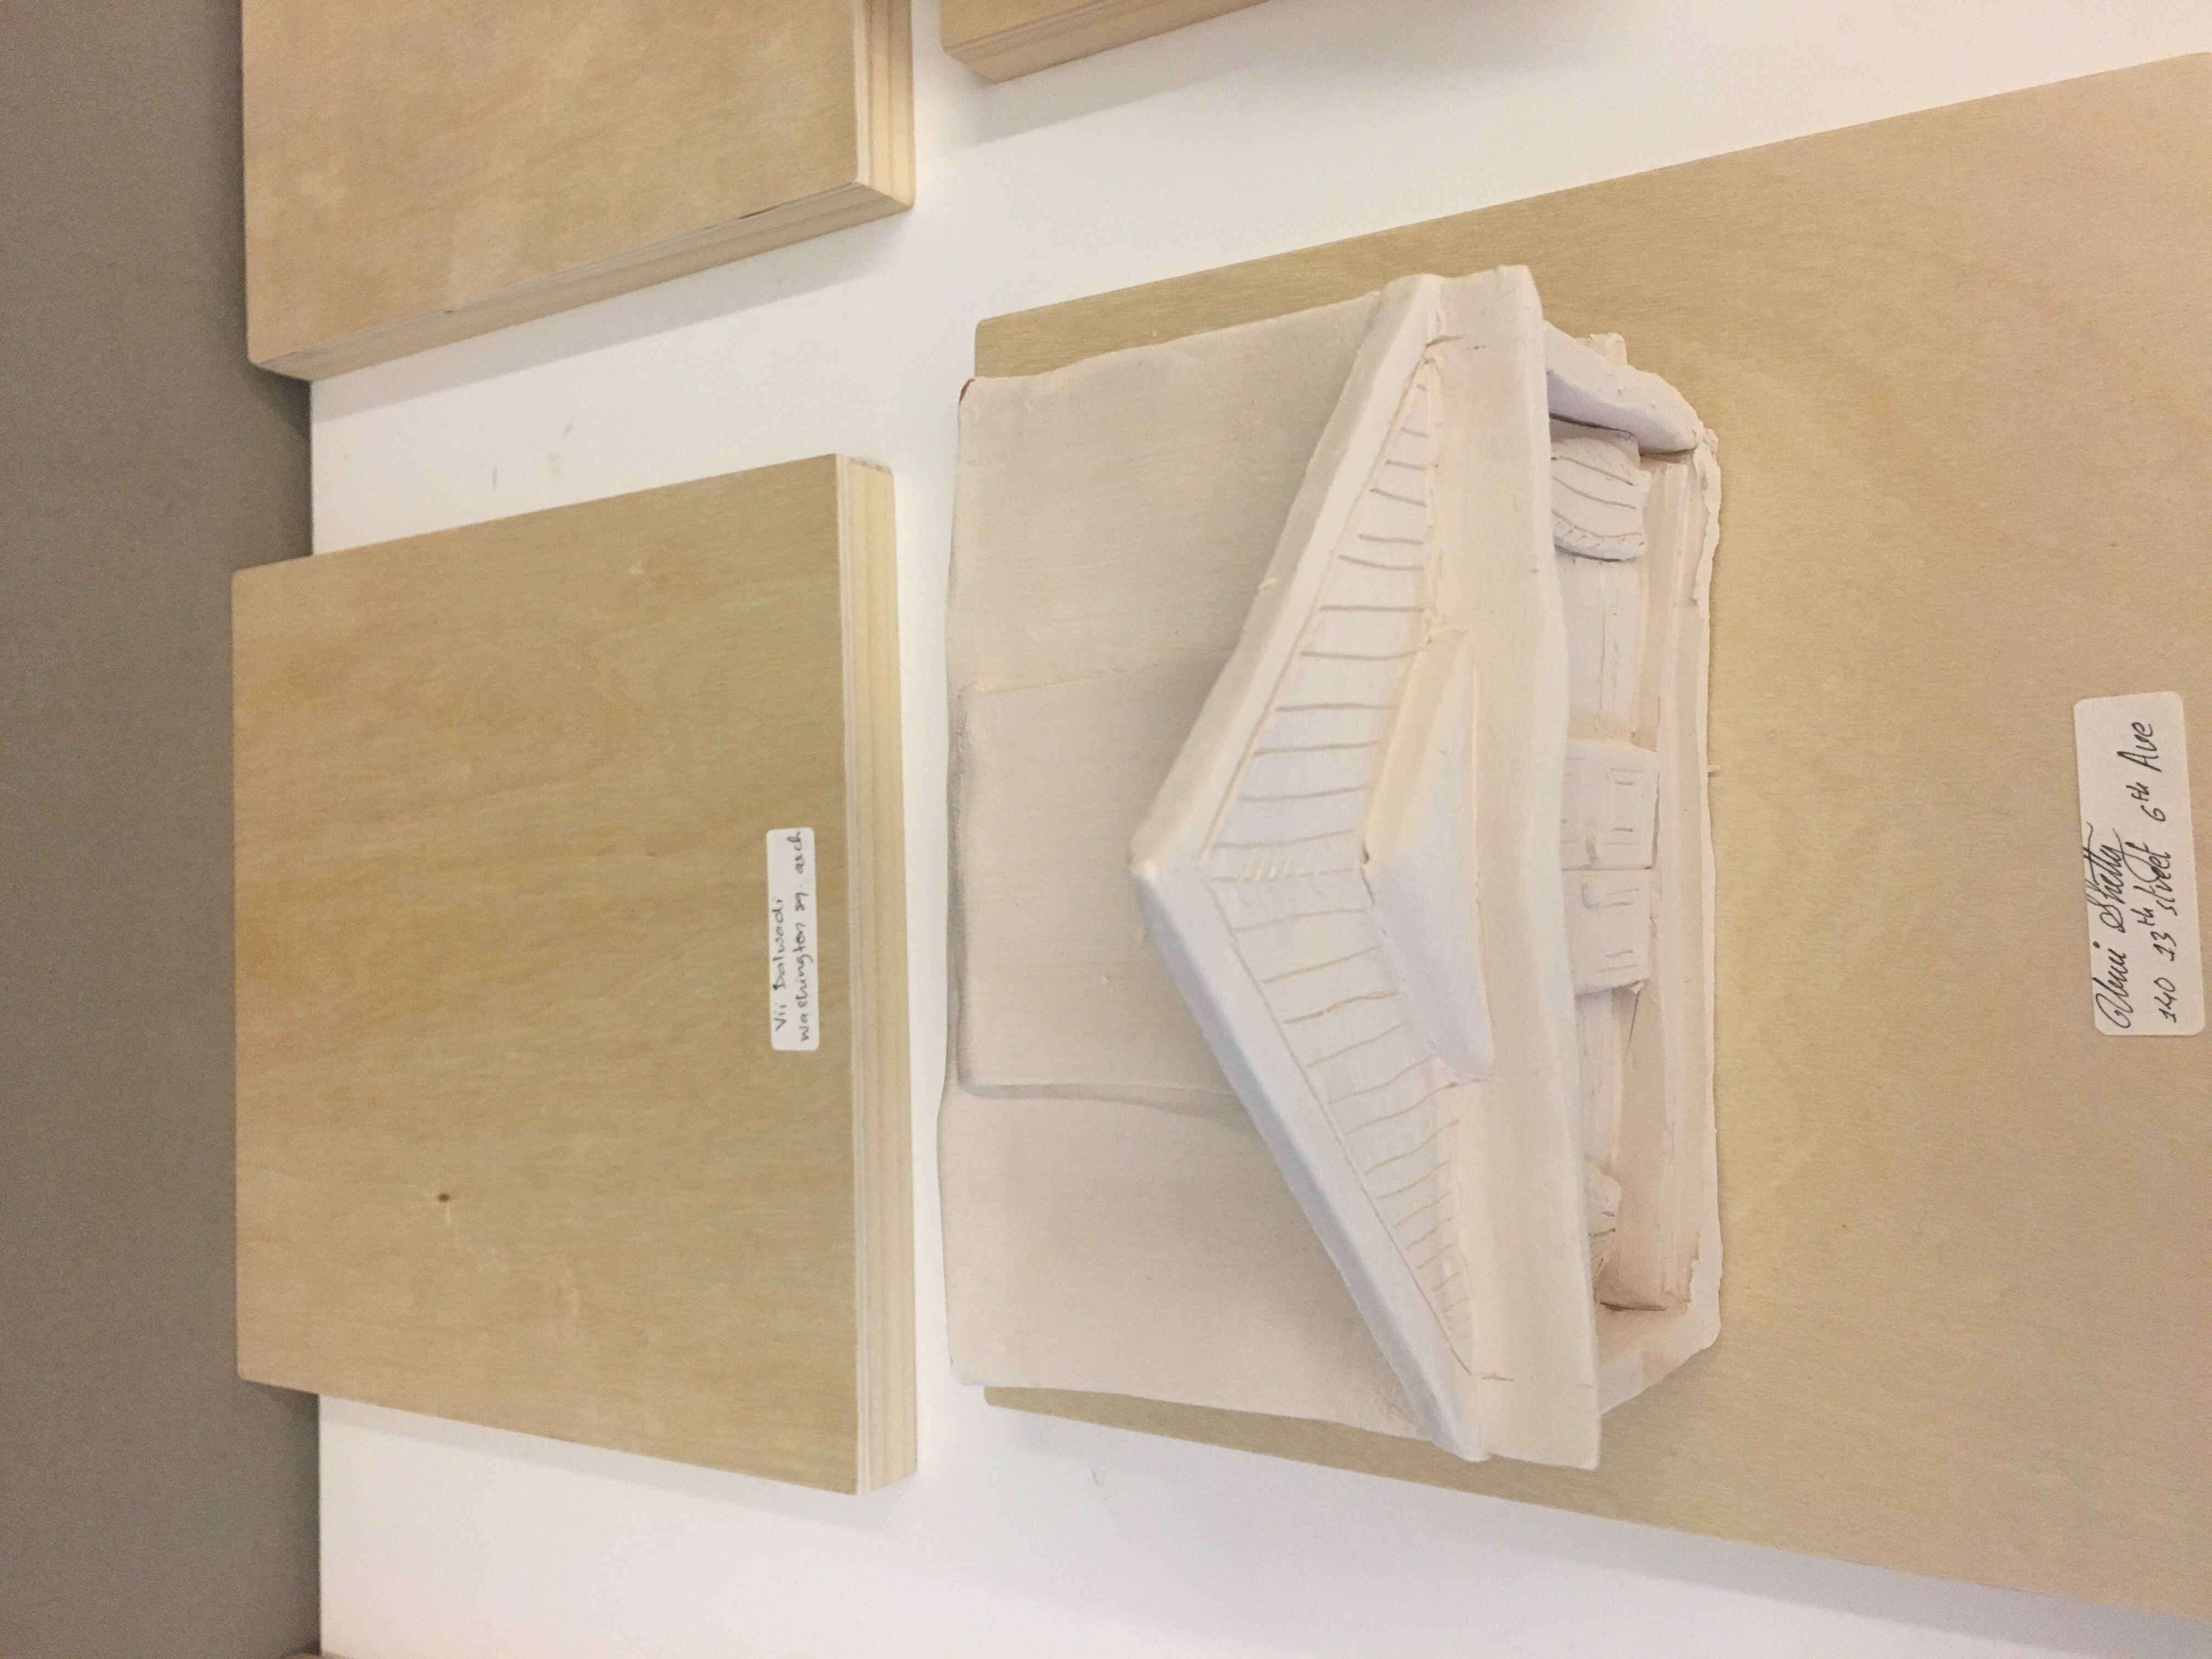
The next step was the most critical step, which was building the structure. We first began by cutting the clay into two equal half using a wire clay cutter to help in flattening out the clay by using roller.
This process helped in having the clay spread out, making it easier to create the walls of the structure and having a balanced thickness. Once this was done we began cutting our required shapes using a modeling tool. Now, in order to attach the structures together we had to change the form of the sharp side edges of each slab/wall of the structure. Through using the ribbon wire tool we carefully carved out the edges from a 90-degree angle to a 45-degree angle. Before we attached the sides each of the edges needed to be scored so the sides of the structure bonded to each side correctly. Through using the clay like cement I also added some clay on the sides to attach to surfaces and pinched it to stick on to the surface. In this step water played a critical role, in order to have the clay more flexible to mold into the require shape. Then using a needle I was able to add ornamentation to create the bricks and other small details. I also used a sponge in order to create a soft repetitive line like texture. The final step was to cut out the bottom slab of the structure of the wood.


I also used white clay in order to help identify the church as it replicates the same colour of the original structure.


Reflection:
Through this project I learnt how our hands can be very critical role especially while working with clay and ceramics. I also had to recreate my structures I used to much water and the structure collapsed while still wet. Hence, when I re did the model I made sure I didn’t use too much water and made sure the clay was thick enough. The project also taught me how critical sketching out your model is, in order to get an accurate size and density.
I think the project also dwells in you a sense of patience as it requires you to be very carful while working on soft clay, especially with long nails and working with minor details.