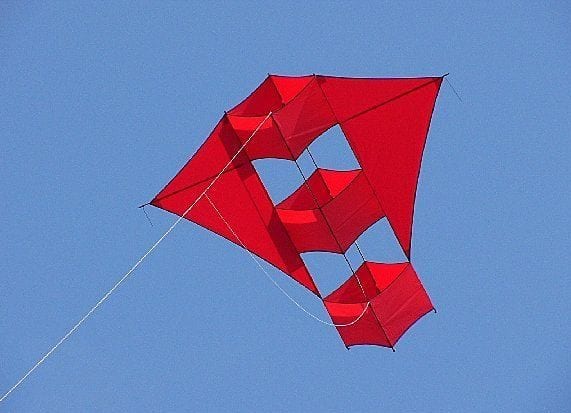

this is my inspiration image for the potential box kite I could design.
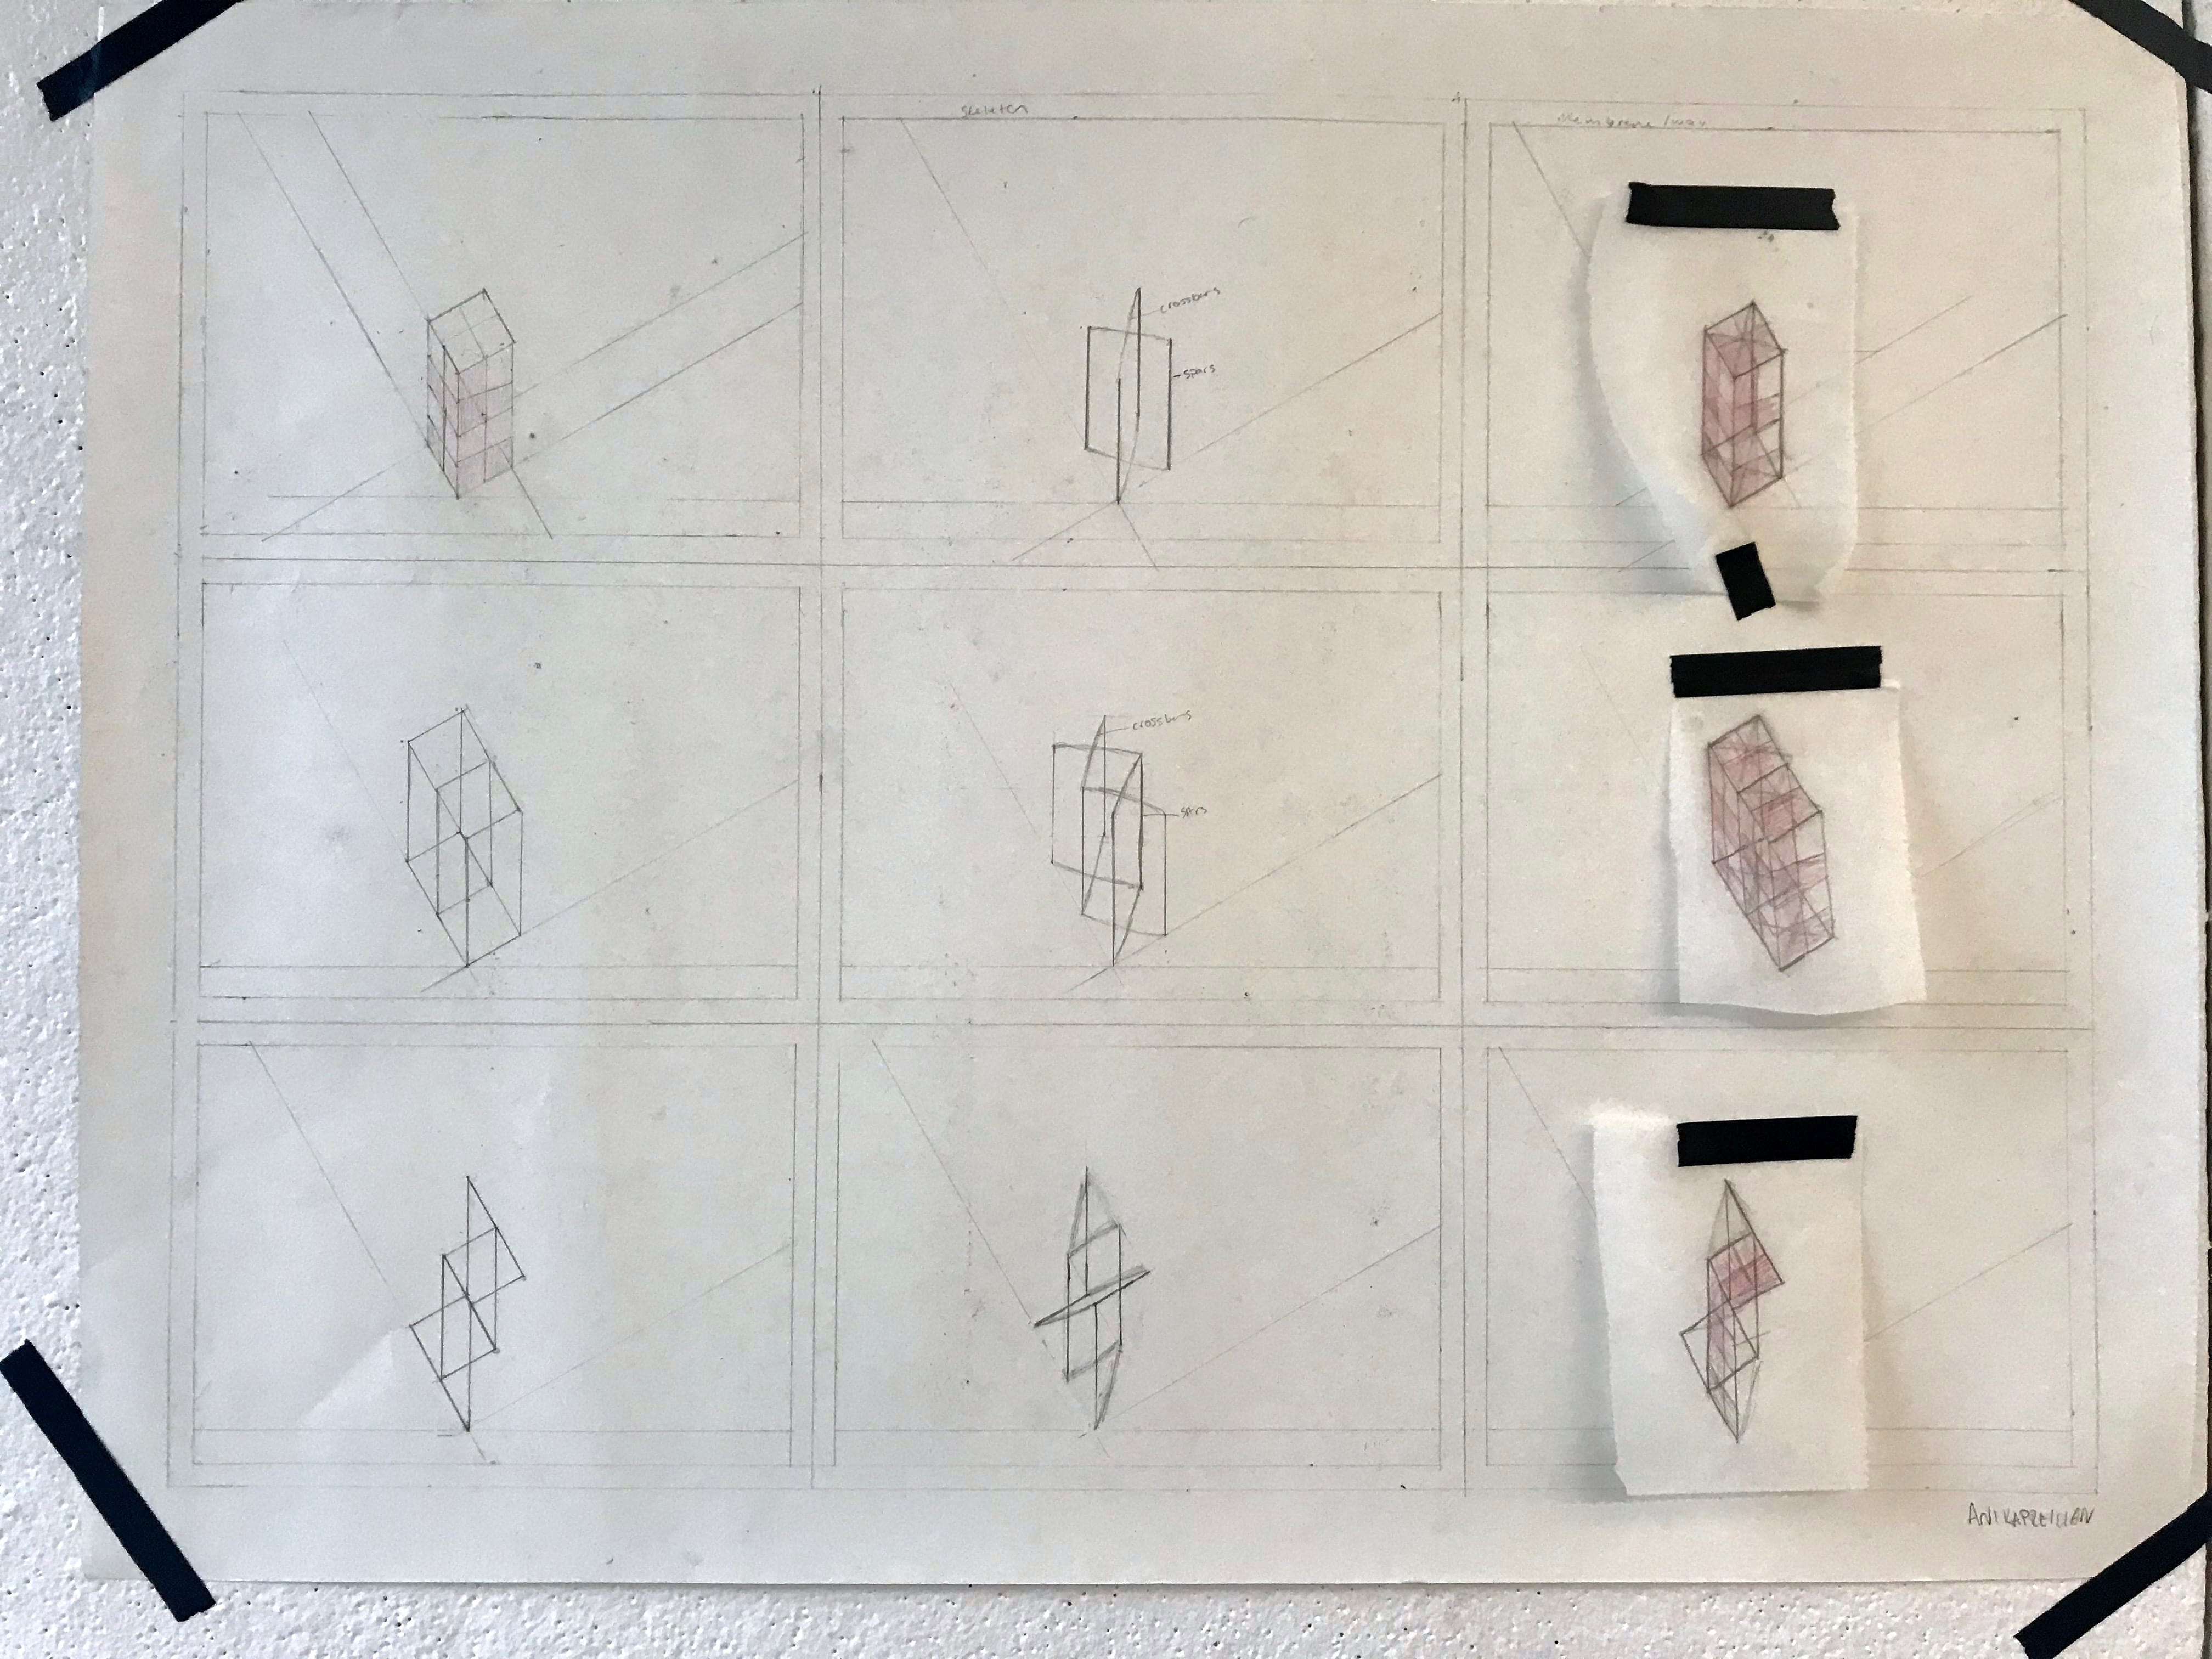
To begin the kite making process I completed a 12 step drawing to map out and create the form of my kite.
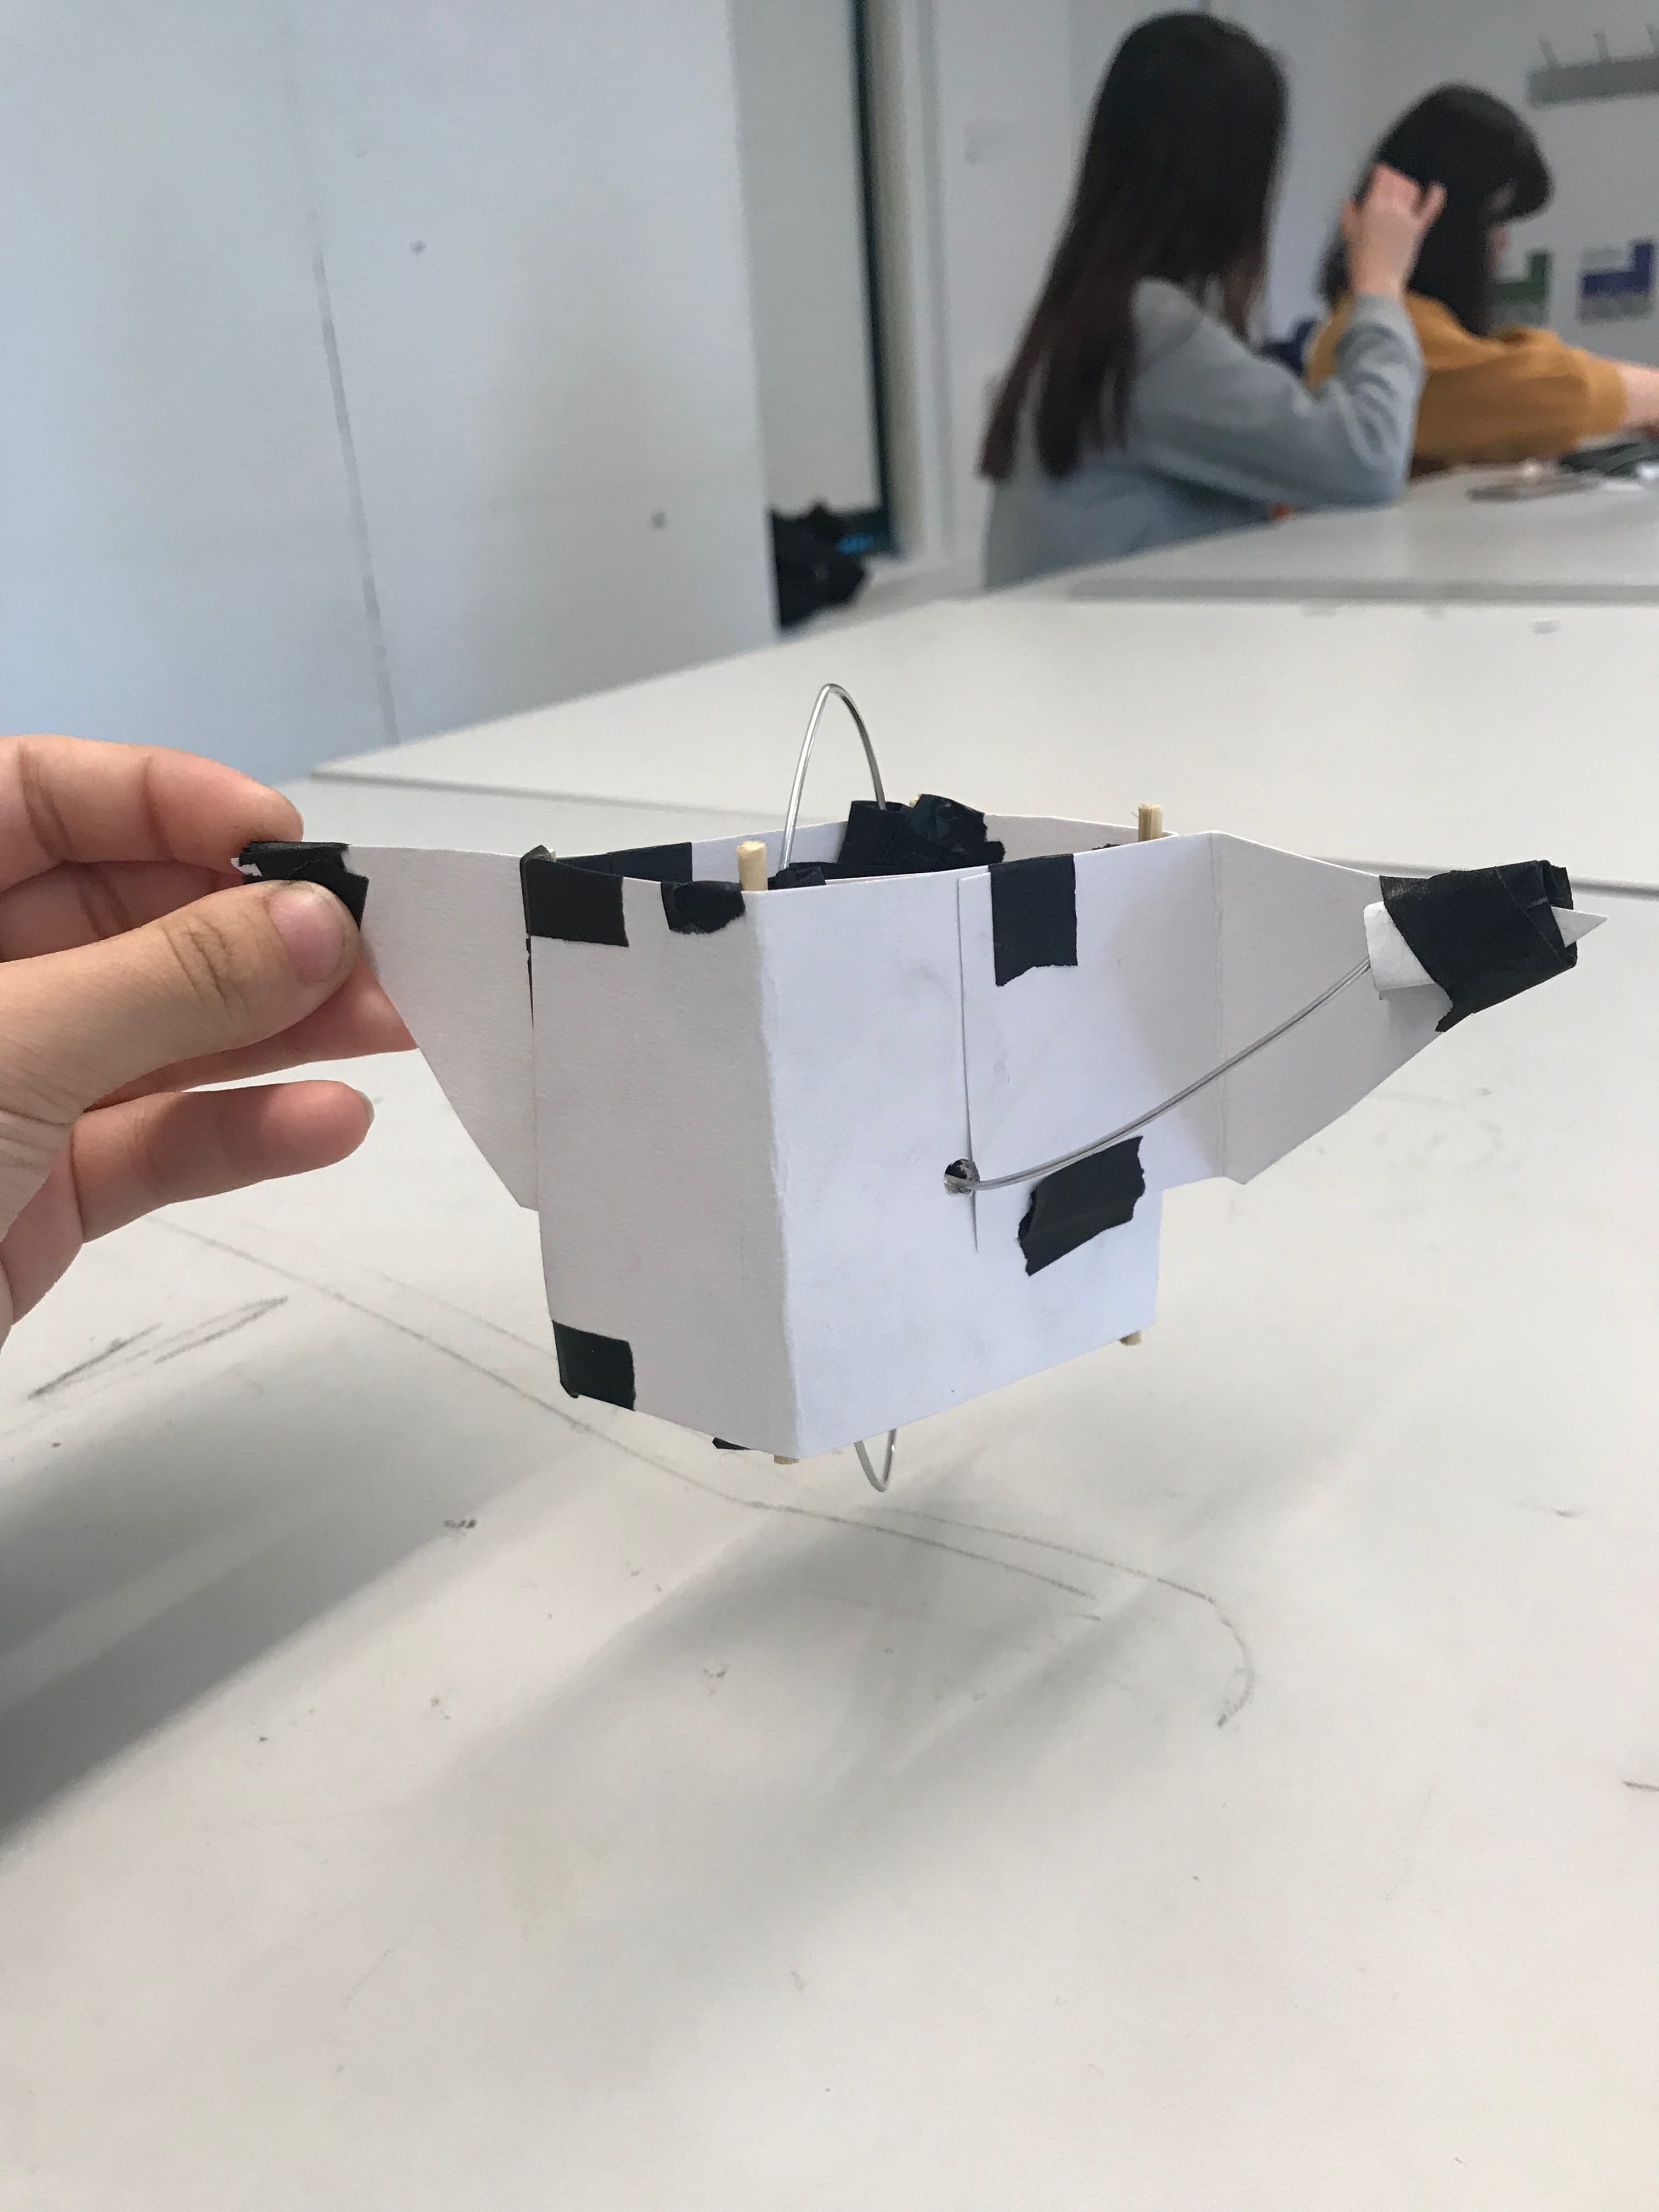
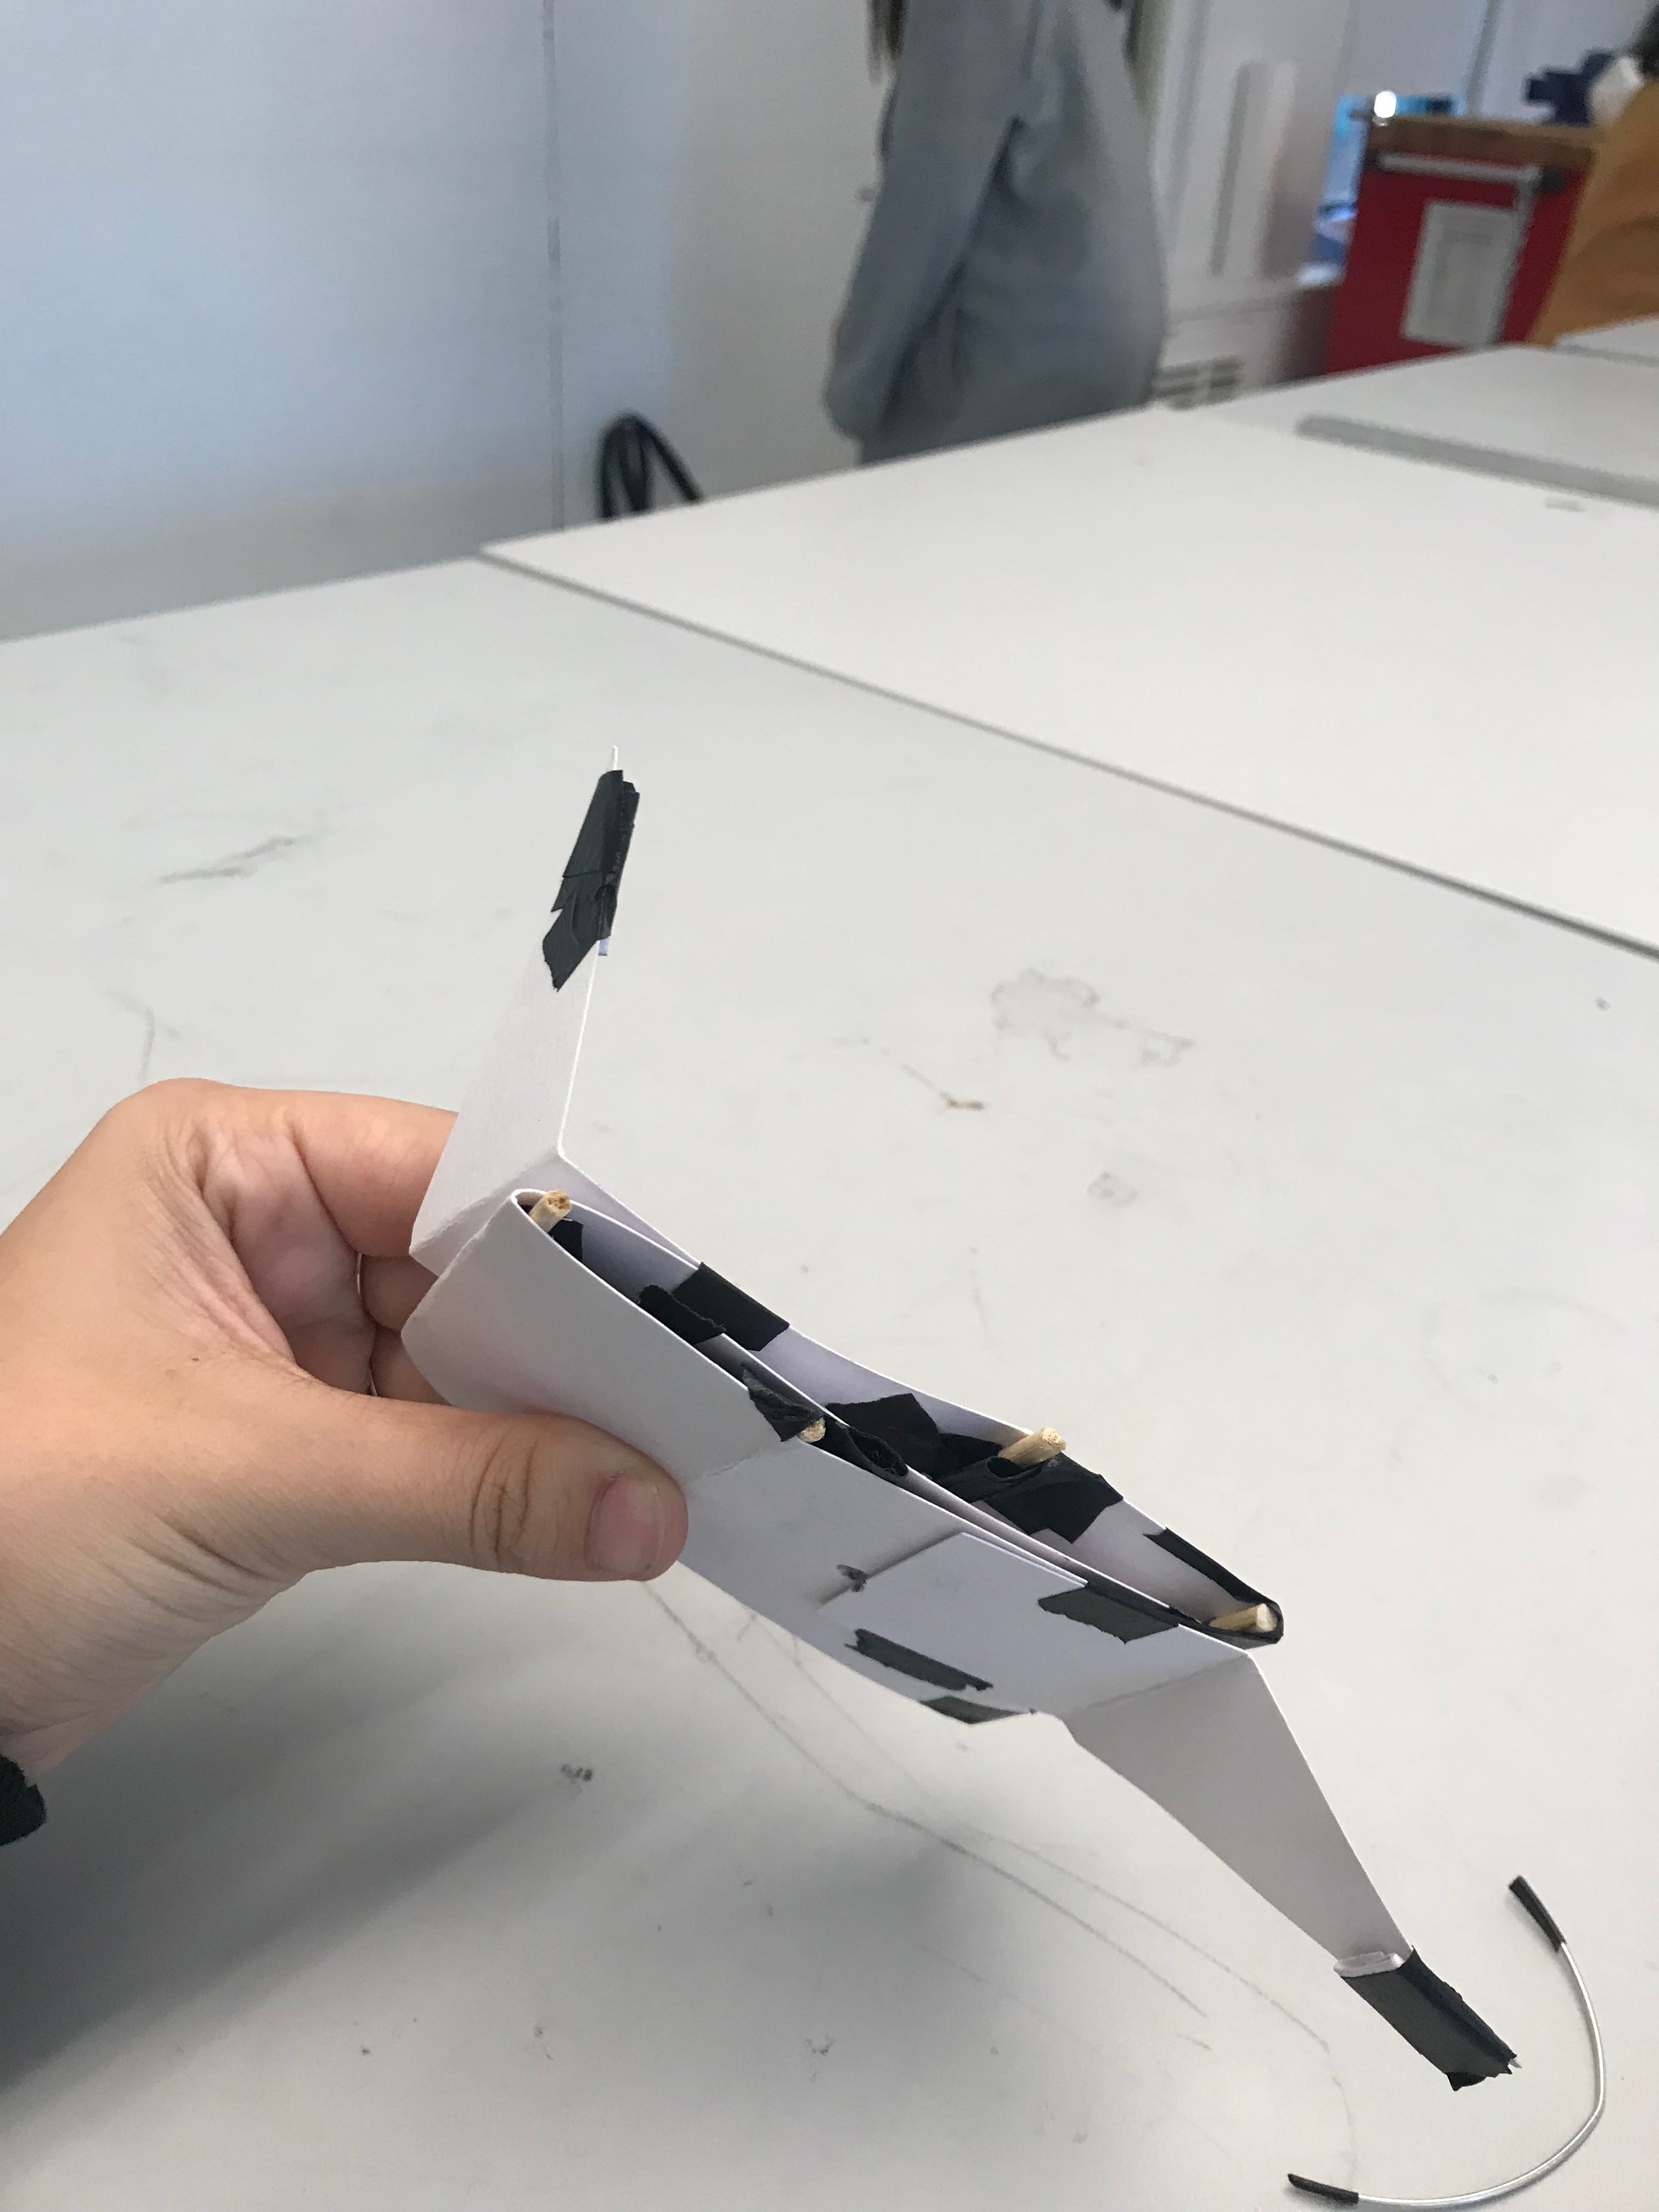
I made a model of what my kite should look like and put in removable crossbars so it is collapsable.
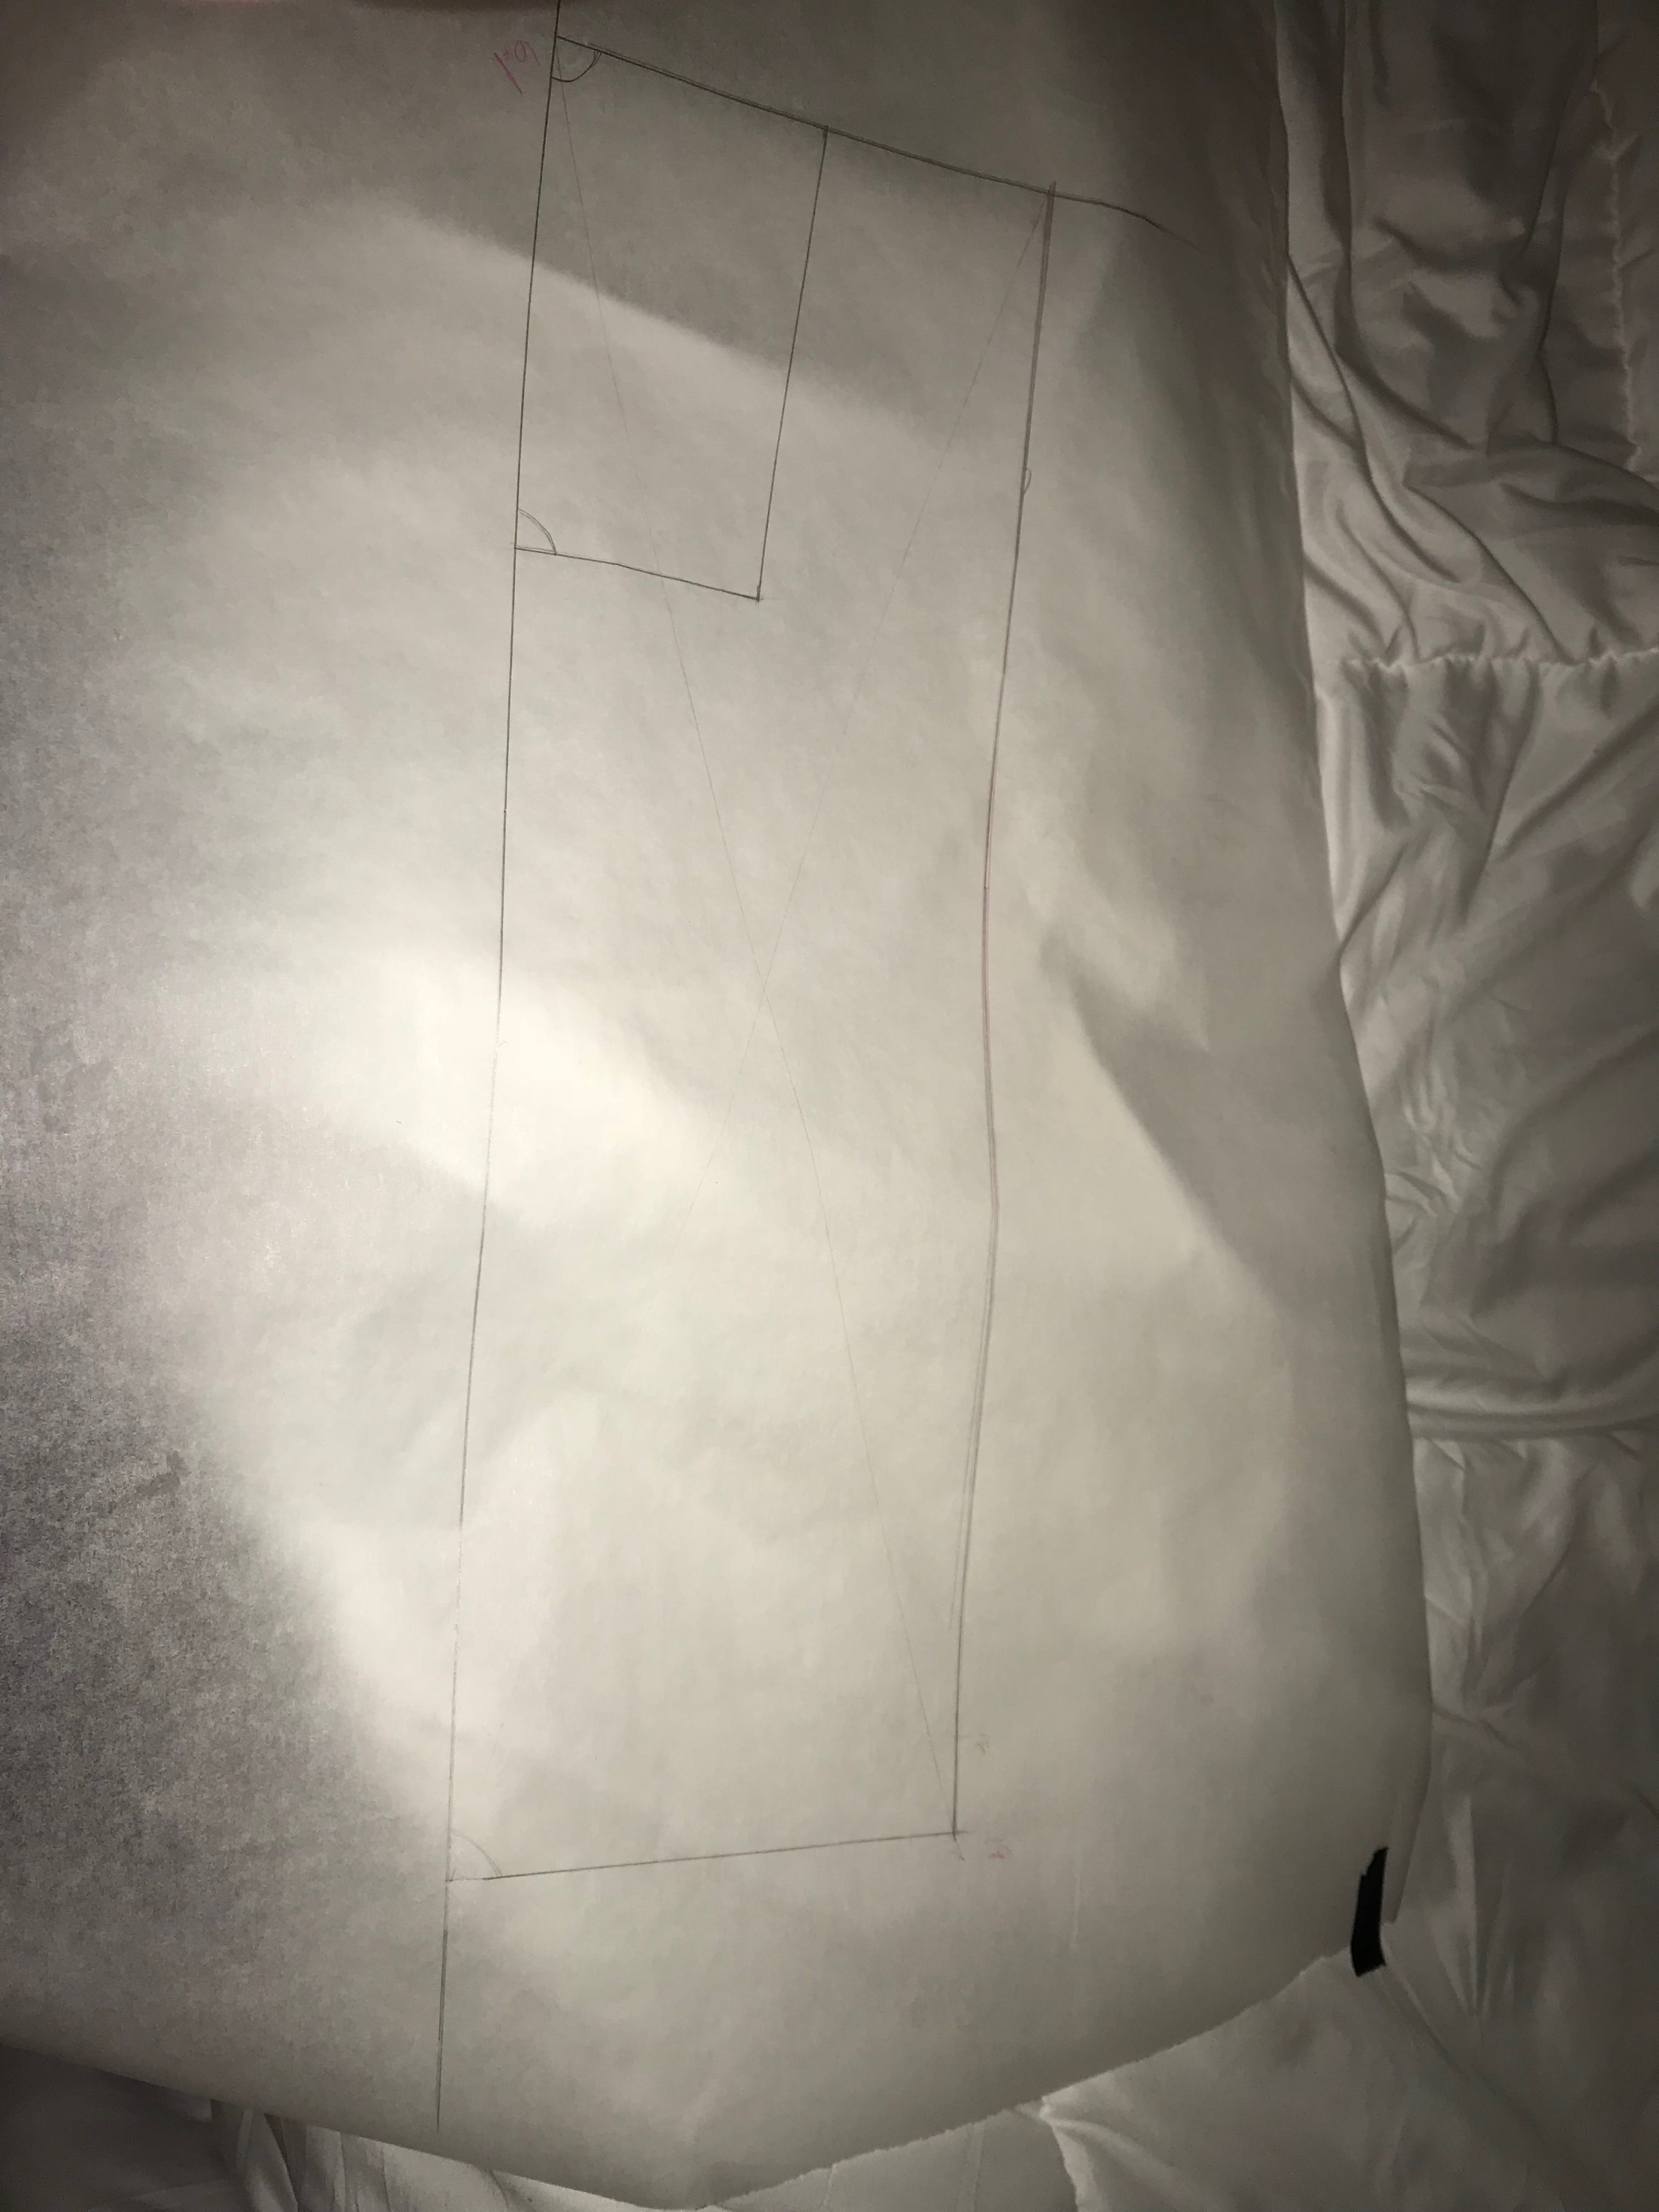
triangulation of my small shoe pattern.
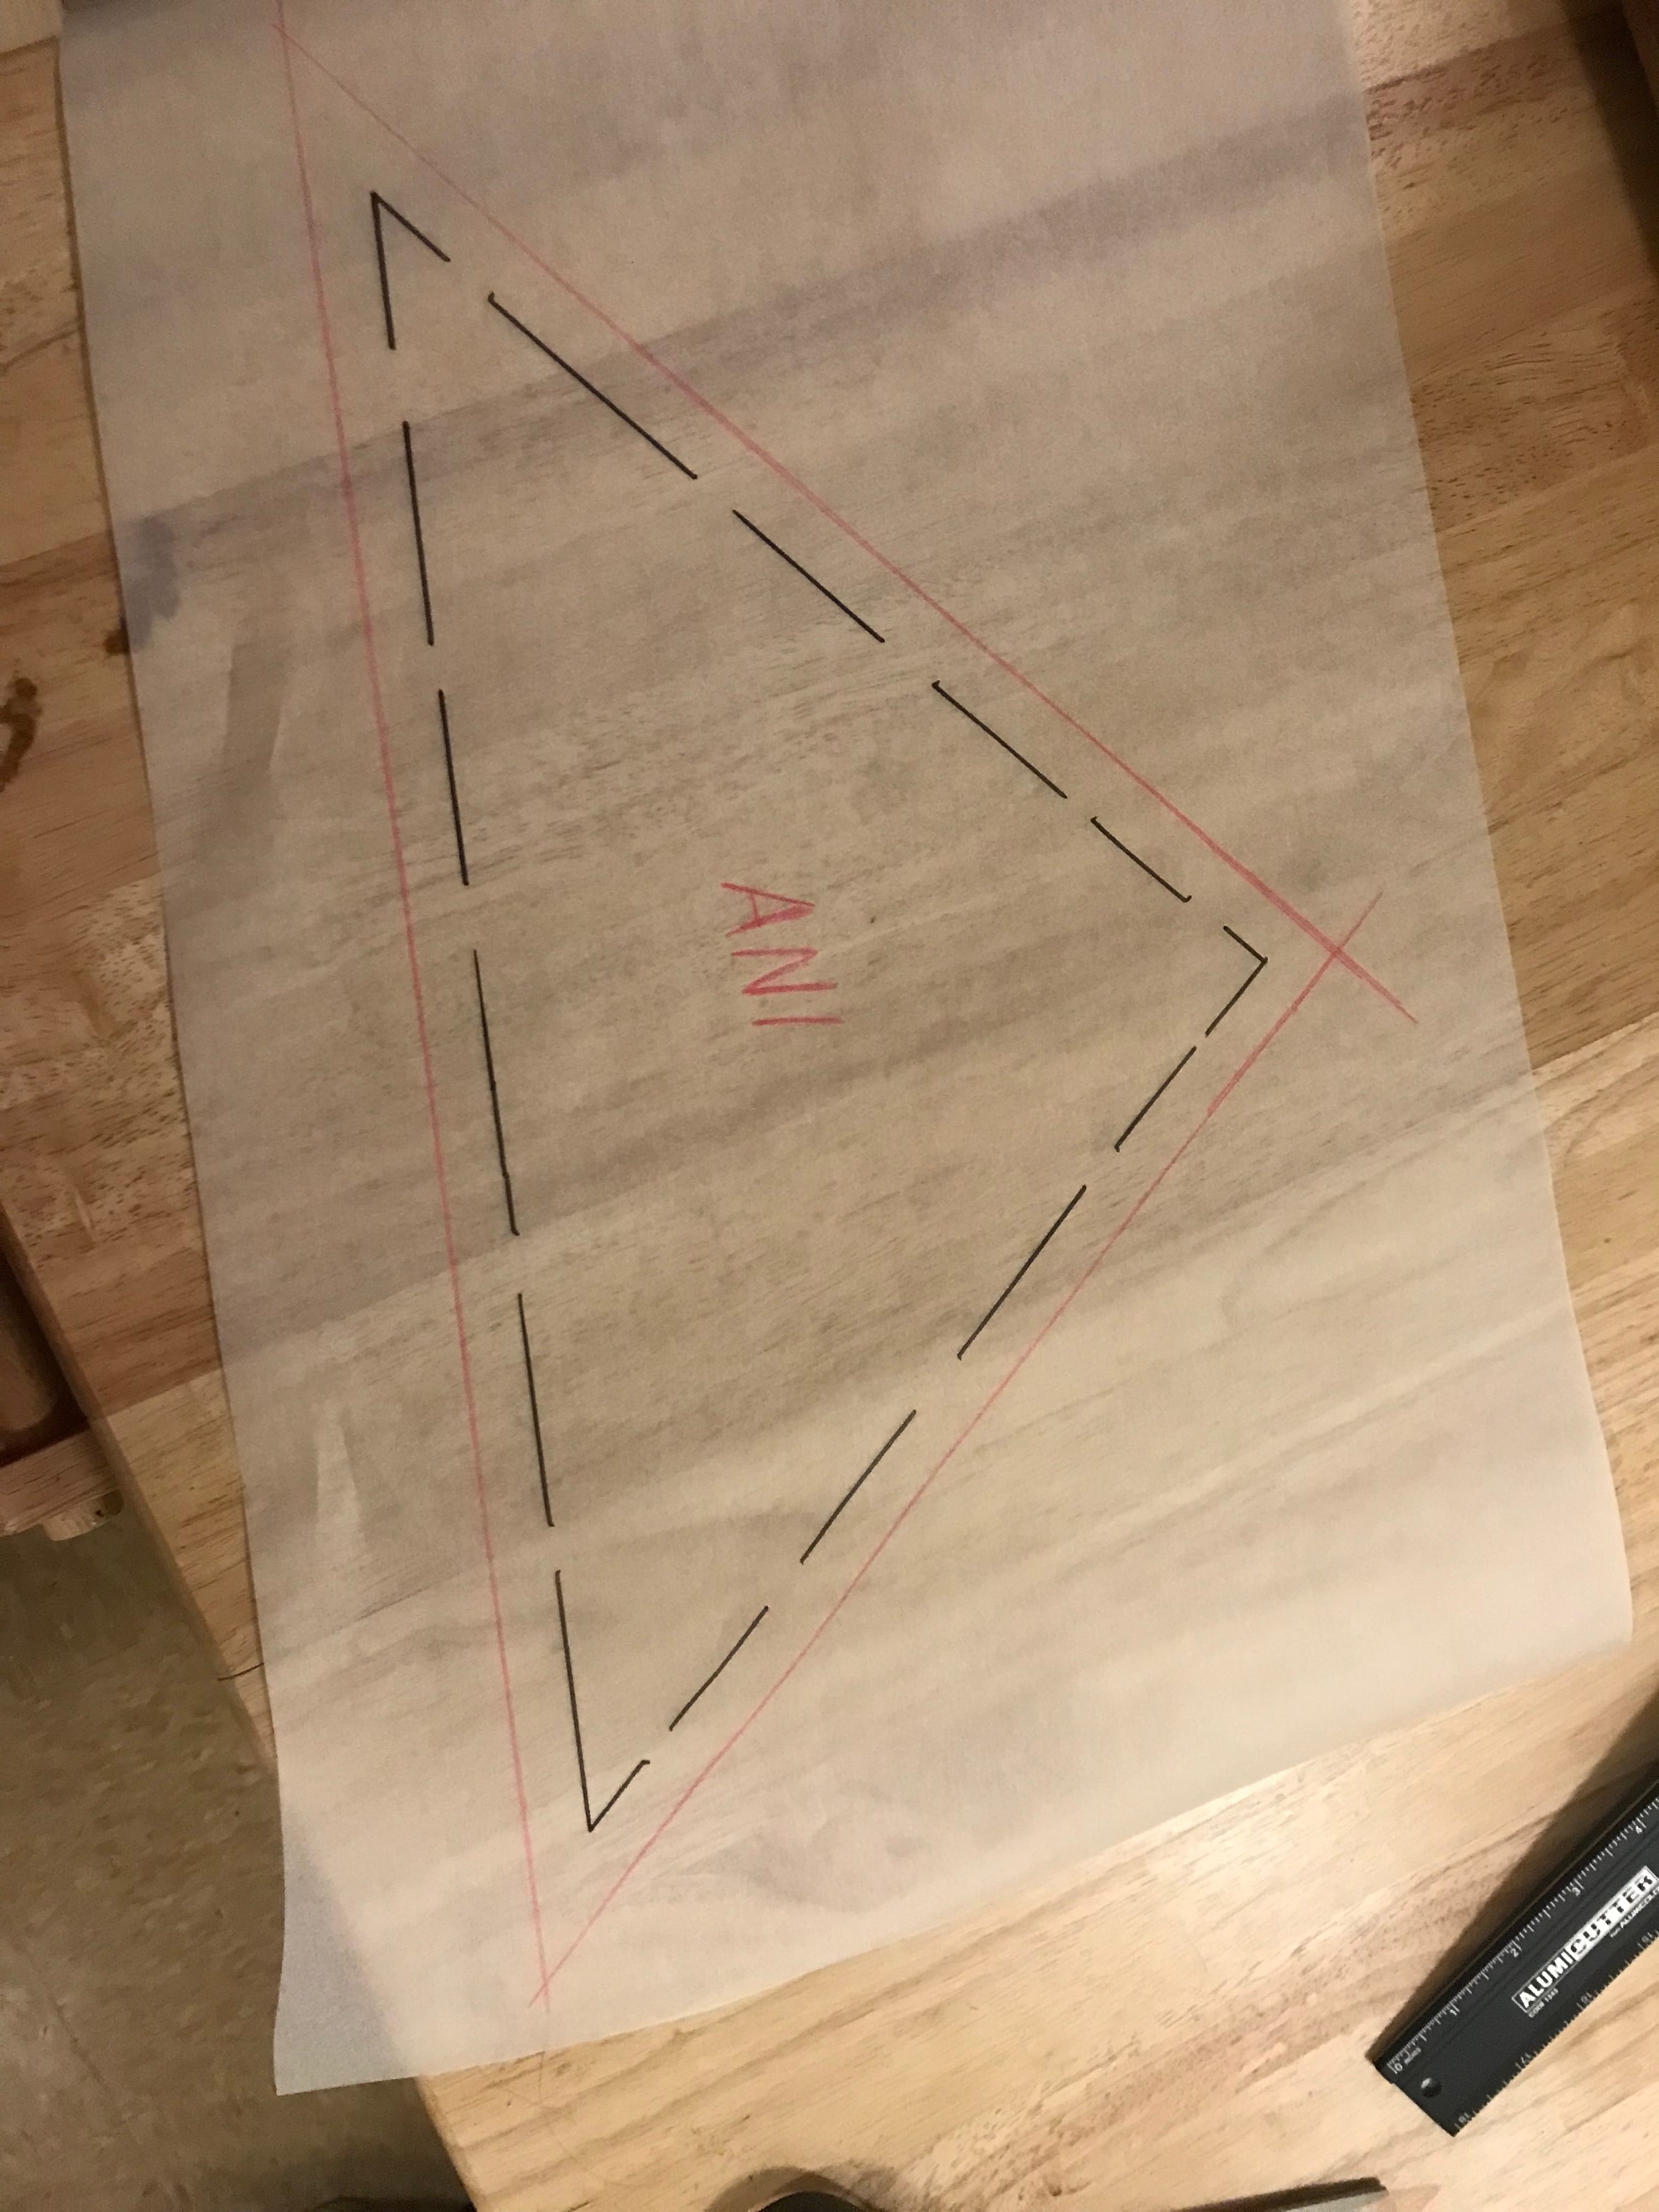
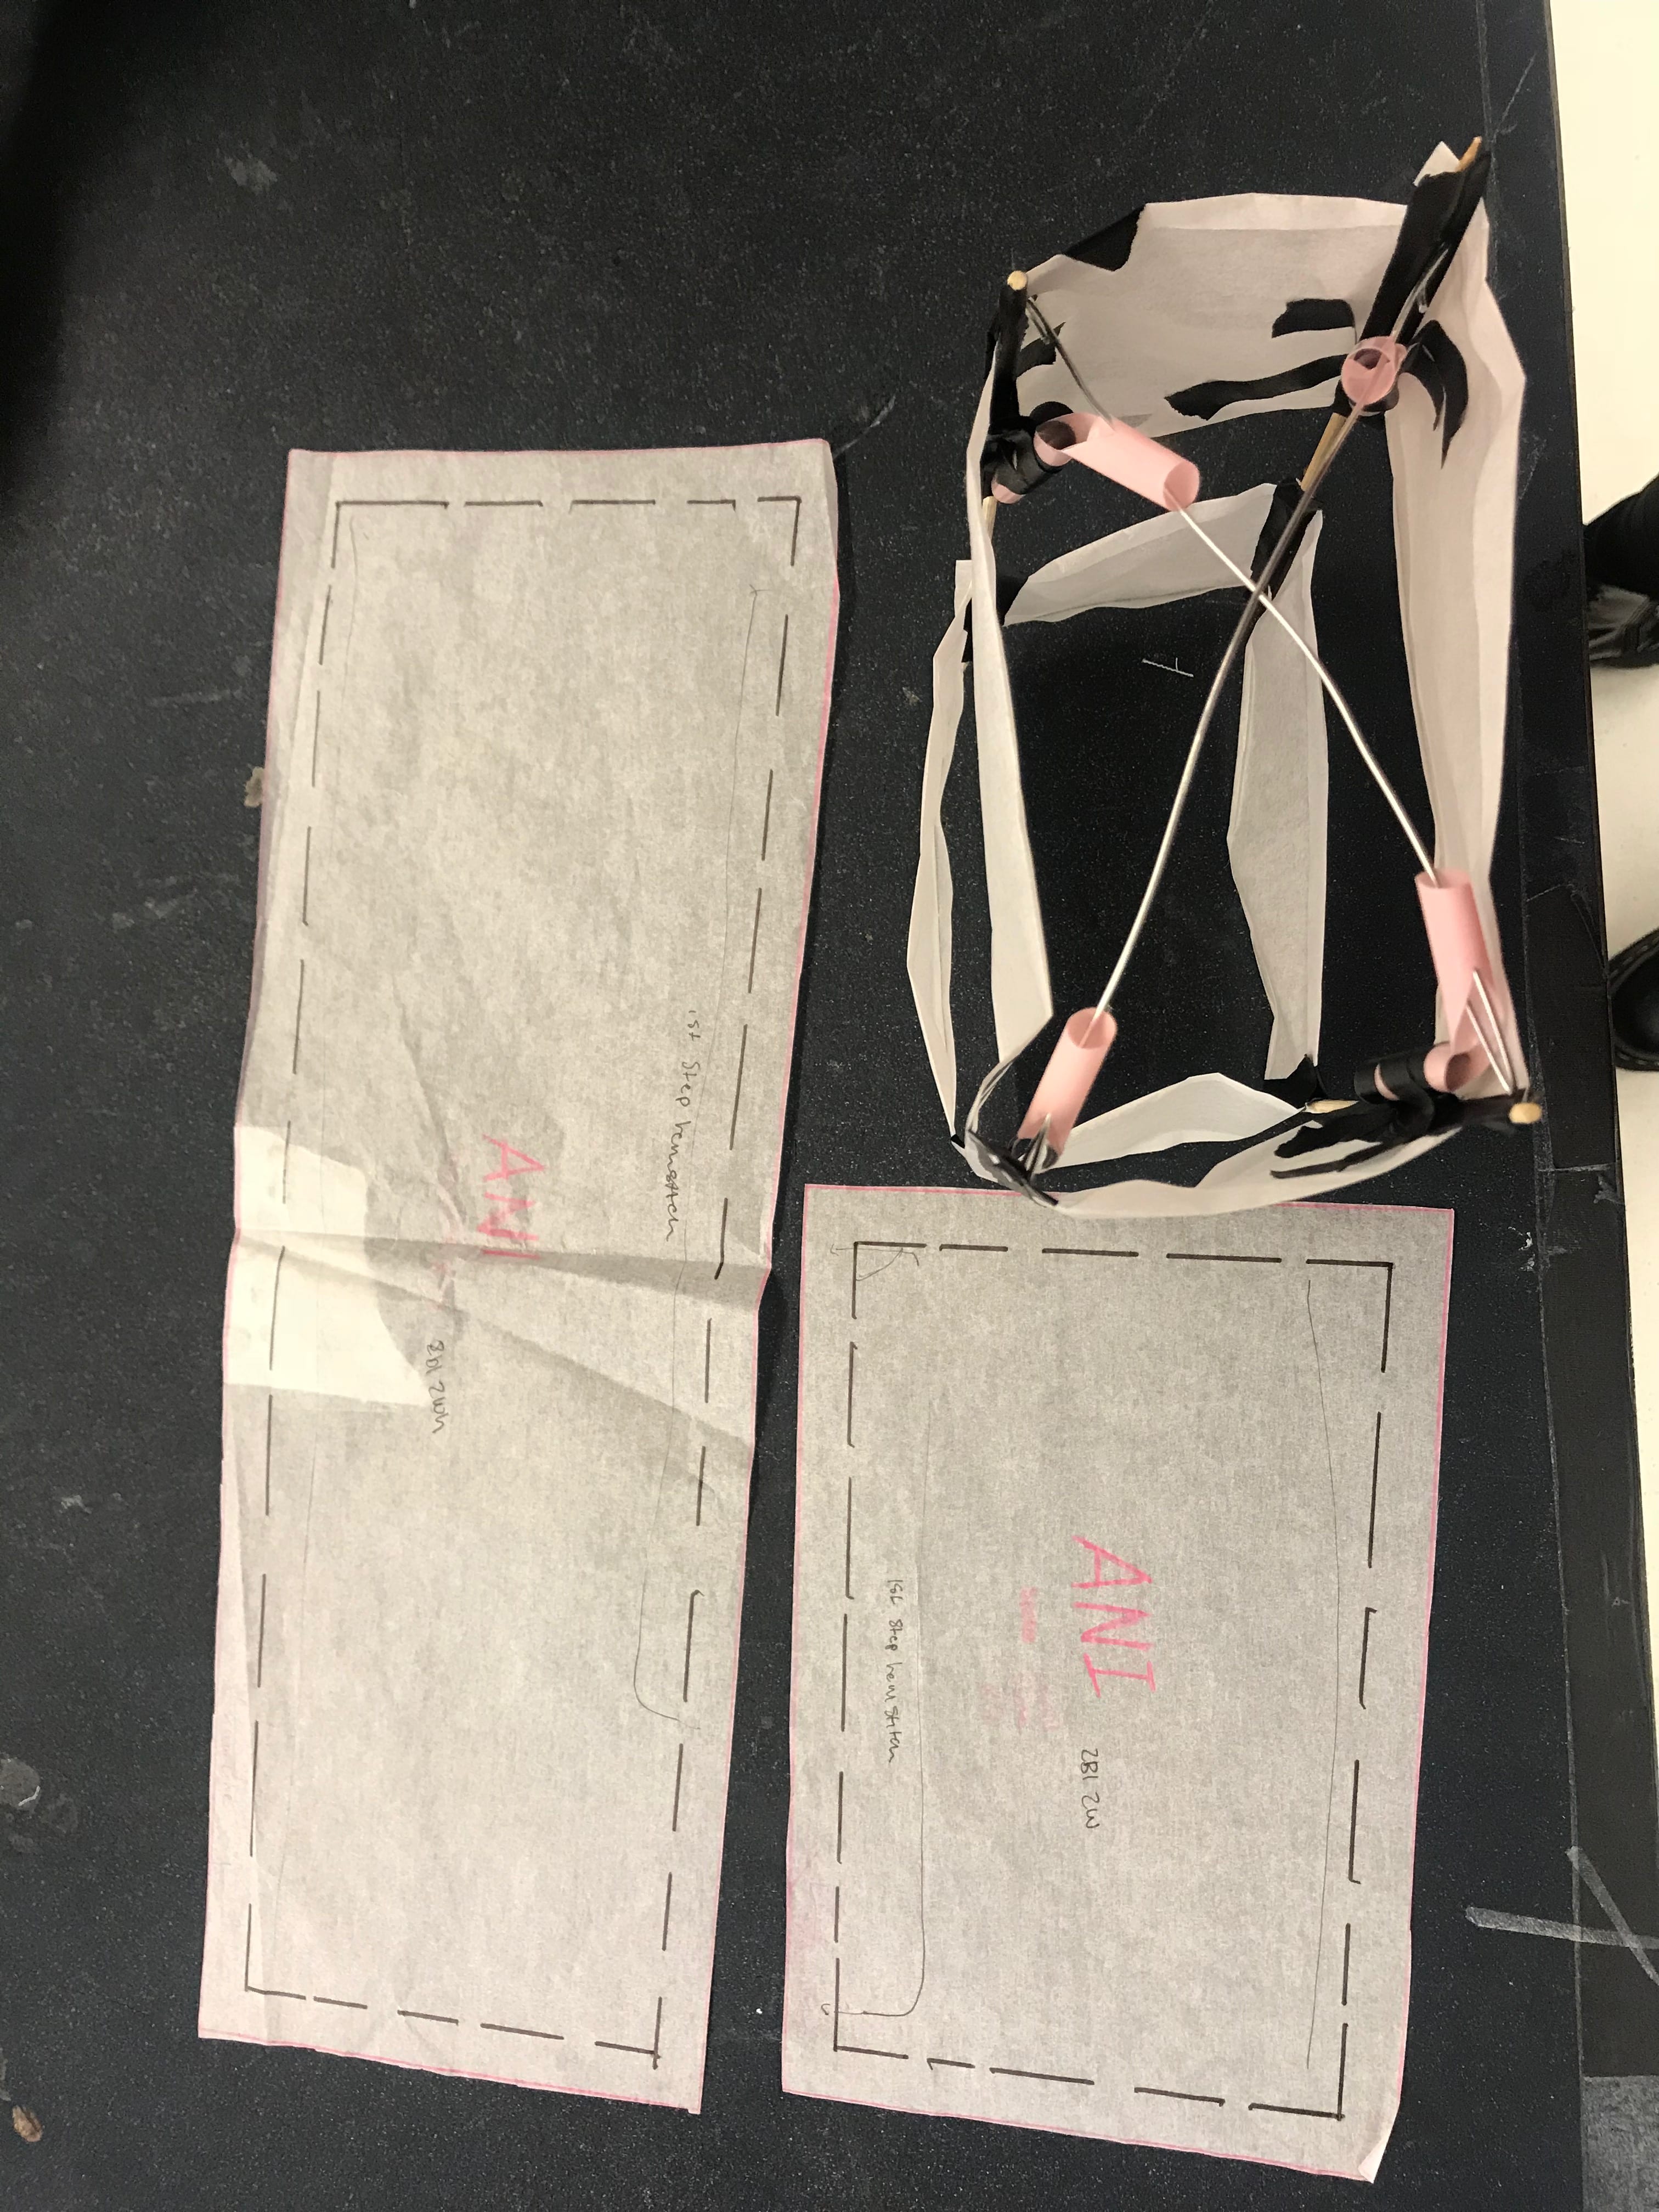
I triangulated my initial shoe pattern and made a bigger version, along with a half version to use as the sides. these are the patterns.
I began the kite making process by completing a 12 step drawing to transform my shoe pattern into a kite form. I made a few adjustments and then took to making a model of that kite. The model making process was difficult at first, but after learning techniques to make it collapsable I started to better understand the form. After that, I scaled my small shoe pattern into one large enough to build my kite. It took a few tries to get the hang of it but I got better so I went ahead and made other pattern forms. I may not use one of them but I wanted to be safe and have options. Hopefully, my patterns will end up working for my kite.
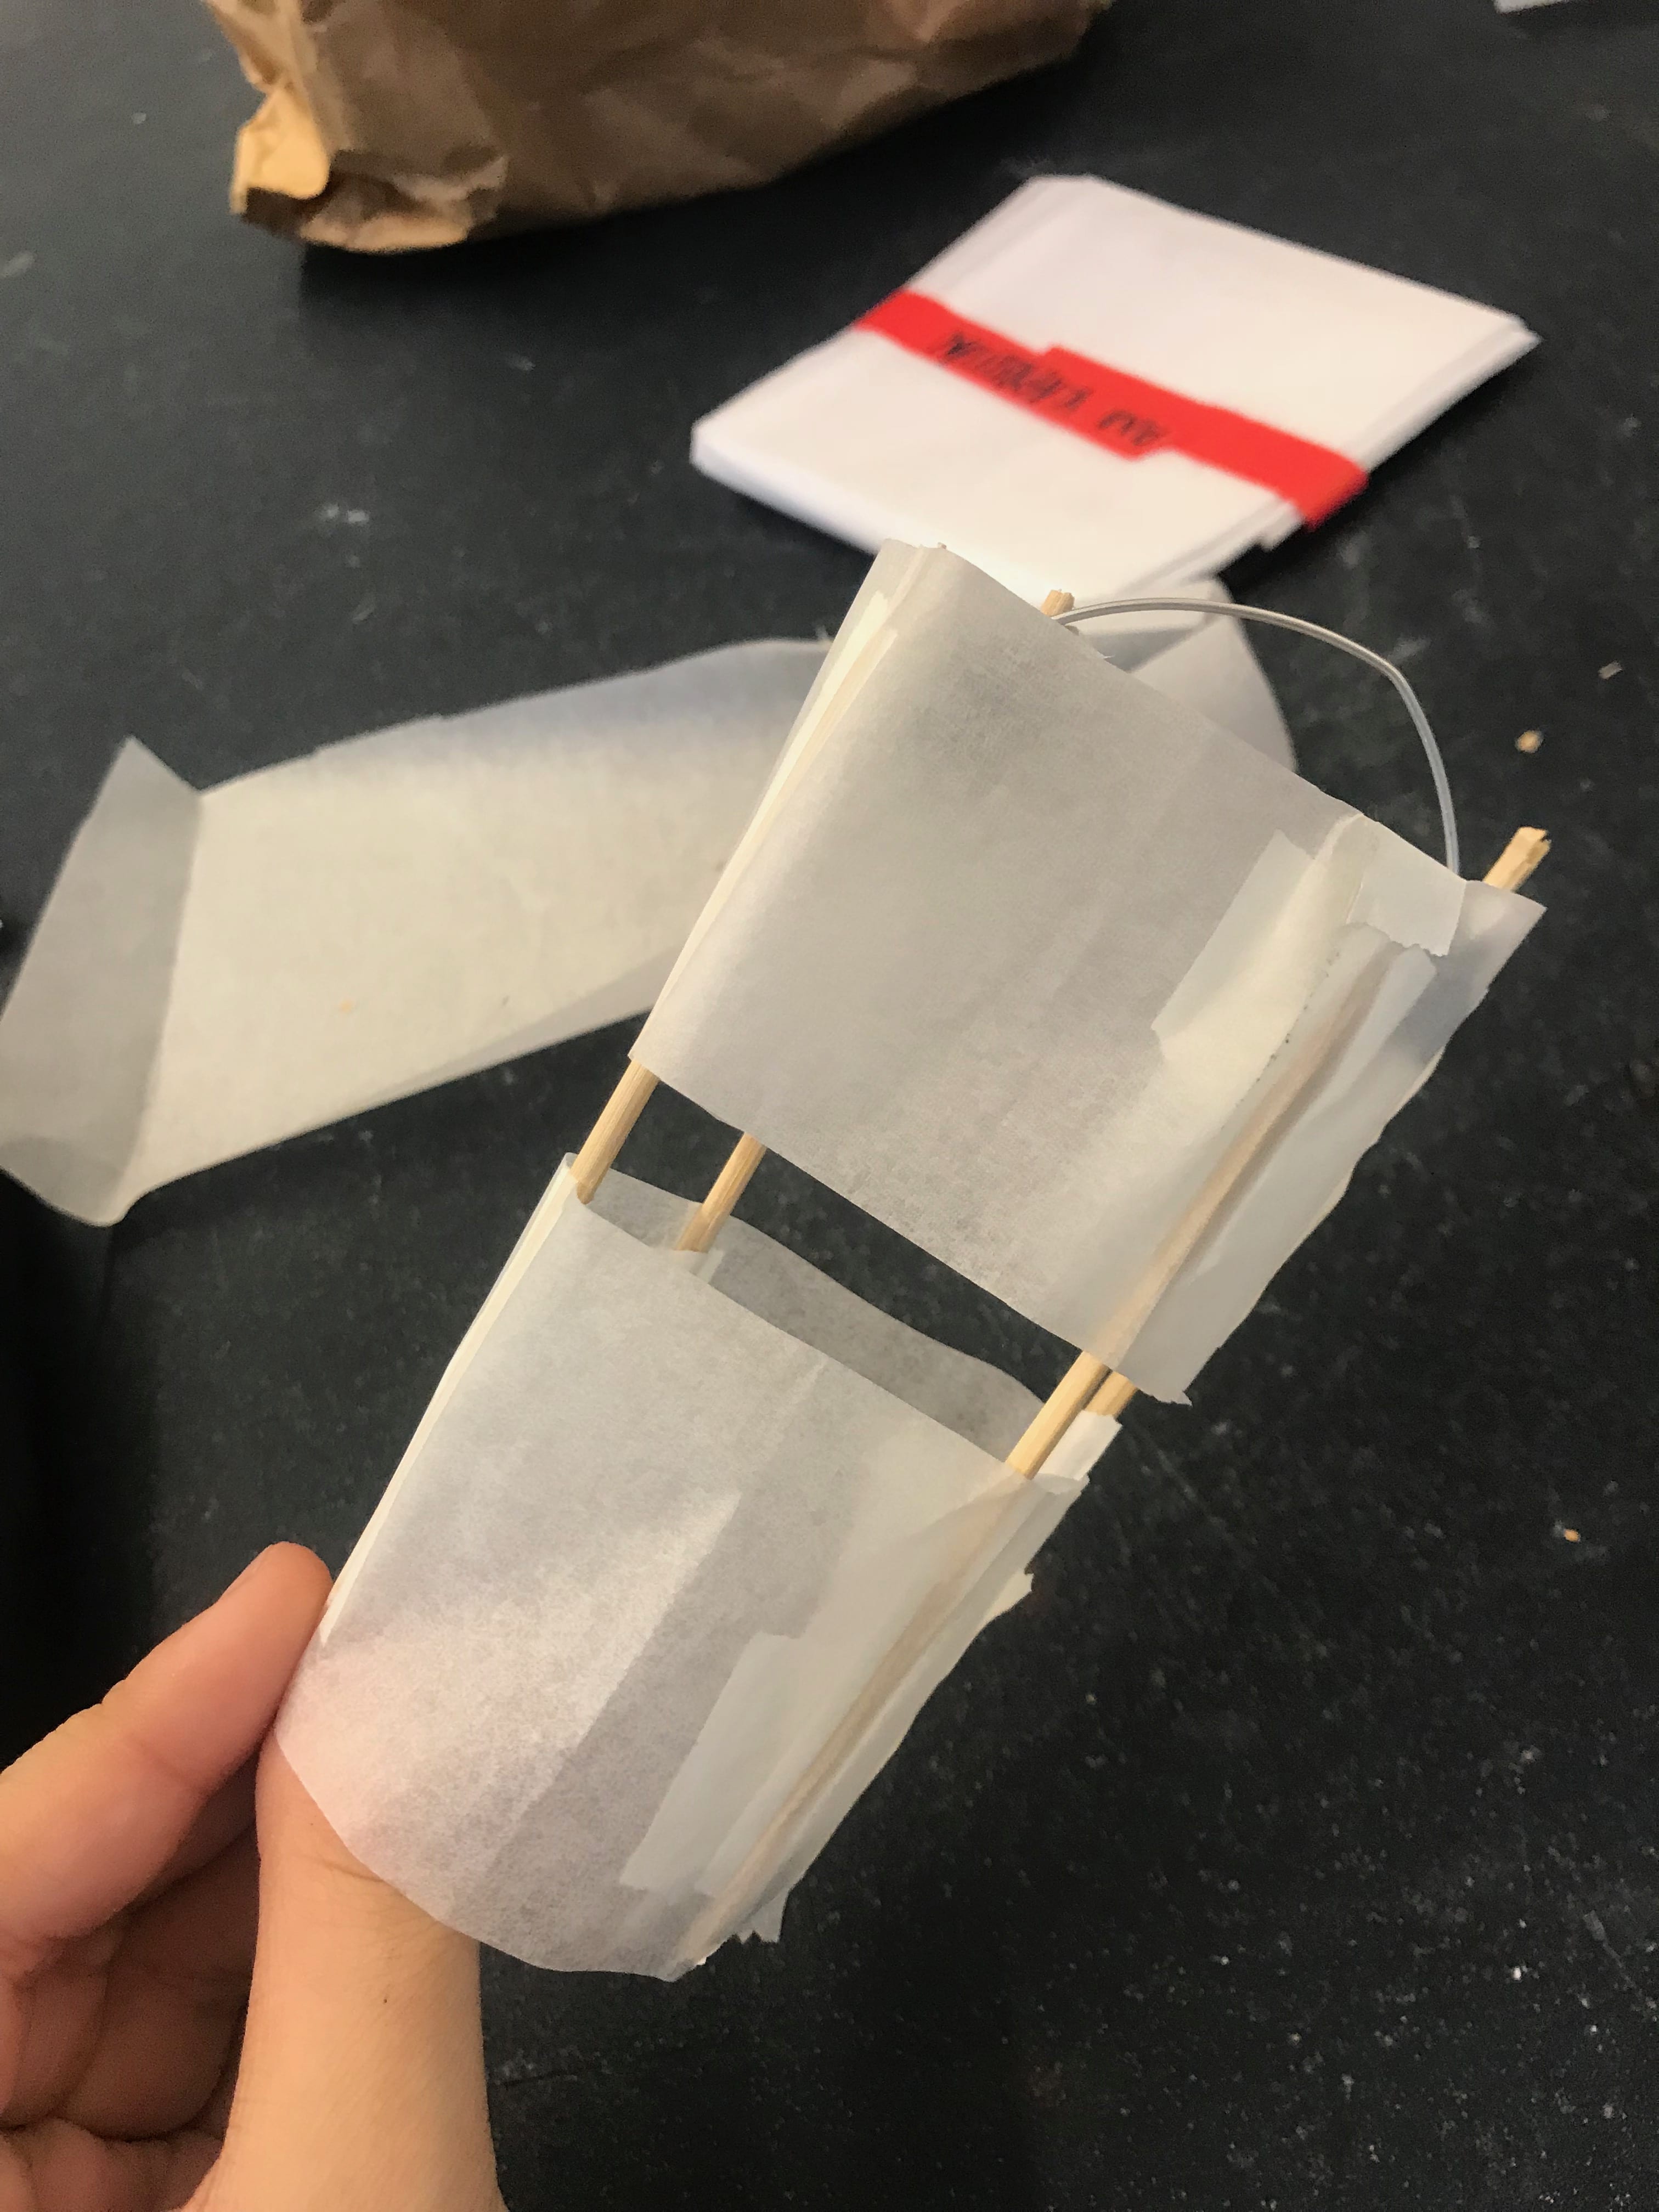
I revised my model to fit my new design, as the old one didn’t make sense logistically, and used tissue paper for a more realistic vison of the kite.
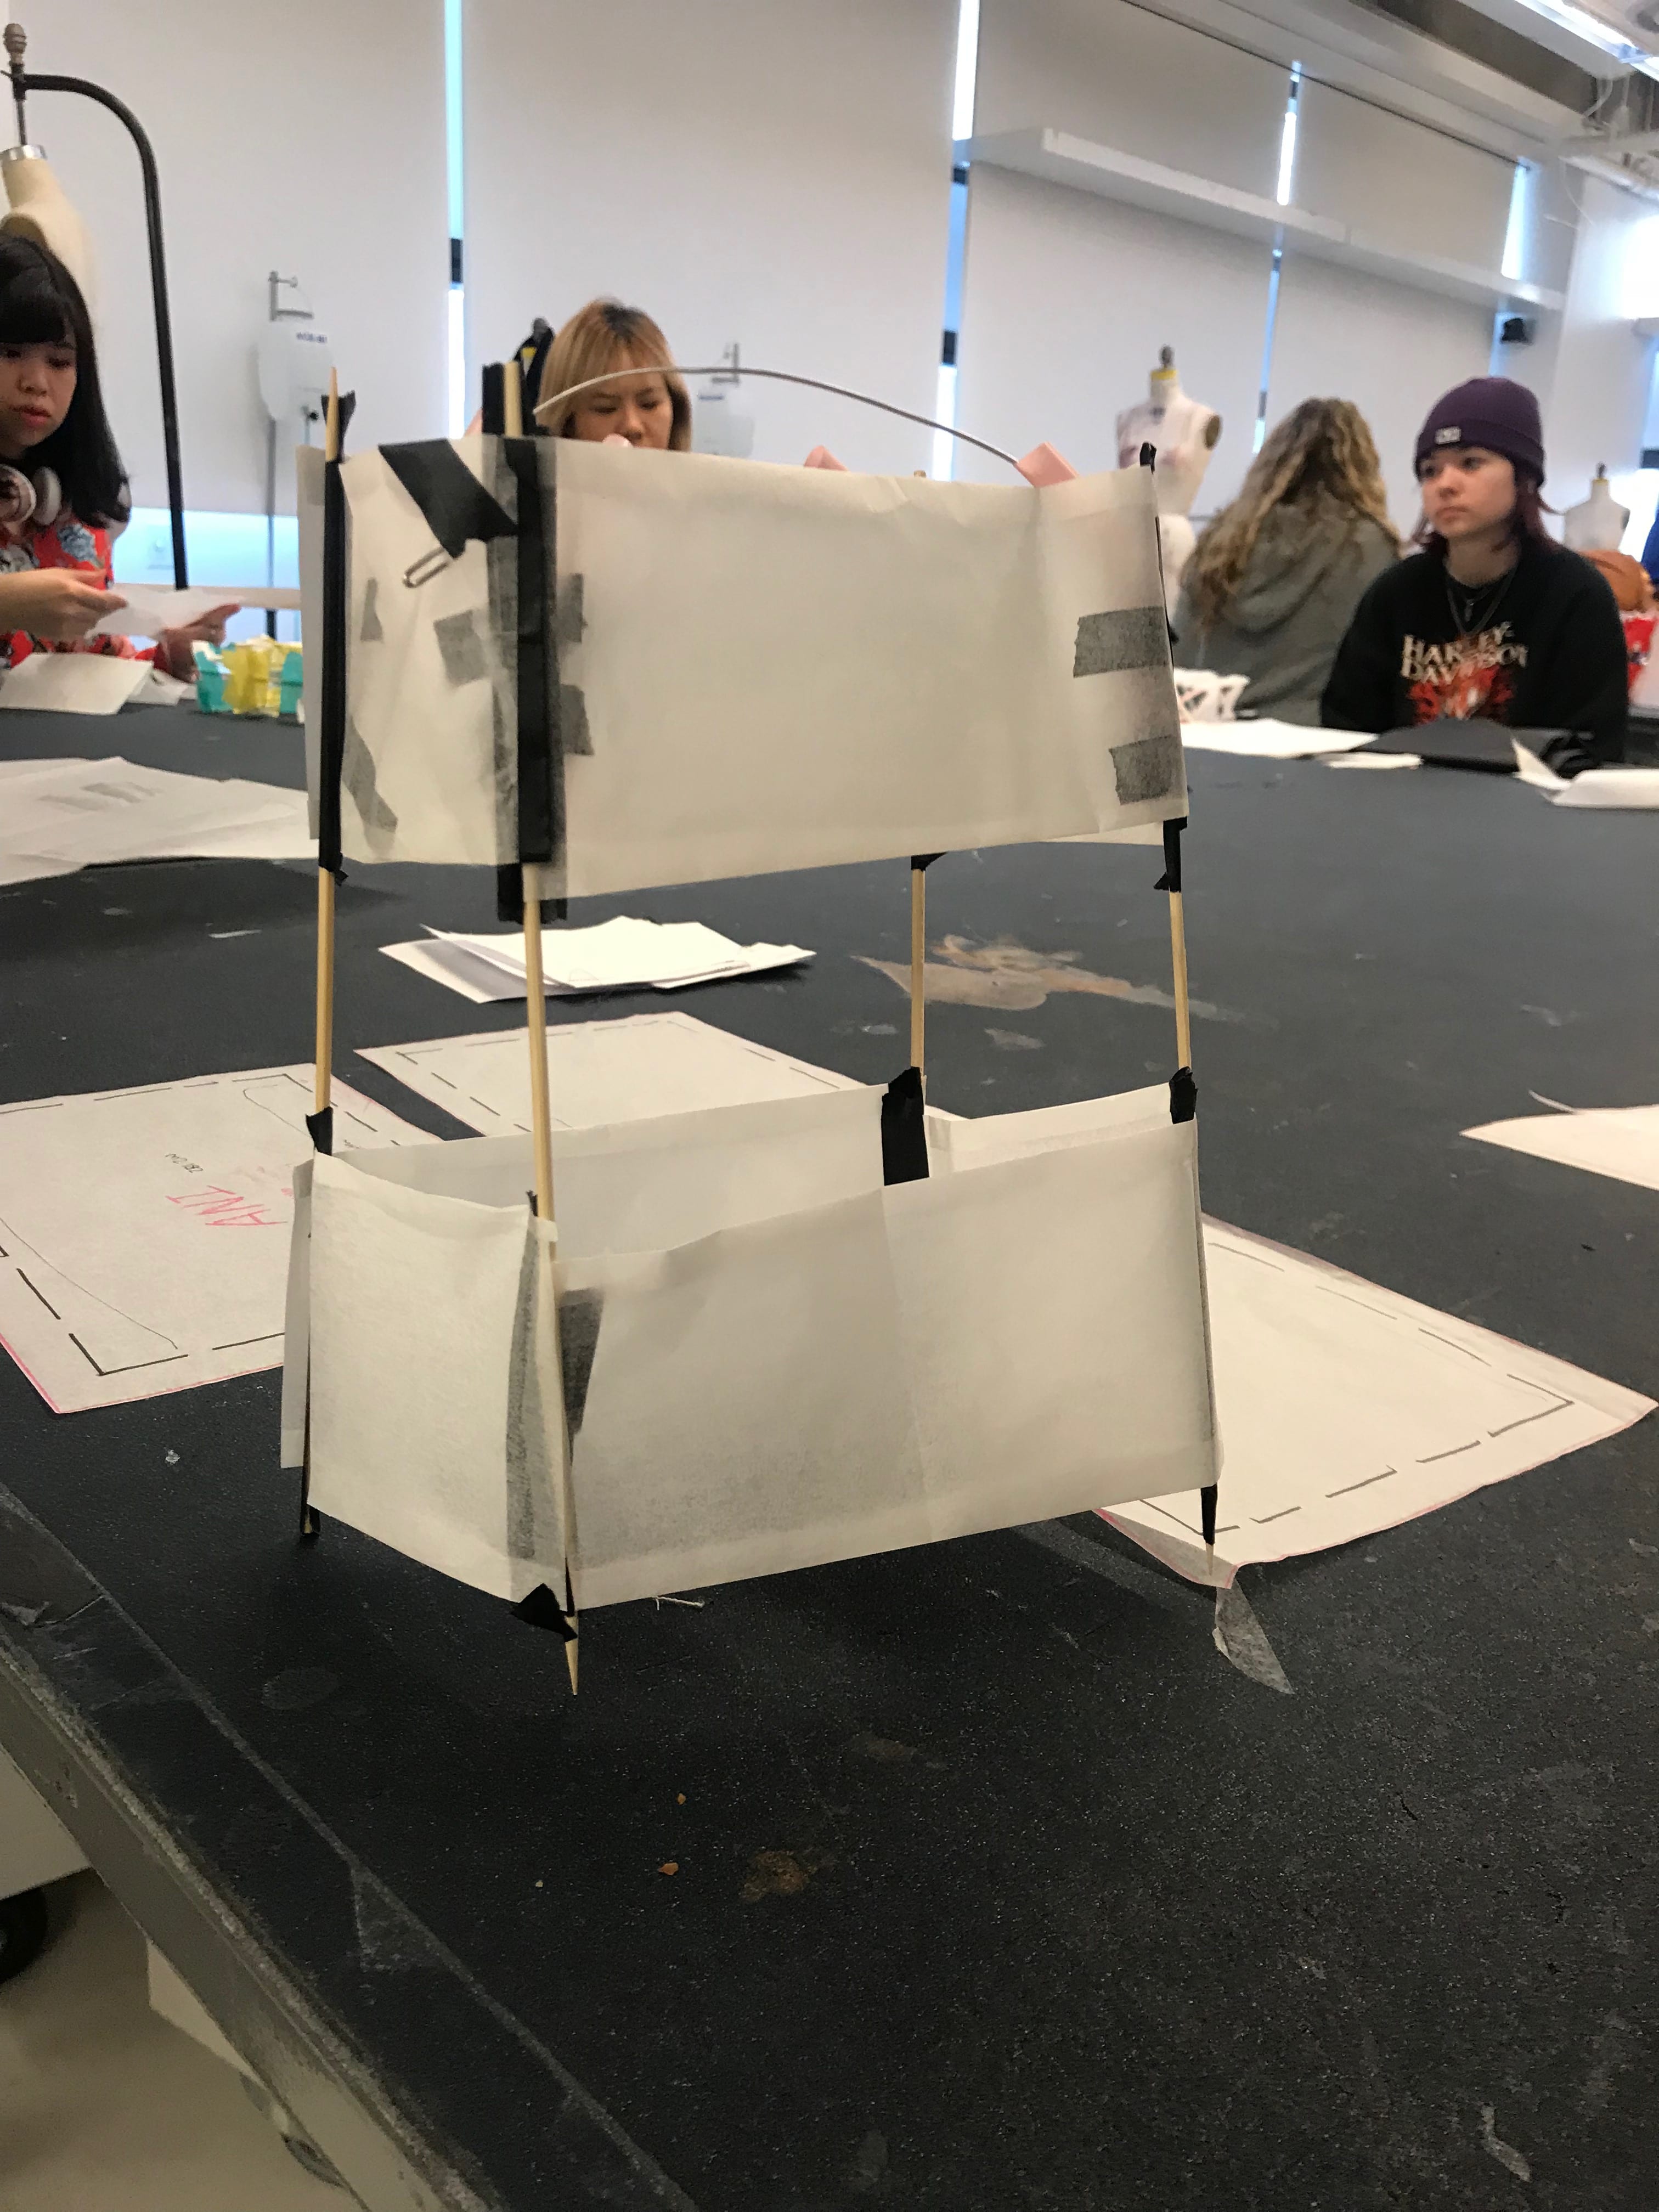
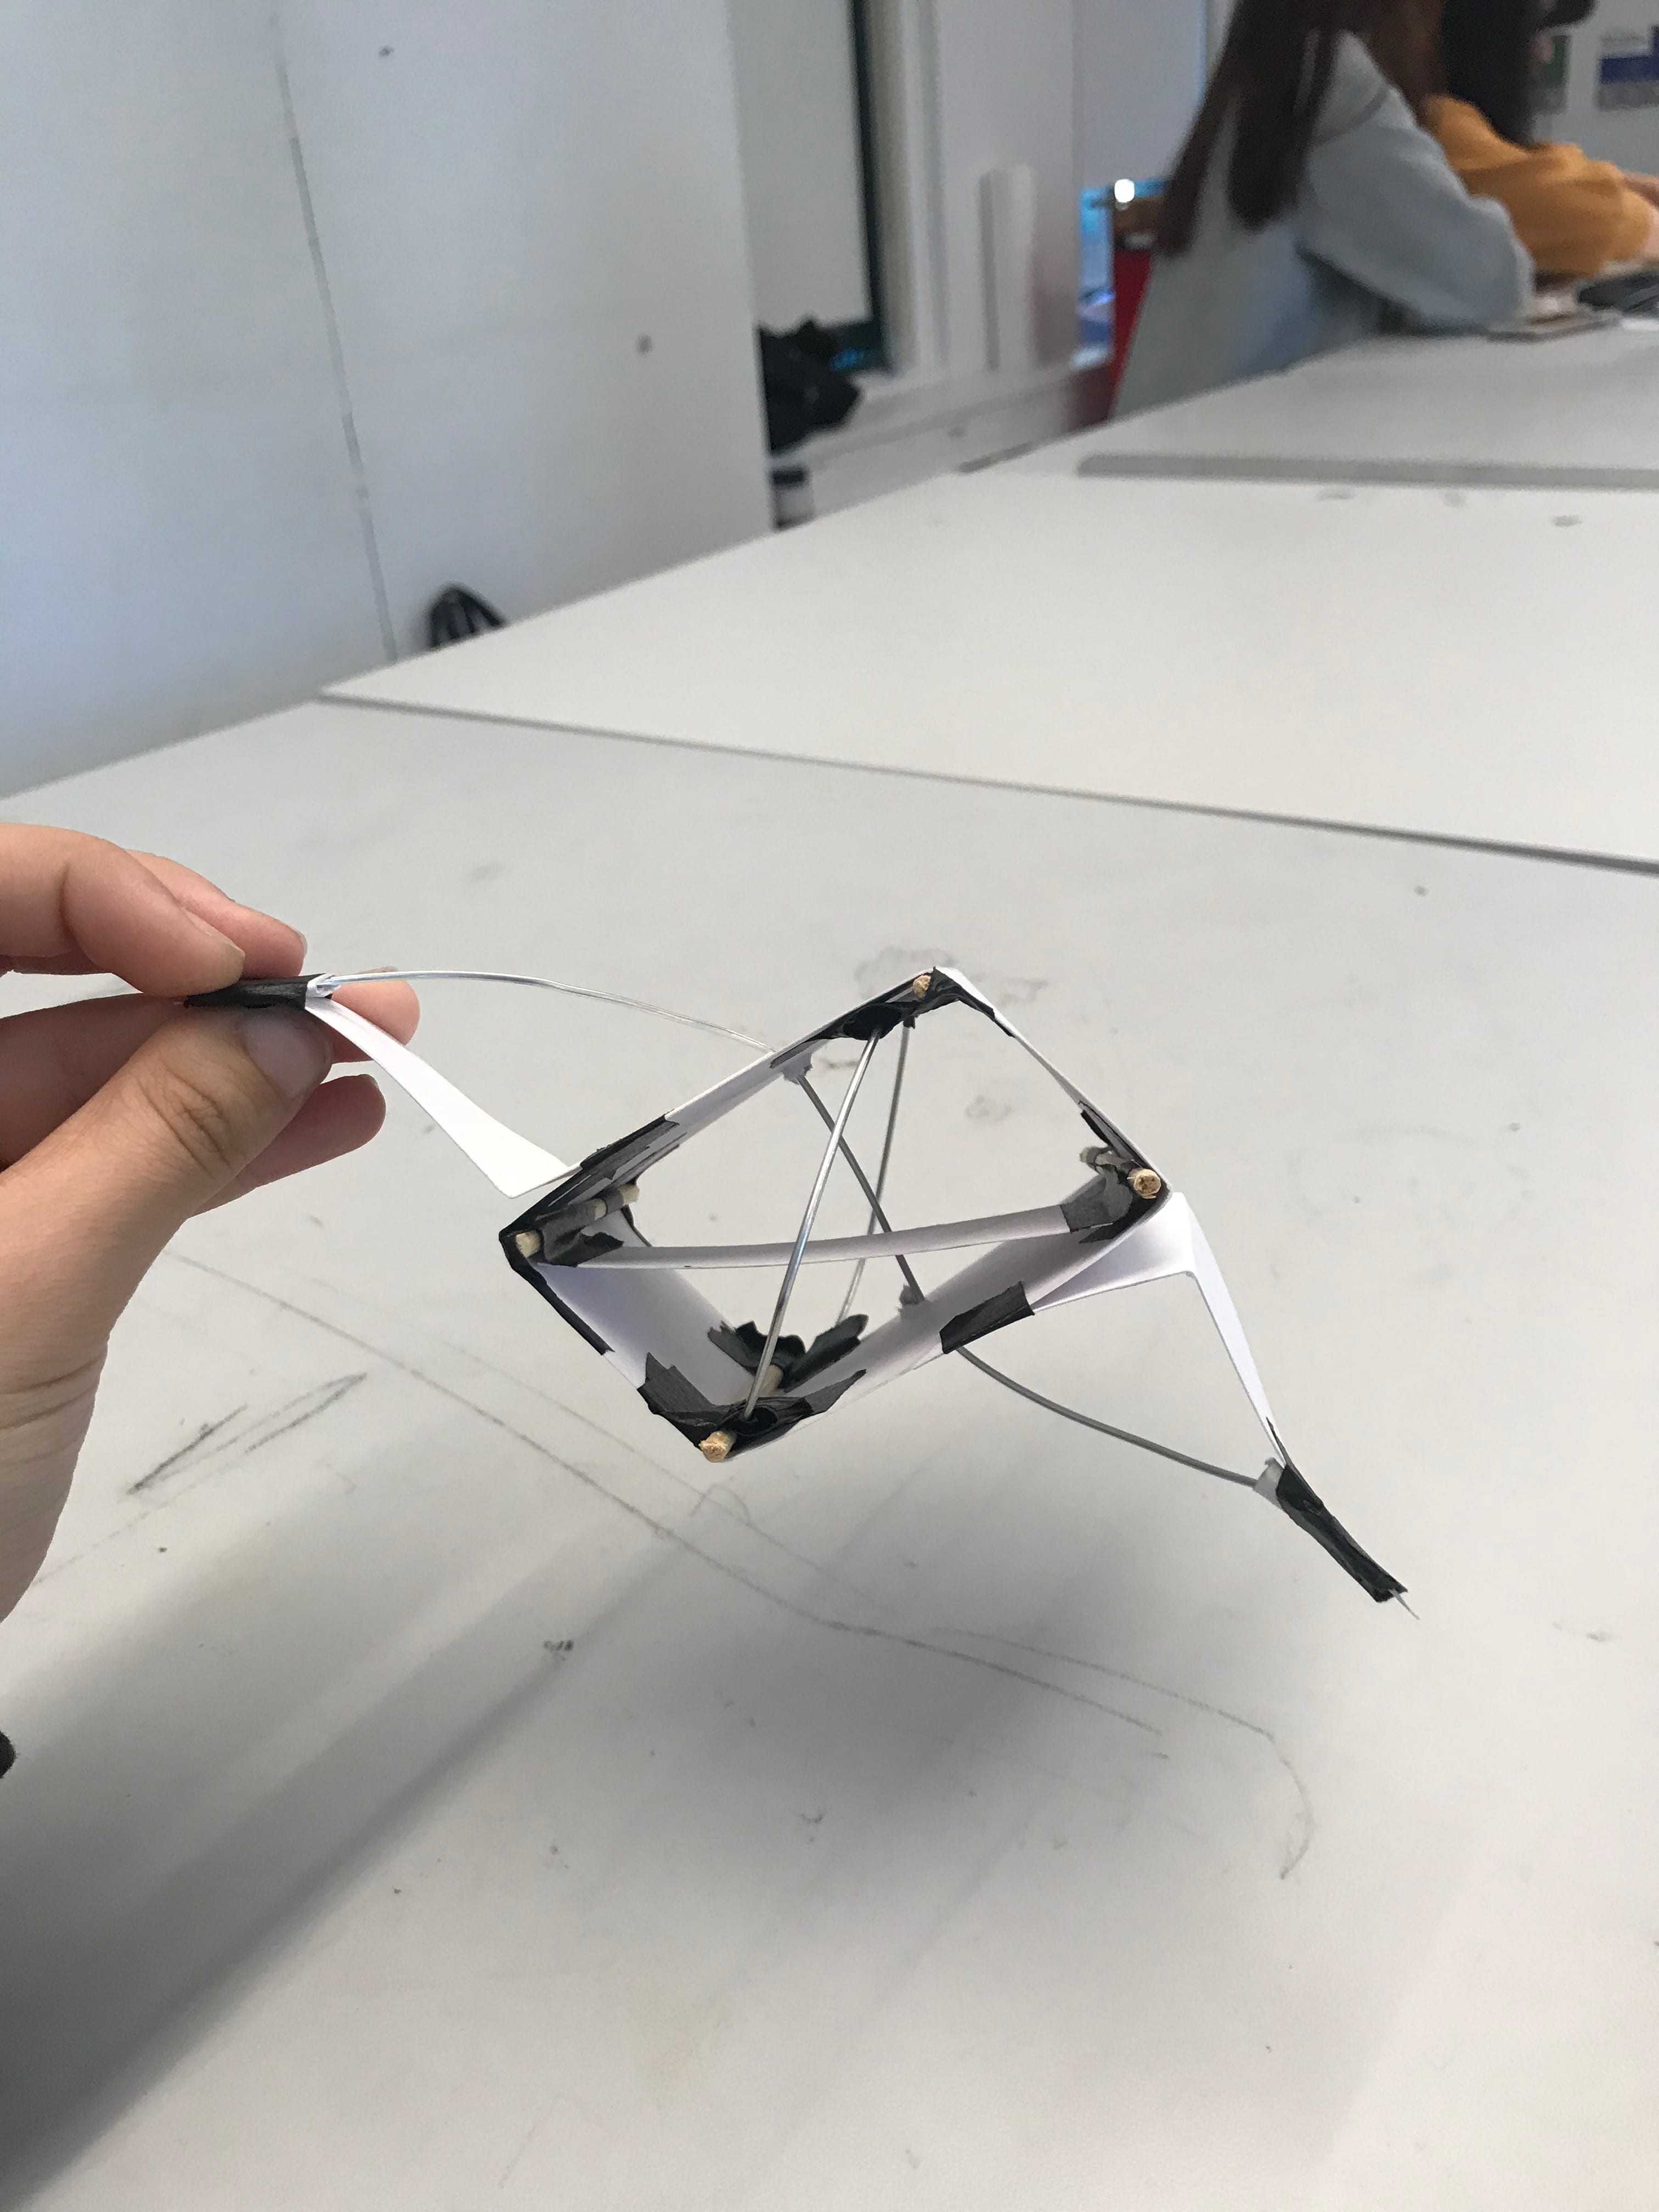
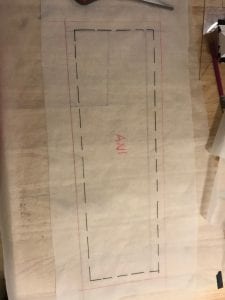
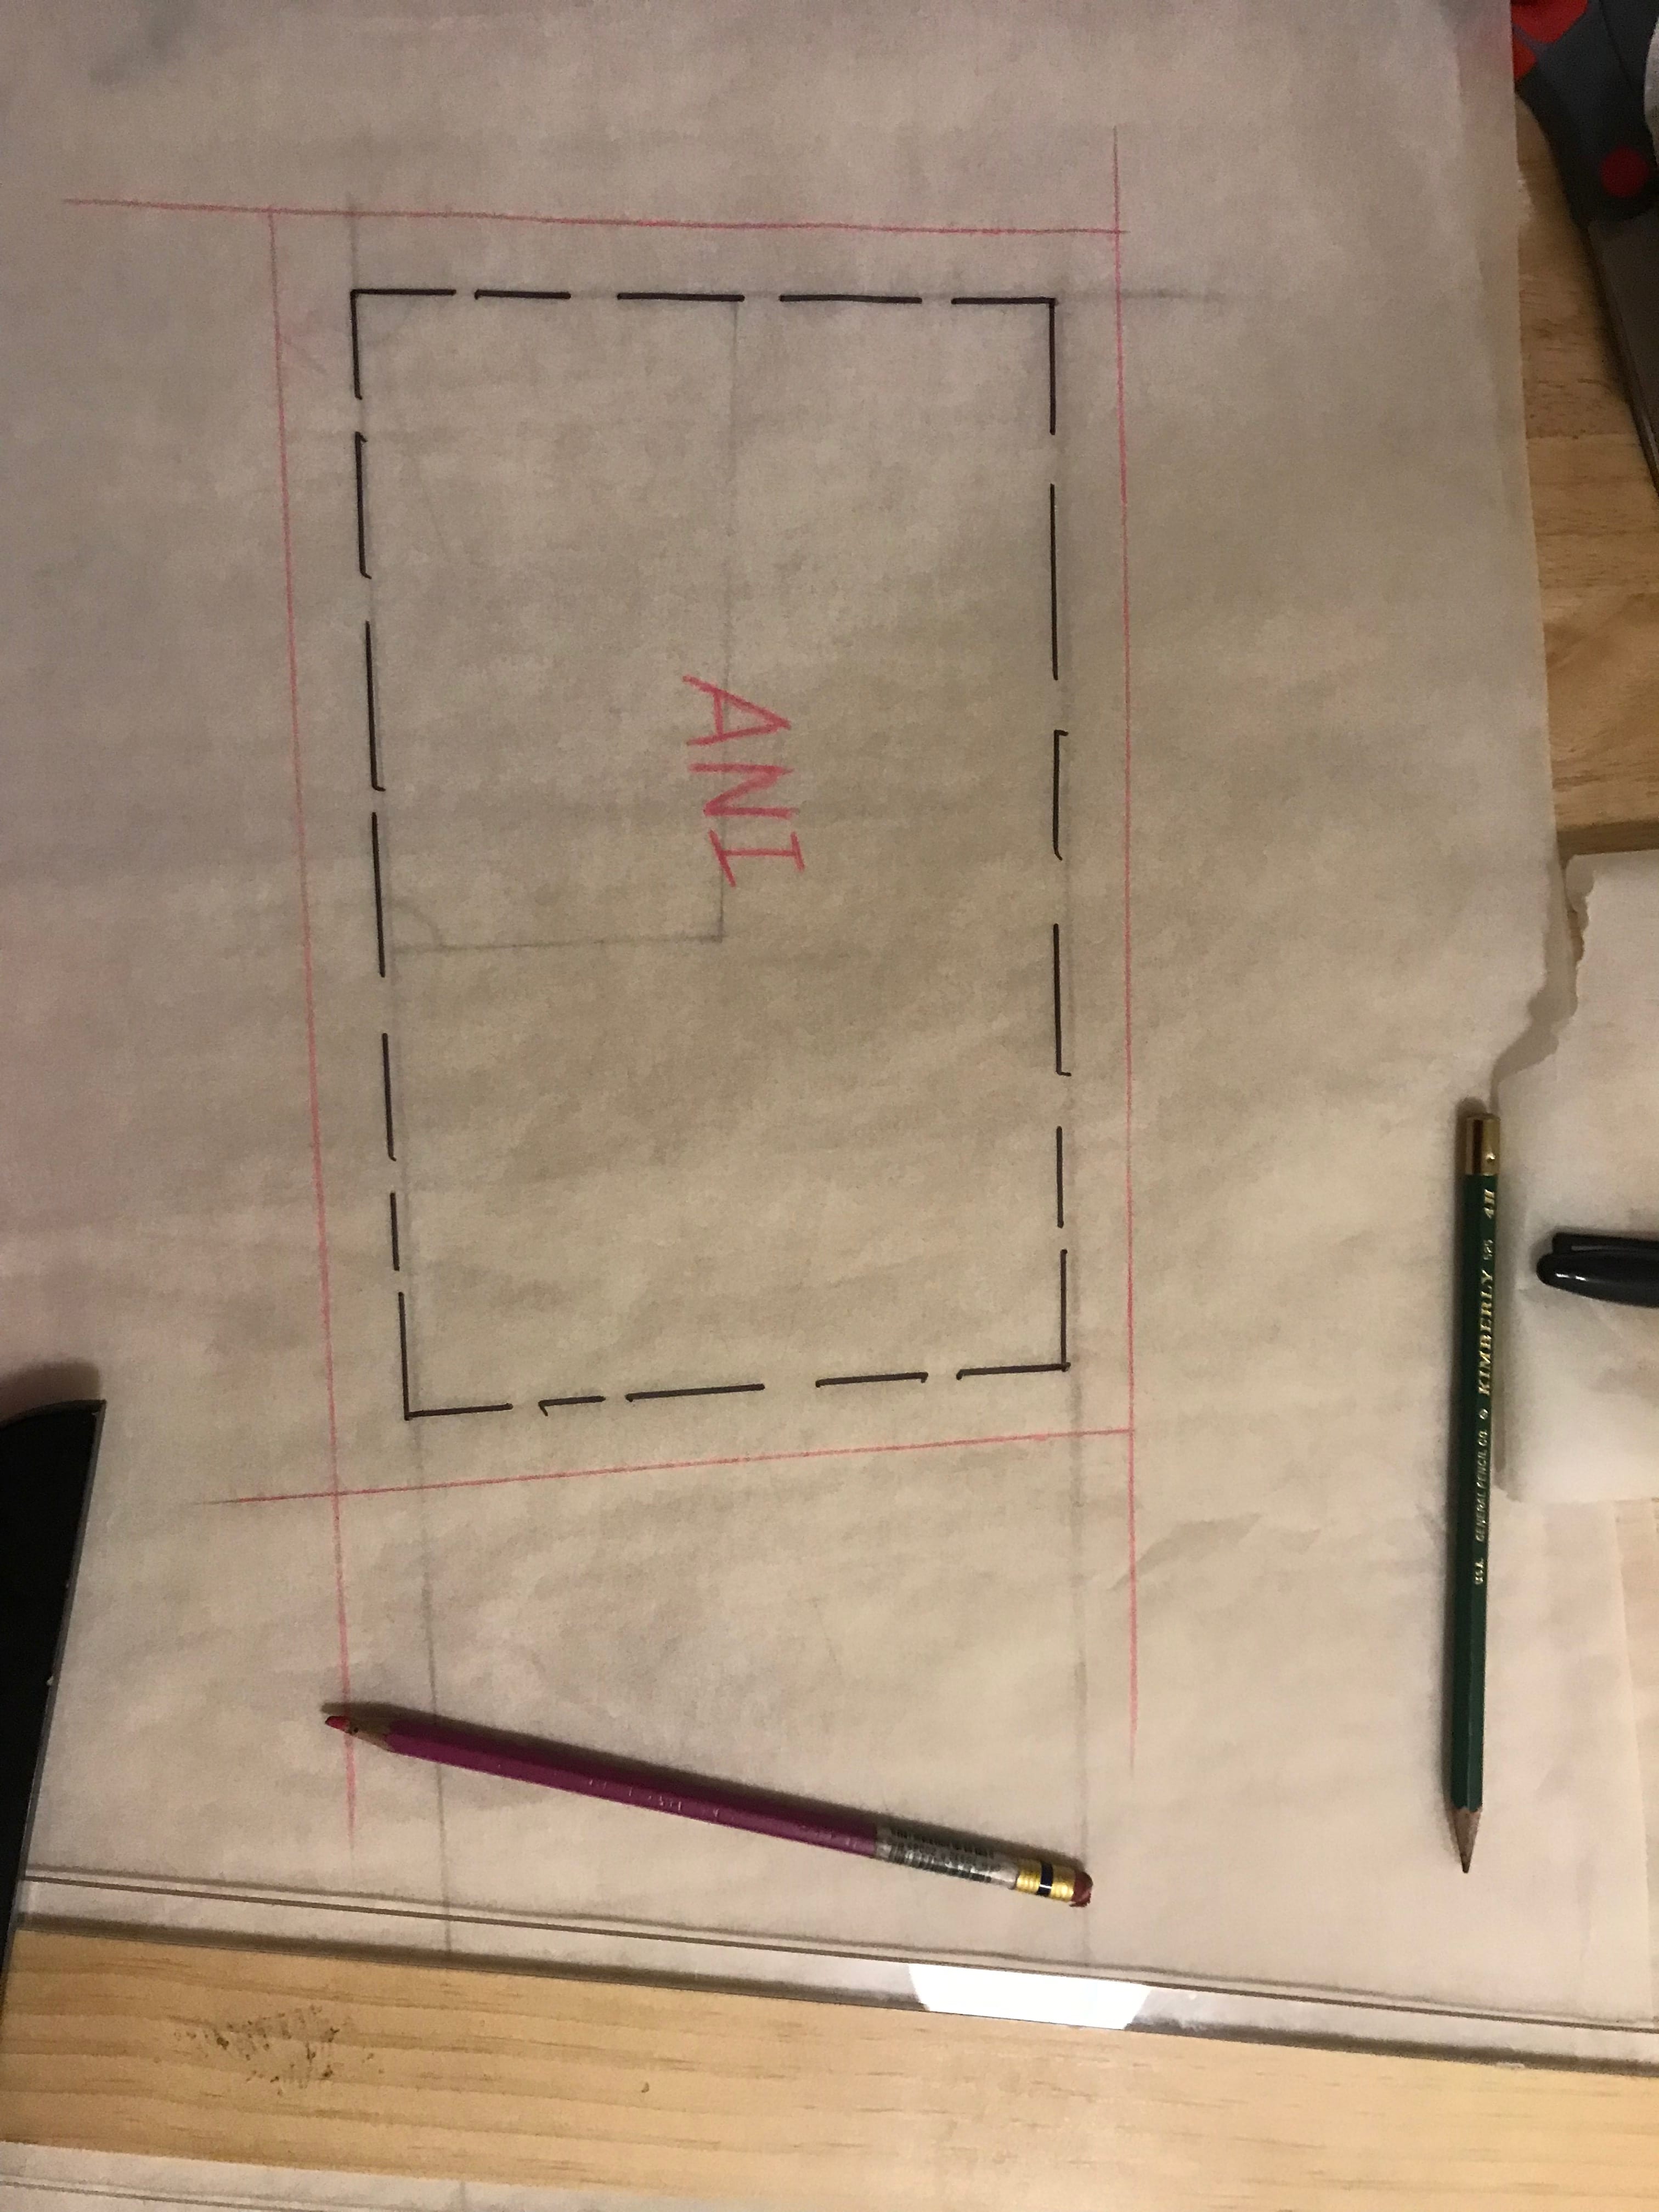
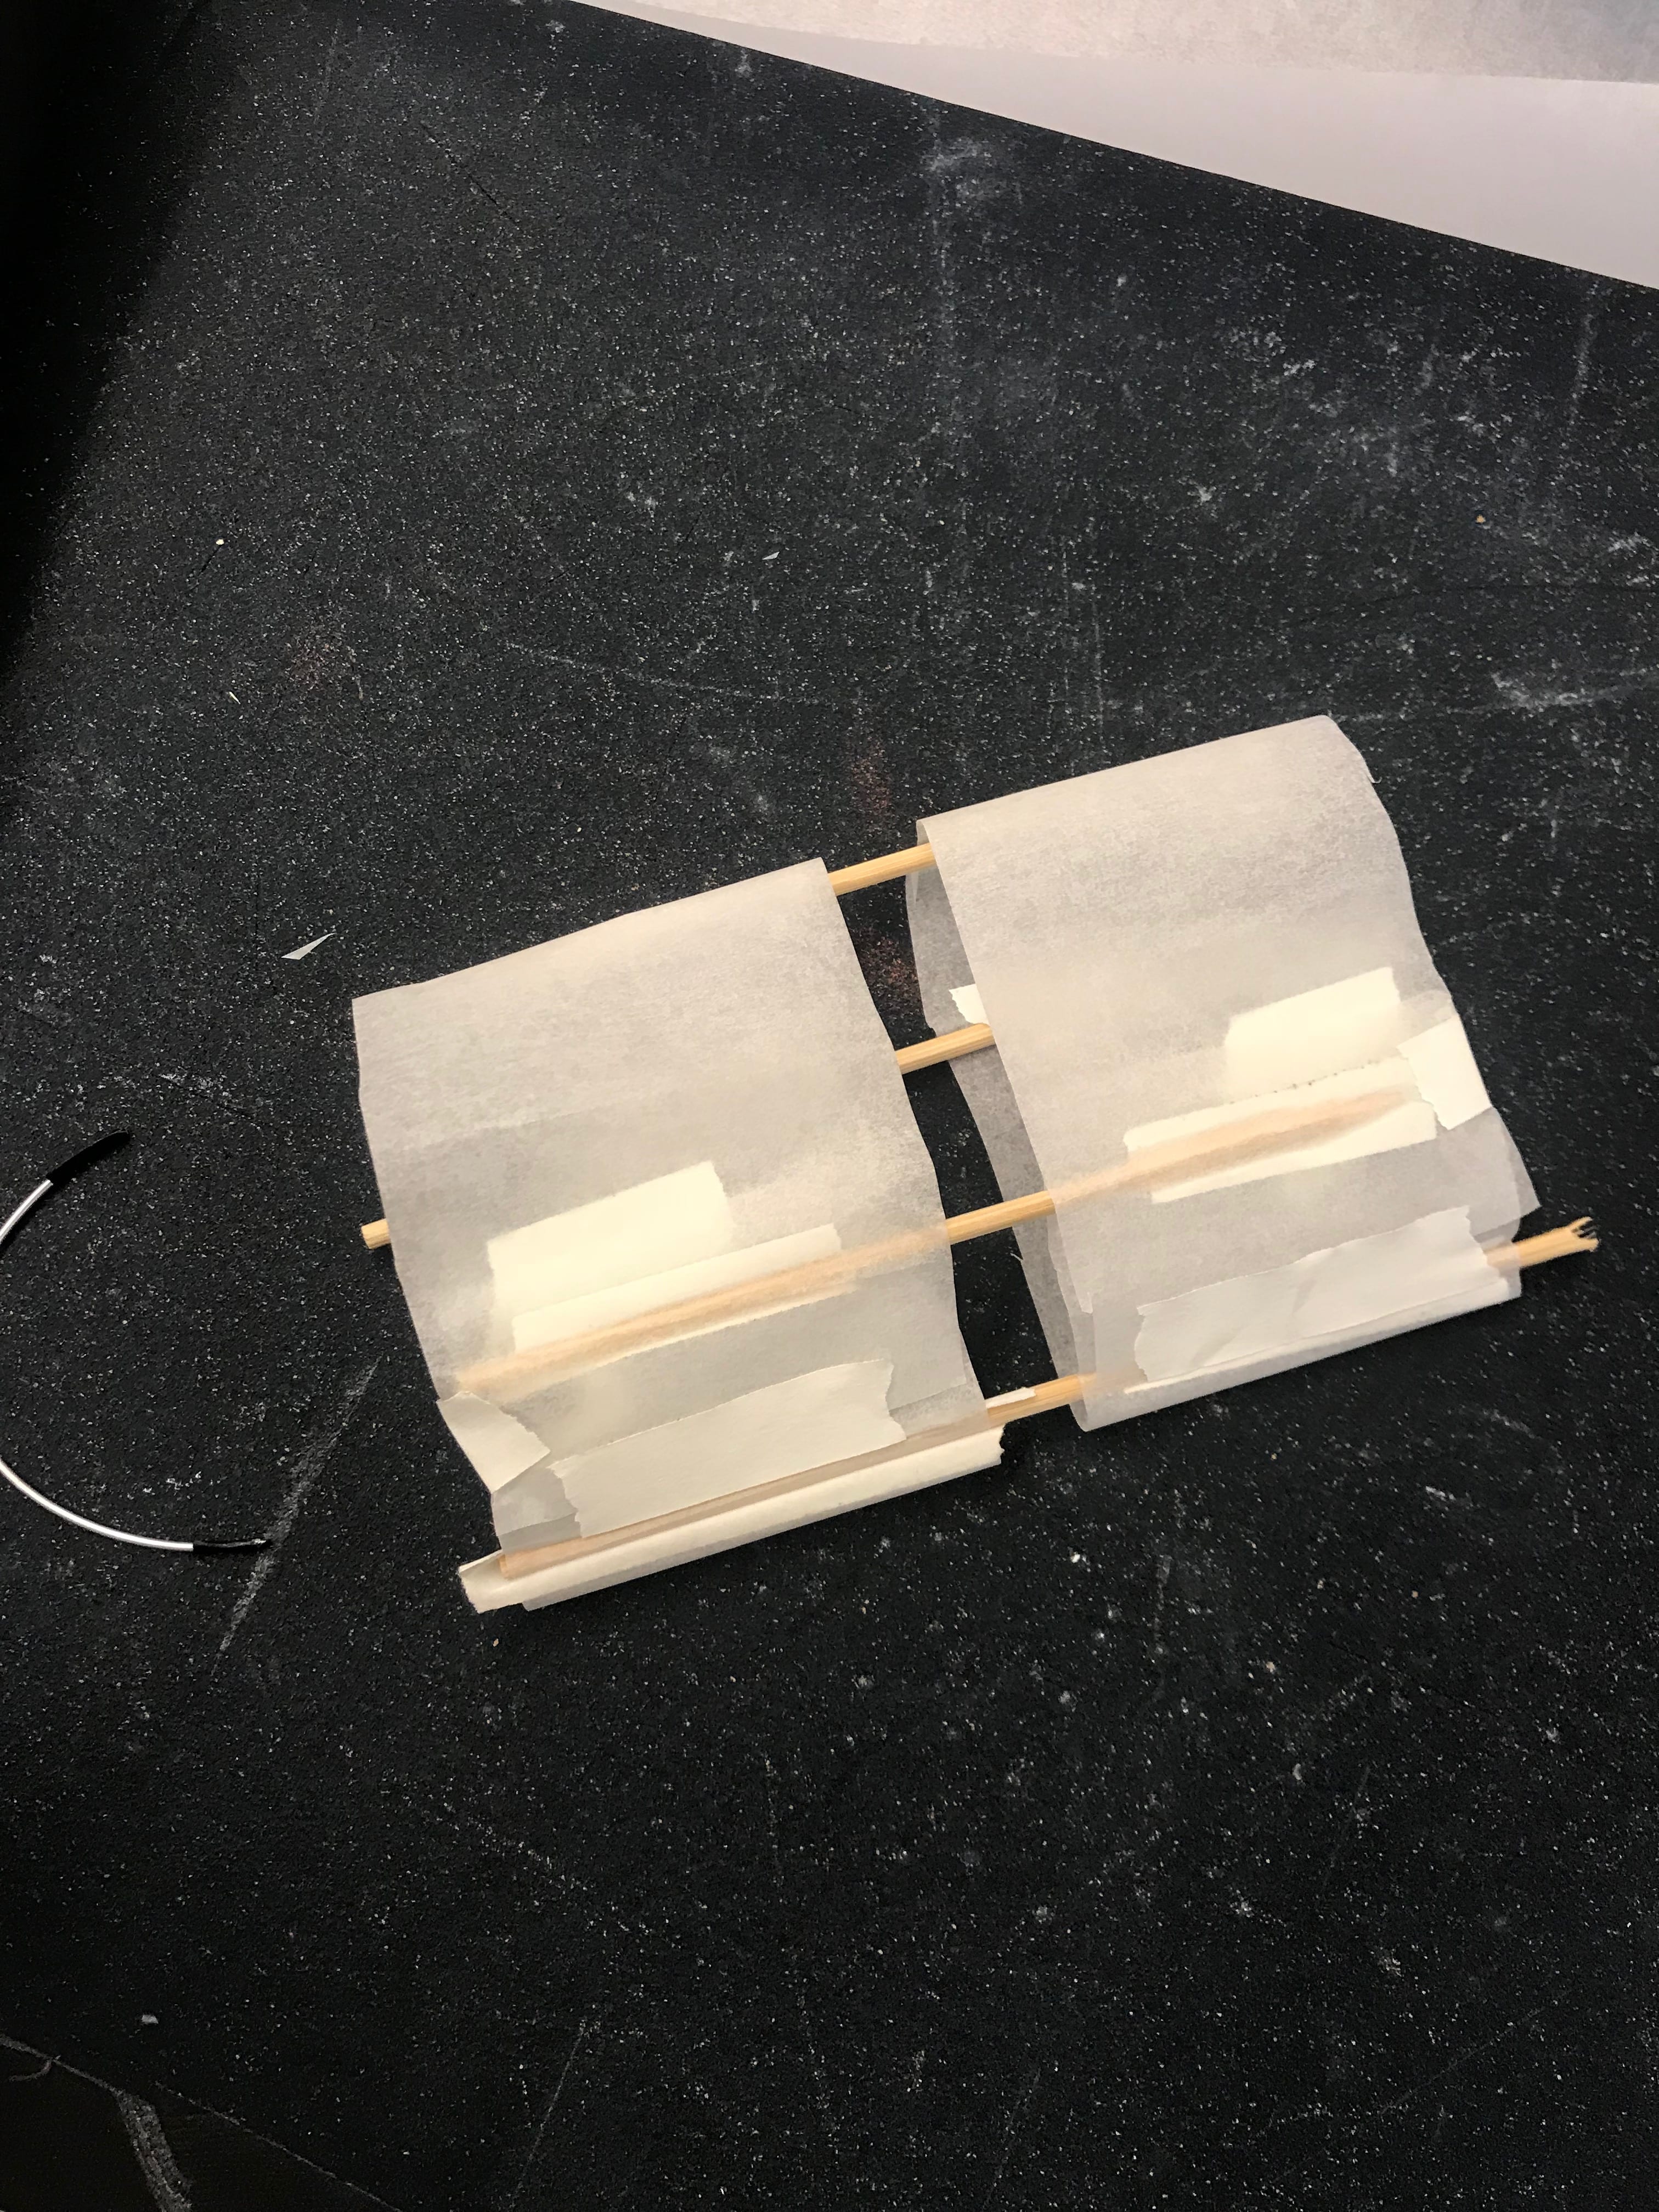
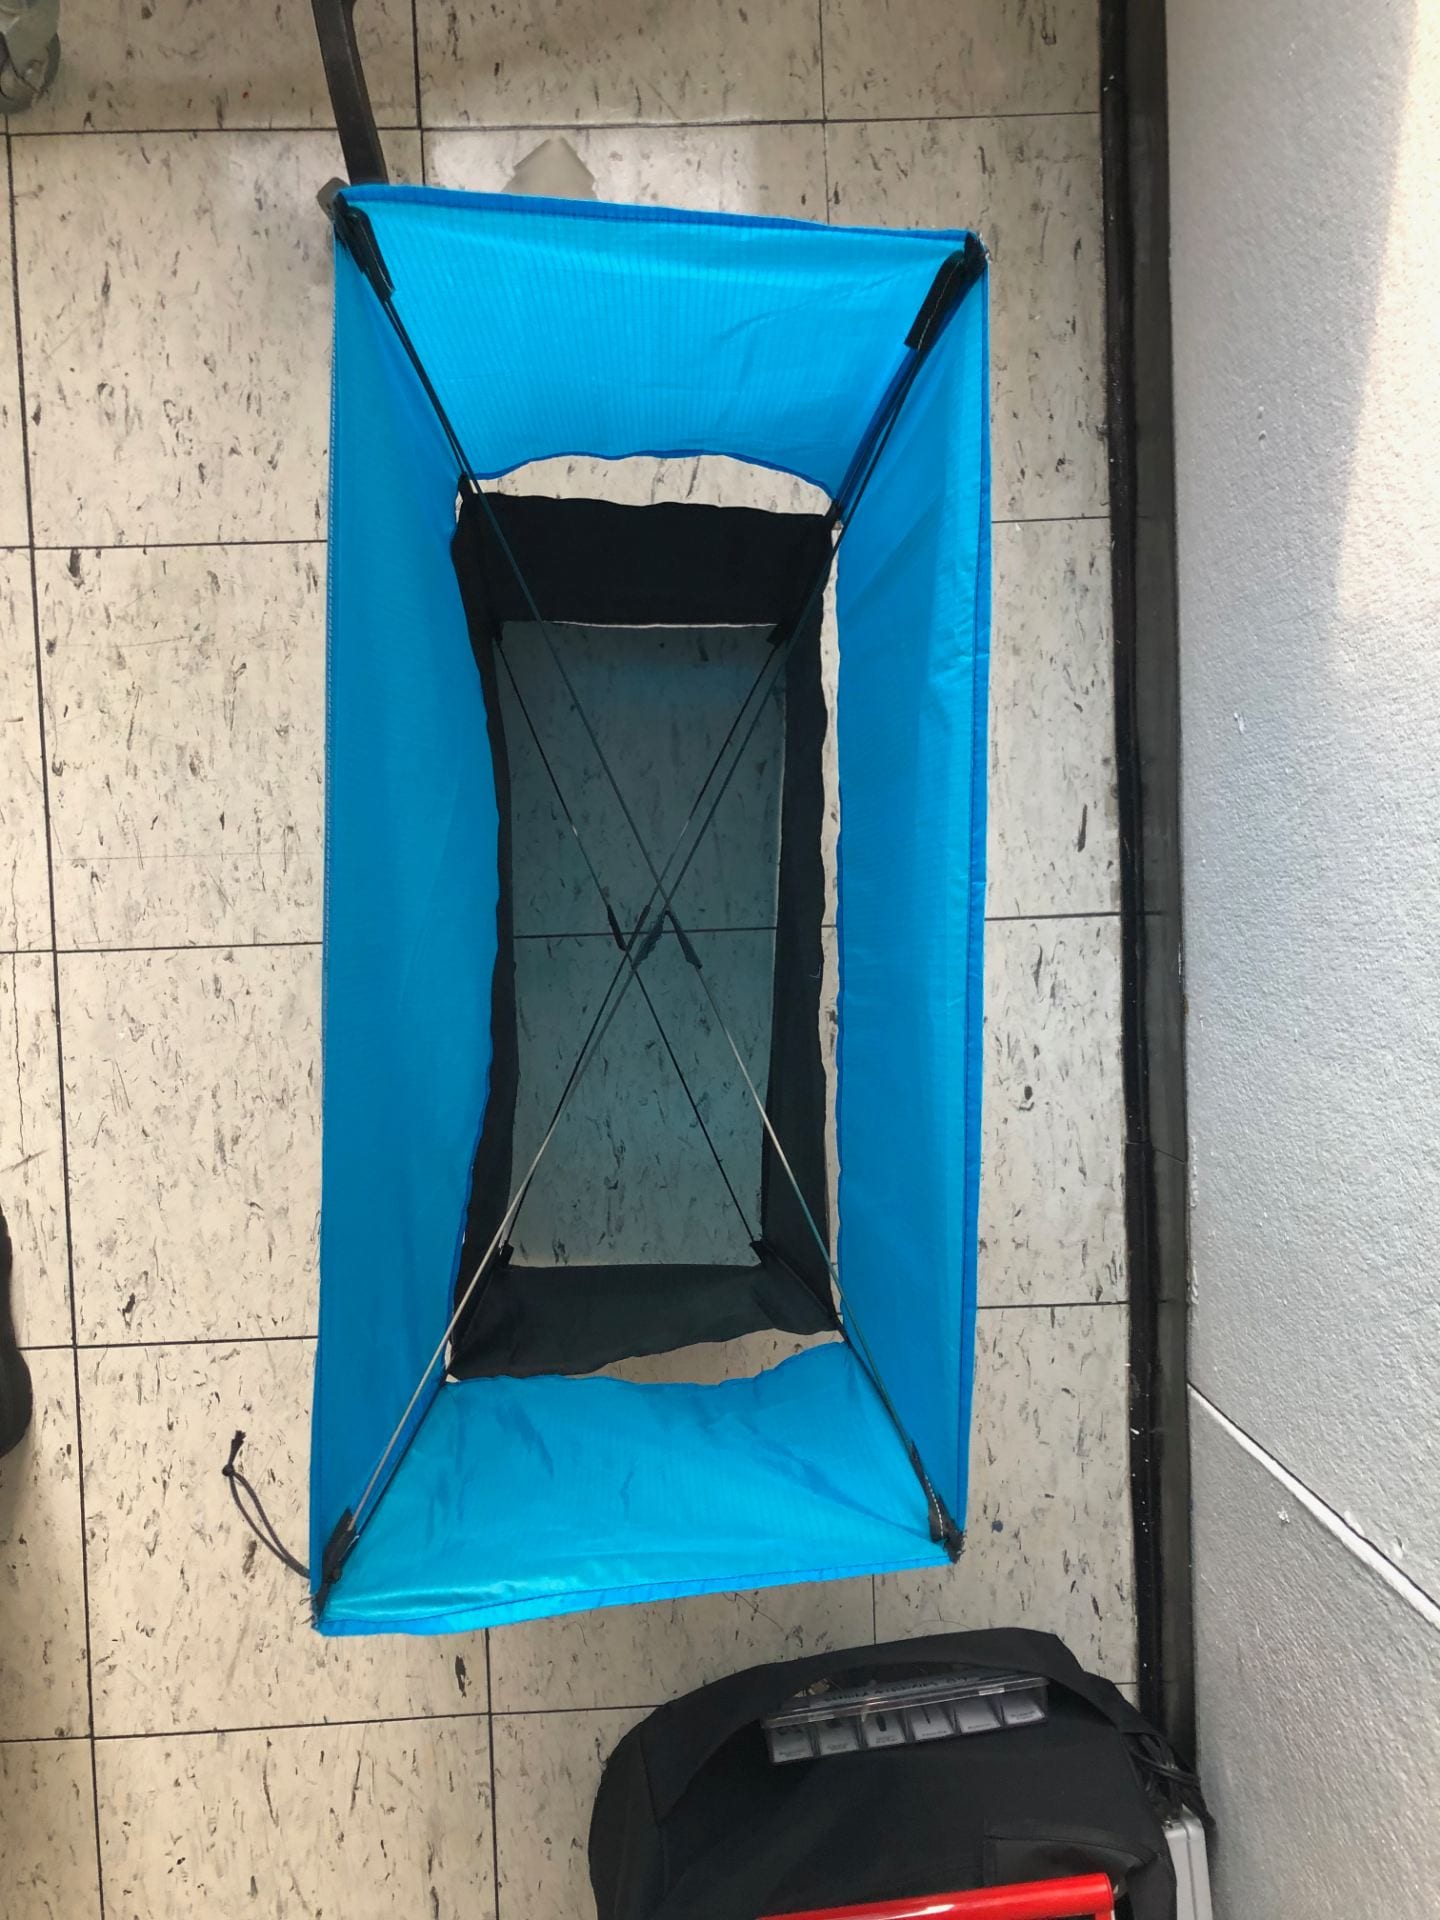
I then revised my model again, making it up to scale using my shoe pattern and putting the crossbars in the correct placement so everything is mapped out when I need a reference.
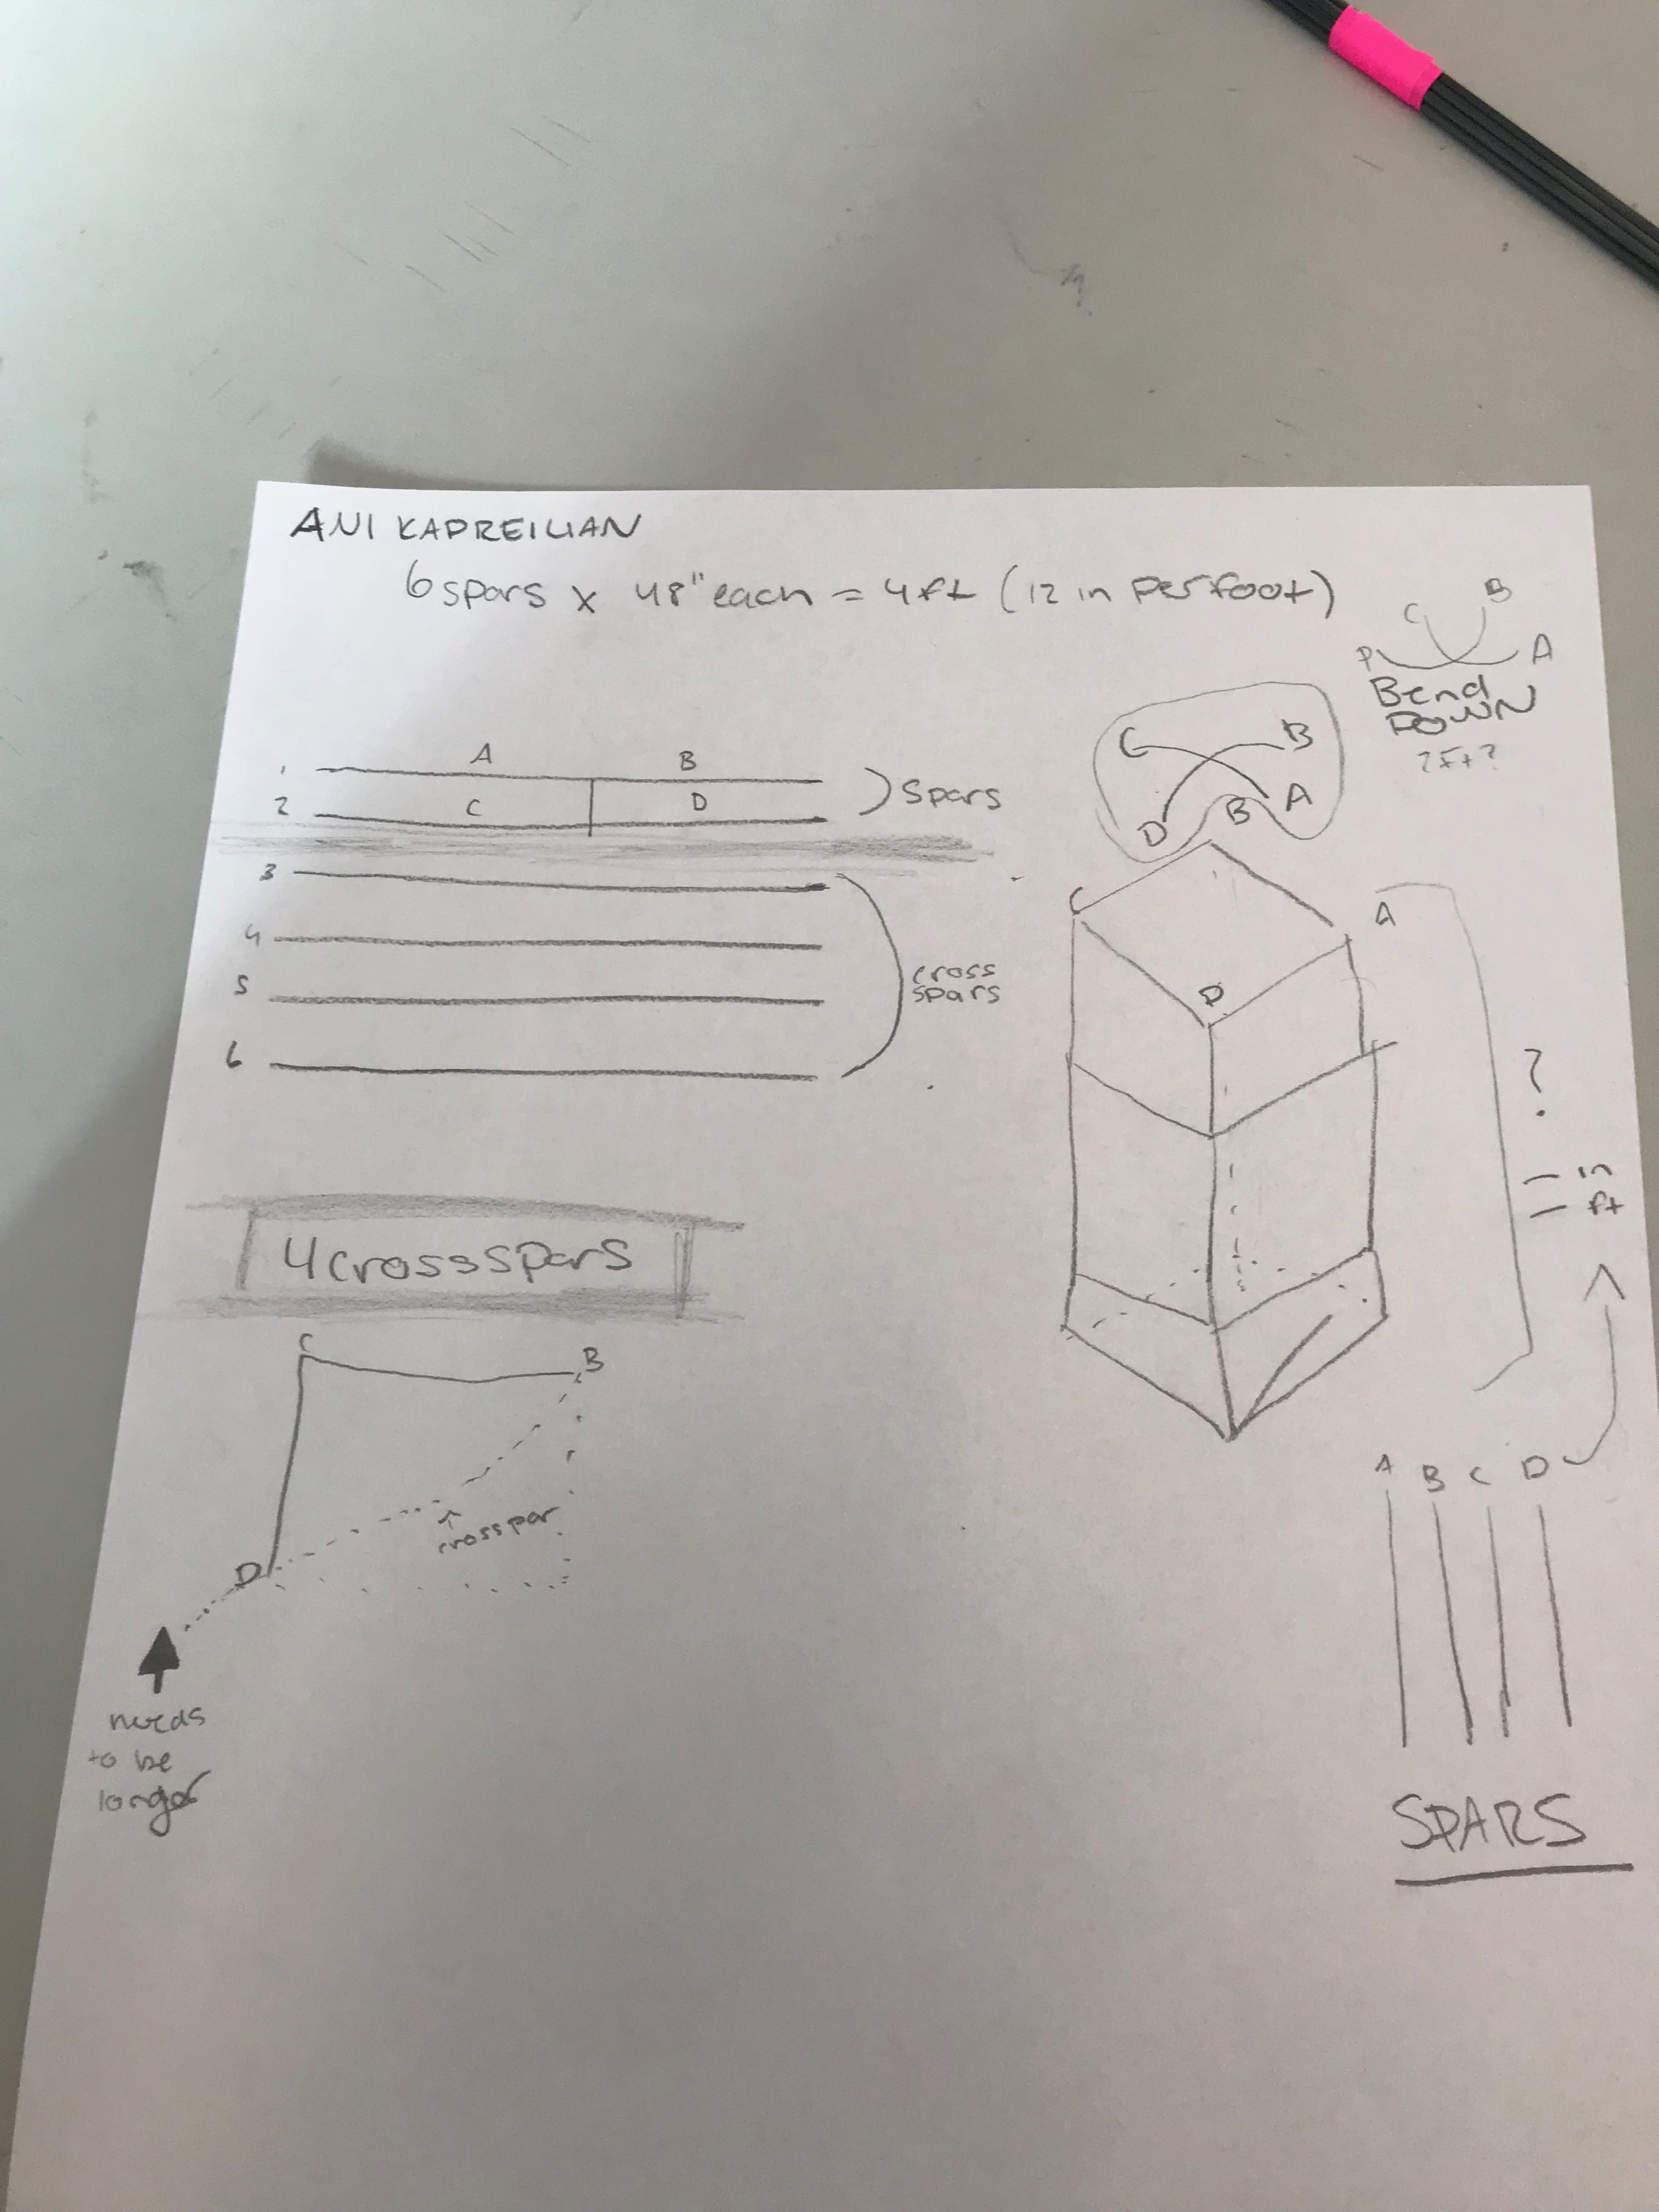
I began mapping out how many crossbars and spars I need and where to cut them to use my materials efficiently.
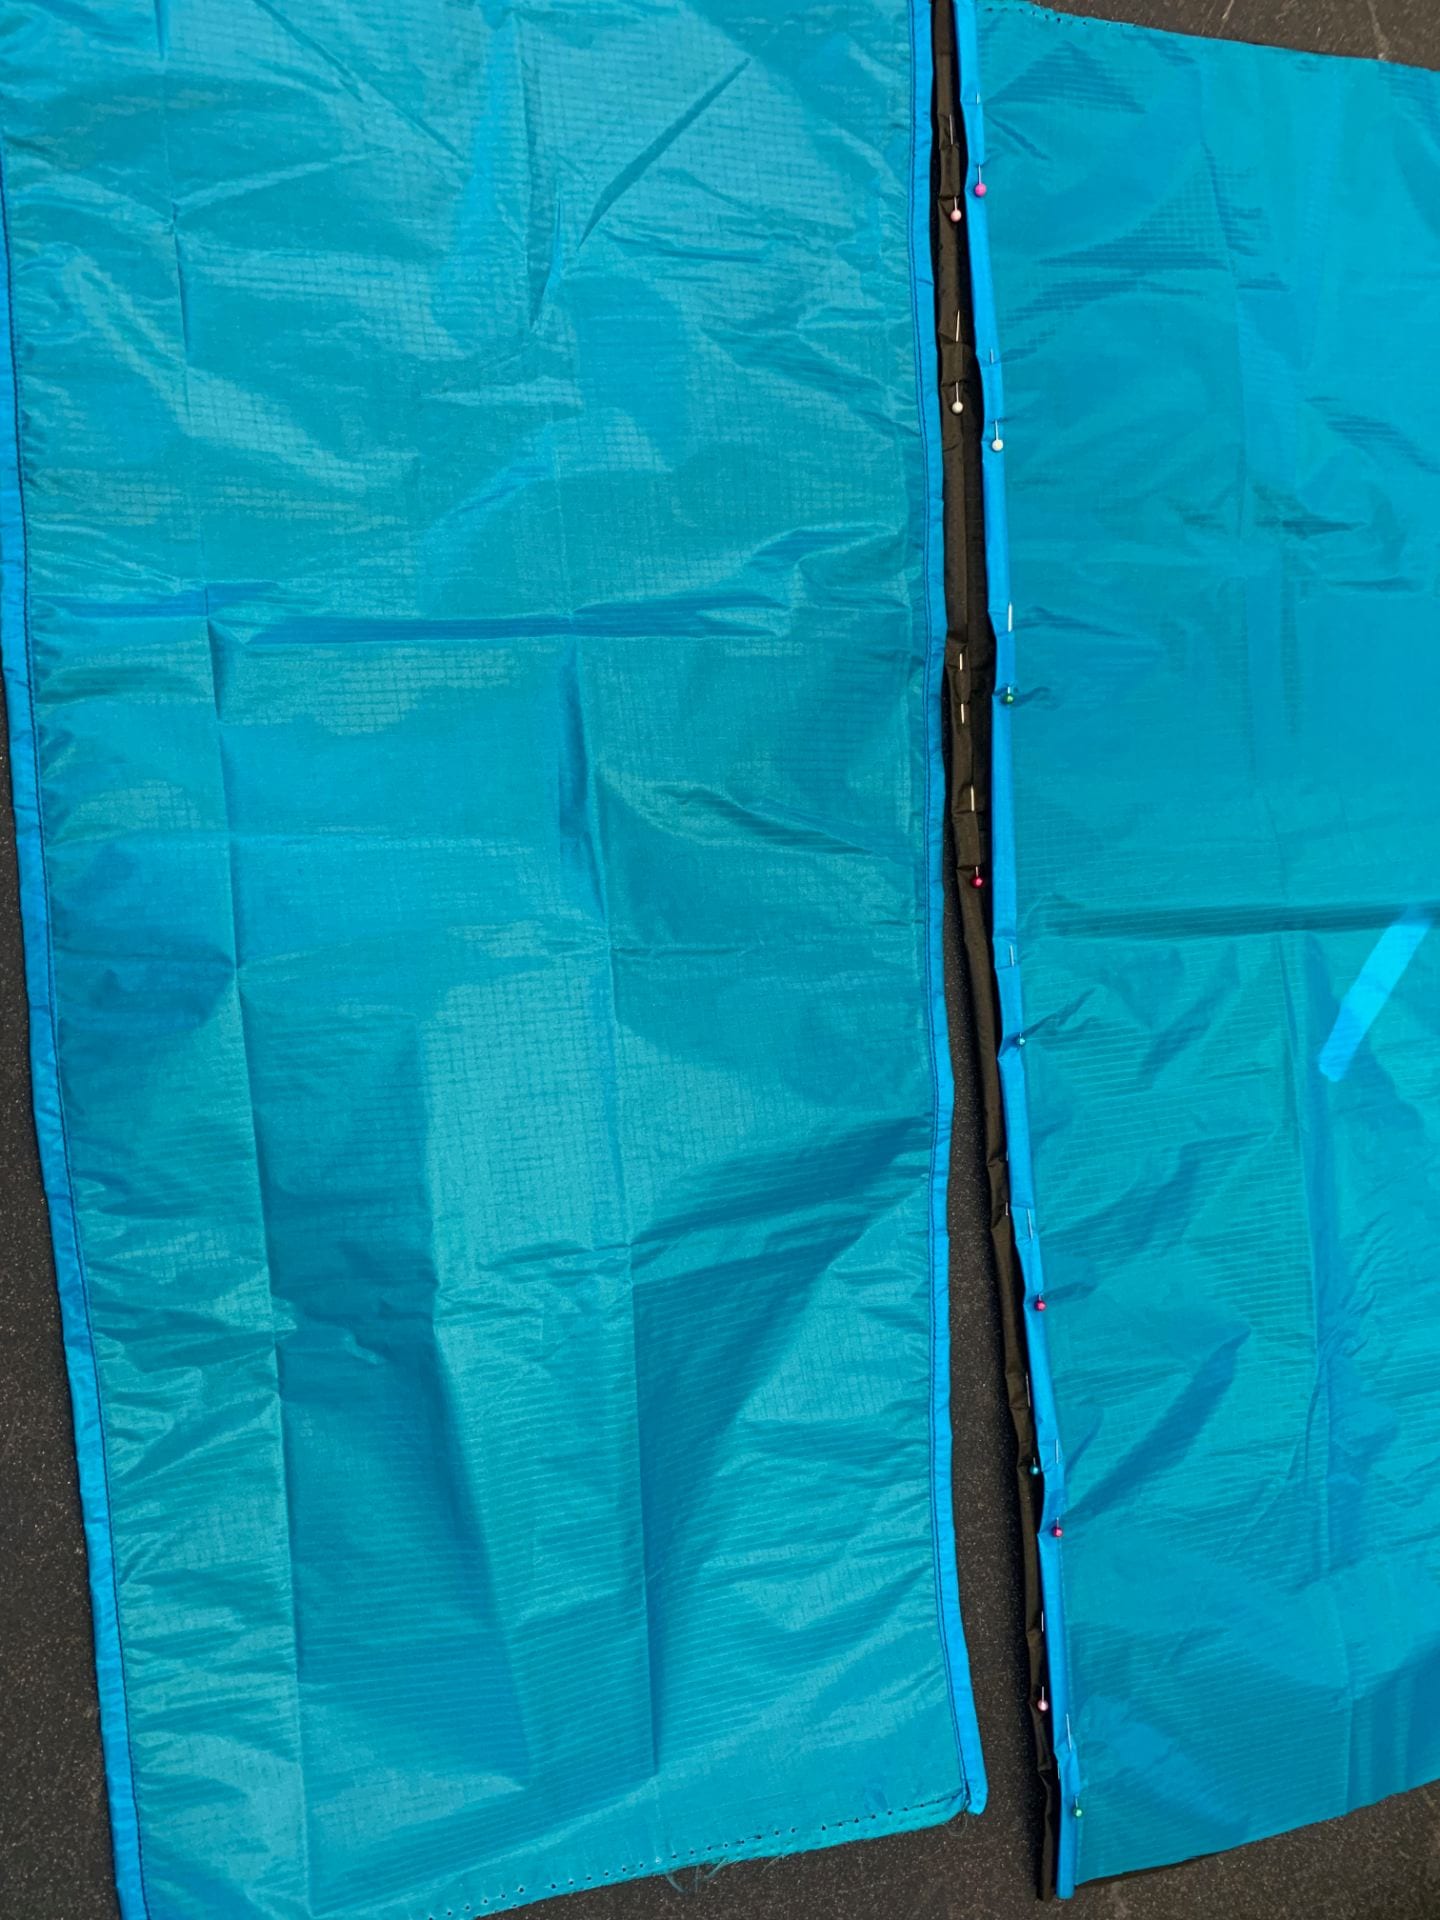
I then hemmed all the edges and constructed the kite, sewing pockets in the corners
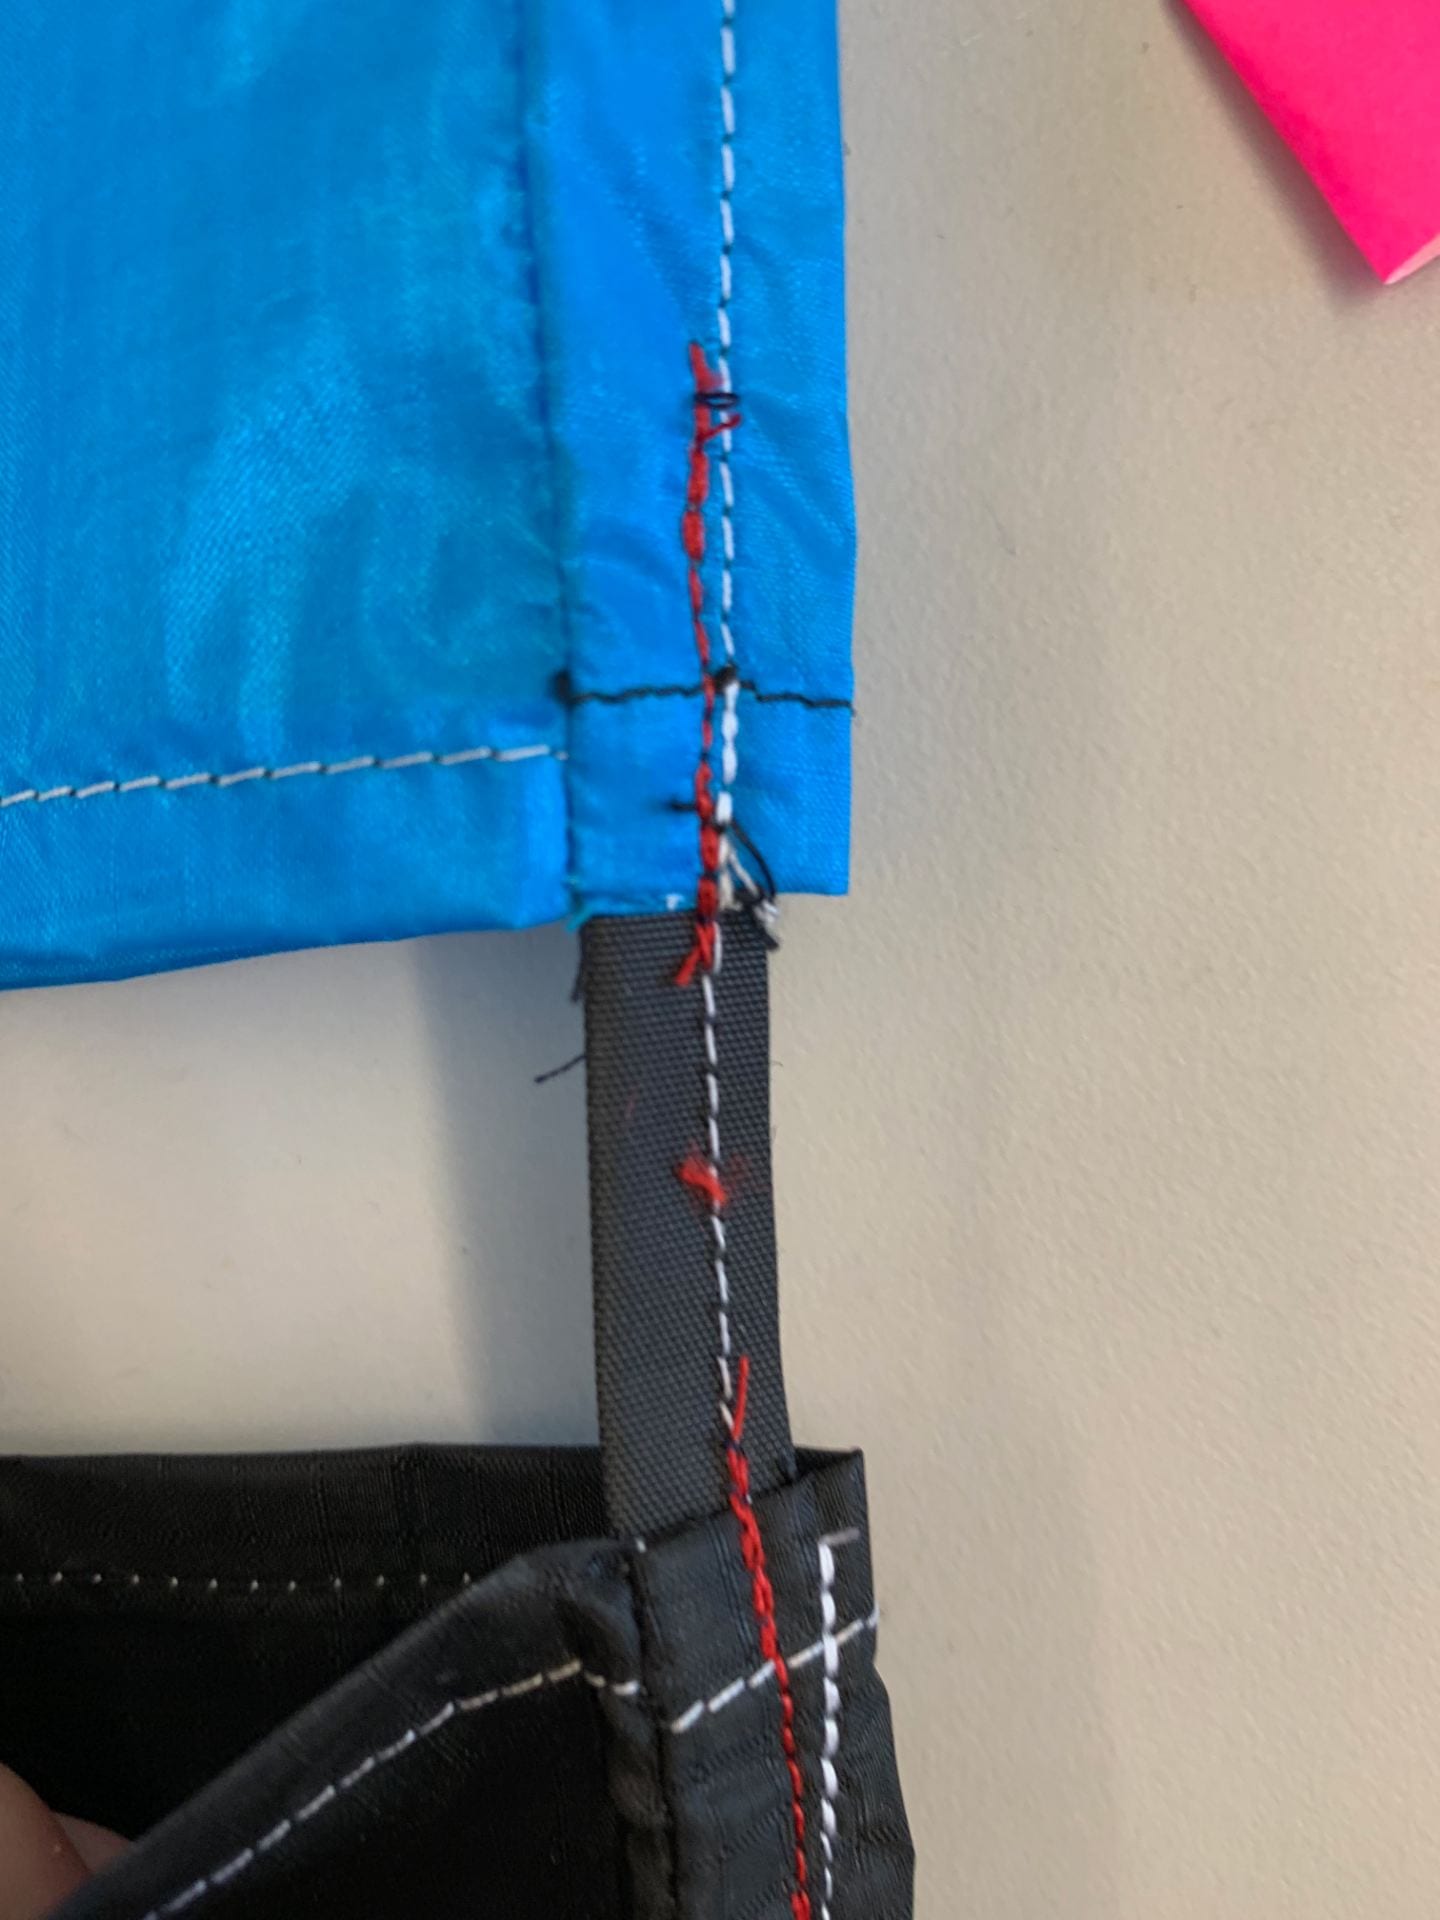
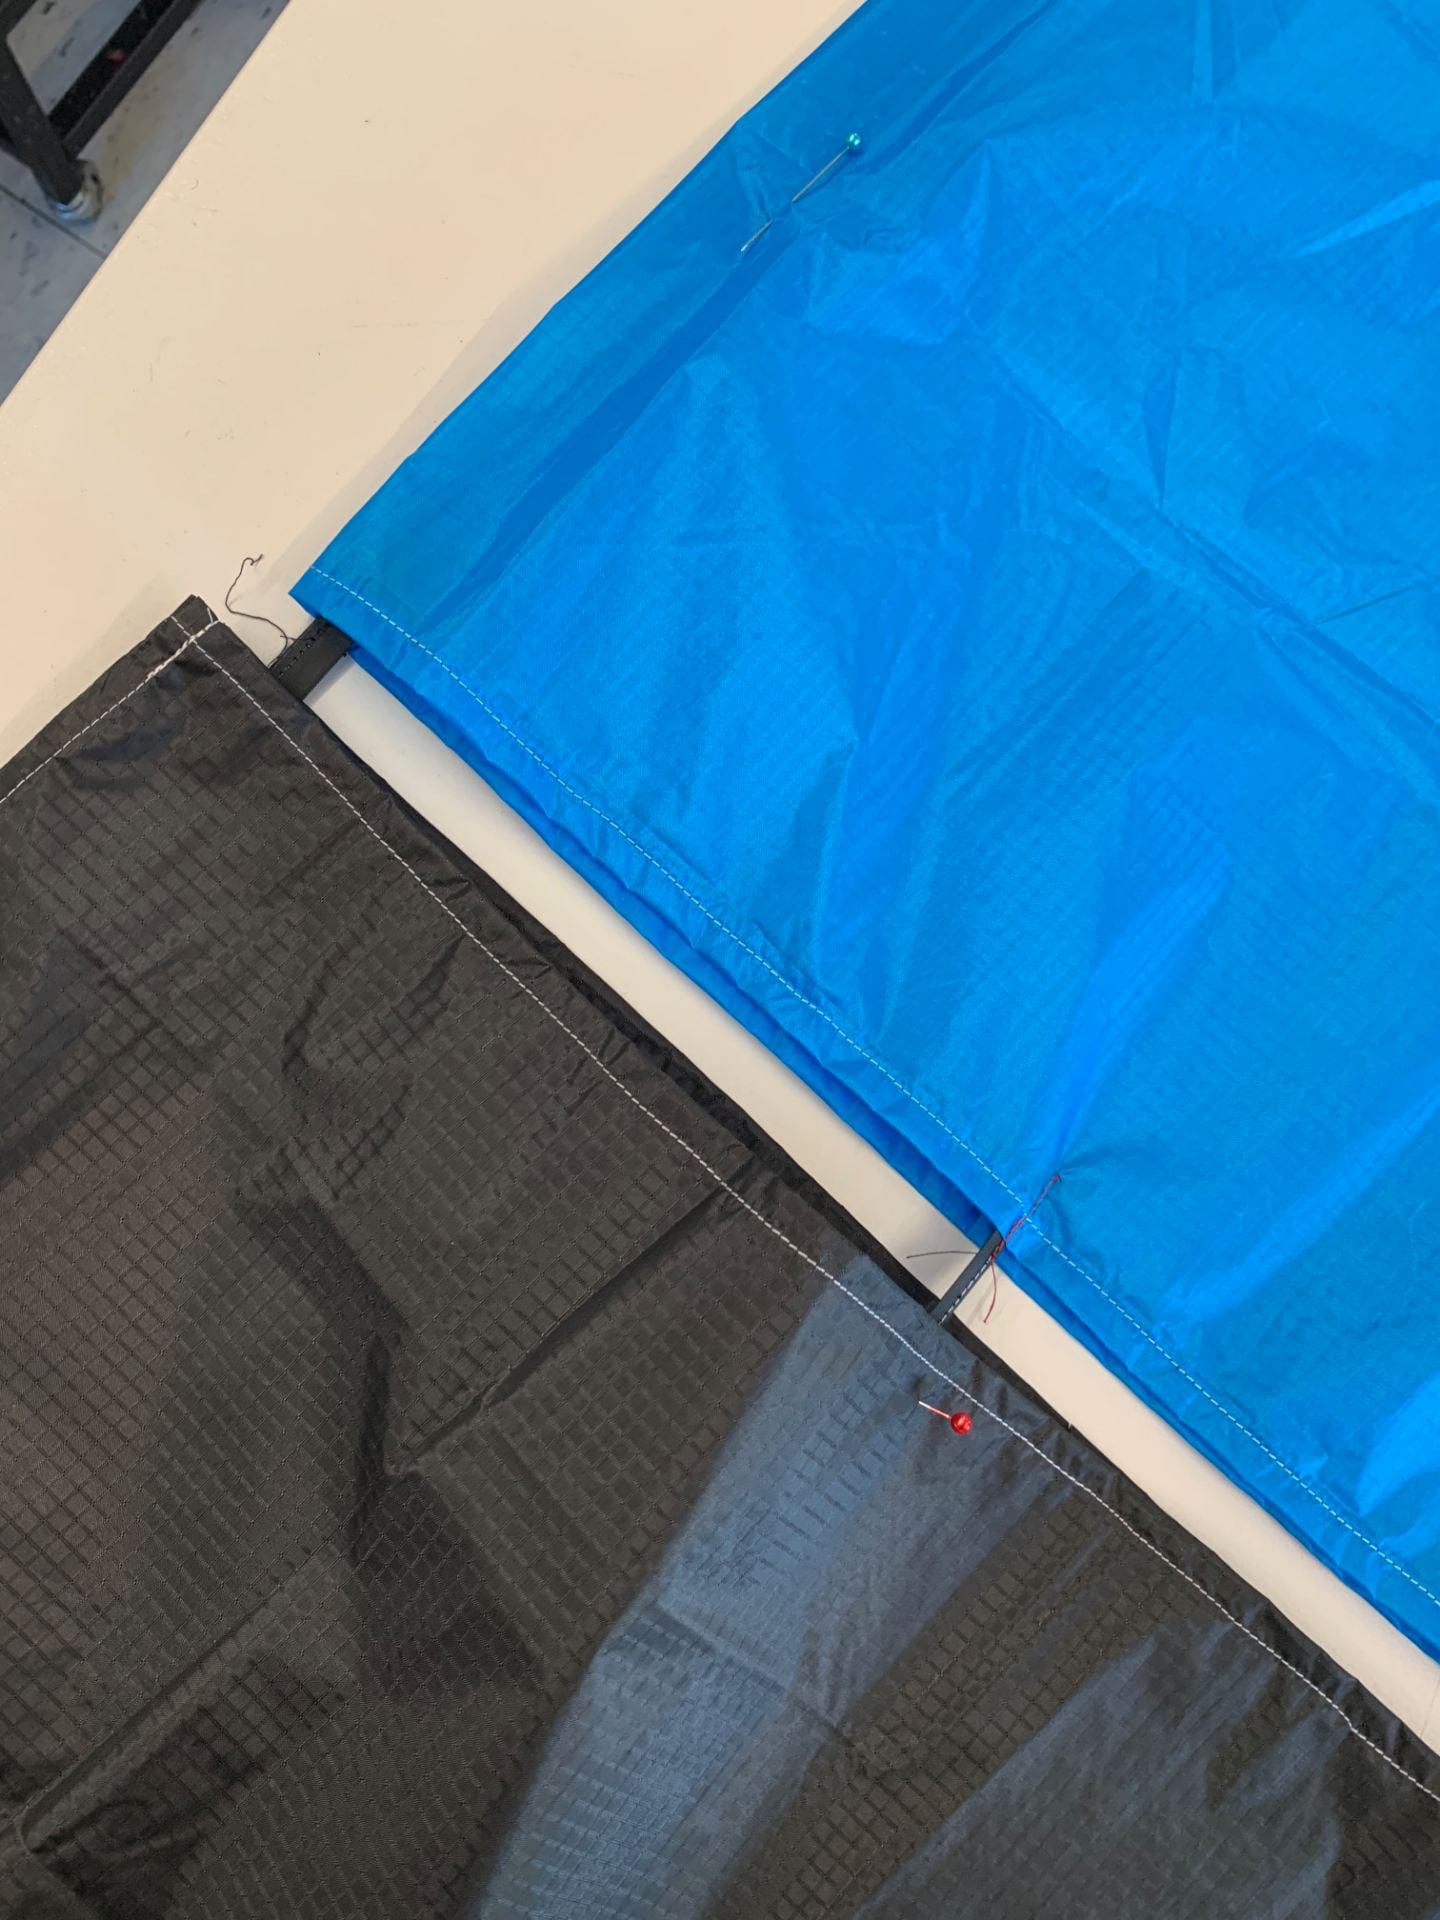
I added tunnels in between the two colored membranes in order to keep them together when spars are inserted
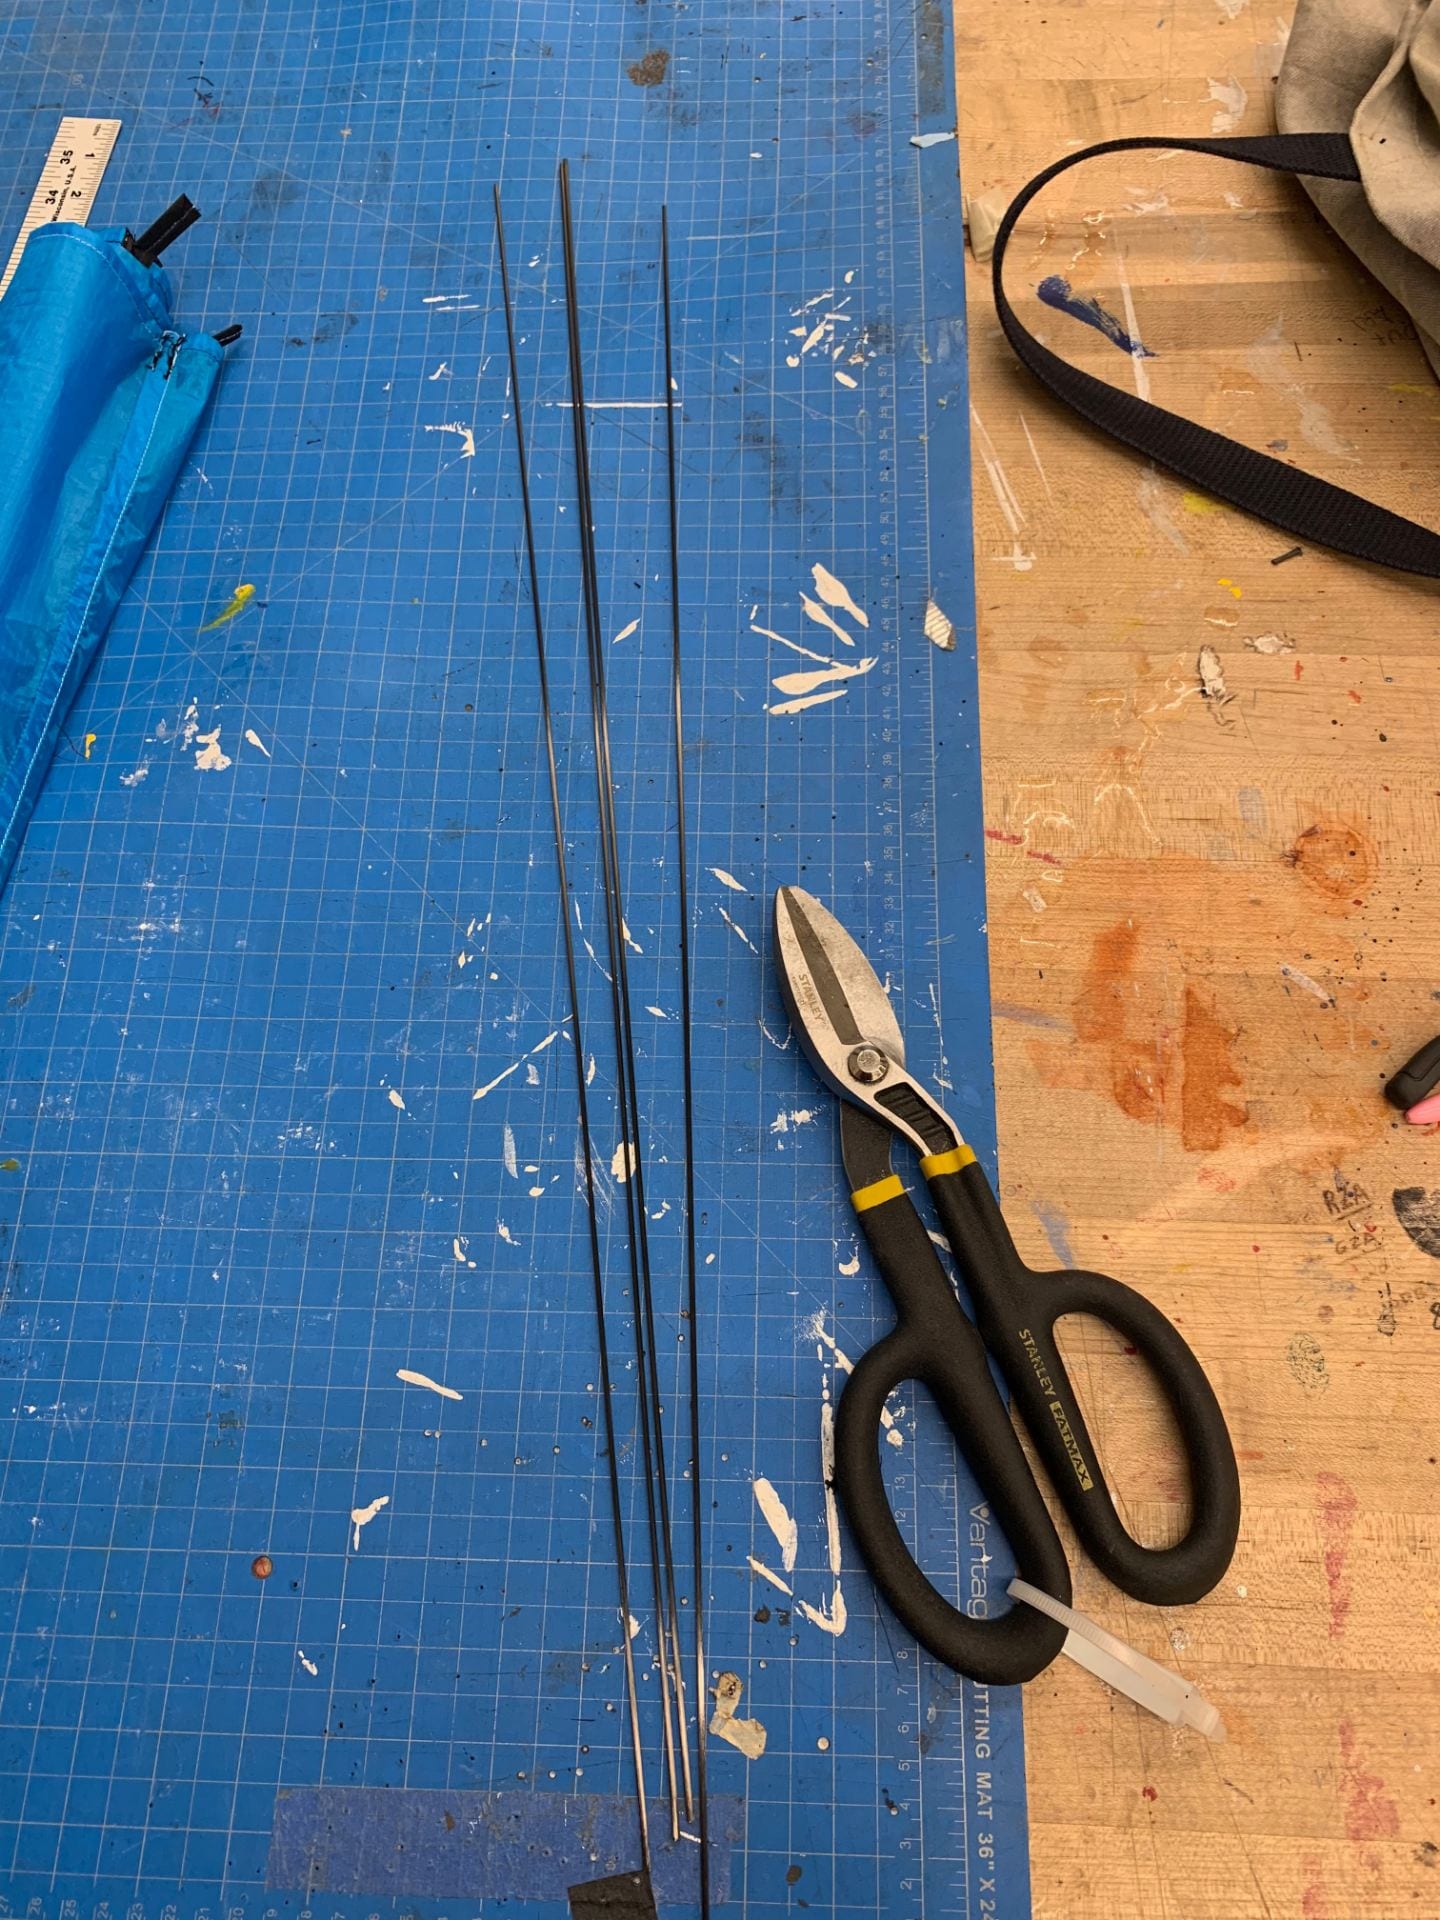
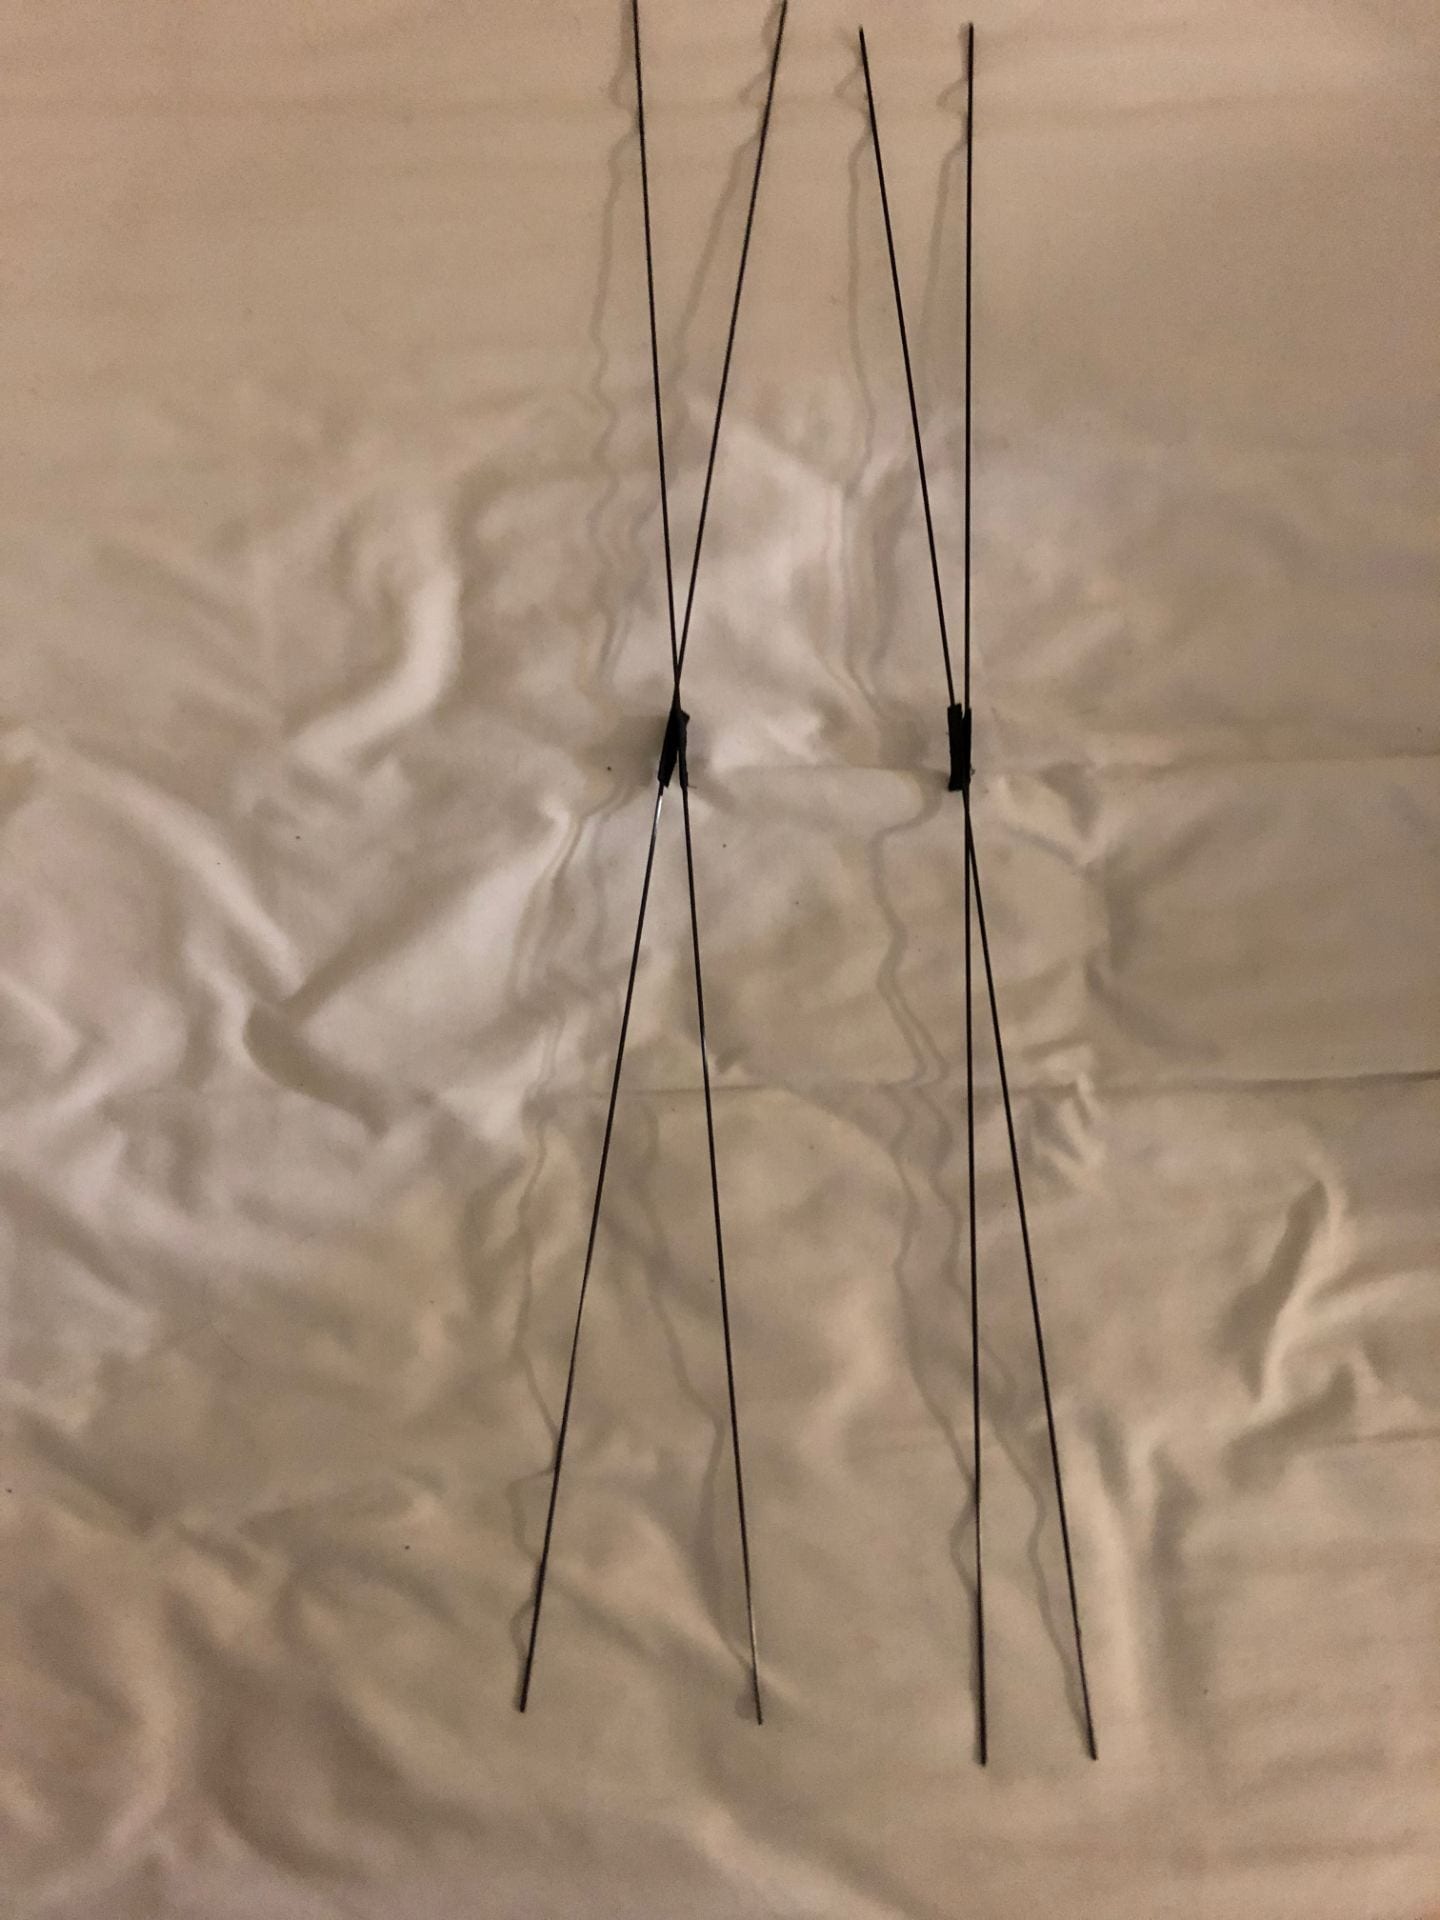
I cut my spars and created tunnels to keep the crosspars together for better tension
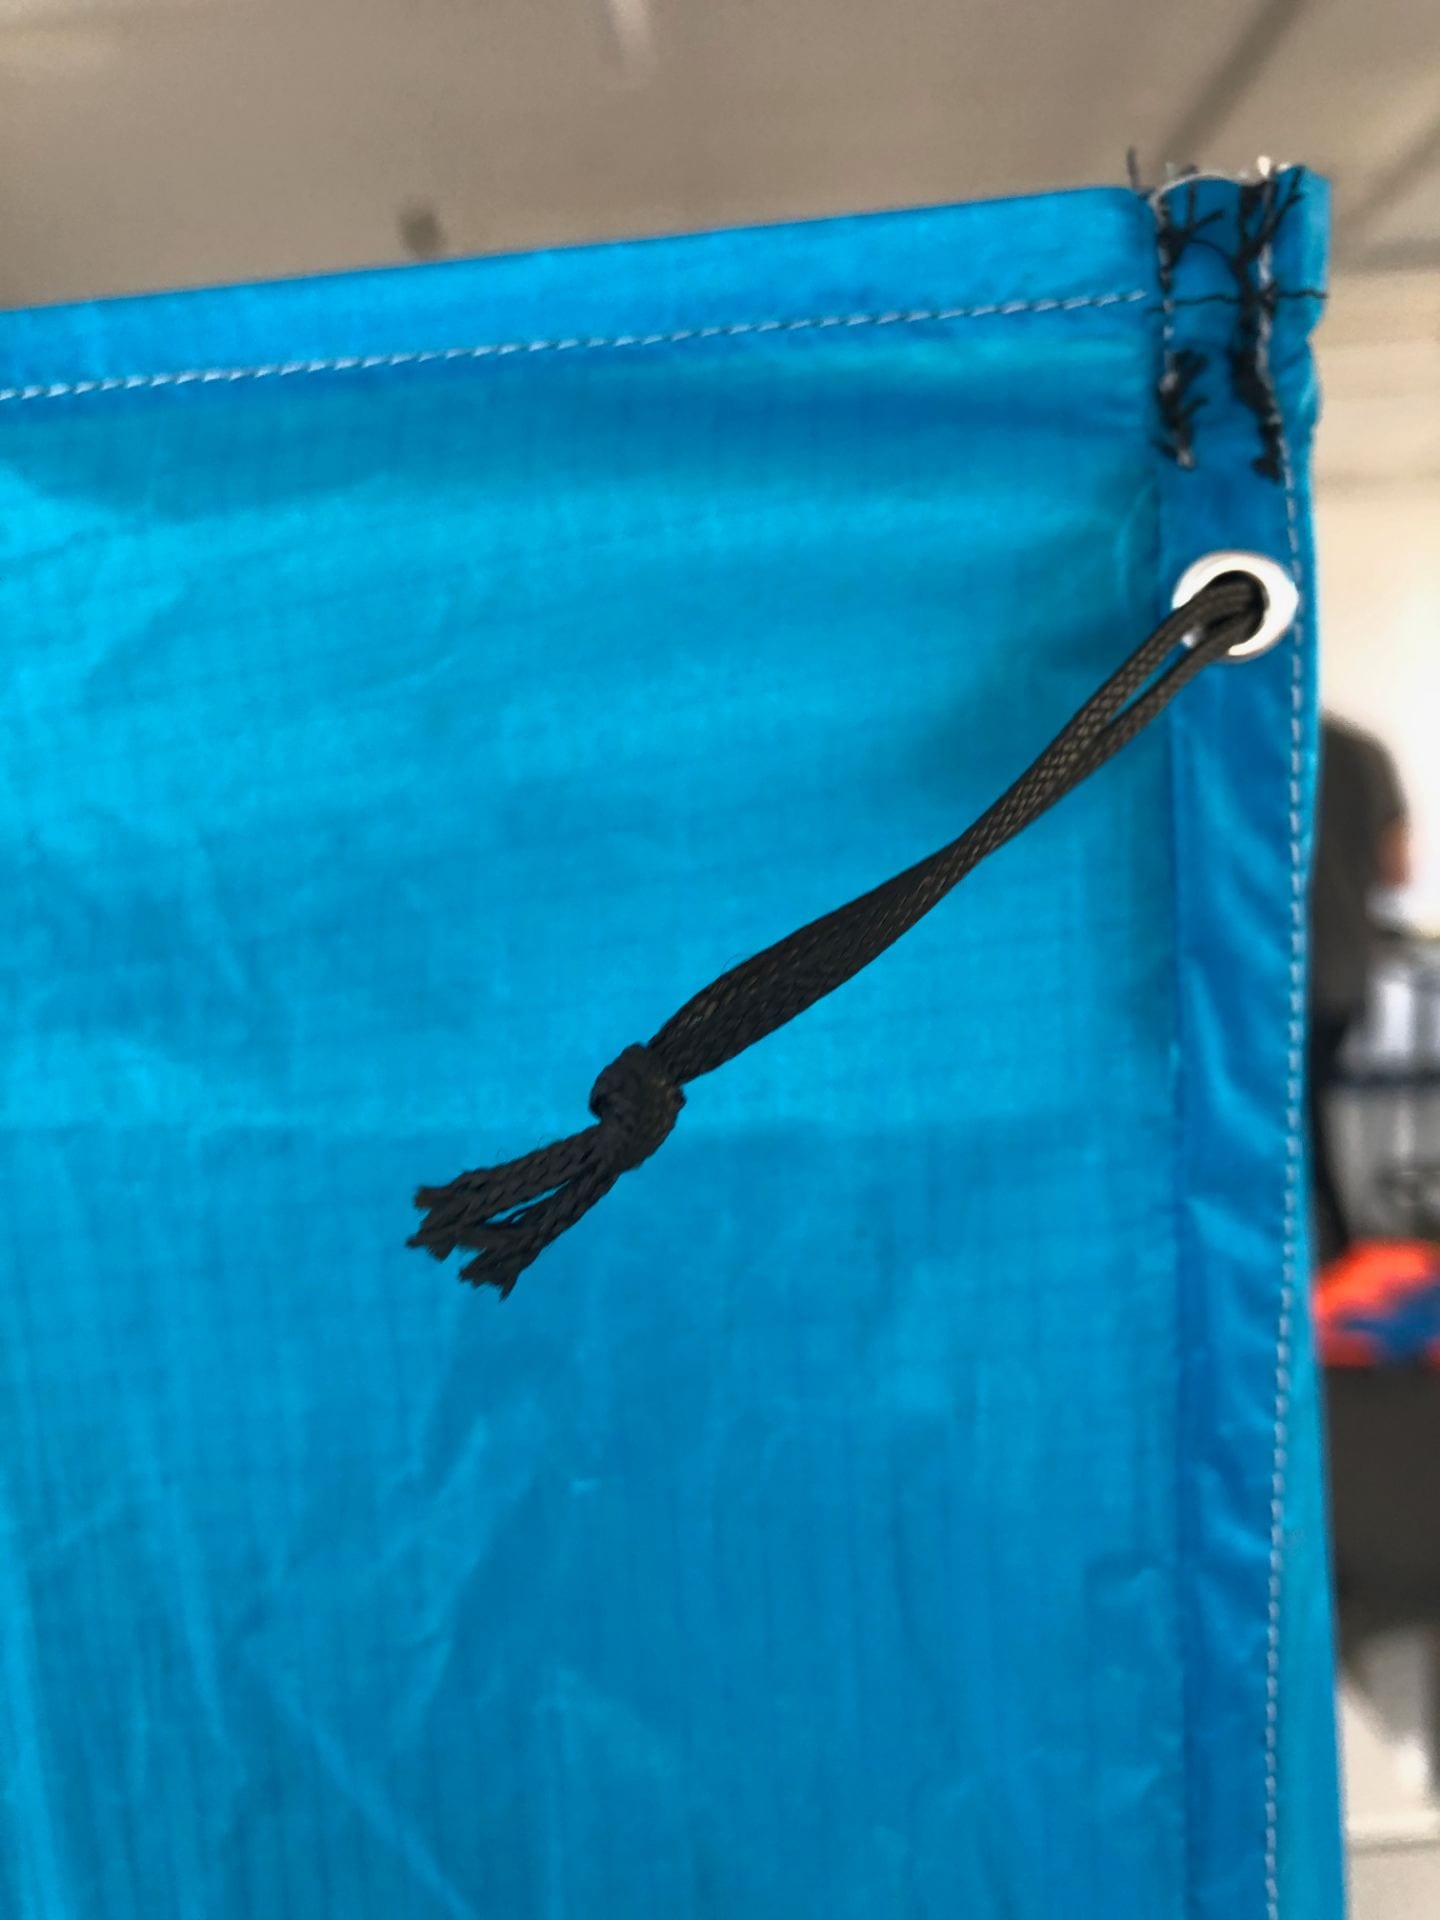
I put a grommet in the corner to insert the bridle to attach the kite line.
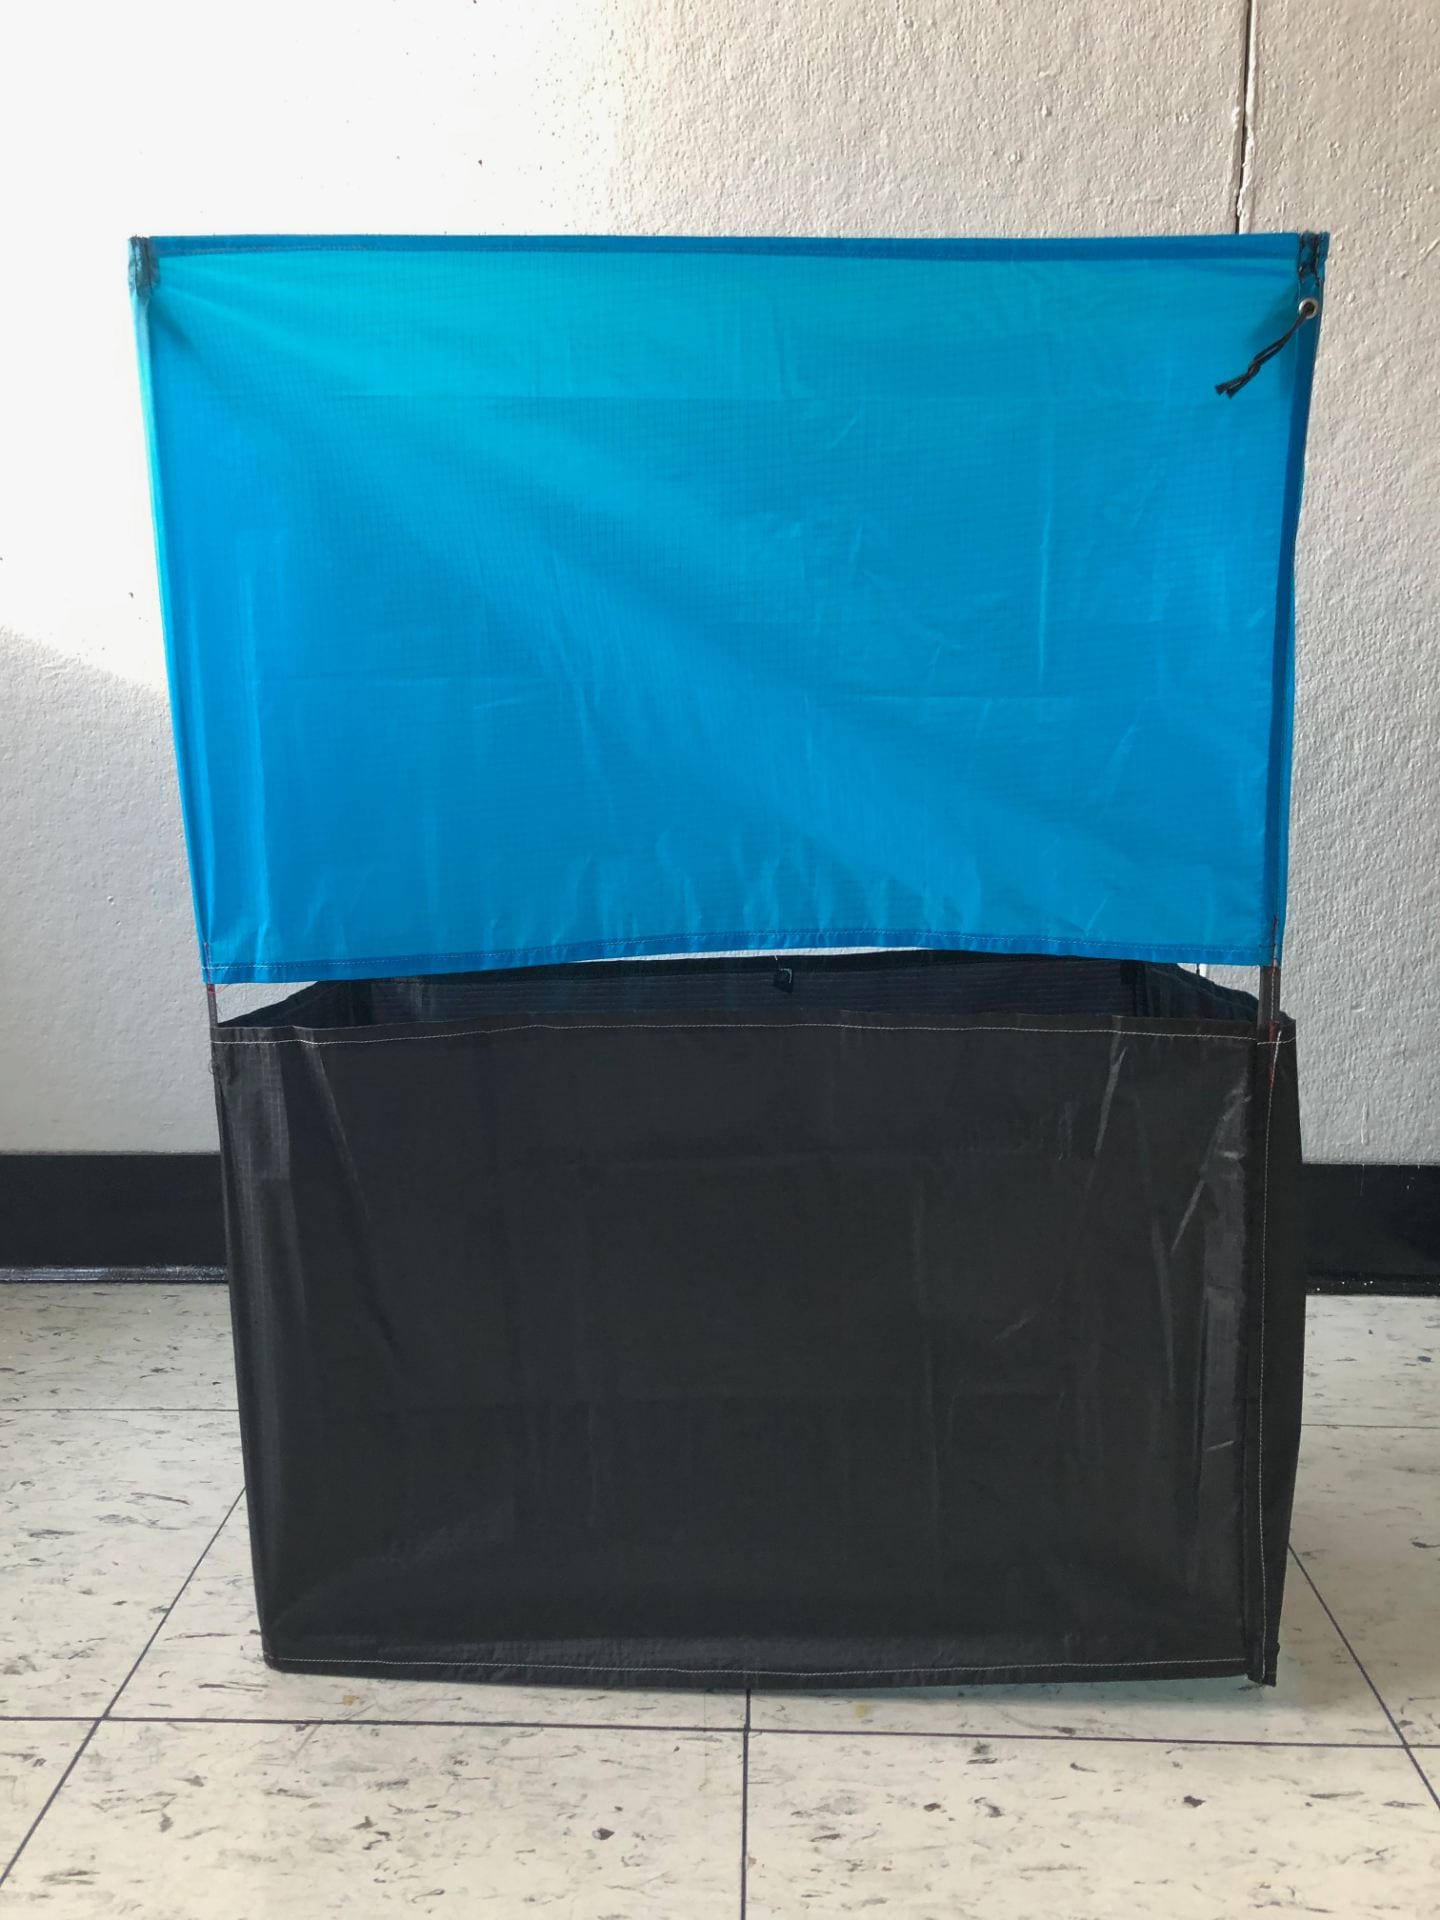
The finished product!