Expansion into Space
One of the projects I am most proud of was a self driven project that exhibited how I envision expansion into space. Whether it be about colonizing, for travel, or sanctuary, I had to consider the display and output of the piece, as well as how it represents to us and culture. In this self directed project, we created a work that would be related to us, history, and the world, using our idea of expansion into space to communicate and comprehend to others.
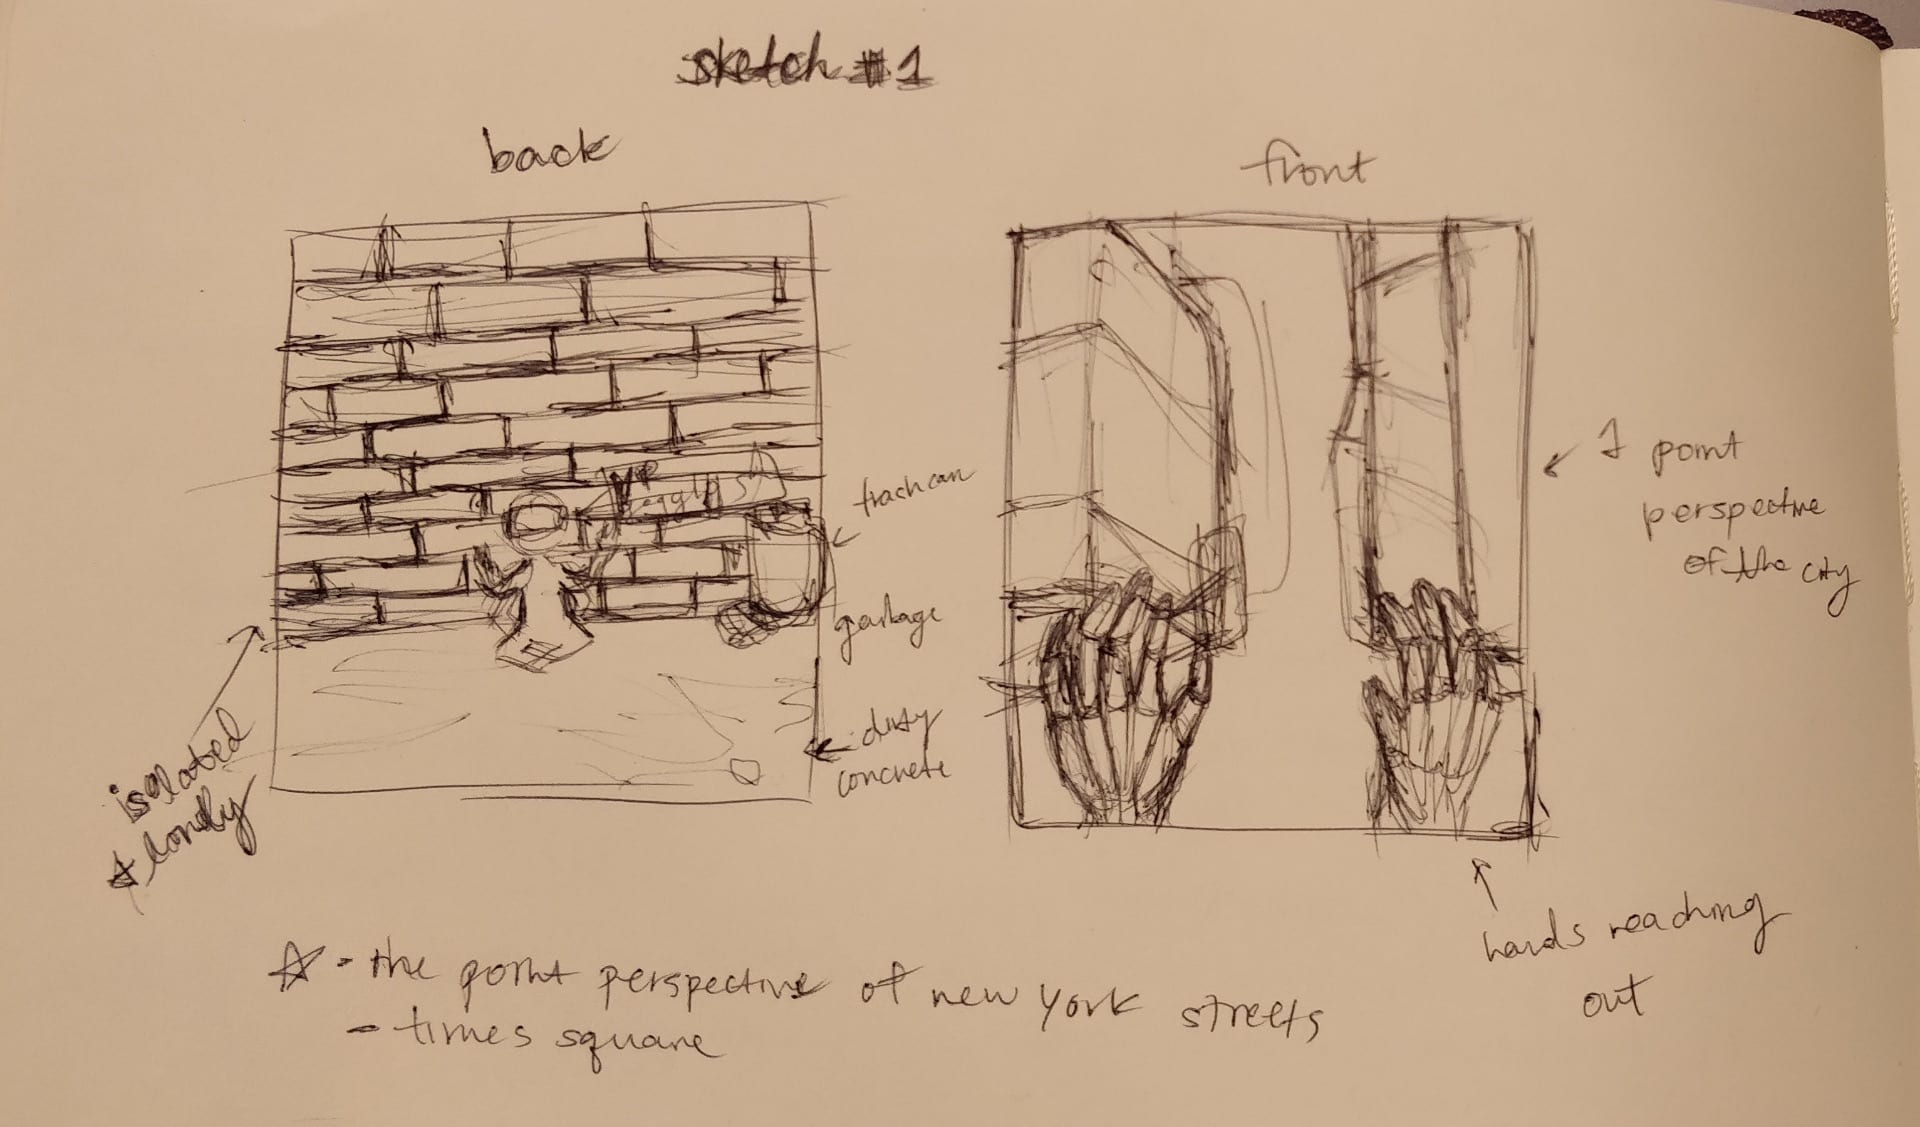
- Step 1– First, I sketched out different ideas onto my sketchbook. I was looking into interesting topics that highlighted the evolution of products used today, and how much more effective it can potentially become in the near future. I was choosing between evolution of music and the future of virtual reality.
- Step 2– I chose to go with virtual reality. When I thought of expansion into space, I thought of the advancement and evolvement of virtual reality and how its future growth will change our society in multiple aspects, going beyond video games and as sources of entertainment. With the growing advancement of technology, I was fascinated but also concerned on how this advancement of virtual reality would effect and consume our lives, possibly changing human interaction and the way we perceive our world and distinguish what is reality and what is not.

- Step 3– I created a mood board to help me gather my ideas. This helped me organize my thoughts and have a better visualization of how I can display my output.

- Step 4– I had to decide what my final output was going to be. I gave myself a small list of ideas to choose from: a zine, poster, or brochure/pamphlet. I was confused with how I wanted to layout the information and images in the most effective way possible. When I feel stuck, I look into other options and watch brief tutorial videos to get my ideas flowing. This helped me narrow down my choices and feel more comfortable with my final idea.

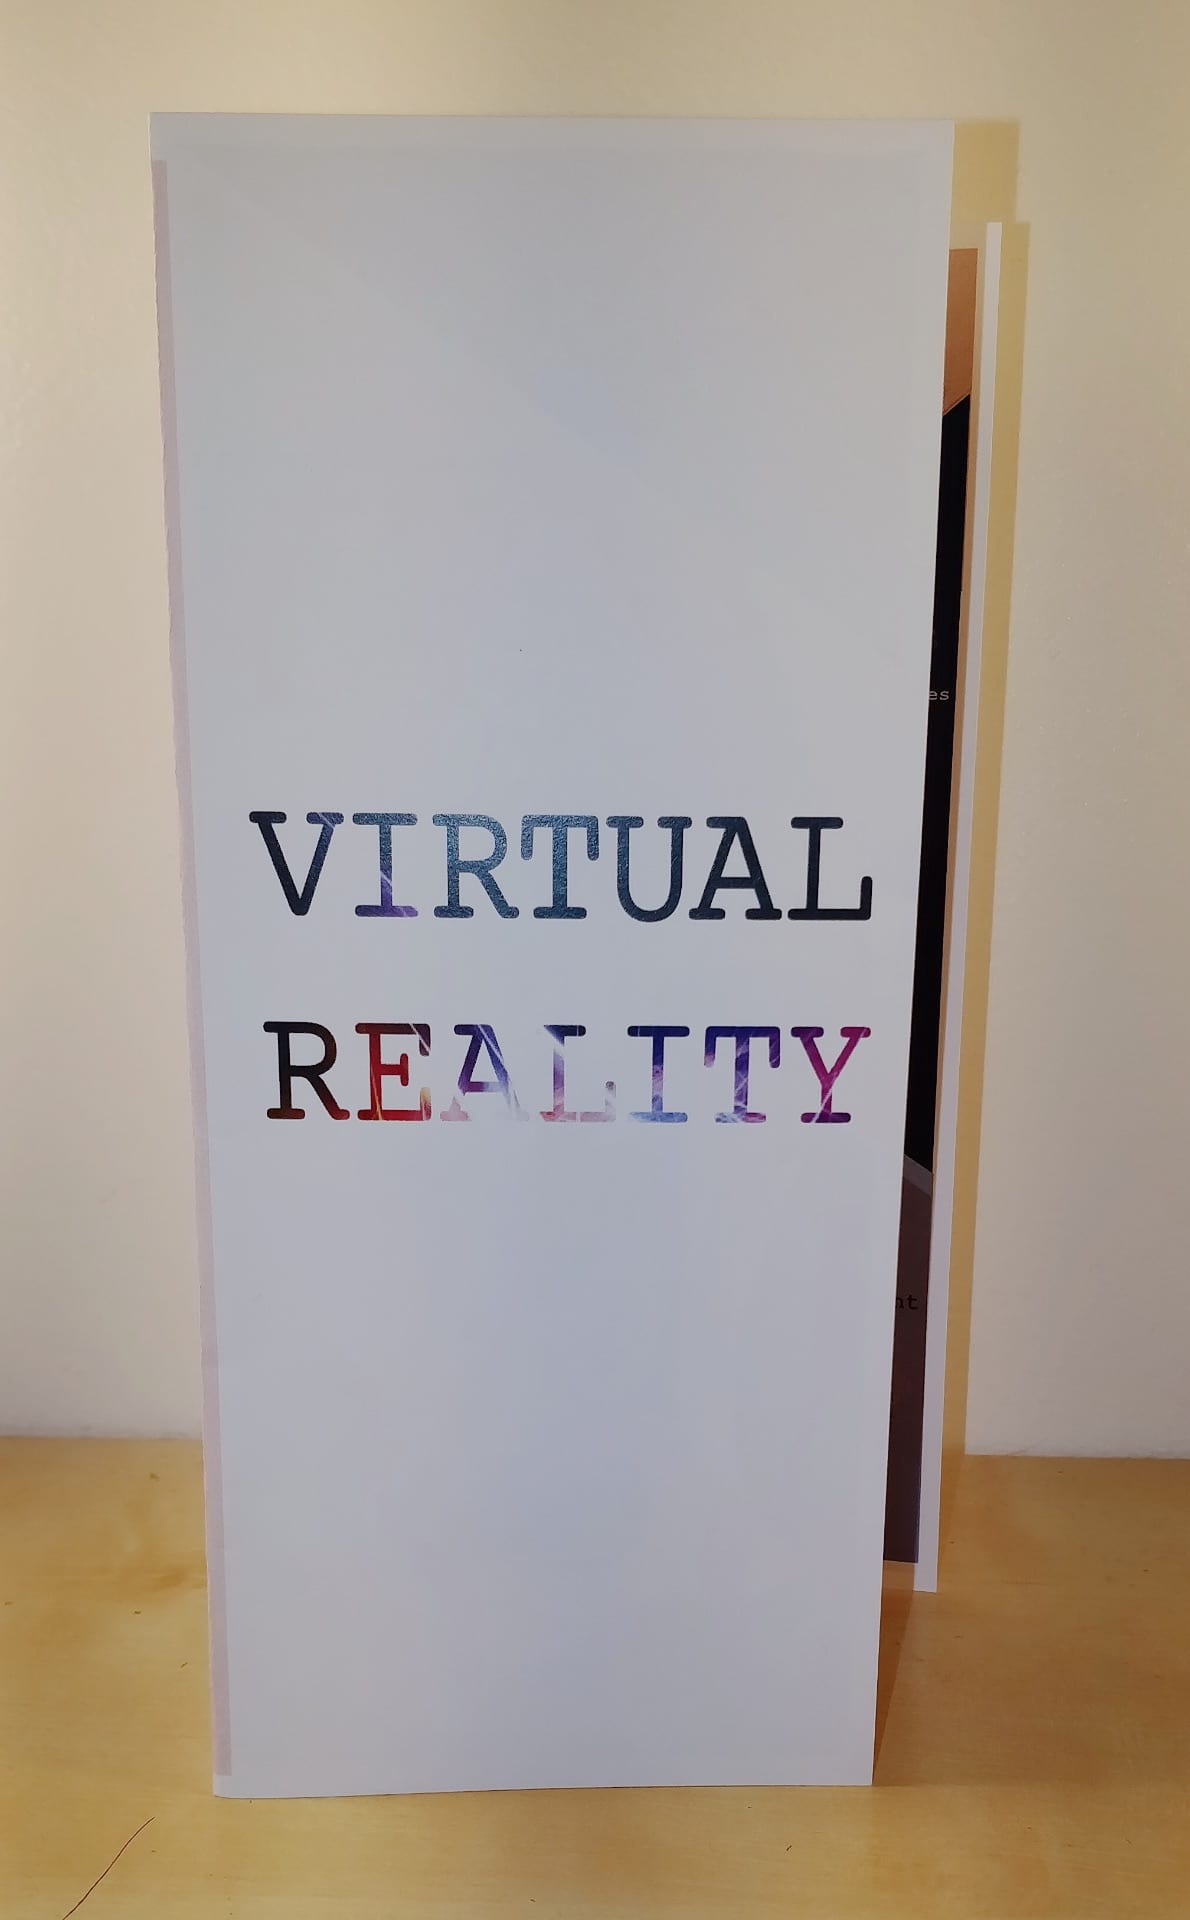
- Step 5– I chose to create a pamphlet because I thought it was the best way to read across to viewers, as well as easy to hand out and spread to a wider audience. I also wanted to challenge myself in creating my own pamphlet by designing my own layout and images.

- Step 6– I wrote down a list of pros and cons, as well as points I wanted to highlight and address. My main goal was to create an information pamphlet that would bring awareness and insight into the advancement of technology. I wanted to emphasize the potential virtual reality had in our future. I had to consider how well my intention would comprehend to others and my understanding of visual language through this project.

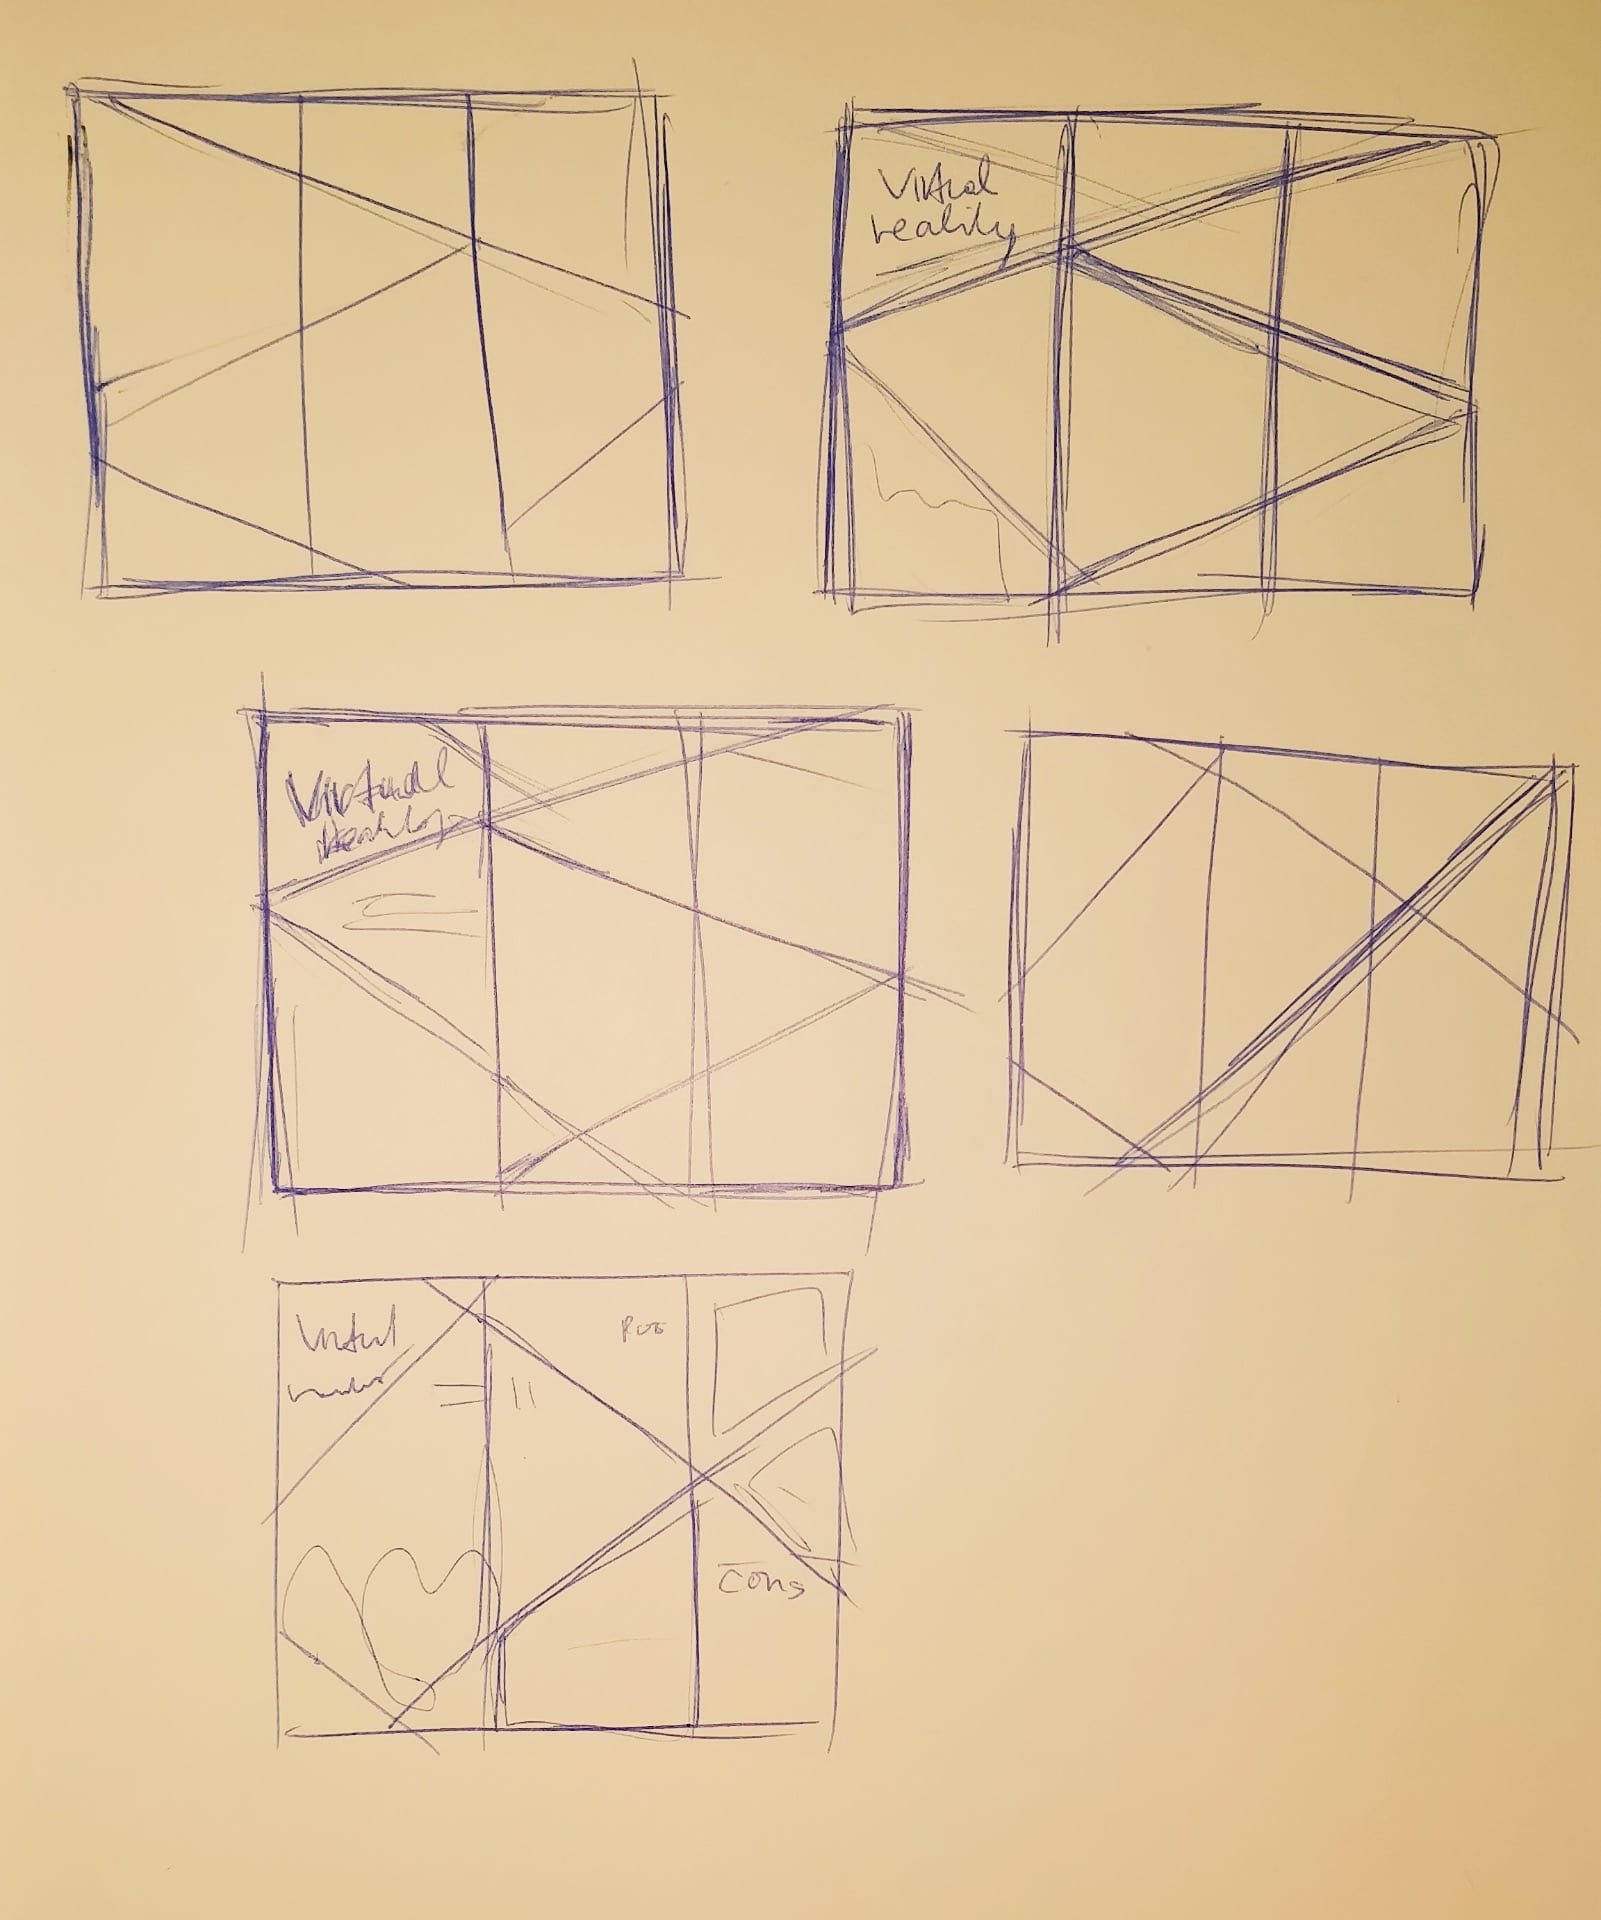
- Step 7– I sketched out different layouts of my pamphlet. I drew diagonal lines and triangular shapes going across the page because I liked how the shapes continued past the folds of the paper. I thought this would create an interesting layout when printed and folded into a pamphlet.
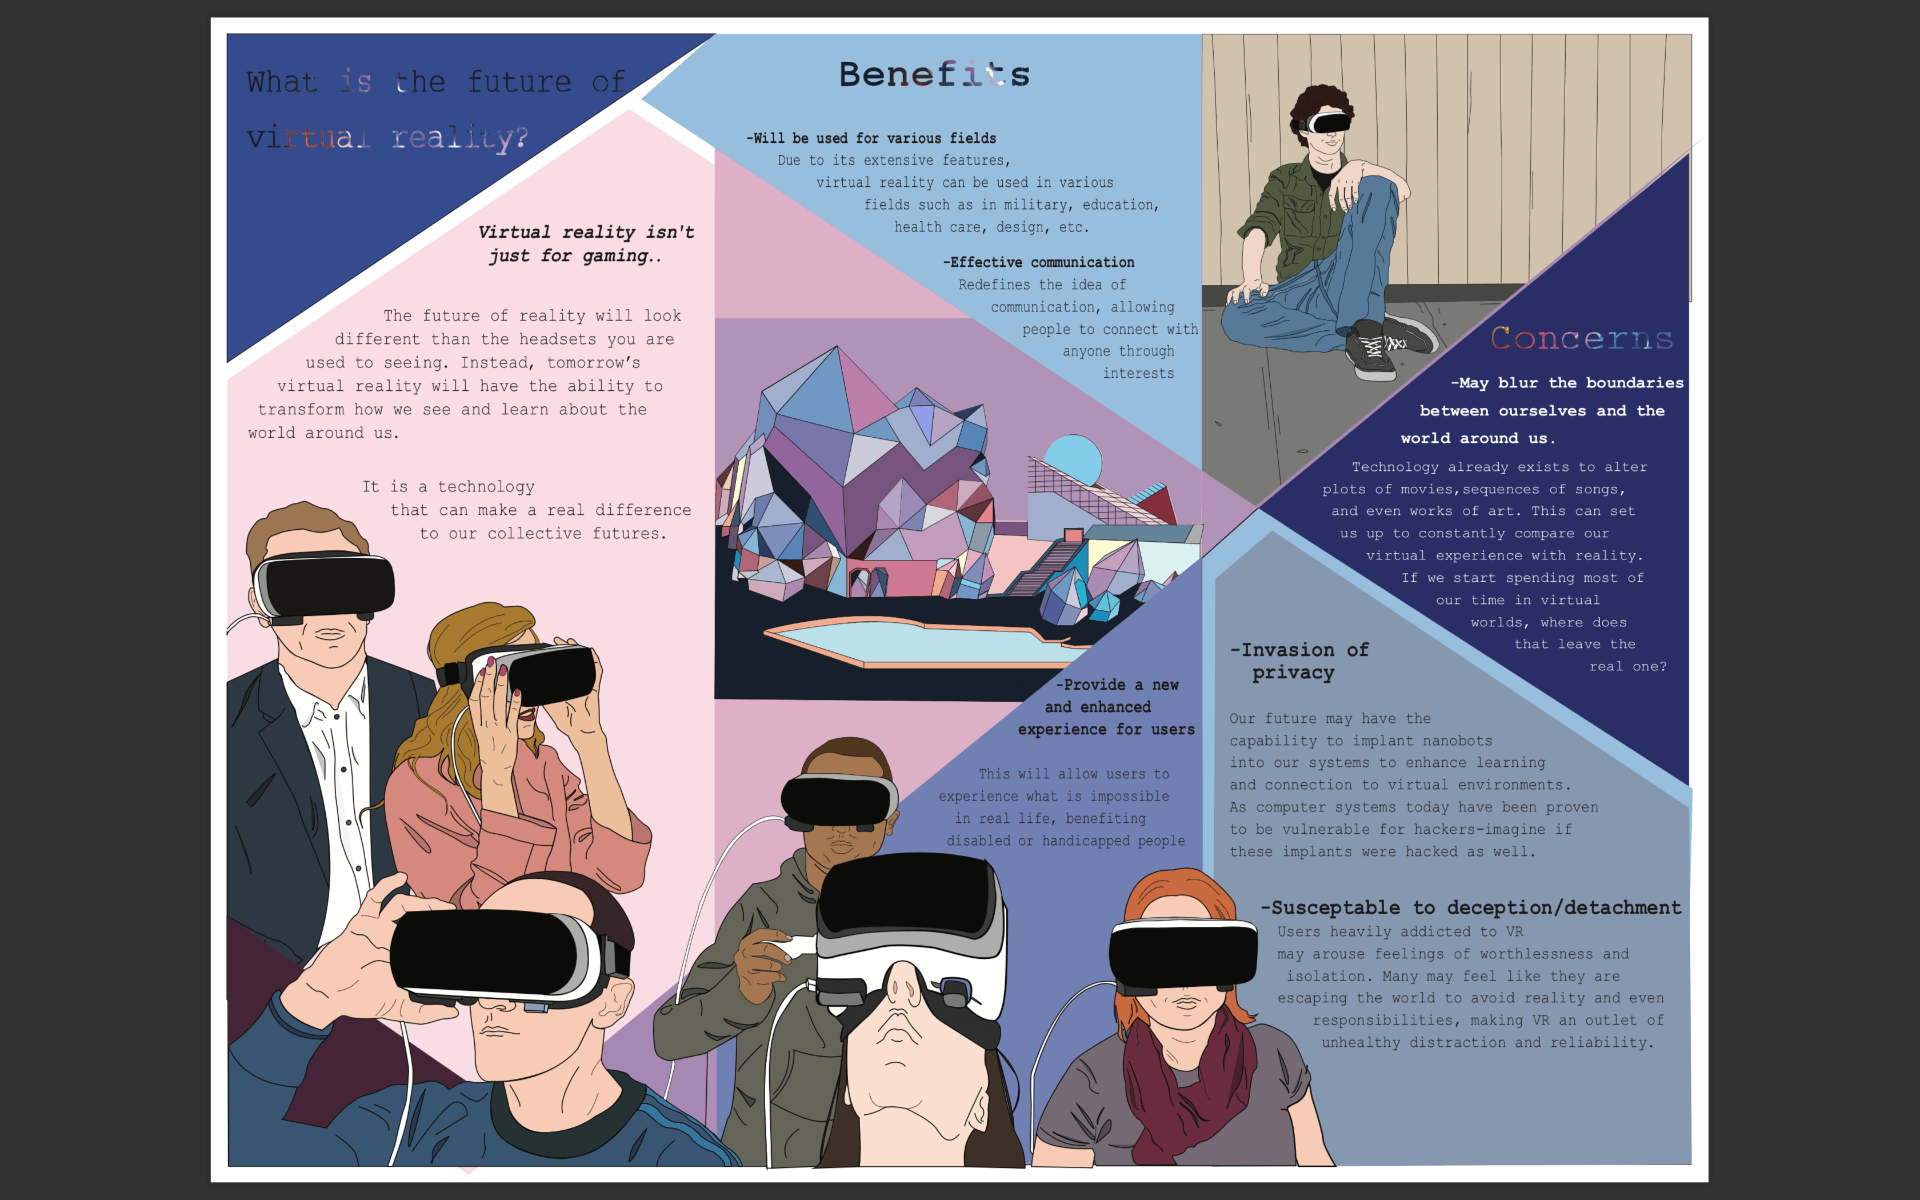
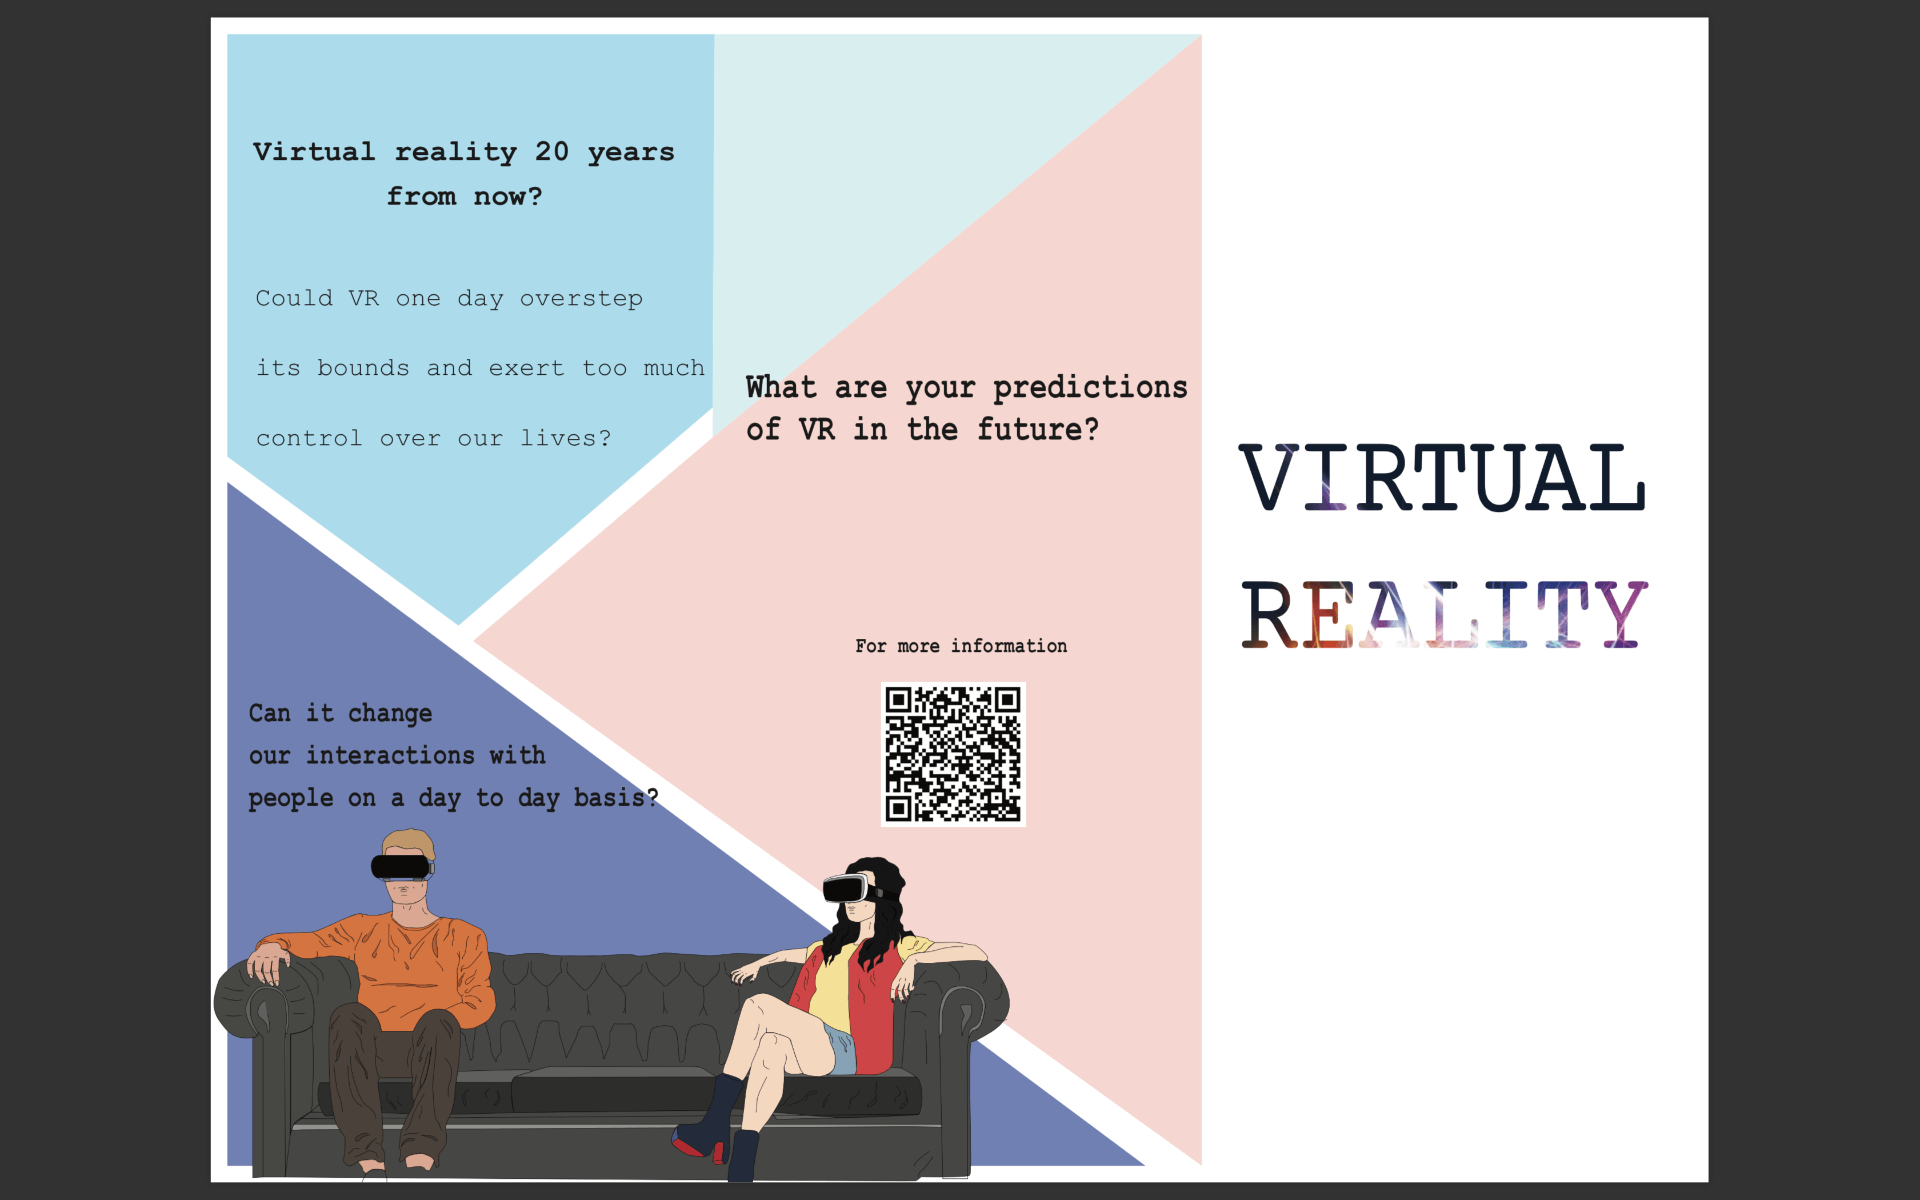
- Step 8– I included images of people wearing virtual reality goggles to show how much it will be commonly used in the future. I included images of people to show how common and normal the use of virtual reality will become in the future. I wanted to capture what people look like wearing the virtual reality goggles and a glimpse of the space they can be in when they are in their virtual worlds. I placed the people sitting on the couch to show how casual and relaxed they are while using them, and to suggest how normal it will become using the goggle in public spaces, or shared spaces.


- Step 9– I chose an analogous color scheme for the layout and the images on the brochure. I kept the color palette pastel with bright colors to create my own representation of virtual reality.

- Step 10– I drew out a perspective from the lens of virtual reality goggles using a purple/blue color palette. I used colors that would compliment each other and included buildings with futuristic design.

- Step 11- I included the texts and spaced it out evenly throughout the form. I fit them onto the shapes so they would not be distracting placed next to the images. I included the main points I thought were more relevant and concerning from the research.
- Step 12– I added a question and a QR code at the back of the brochure to keep the viewers engaged with the information. I wanted to leave a lingering question that would allow the readers to process and reflect on their own.
- Step 13- I printed out the layout onto 8.5 x 11 paper. I folded in the sides together to create a 3 paged pamphlet. This assignment pushed me to think about how effective the design and style of the pamphlet would be to the people who are viewing it. The colors and text all play a role on how people’s impression of the pamphlet and how they read it.