PROJECT#2- Body Transformation- Body Extension
For project #2 we were asked to create a functional body extension.
I began by conducting some research on the history of body extensions and looked at artists who used body extension in their work.
Research:
Clements, Isaac Perry. “How Prosthetic Limbs Work.” HowStuffWorks Science. June 28, 2018. Accessed October 07, 2018. https://science.howstuffworks.com/prosthetic-limb1.htm.
Tate. “‘Unicorn’, Rebecca Horn, 1970-2.” Tate. Accessed October 08, 2018. https://www.tate.org.uk/art/artworks/horn-unicorn-t07842.
Prosthetic Limbs:
- prosthetic limbs have been used for thousands of years- the earliest prosthetic limb that was found was a prosthetic toe made of wood and leather found on the mummified remains of an Egyptian woman
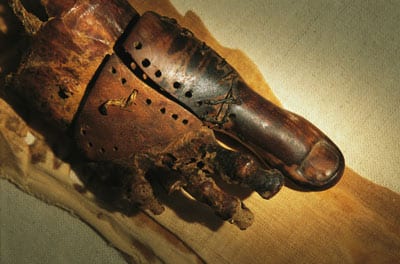
Earliest Prosthetic Limb
- throughout most of history prosthetic limbs had a very simple construction and were mainly used to disguise the missing limb (eg. functioned as a physical replacement for a hand but couldn’t function or be moved)
- Later some prosthetics were improved to include things such as hinges at the knee or elbow which made them more functional
- They have now evolved to become incredibly lifelike, and oftentimes quite functional as a human limb
- One of the main ways that prosthetic limbs were improved was when anesthesia was discovered and used in surgery. This allowed for surgeries to be longer and more complex. Therefore amputations were more precise and they were able to amputate limbs in a way so that they could function better with a prosthetic
Body Extensions in Art: Rebecca Horn
- The artist Rebecca horn has created many different body extensions that accentuate the human body and it’s vulnerability
- One of her pieces is a unicorn horn worn on the top of the head that also includes straps that wrap around the body. This piece extends a persons height, especially whilst they walk. It gives them a more powerful and statuesque appearance
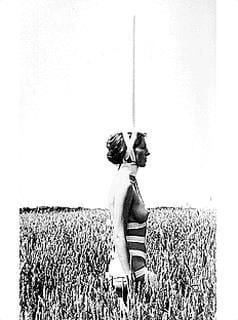
Unicorn by Rebecca Horn
- In contrast to the normal use of prosthetics, Rebecca’s work is meant to highlight human flaws and fragility rather then hide it
- Another one of Rebecca’s body extensions is the white body fan. This piece can be waved around by the persons arms and is reminiscent of a peacocks wings in the way it fans out from the body. With this close imagery I would think that the piece acts as a method of seduction similar to the way animals like peacocks use their feathers or other body parts to attract a mate
-

White Body Fan by Rebecca Horn
After my research I began to think of ideas for a concept. To help inspire me I created a mood board with different elements that influenced my design and ideas. Shown below.

Proposal:
For my body extension I want to make a piece that surrounds the head to create a space free of sound and light. Every since I was thirteen I have suffered from severe migraines that cause piercing head pains and nausea. Migraines are different from headaches in that they are caused by a sensitivity to light and sound when they occur. When a migraine happens it is best to be in a place that is dark, quiet and also preferably cold. However, often when they occur you are not in a place with these conditions and it would make the migraine much worse to try to get home where you could be in the quiet. For my piece I want to create a form of head covering that fully surrounds the head blocking it from any light and sound that could make migraine symptoms more severe (of course whilst being able to still breathe). For my piece I was inspired by the idea of having a bubble surrounding your head and the phrase “head in the clouds” and I want to create a piece that aesthetically portrays this.
Concept Sketches and Design Process:


To begin the ideation process I did approximately 30 quick sketches to come up with some visuals to build my piece from. I drew many different orb like objects created by different shapes. Some of the inspiration I had for these was flowers such as hydrangeas, coral, sound proofing, and light patterns.


3D Mockups:
After I came up with a concept and sketch for my body extension I experimented with different 3D materials to plan how I would build my piece. First I created a 3D model made of q-tips. I created triangles from these which I attached into groups of 5 and then attached these groups together.


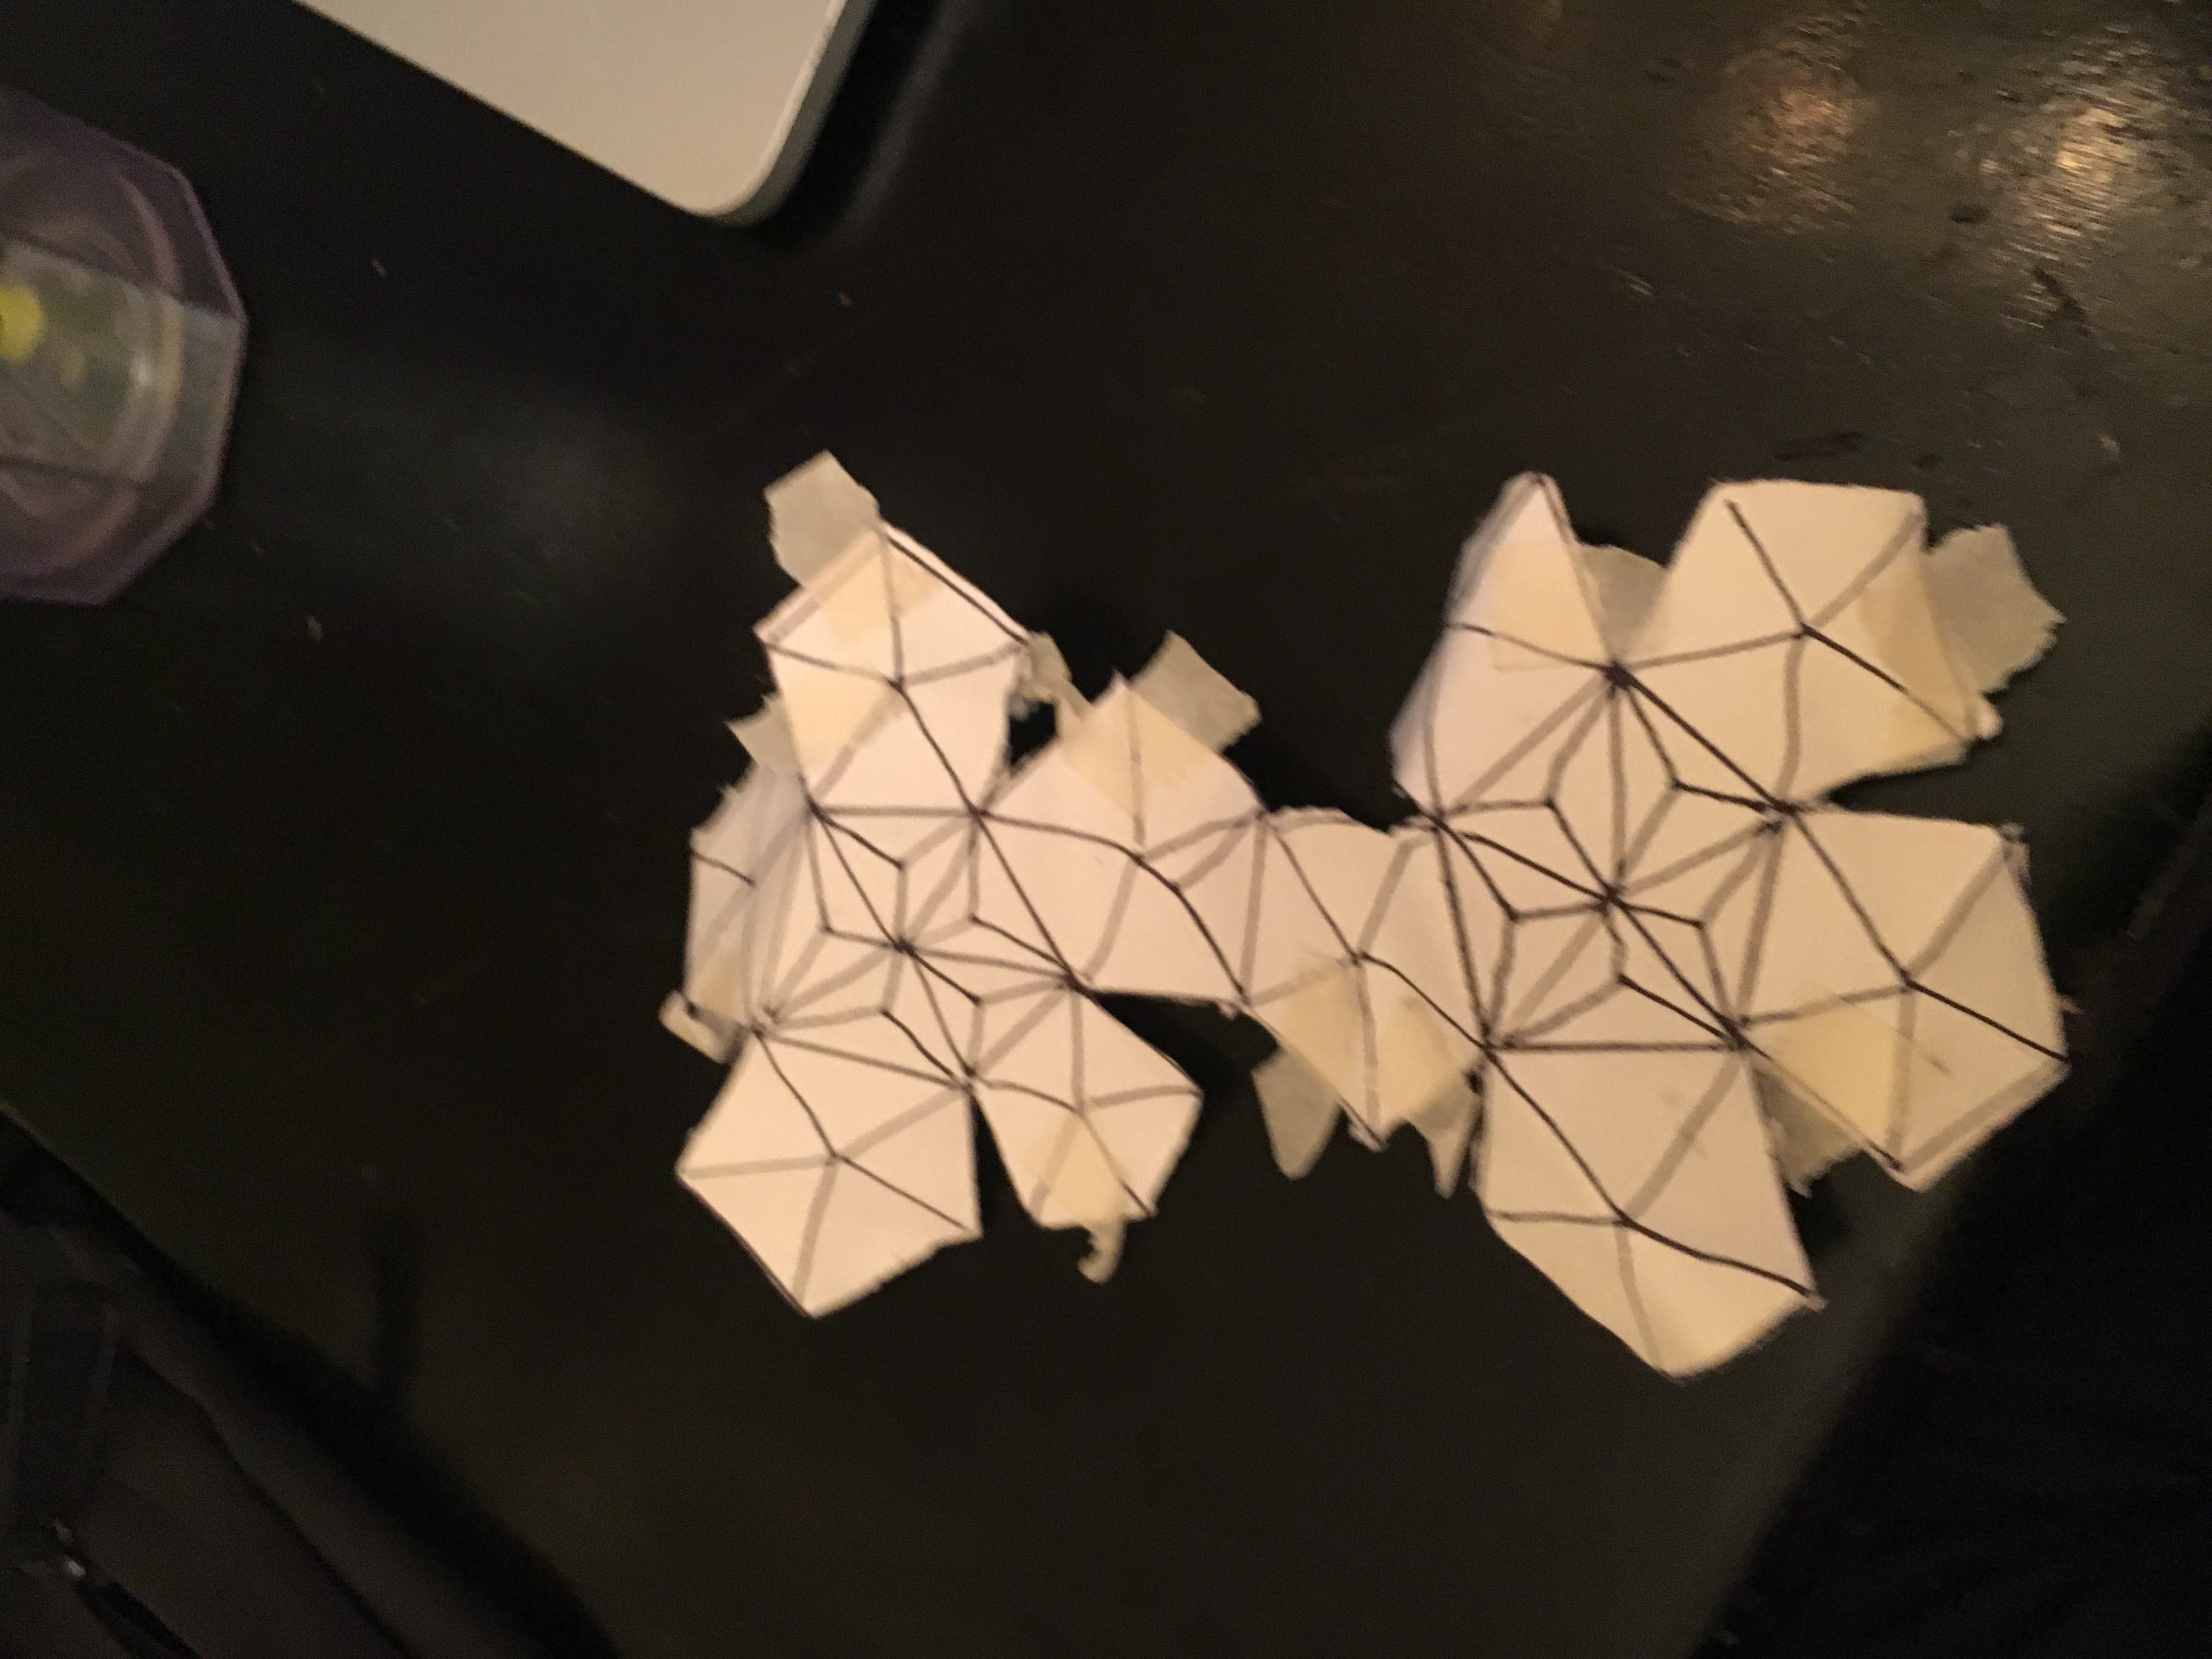
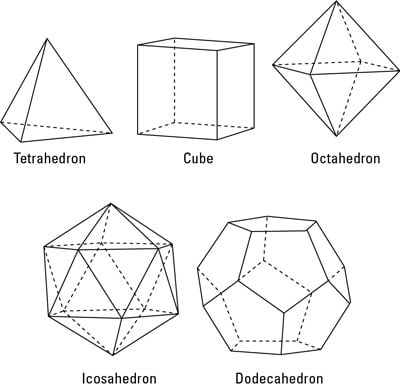
After this I realized that the easiest way to make an orb like form out of planar materials was to create a polyhedron. I made a small paper dodecahedron from a net with my pattern drawn on it to come up with a better plan of how I would form a planar material for my piece. Unfortunately, the model got a little squashed before I was able to photograph it.


Building Process:
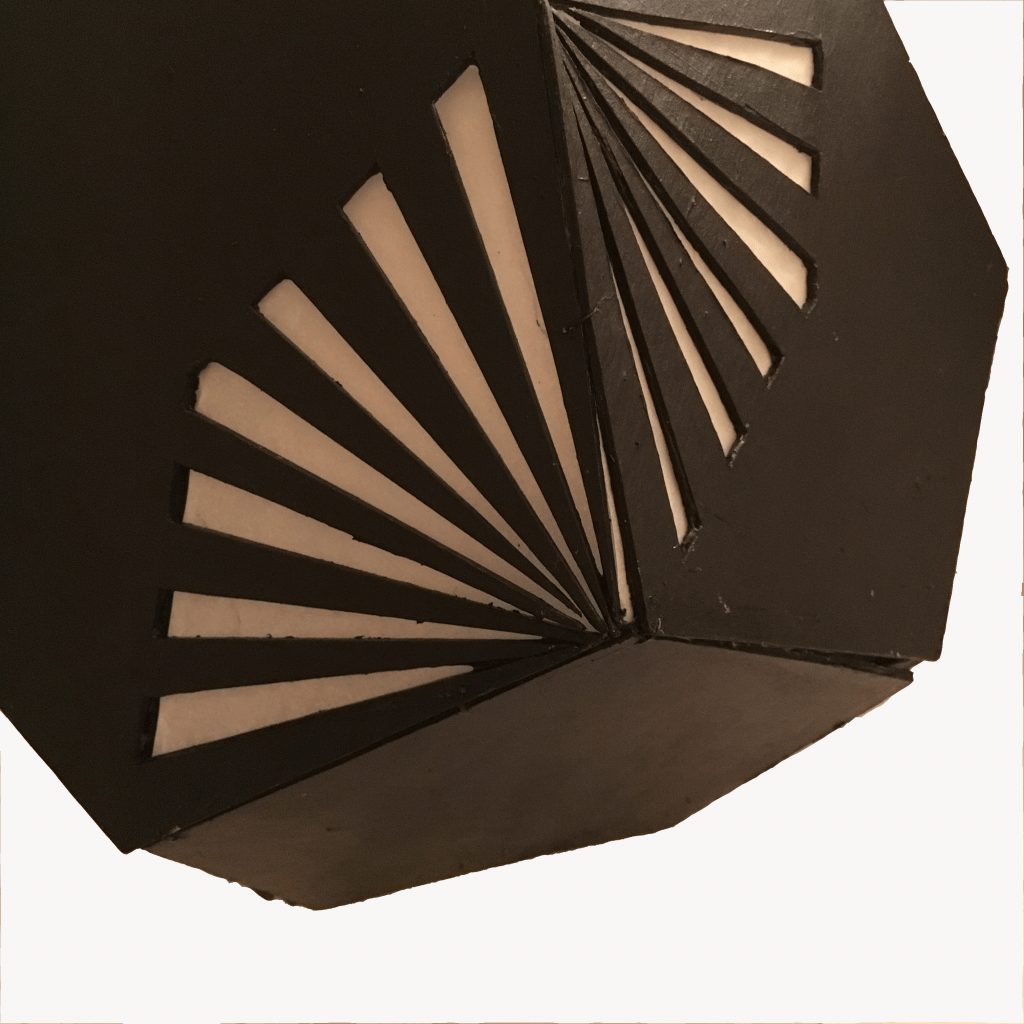
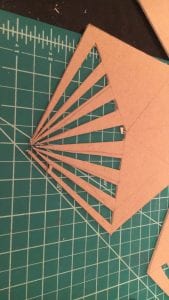
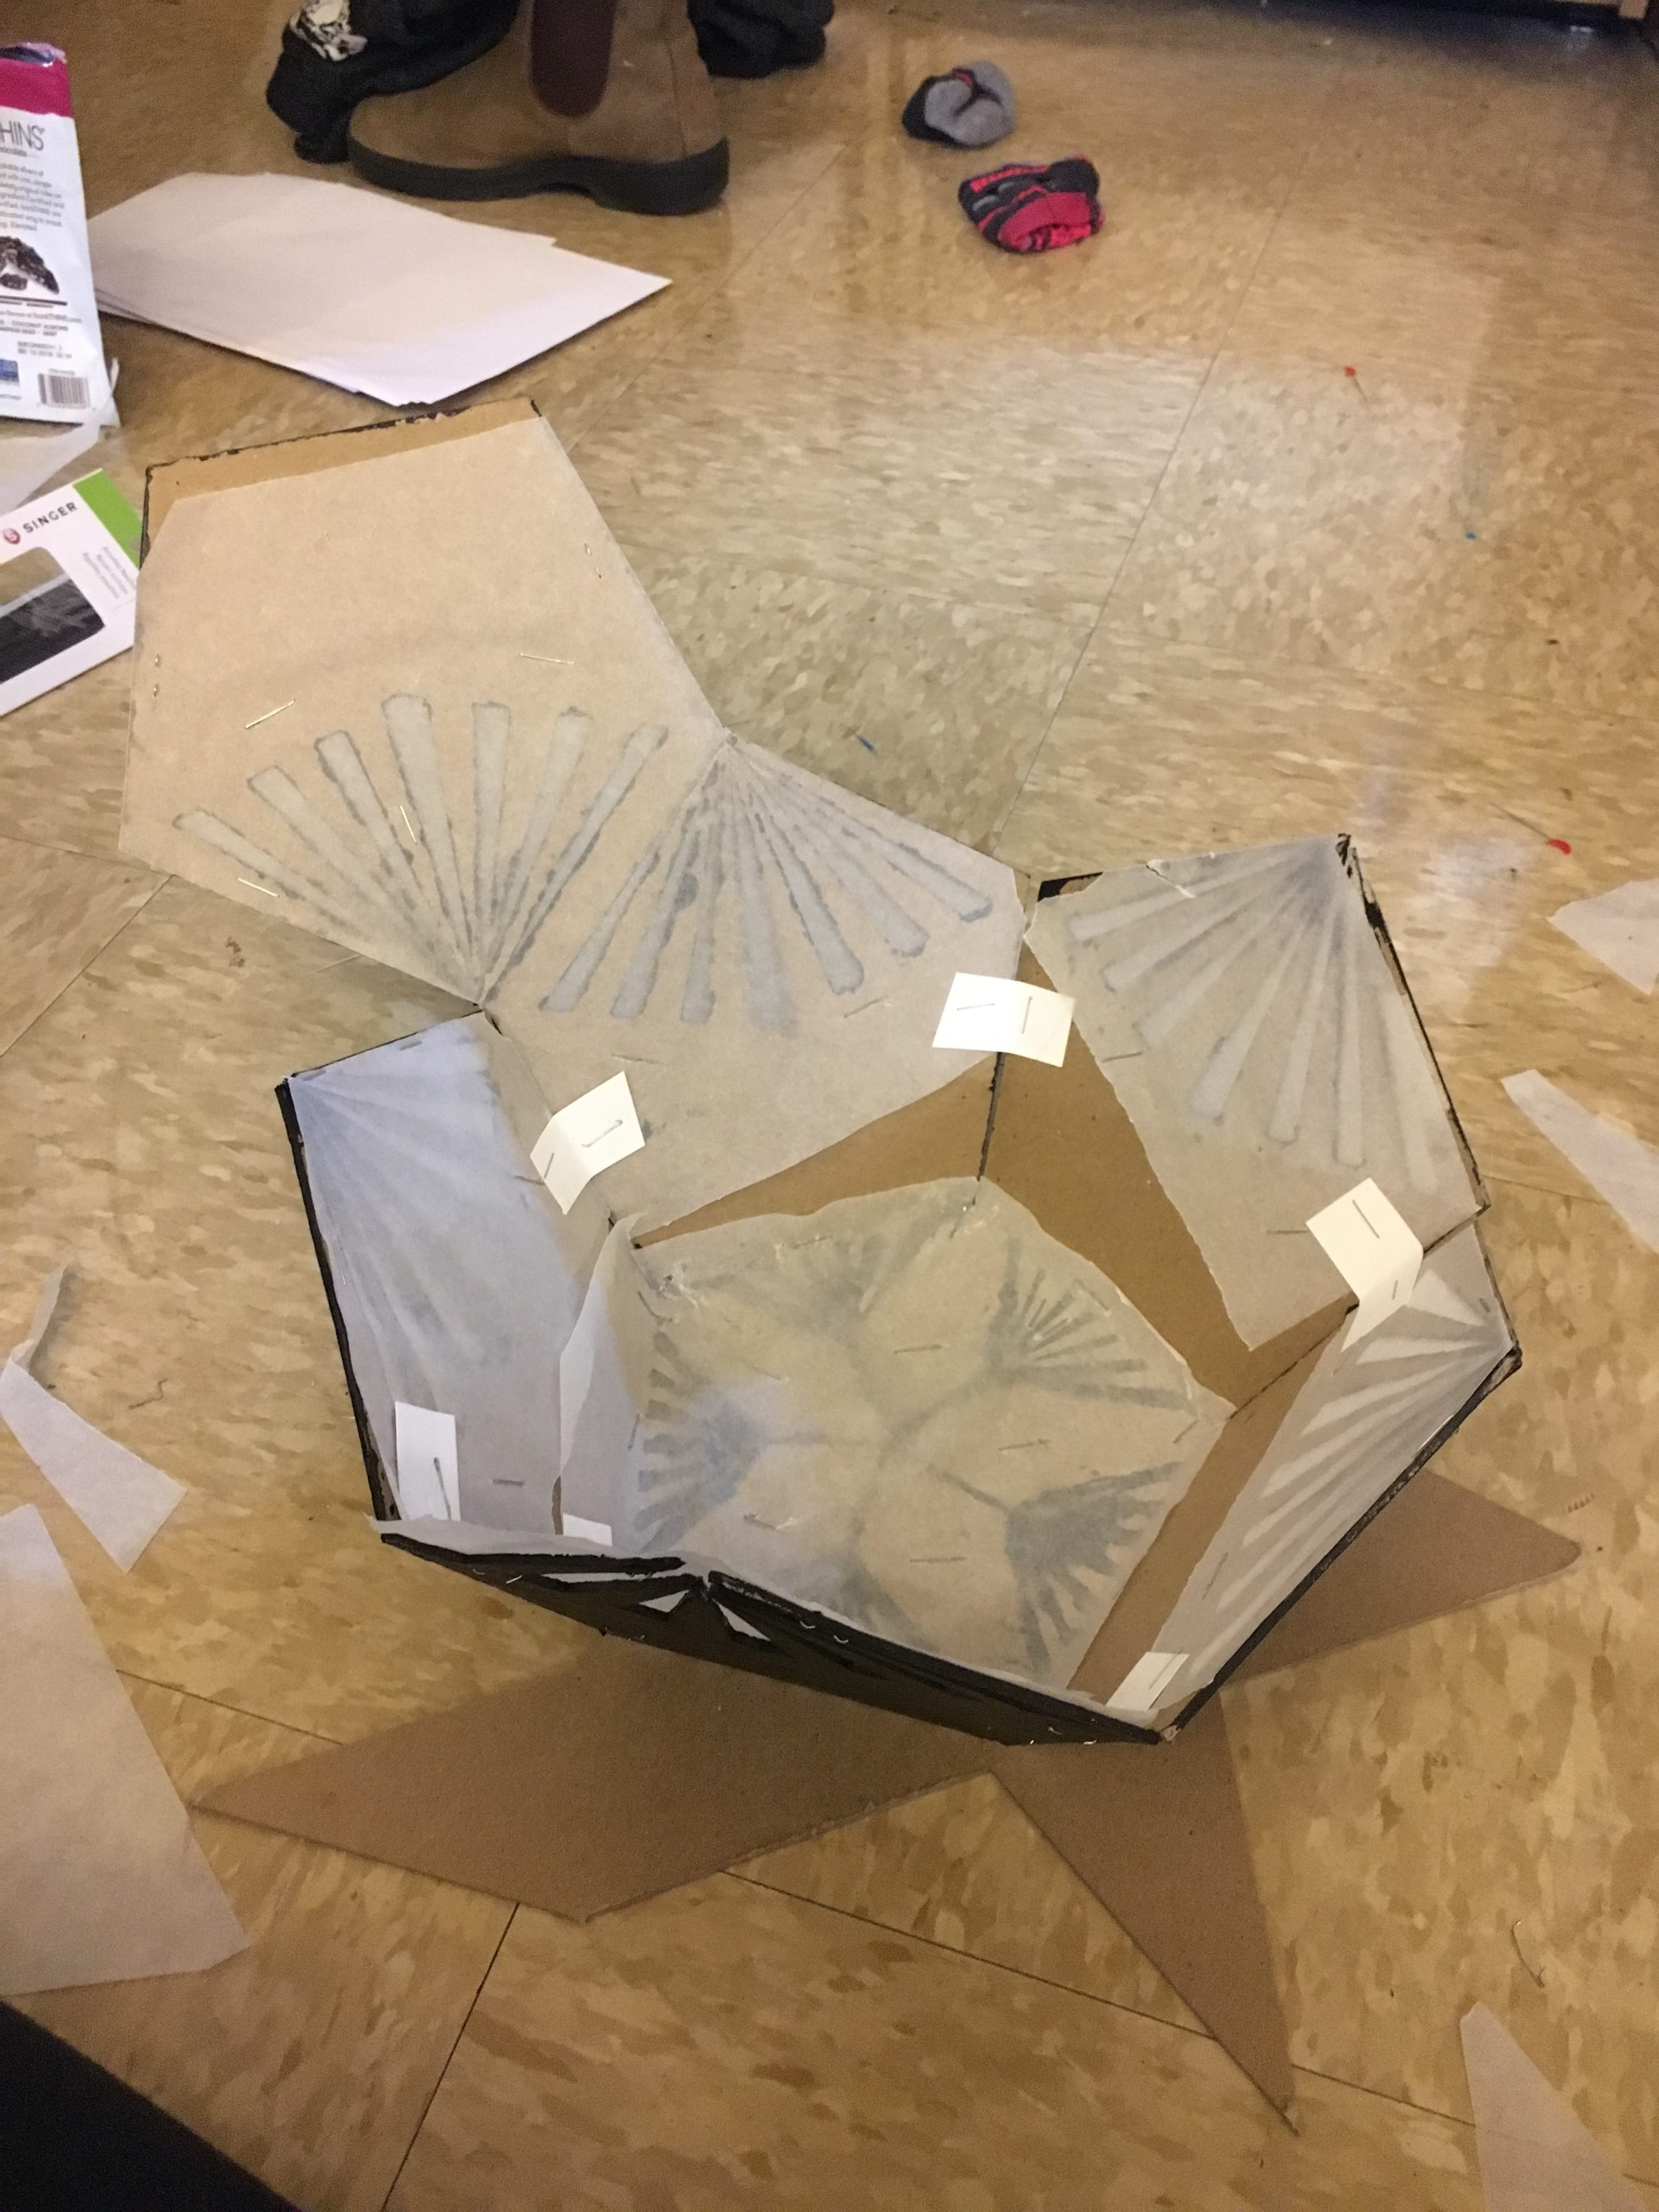
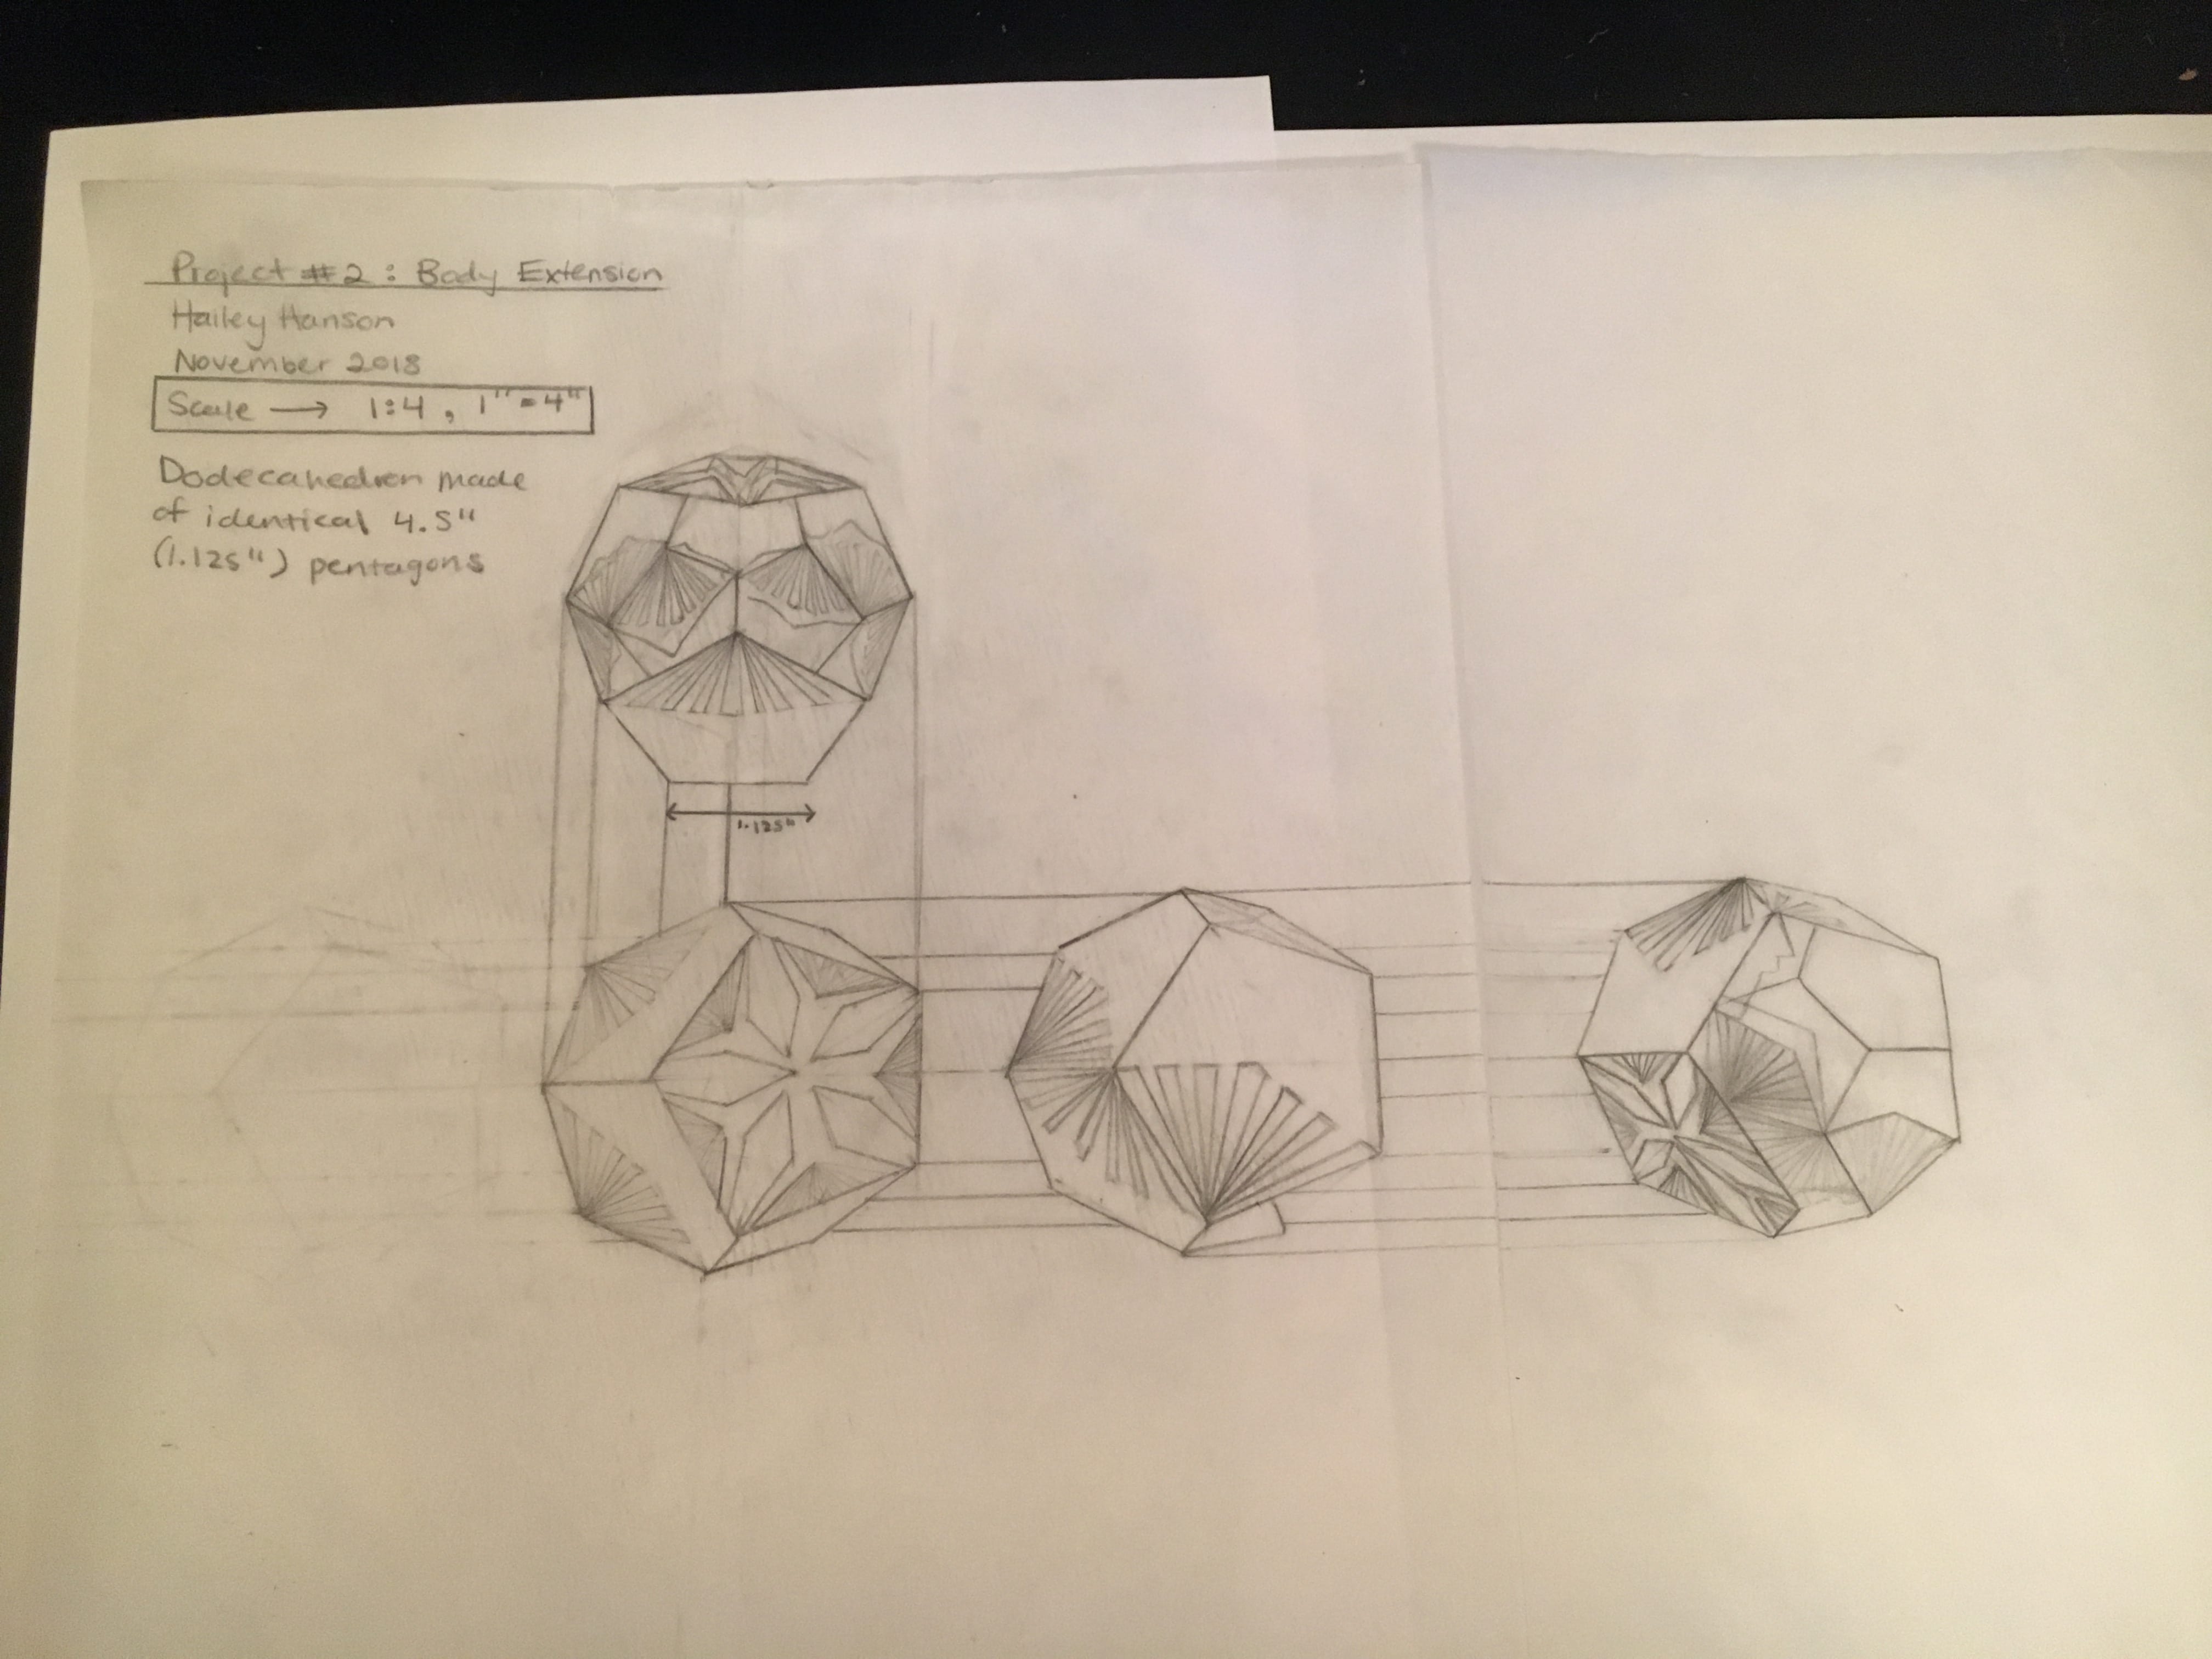
First, I created a map of the dodecahedron using approx. 4.5″ sided pentagons. Then I penciled in the designs I would cut out and used an Olfa knife to neatly cut each part.


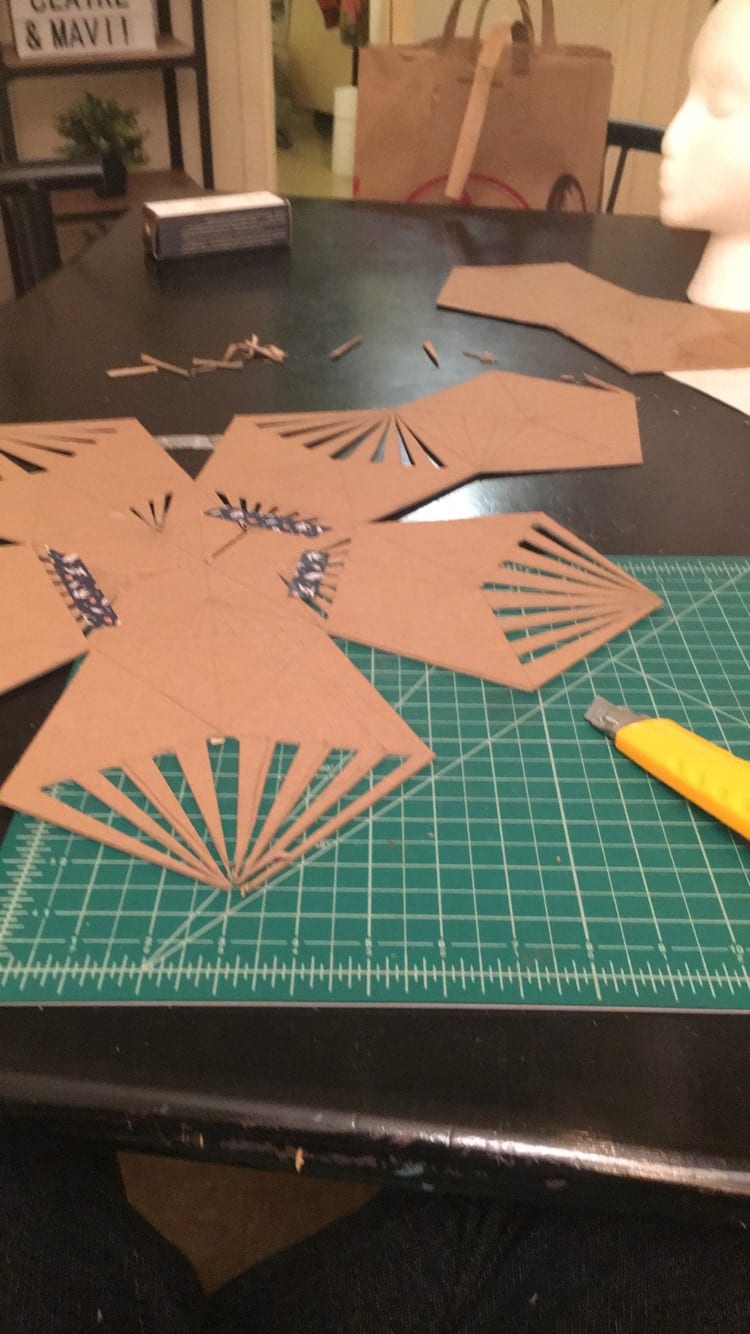


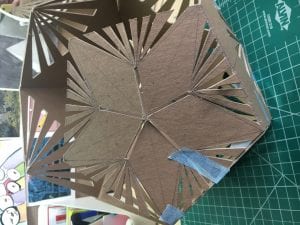
Once all of the net had been cut out I painted all of the pieces black. Unfortunately during part of the process some of the pieces broke off so it was no longer a full connected net but rather separate pieces.

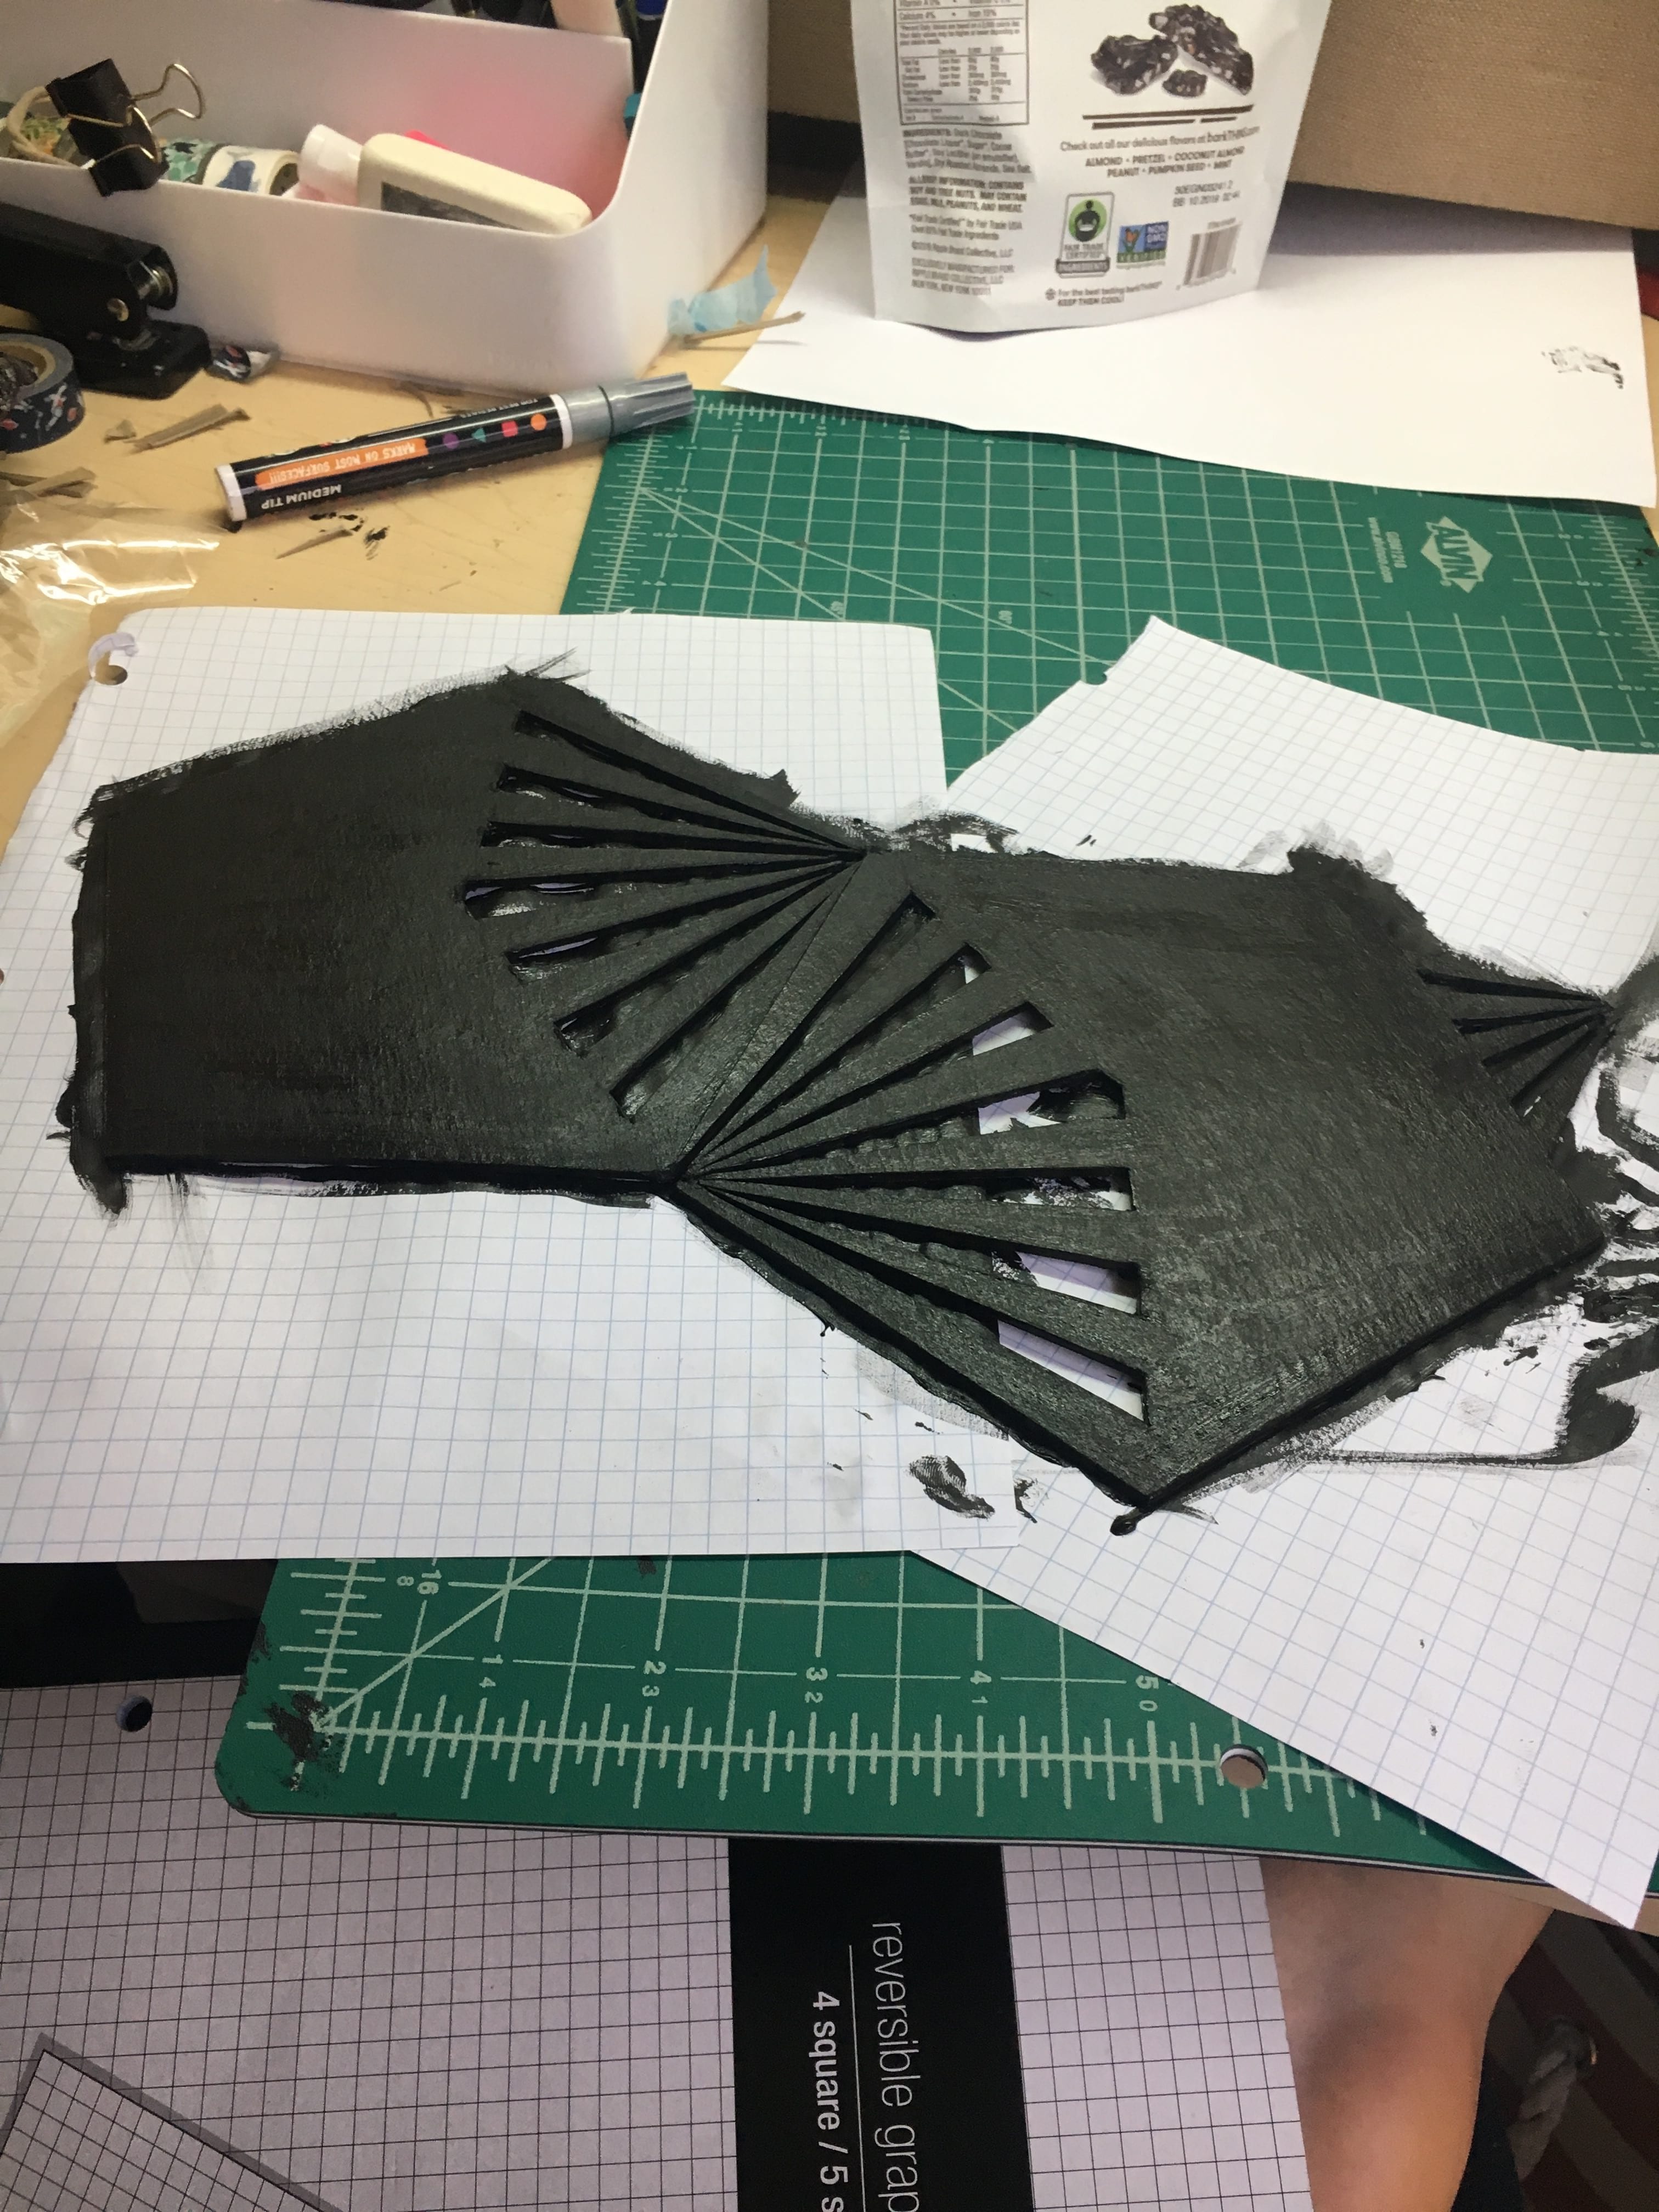


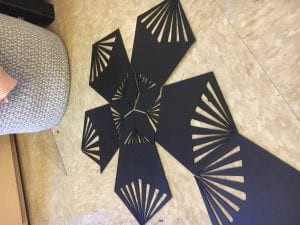
The net is fully painted and laid out to be connected.
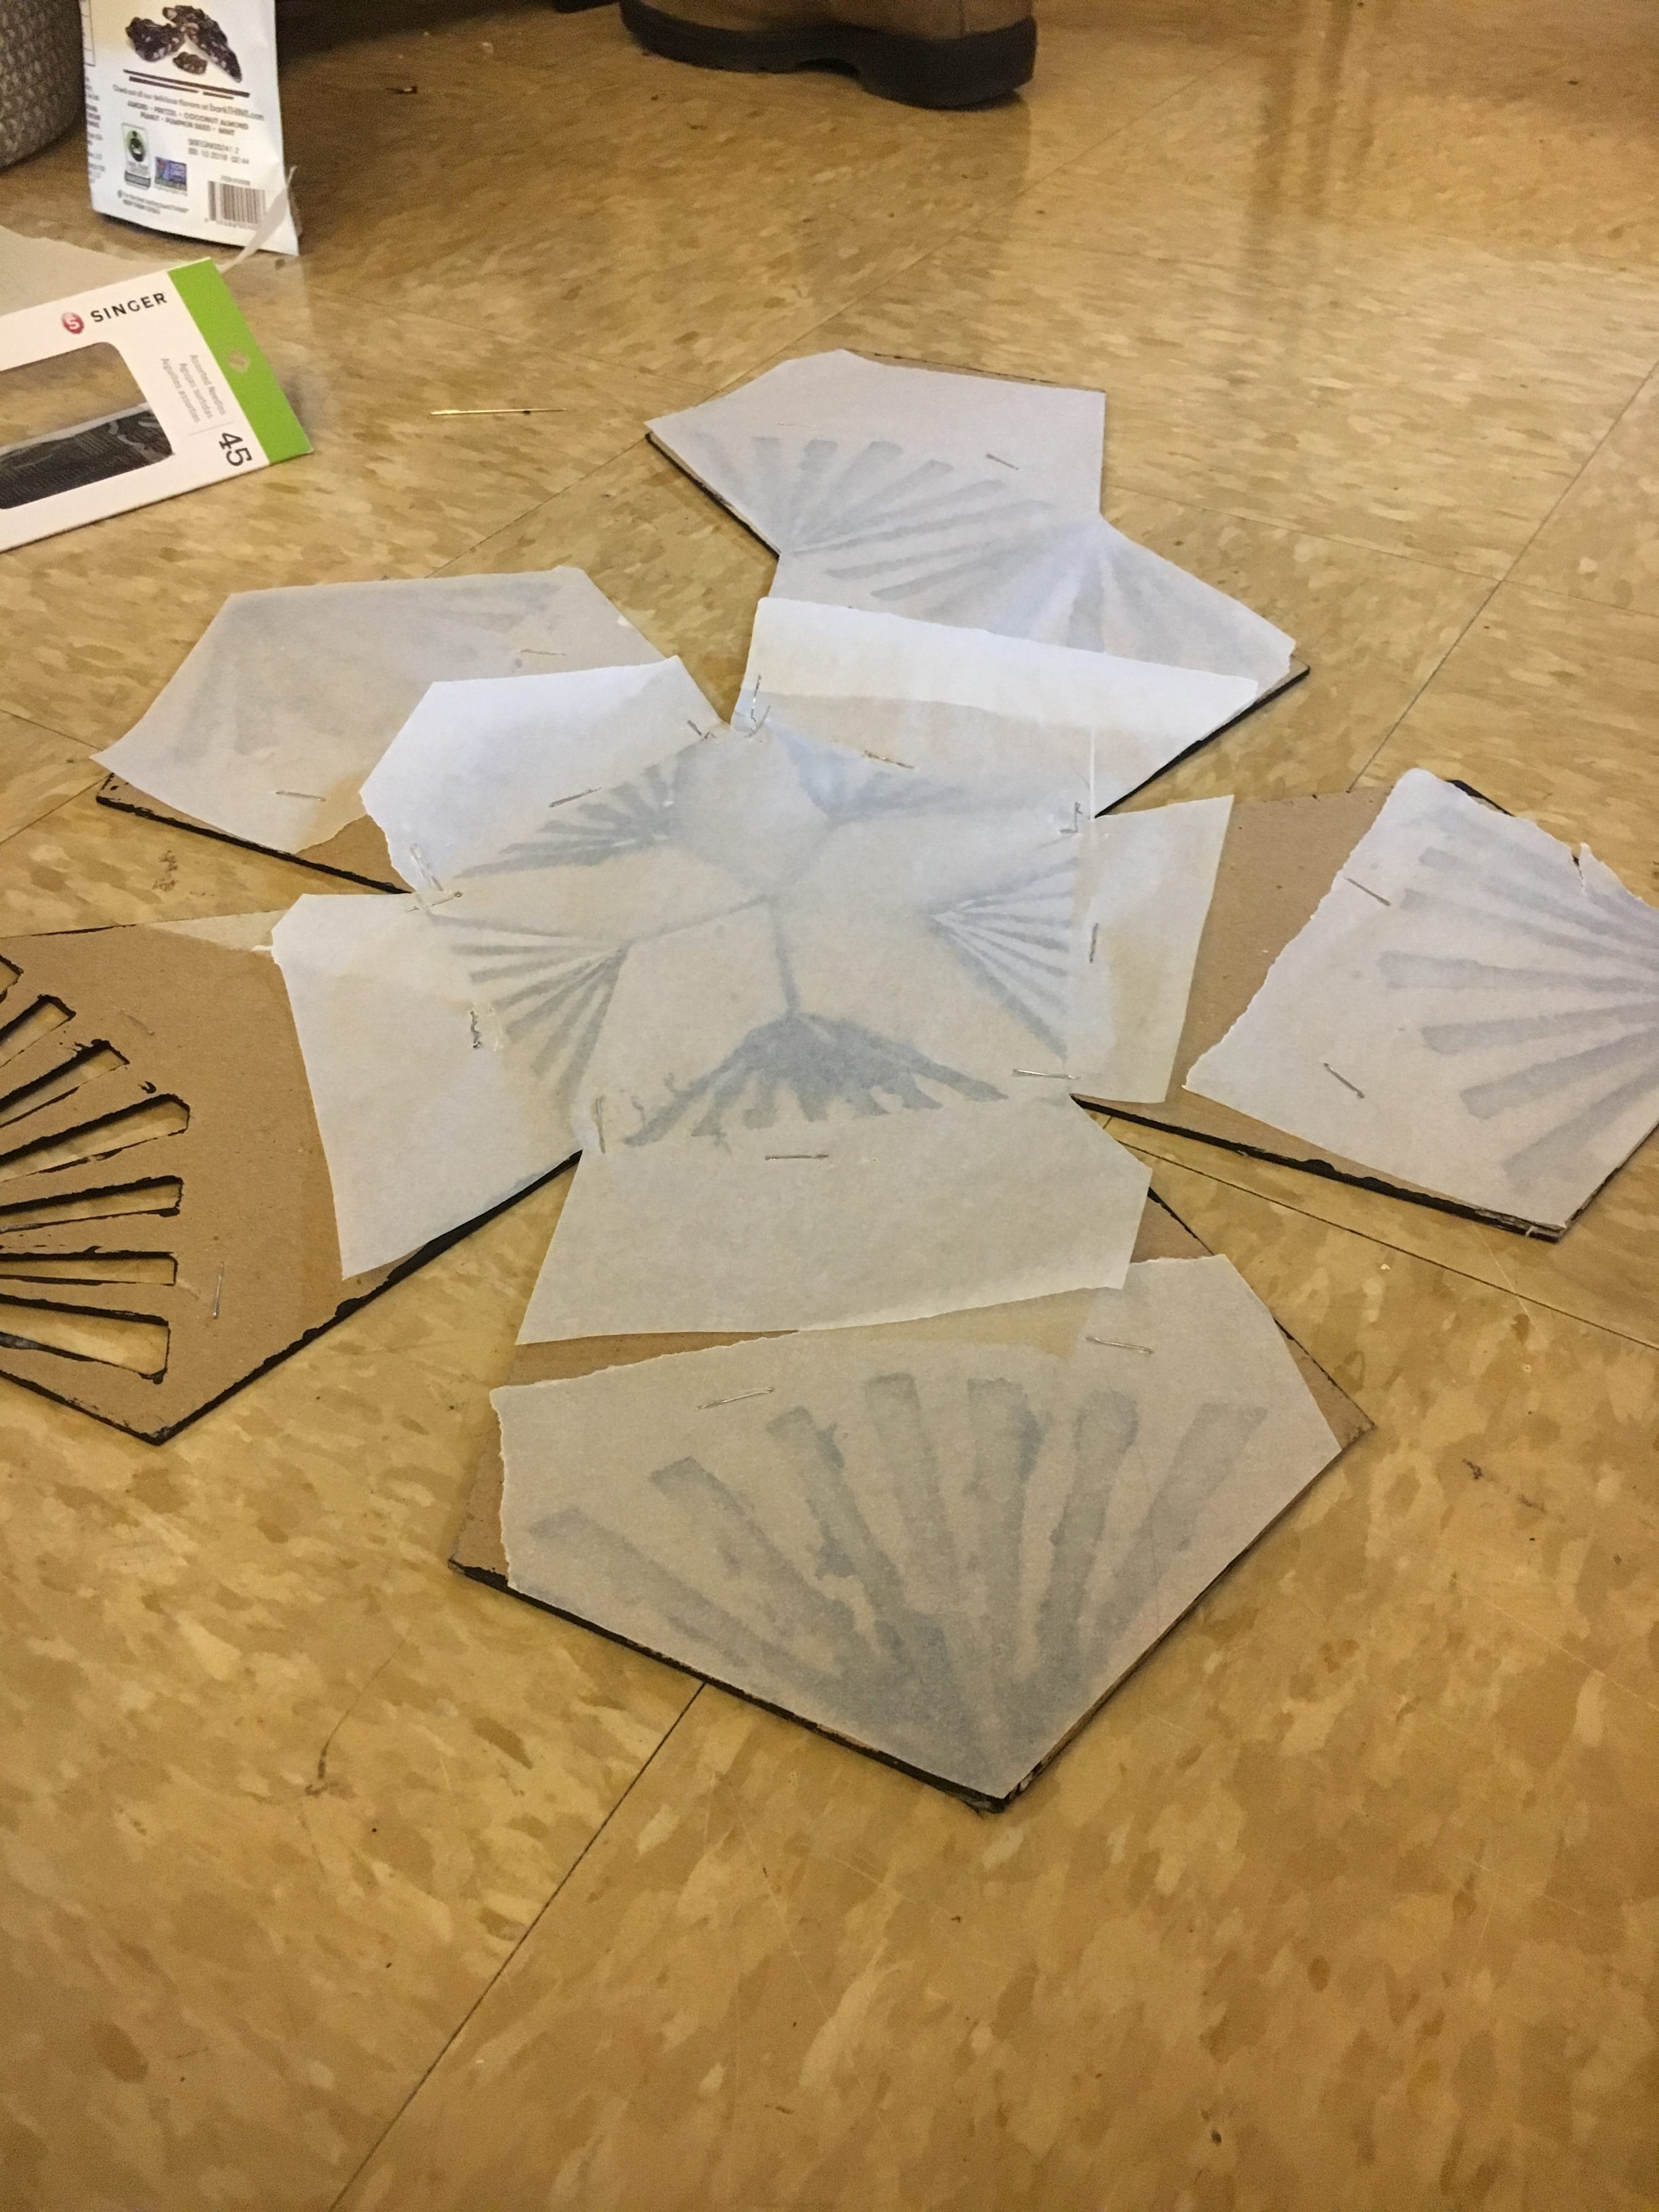

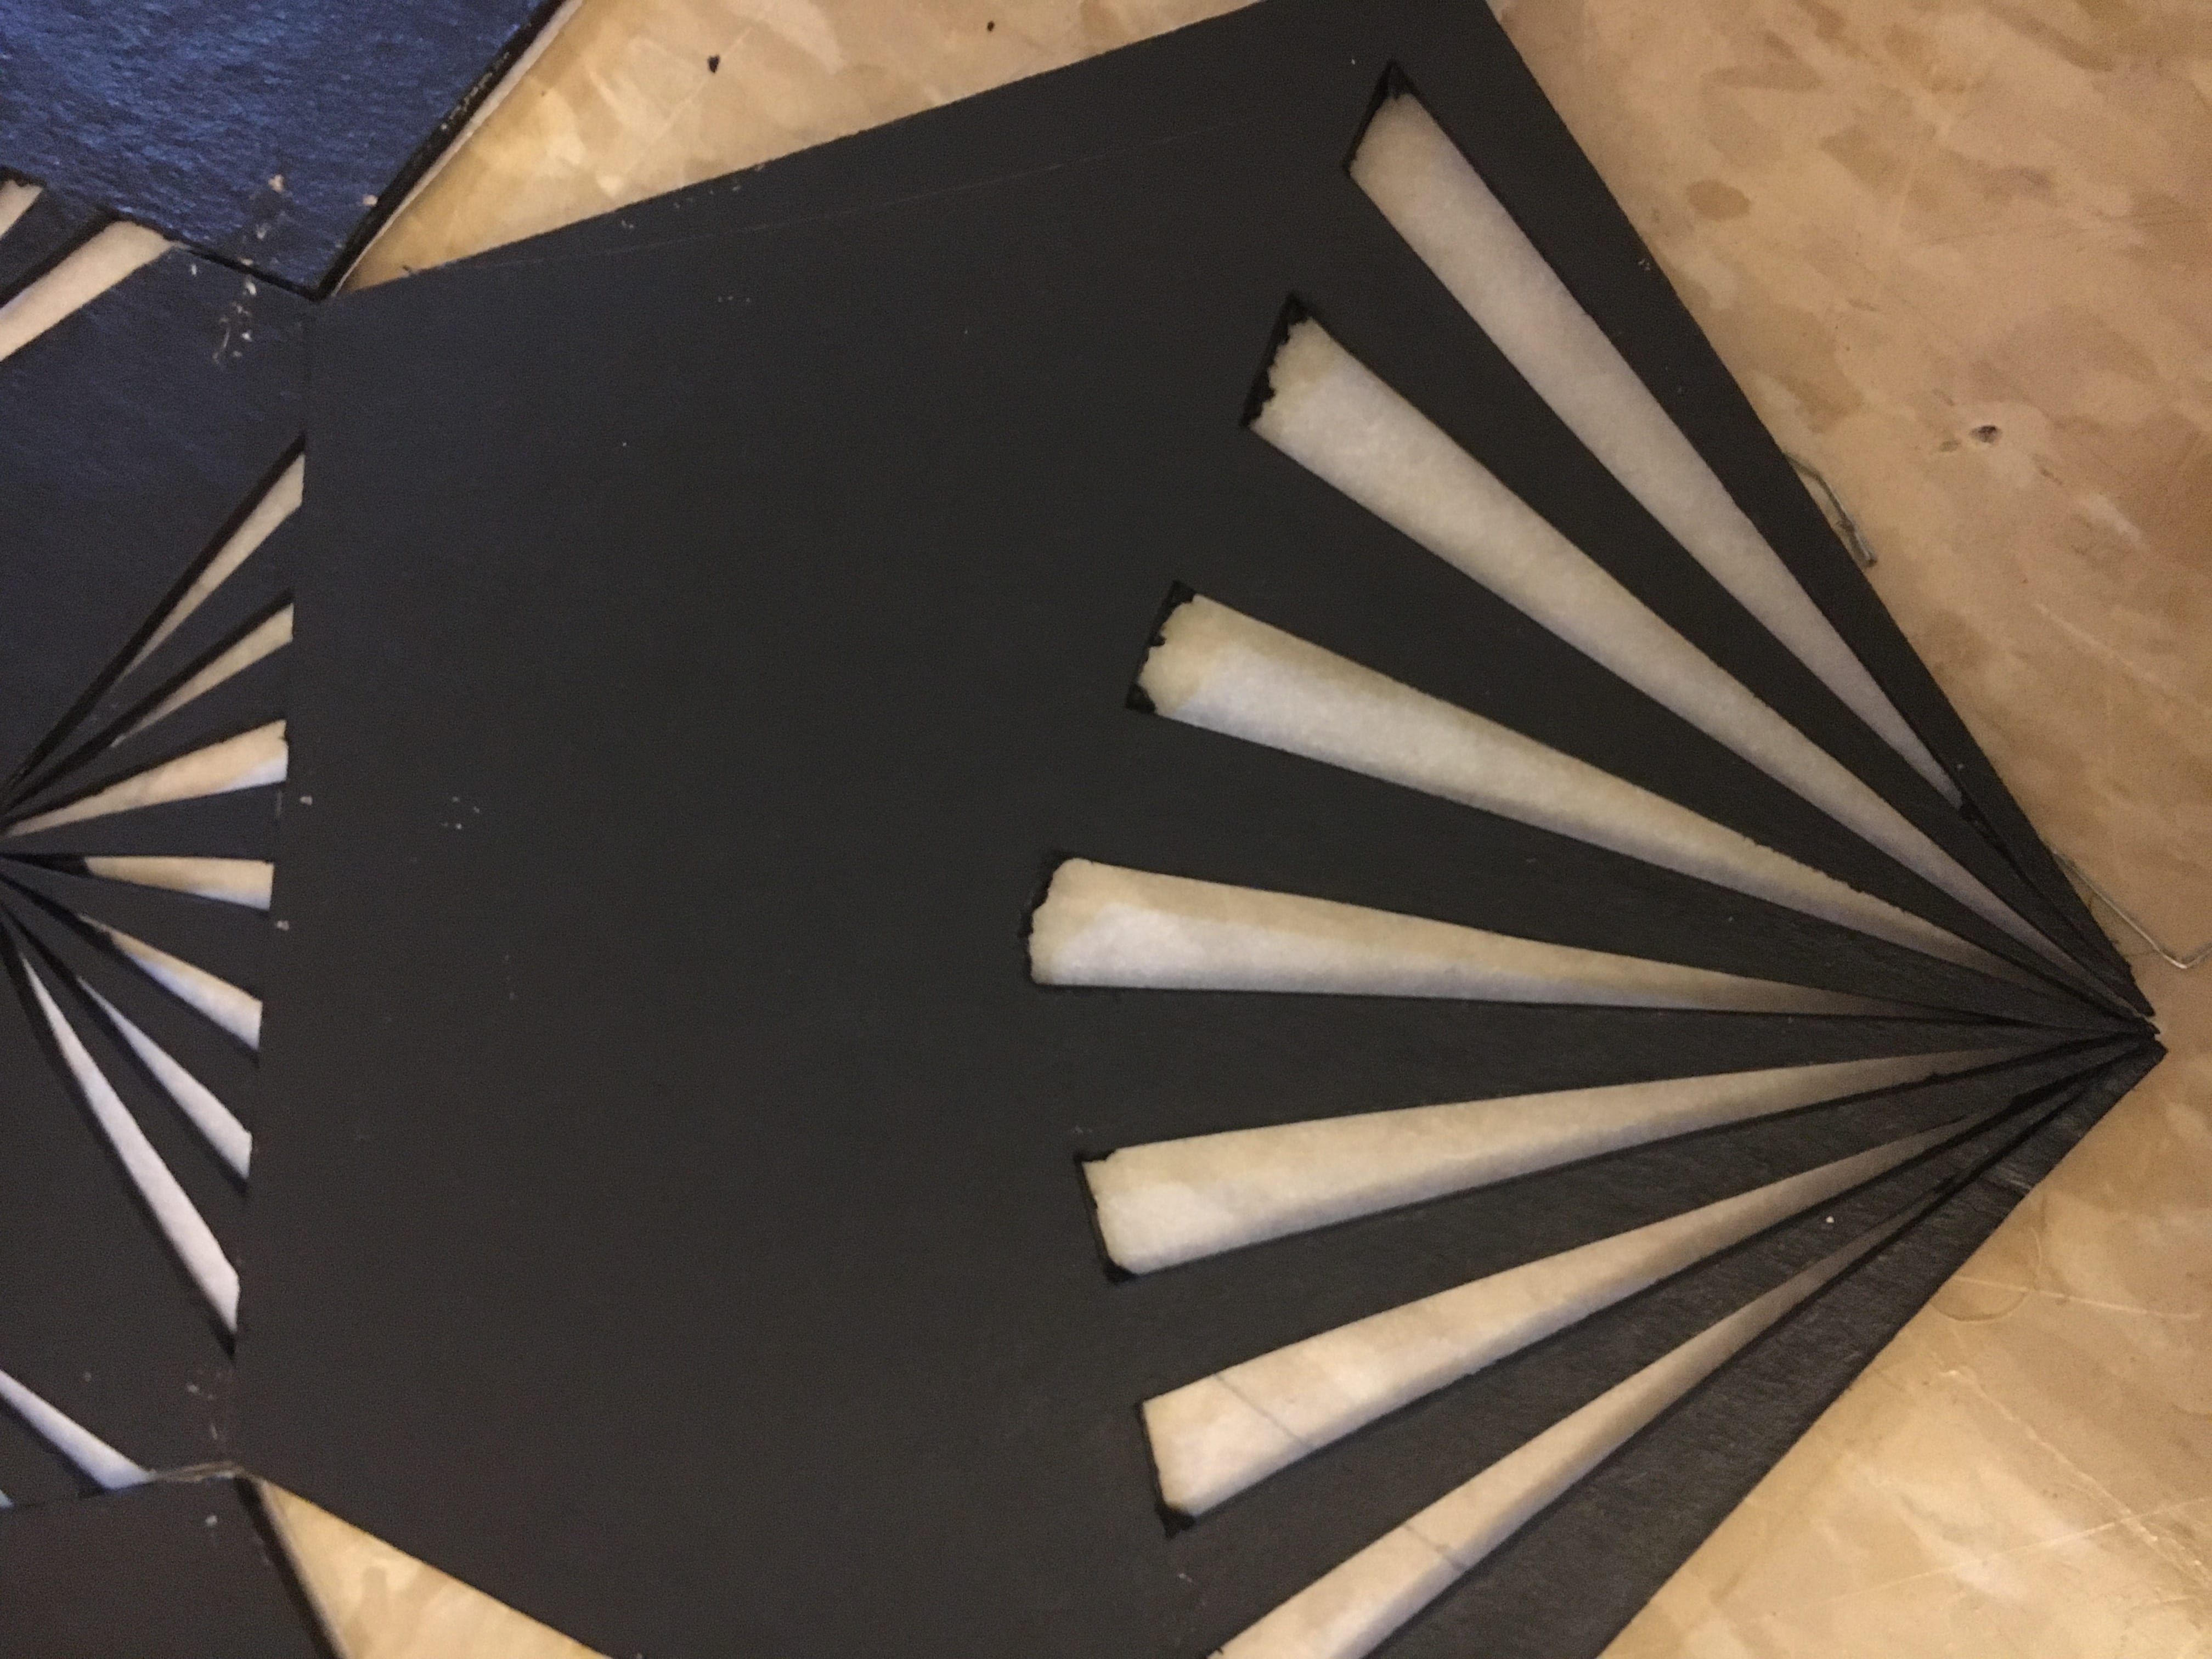
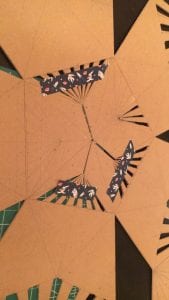
To fill in the holes I decided to use tracing paper because it is partially translucent. I attached this using staples from the inside of the chipboard. However as I was attempting to connect all the pieces I realized it wasn’t going to be sturdy enough to stay together because of all the cutouts. Especially after the net had been separated into different pieces.
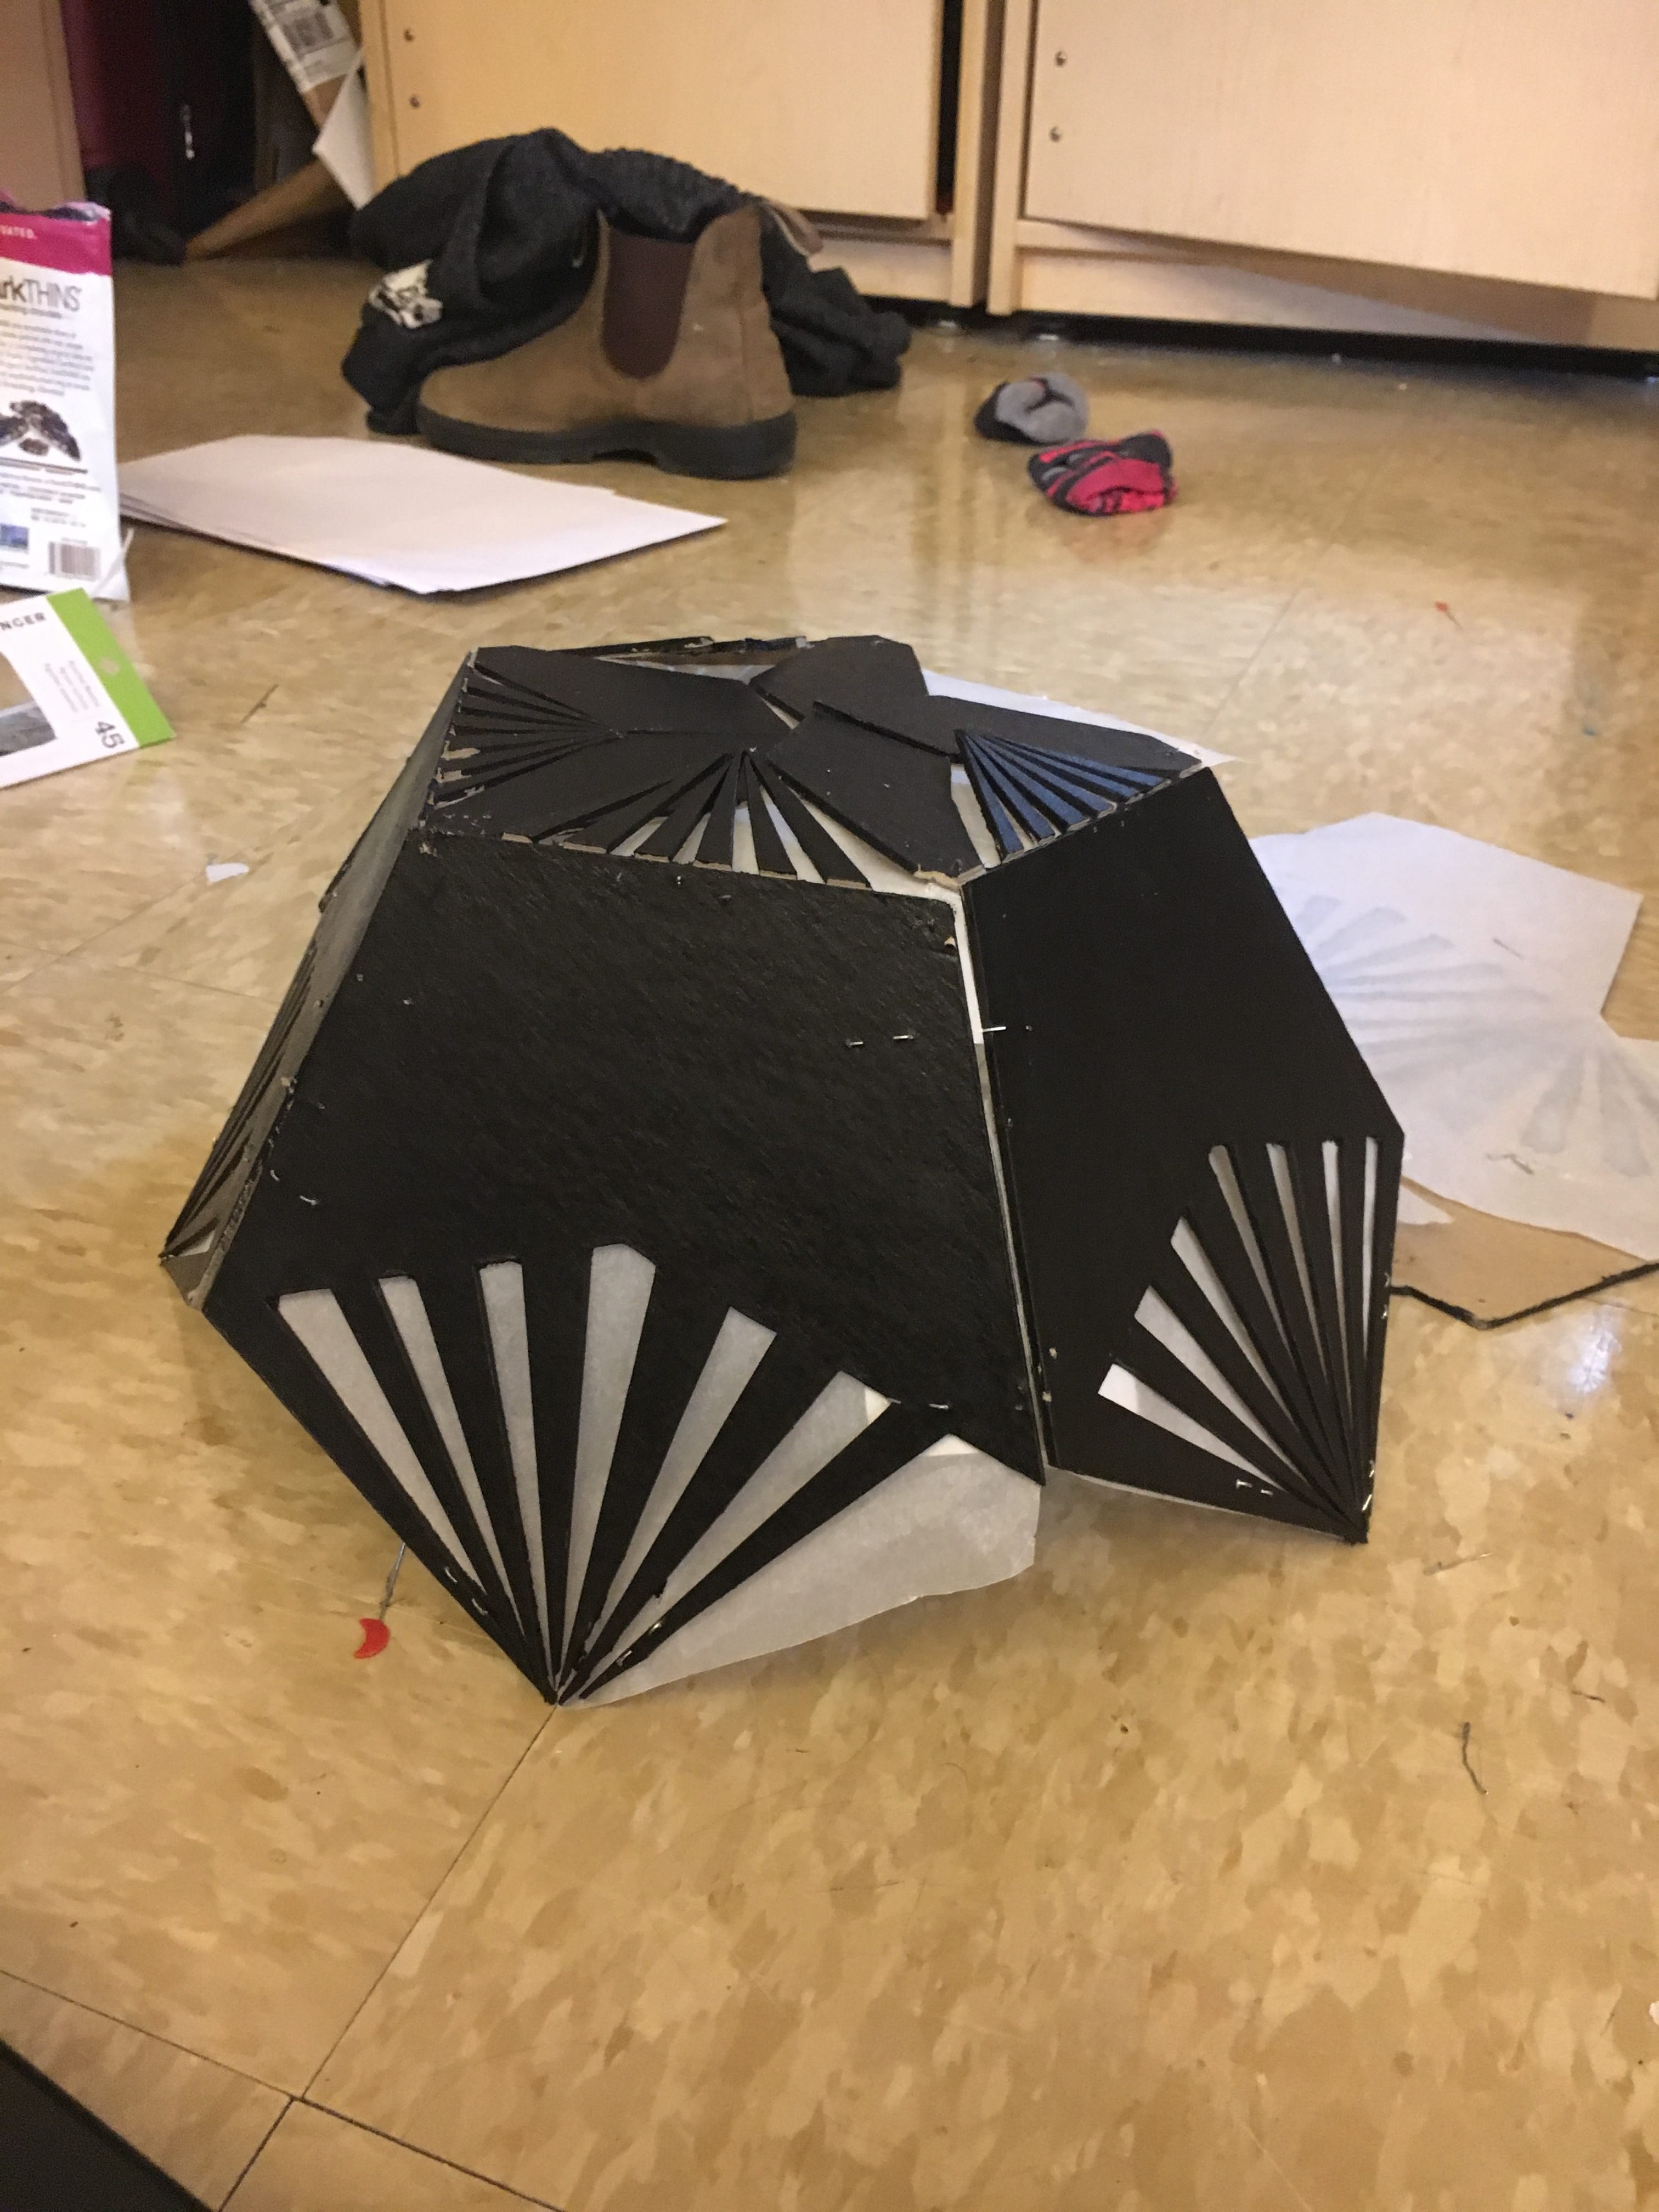
To fix this I decided that I would add another layer of chipboard on the inside of the cutout chipboard to add some bulk so that it would stay together and be sturdy. This also allowed me to create some flaps in the inside chipboard that I could use to connect the dodecahedron without the staples showing on the outside.


After adding the extra chipboard I attached all sides together. I ended up using wires in a few of the corners between pieces to make sure that the piece would be stable. After this, the tracing paper was put back into the piece. It was able to stick to the still wet paint from touch ups and with a few staples.

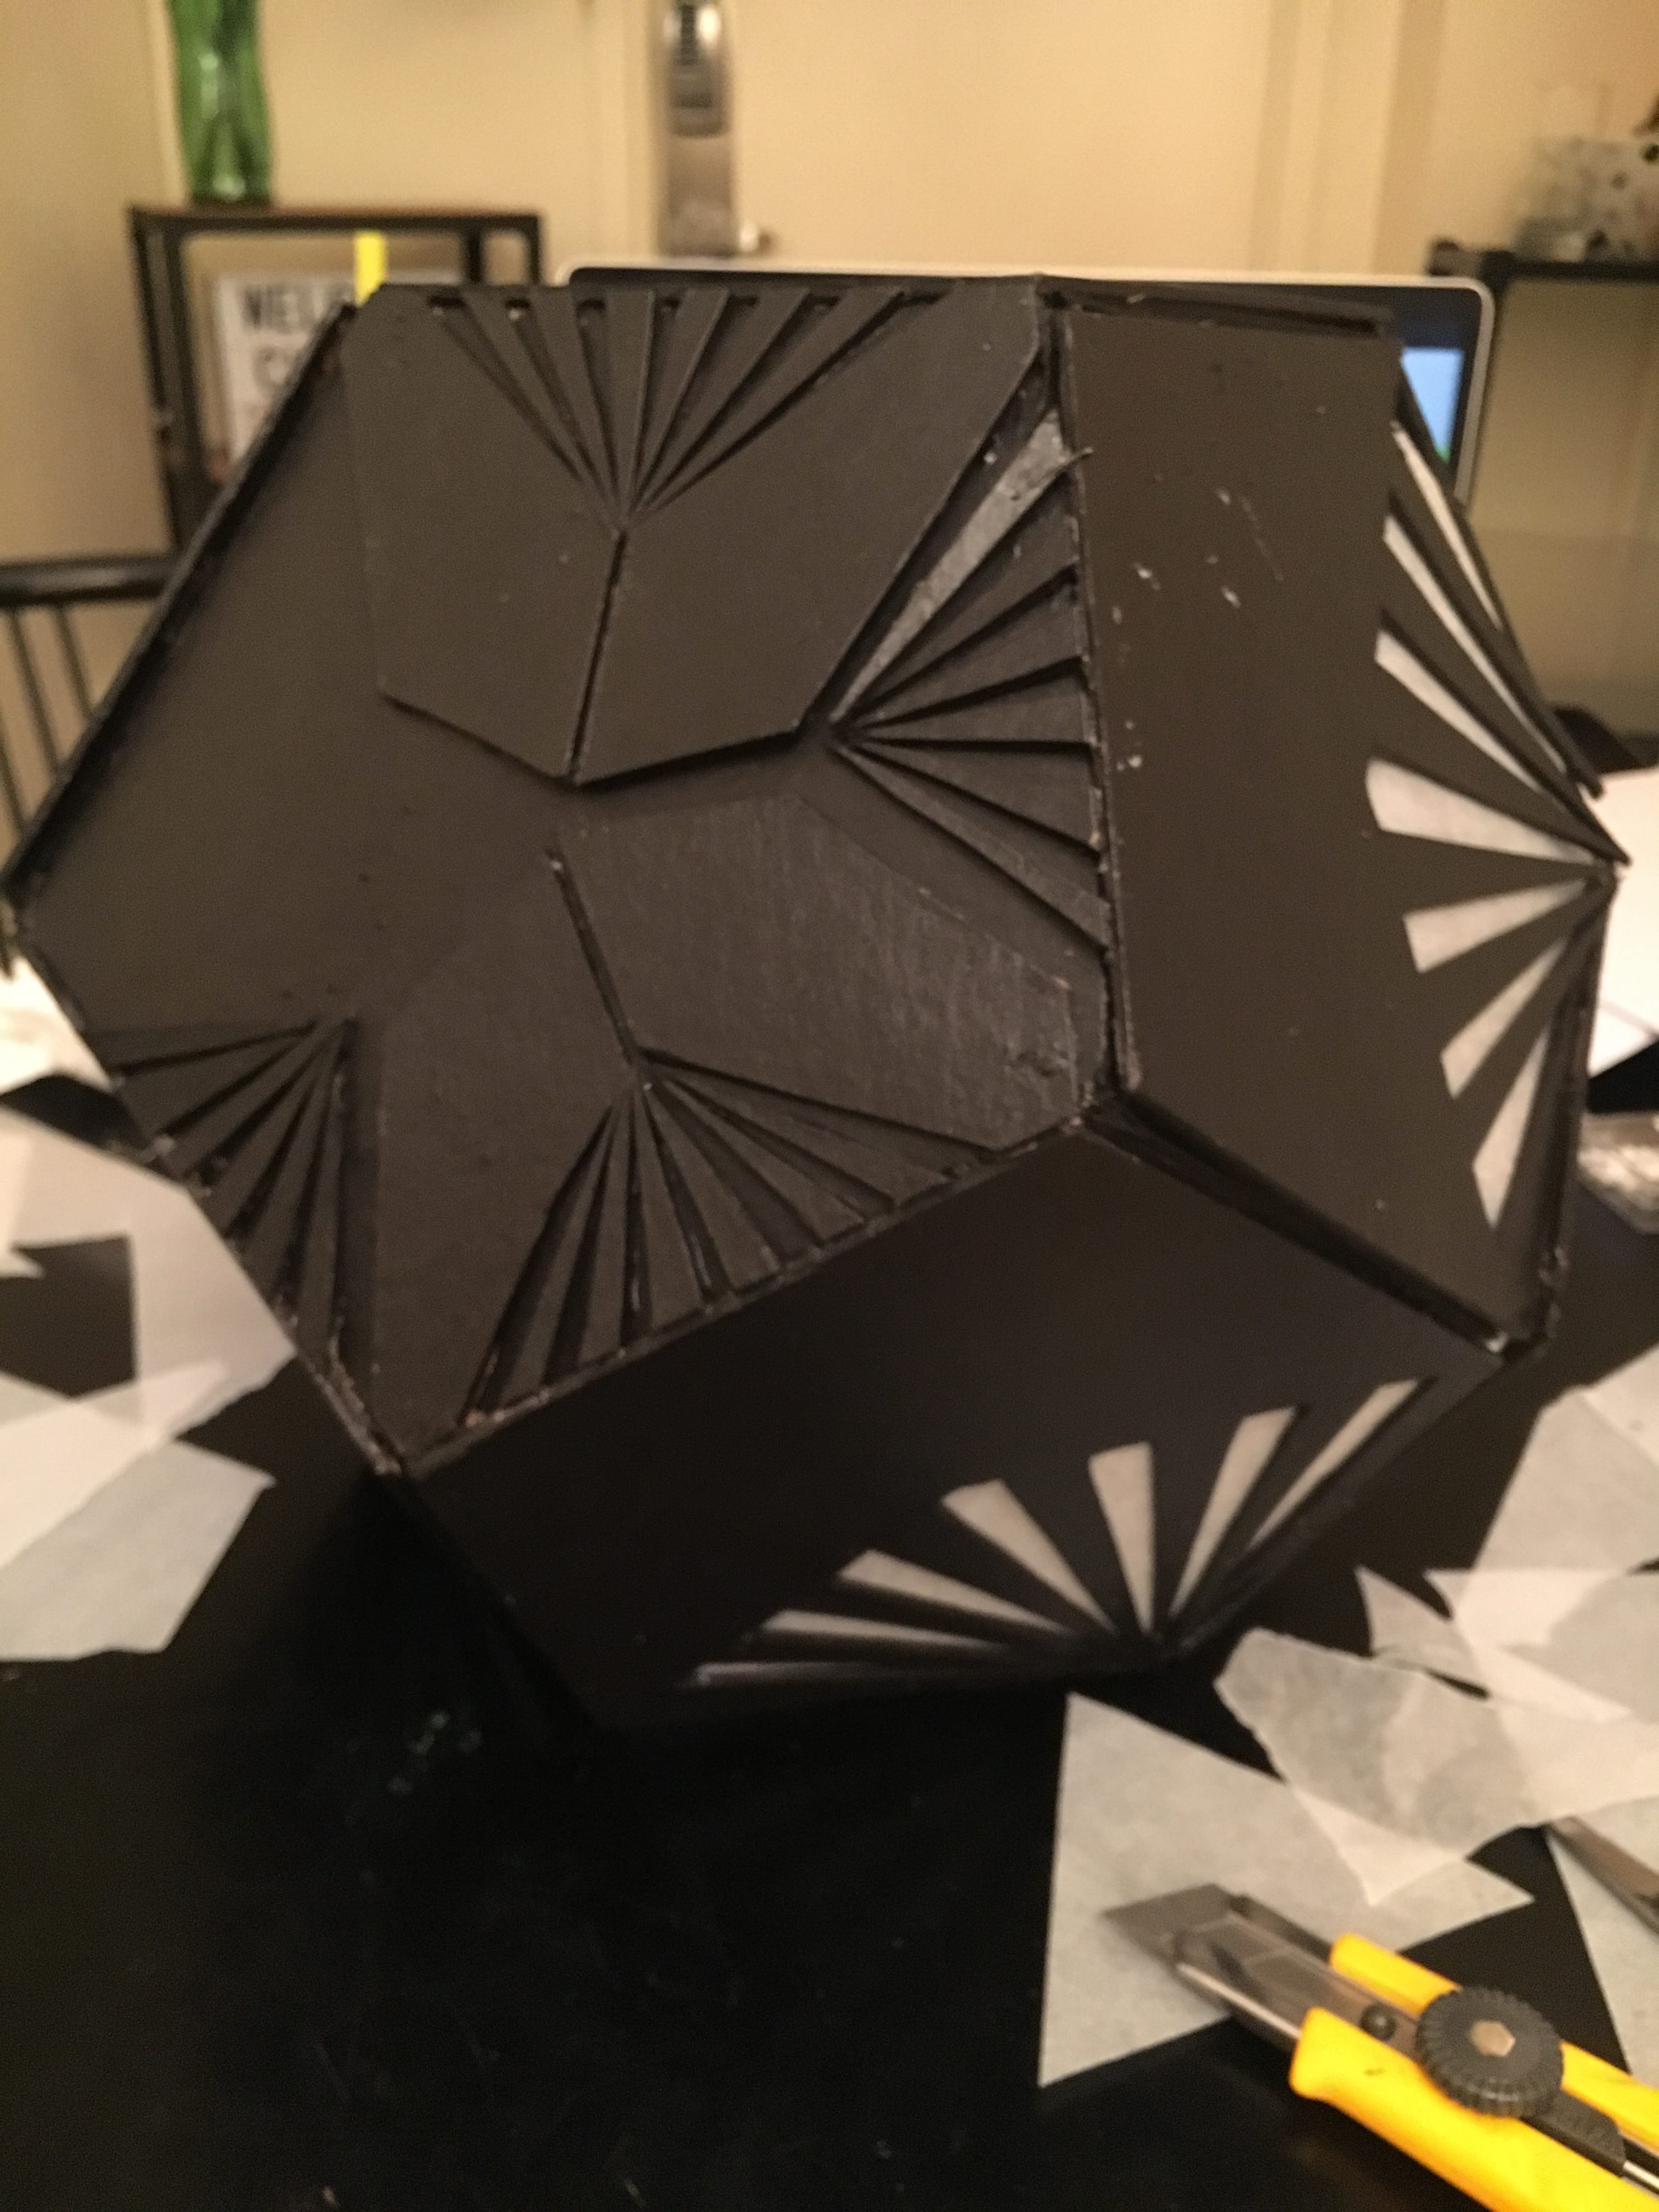
Product Shots:


Styling Images:
For my styling pictures I wanted to portray the sensitivity to light and sound during a migraine. To do this I decided to surround the wearer in a blur of colour that represents the refraction of light and the chaos light and sound cause during a migraine to your head.


Technical Drawings:
In conclusion:
Overall, I enjoyed working on this project. I allowed myself more time then I did for project #1 to come up with different variations for my concept and I think this made my final design more put together. During the process I struggled a bit after the initial making steps with attaching the pieces. I found that my material was at times to flimsy and was easy to rip. In the future I think I would test more material options (such as plexi-glass or another type of planar material) first before deciding to figure out what would work best for the desired product. However, even though it was a bit of struggle to finish and connect the piece, I think it ended up looking quite nice. The cutouts worked out how I wanted them too and if you put lighting above the piece it creates some shadows and reflections in the “orb”.