Objectives:
- Learn how to draw a proper orthographic projection in the way we were taught in class.
- Practice and gain familiarity with carrying a technical drawing into 3D.
This assignment was split into three different parts. The first being a series of multiple choice answers, while the second and third involved the production of technical drawings and the transition into 3D.
Part 2
In the second part of the assignment booklet, we were tasked with creating orthographic projections for three different shapes below.
Page 11
Page 12
Page 13 – Credit to River Marquardt
When I brought the pages into class three main issues arose, the titles were off at an axis, the dimensions were not ordered largest to smallest and the title box was not embordered. I rectified all of this after class.
Revised Page 11
Revised Page 12
Revised Page 13
Part 3
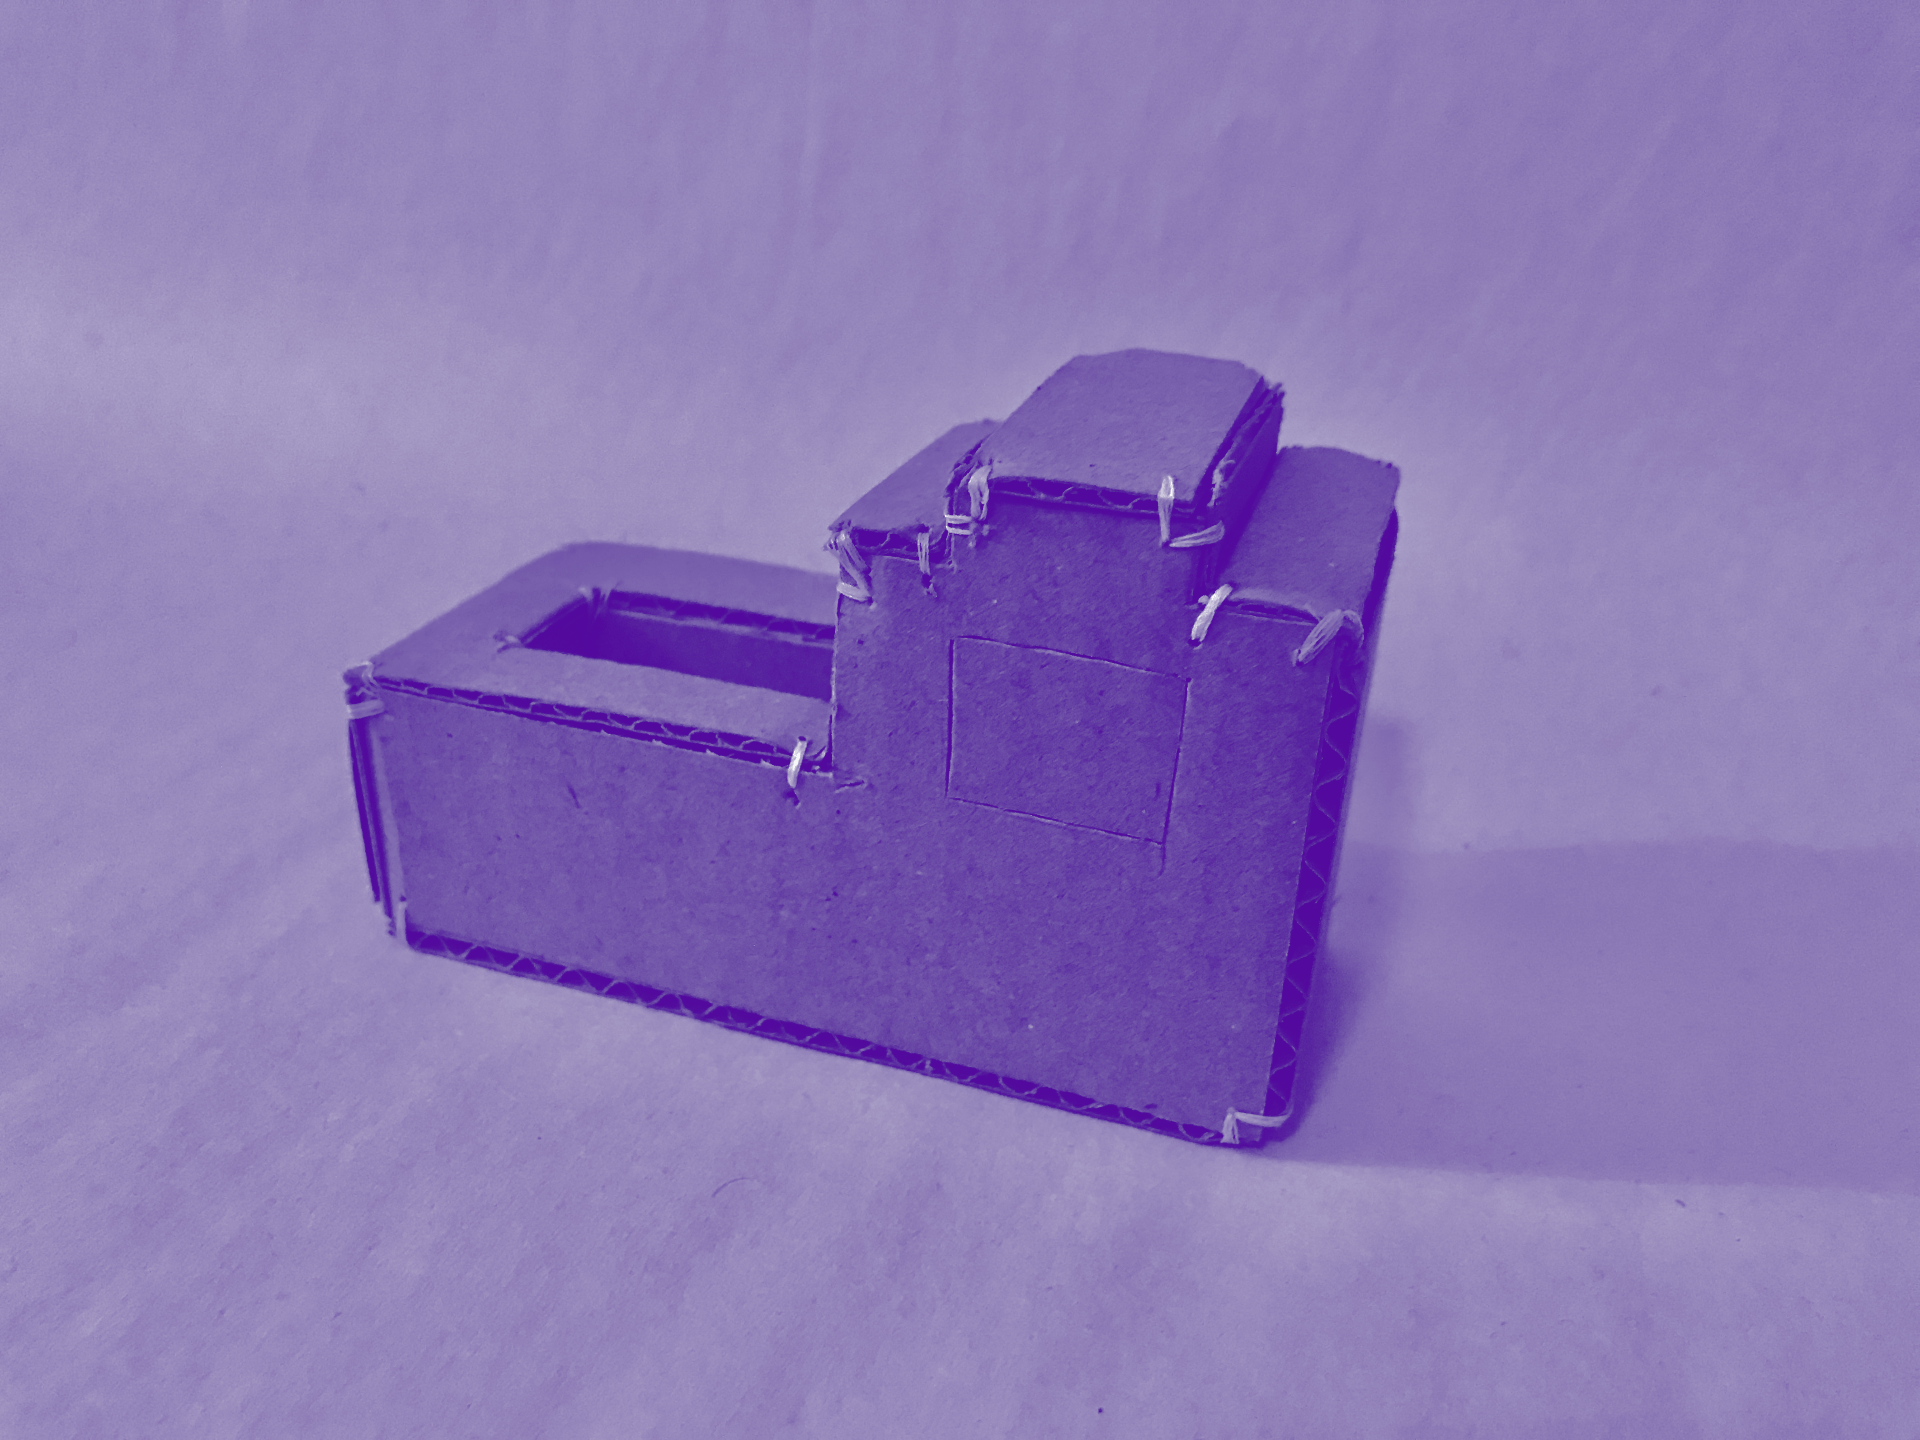
The third and final part of the assignment was to assemble the shape on page 13 in 3D. We were instructed to use cardboard, chipboard, or any other thick and sturdy material as well as mechanical connectors. I chose to sew the pieces together as that would allow me to have the most control over the pieces of cardboard that I cut out. It proved to do just that.
Process Photo of Part 3
Final Part 3
Reflection:
Overall the experience of this assignment proved to be tedious but relevant to my career as a designer. Although I do not see myself become a professional drafter, I can appreciate the fact that this is a valuable skill when communicating with producers and making sure that they fully understand your vision as the designer. In addition, it has definitely made me more aware of product design as a major and I am eager to learn what I can for other potential projects I would like to initiate in the future.
Some other observations were similar to assignment #10 when I realized that I need to be more gentle when using a pencil as the paper could tear. This is visible in some of the orthographic drawings for assignment #11. Furthermore, I realized that I have become safe with sewing pieces together. I did this for Assignment #9 as well. I would like to push myself and use a different mechanical connector for the upcoming projects.


