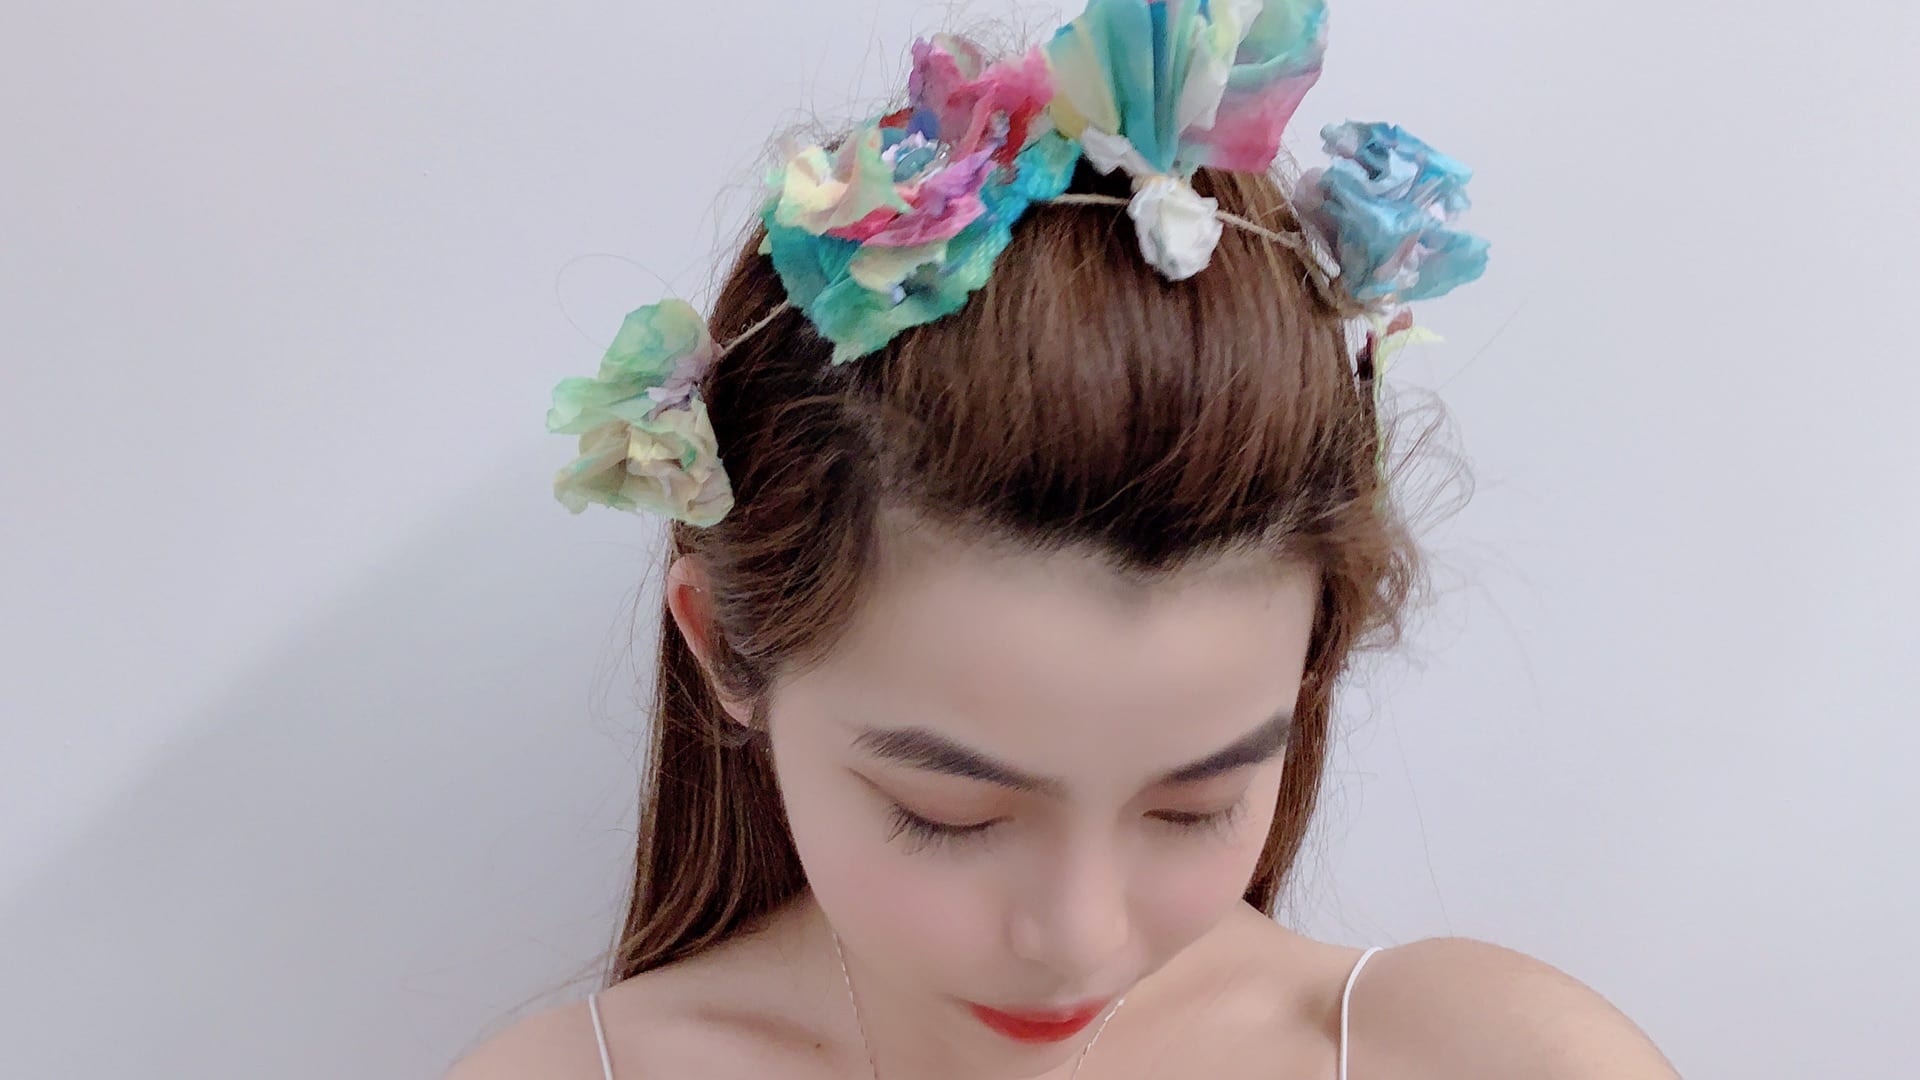
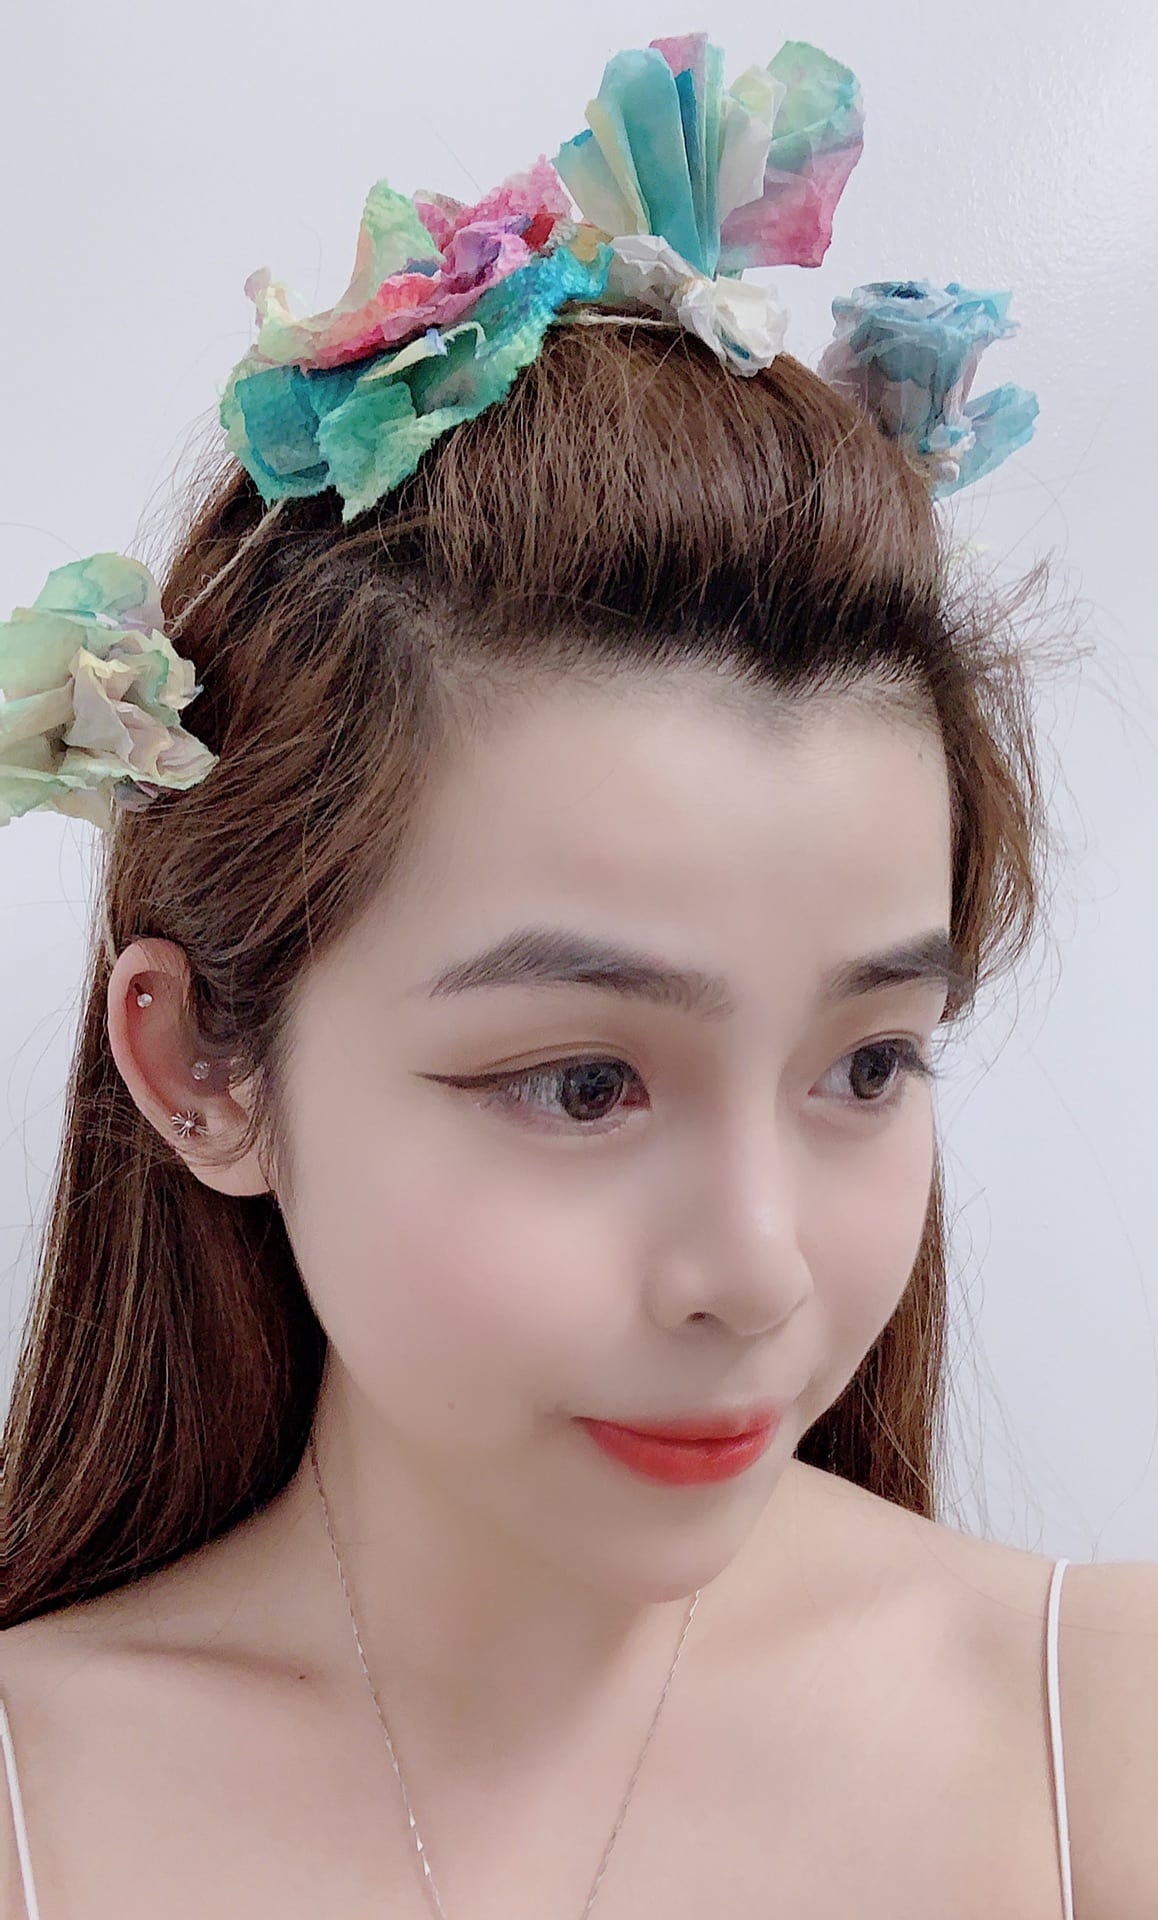
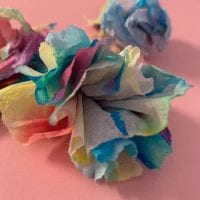
Gallery photos of Blooming flower neacklace:
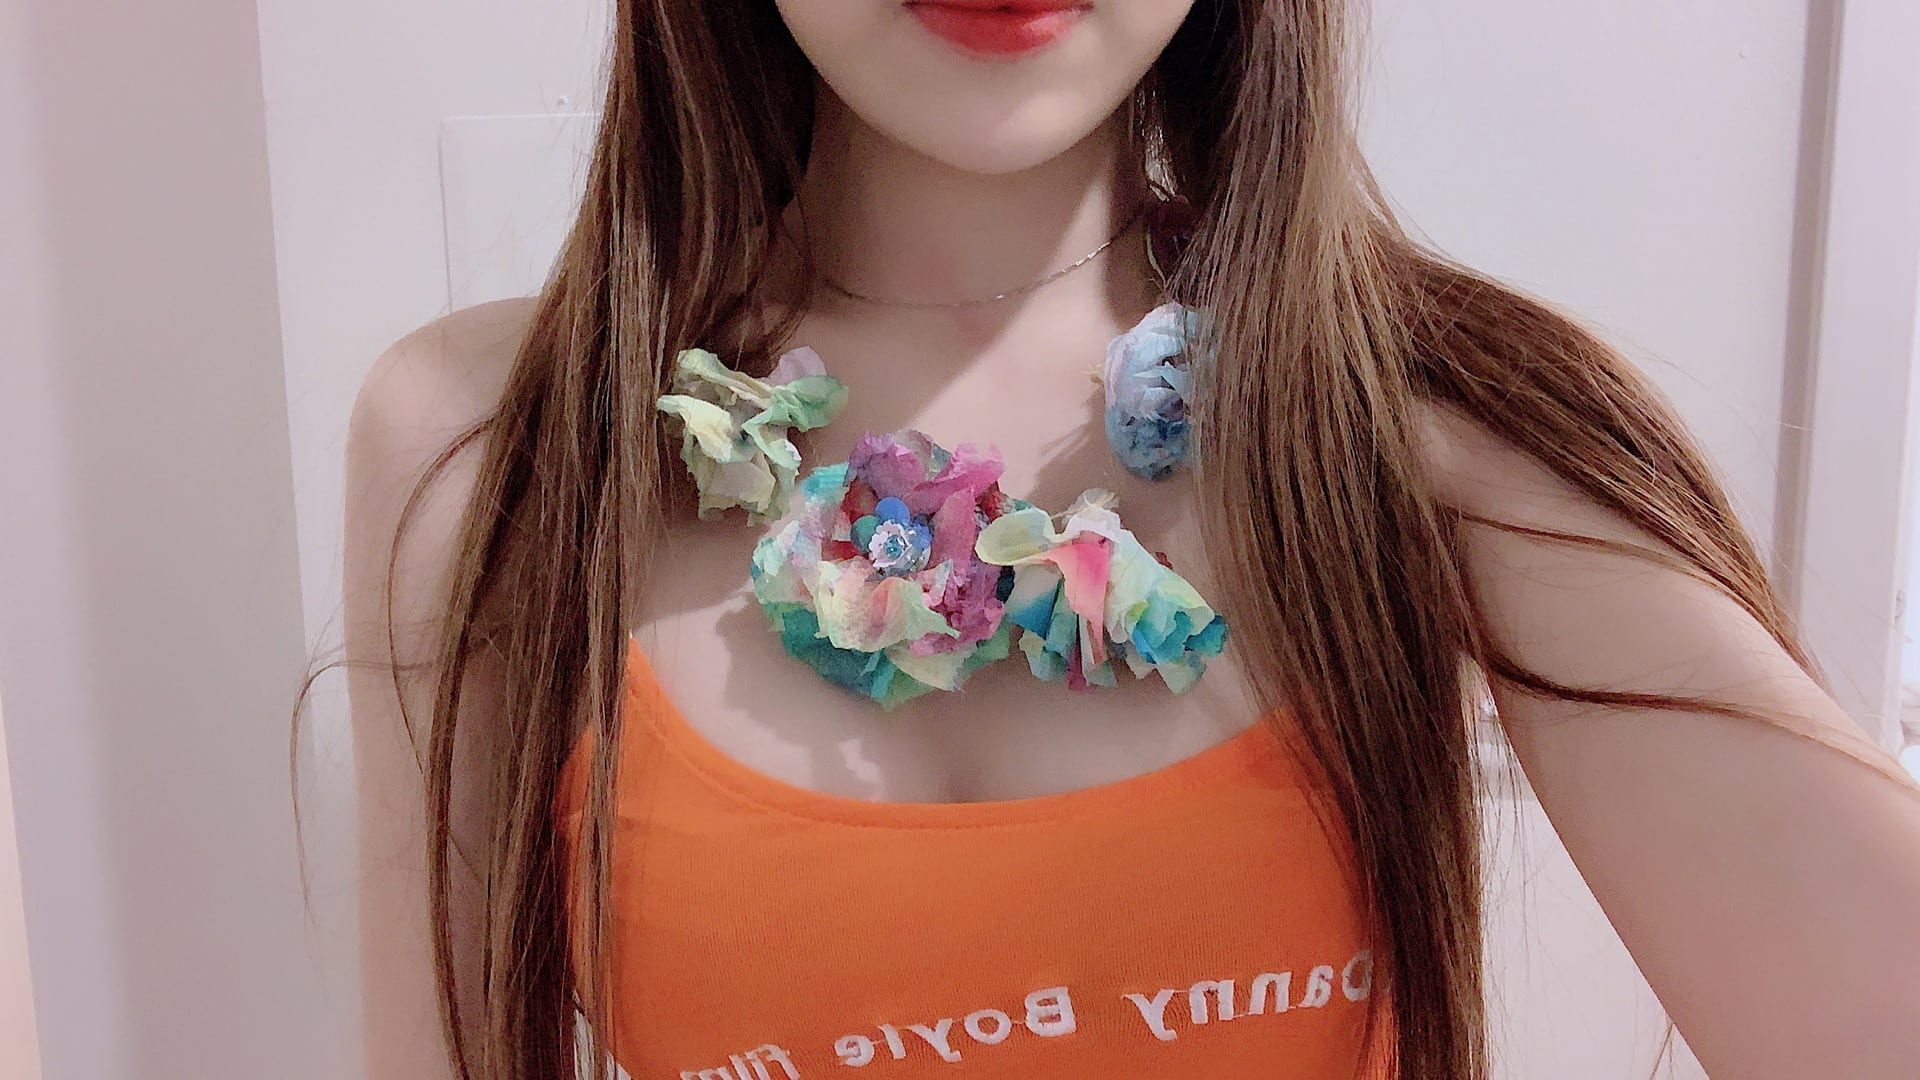

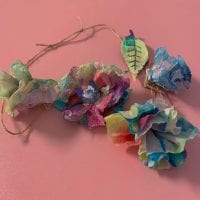
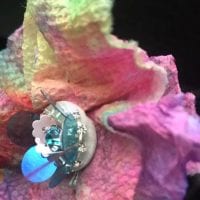
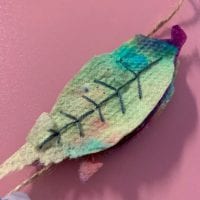
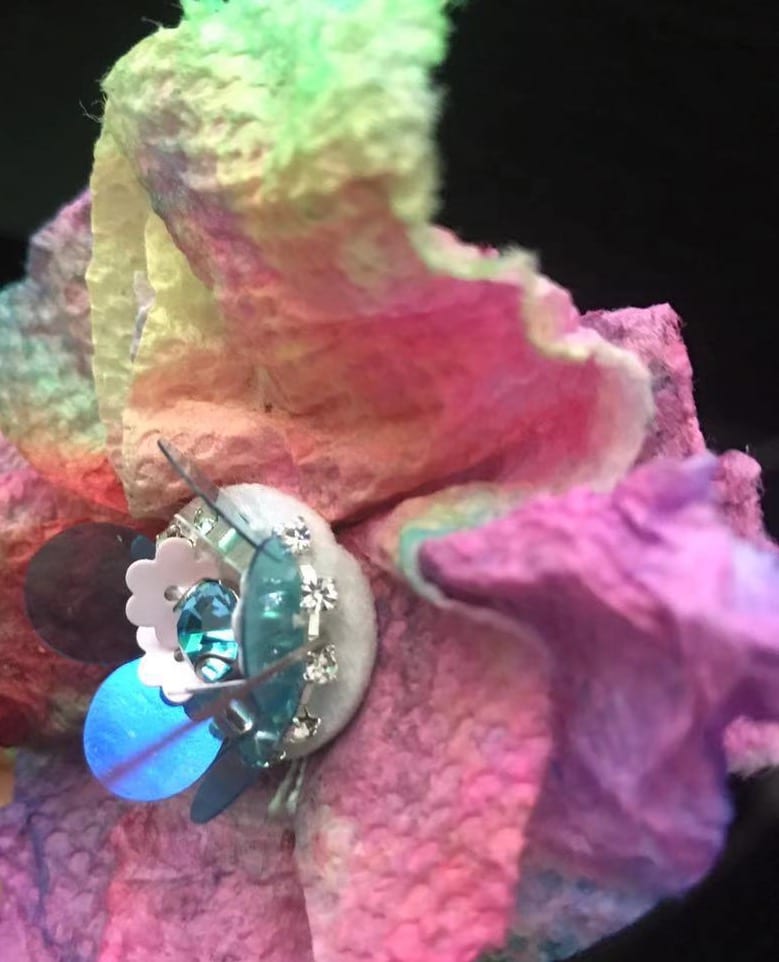
Detail of the necklace :

Process of the jewelry making:
Firstly,I sewed the free paillettes and beads to the wool felt.


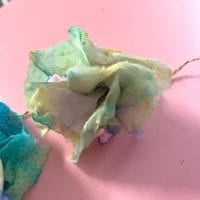
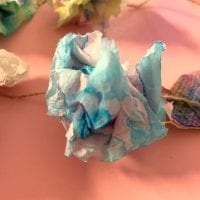
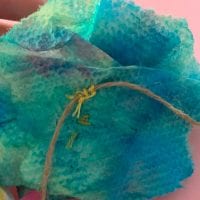
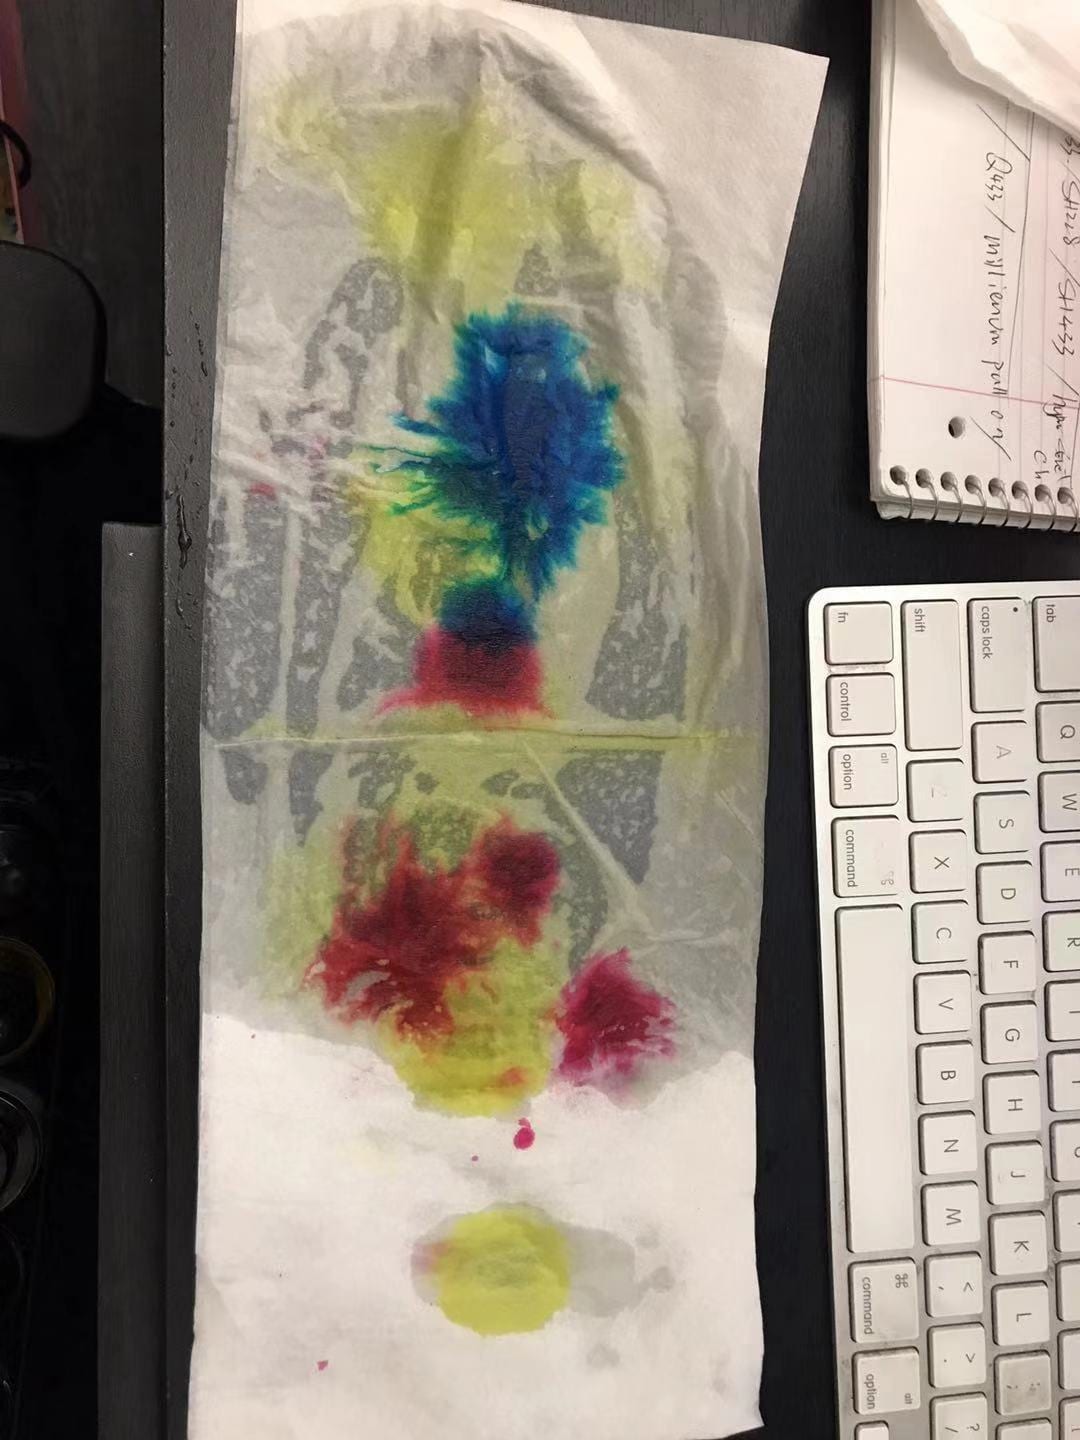
Secondly, I wet tissue paper and out the Ecoline watercolor on top, the first one I did was a contrasting color and the second one I did a gradient.then I wait until they dry.

Thirdly,I folded the dried paper into the shape of a flower and placed the previously sewn stamens in the center. Then I sewed them together.

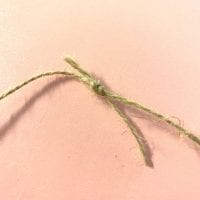
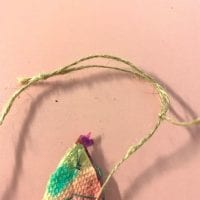
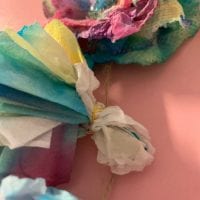
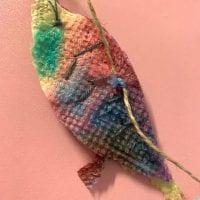
Fourth,I sewed the finished flowers and leaves on a piece of twine.

Fifth,I tied two knots at each end of the rope to make a necklace of adjustable length.


Finally, I made a necklace with flowers and leaves.

Reflection:
The title for my second project is the Blooming flower. My original inspiration for this project came from a necklace made of pearls and diamonds from the museum. I want my jewelry can not only be wear as a necklace but also as a headwear, so I made it a wearable object with two functions. I believe this jewelry is more suitable in a casual situation. The paillettes and the beads were free gift when I bought a dress with paillette and beads. I could attach additional paillettes and beads to the dress in case the original ones fell off. I repurposed those paillettes and beads as part of my project. I believed the requirement of spending $0 on this project was meaningful, because I learned that I can still make successful jewelry without any money. Incorporating watercolor medium into this project was a fun process. I learned about different materials in this project, especially on how to corporate with tissue paper. The most enjoyable part of the project was using watercolor and the most challenging part was choosing the material for the project. I am most satisfied with the final project that I made, because the jewelry came out better than I imagined. I learned that I was really interested in jewelry through this project.