Category Archives: Space+Materiality
Planar: Mobile
The project began with an introduction of what the golden ratio and the golden section is and how it is applied both passively and explicitly around us. We were then introduced to an instrument called the caliper which is a tool used commonly when measuring the golden section. Upon learning about the functions and methods of using the caliper, we created a caliper model using card board and clips. After some trials and errors whilst making, we were able to apply the same proportions and methods in making the calipers using wood and dowels. Making the calipers was not a difficult exercise, as I had experience in working with wood through prior projects, and the process of making the caliper did not take long. However, I did have to take more cautious measures when adjusting the calipers in order to keep the proportions and the measurements accurate.

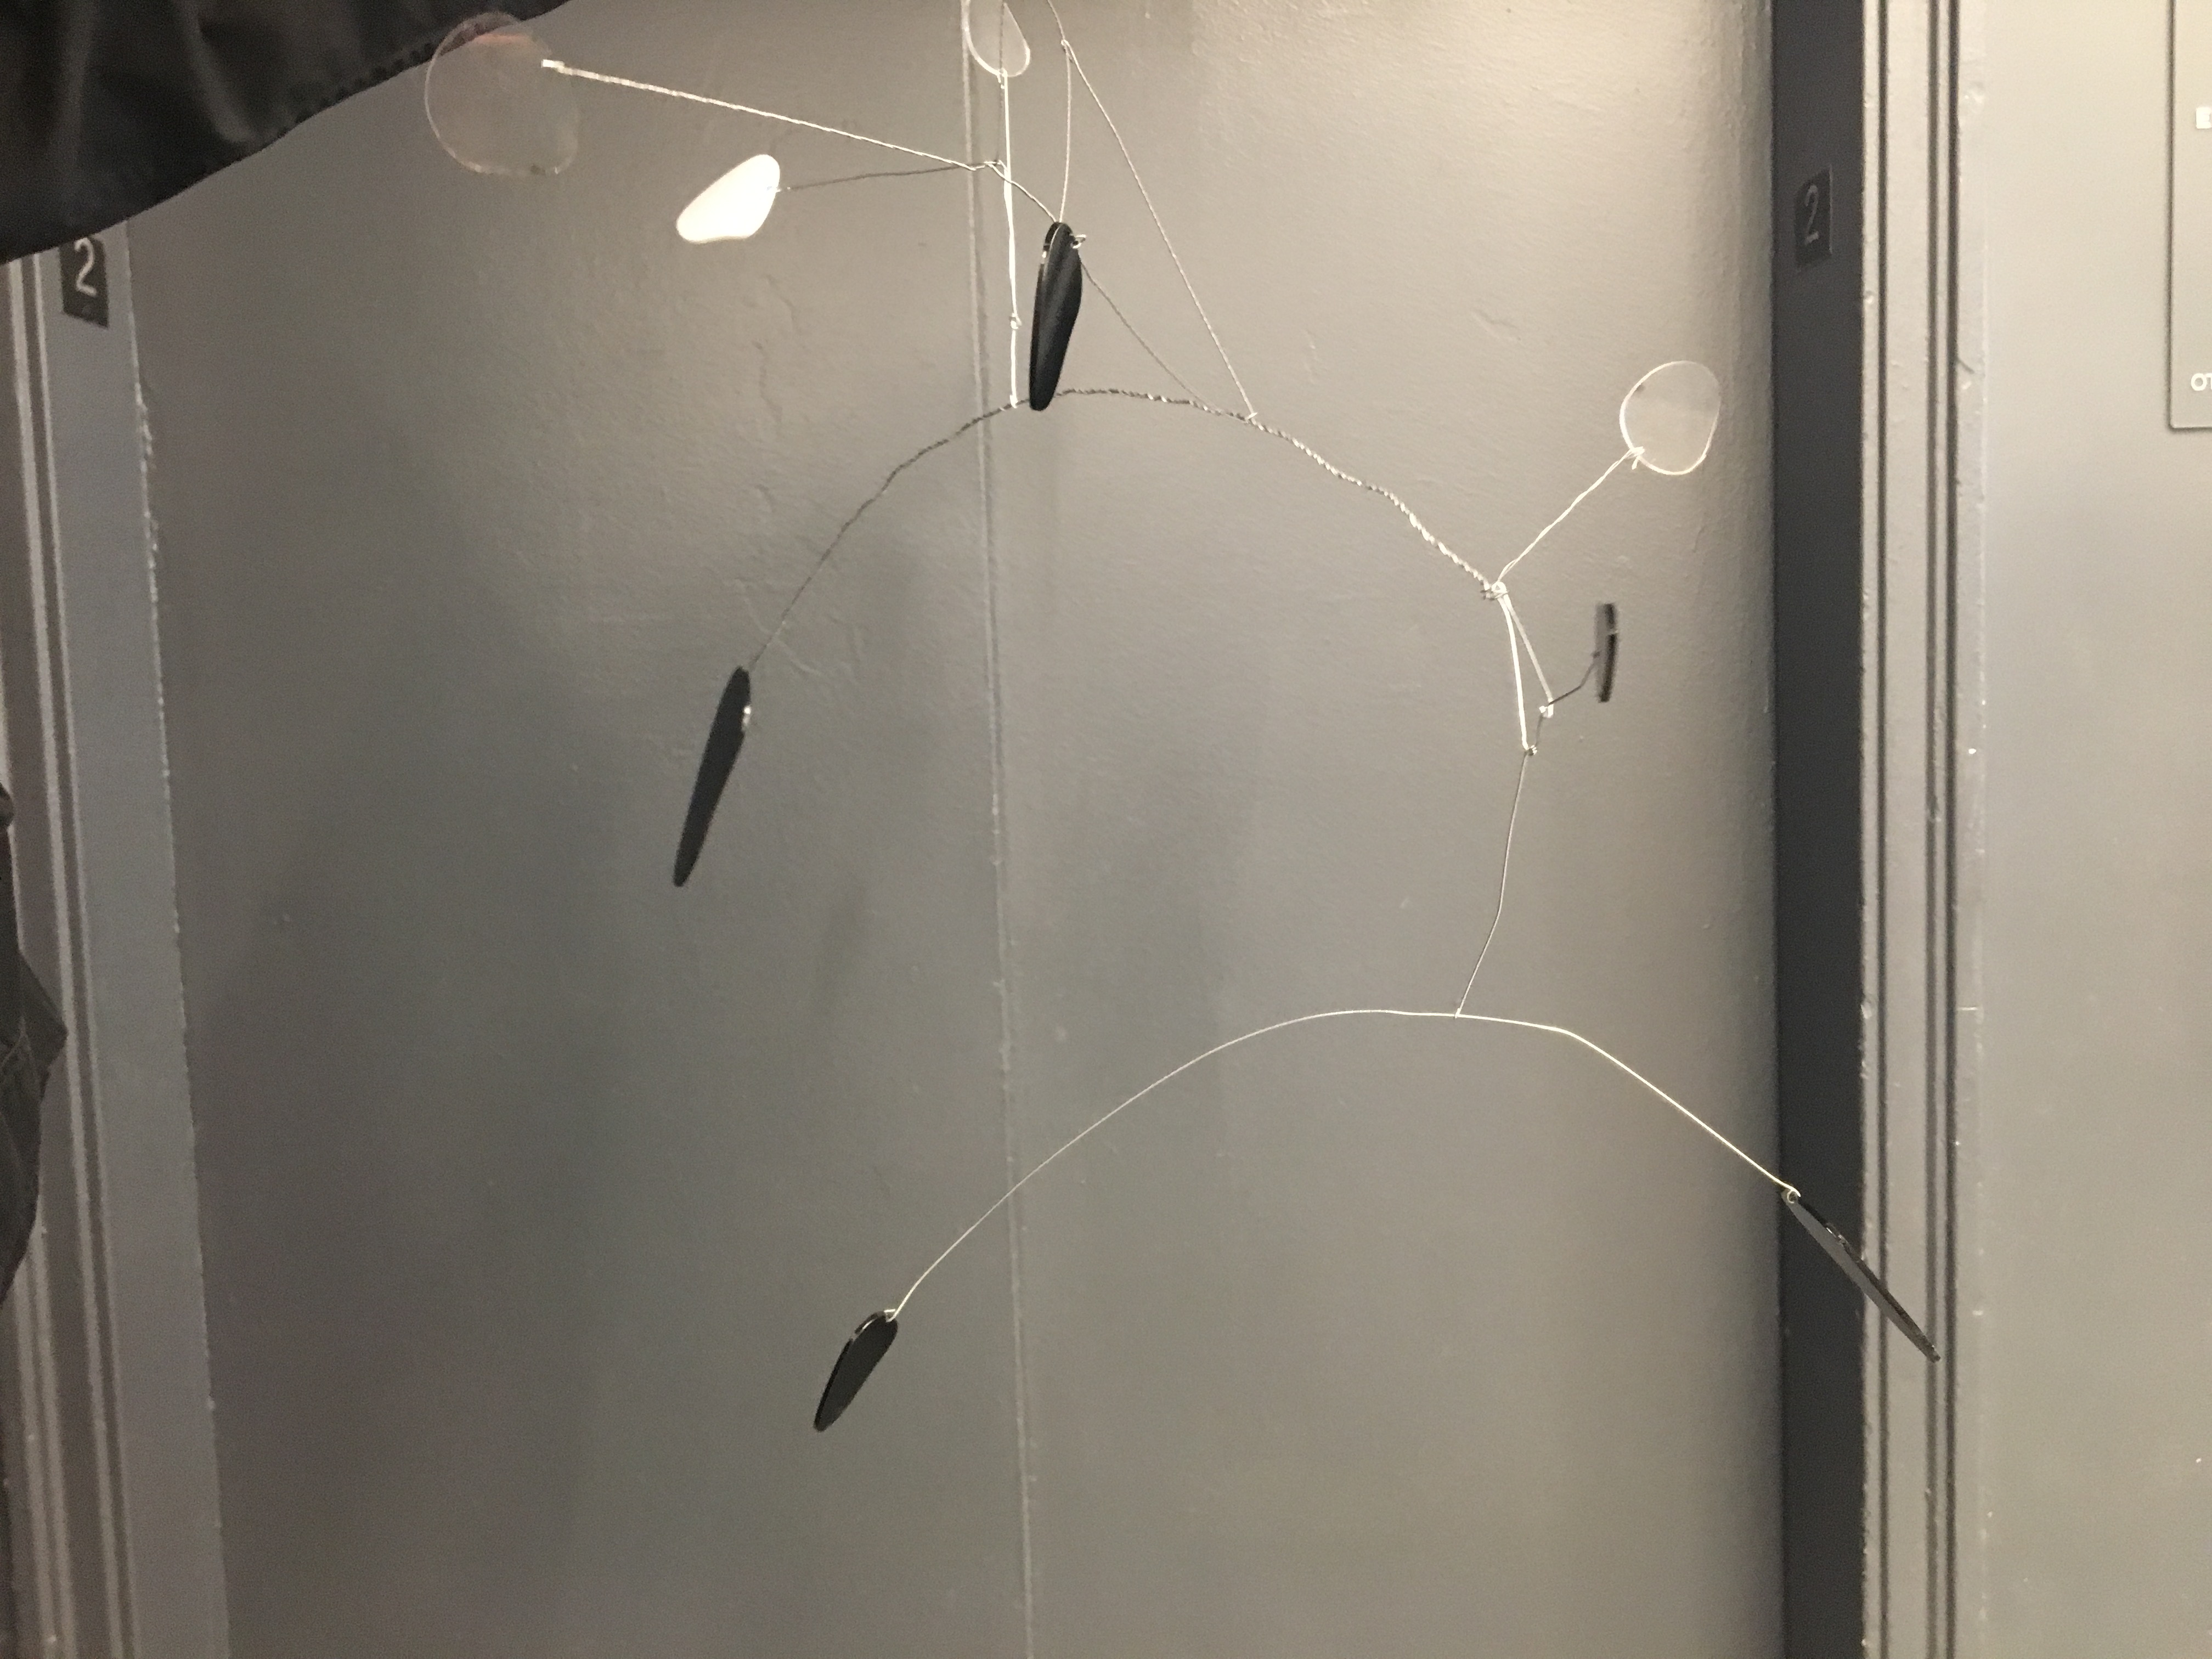
Once the calipers were made, we used it to draw out random shapes in a large sheet of Bristol paper. Multiple shapes were then picked out within the shapes drawn using the calipers as shapes used in the final section of the planar project; to create a mobile or a stabile in the style of Alexander Calder. These choses shapes were then transferred into cardboard paper using the tracing paper, and then enlarged or reduced using the multiples of Phi (1.618). With these shapes, I began building a mobile using wires and swivels, working from the base and up. This was a difficult and laborious process that required multiple trials and error to make the model stable, reflect the golden segment yet remain interesting and comfortable for the eye to follow. After I was set with the composition of the model and the sizes of the shapes used in the model, I recreated the shapes in Adobe Illustrator and adjusted the template settings ready for the laser printer.


The process of laser cutting went relatively smoothly, as my shapes were relatively simple and the black and white plexiglass I used was easy to work with. However, the colored plexiglass had a different density with the black and white plexiglass which could not be cut according to my needs. Therefore, I decided to use the white plexiglass I found within the scrap shelf as a replacement.

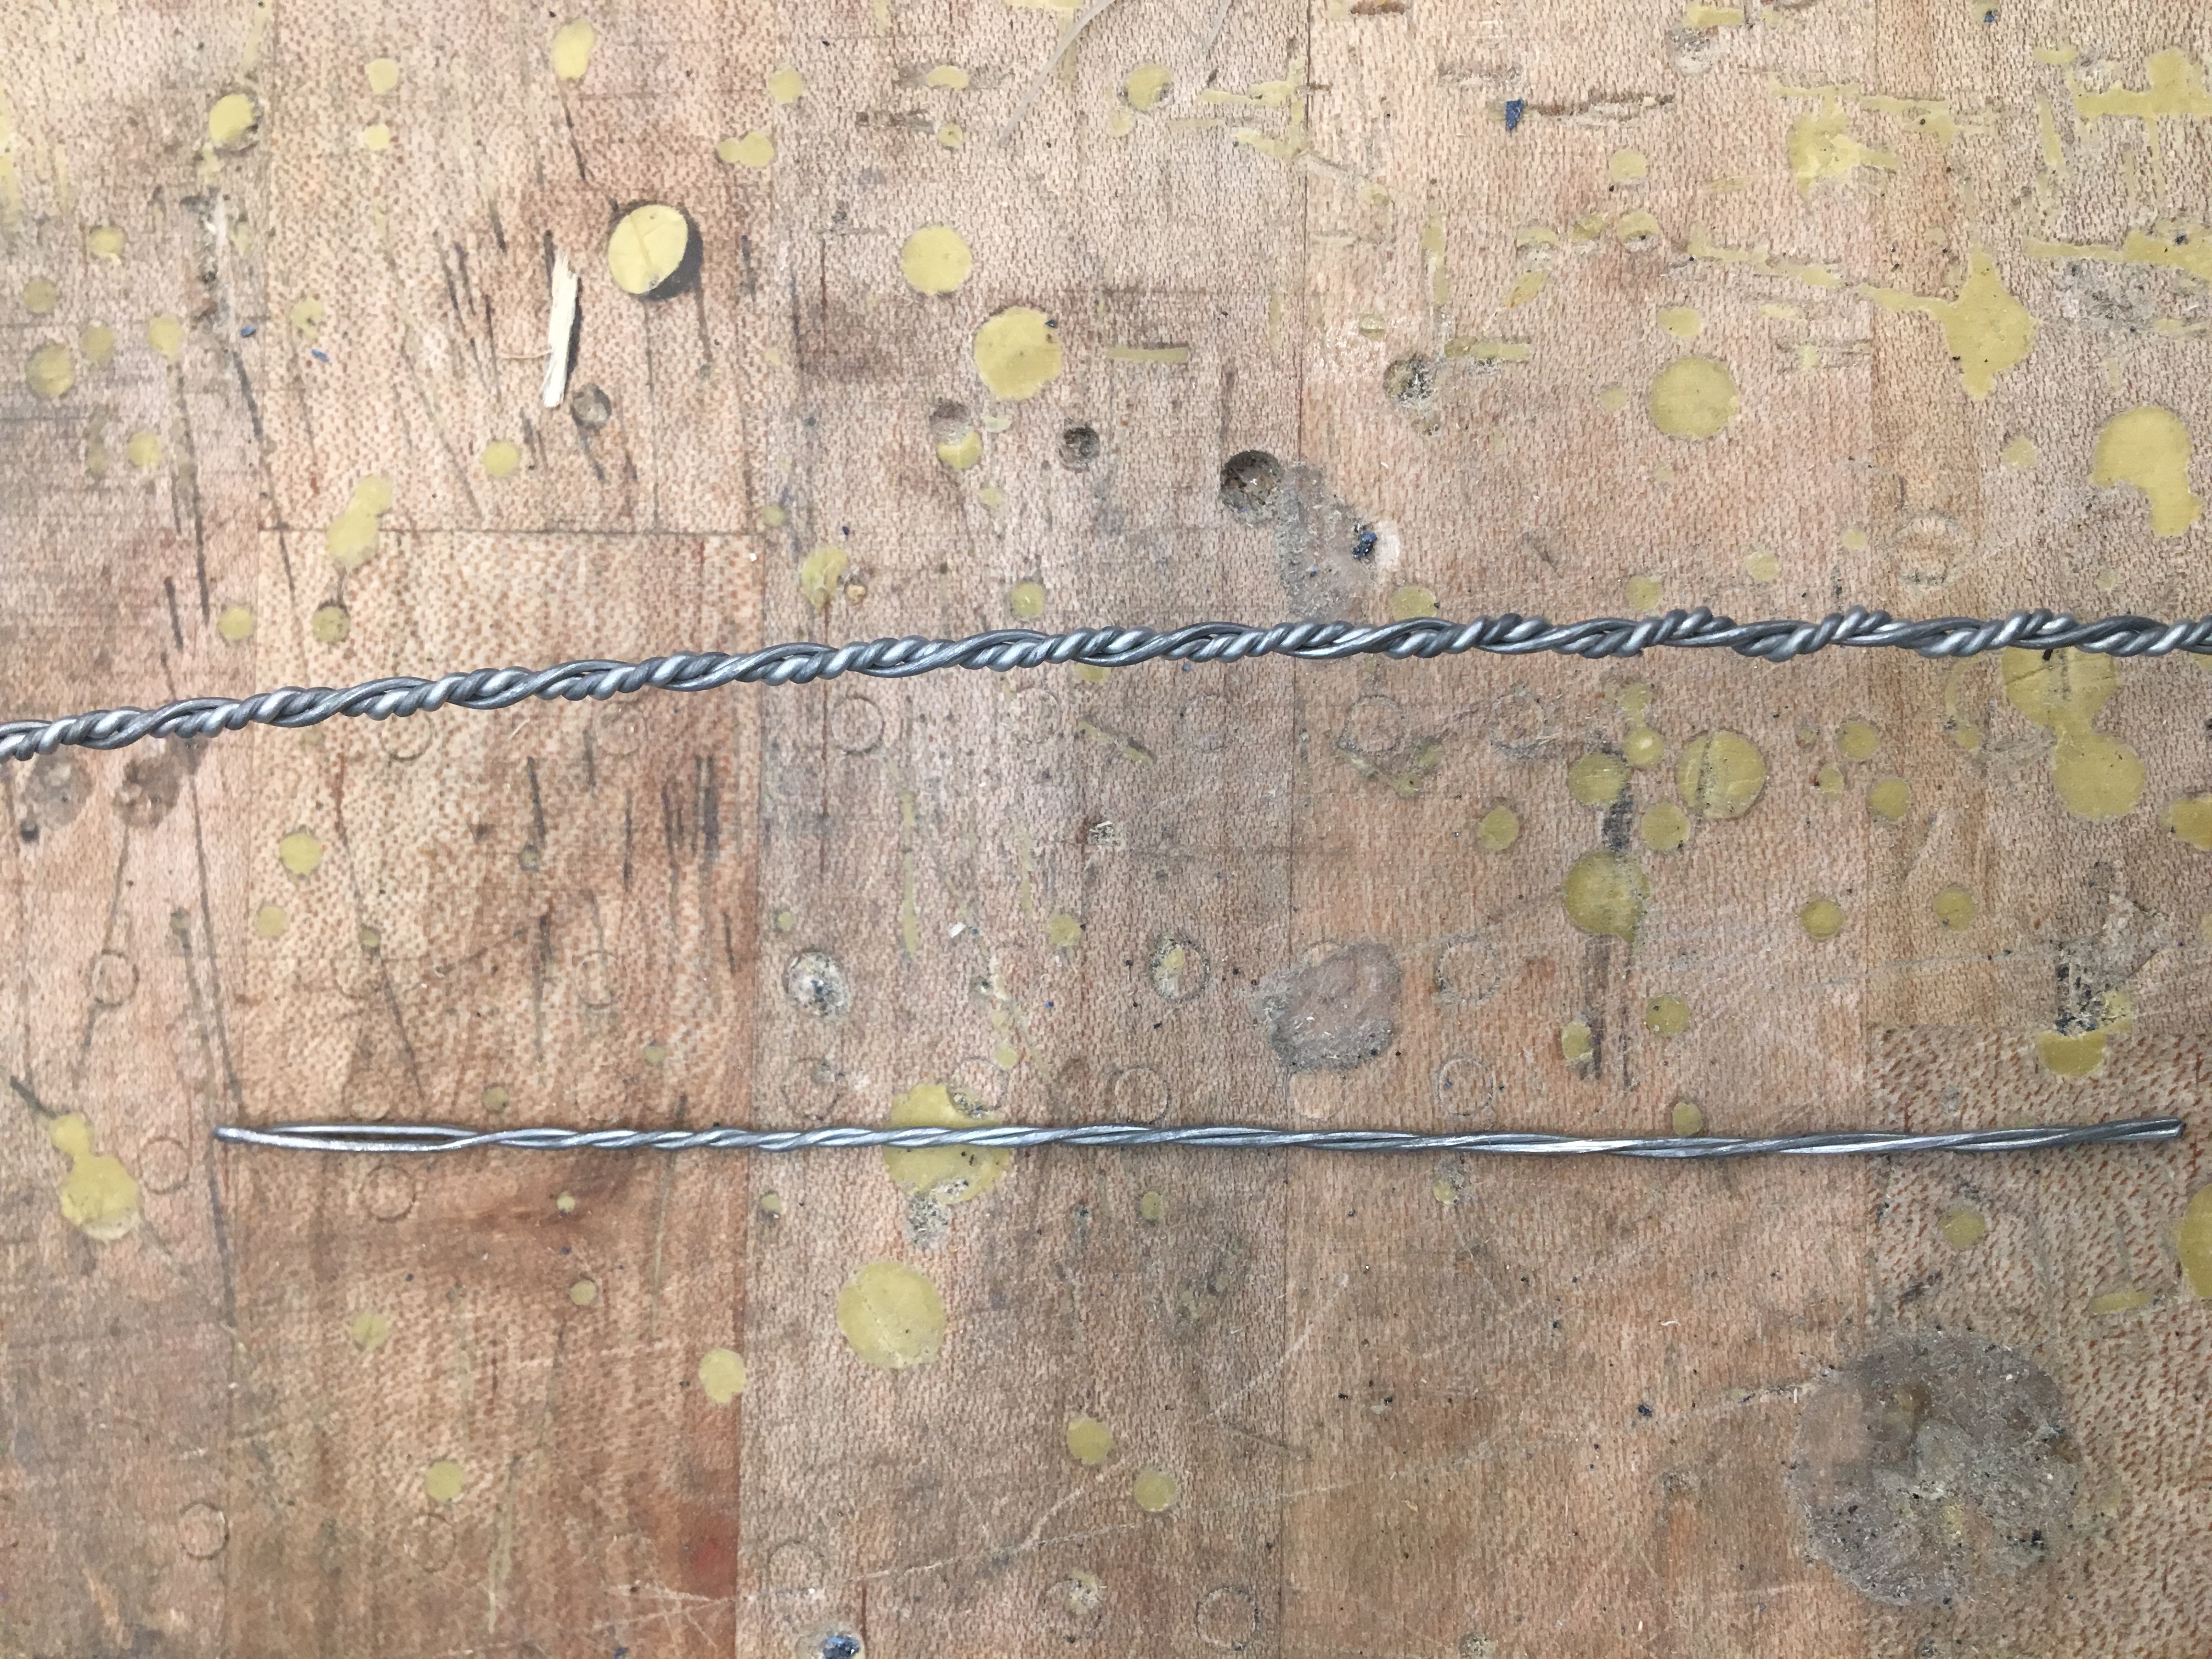
What I found difficult was the assembling of the final model. Building the mobile with plexiglass was completely different from building it with cardboard. Plexiglass was a much denser material and had much greater mass than cardboard, and whilst building the mobile, the wire became too weak and thin to hold the larger shapes in place. Thus, I used wires of multiple thickness through twisting wires using a drill and replaced some of the thin wires with these twisted wires. However, the largest shape was still too heavy and the wires could not hold it in place. Therefore, I had to rewind the wire using the third strand of stainless wire which made made the wire irregular.

What I found out after building the mobile was that once the shapes were all balanced and in position, the length of each side of the wire was in sync with the golden ratio. Also, the movement of each mobile segments were most fluid and in sync when each part was complying with the rule of the golden ratio.
As it was my first time using plexiglass and the first time using wires as the main part of the sculpture, I found it difficult to get used to handling the materials. However with multiple practices and trials, I was able to use use the materials in the form I wanted with relative execution.
This project was undoubtedly one of the more difficult projects with multiple obstacles which set limitations to the assembling of the mobile. However, whilst it was the most demanding project, I did learn one of the most important aspect of designing which is to use the golden ratio; and the golden ratio appears naturally without having to force it if your design is good. If I have a chance to redo this project, I would use more swivels and use a wire using dense metal to prevent having to twist the wires to create thicker wire to hold the mobile shapes in place.
For this project I used $4 which was used to purchase the colored plexiglass, and the remaining plexiglass was recycled plexiglass i got from my friend who took Space Materiality in the previous semester or from the scrap box in the laser lab. I feel like this project was limited in being a sustainable project, as we needed to use plexiglass that was not sustainably sourced or from recycled plastic. However, if we use remaining plastic scraps found around school, we could make this project more sustainable.
Parabolic Curve
Space and Materiality
Serin Hwang
Spring 2018
Parabolic Curve Final Construction
Prof. Derek Haffar
Parabolic Curve Construction project was an interesting project which incorporated mathematical concept with an artistic construct. A parabolic curve appears when multiple points are at an equal distance from a fixed point and a fixed straight line. These consecutive straight lines form a curve which we often times see in nature; bird’s nest rotating liquid, etc.
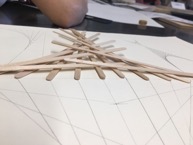
I first began unpacking this project by doing multiple exercises of drawing parabolic curves in different forms to understand the characteristics and properties of a parabolic curve better. Once I was more comfortable with drawing the parabolic curve, I began designing the curve for a 3D model, exploring different ways of making the curves via changing and varying the axis and increasing and decreasing the axis interception points. These designs were then tested out using coffee stirring wooden sticks in order for me to get a sense of how they will look three dimensionally. These designs were rejected and altered accordingly until I chose a design that I felt strongly about.

The design I was originally going to create a 3D parabolic curve was a complex parabolic curve system which consisted of three different parabolic curves that were intertwined with one another. Due to the thickness of the coffee stirring sticks, I used thinly cut cardboard paper and staples to create the first draft parabolic curve model. However, the design did not turn out as I had anticipated, and the design seemed overdone and overly complicated. The feedback I got on my model allowed me to change my design completely and pursuit a more minimalistic and calm design which only consisted of one parabolic curve.

Choosing the type of wood was rather simple, as the types of wood left for scrap was limited. The wood I chose was plywood, as I liked the layers of thin wood that showed on both sides of the wooden stick when cut, which would enhance the design of my parabolic curve. Since it was my first time working in the wood lab and use the machines located in the lab workspace, I had difficulty cutting even strips of wood at first. However, upon multiple trials, I was finally able to cut strips of wood with even width. The first assemblage of the wooden pieces seemed like a success, however, the model felt a little rigid and stiff which contrasted with the picture I had in mind when designing this model. When designing this curve, I imagined it to be a large sculpture located in a large open landscape which would create a feeling of movement of the wind and fading of the sculpture with the wind. However, the model did not communicate the anticipated effect which was due to the straight cut plywood sticks, and I decided to cut one end of the sticks diagonally.

Disassembling the model was easy, as the wooden pieces were assembled using mechanical work, not adhesives. When I was first told that adhesives were not allowed due to multiple reasons (i.e. hard to disassemble when mistakes were made, creates a mess, does not dry on time, etc) I still believed that using adhesives still provided more benefits than disadvantages and questioned the professor’s purpose. I also thought that I would not be one of those many people who would alter the model once it had been assembled, as I did not doubt my designs. However, alterations had to be made after my first assemblage in order to create a better piece of work, and this was thankfully not a difficult task. Using mechanical methods to hold wood together requires more thinking, effort and time, and although I still believe in the advantages of using adhesives, I now know that there are more disadvantages of using adhesives, and the fun I had with finding a working method to keep my sculpture together without the use of glue.

I believe that there have been mistakes made during the process of making this sculpture, such as the sculpture not staying in position because of the thin dowels, however, I overcame this problem. I also believe that using a toothpick as my dowels was still the right choice to make regardless of the slight shifting it makes on my sculpture, as the thinness and color of the toothpick matched the overall color of the plywood used for the main body of sculpture.


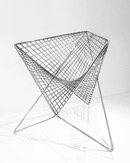
Due to its minimalistic yet beautiful construction, parabolic curves can be applied in various real life designs. Examples include stairs design, chair designs, chandelier designs, clock designs, and countless more.


The amount spent on this project was US$ 0.00. This was possible because the materials used throughout this project was recycled resources I found. The cardboard used for testing out my earlier designs were from a cereal box, and the wood I used for the final model was constructed using scrap wood from the Parsons Making Center. Finally, the dowels I used (toothpicks) were from Chipotle. When I was first introduced to the $20 challenge, I knew it would be a possible challenge, however, I did not know that I could complete a single bridge project without using any money.