My next steps in completing this project were to finalize the design, order or go find the parts and to build my Infinity Clock.
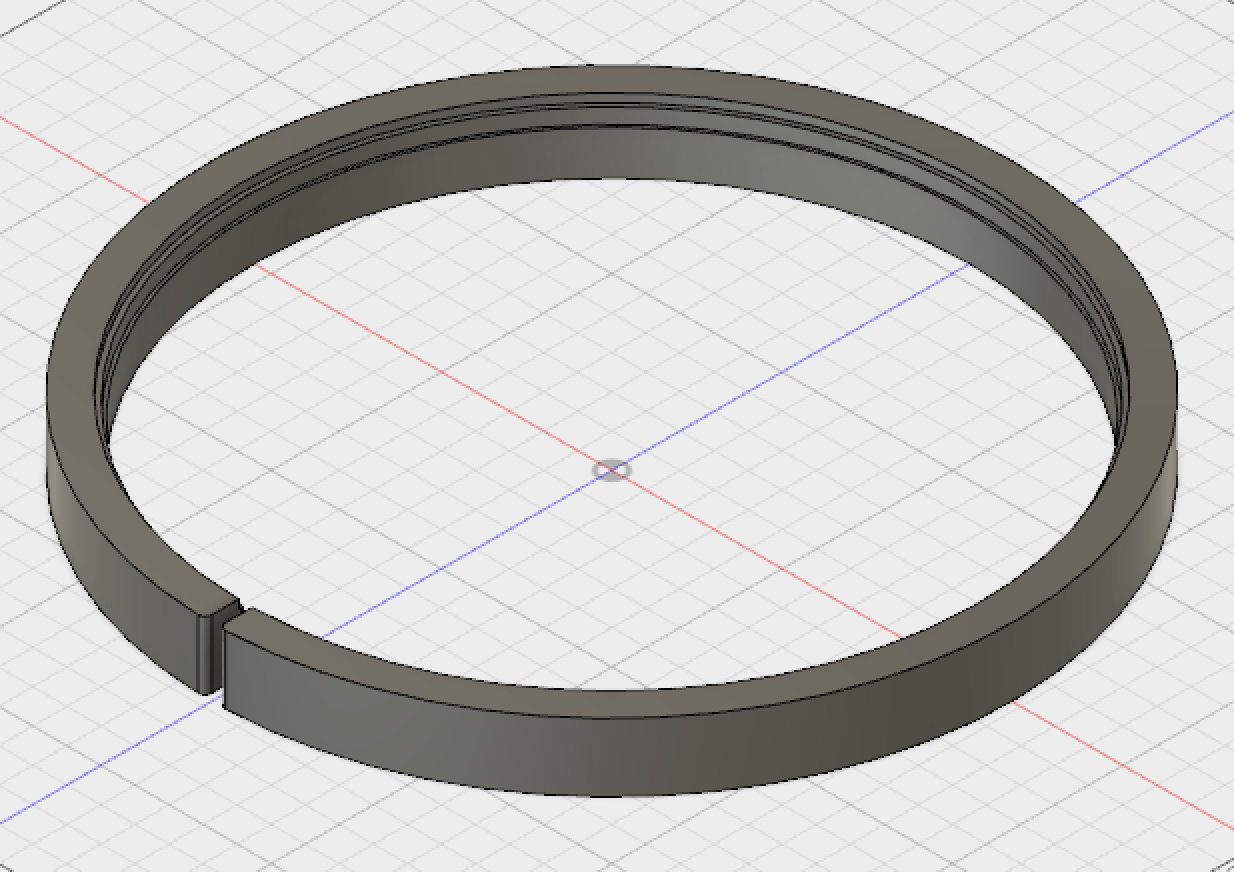
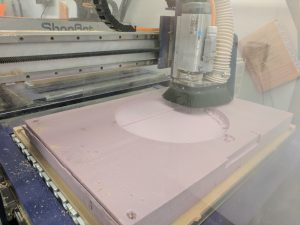
I started by designing the piece that would separate the two pieces of class and act as the body of the clock. I used Fusion 360 to 3d model it and then used the CNC to cut it out of foam.
I ended up spending 5 hours at the CNC shop because the machine I was using cut too deep on one of my cuts and I had to redo my file at least 4 times. It was truly a learning experience…
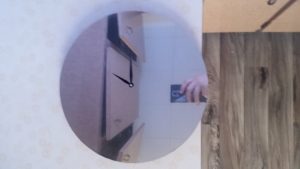
The next step was to laser cut my acrylic circles that would act as mirrors. The laser cutting process isn’t very exciting so I forgot to take photos. After cutting the circles I had to apply the mirror film. This turned out to be more difficult that I had thought it would be. Even in my finished product I still have minor bubbles and creases in the film.
I also drilled the hole and inserted the clock into the mirror. The plexiglass is a little too thick for my clock element and I ended up somehow breaking off the second hand and the clock stopped working but I had no more budget for the project so I had to make it work, even if its just for looks.
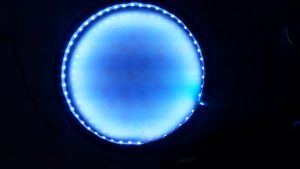
I then assembled the light system. I had to stick the LED strip to the inside of the foam Piece I had since covered with duct tape to make it black. This made a pretty cool looking ring of lights.
(I also lost my phone this weekend so I used my old phone’s camera which has as many megapixels as a potato.)
Then all I had to do was put the clock all together. I dis so and I think the final prototype looks pretty good. Keep in mind that this is a product that if done professionally would take weeks to make and would be made on a much larger budget. The photos and video of the final clock will be posted on my final post on this project.
Final Post: https://portfolio.newschool.edu/wblp/2017/05/07/infinite-time-final-project/
