Joinery Exercise:
Miter Joint: 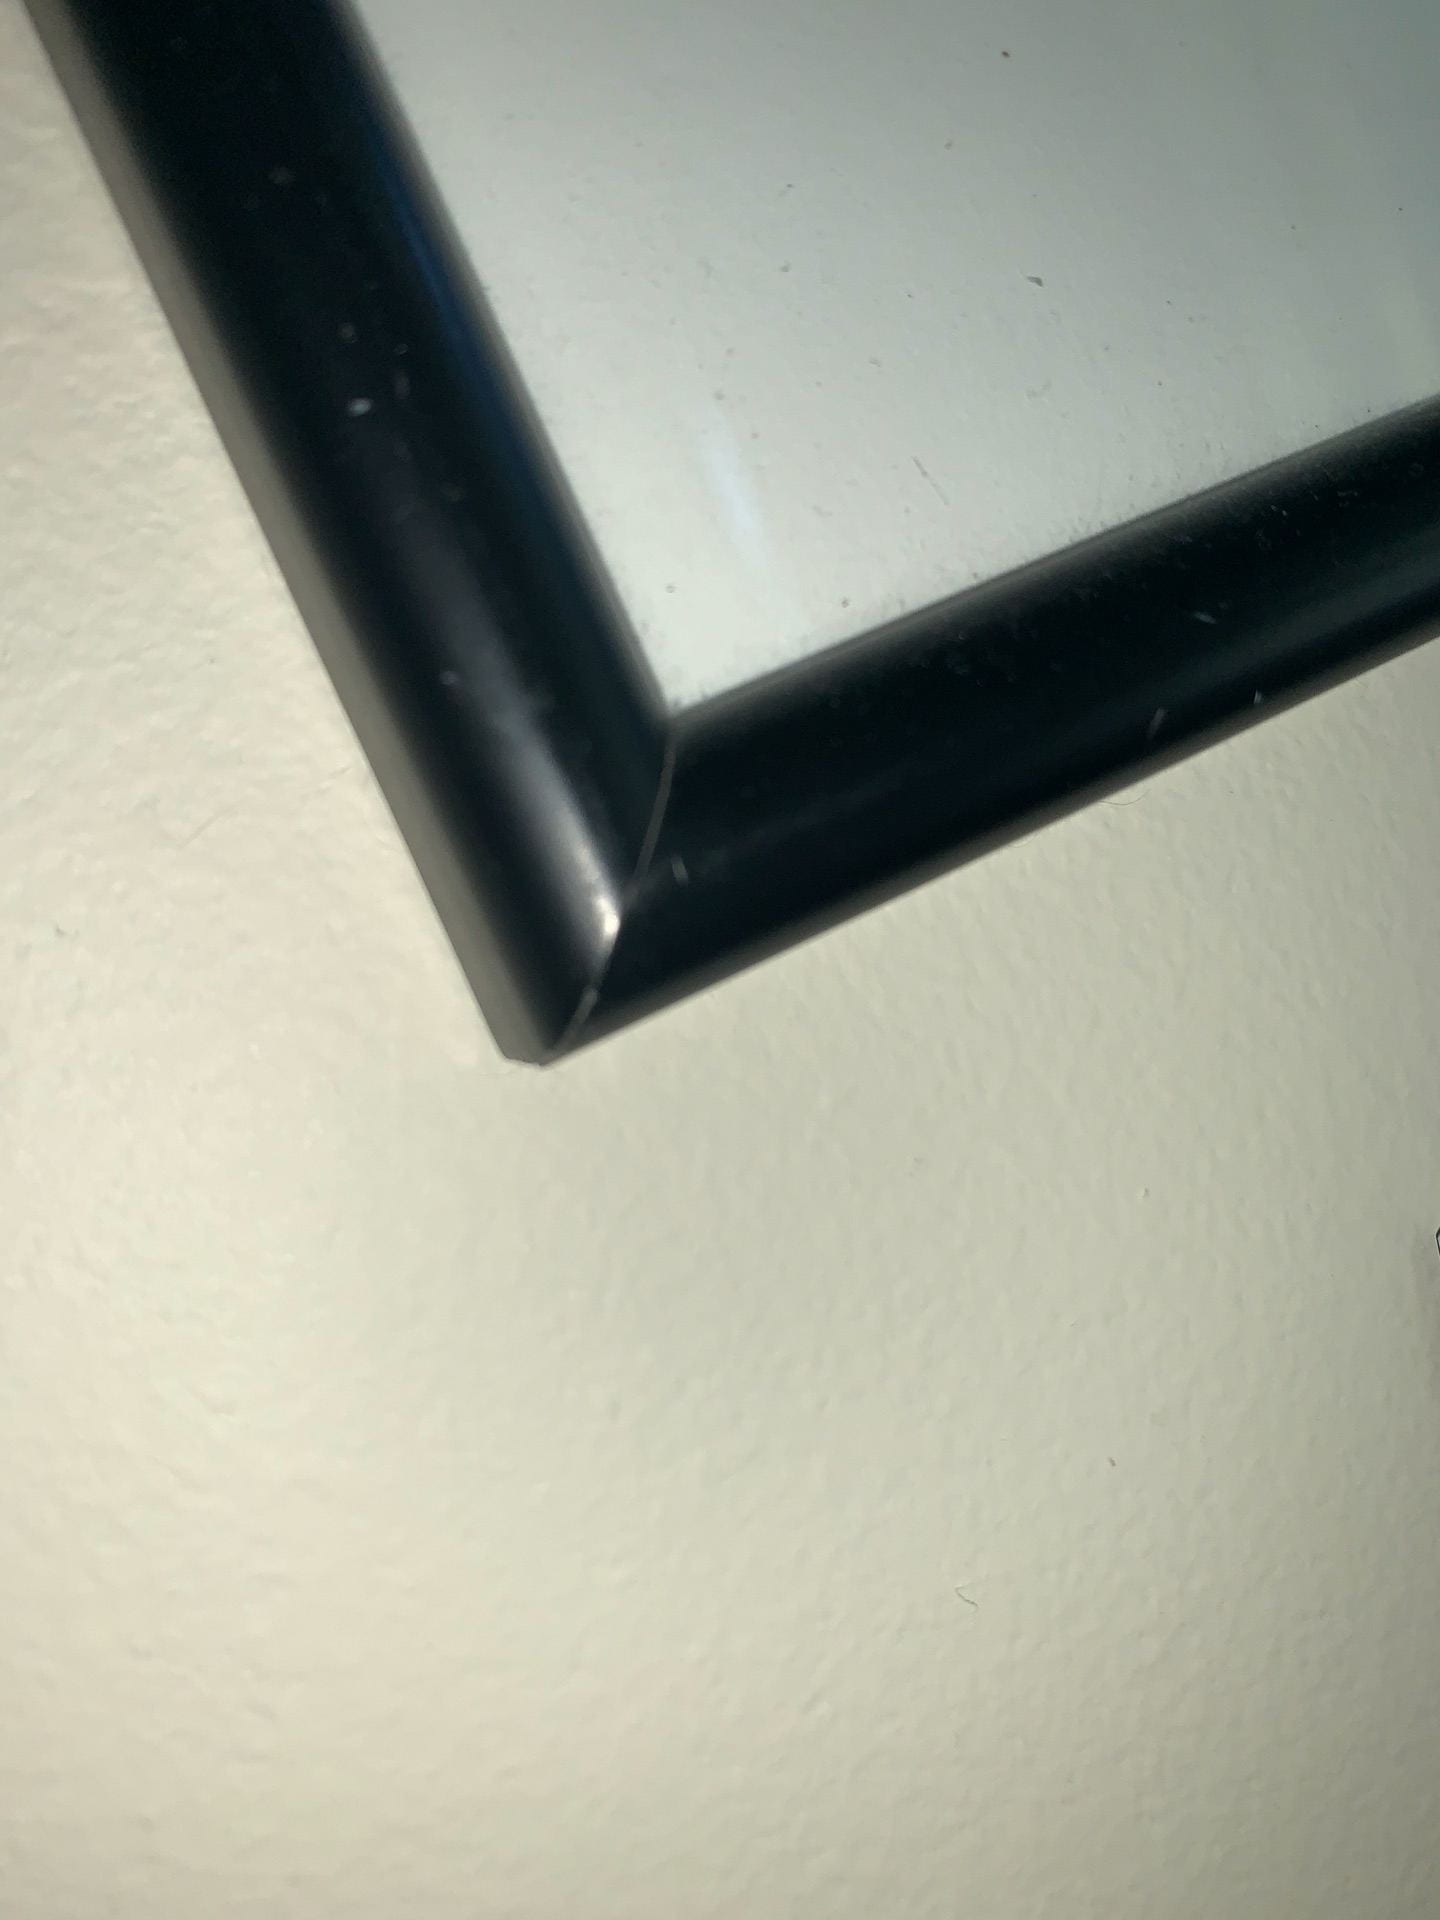
Orthographic Drawings: 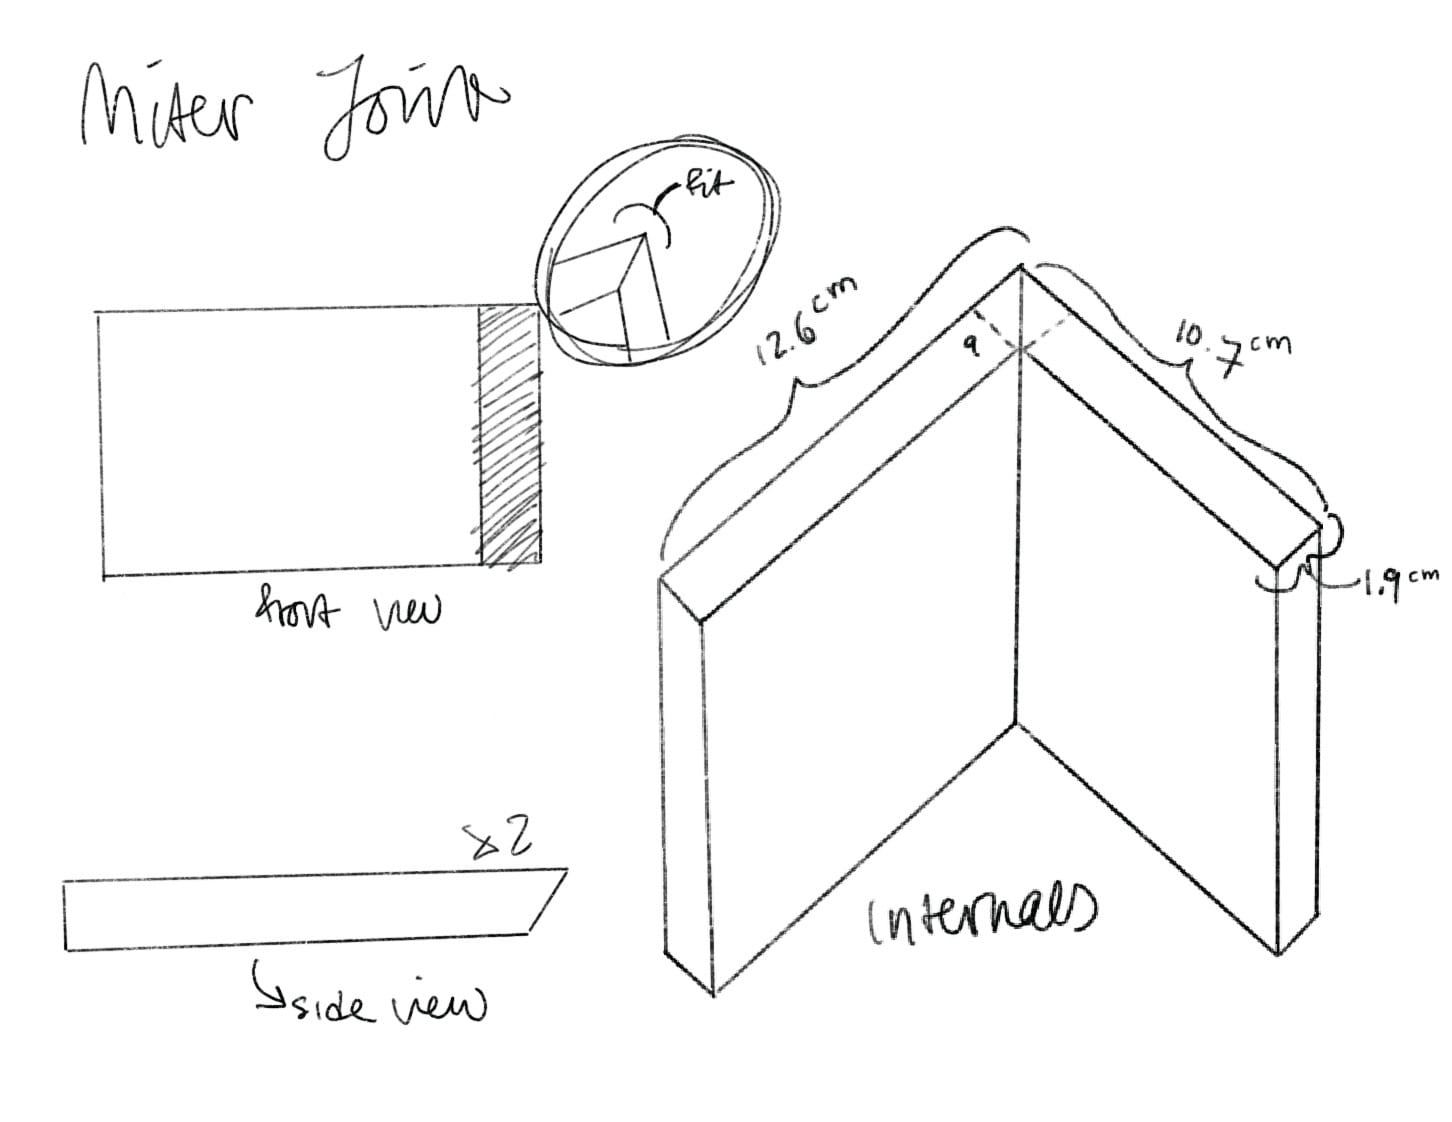
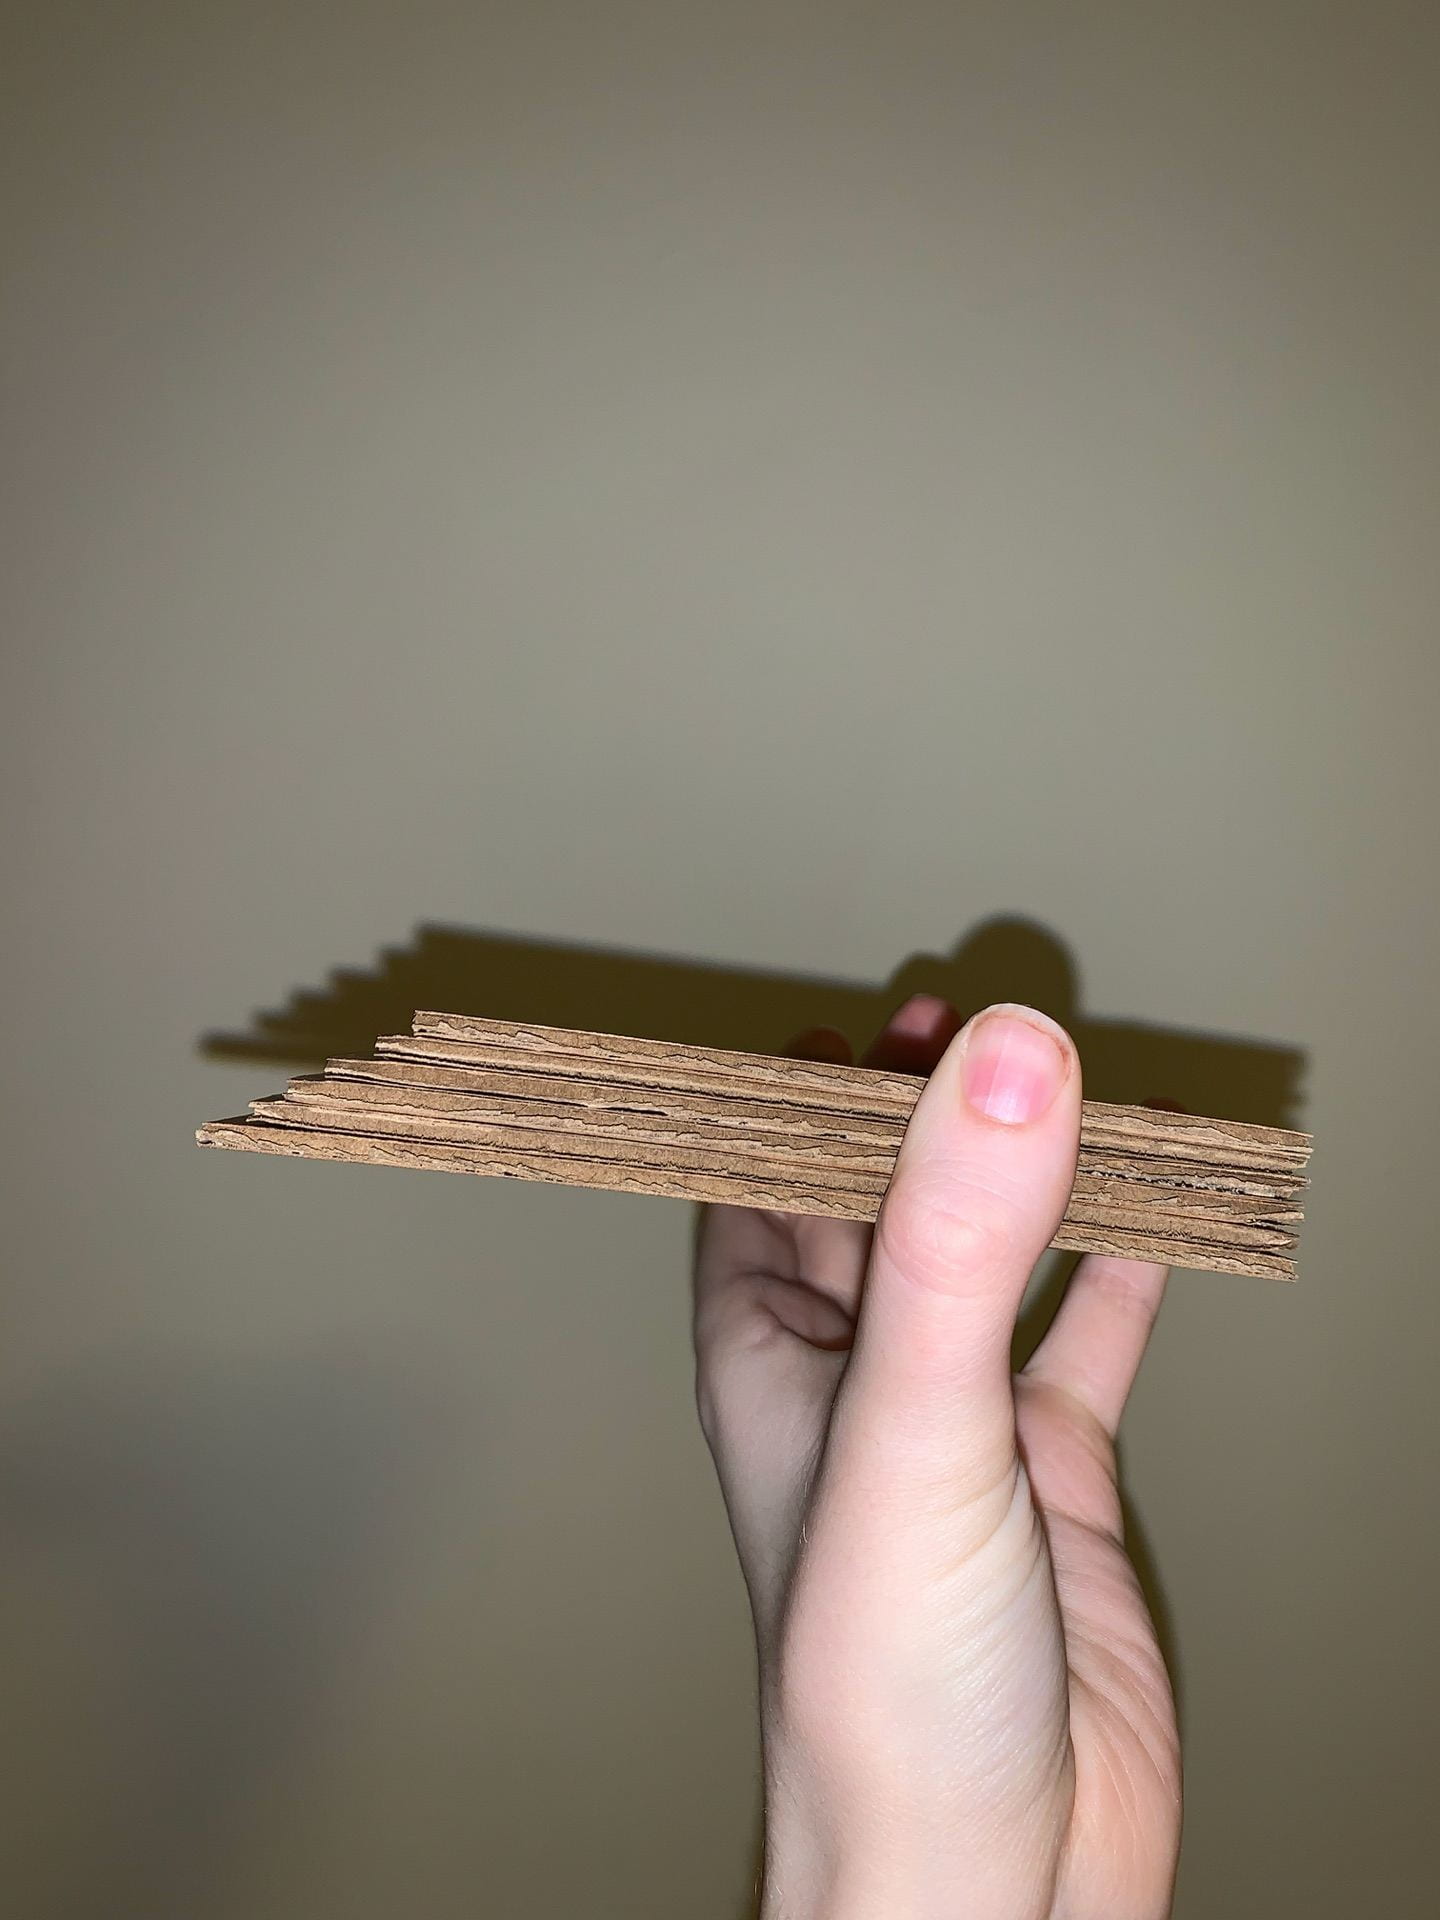
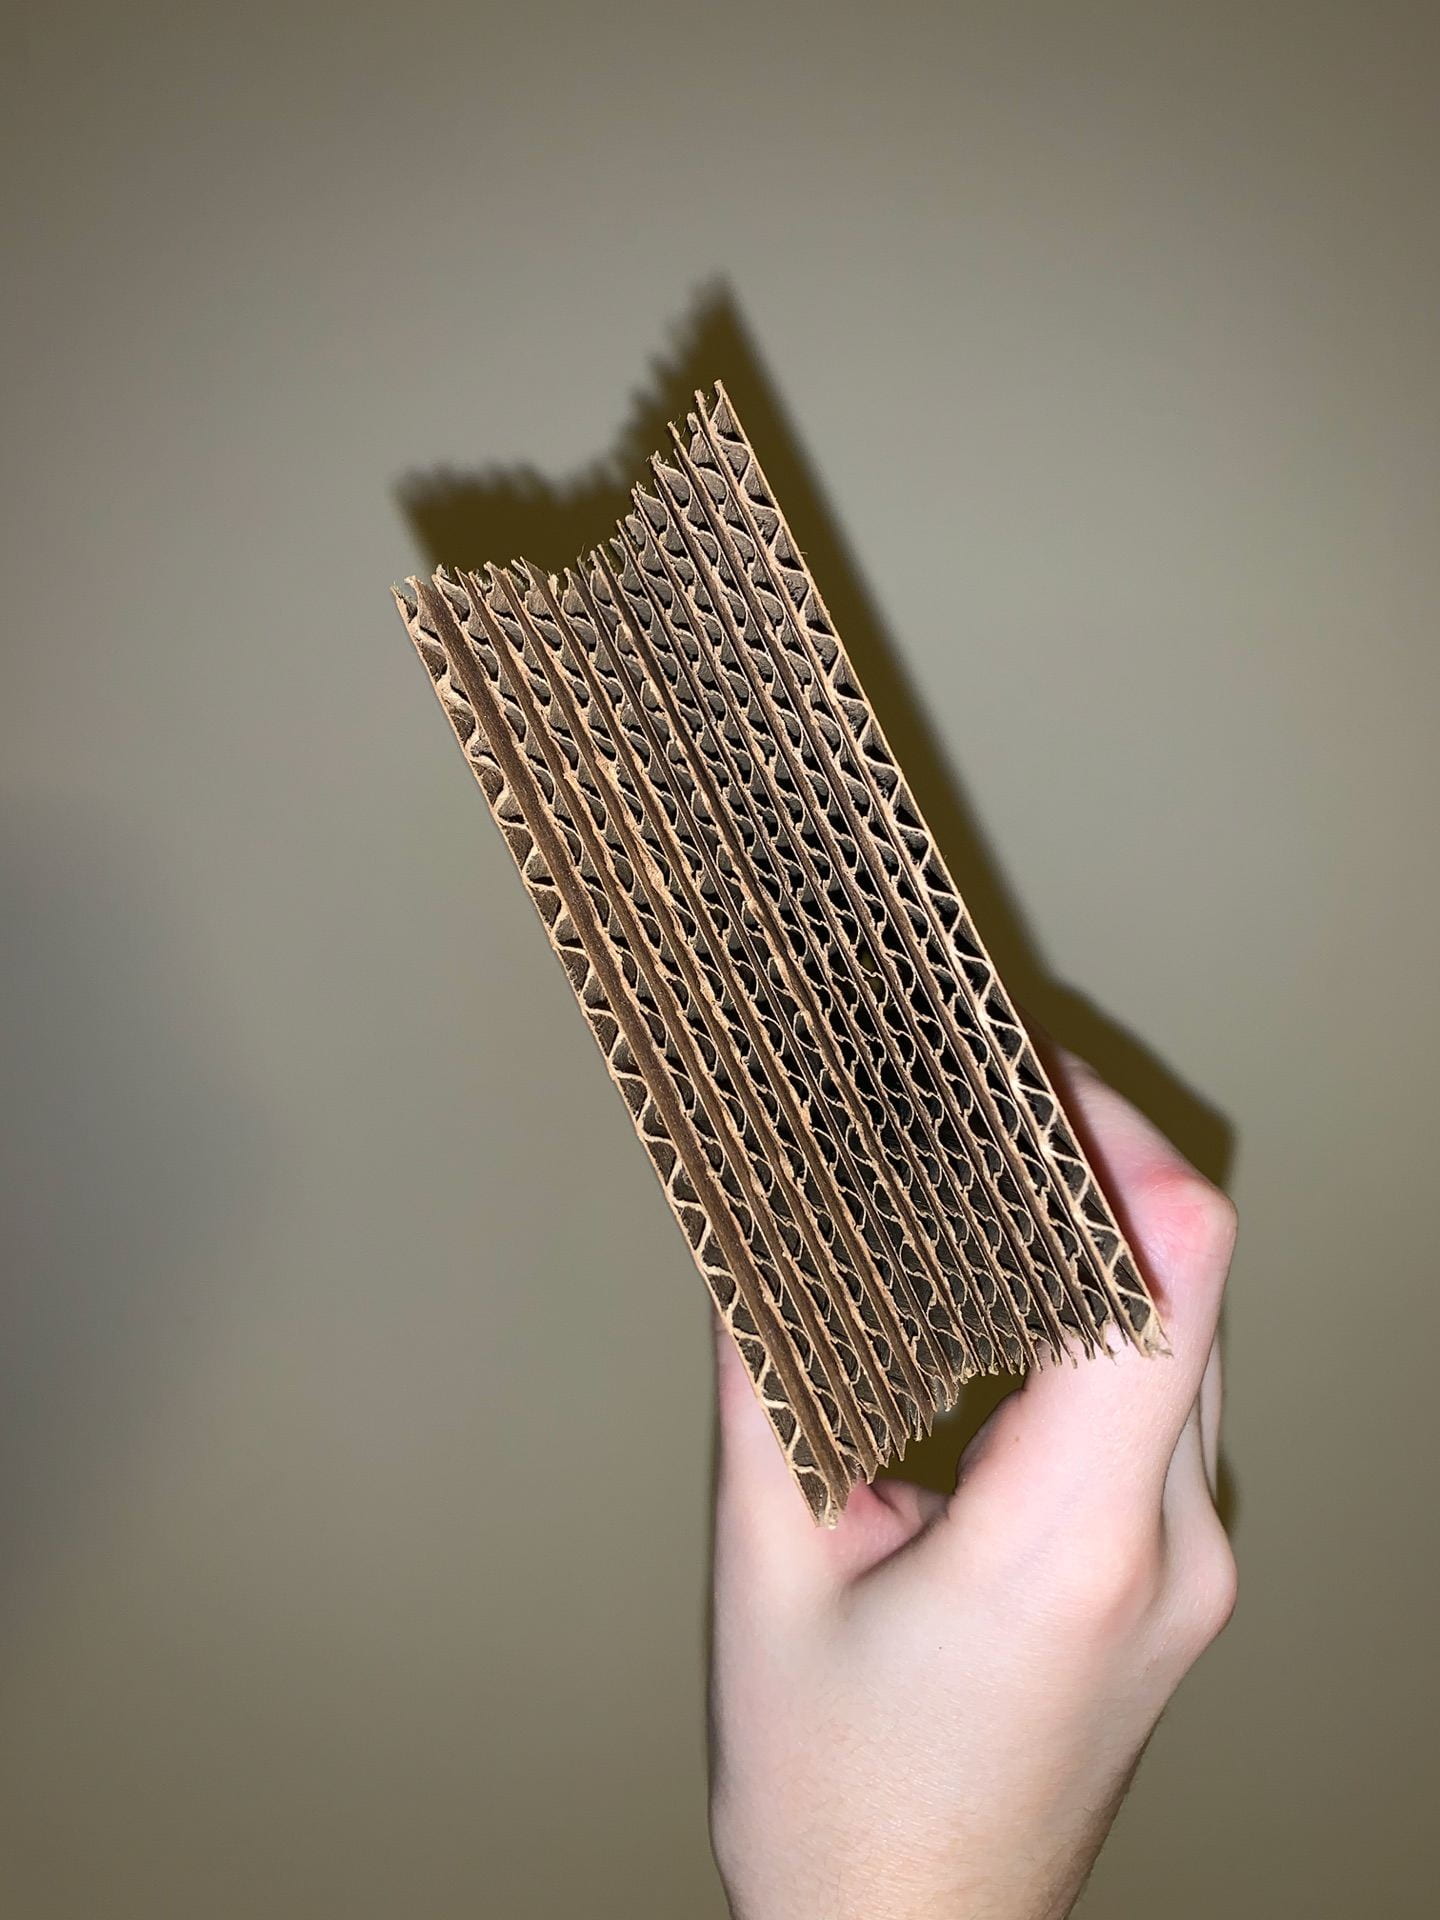
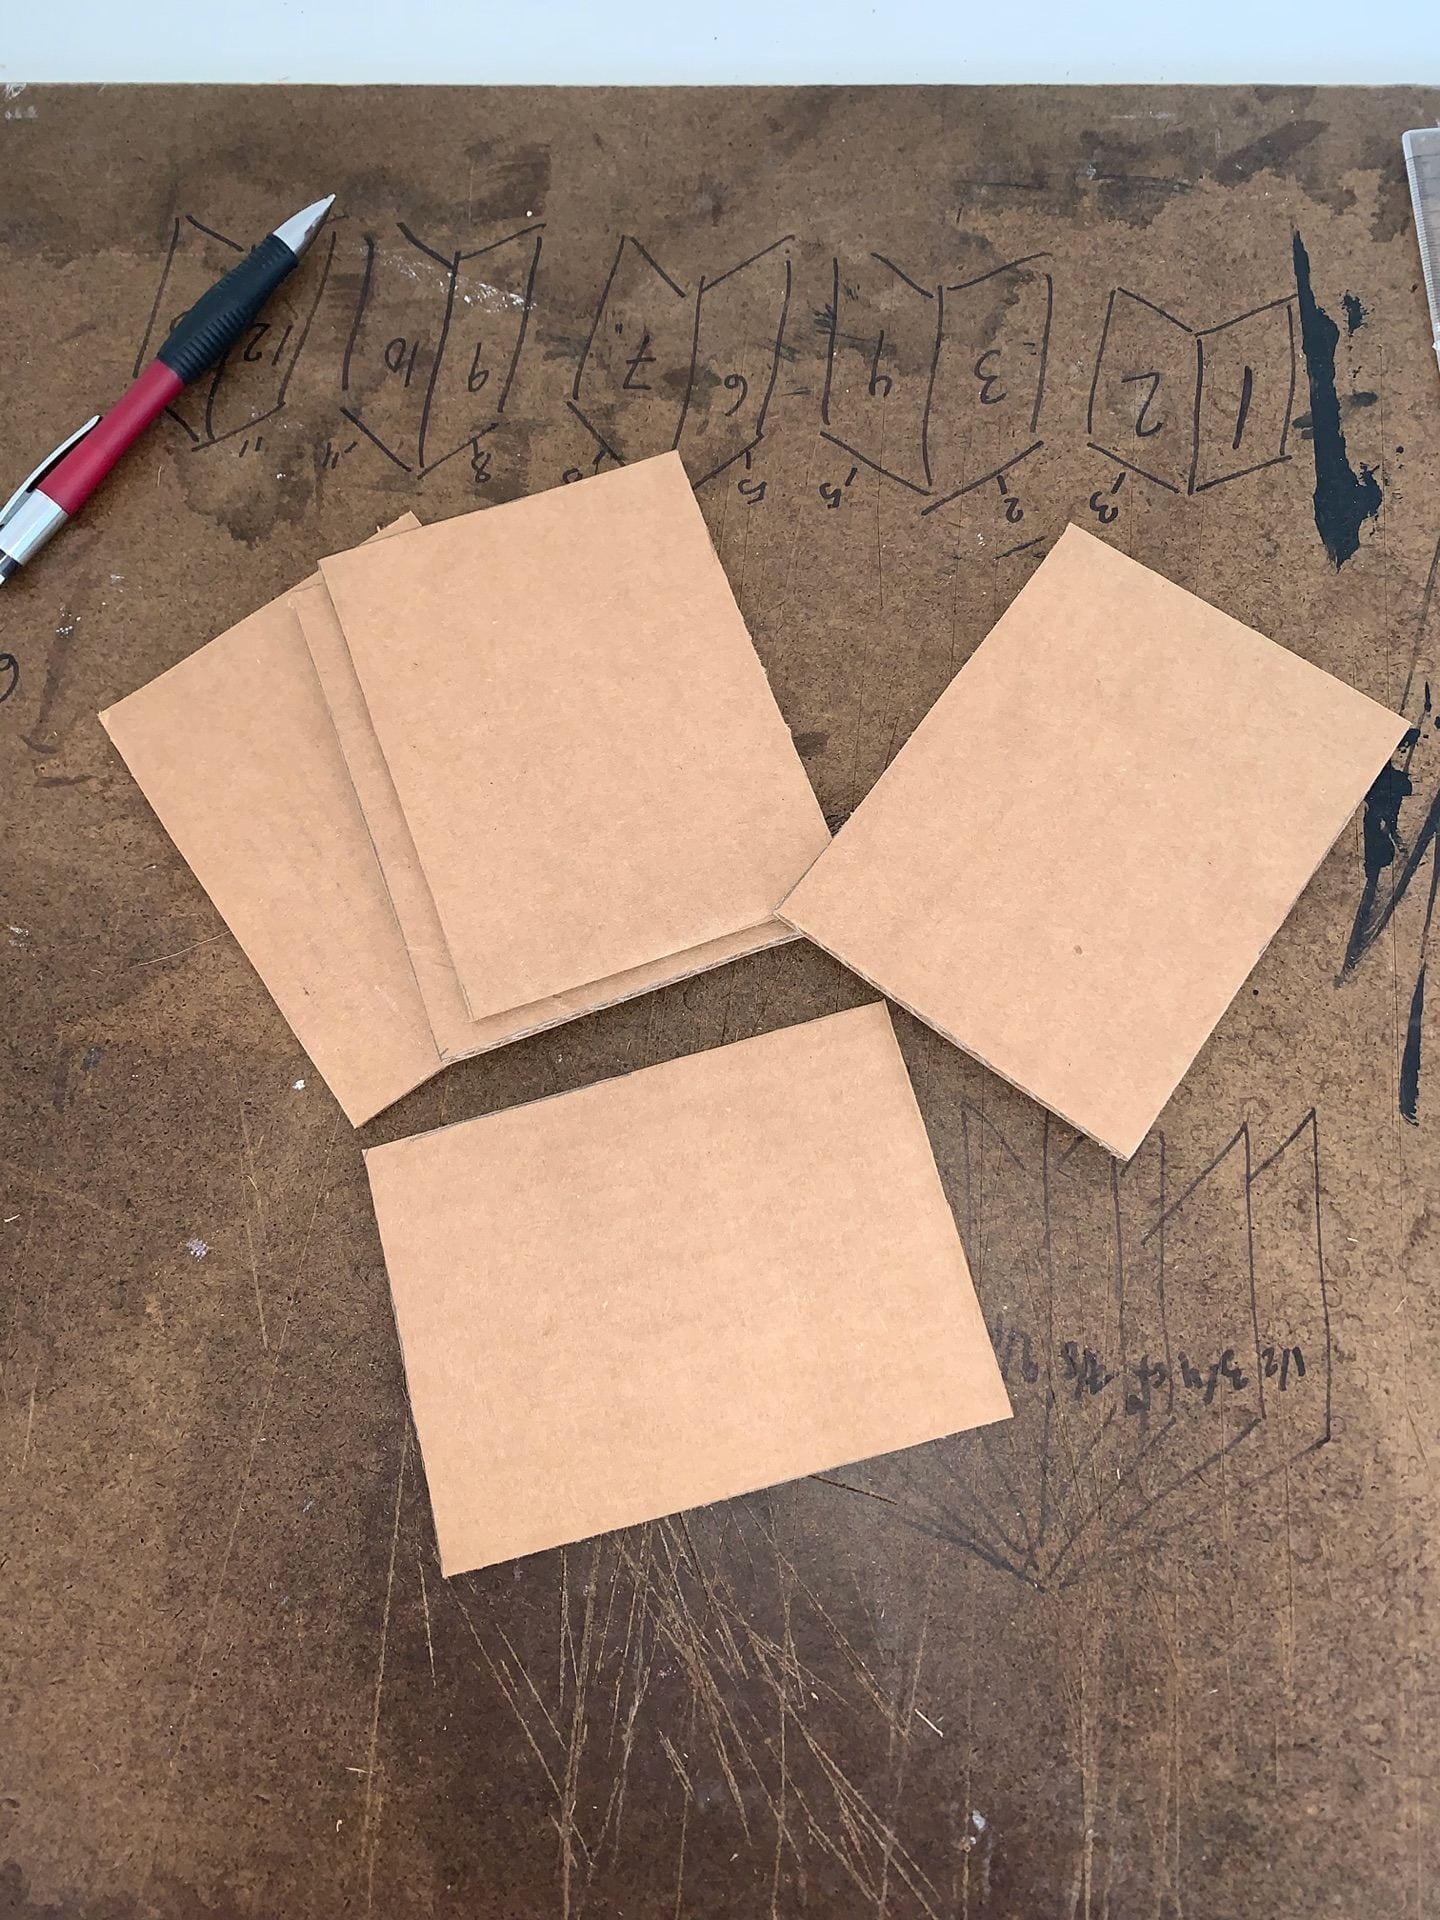
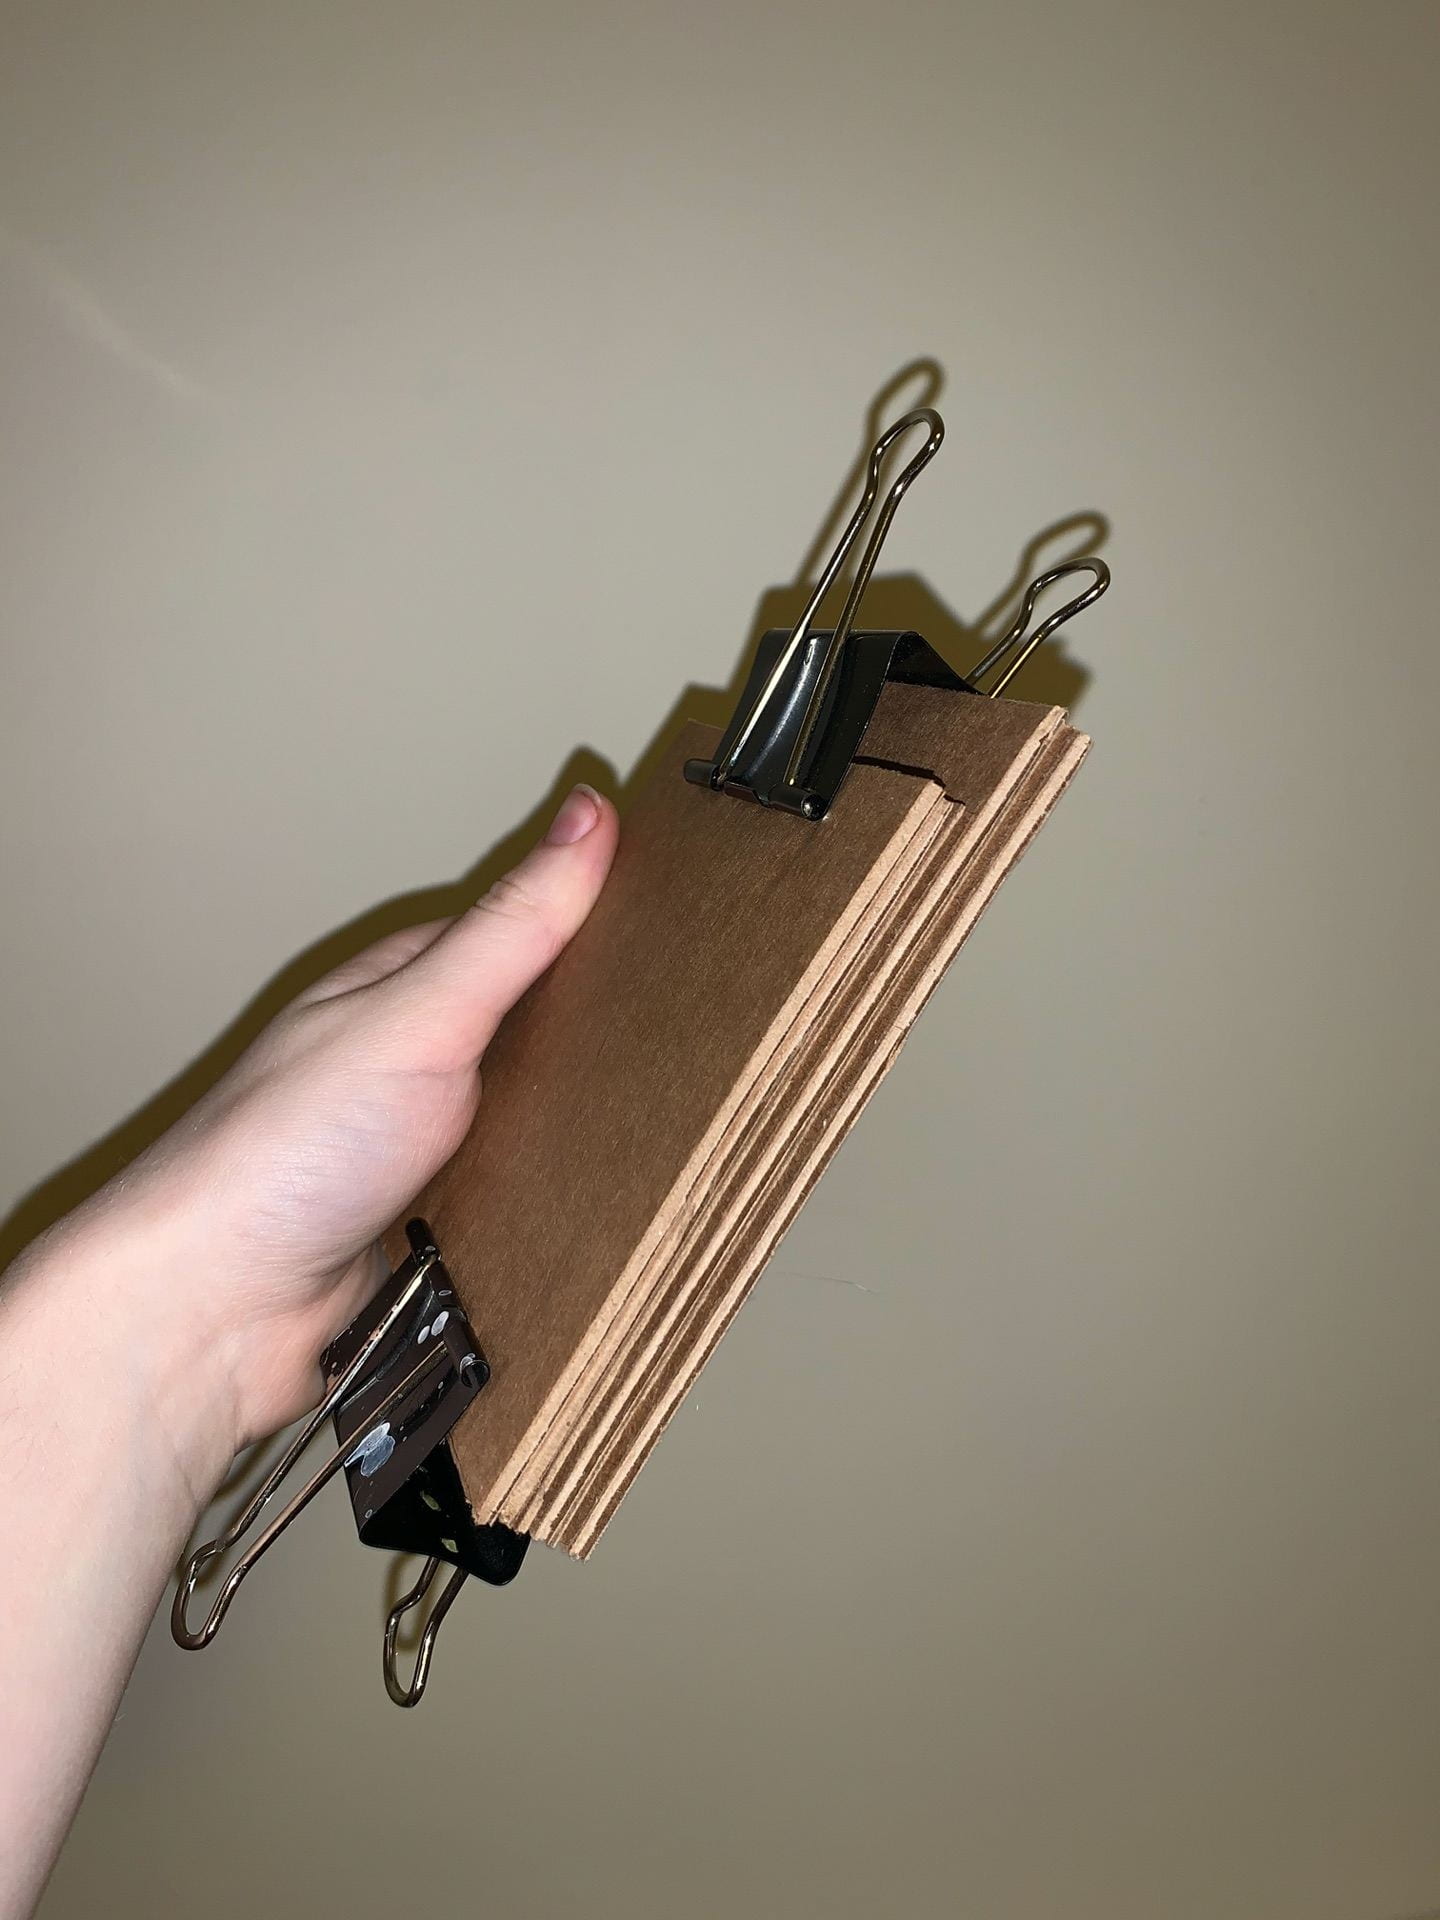
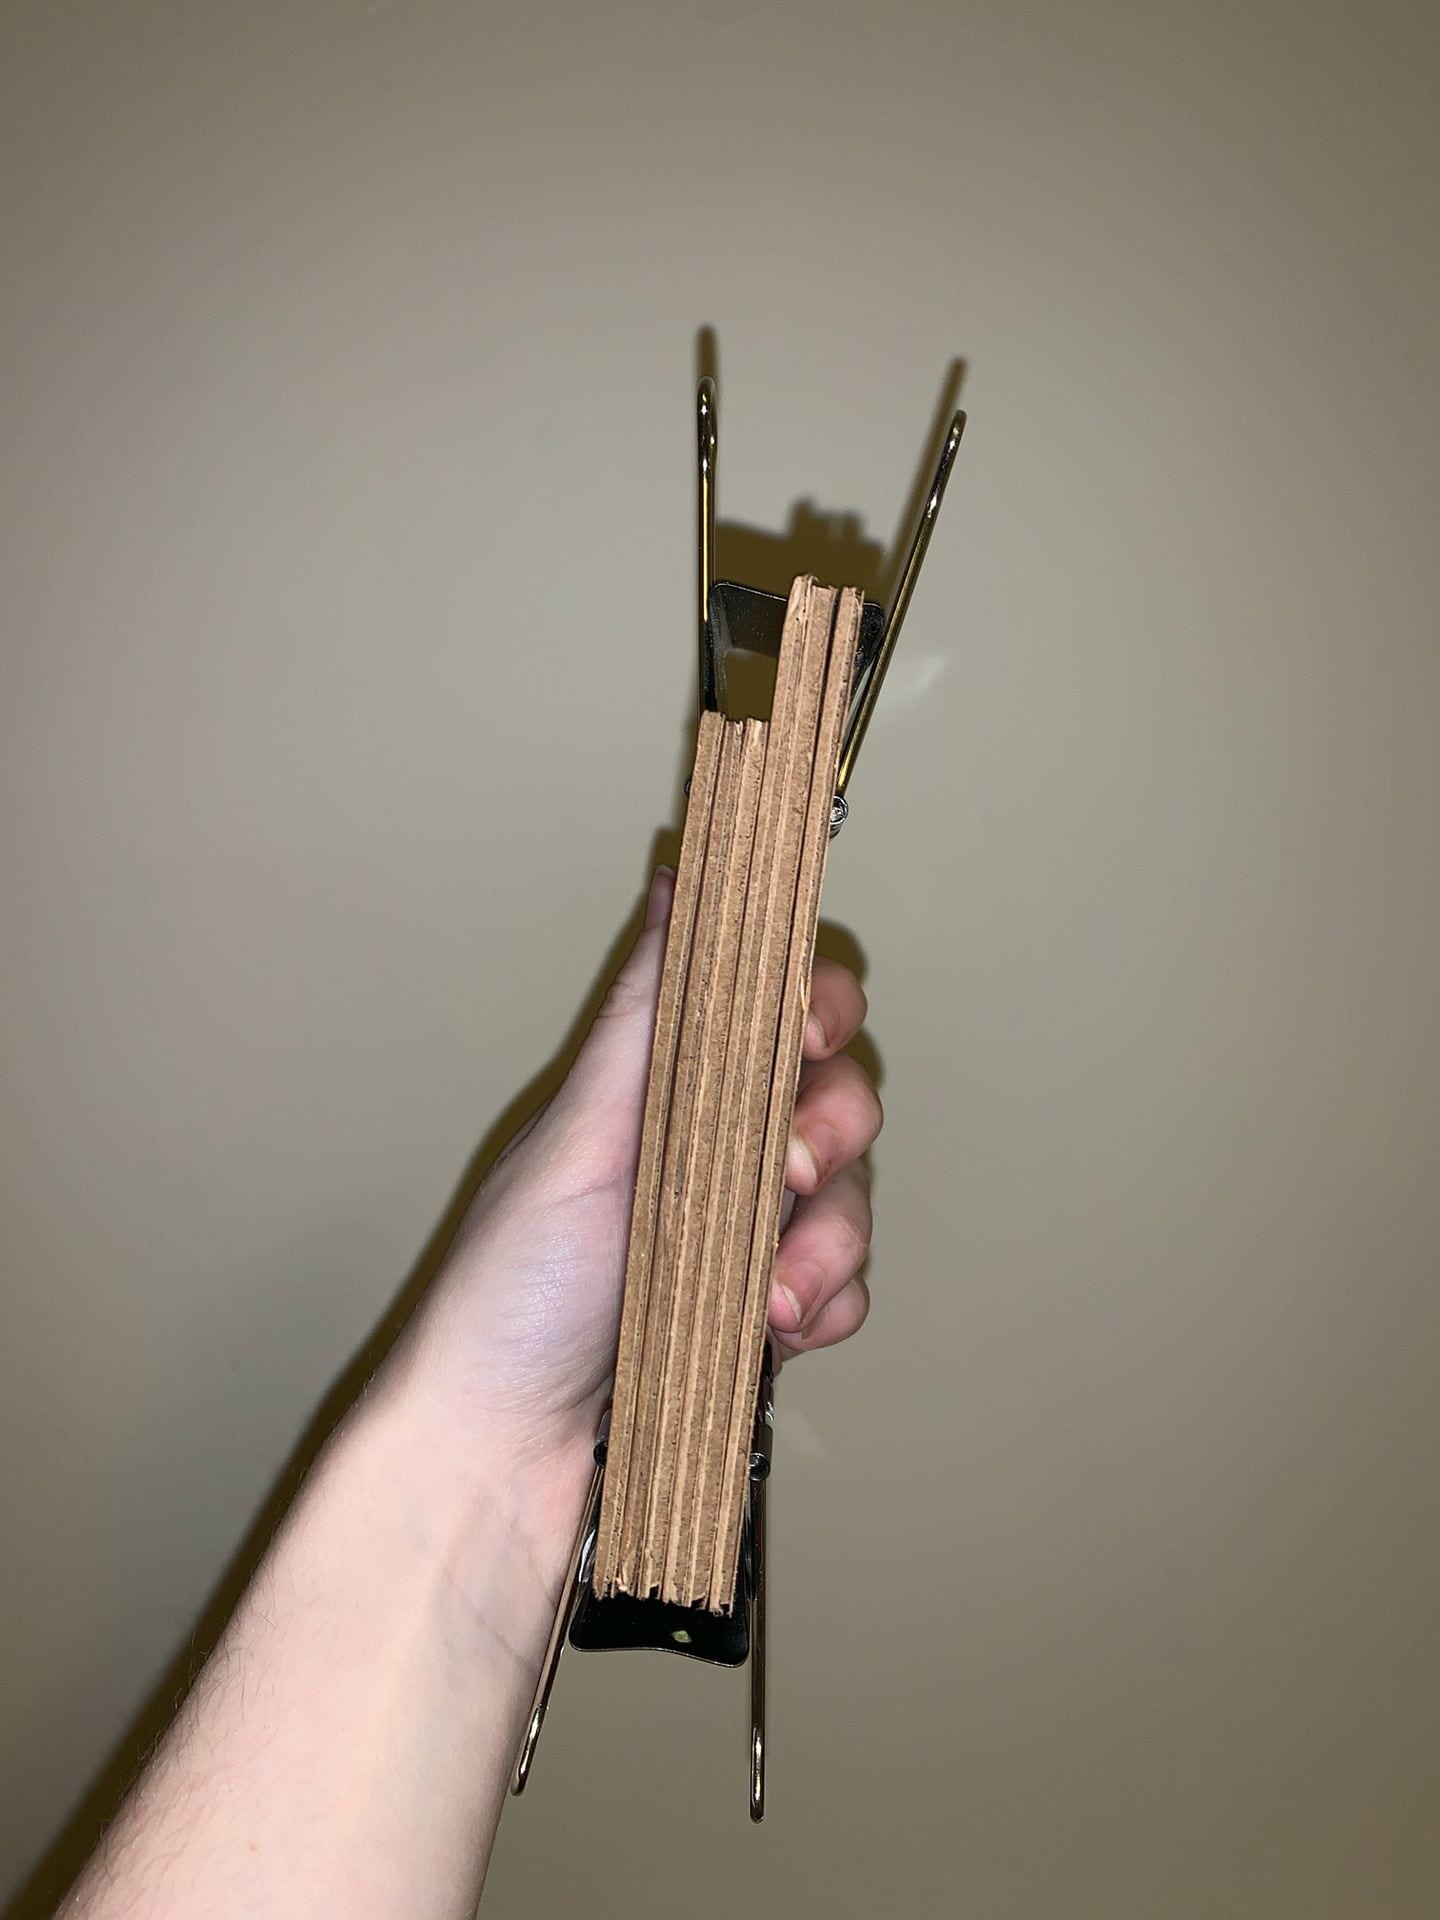
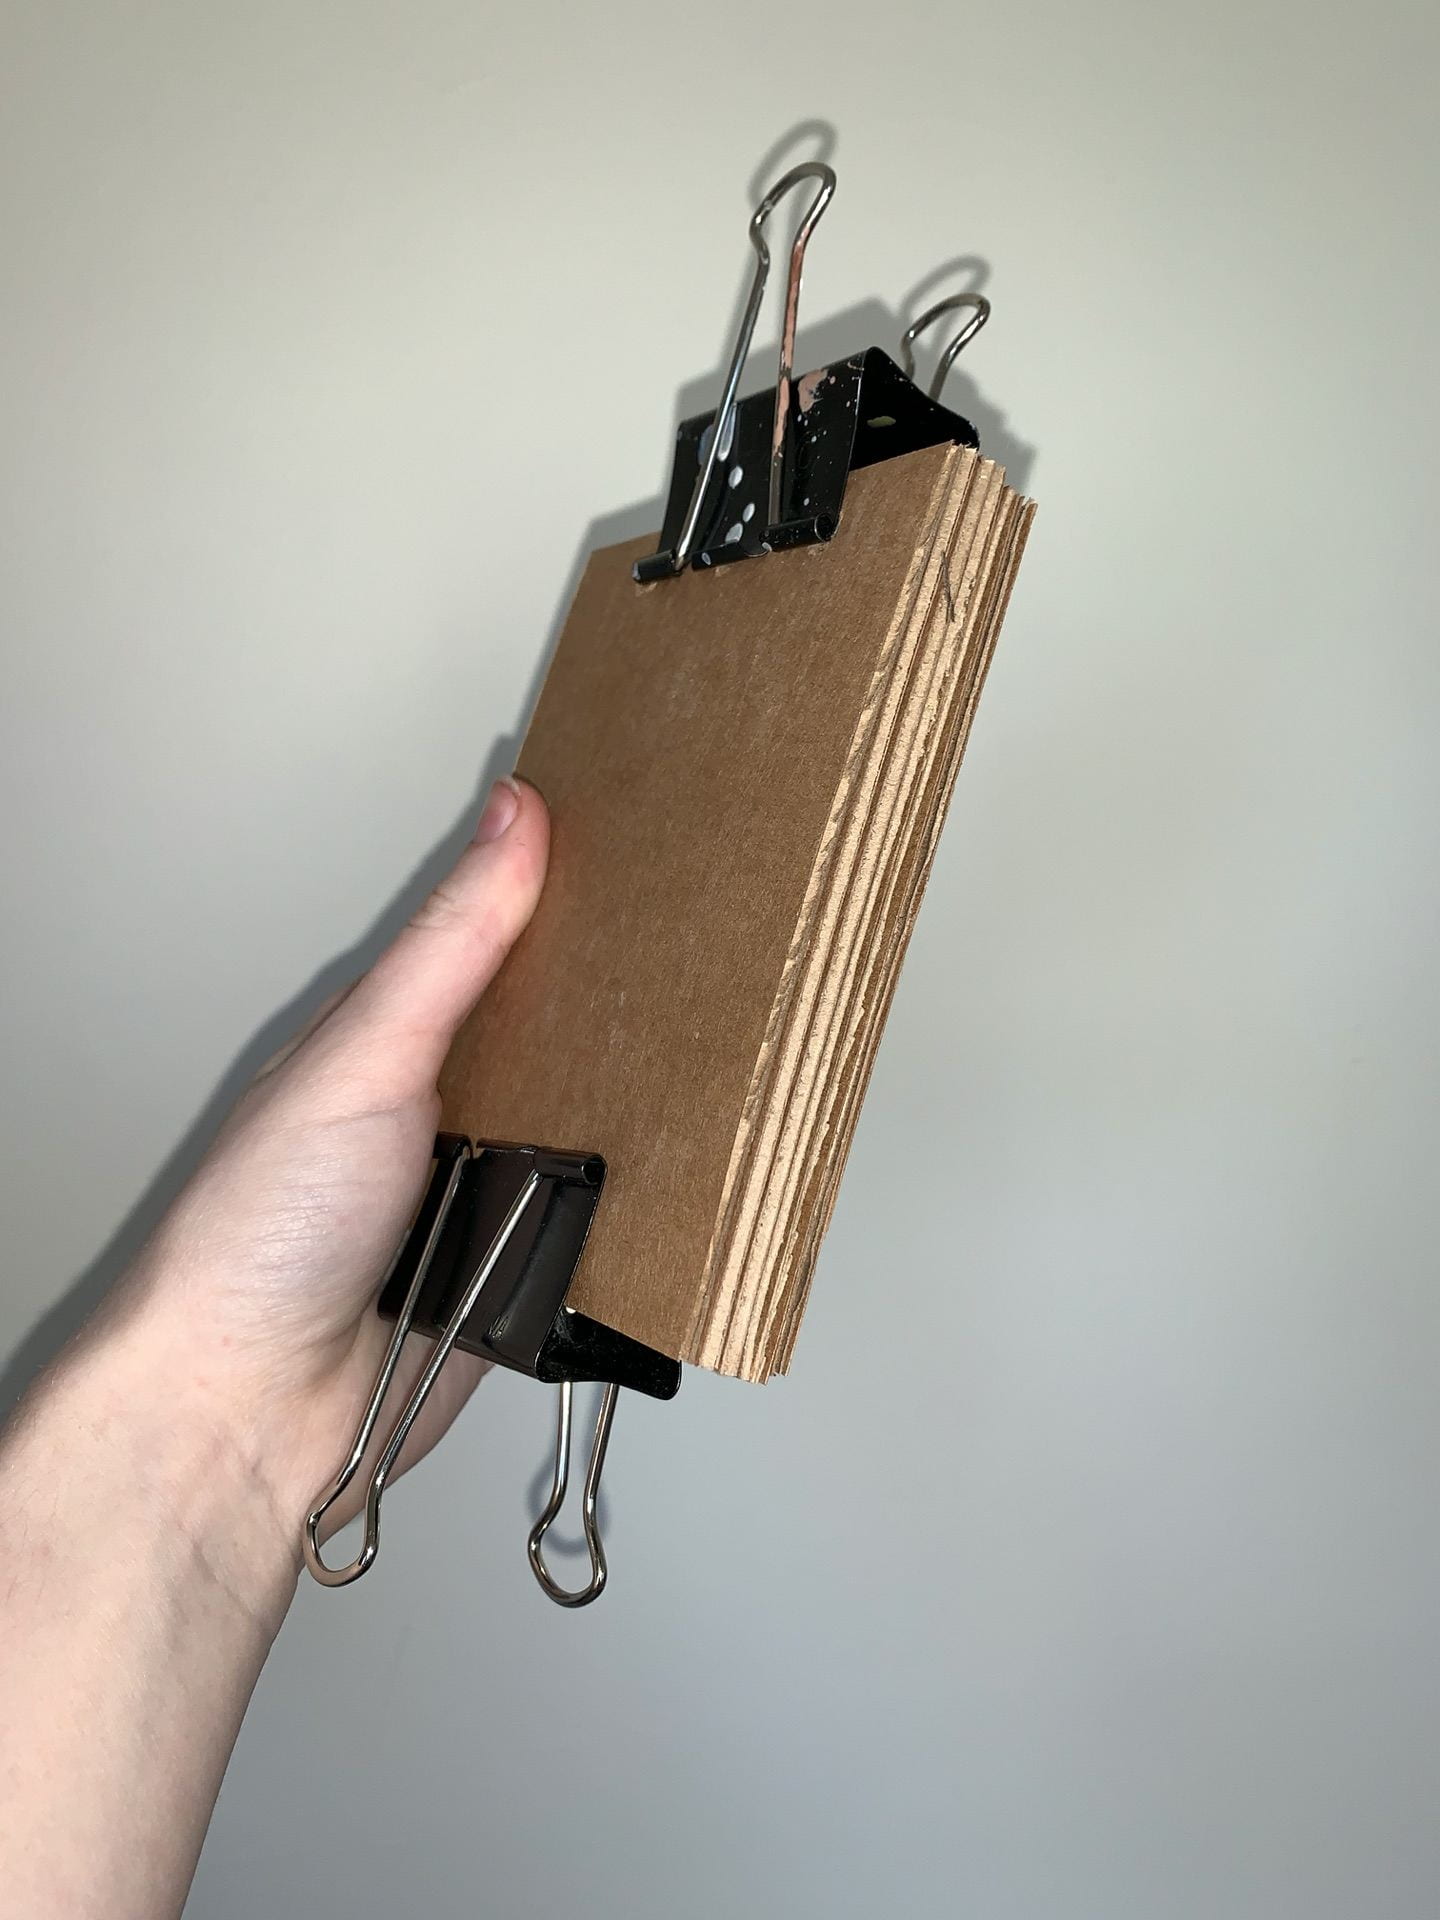
Process (w/images): Of all the joints I made, although this joint was supposed to be relatively easy, I had a really hard time making this one out of cardboard and having it be precise. The angle ended up being really acute because my cuts were too dramatic/deep and although they were all even if I were to do this again I would make sure my measurements were more shallow. This was really the only joint construction where I could tell that I was using cardboard.
left to right: side view of one of my laminated blocks, top view of all my unlaminated pieces, side view of laminated blocks, and the top view of my unfastened joint.
Rabbet Joint: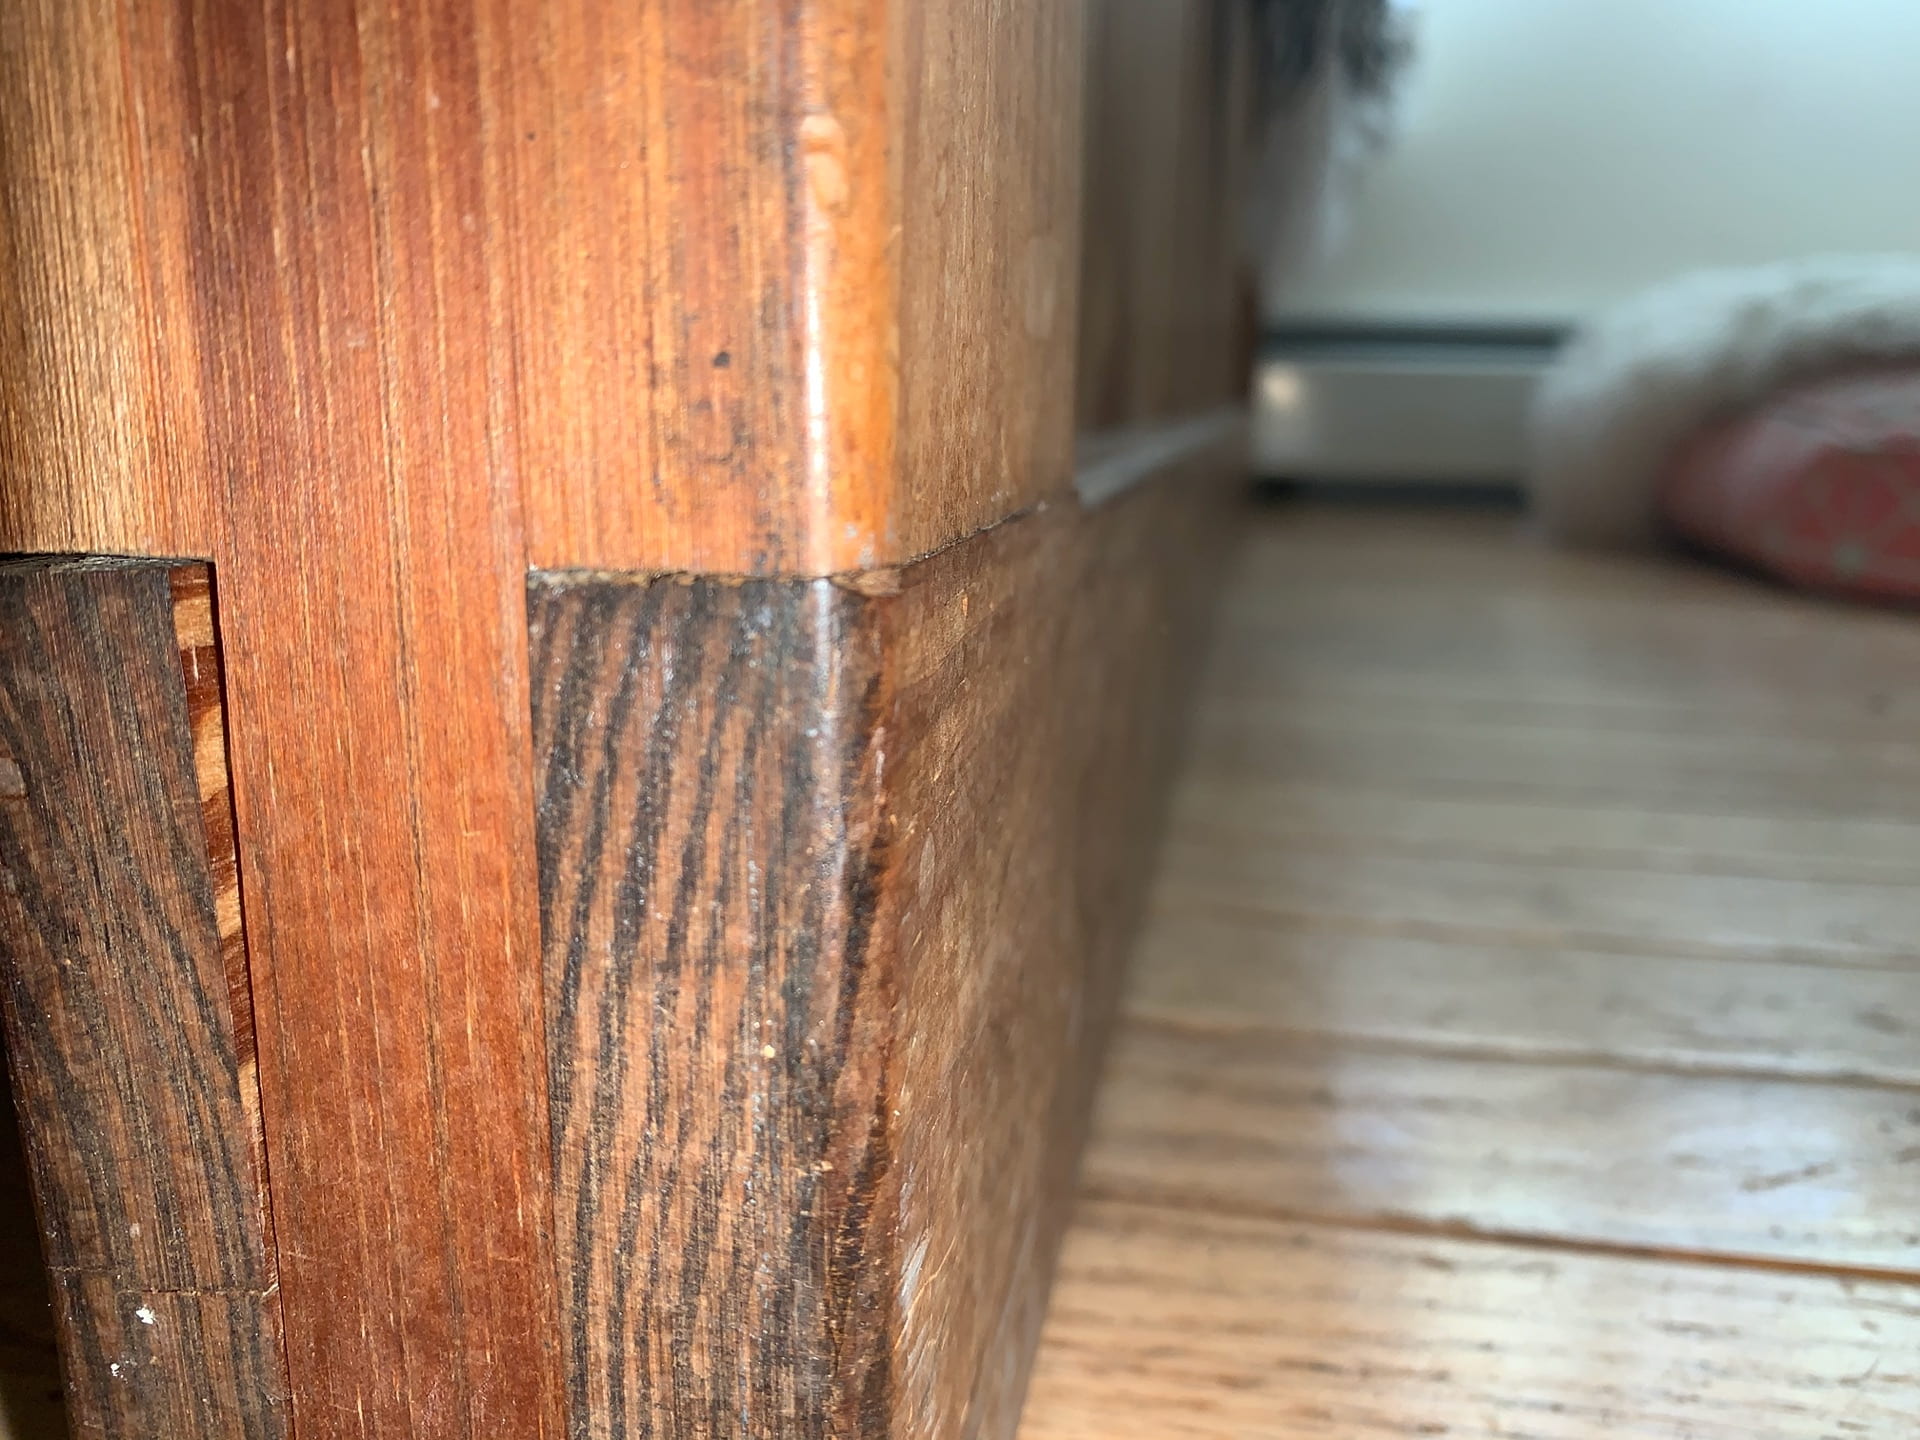
Orthographic Drawings: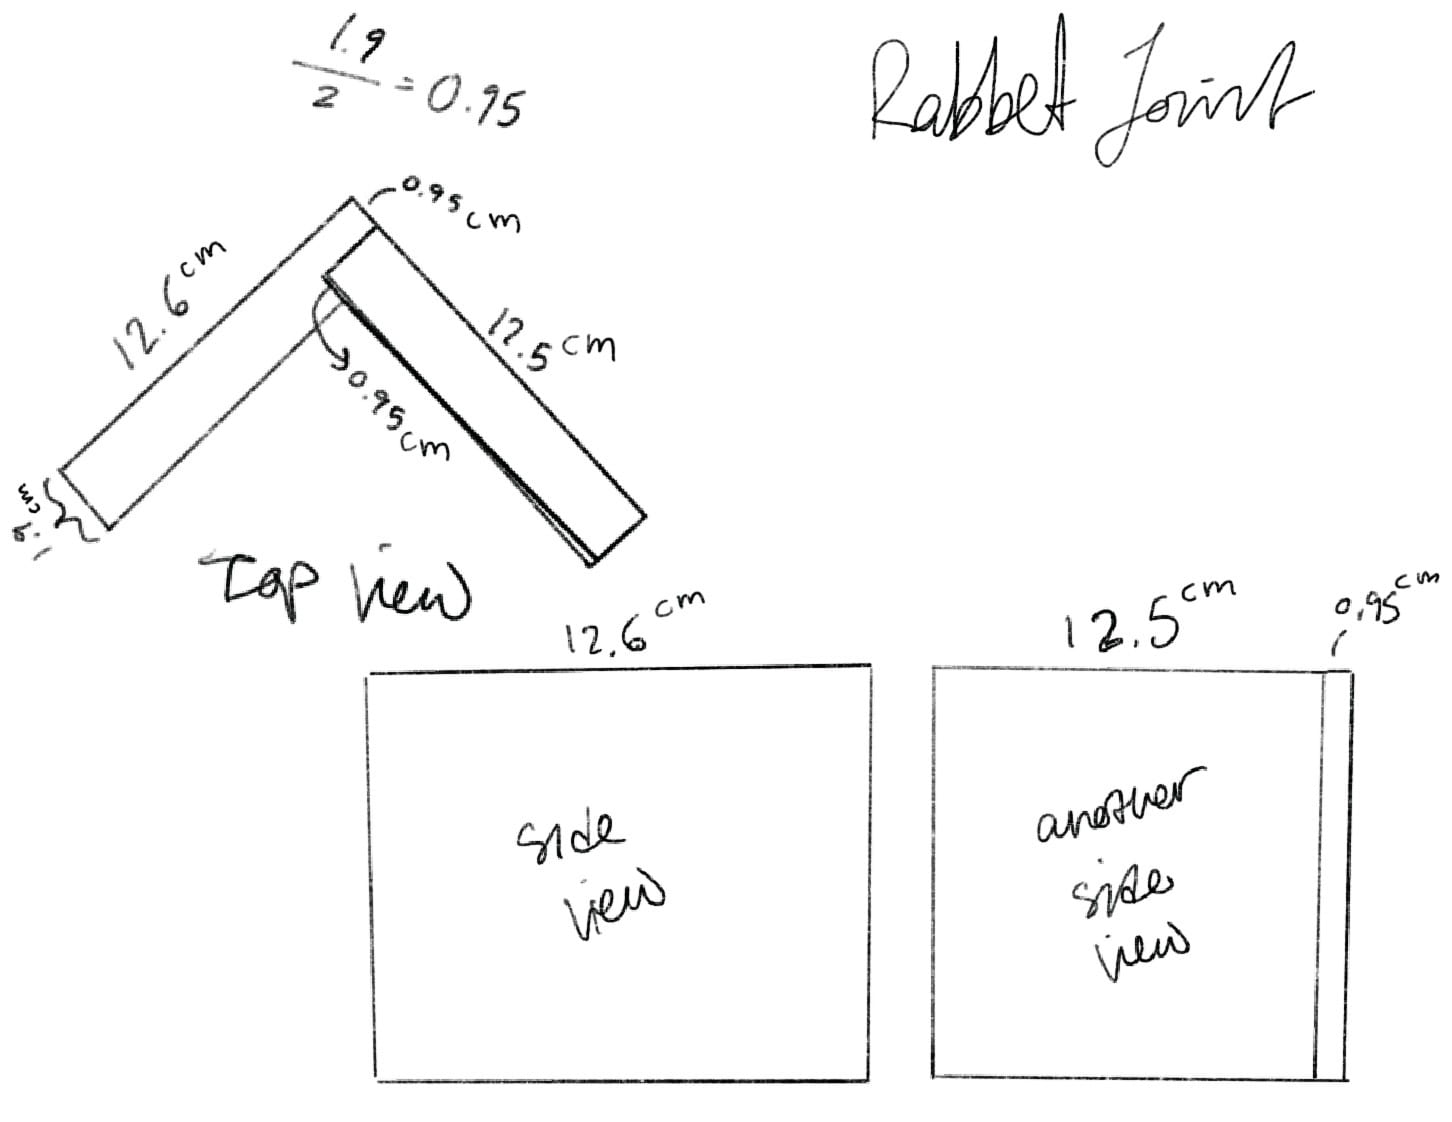
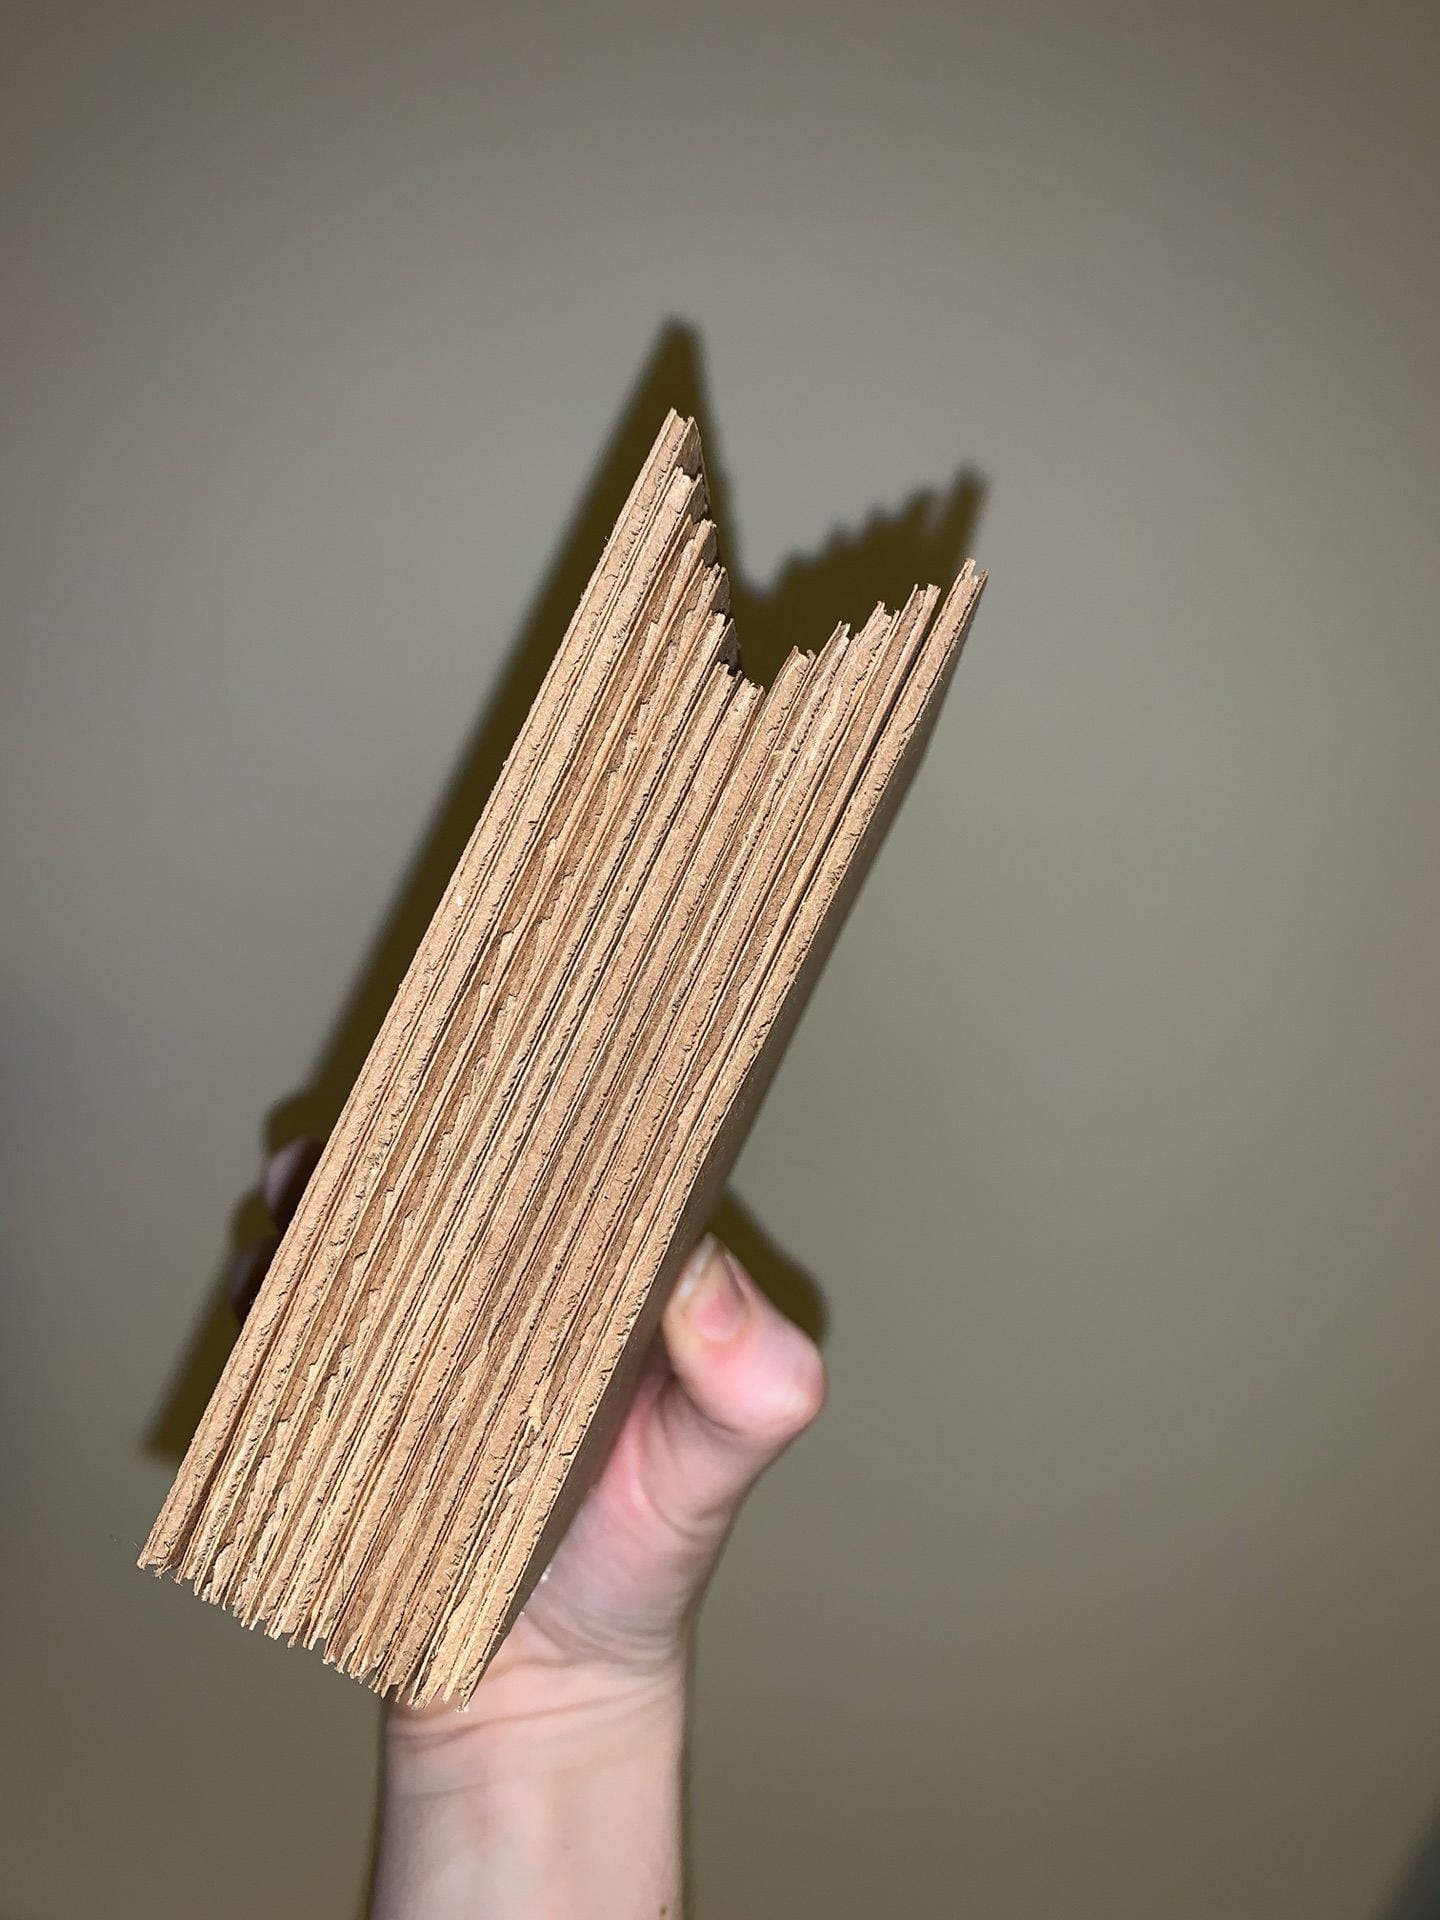
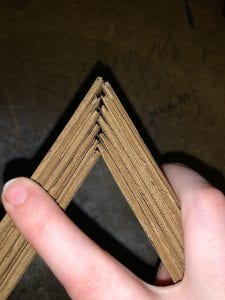
Process (w/images): Constructing this joint was borderline therapeutic for me in its construction, with very few pieces this joint went together like a dream. It proved to be a great first exercise in really measuring and I was ultimately very pleased with the final fit of it all.
left to right: Individual pieces of cardboard ready to be laminated, laminating the rabbet joint, side view of laminating the rabbet joint, up-close view of laminating the plain block, and the completed fit of the joint.

Dowelled Butt Joint: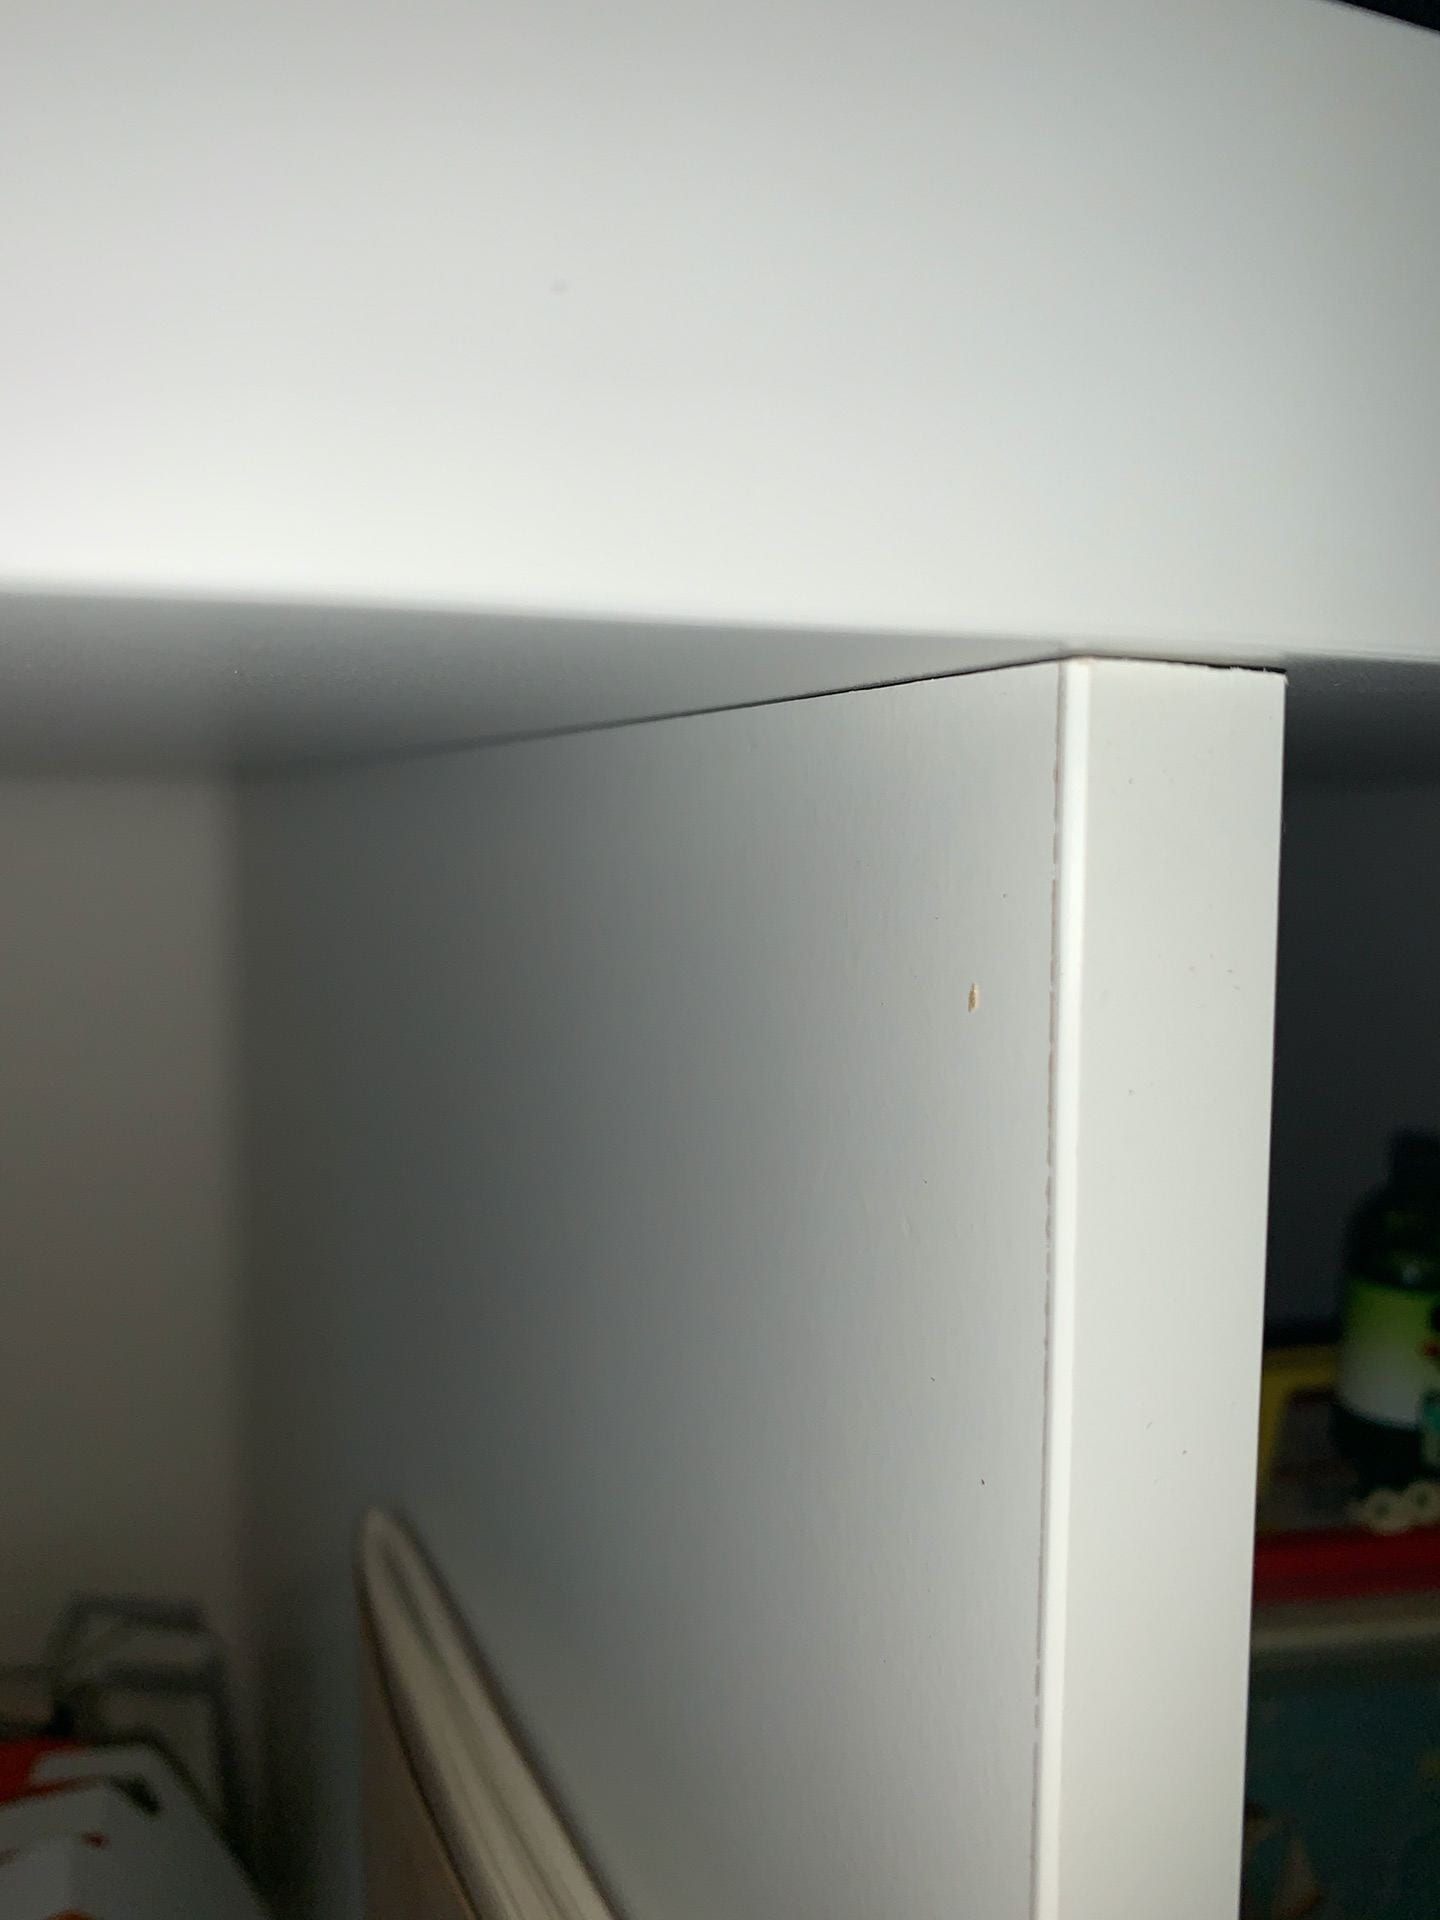
Orthographic Drawings: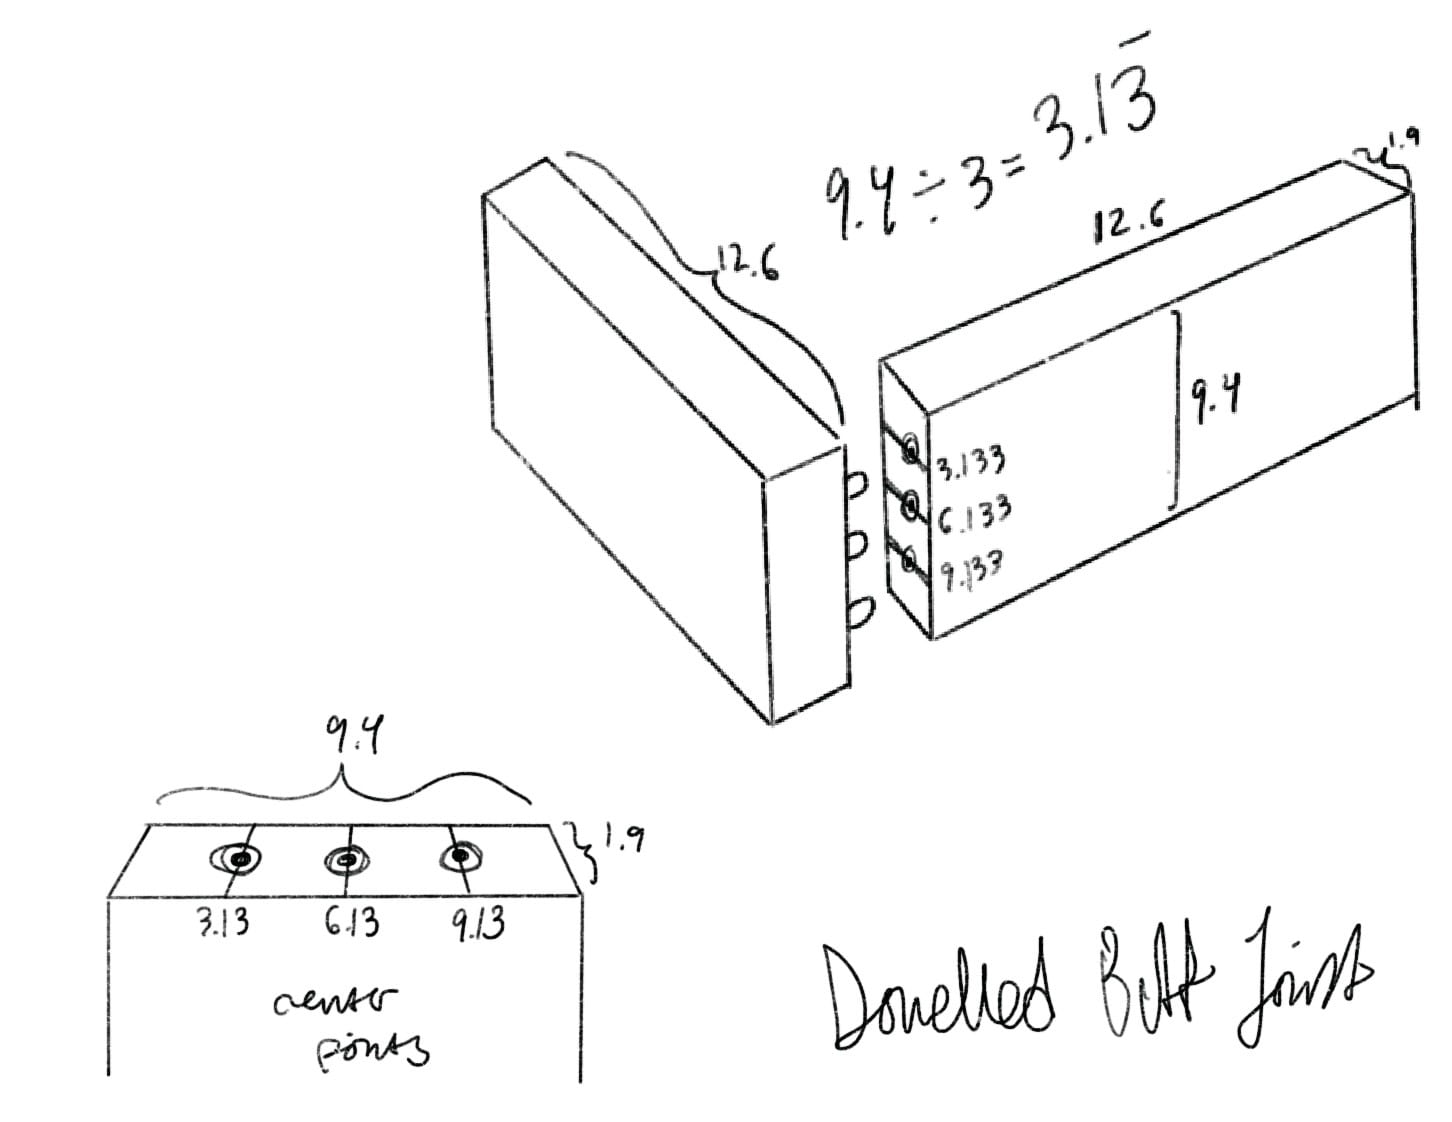
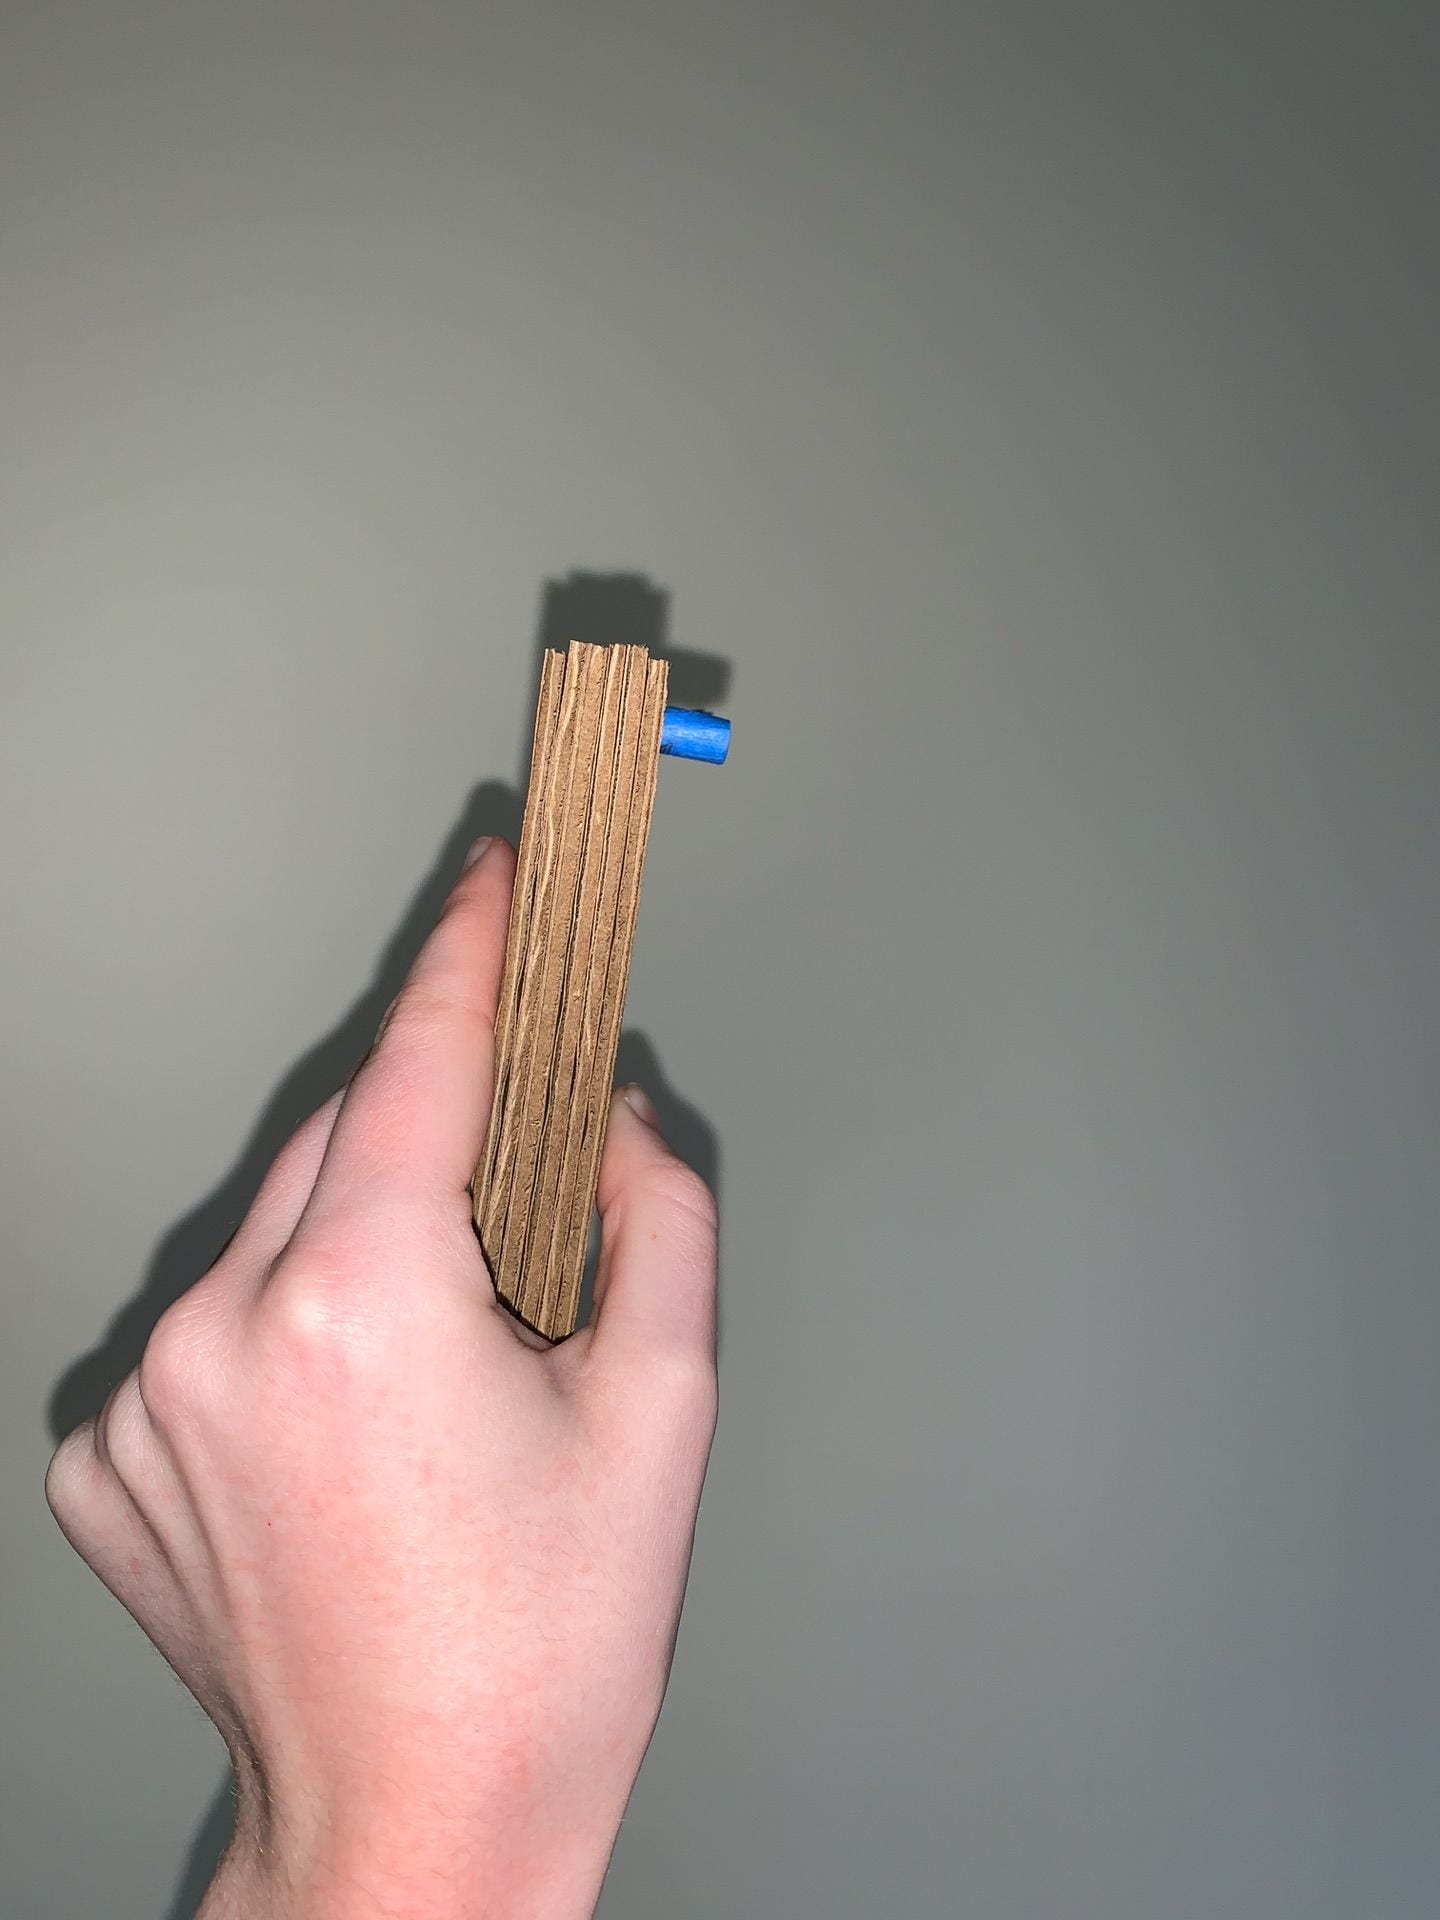
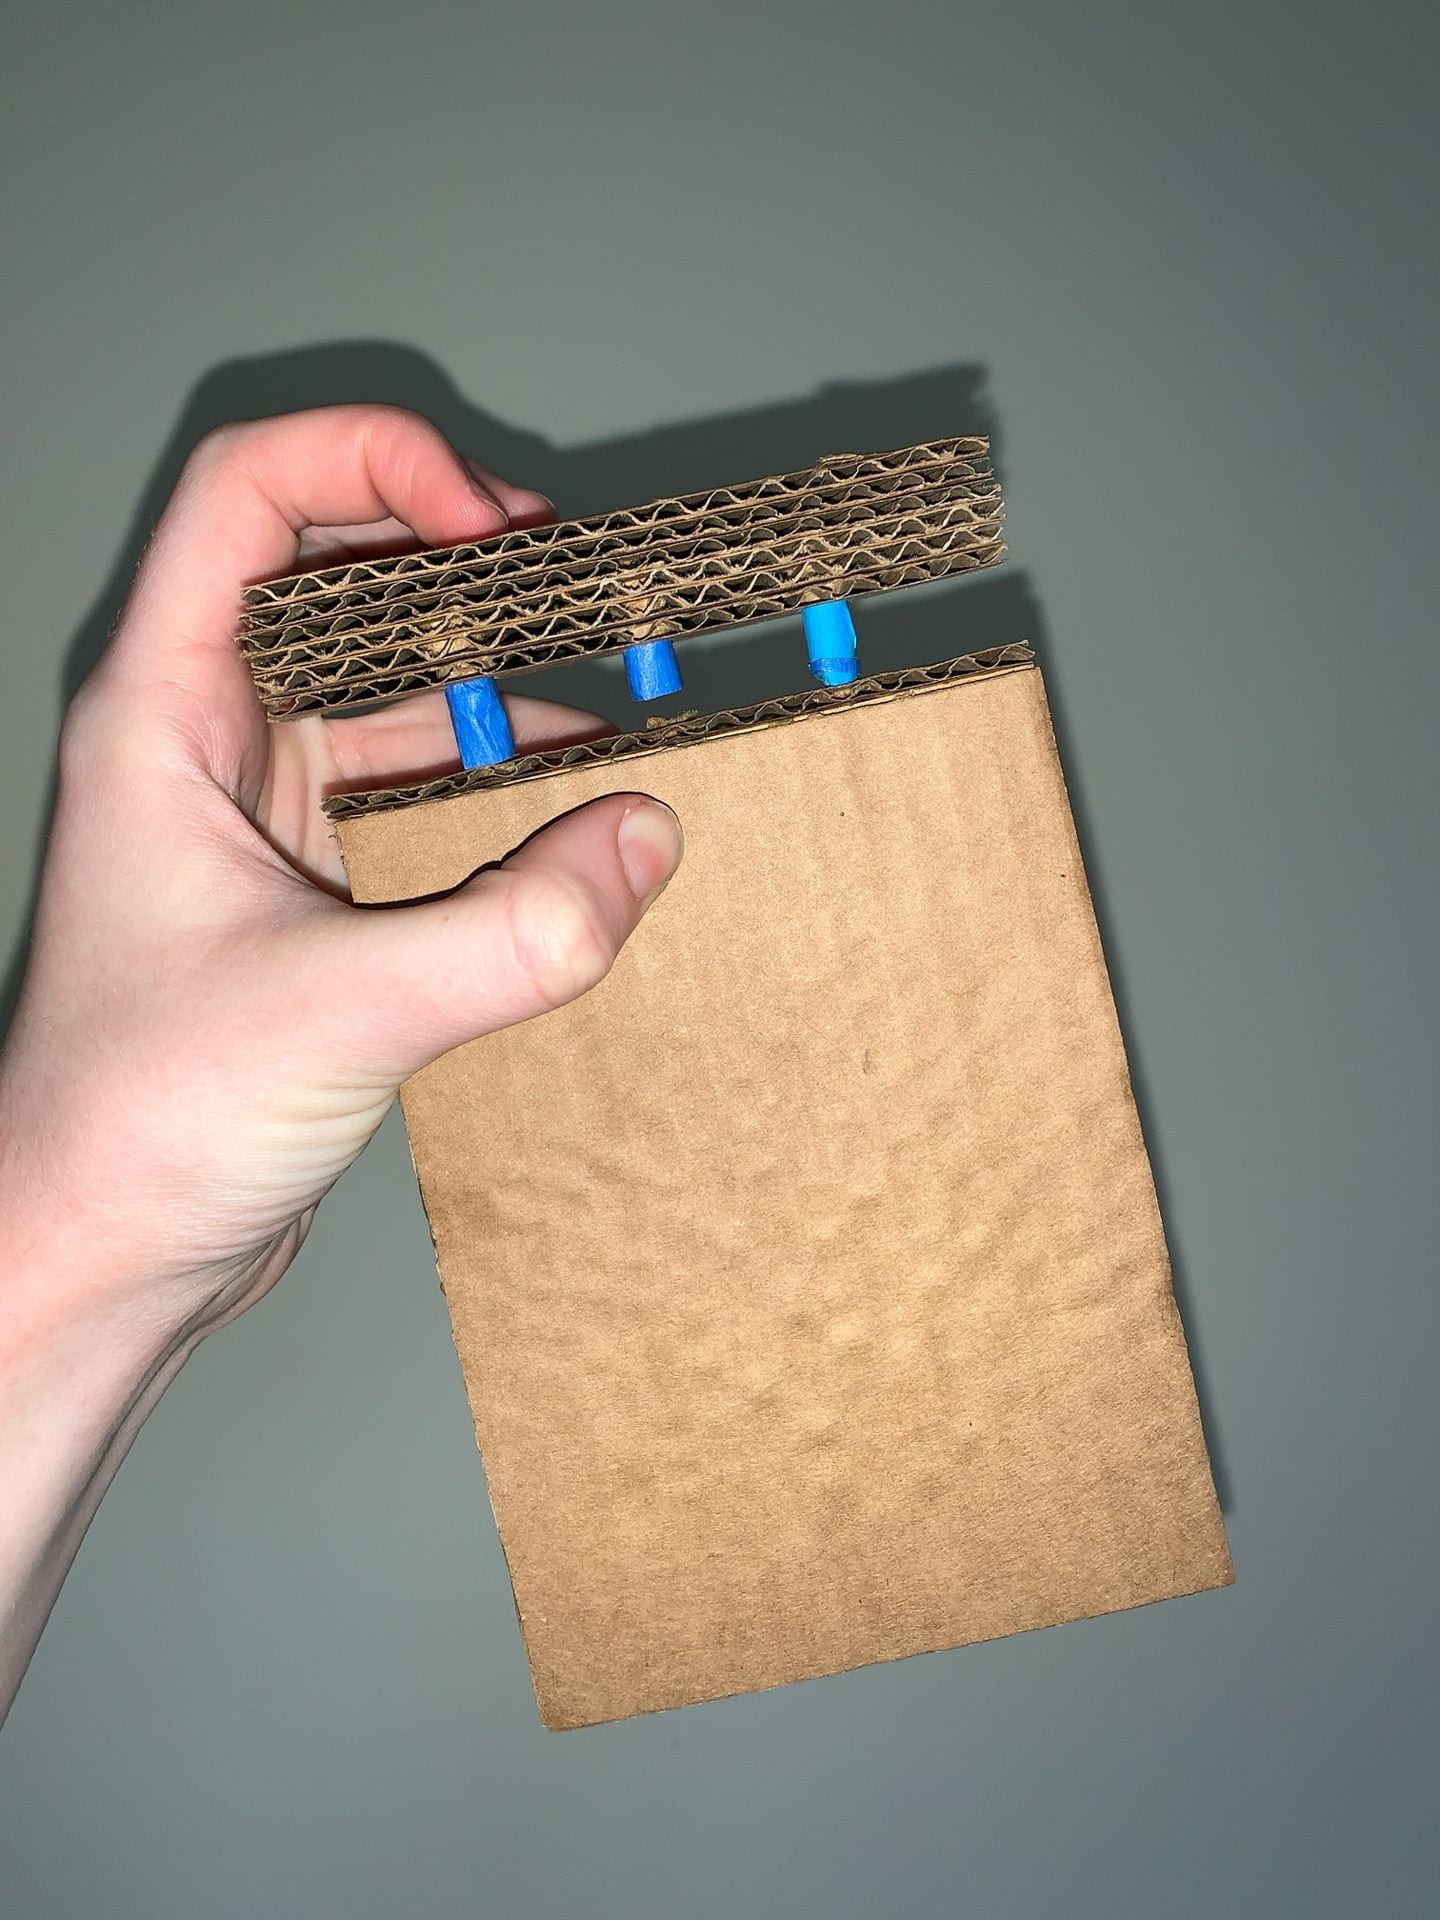
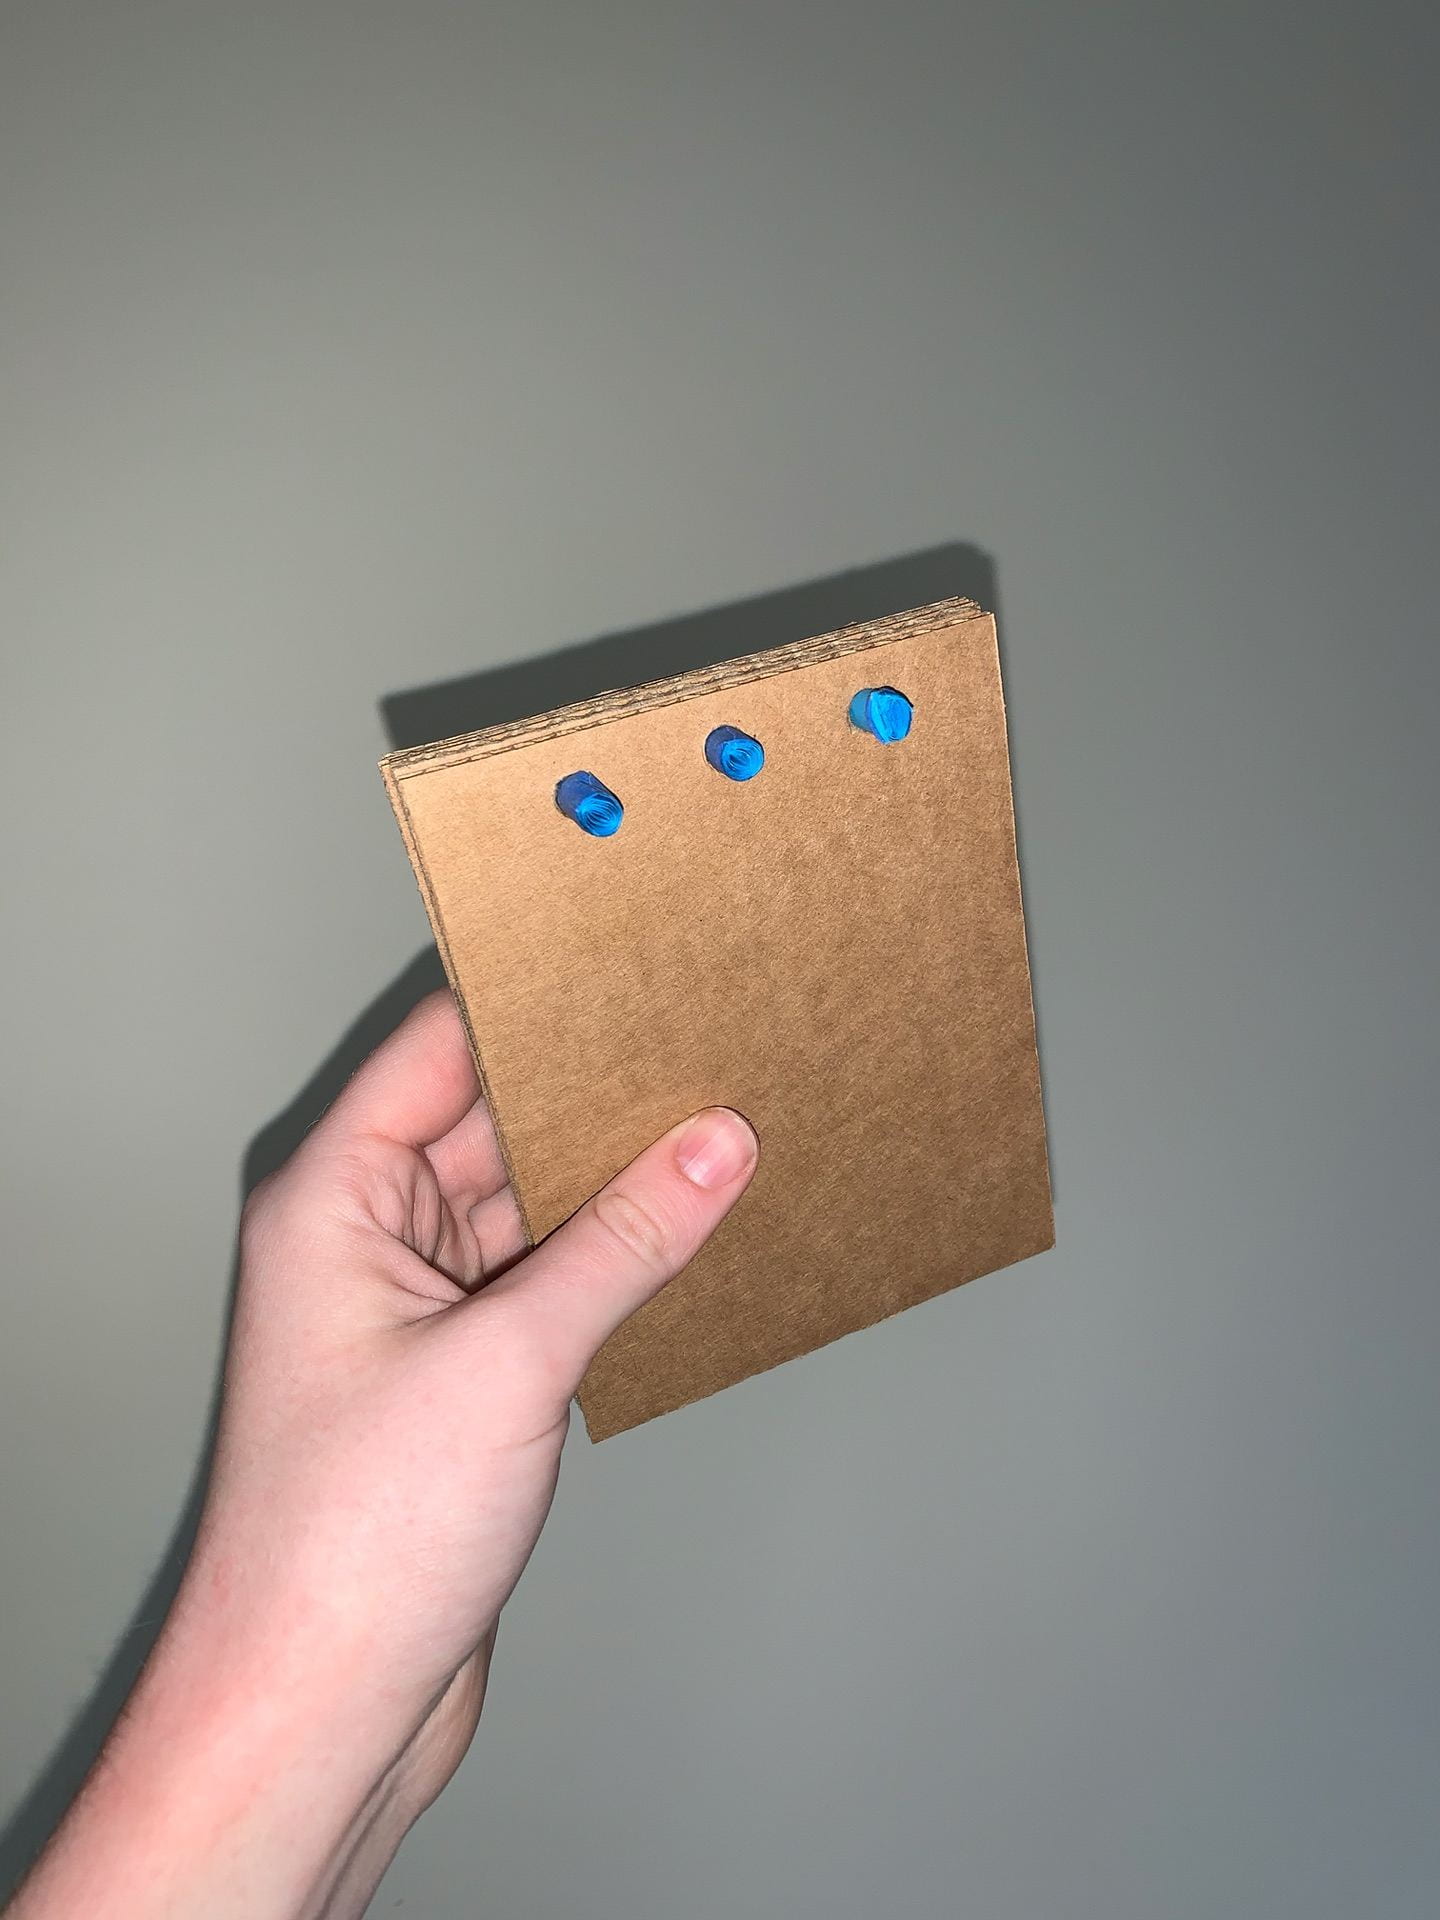
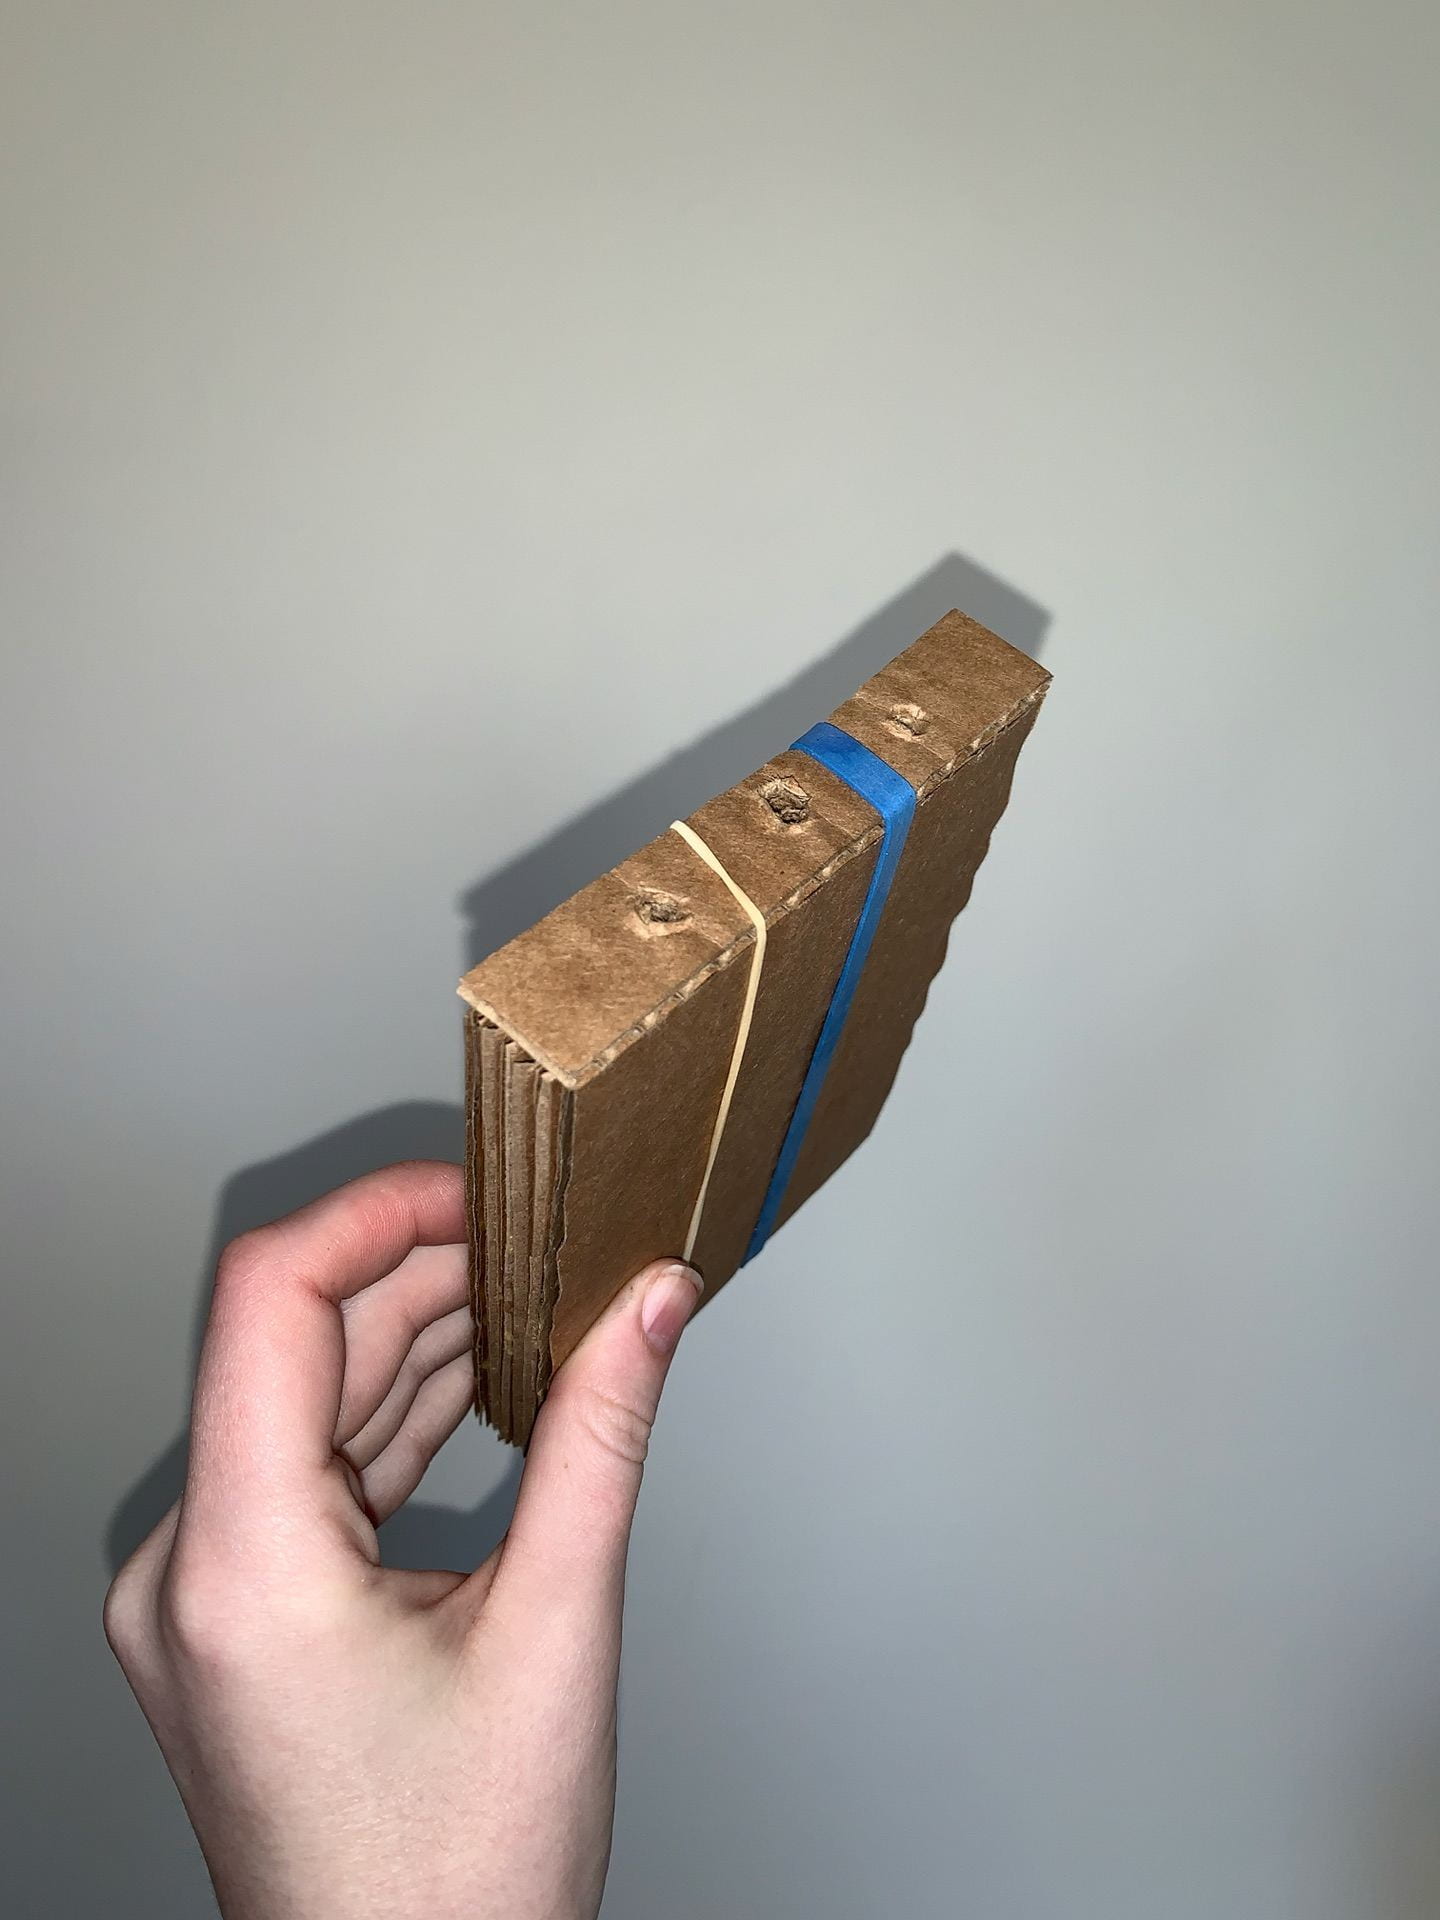
Process (w/images): This joint was an obstacle, to say the least, with so many moving parts a joint like this is supremely difficult to execute with cardboard plywood. From the dowels to the perfectly aligned holes and layers of cardboard this joint just did not let me come up for air. The final result was nice and aligned properly but because of the dowels, I couldn’t get them to fit in without crunching so the joint doesn’t function very well.
left to right: dowelled joint from the side, joint lined up (the holes were perfectly lined up but the dowels just didn’t want to function), front view of the dowelled joints, laminating the other block.
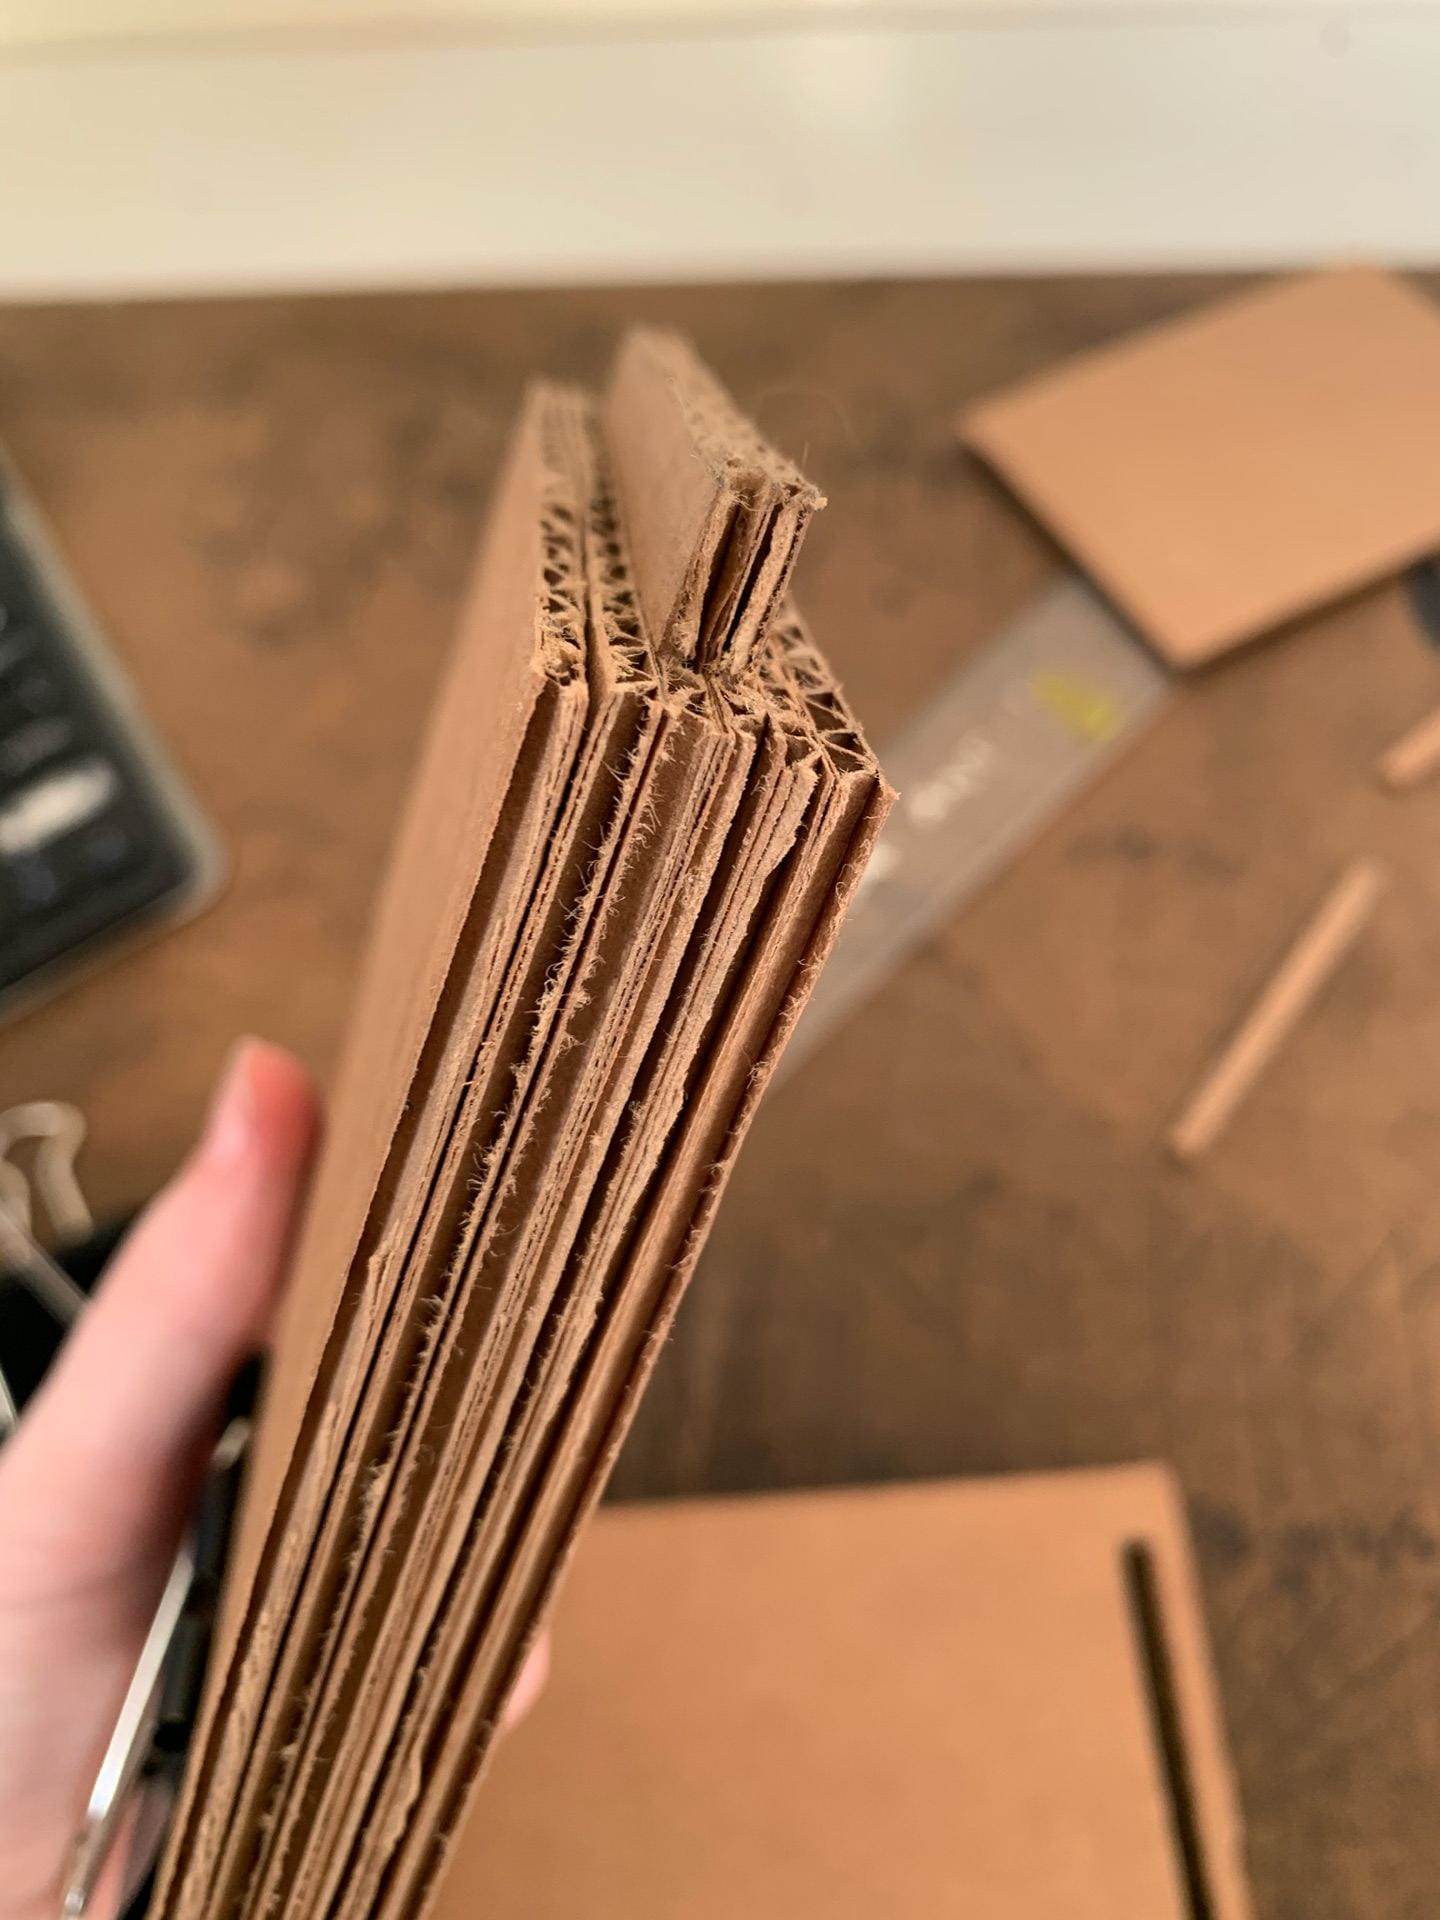
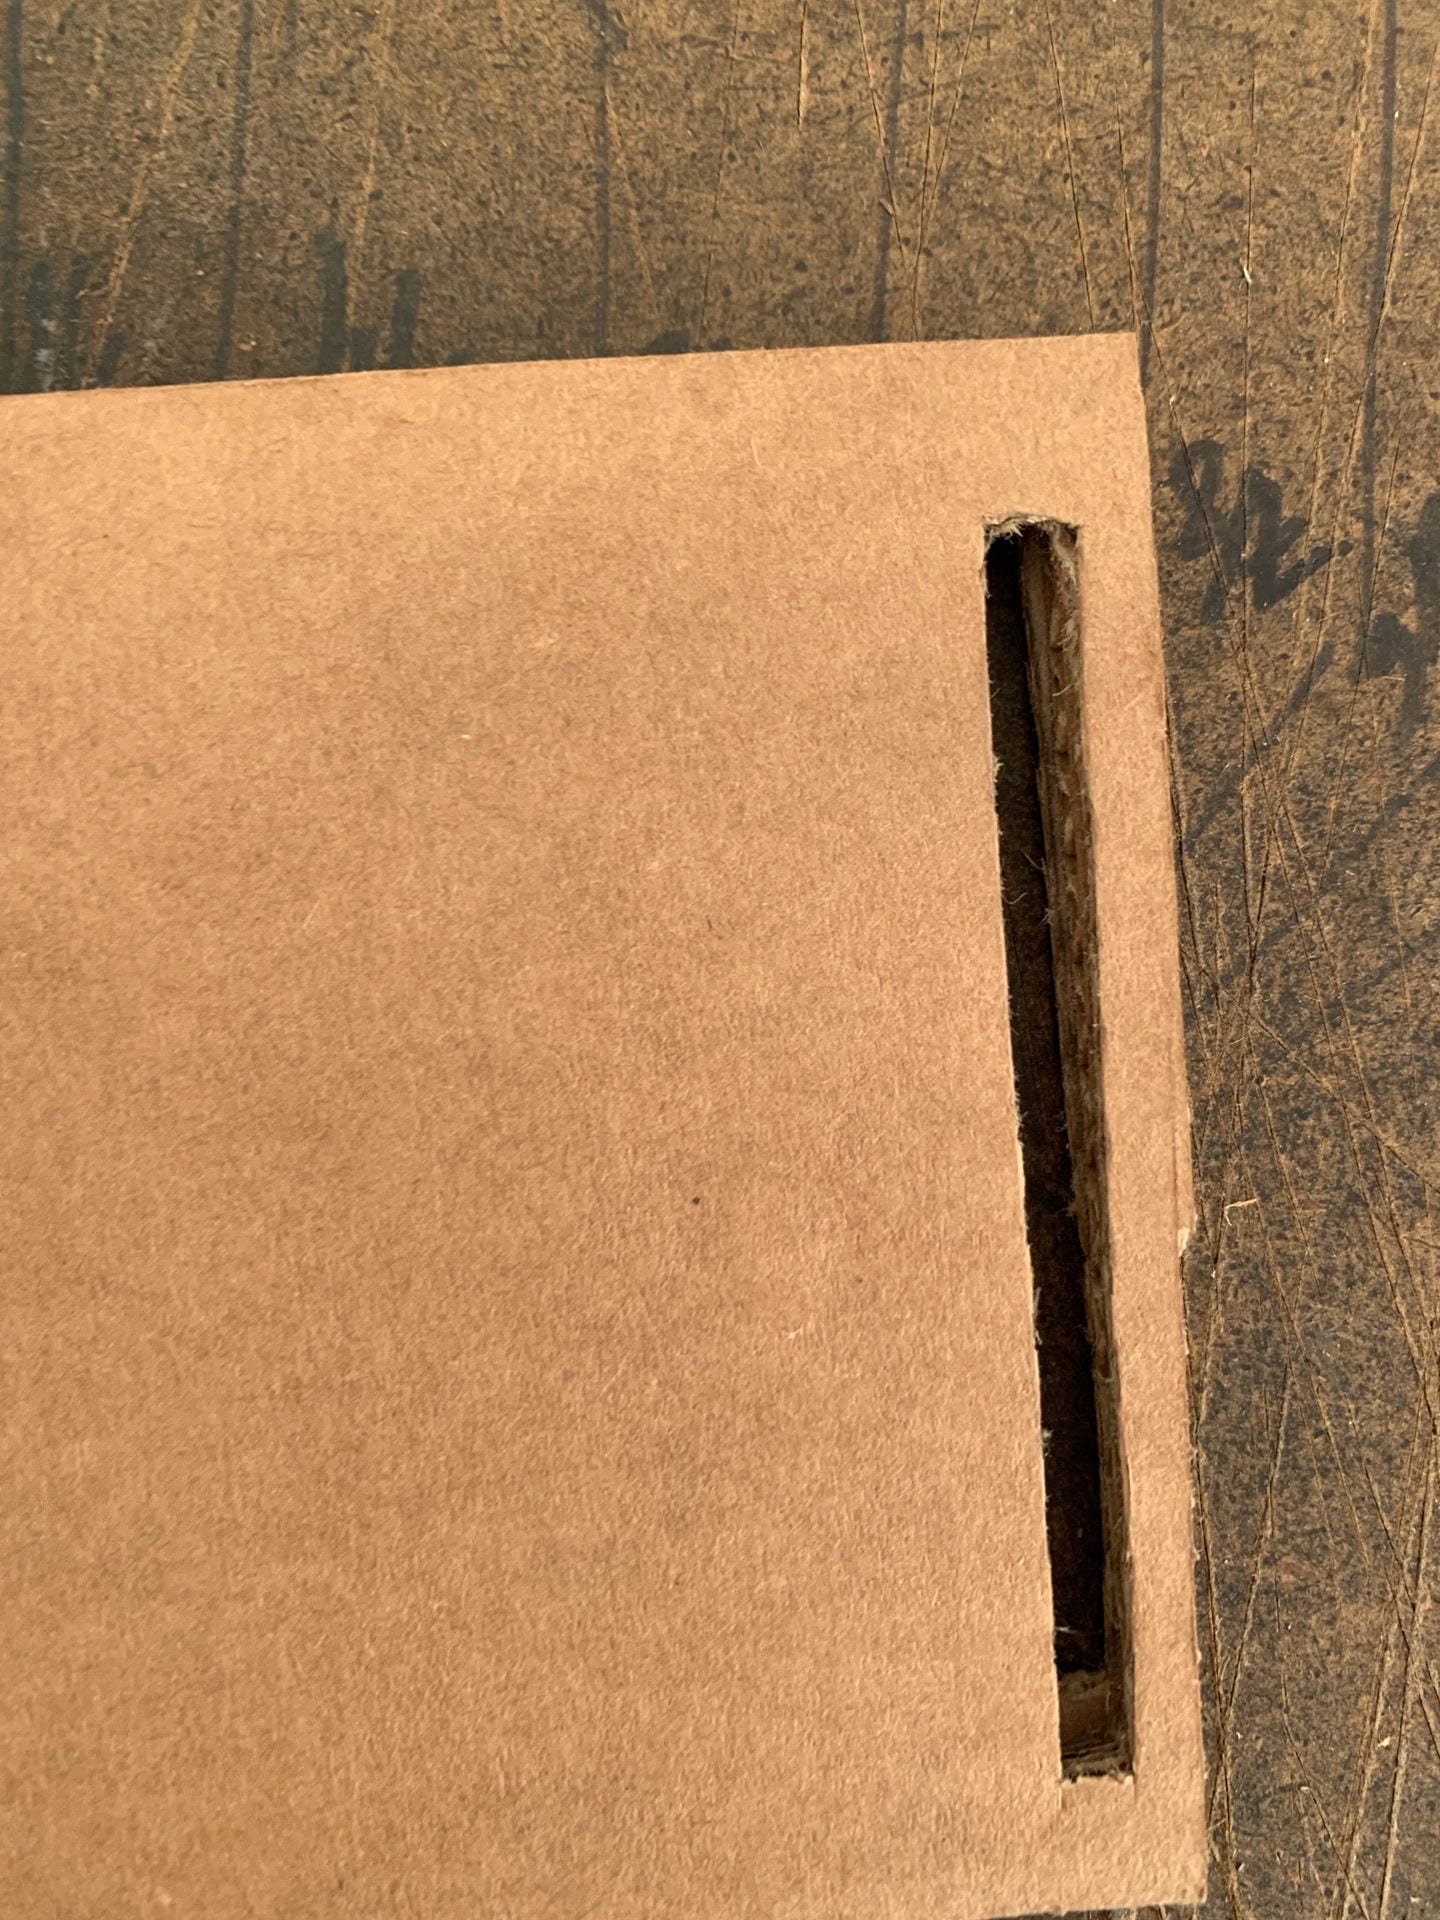
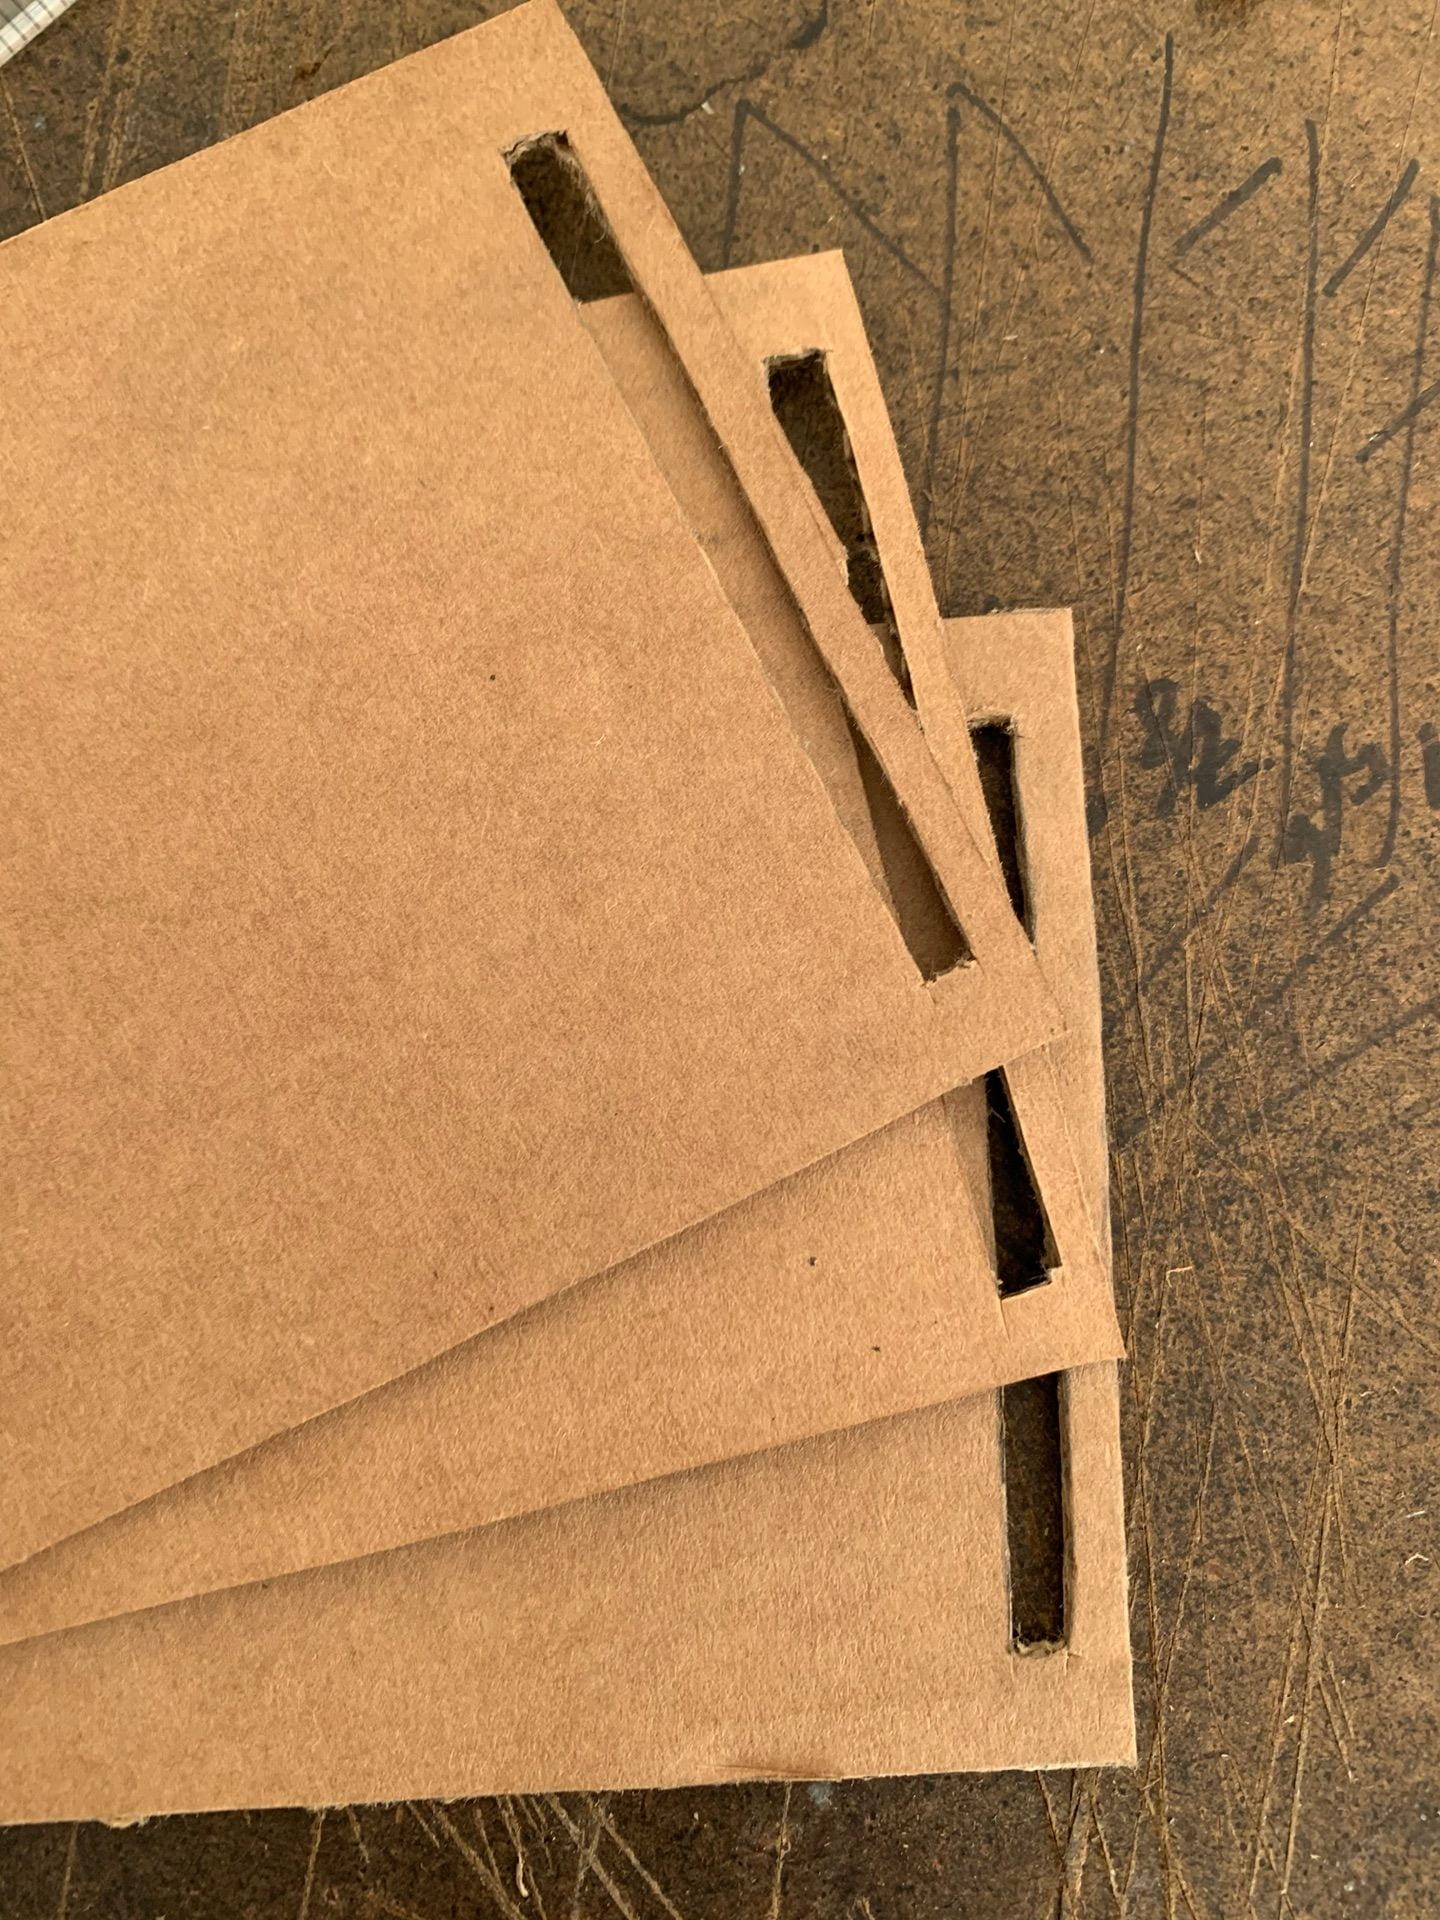
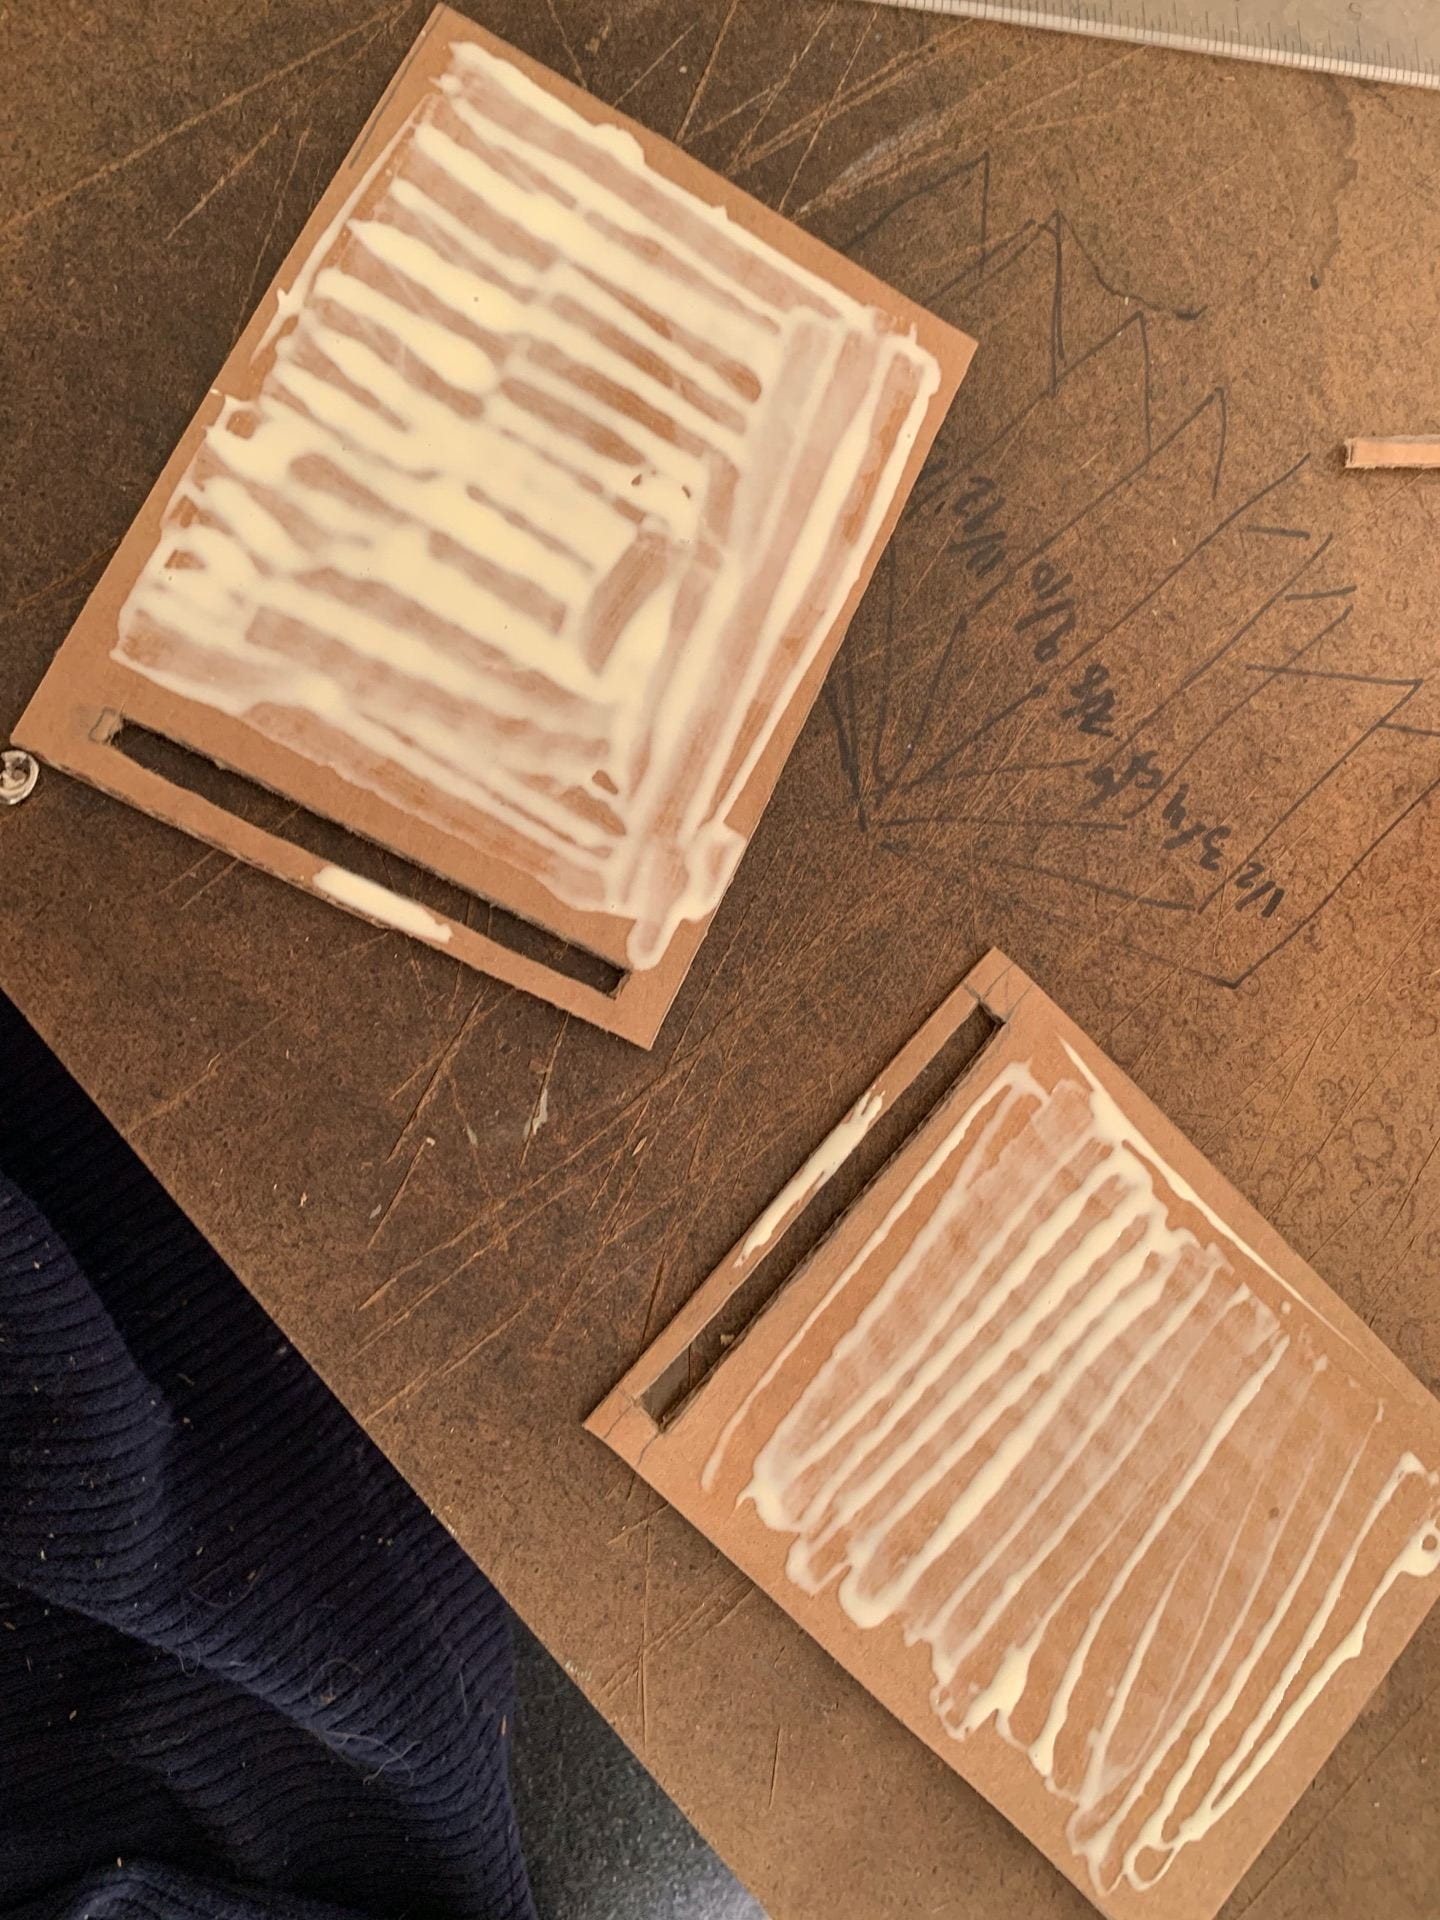
Mortise & Tenon Joint: 
Orthographic Drawings: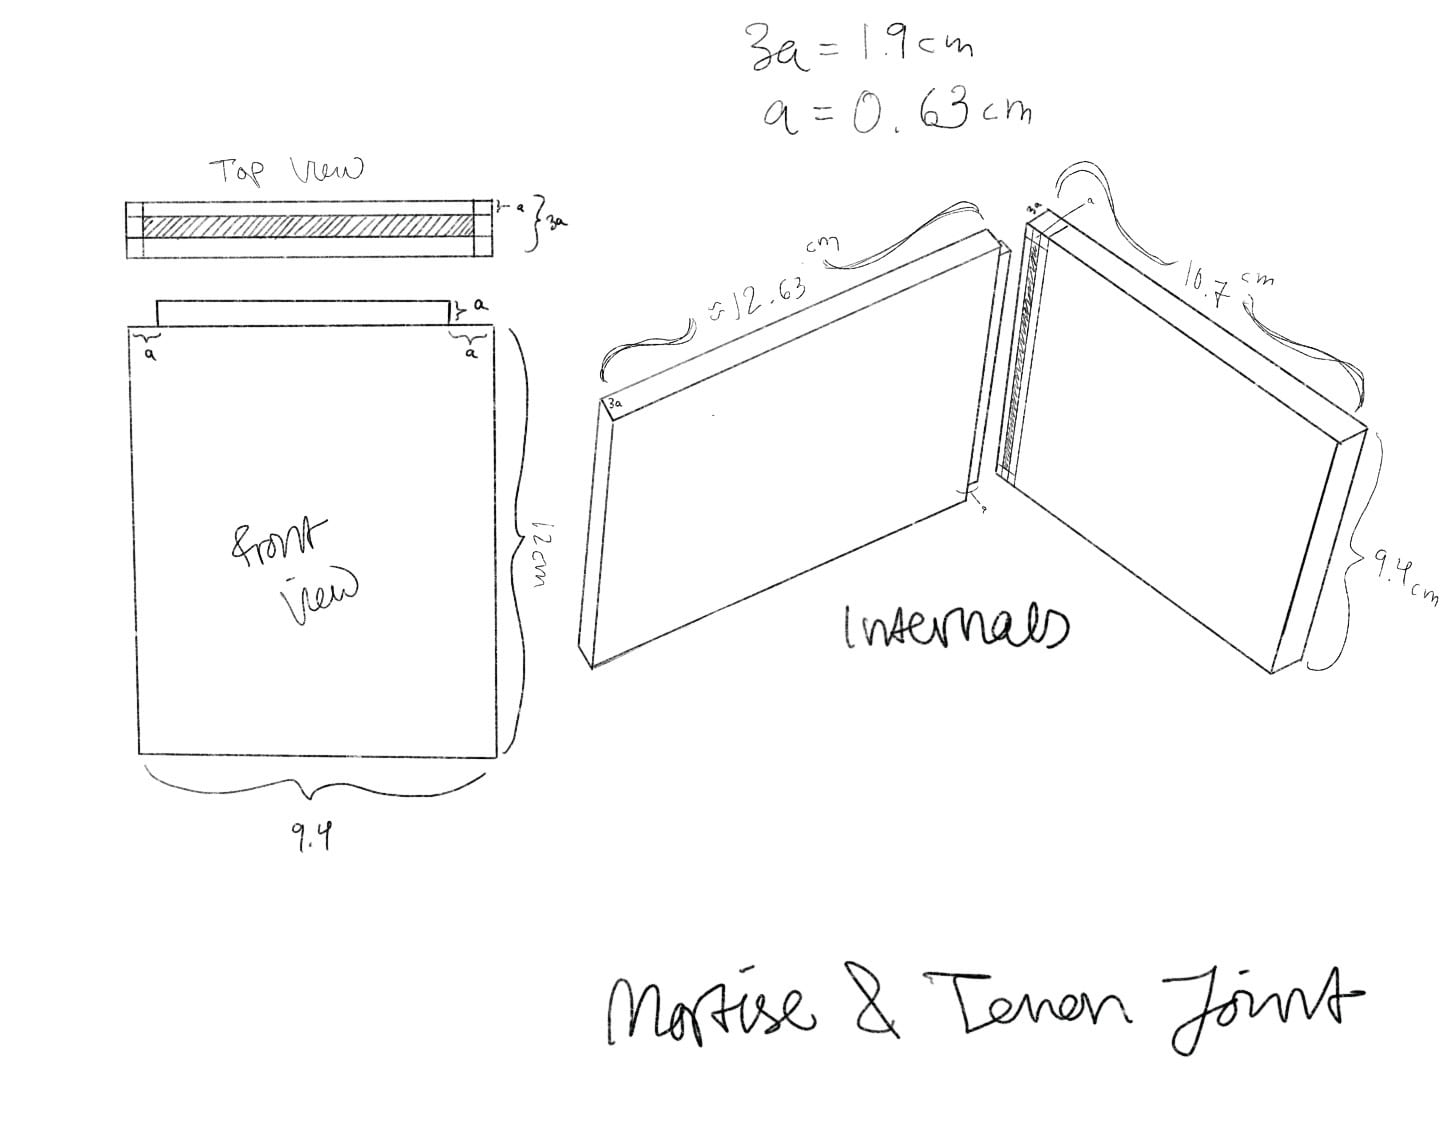
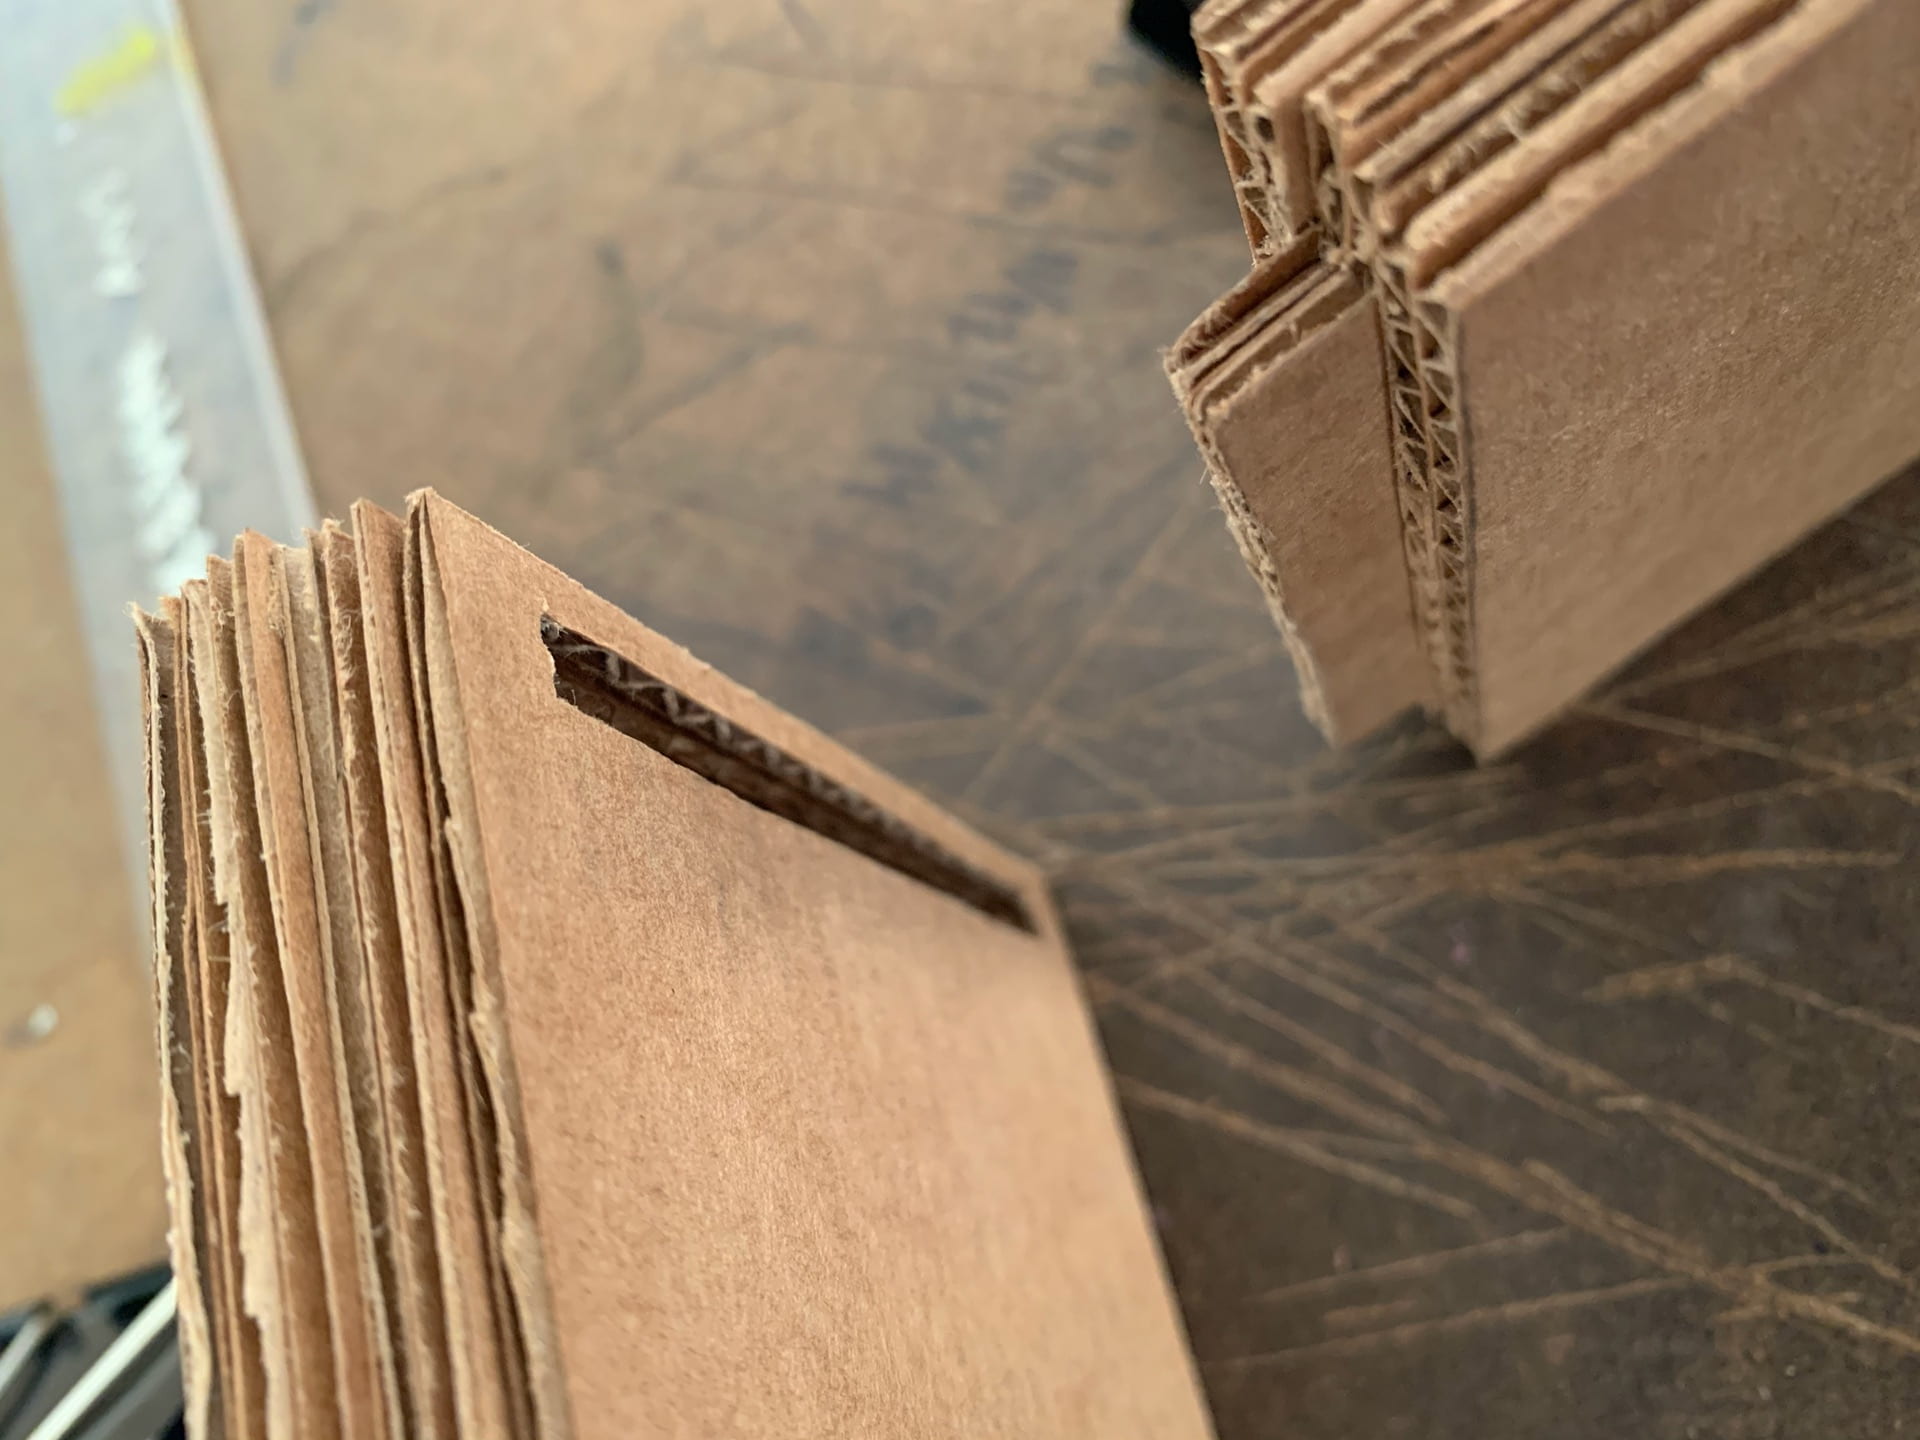
Process (w/images): This joint was one of my favorites to make as it, I felt, was one of the hardest to execute. I was really pleased with the fit of the final and in terms of measuring this one seemed to be the most precise. I’m really pleased to have a joint like this in my tool belt.
top left to bottom right: testing the fit of the joint, testing the line of the joint, up-close view of the mortise piece, up-close view of the tenon, the tenon layers, laminating the tenon, and the final joint.

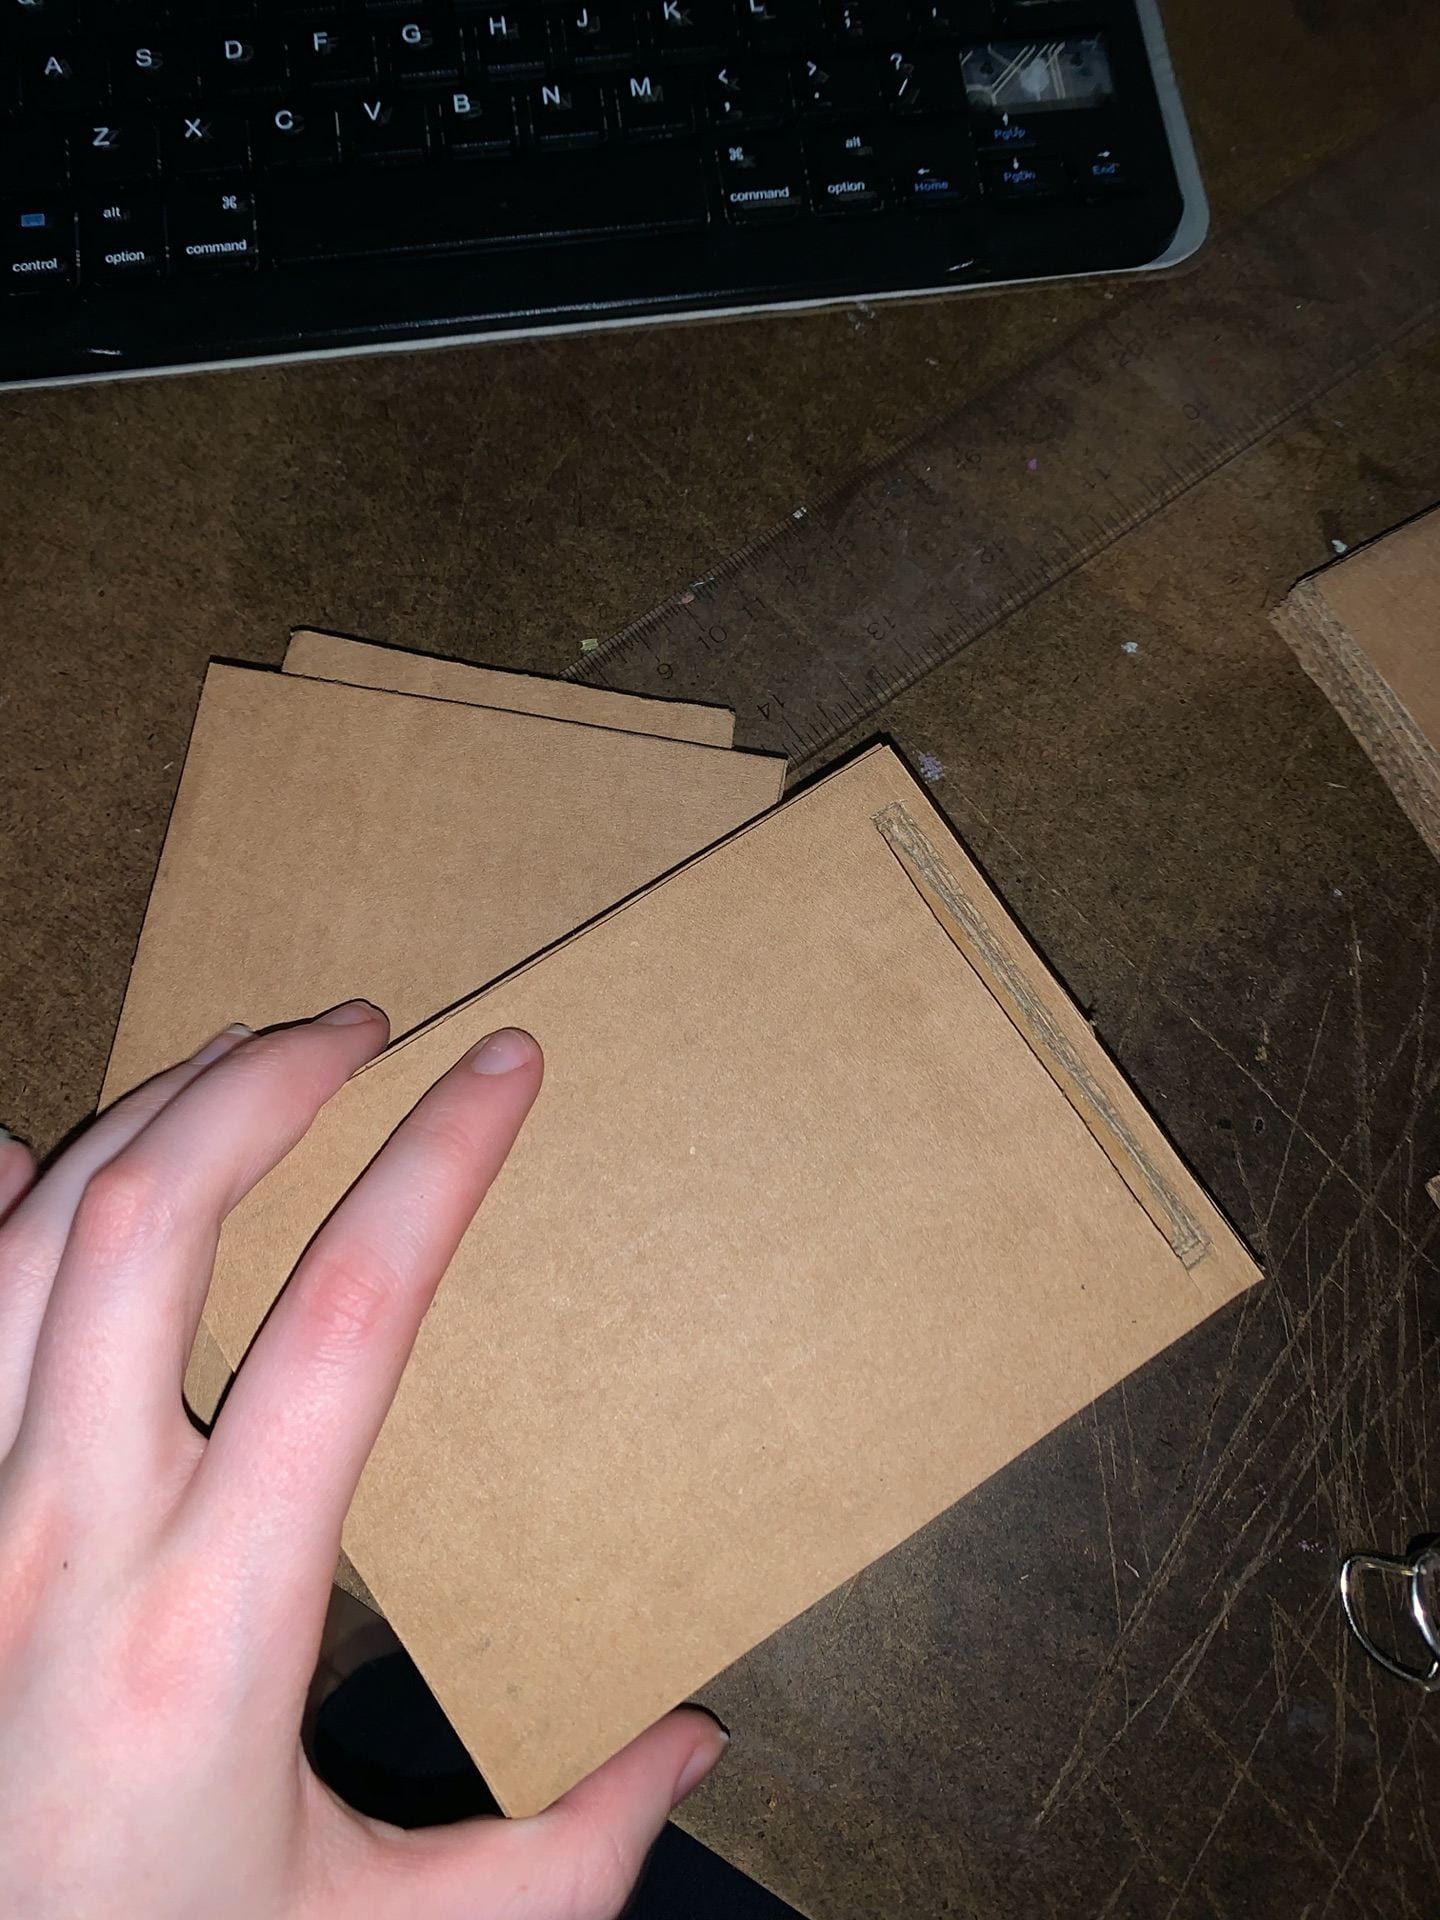
Finger Joint:
Orthographic Drawings: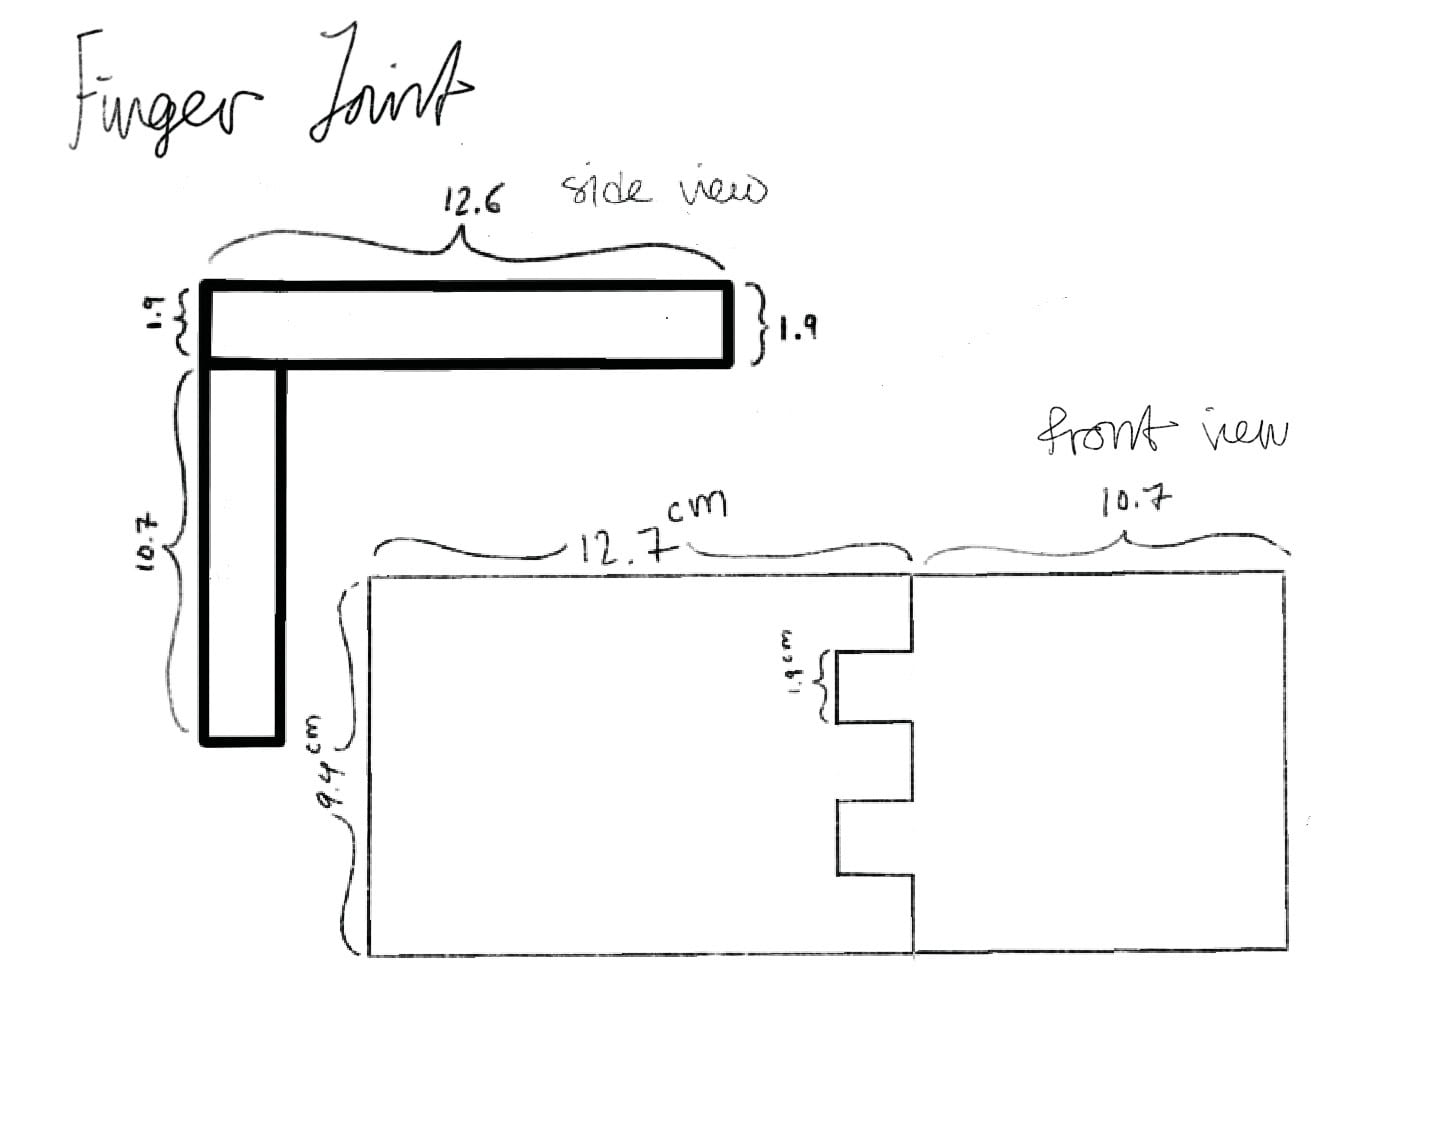
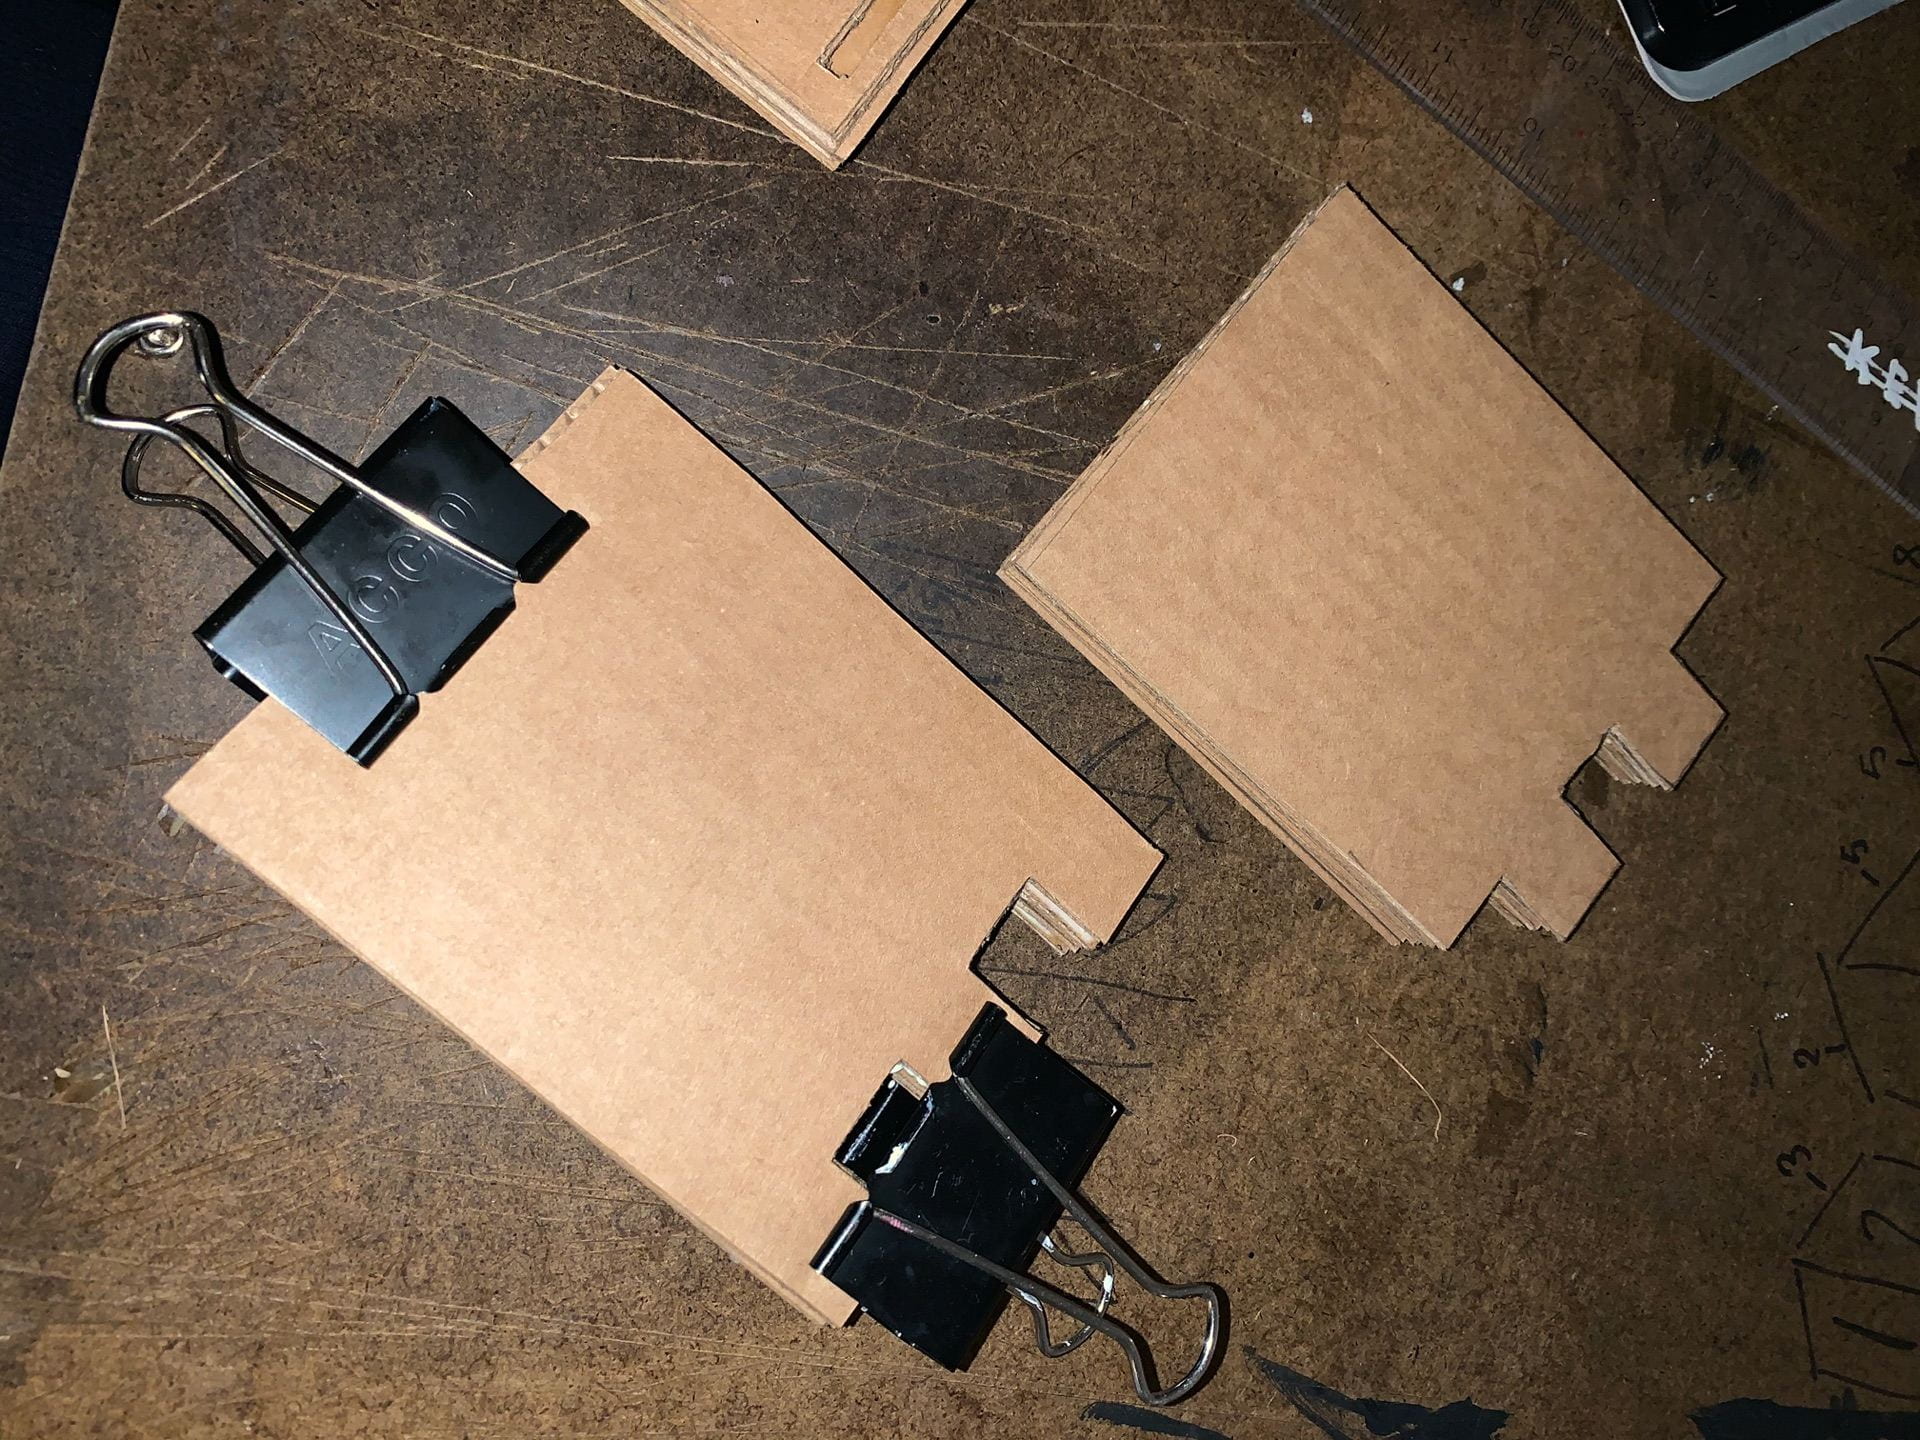
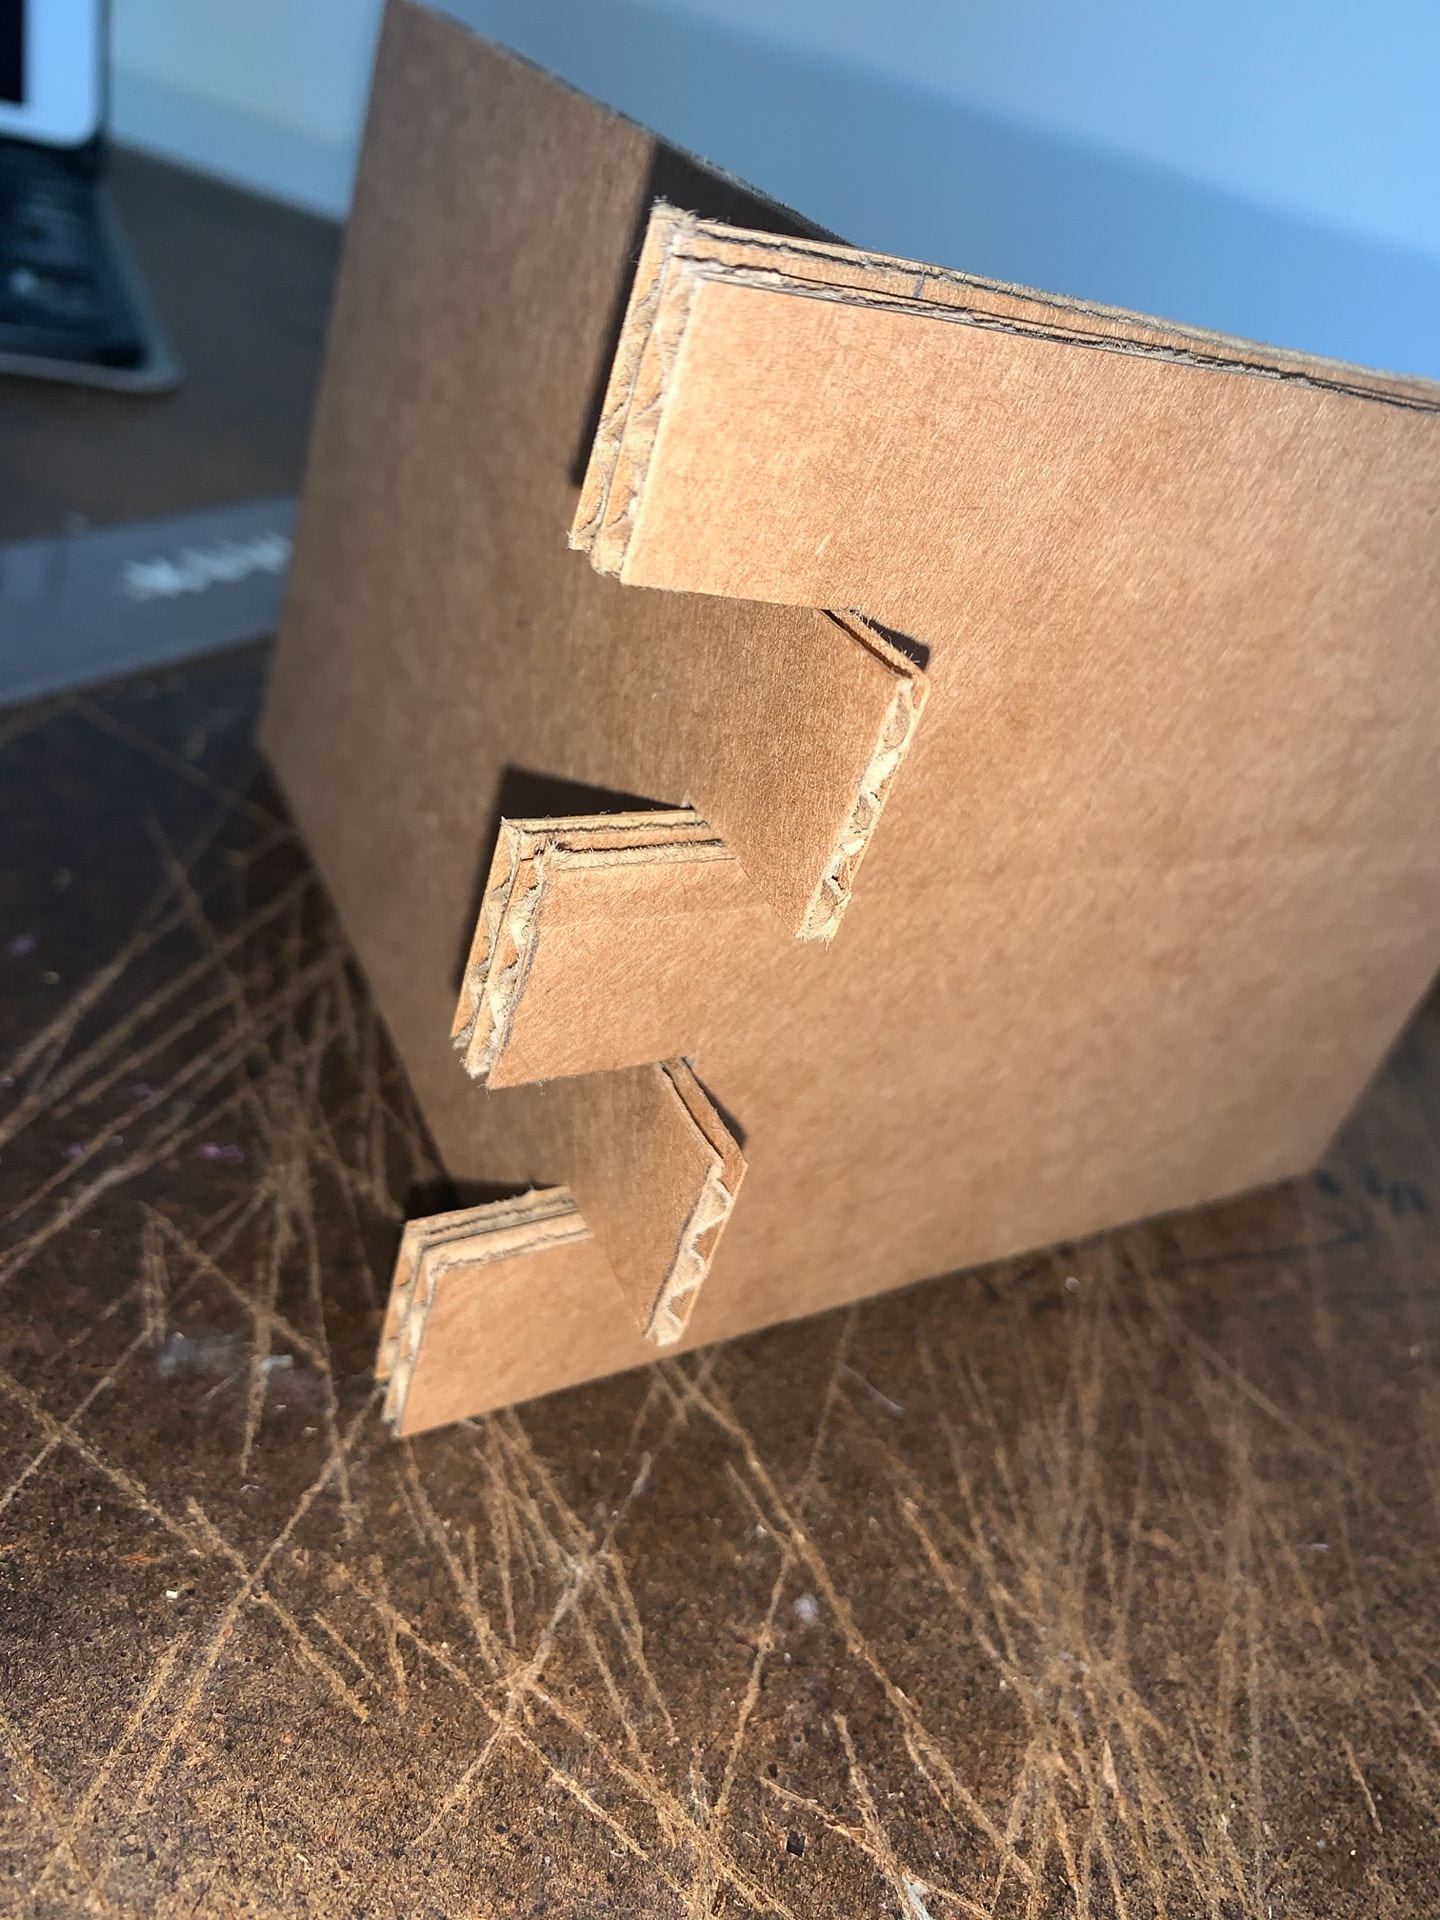
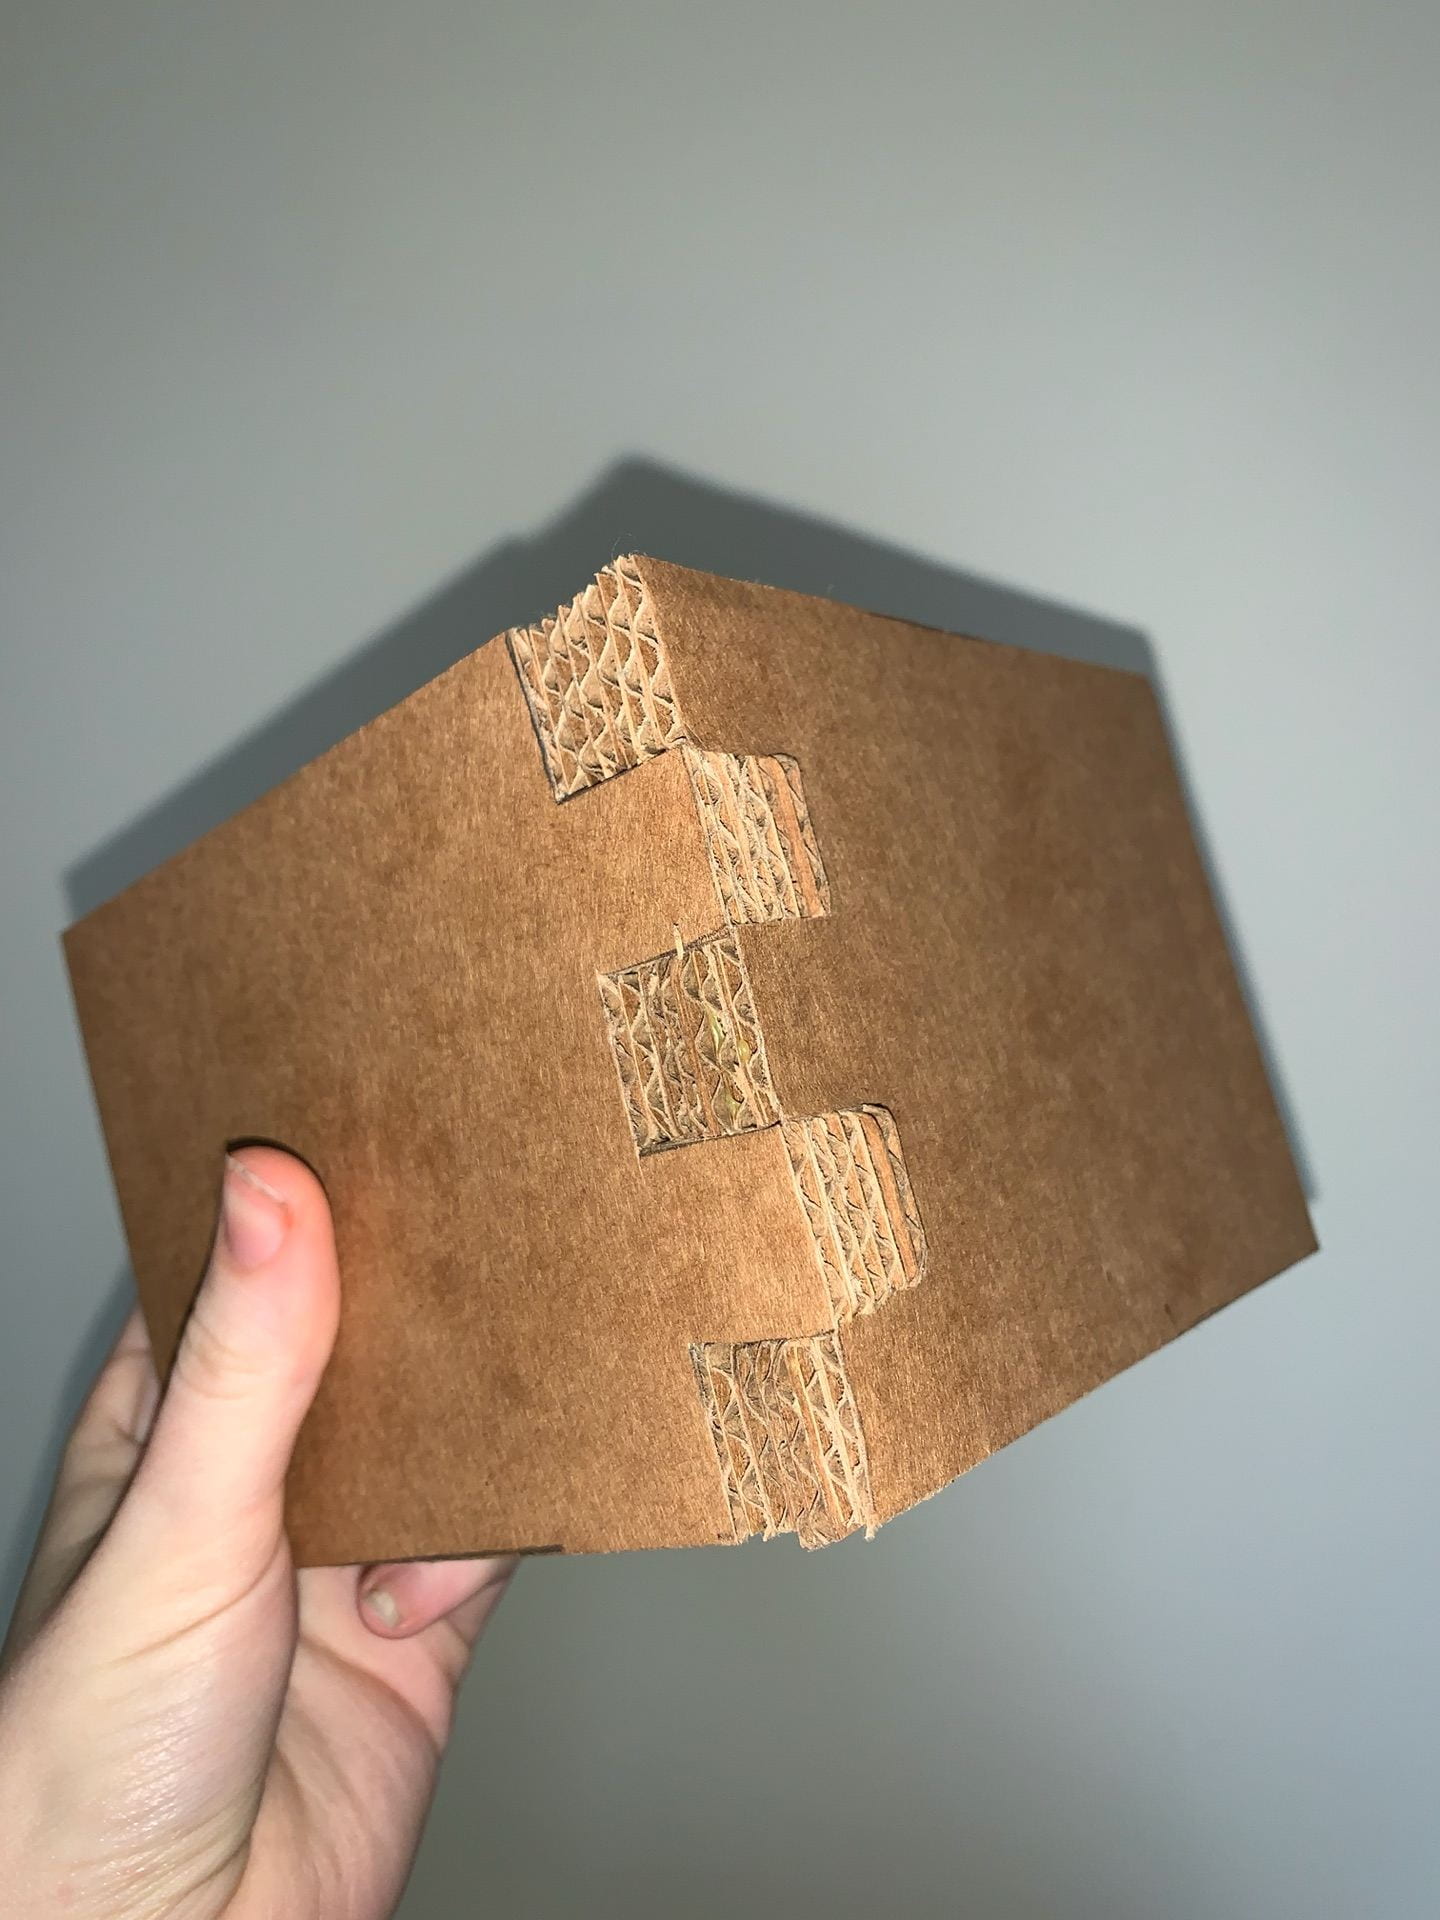
Process (w/images): This joint was easily my other favorite to make despite being ridiculously repetitive in execution. The fit for this joint ended up working so well that it hardly needed the glue to secure it. It seems fitting with this assignment to have ended on such a high note.
left to right: top view of the blocks newly laminated, newly laminated blocks, testing out the joints in layers, and the final joint in its completion.

Conclusion: After completing this assignment I feel as though I’ve gained a world of knowledge. The added element of measuring/working with cardboard I feel only added to the skills I learned. This assignment was with its obstacles but of the first projects I’ve worked on in quarantine, I’m more than happy to have tried something new.