Time & Composition: Project 4
We have finished our project 2 and project 3, through out the two projects, we used the same transitional space, the difference will be the change from single image to multiple images. By using single image, we can only show one specific/special part of the space, while multiple image can give a clearer view of the whole area, we can include all vision and angles of that specific space, having more detail information. On the other hand, single image is easier than multiple image because there are less information included, the main characters/most important thing can be presented to the audiences and therefore show the theme of the photo.
Link of project 2: https://portfolio.newschool.edu/kaylees/2018/09/14/project-2-transitional-space/
Link of project 3: https://portfolio.newschool.edu/kaylees/2018/10/09/project-3-multiple-images/
Final image of project 2:

Final image of project 3:

Here are some description of project 3(How I feel the changes & the processes):
“In this project, we are using the pictures in the previous project(Project 2, Transitional Space), but in this case, we put pictures and photos of the transitional space together and make them look like a story in a comic way. We learnt the skills of using software InDesign to create frames for the photos, and we also learnt the skills of showing the connection between time by reading lots of instructions and information. In the class, me and my classmates had discussions about how to show “time” by creating comics, and we also extent it into how to show “changes of time” after solving the last question.
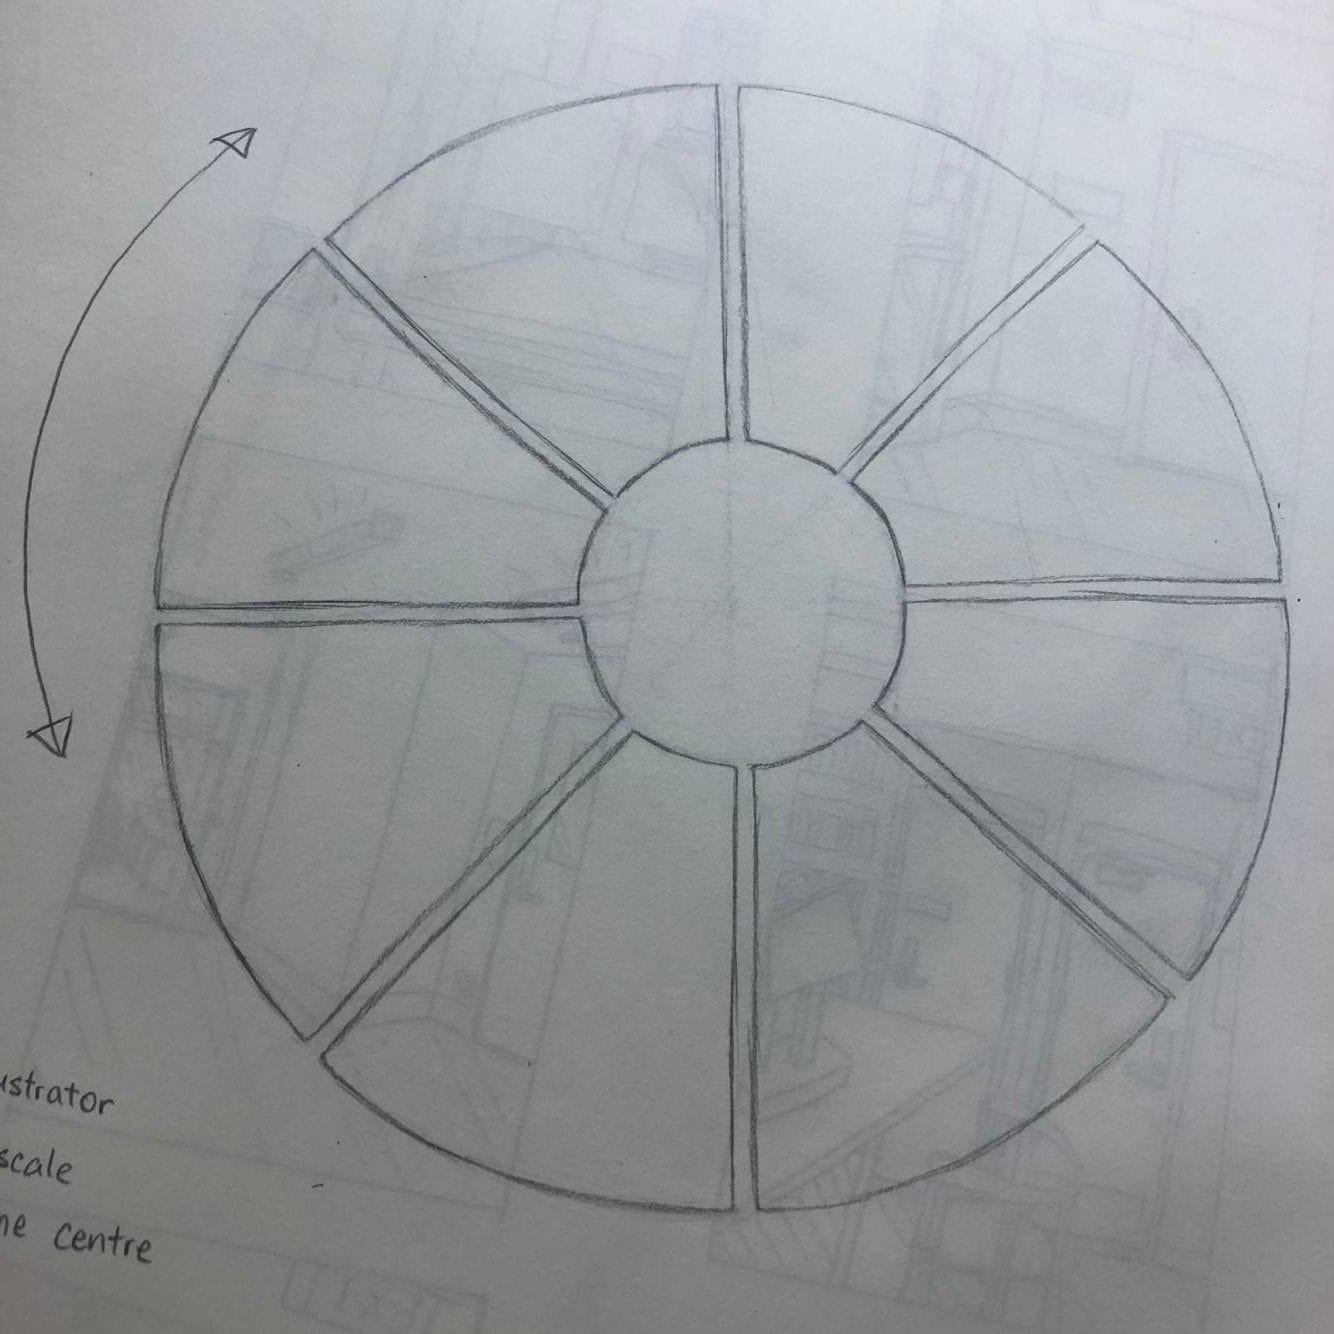
The further discussions in class gives me new ideas of re-creating my photos of the transitional space I chose in my last project. I retake some photos of the same place this time but during different time of the day, from morning to midnight, together I picked 8 best photos that can be connected to each other for this project. I also decided to use a donut-like shape for the 8 photos I took, while the 8 photos forms a cycle in equally divided frames. The cycle can be a cycle of a day of that transitional space; the cycle can be a cycle of going in and out of the transitional space; by using the meaning “cycle”, my audiences can experience the usage of that area, and also have a better view of how the space connect two other areas, which forms the “transitional space”.”
Process pictures of project 3:

Reflections:
I think it is harder for me to do project 3 comparing with project 2 because we are using more photographs to show one place, I need to decide the arrangement of these photographs. Why should I arrange them in this way? Why am I using these photographs? How can I present my theme clearly? Here are the main questions that I have to answer while doing project 3, but for project 2, I only need to figure out how should I present this space with one single image. However, I find it more interesting while doing project 3, we also learnt how to use techniques of drawing comics, we put the photographs in a special order to show our topic, and I also experienced a lot of different types of softwares for creating the frame of project 3.
If I am going to do something similar with these next time, I will be making plans before I choose the space and take photographs. After doing these projects, I think I improved my skills of taking photos and also learnt the skills of making comic panels. I also noticed that I should take tones of photographs before I start my final artwork while more photographs can improve the quality of my final outcome for these projects.
Thank you for reading!