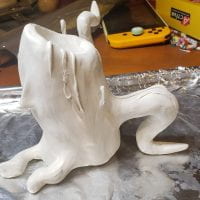
 yayyyy
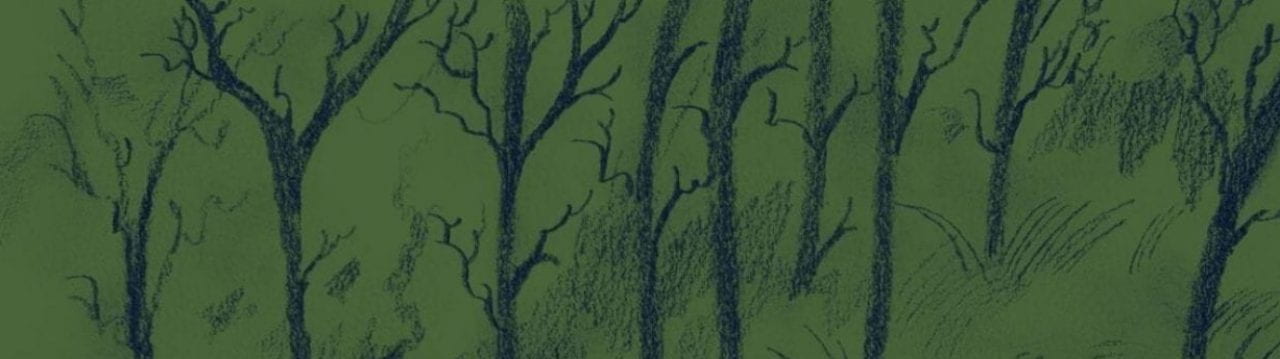
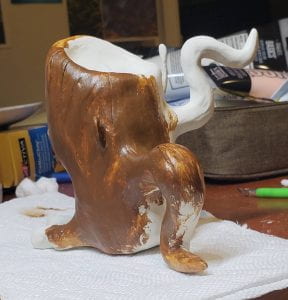
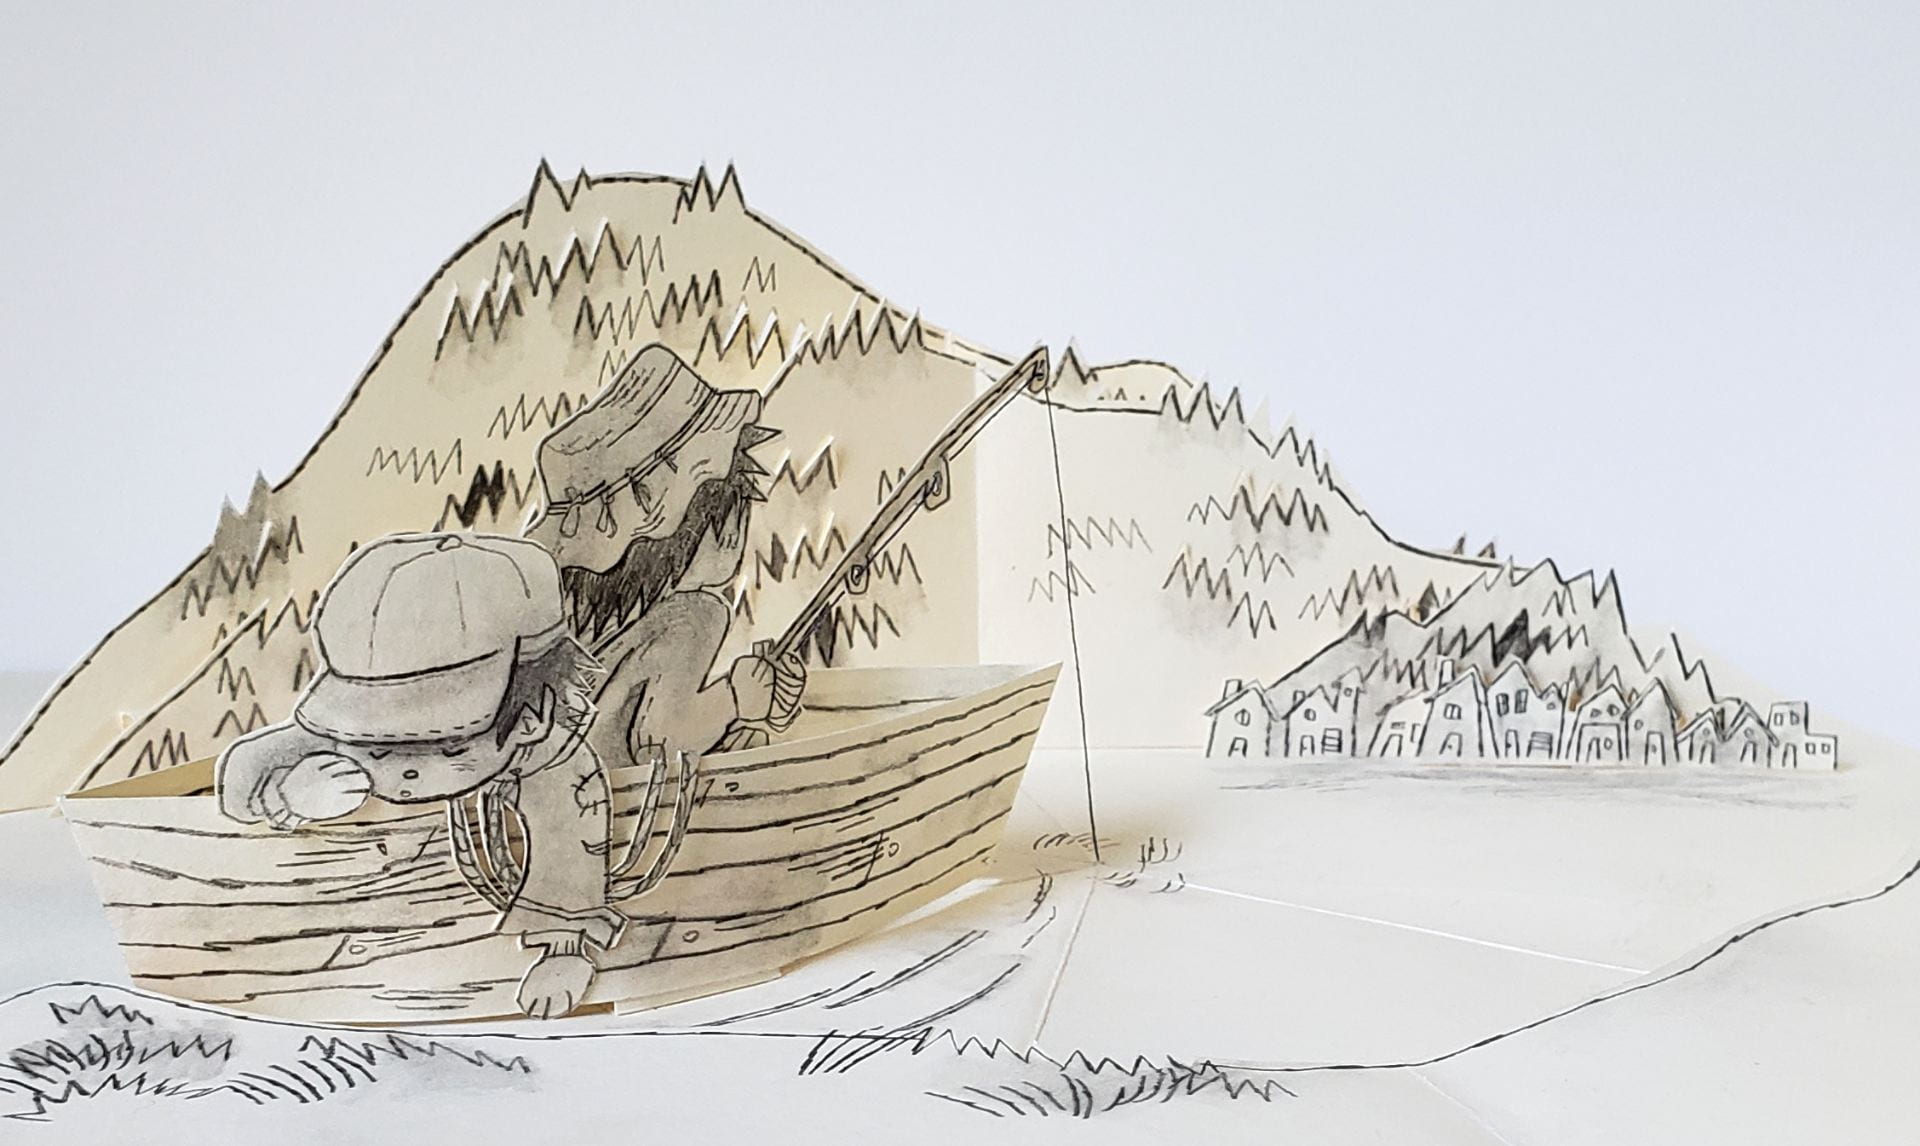
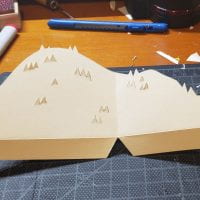
the artwork i used for my planes:

some windows and doors

original illustration
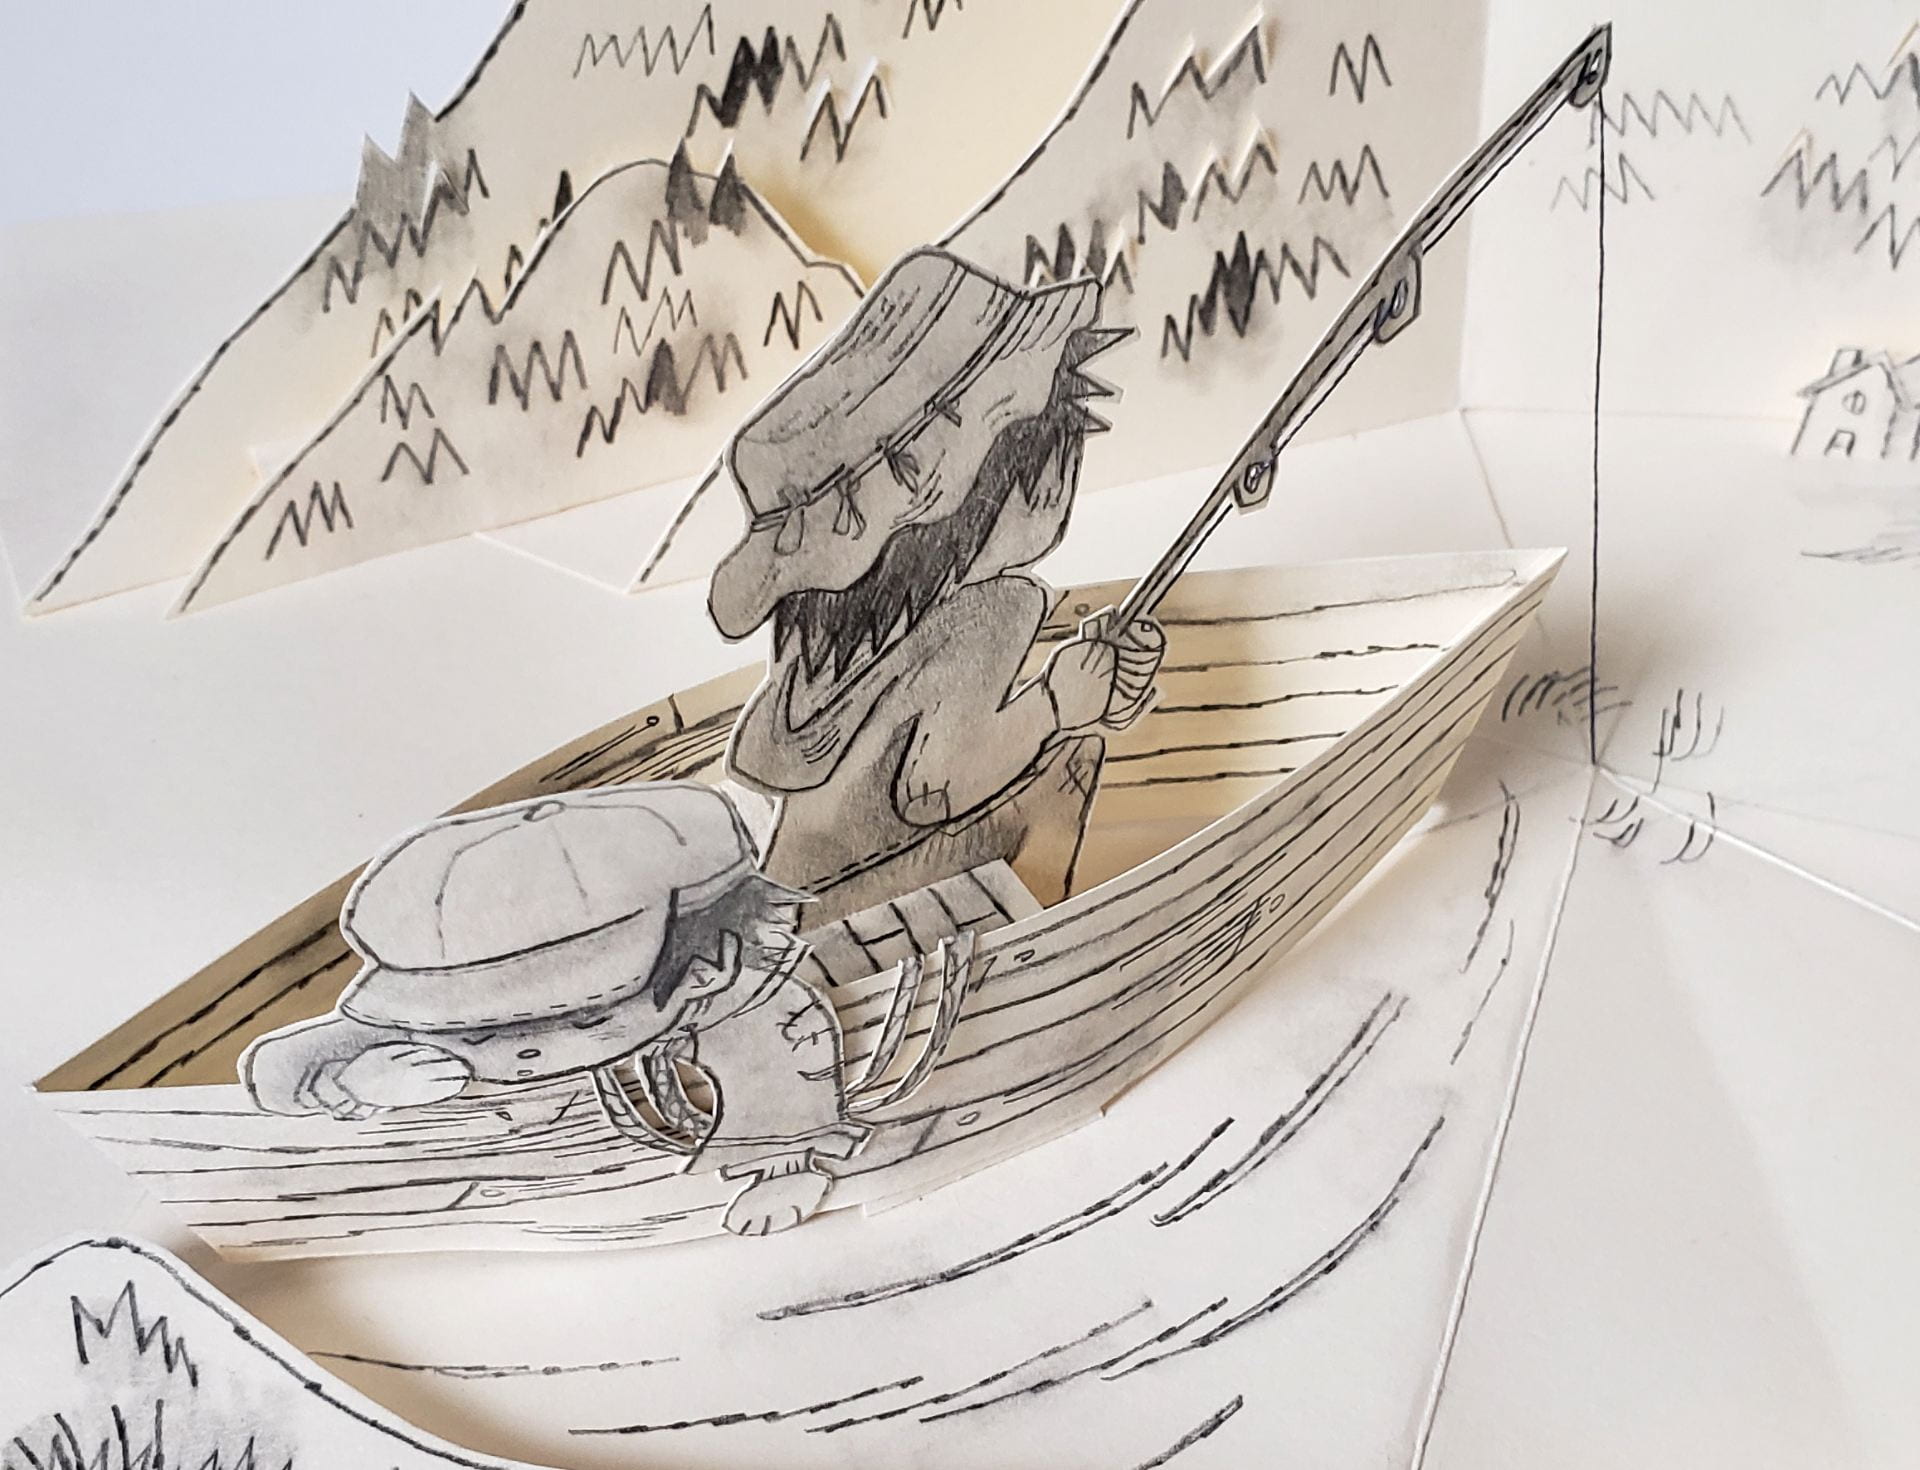
For this demo I focused on the relationship between my planes and the camera– I really love the effect that adjusting the depth of field gives but my initial set up wasn’t giving me as dramatic of an effect as I wanted. After figuring out that I had to change the render engine to see a change in the dof, I played around with the distance between each plane, the distance from the camera, and the aperture.

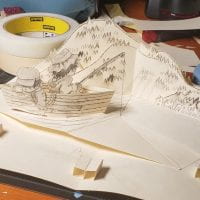
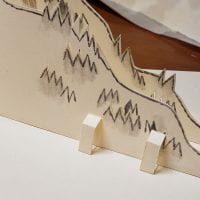
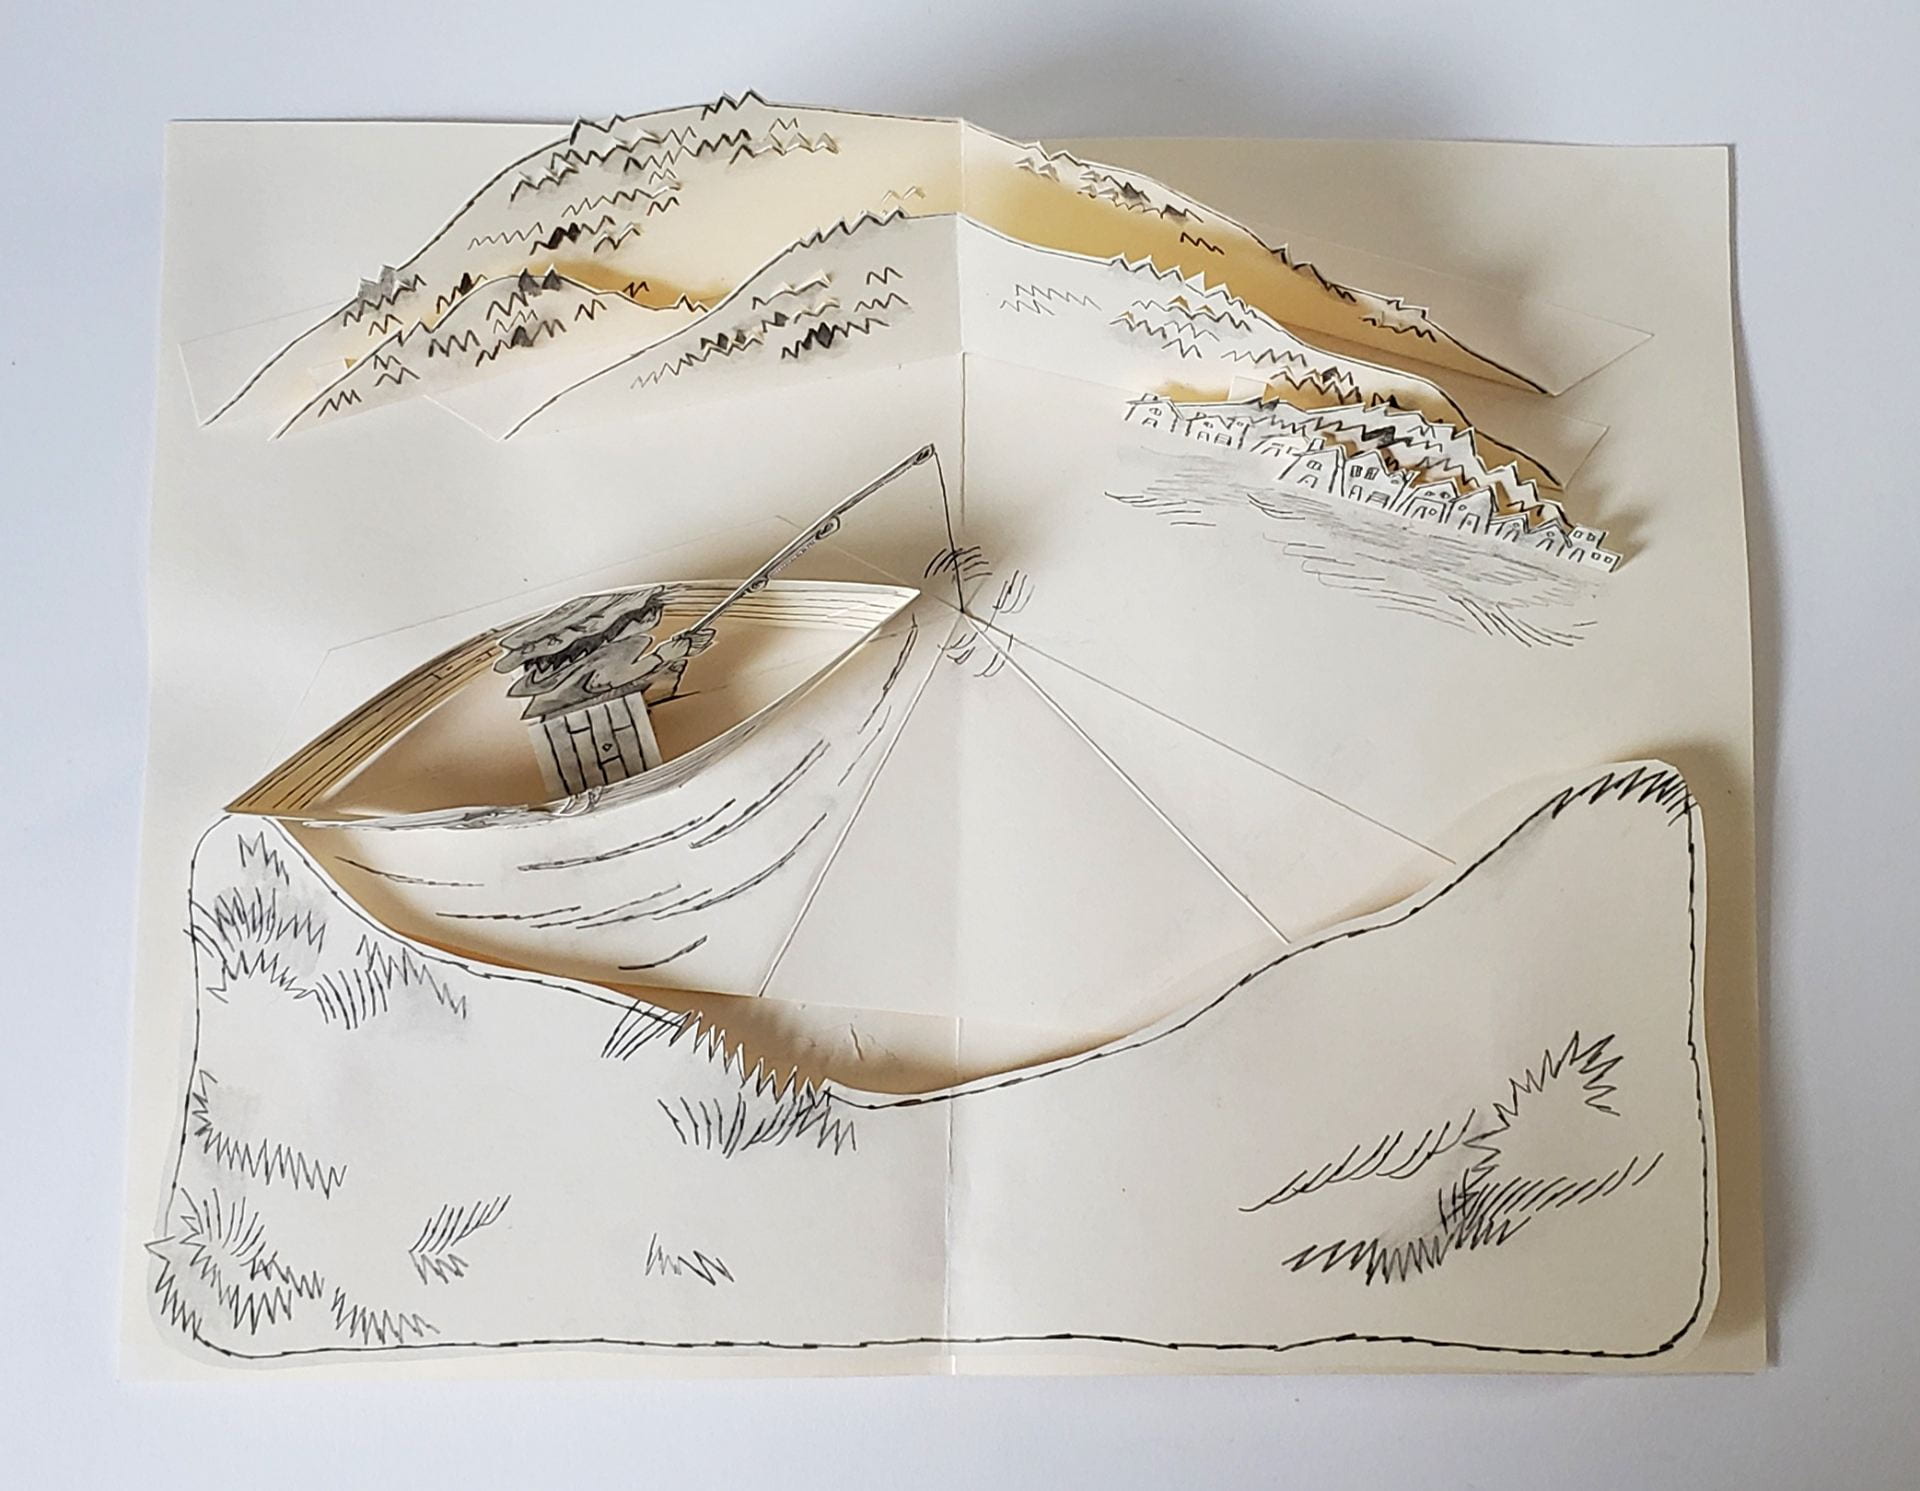
initial plane set-up

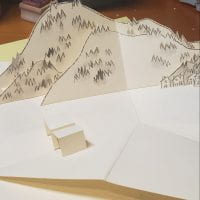
adjusted planes for dof
knife tool
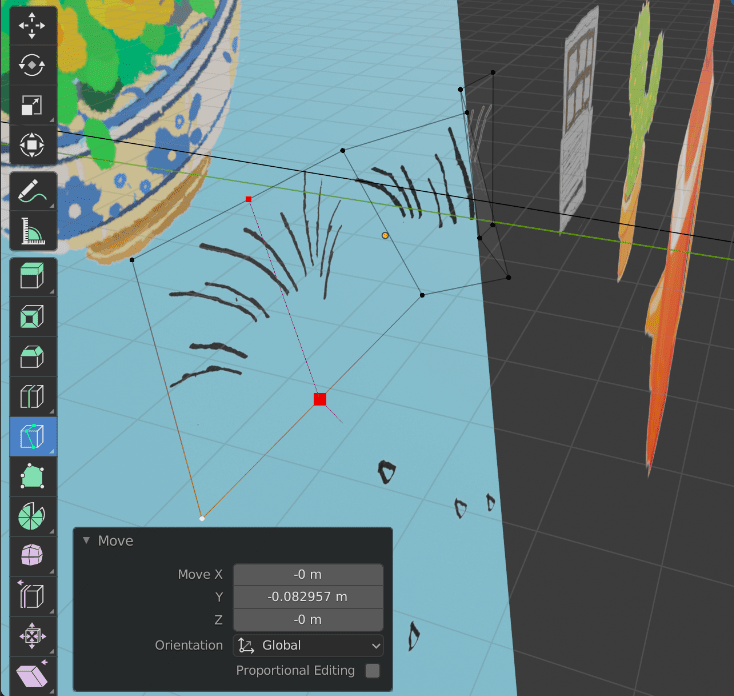
My next point of experimentation was to adjust the topography of my planes… I only happened upon the knife tool when I was trying to figure out how/if I could cut a plane into two (still unsure how to do that, but I’m sure that I can!) I decided to put some folds in this plane to make it more grass like, but it’s not very noticeable in the final render.
The final step was to animate the camera zooming (and panning slightly) to show that my planes exist in a 3D space. I used the auto-keying feature for this which made the process indcredibly simple.
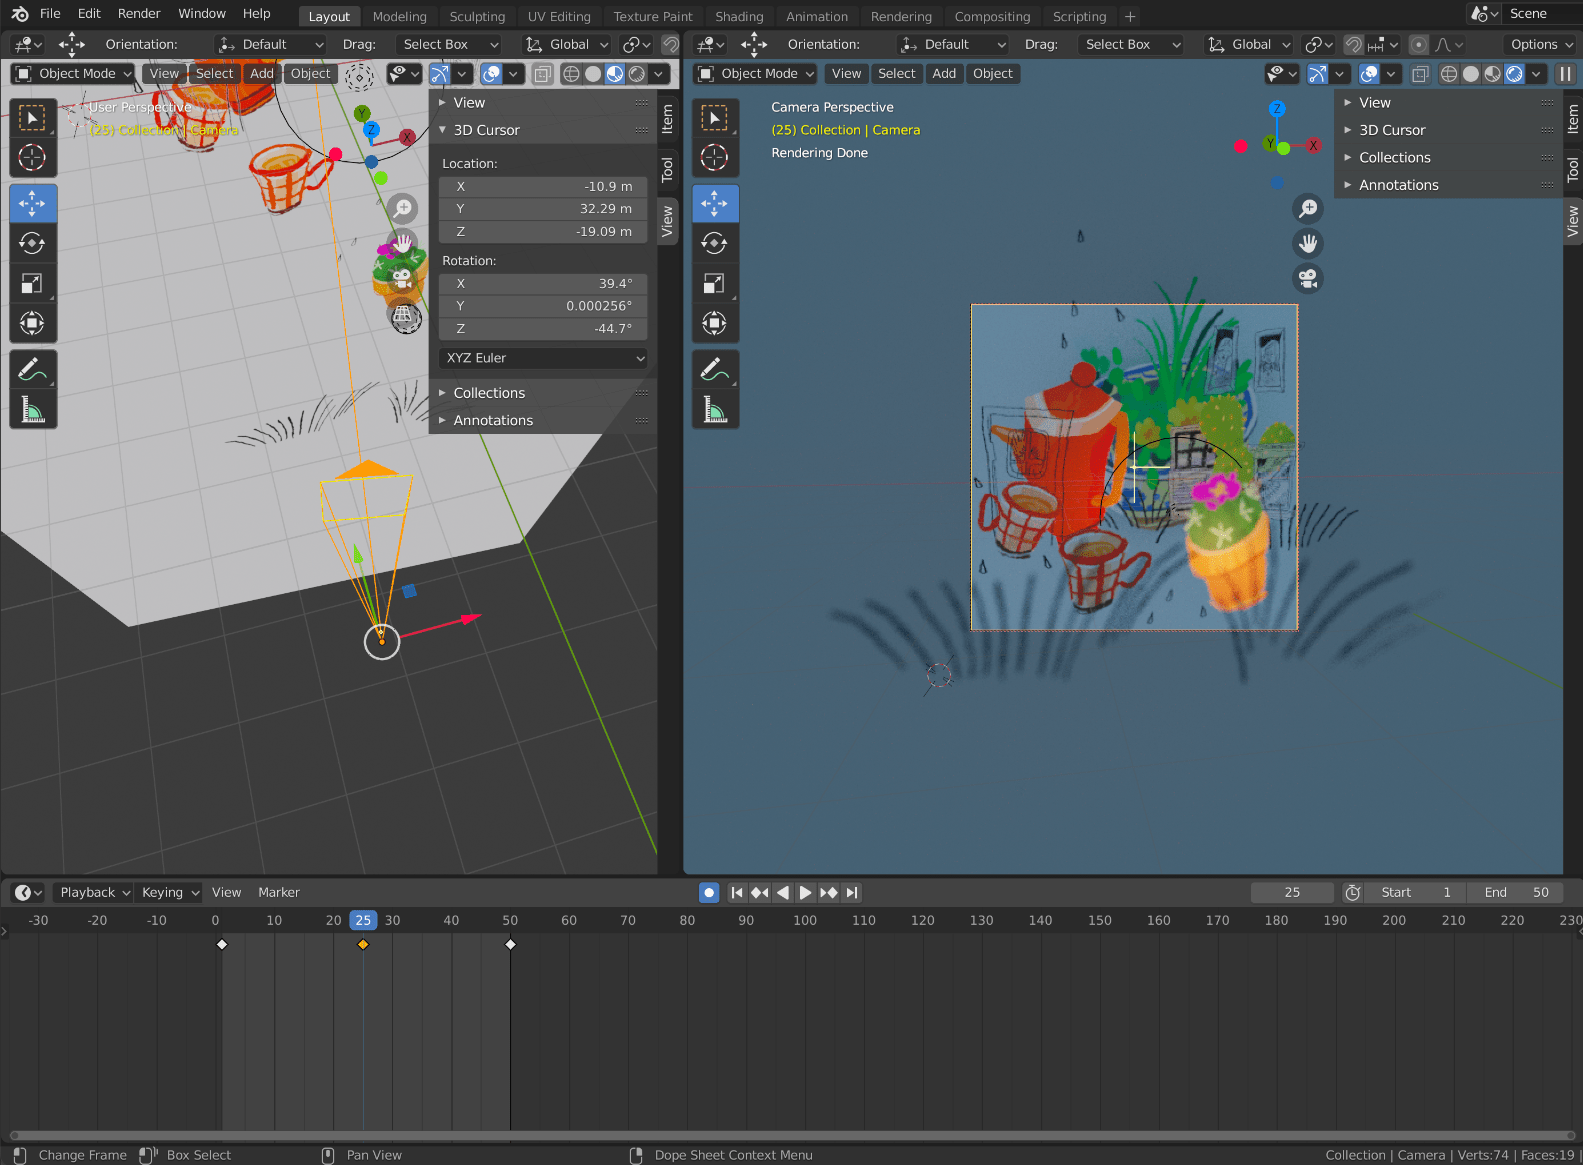
animating the camera
My first hour or so in blender was pretty rough (most of it spent really desperately trying to get my shadows to work) but after a couple of youtube tutorials I’m really excited to work more in this program. This tiny taste was a lot of fun :o)