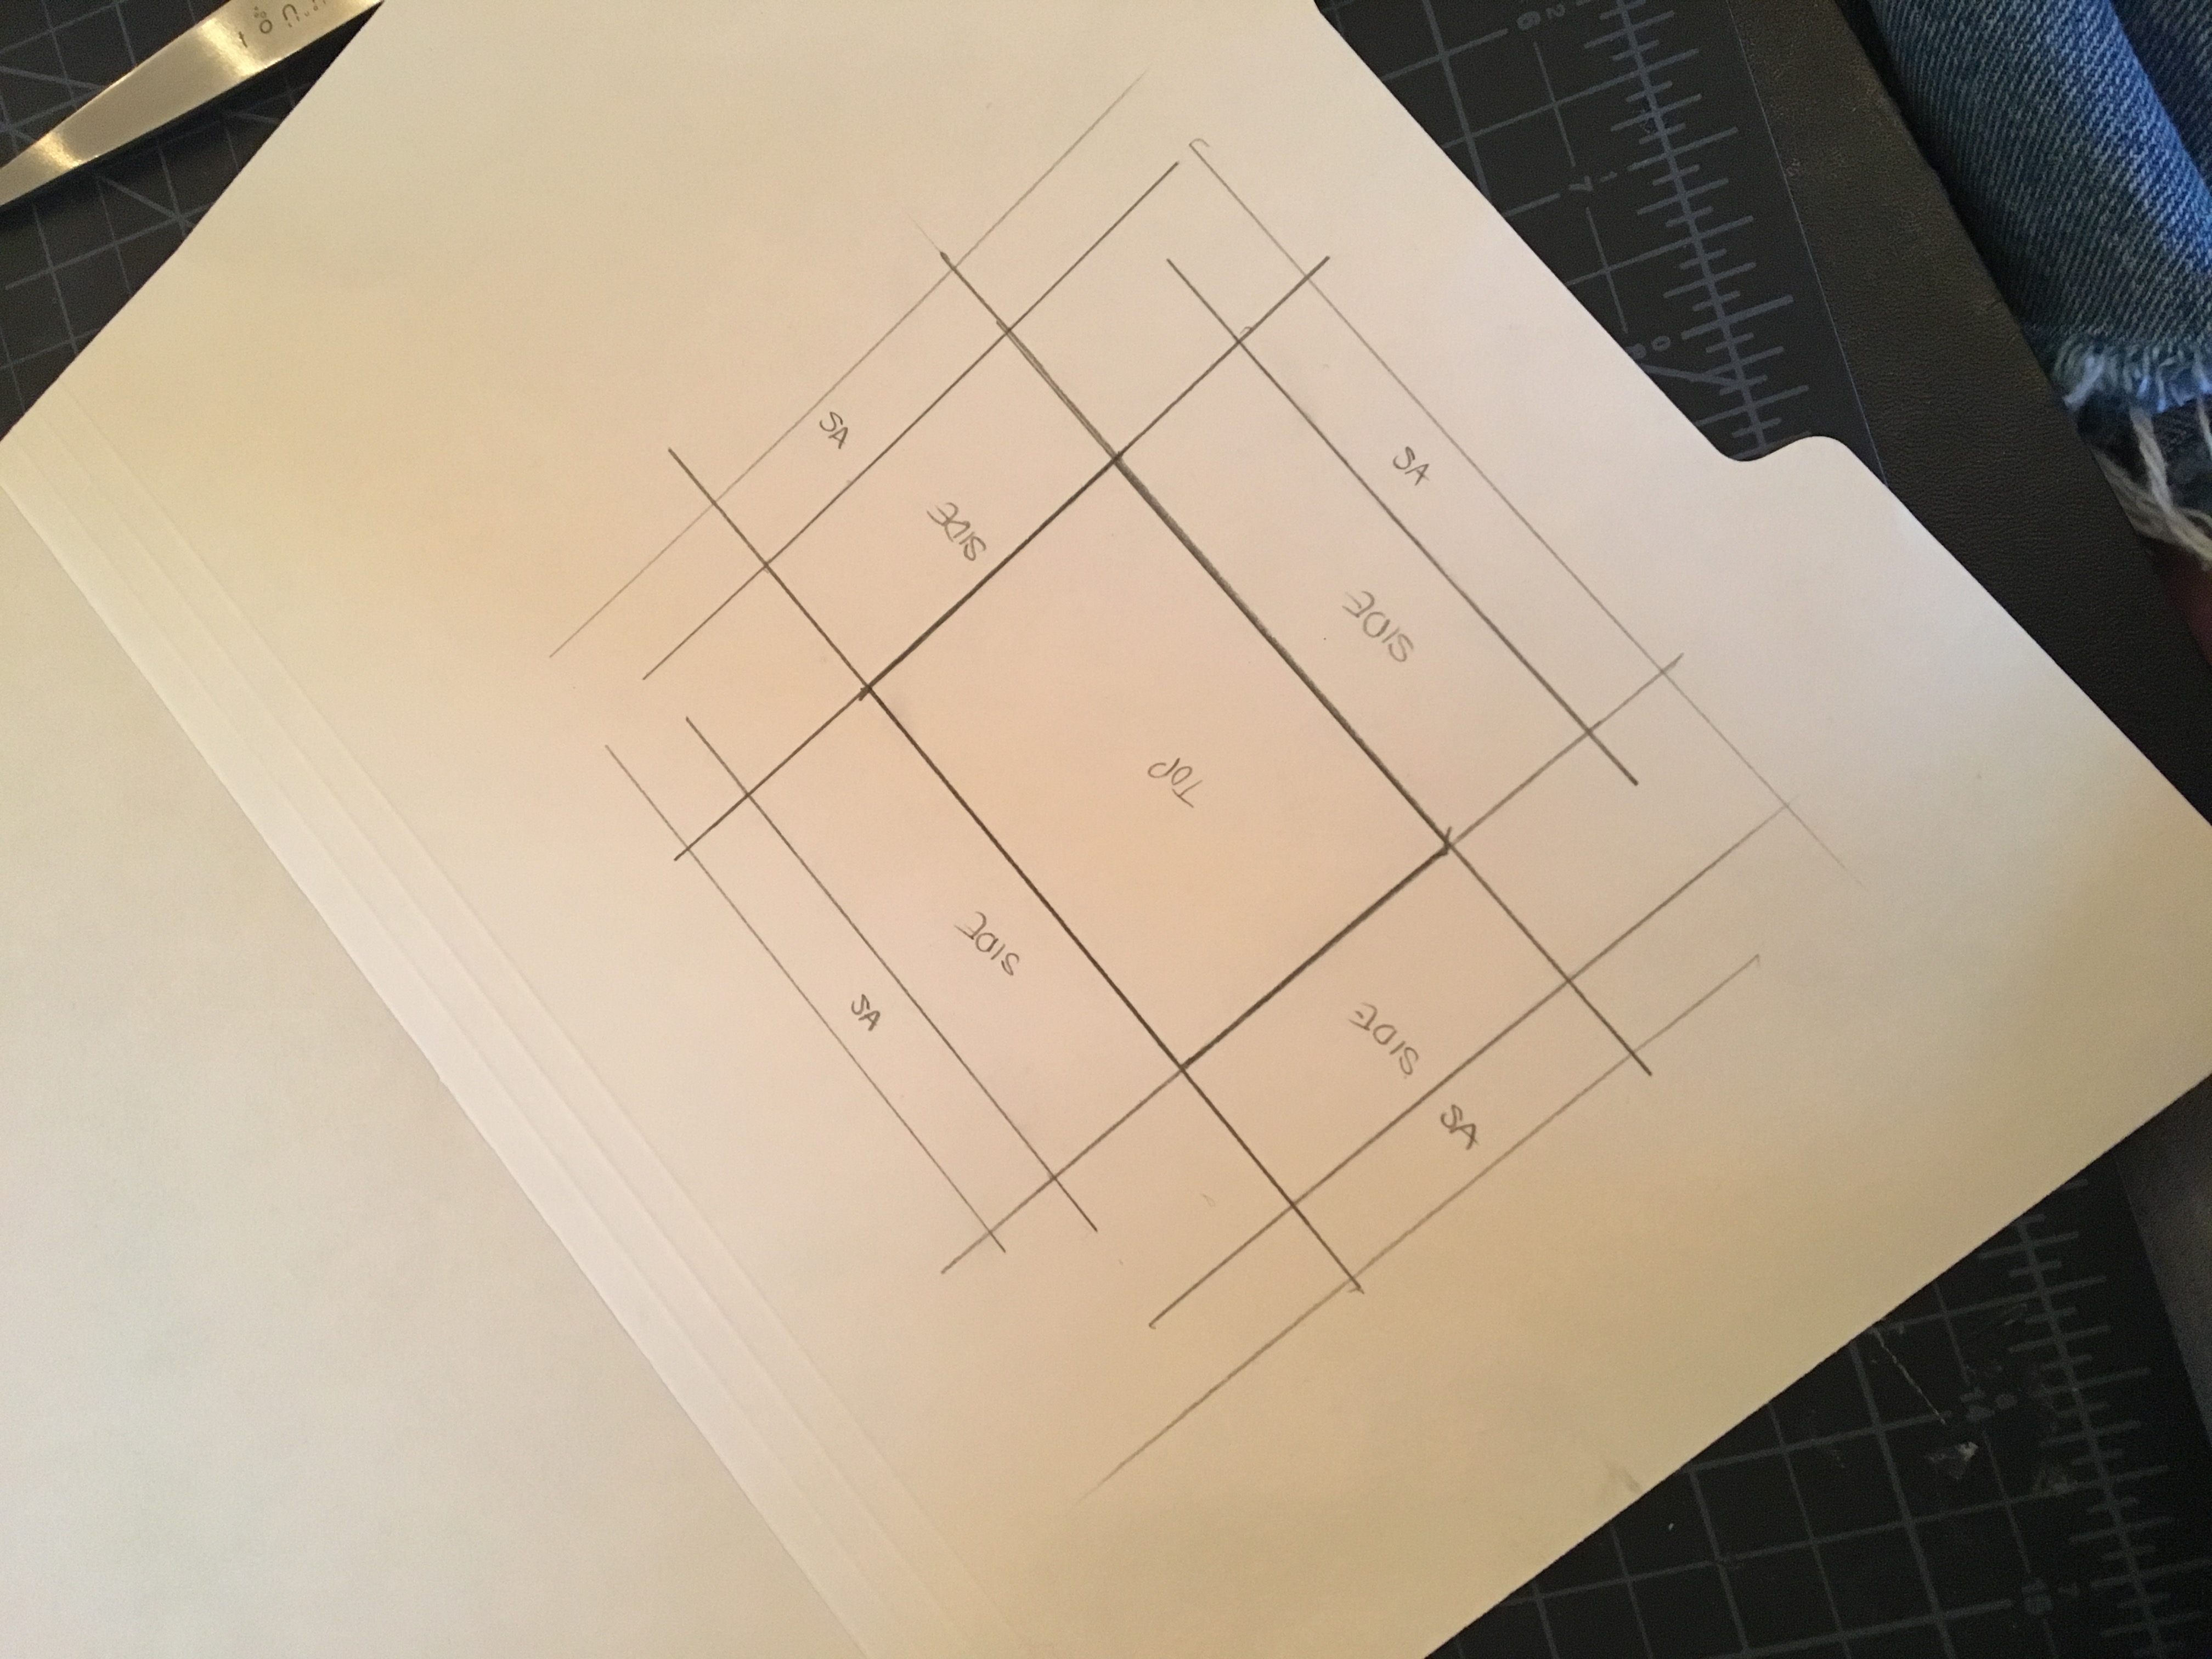
i began by drawing a 2″x3″ rectangle onto my cardstock. I then extended it one inch around each side and added an additionall 1/2″ seam allowance, which was later used to attach the top portion of the tower to the power portion. I drew out the bottom portion by starting out with a hole in the middle that was slightly bigger than the size of the top of the tower. 
i then scored the folds, cut out the pieces, and assembled the 2 tiered tower. Afterwards, I cut up the corners of the tower to make it lay flat


Next was the 3 tiered tower. I did the same steps as the first tower, but added an additional level to the top, which ended up being a 1″x2″ rectangle.


after assembling it, I cut it to lay flat and traced it onto pattern paper, including all notches and folds. Then, I added seam allowance.

in class, I realized I should not have added seam allowance to the bottom part of each side of the rectangle because it is not being attached or sewn to anything.