Project 2: Pants in motion. Creative Tech Studio 2

f58311c50f81b70e61effa425cf1f0d3 9f1a24b942892259294cee527a7bdf62 70fa002751e4454a8e73857fdb37171b

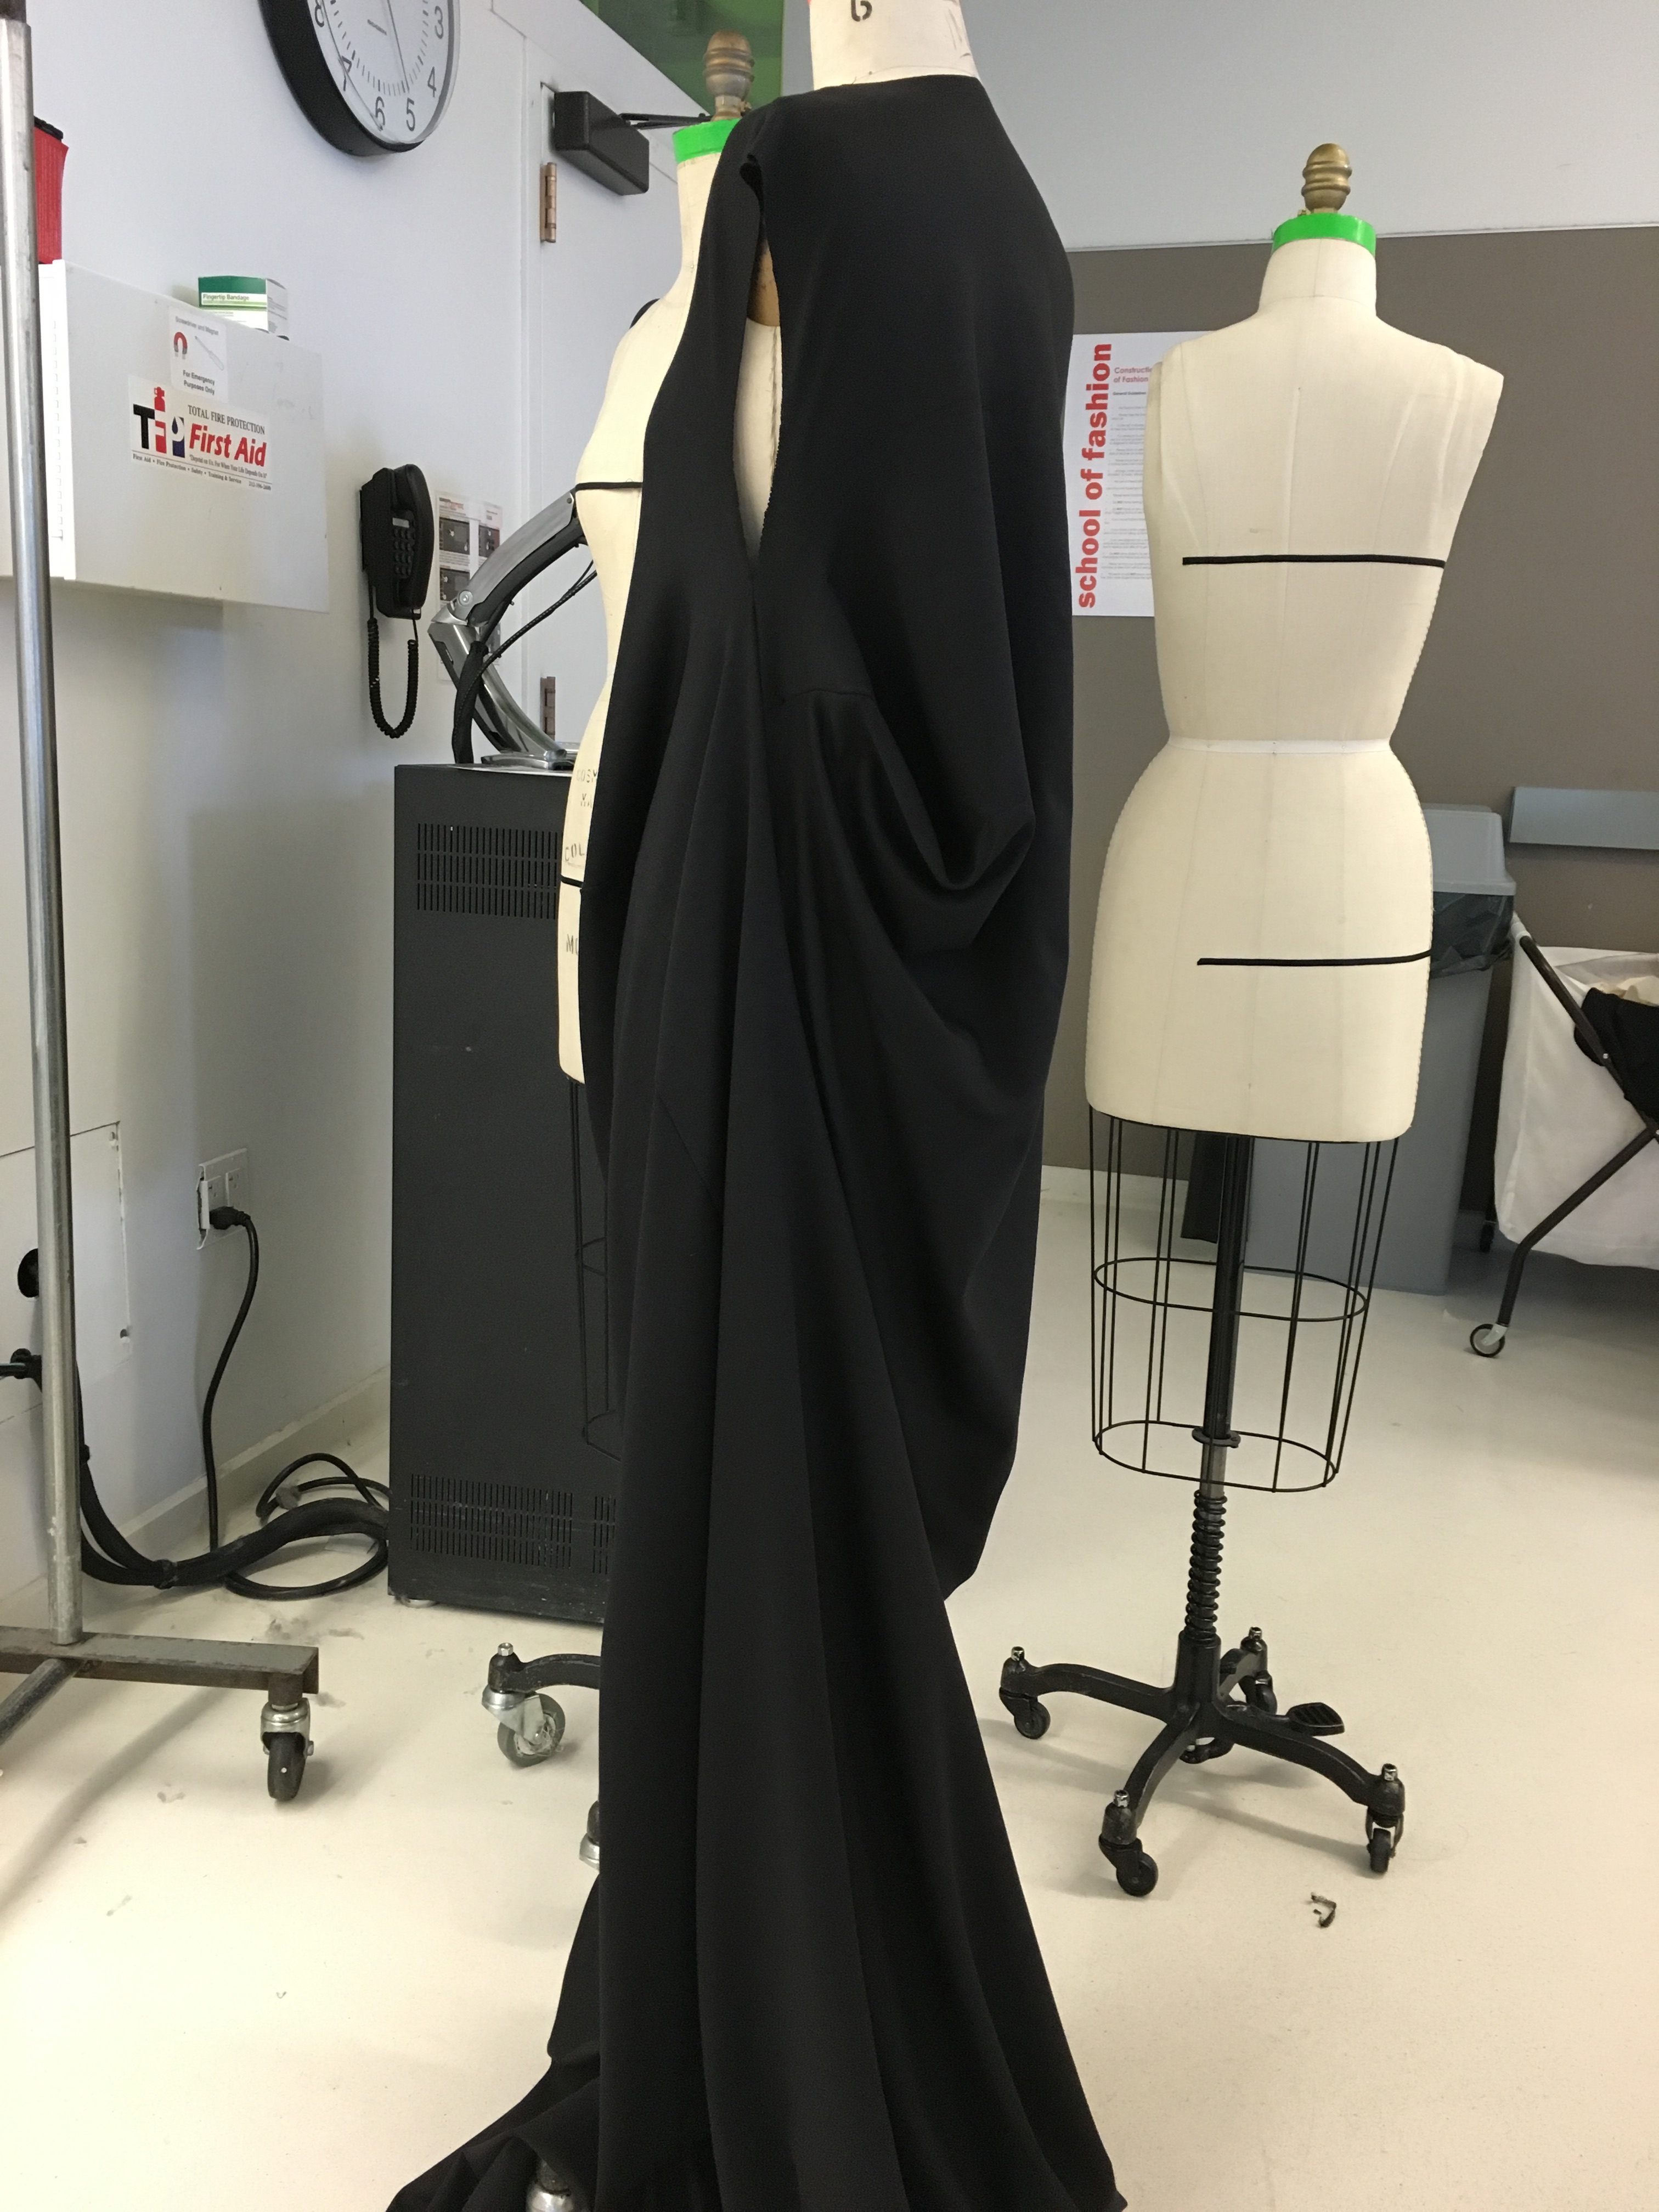
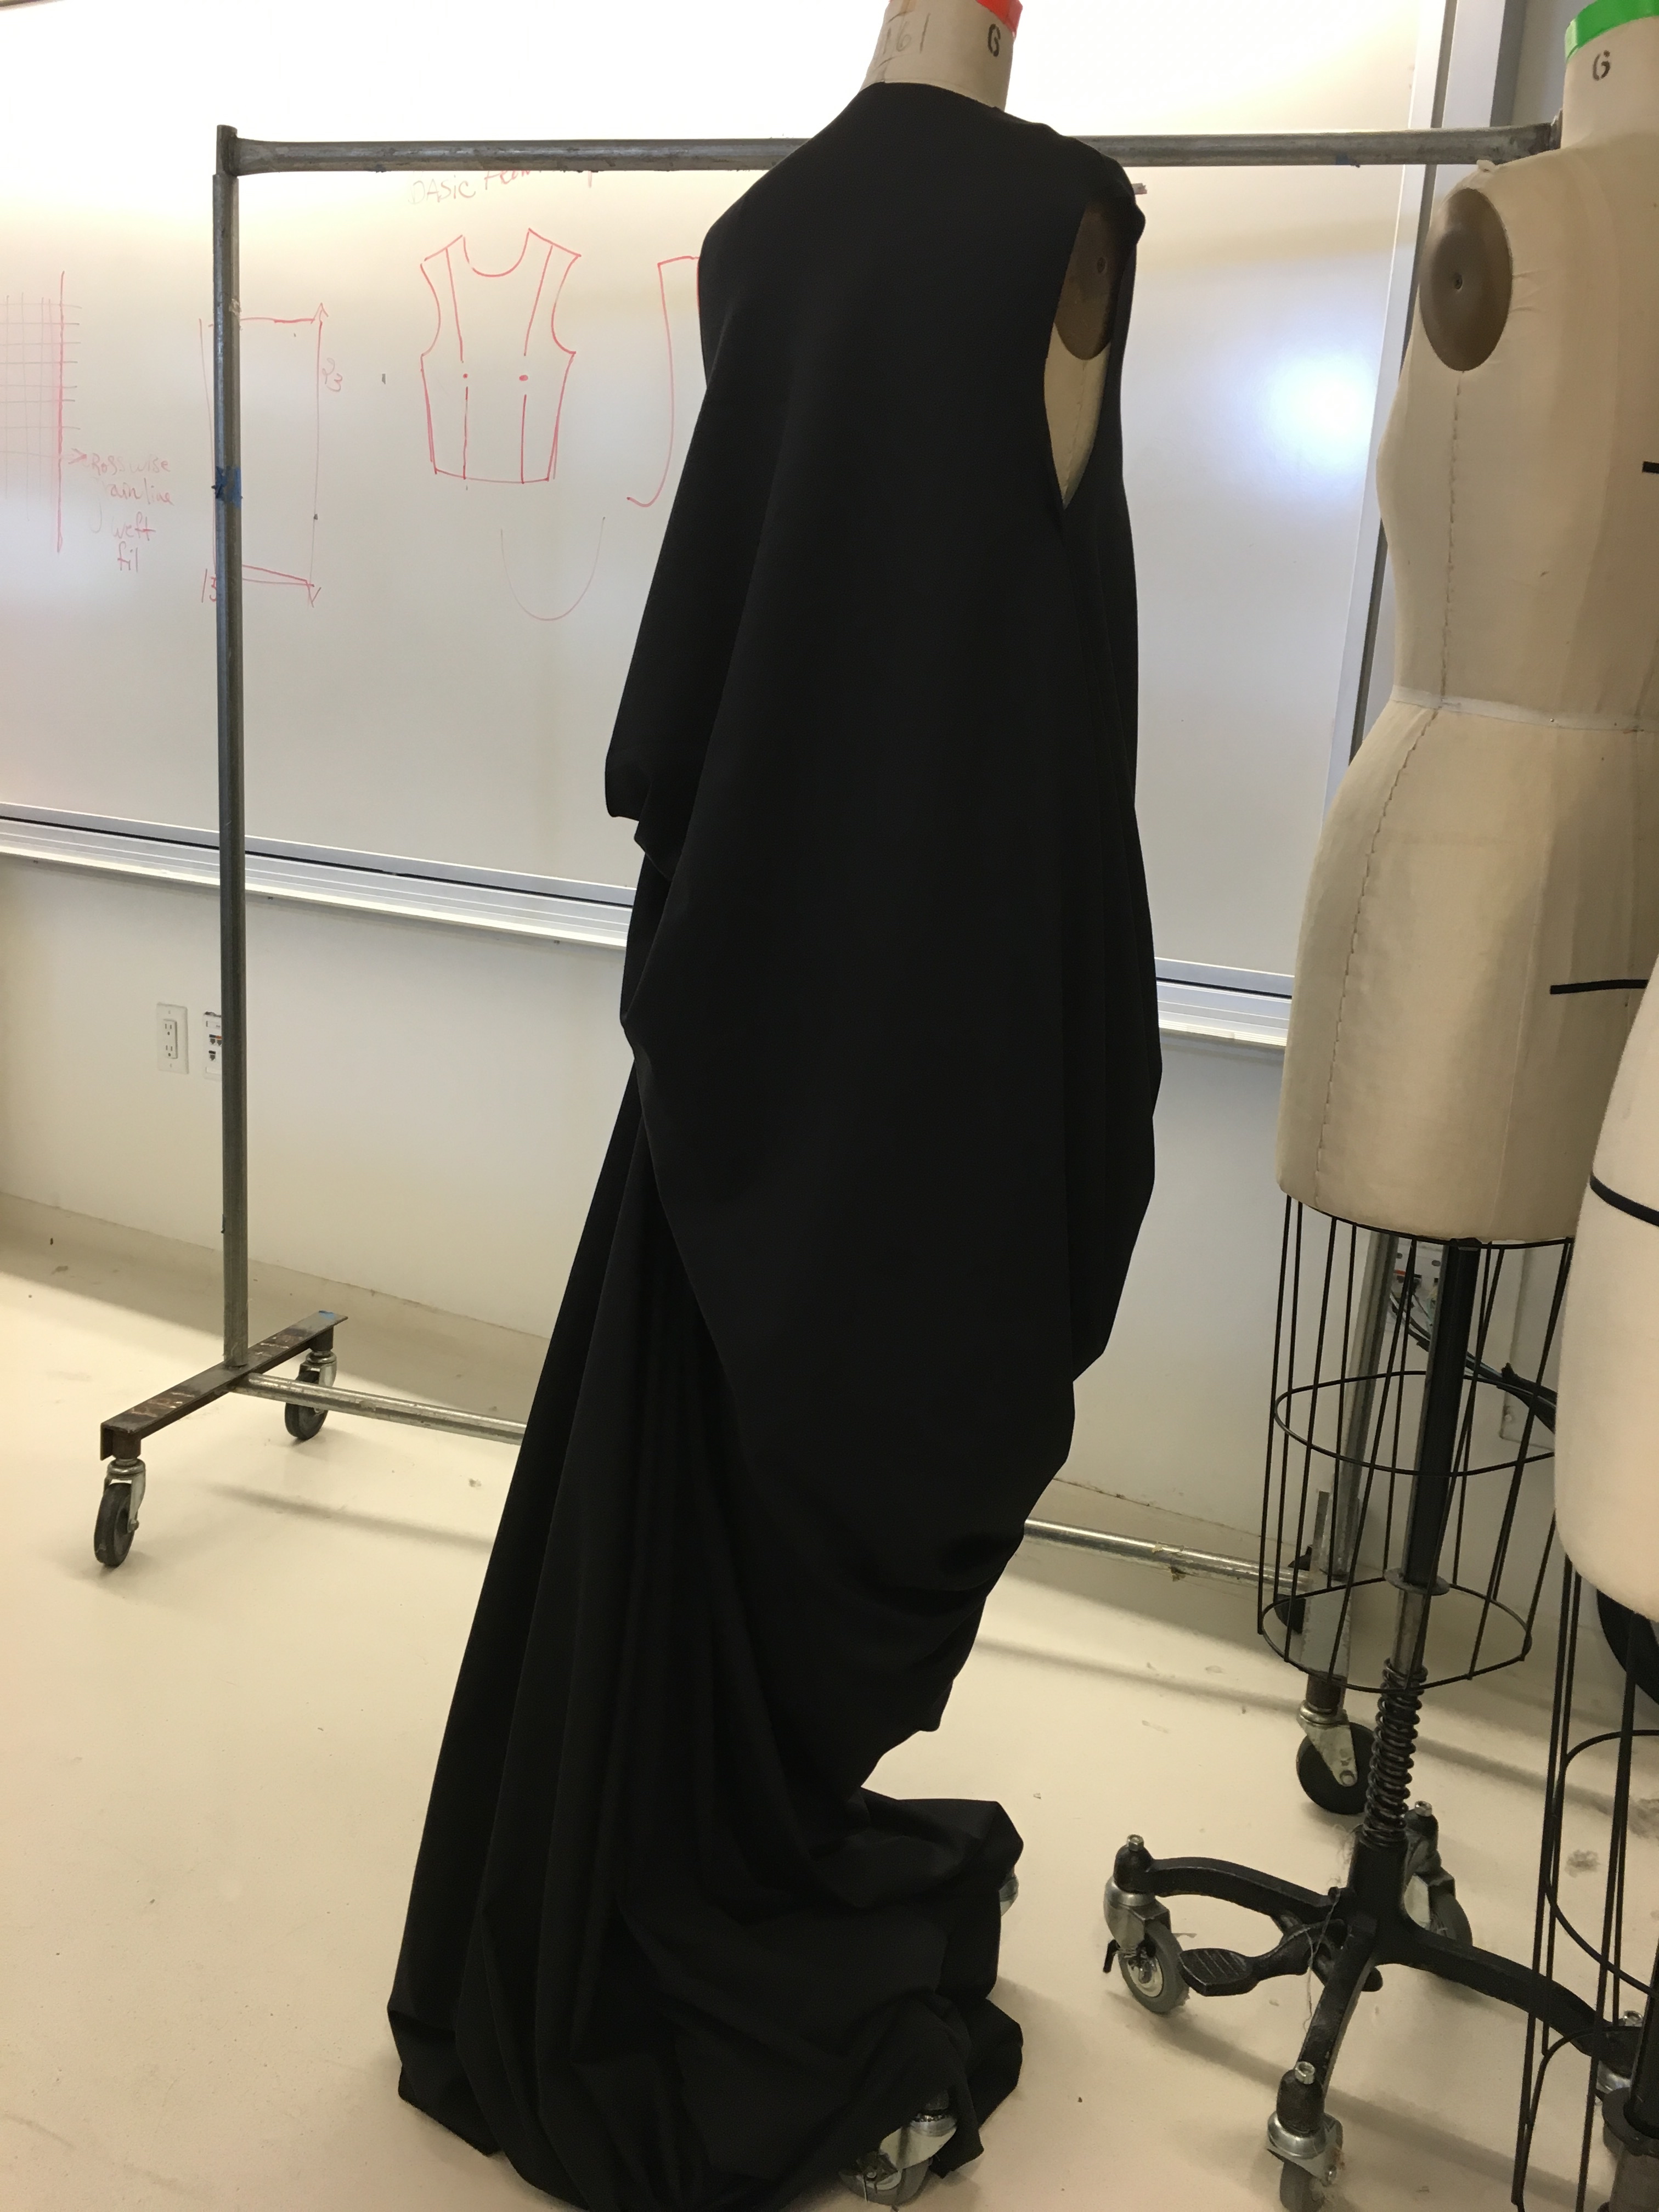
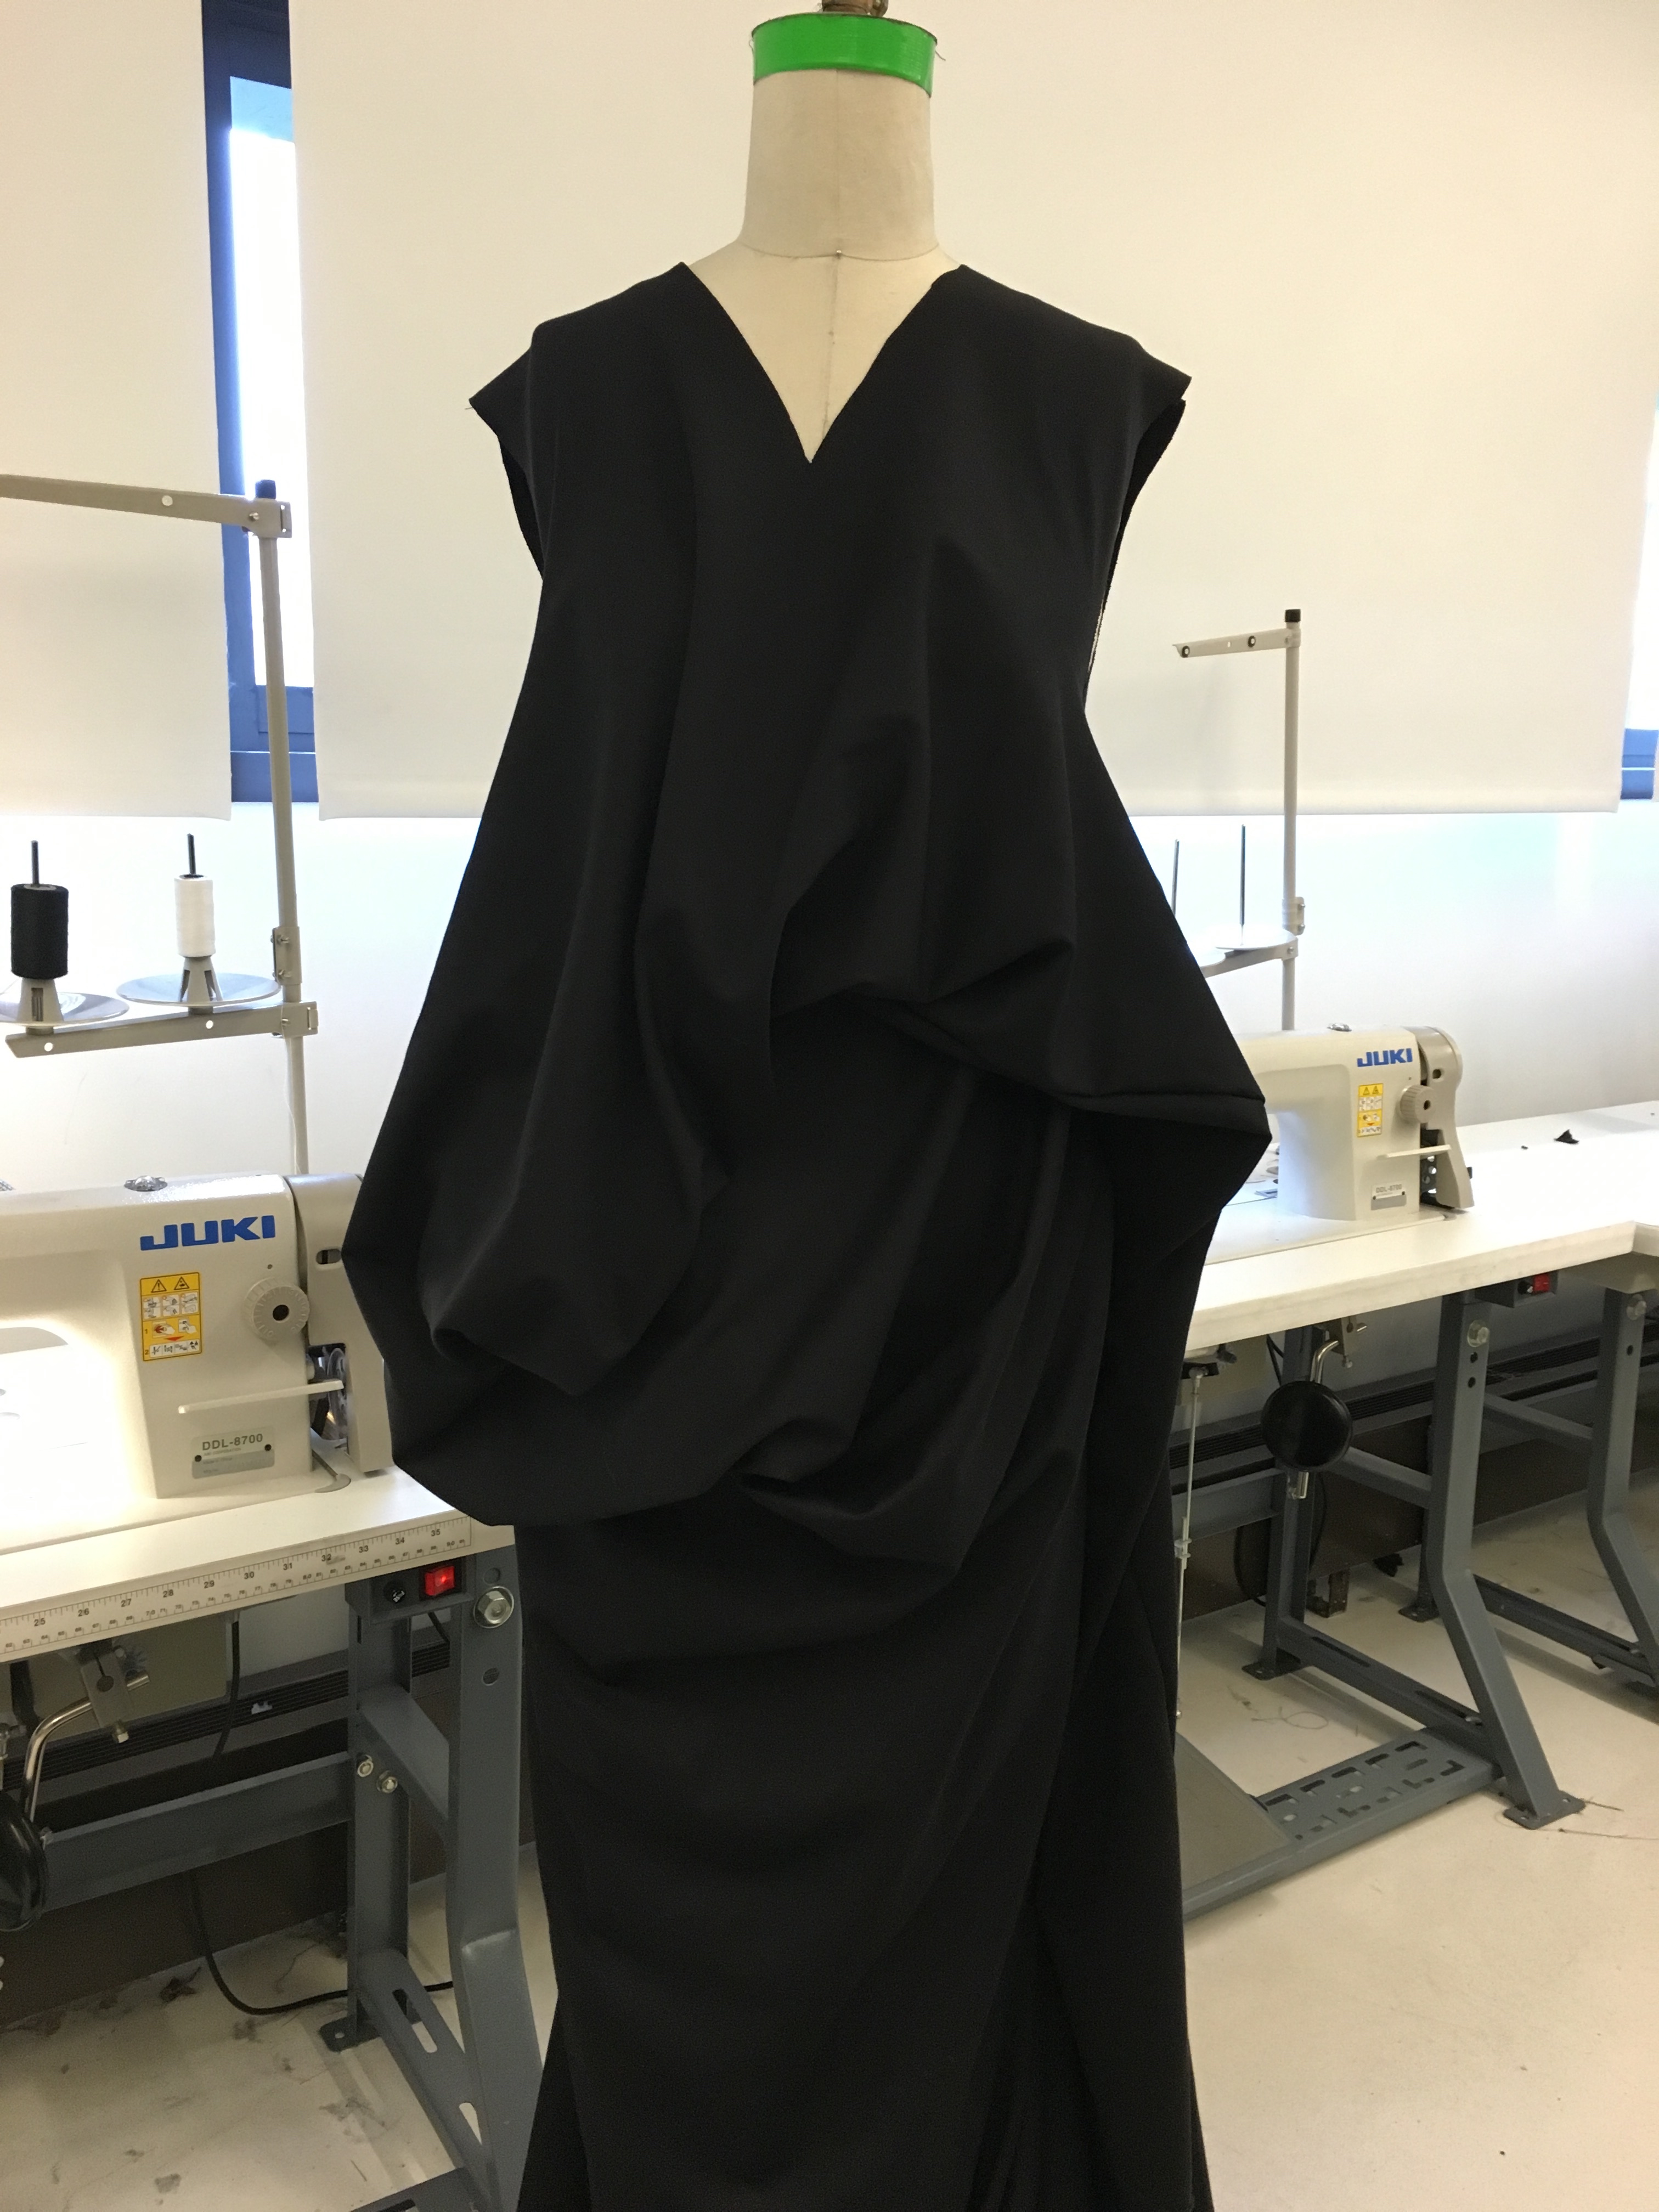
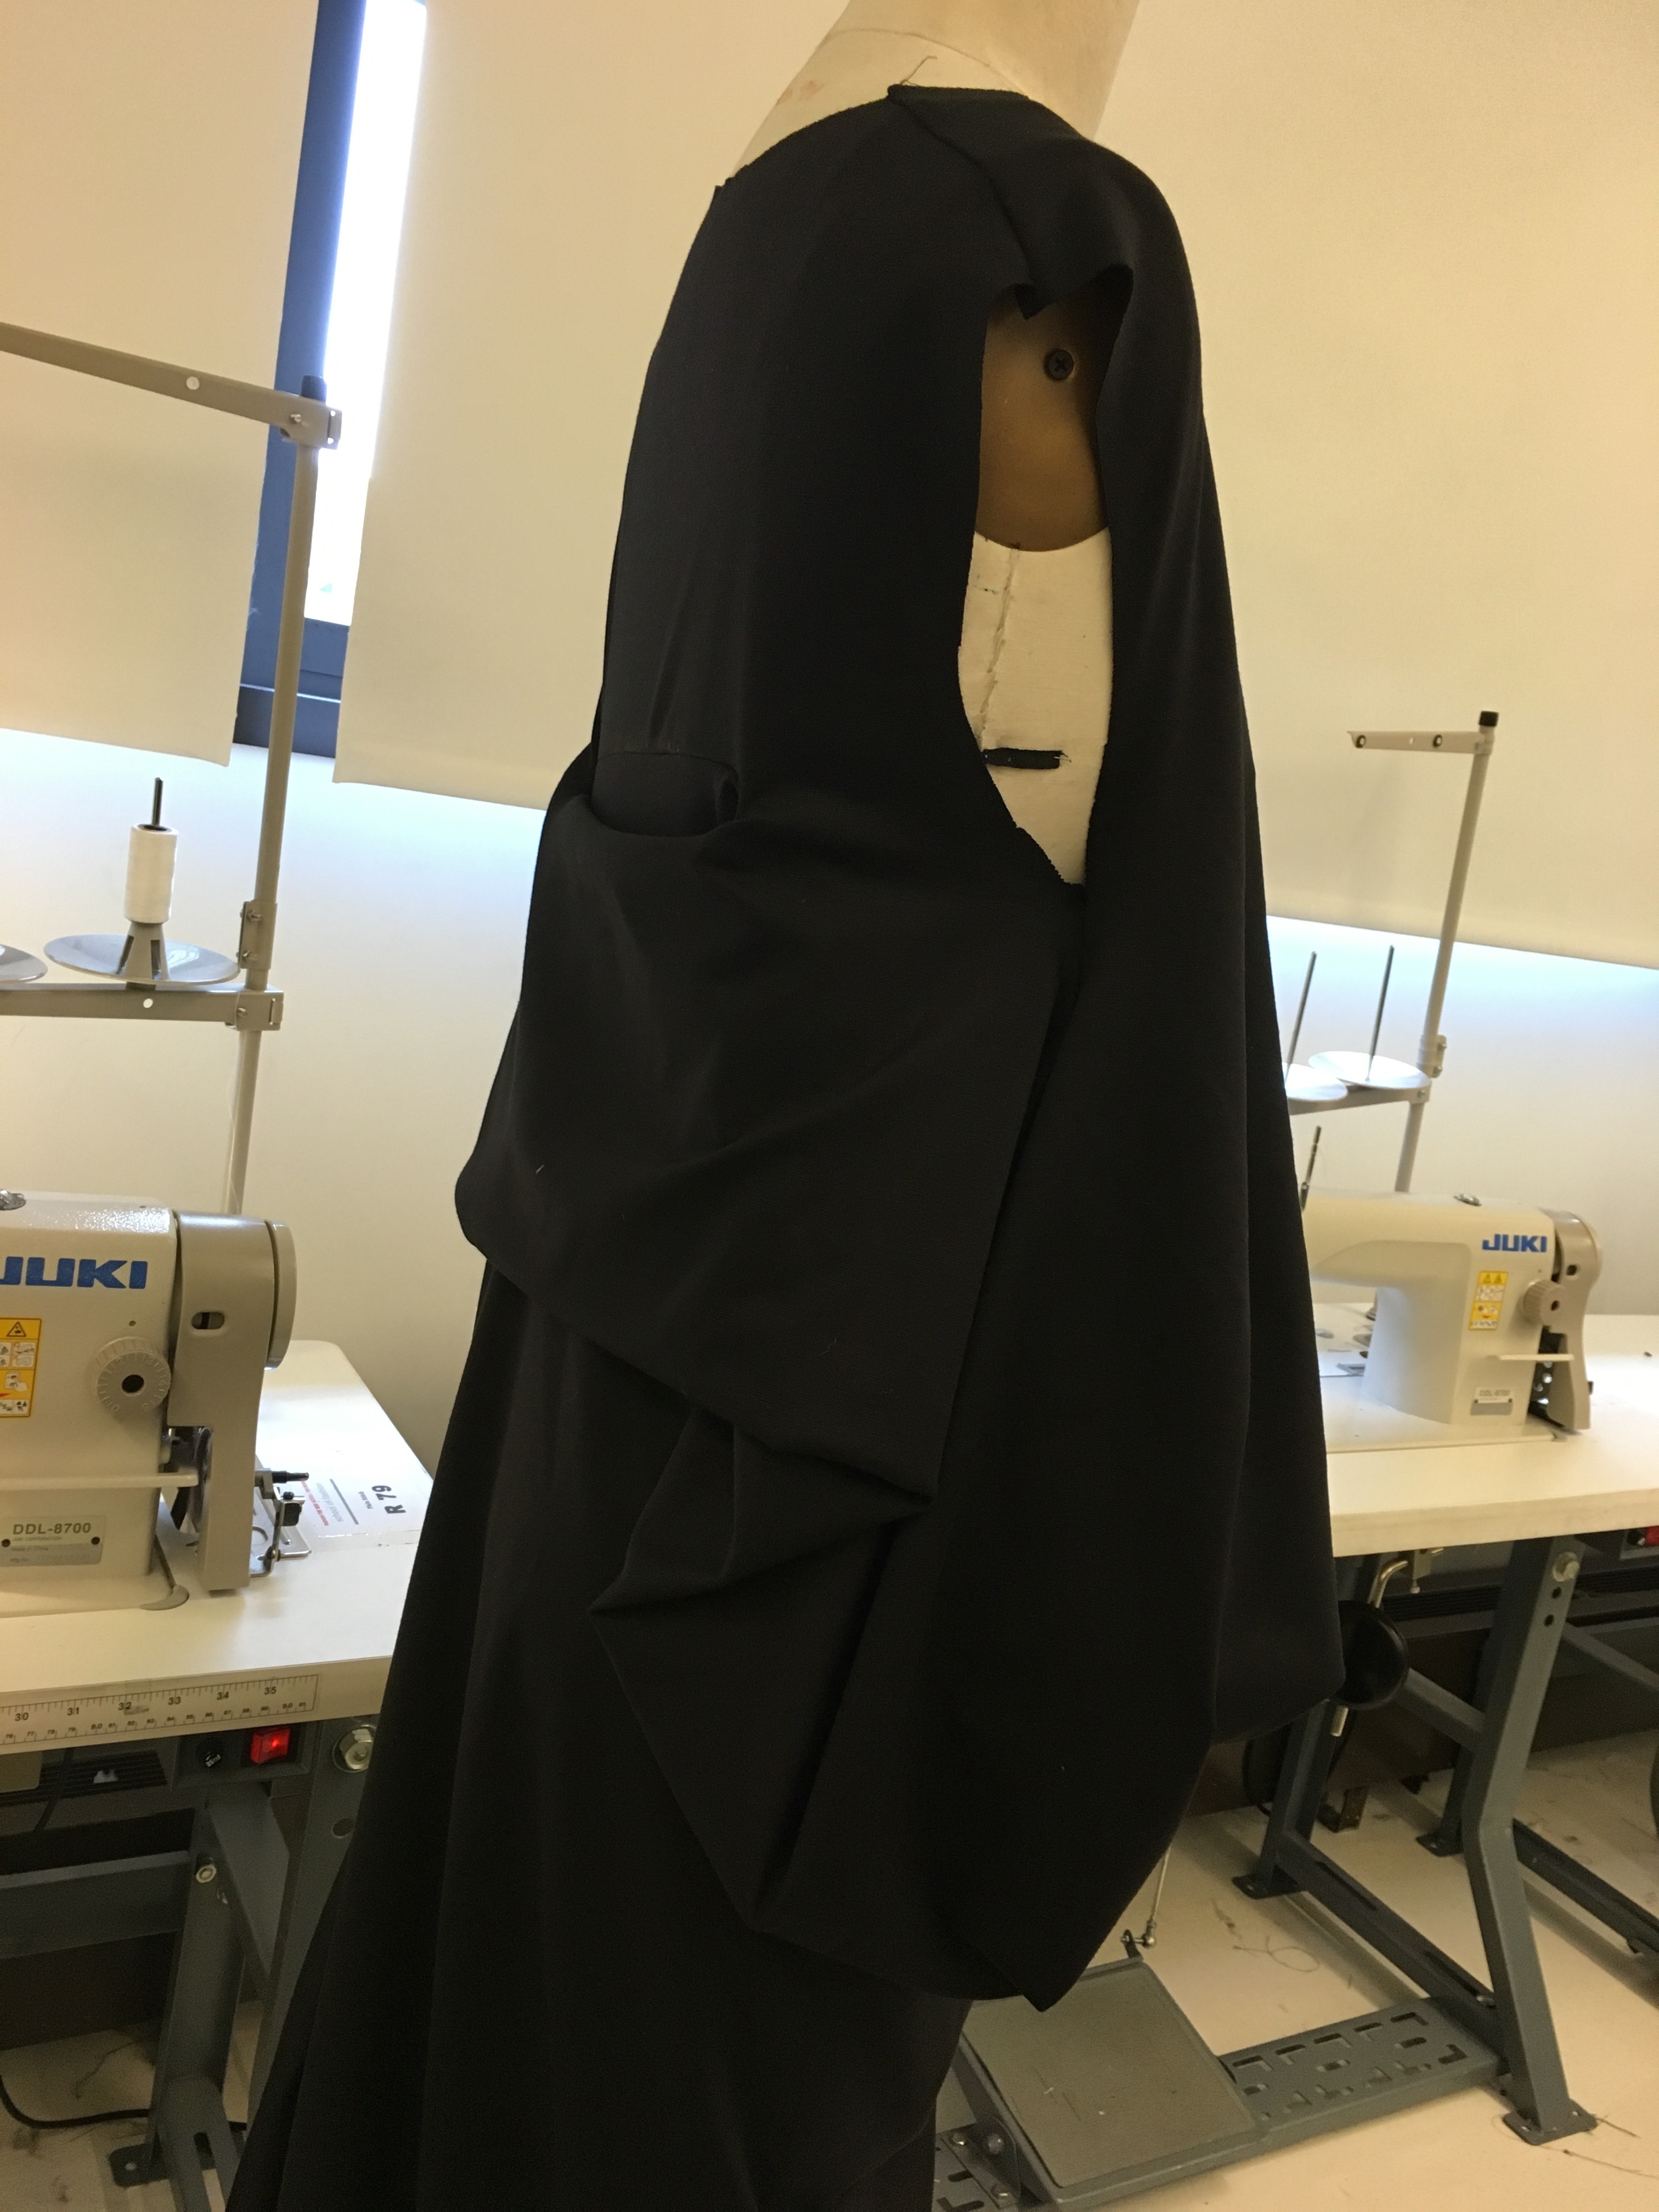
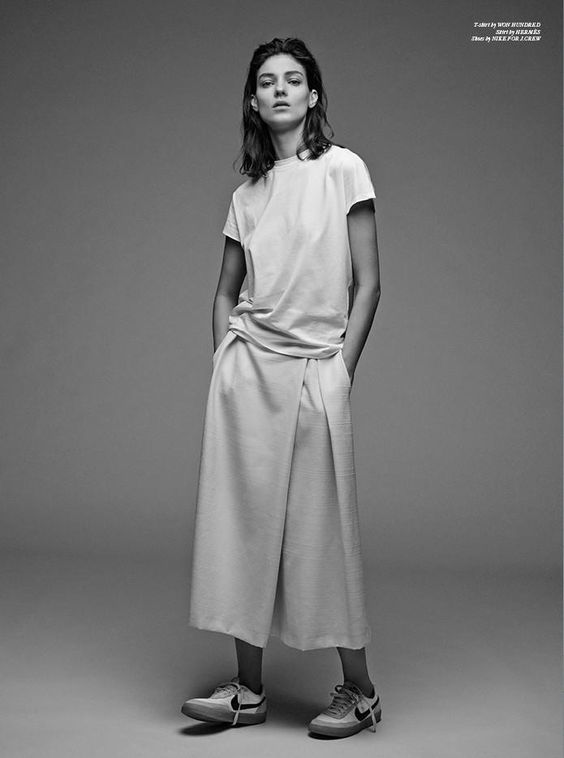
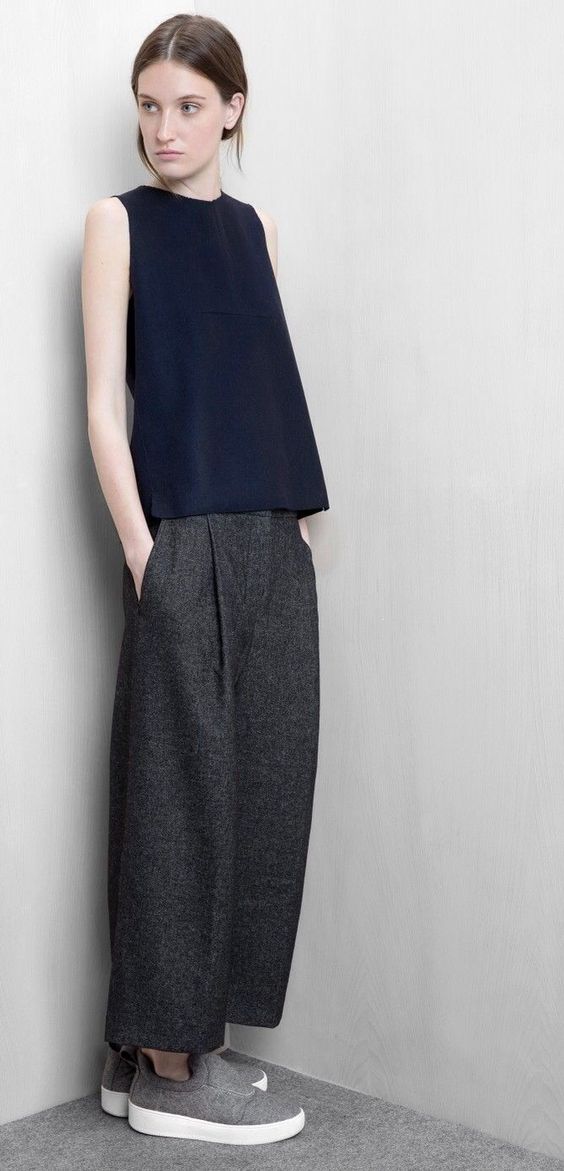
For this project, I want to make a real simple pant, straight shape with solid color. And i got inspirations from those chic and minimalist style.

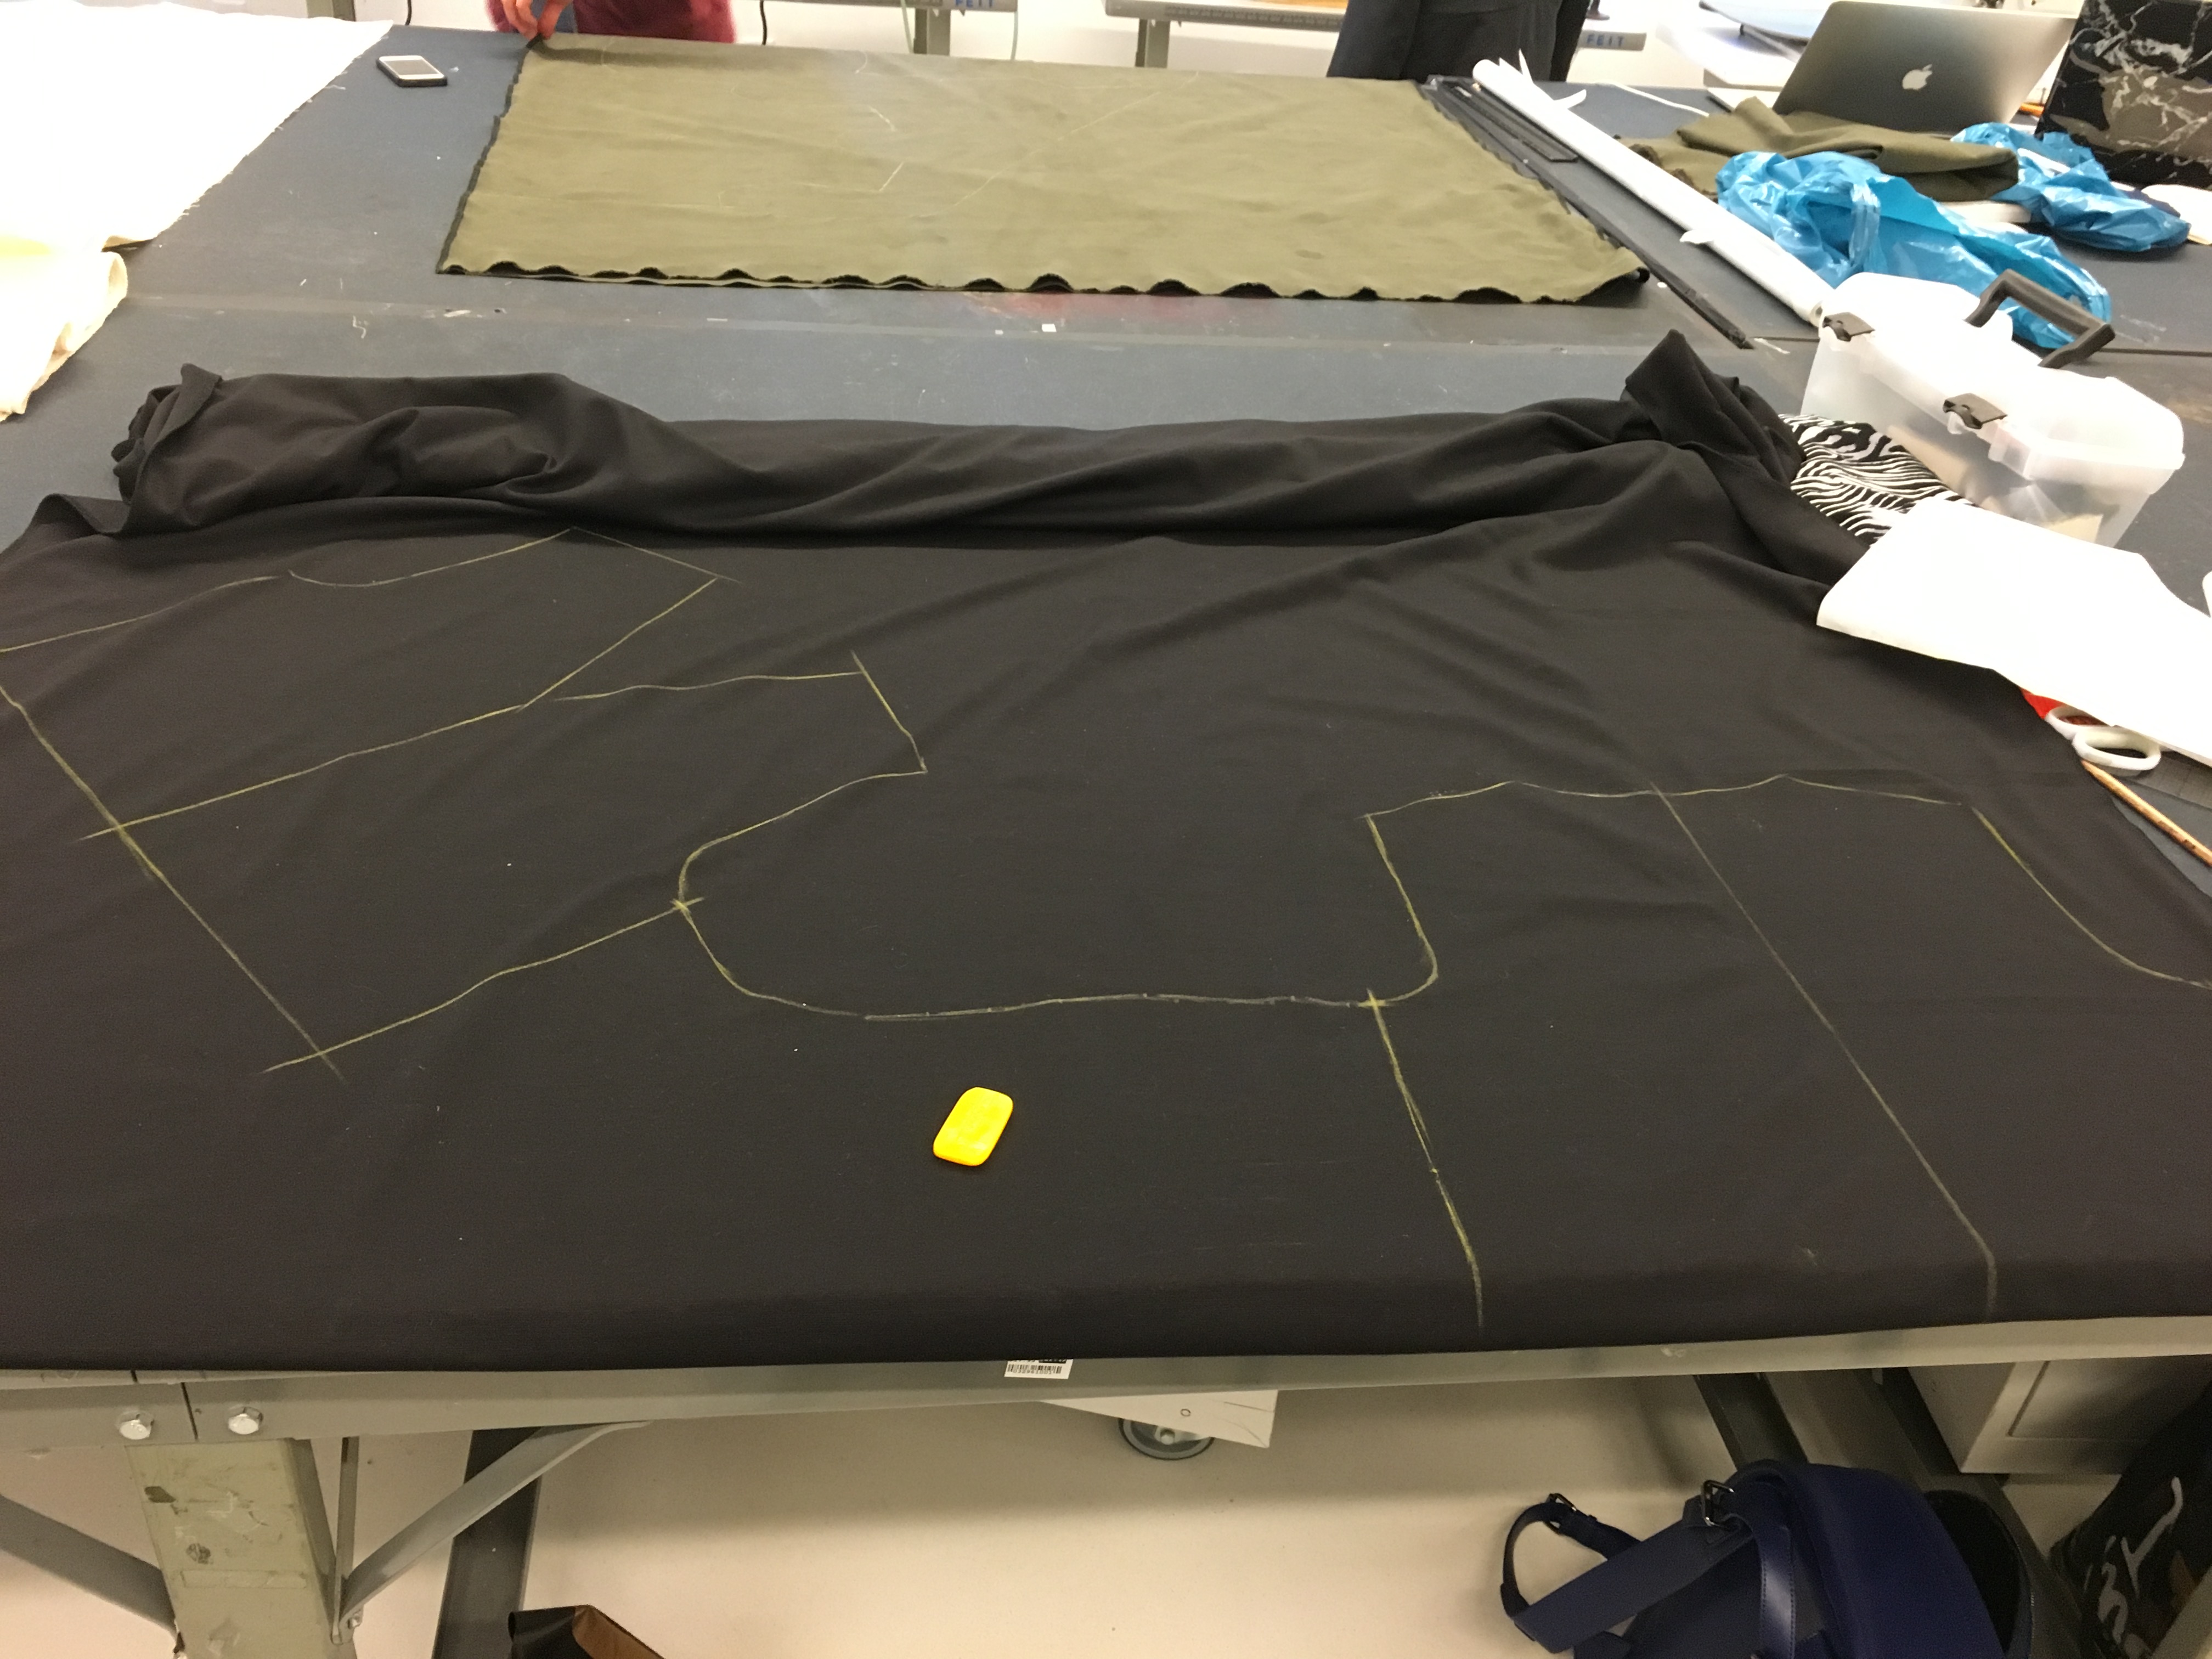
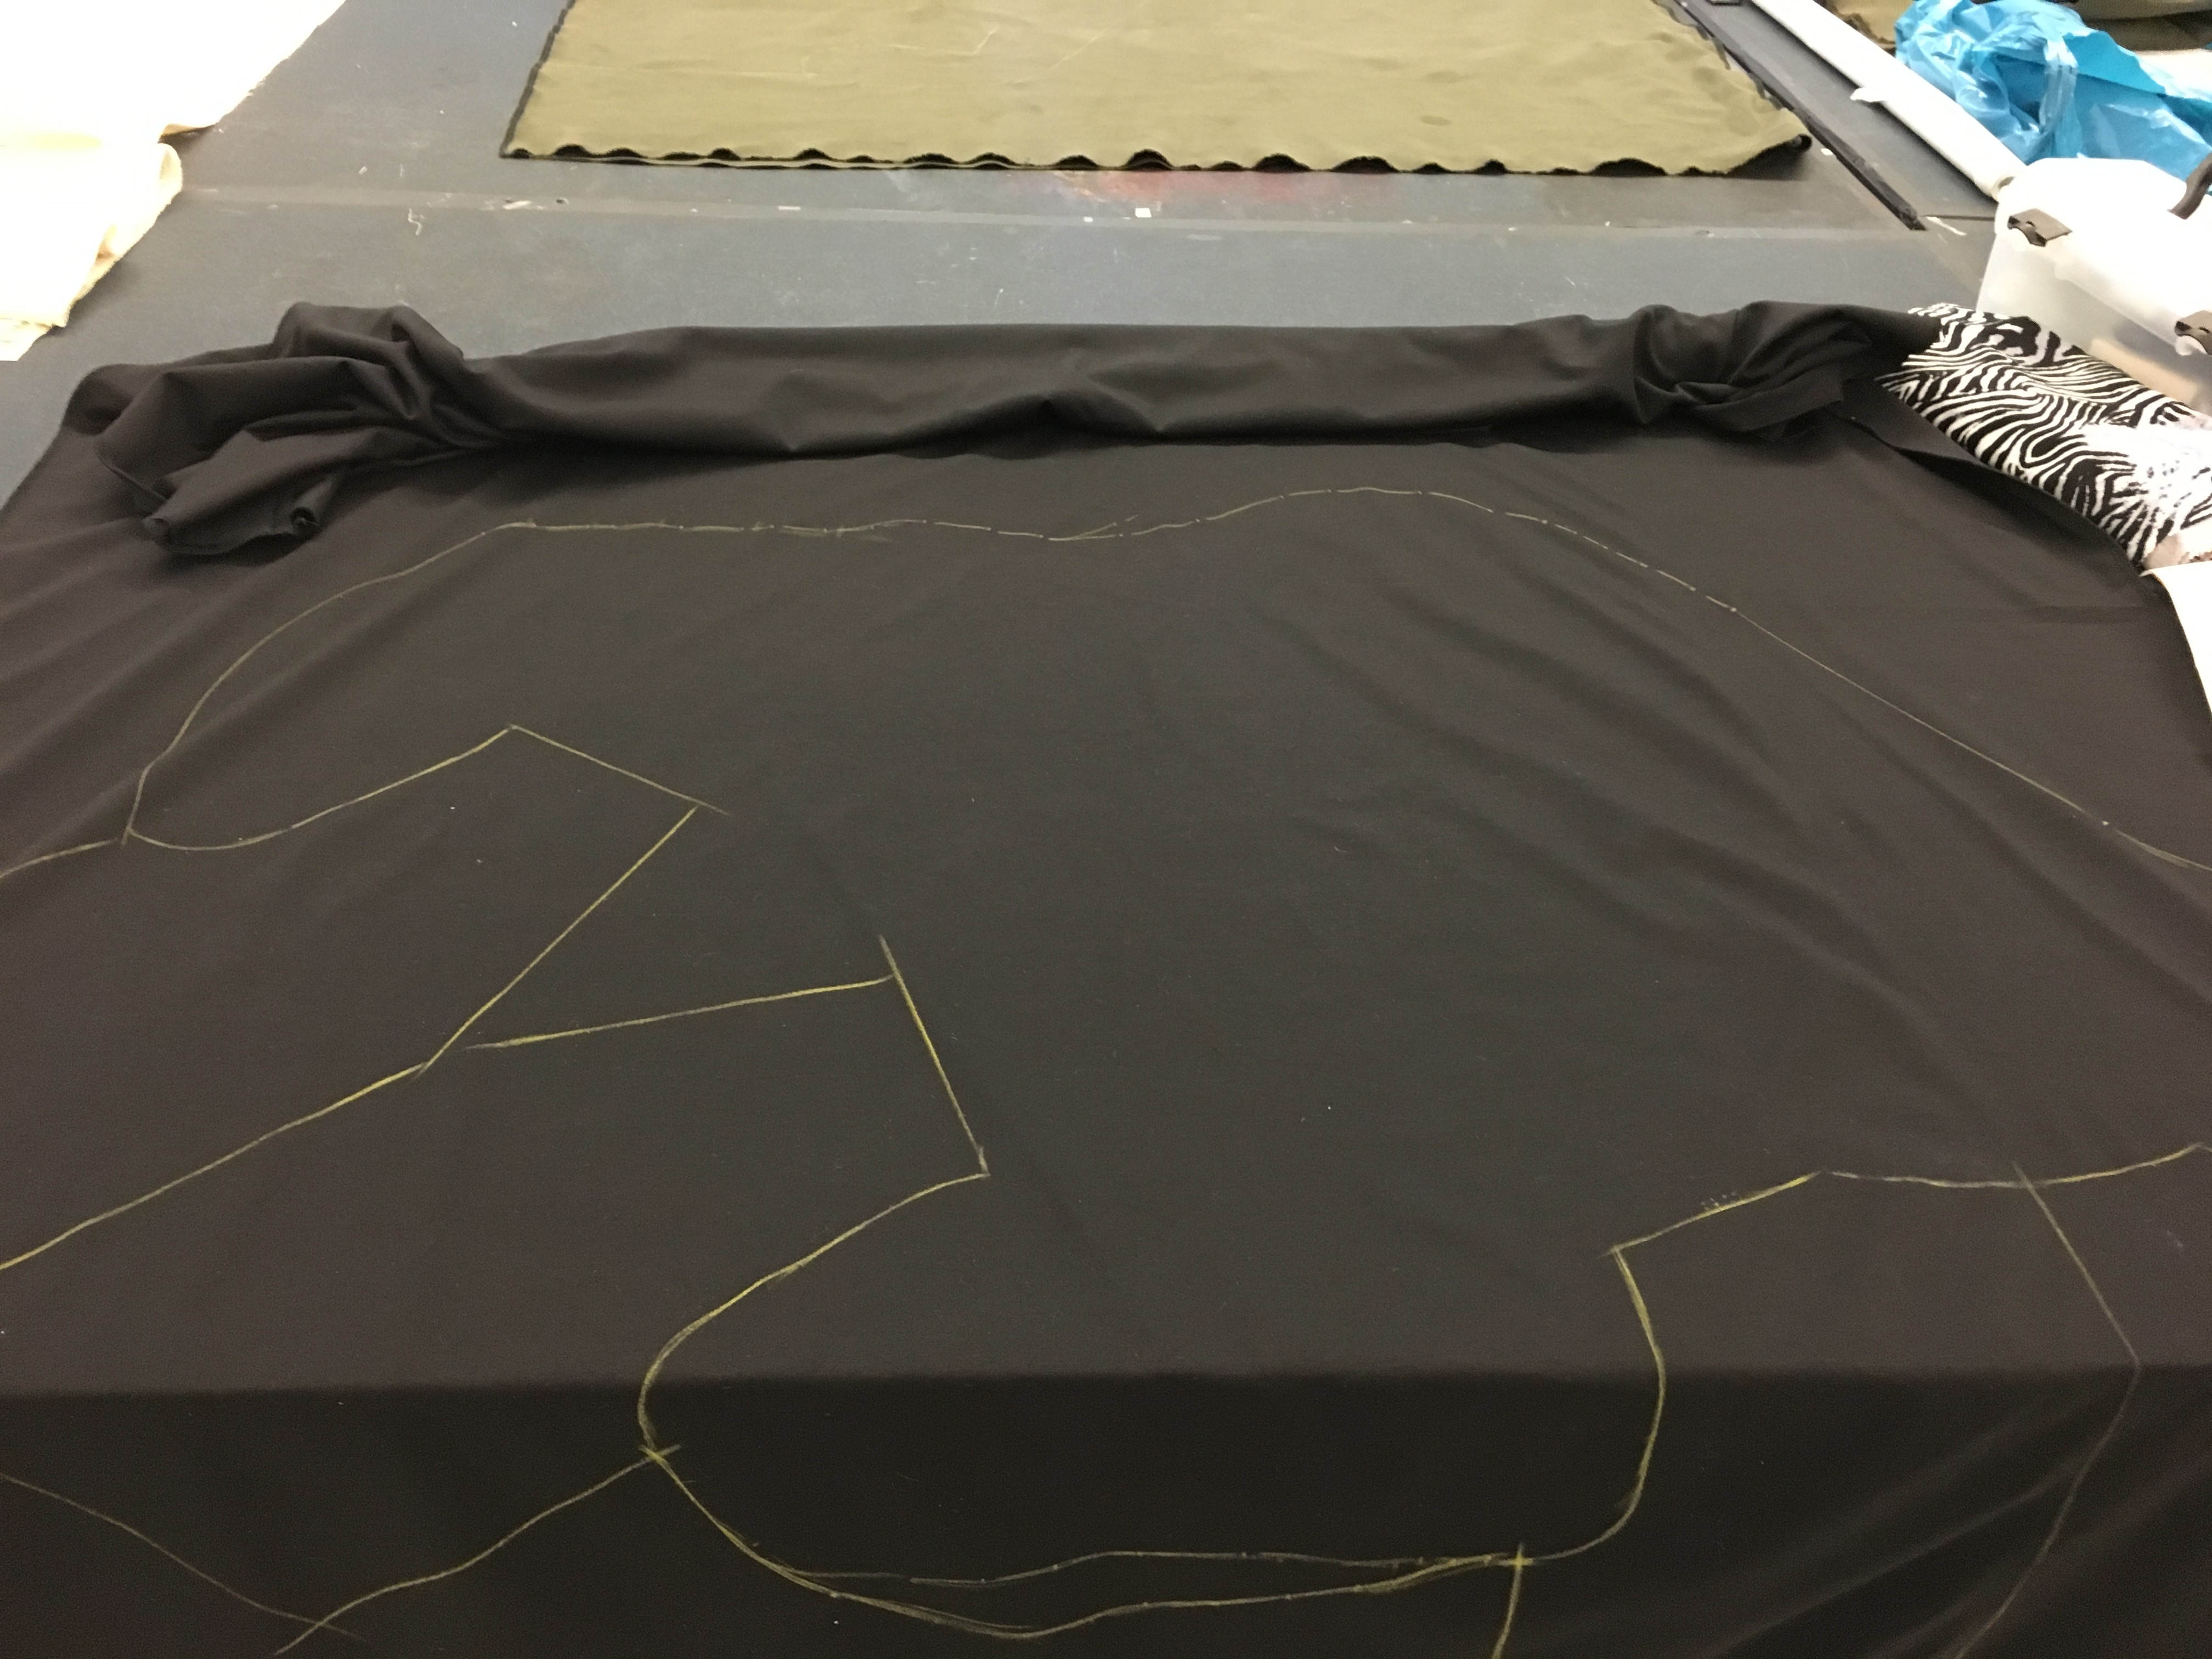
I measured myself, then combine it with the regular size 6 sloper and make necessary changes to it.

IMG_3628 IMG_3627 IMG_3626

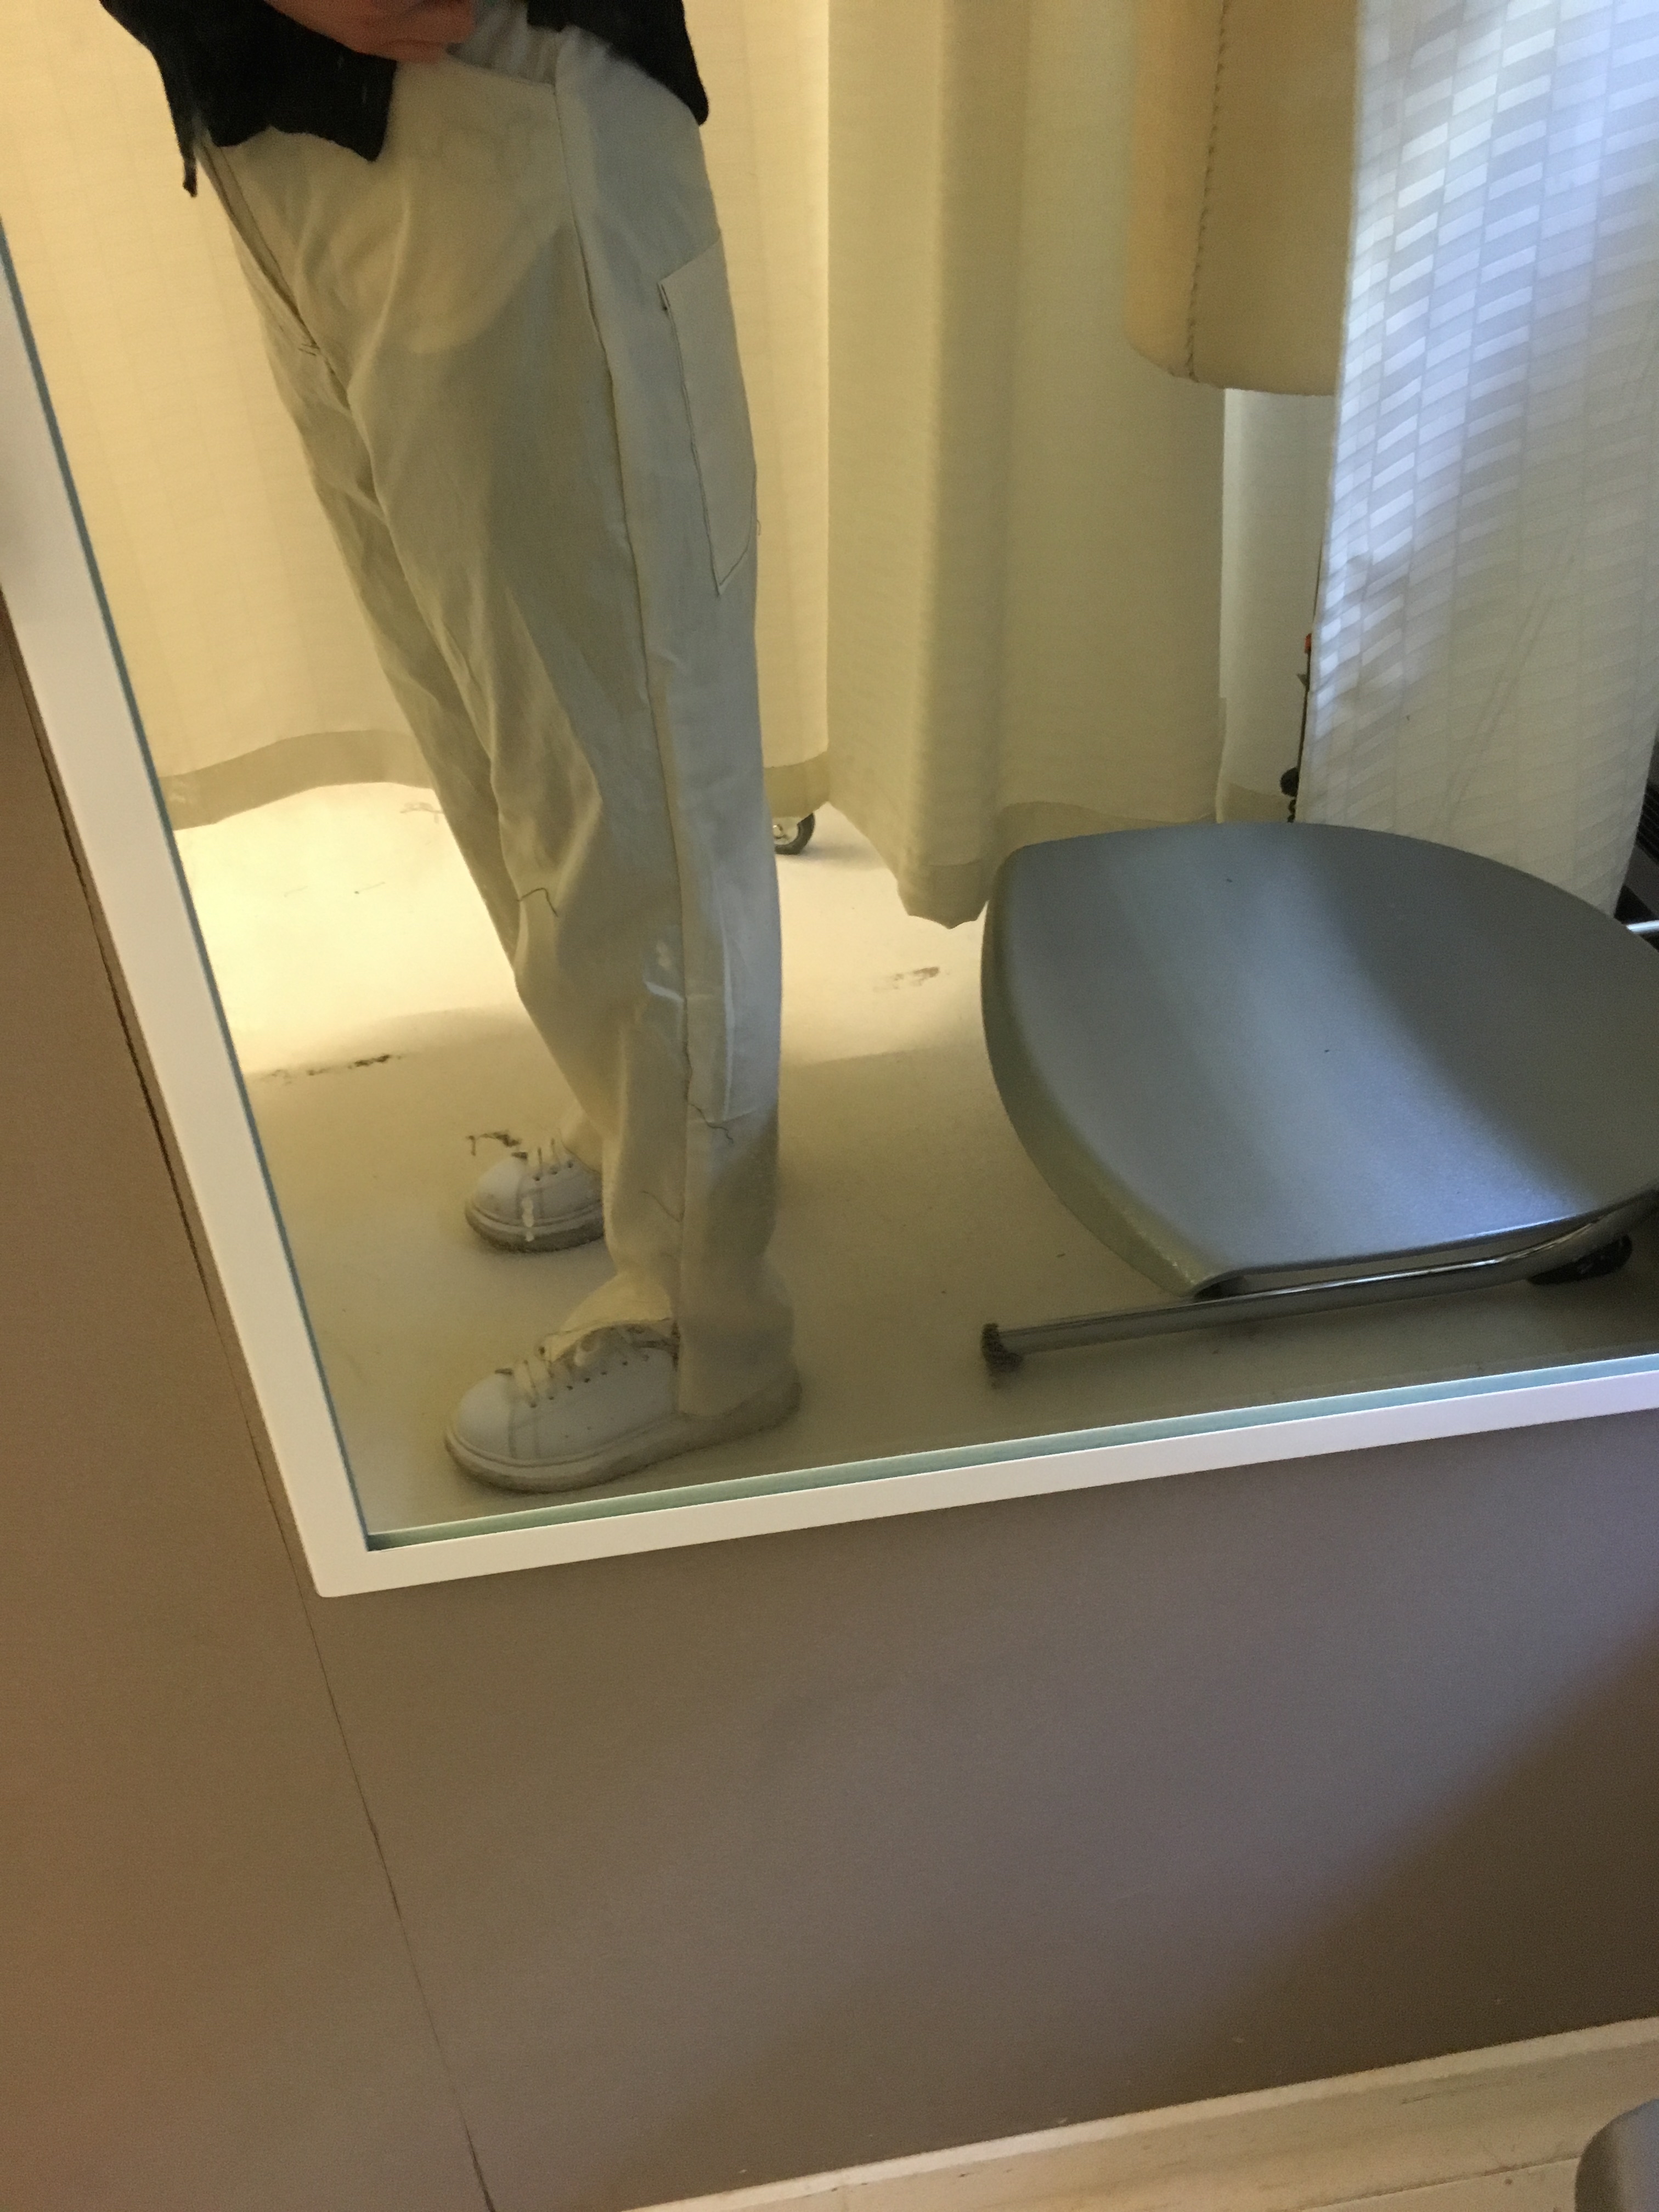
And i did fitting on the muslin version.

IMG_3804


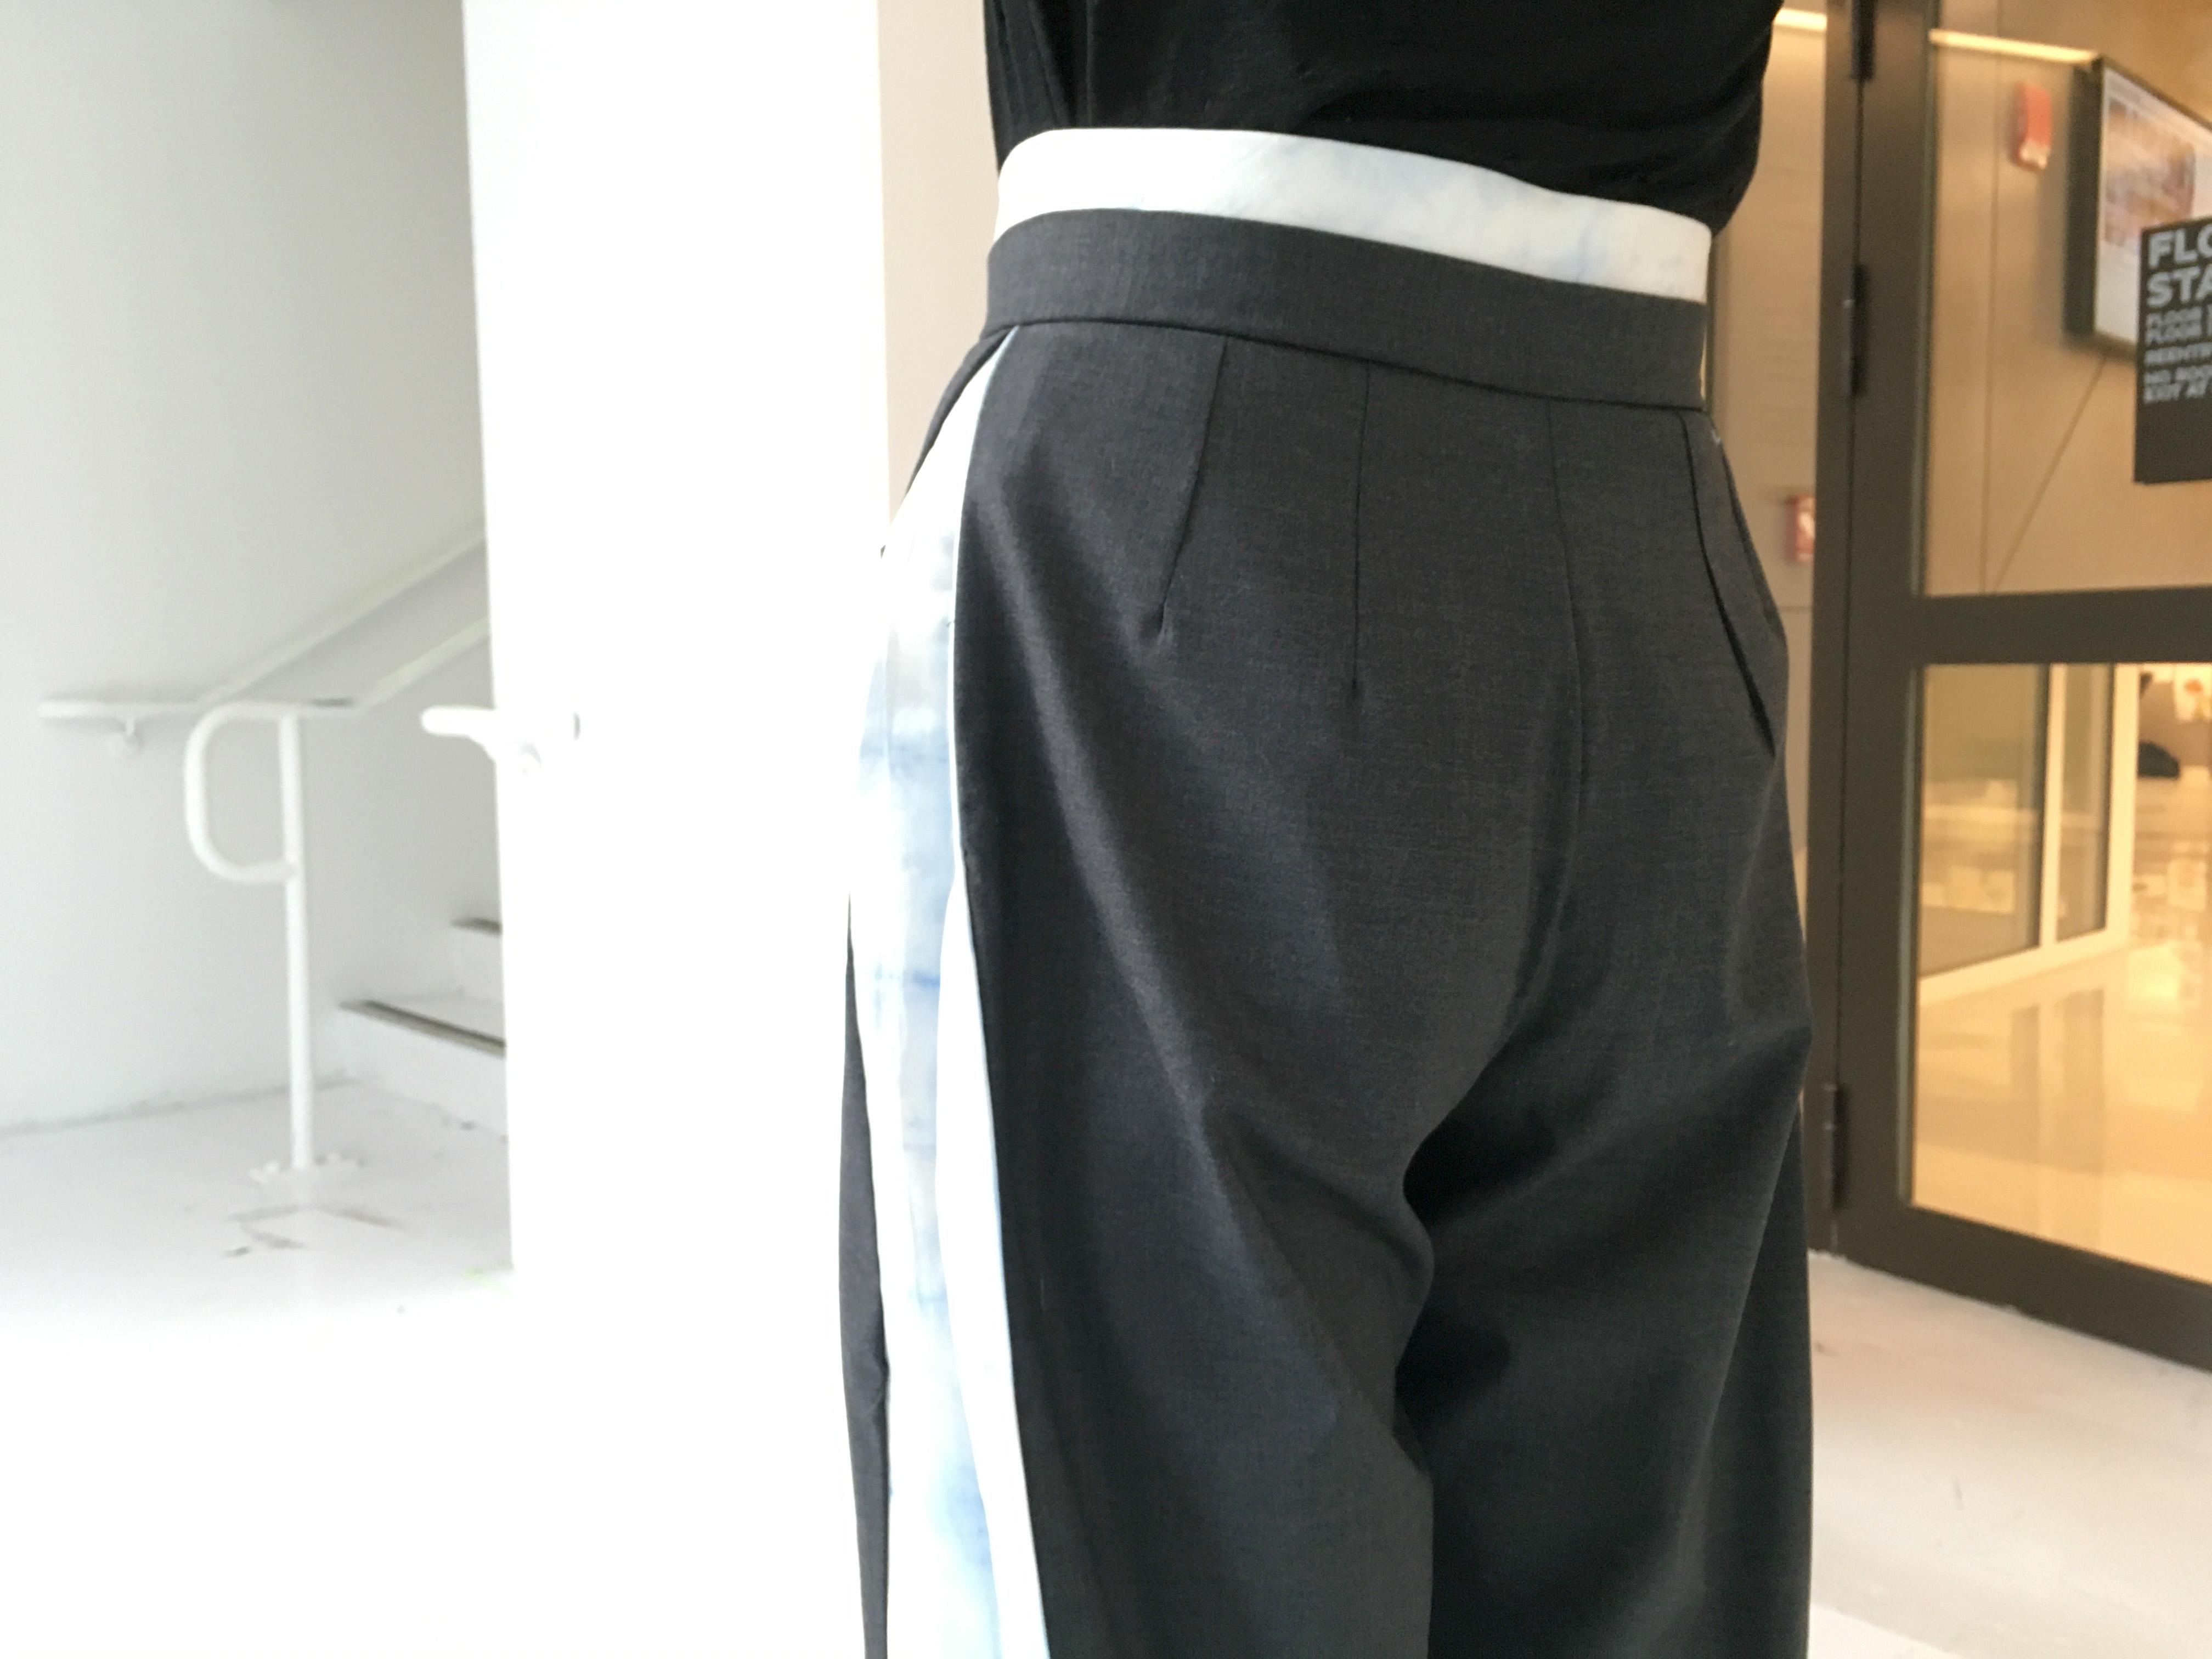
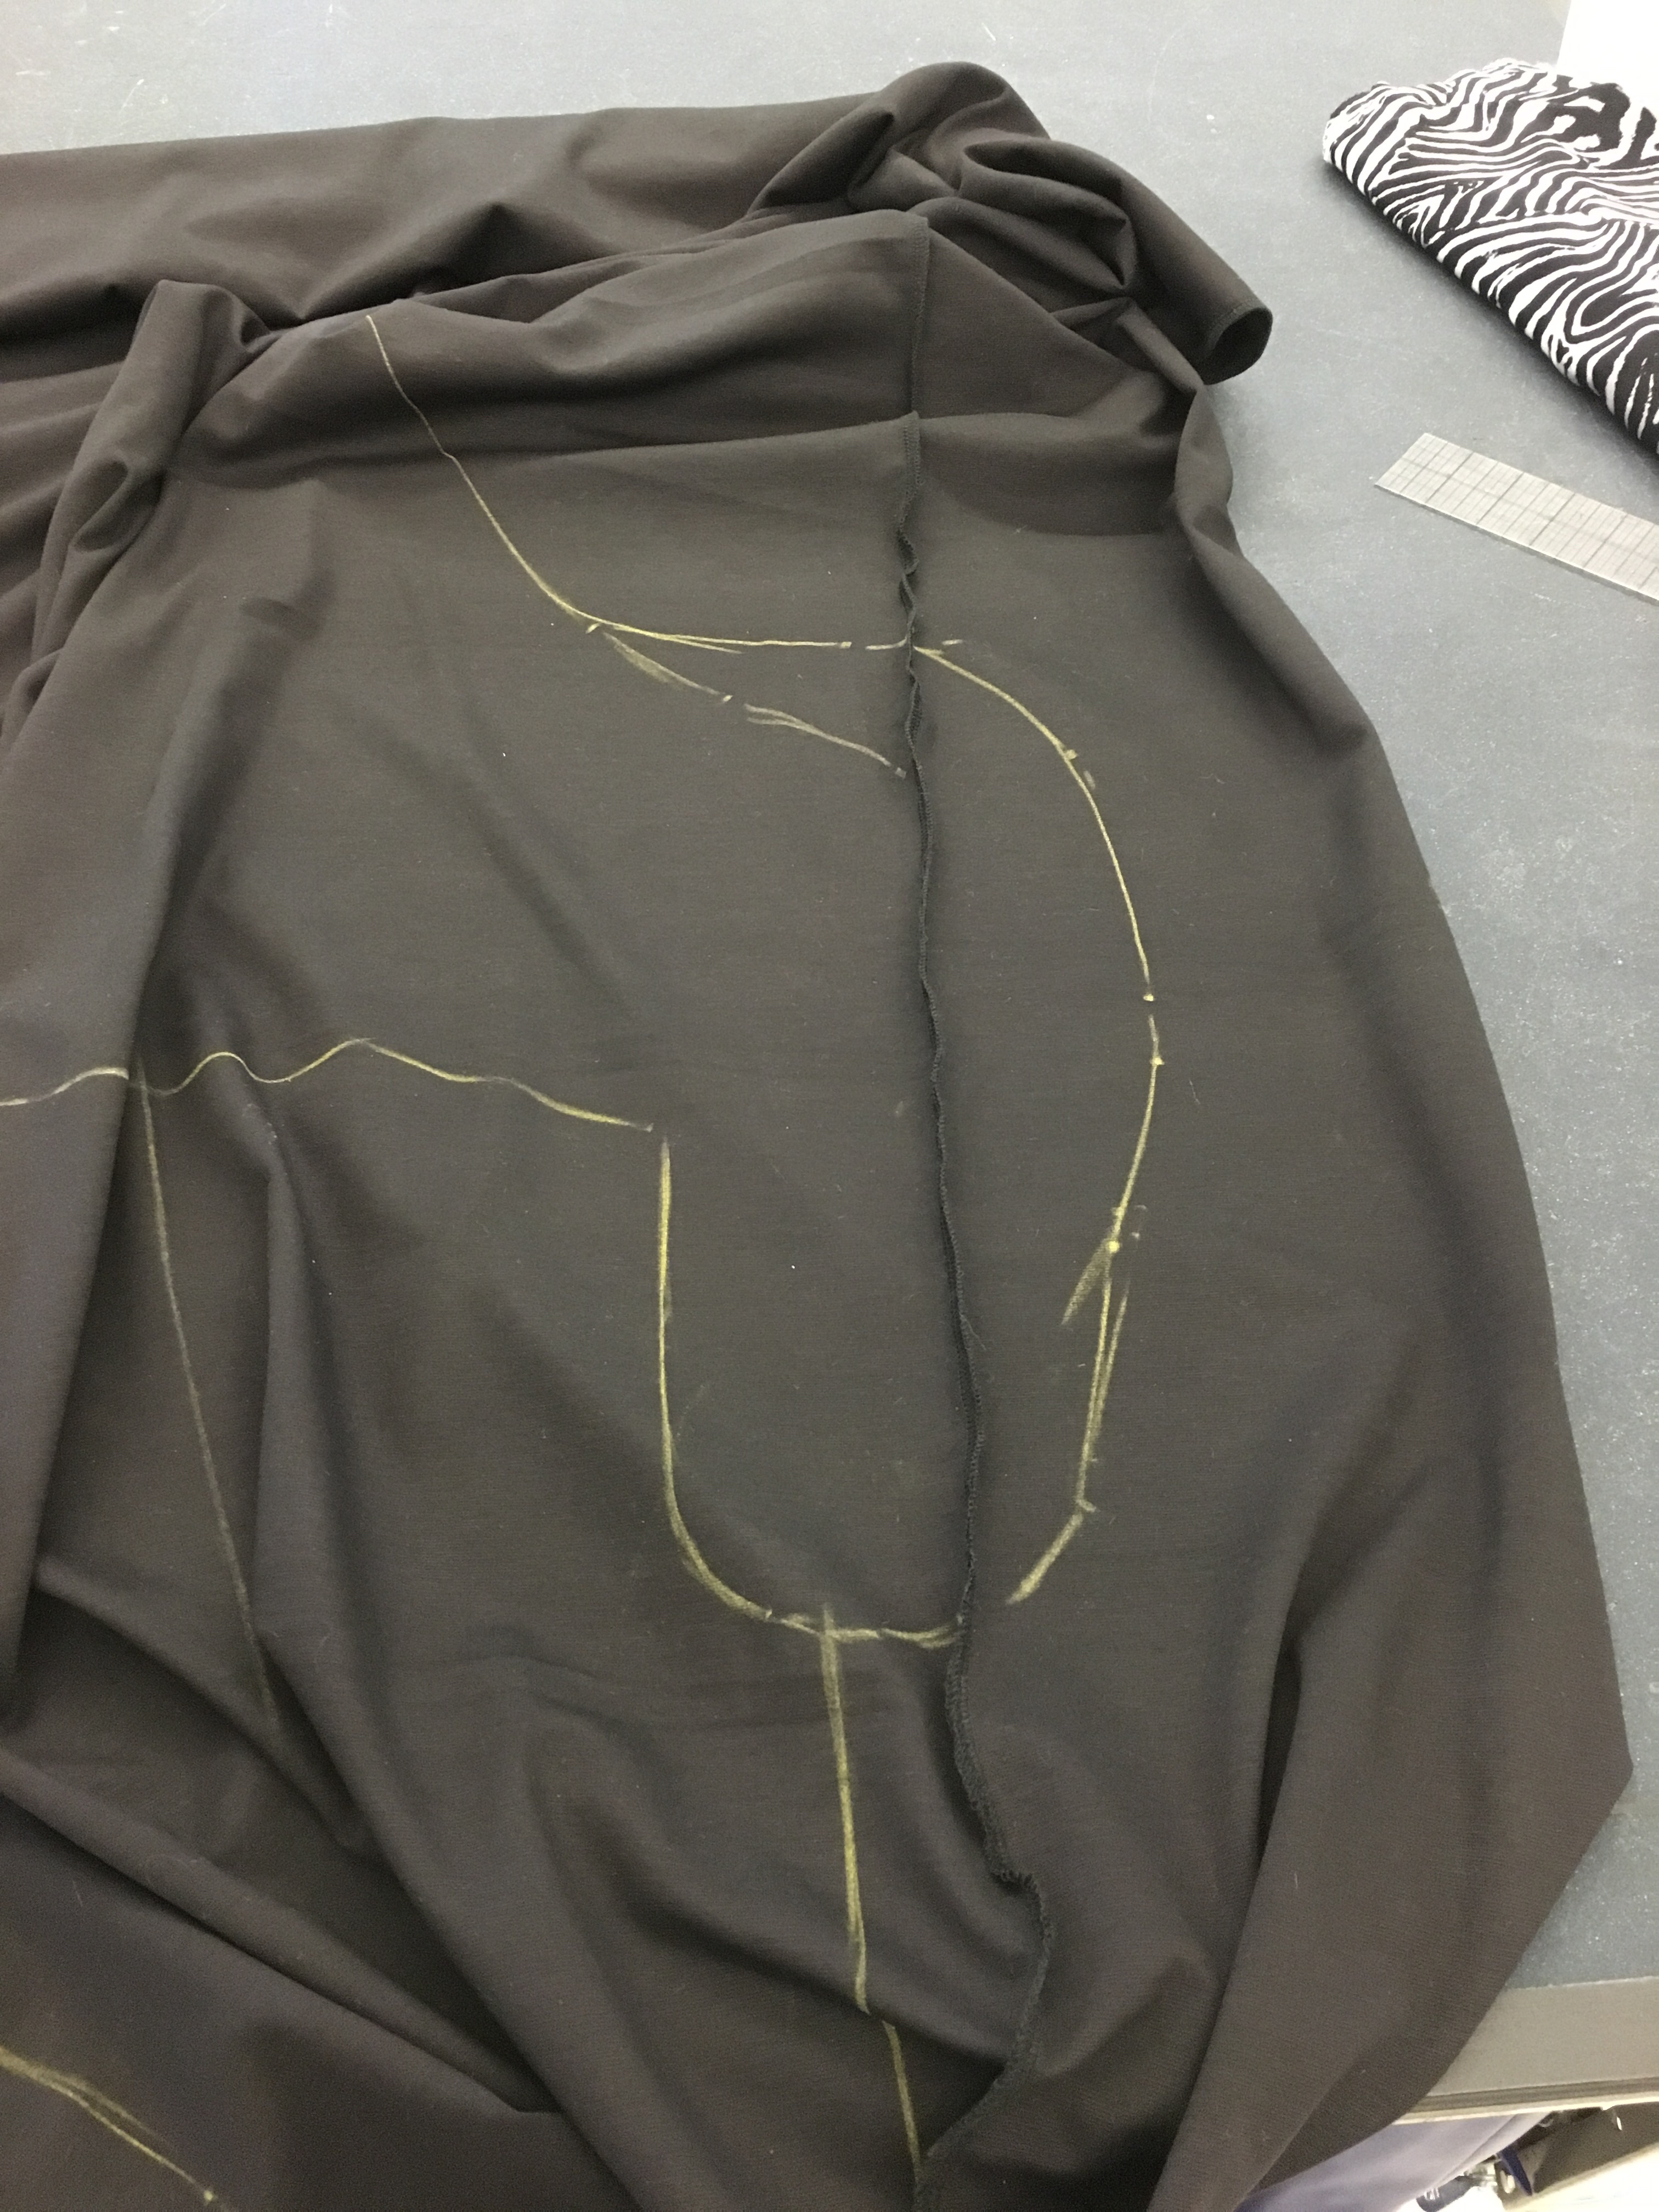
after get the pattern done, i commented to a grey superwool fabric which give a smooth texture on the surface, and it has a little stretches.

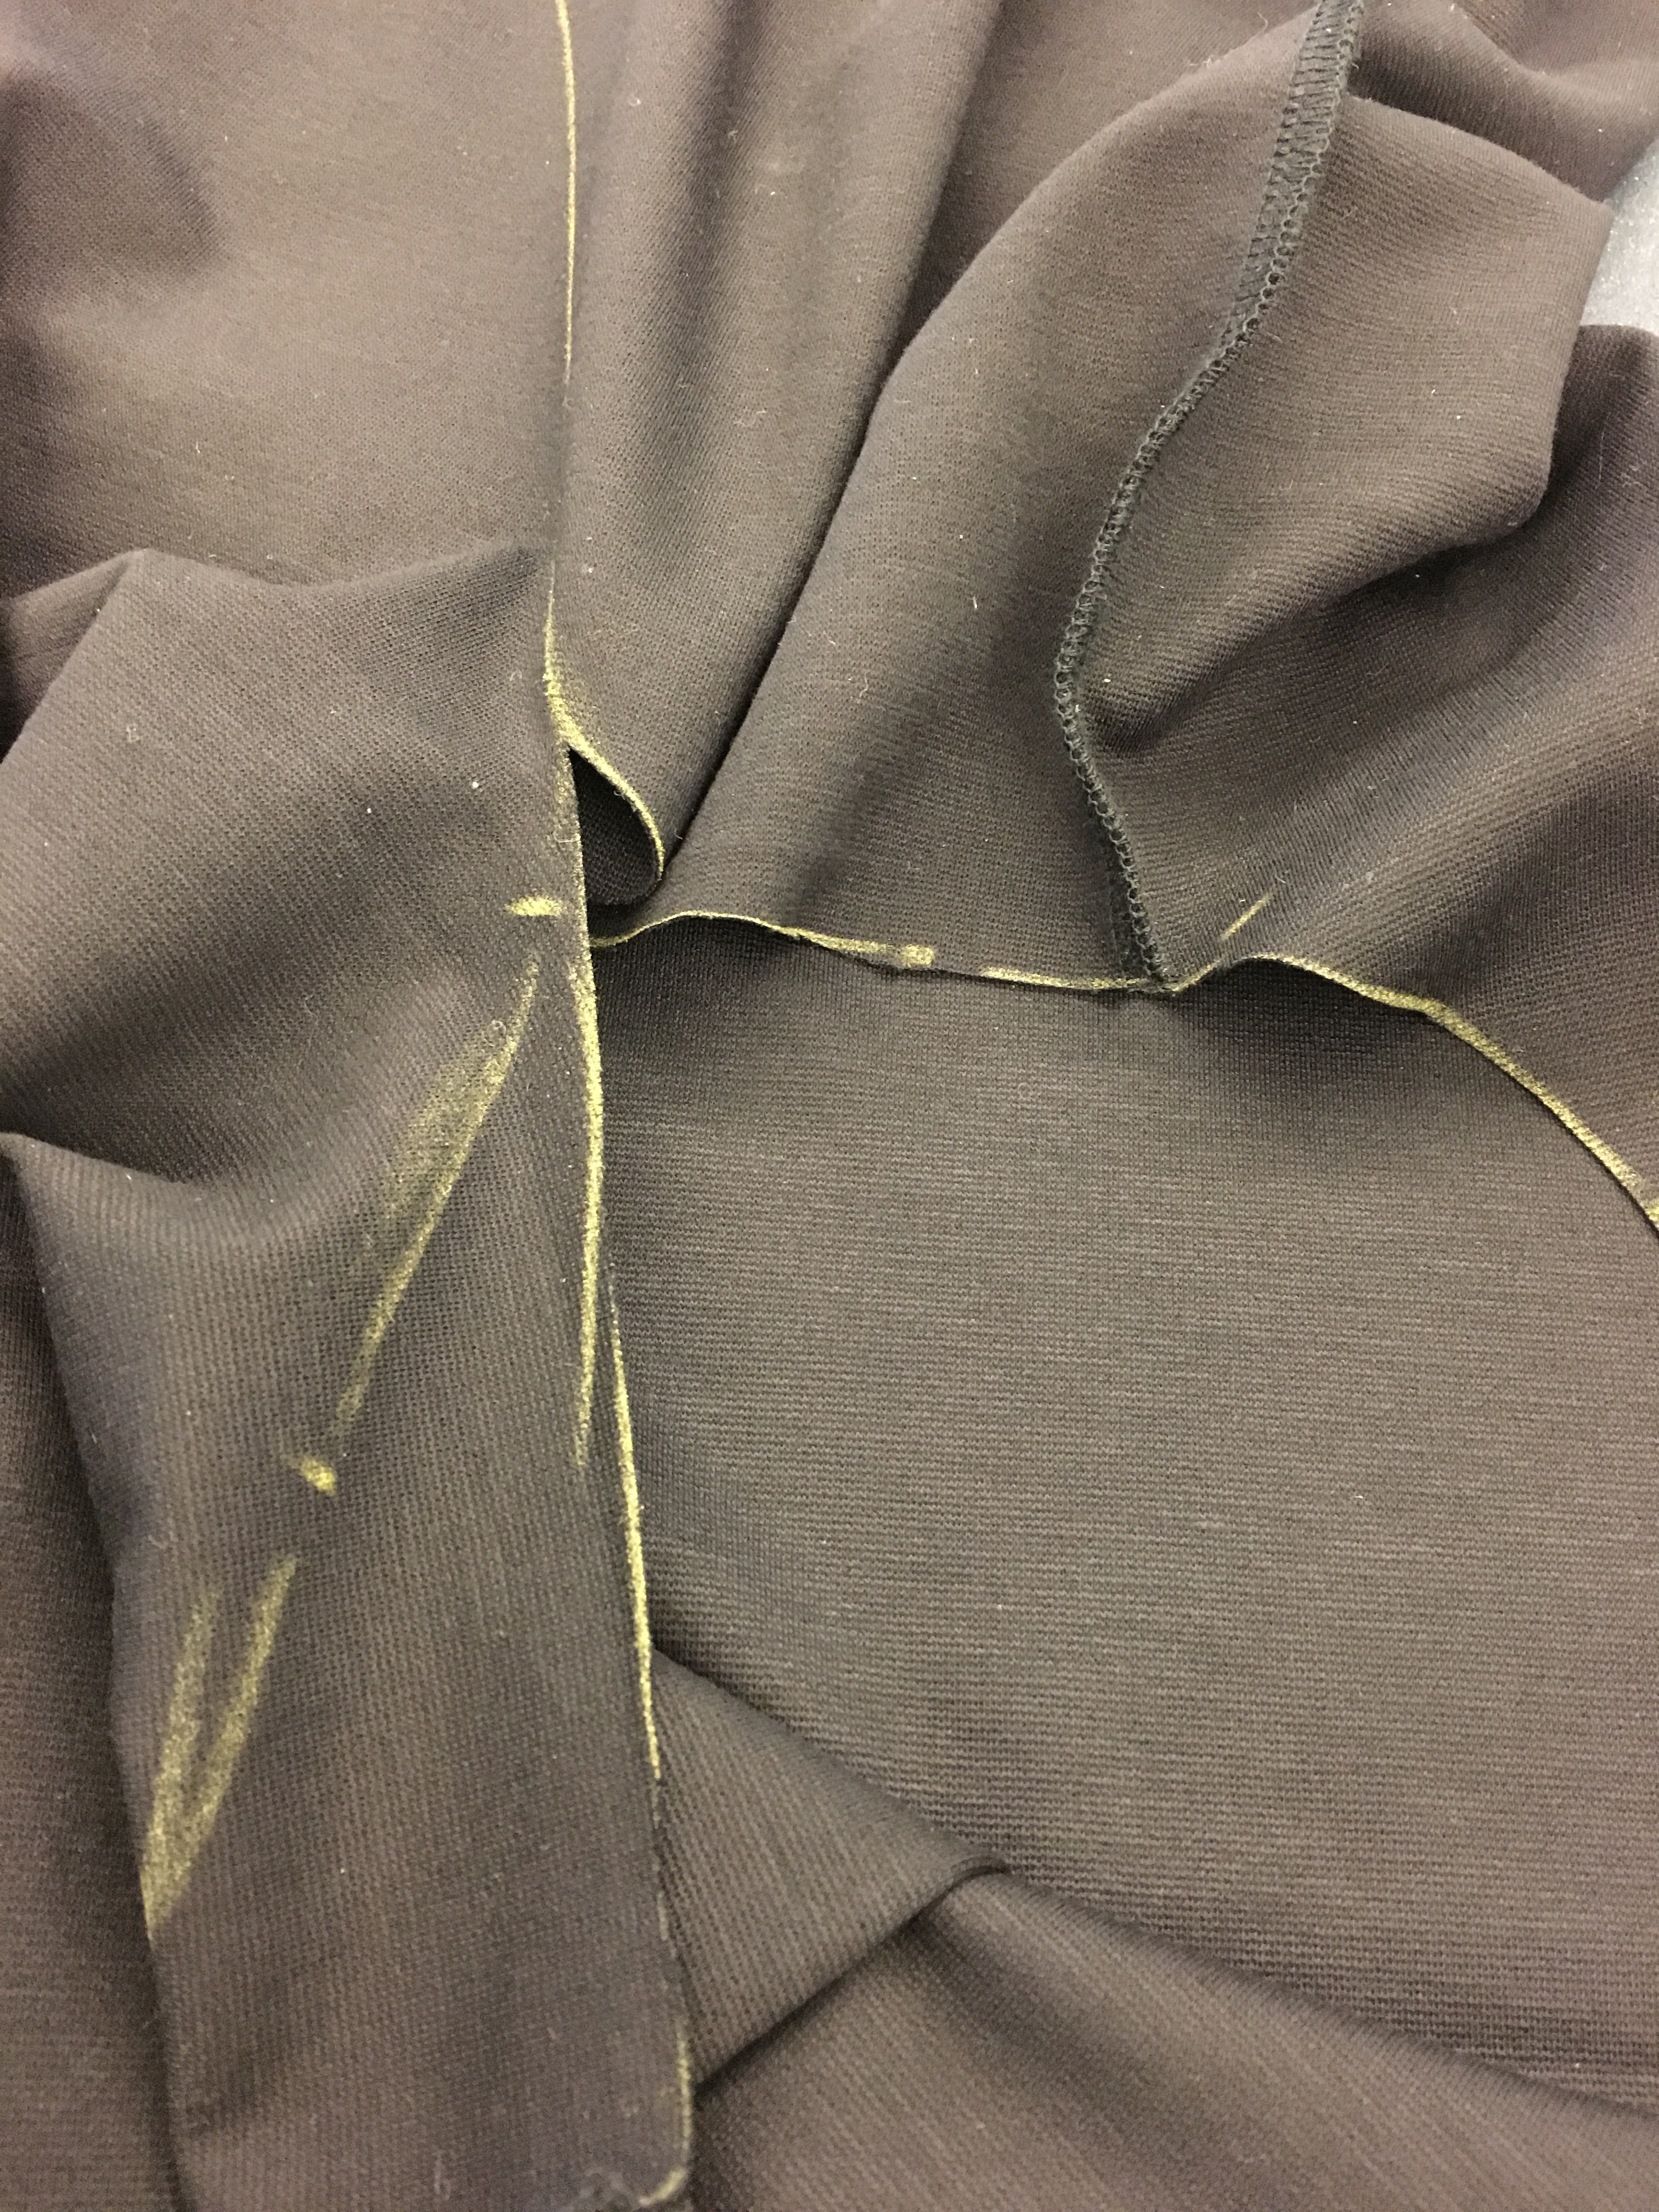
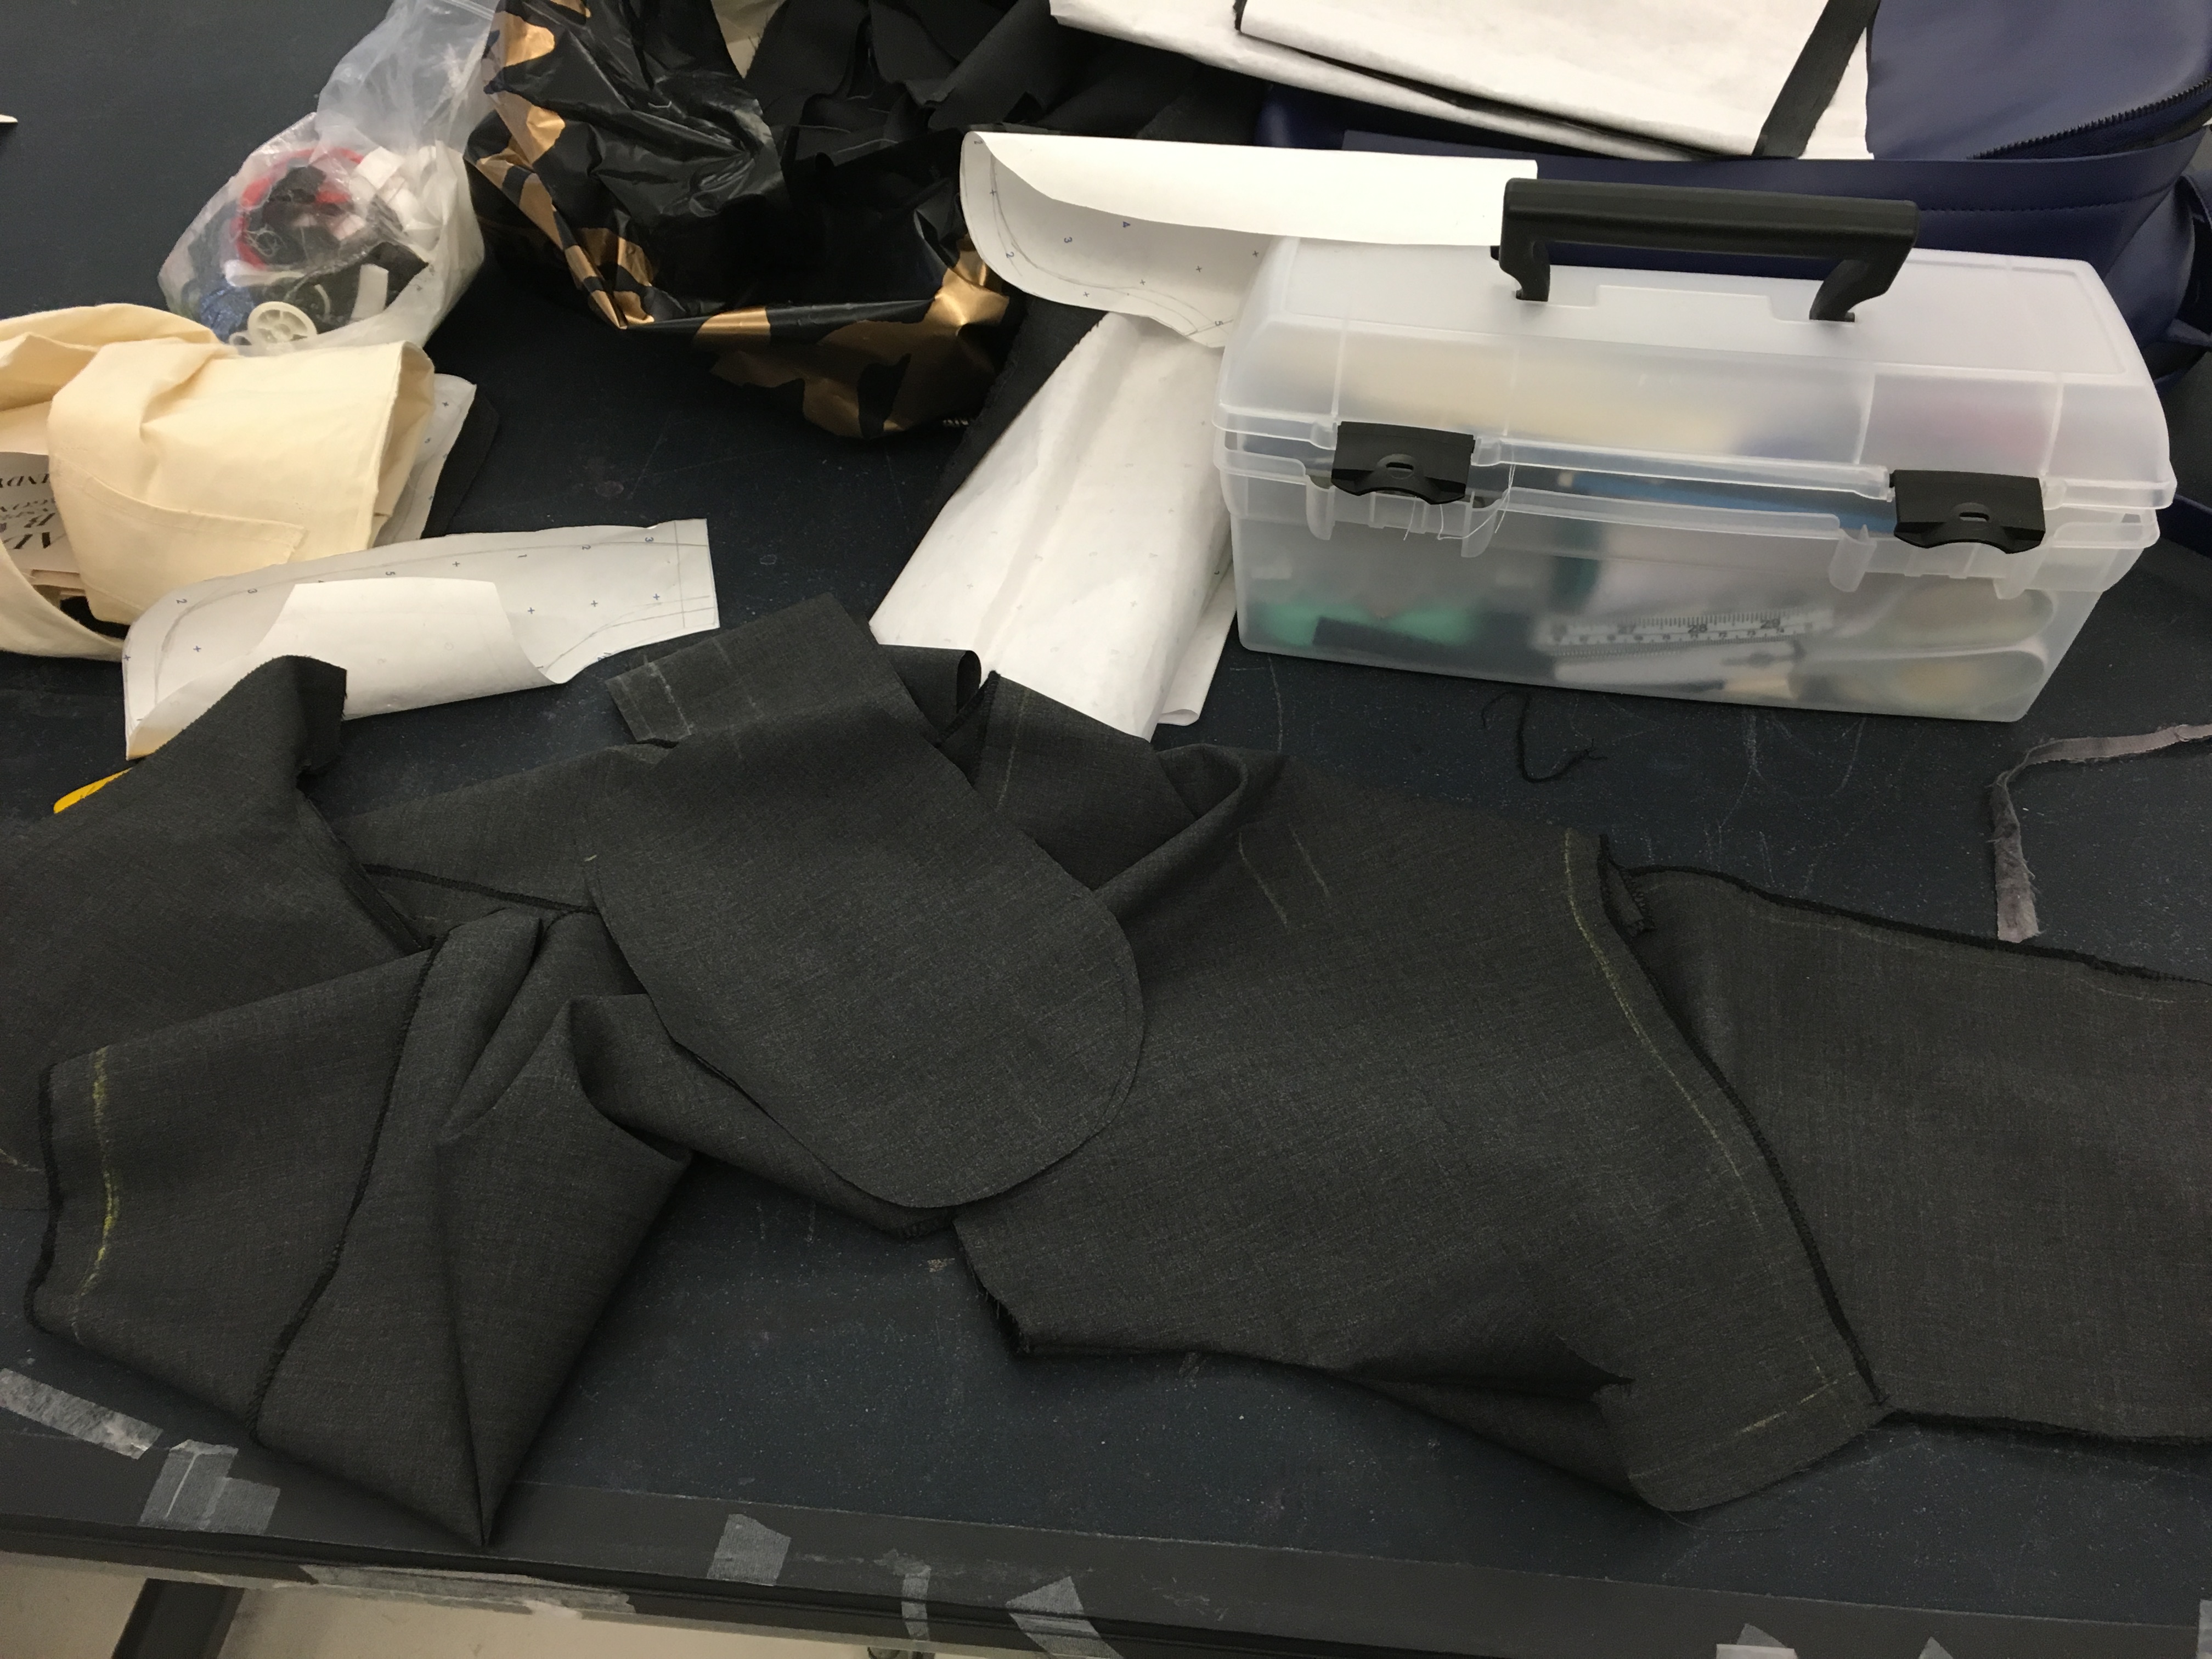
and i serged the edge of the seam.

IMG_3805 IMG_3806

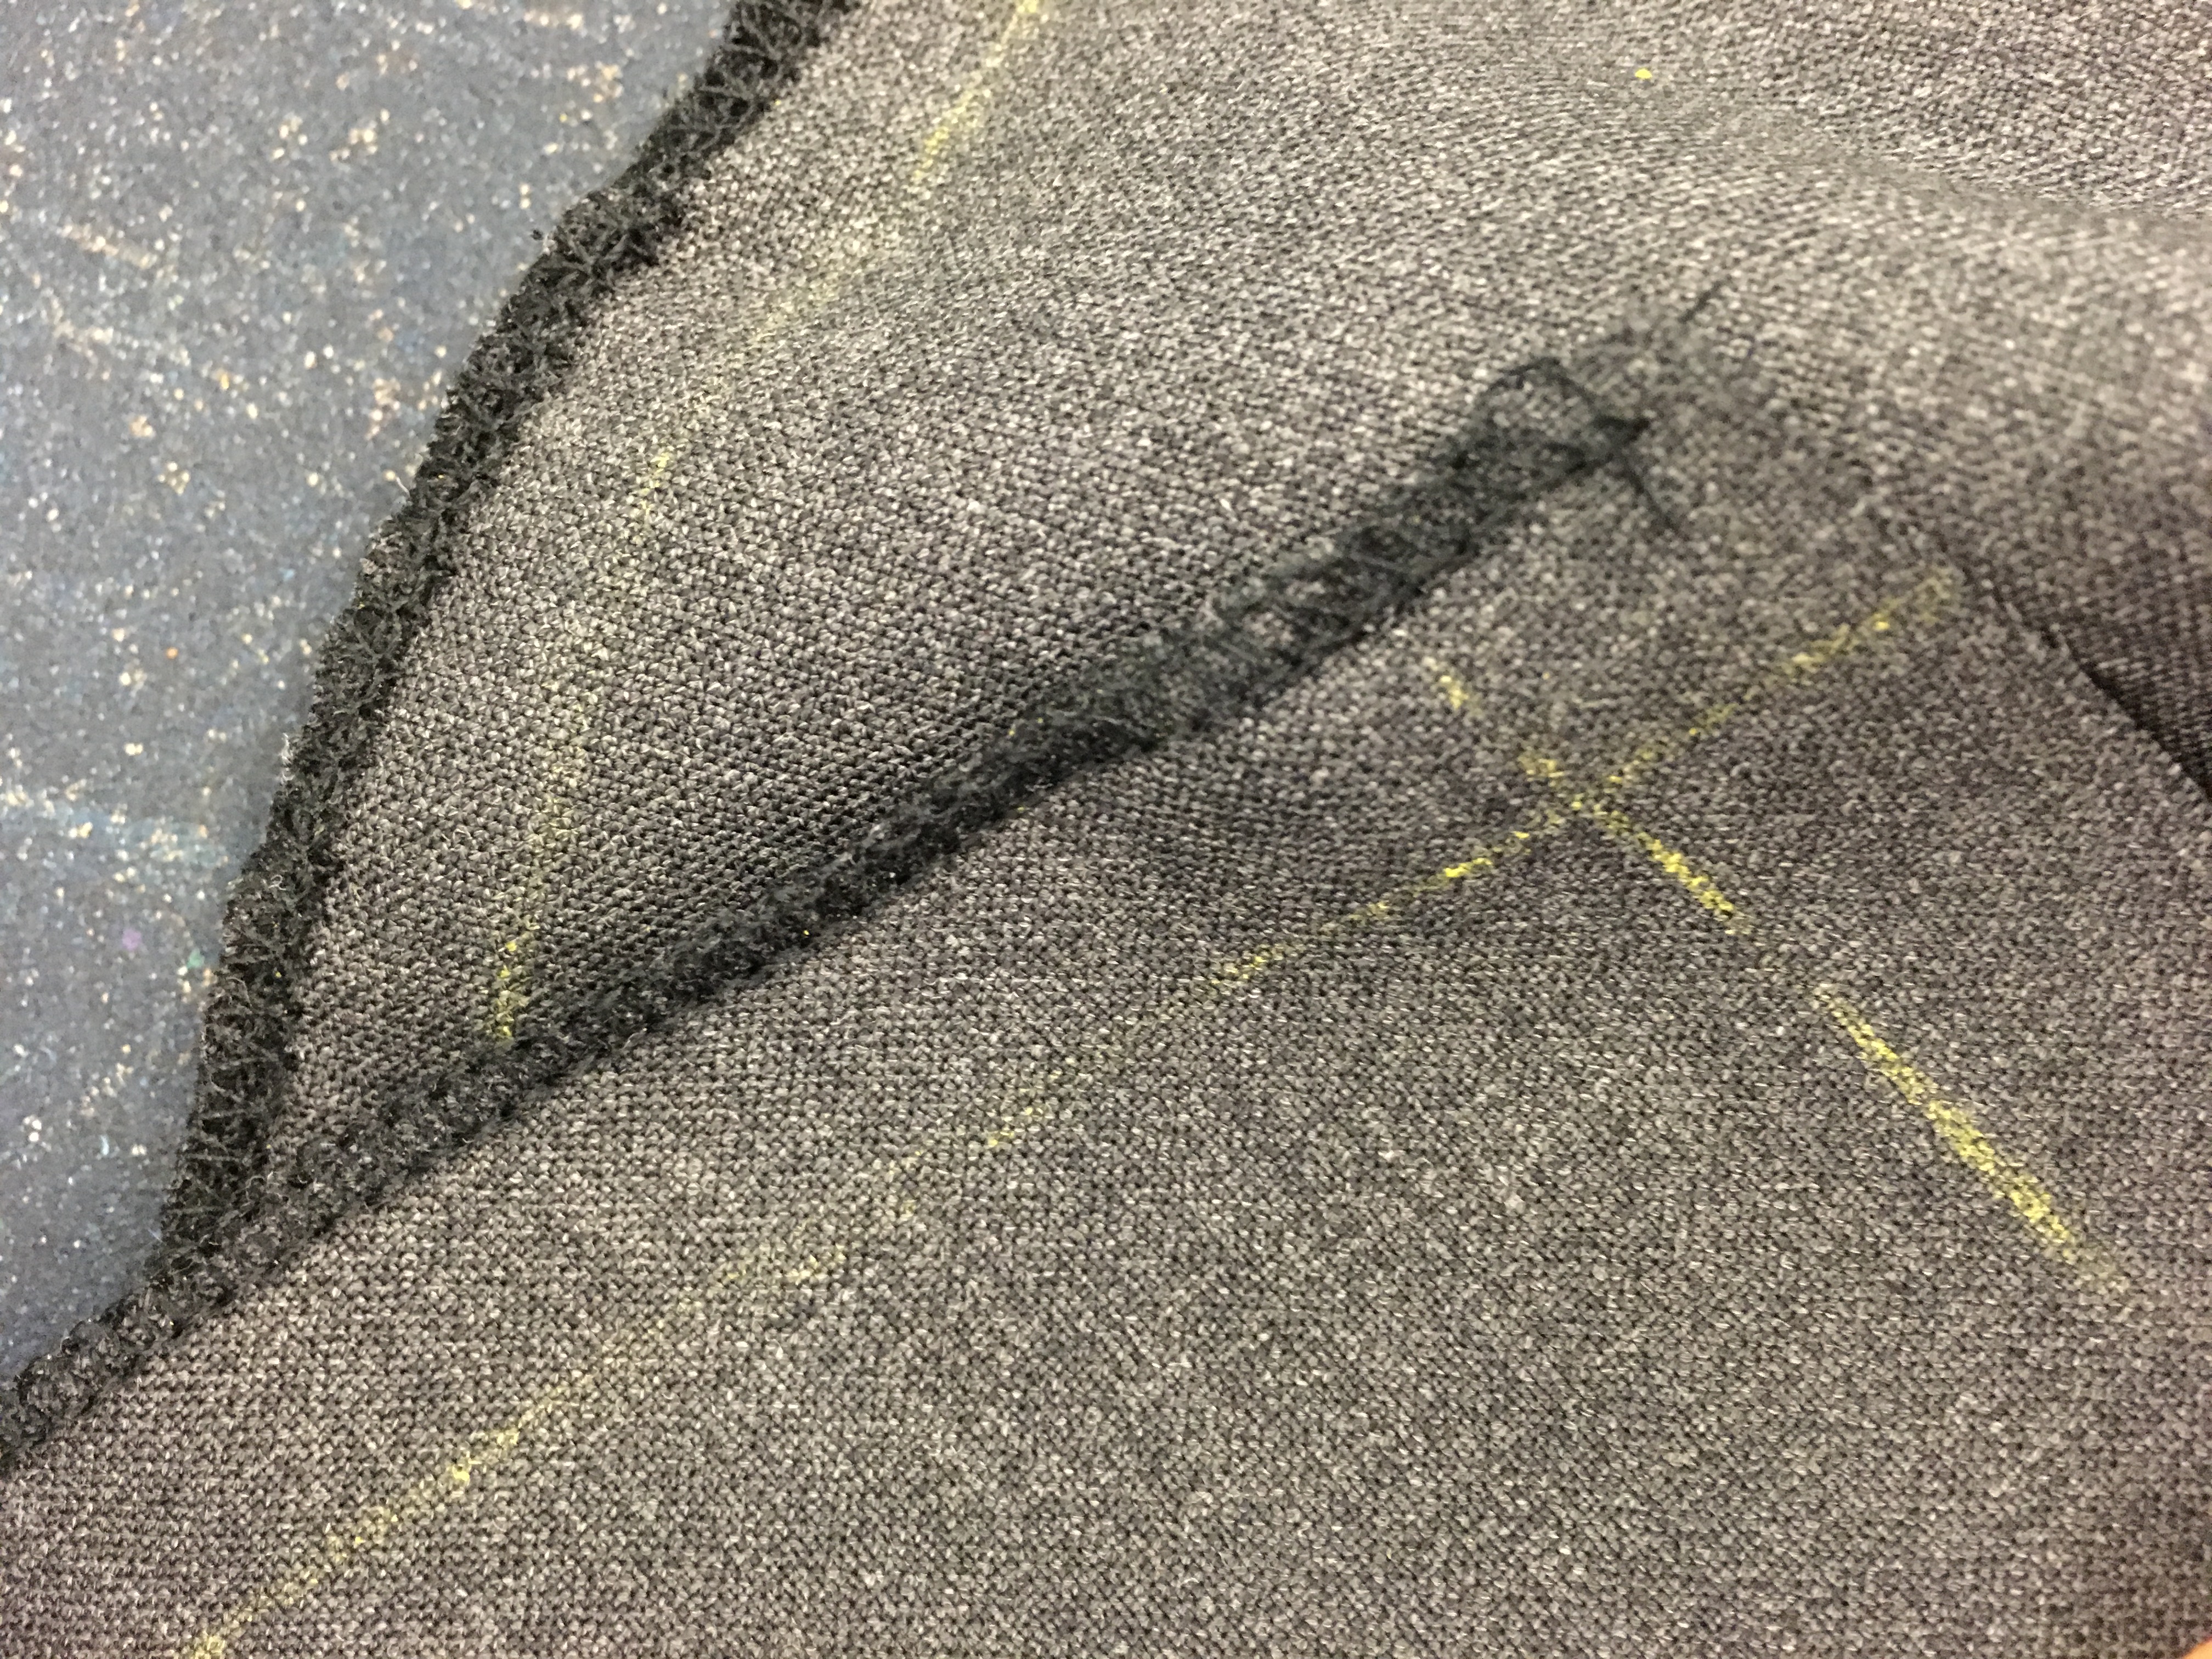
I sewn all the parts together, pocket, zipper, and the front& back piece, but expect the two side.

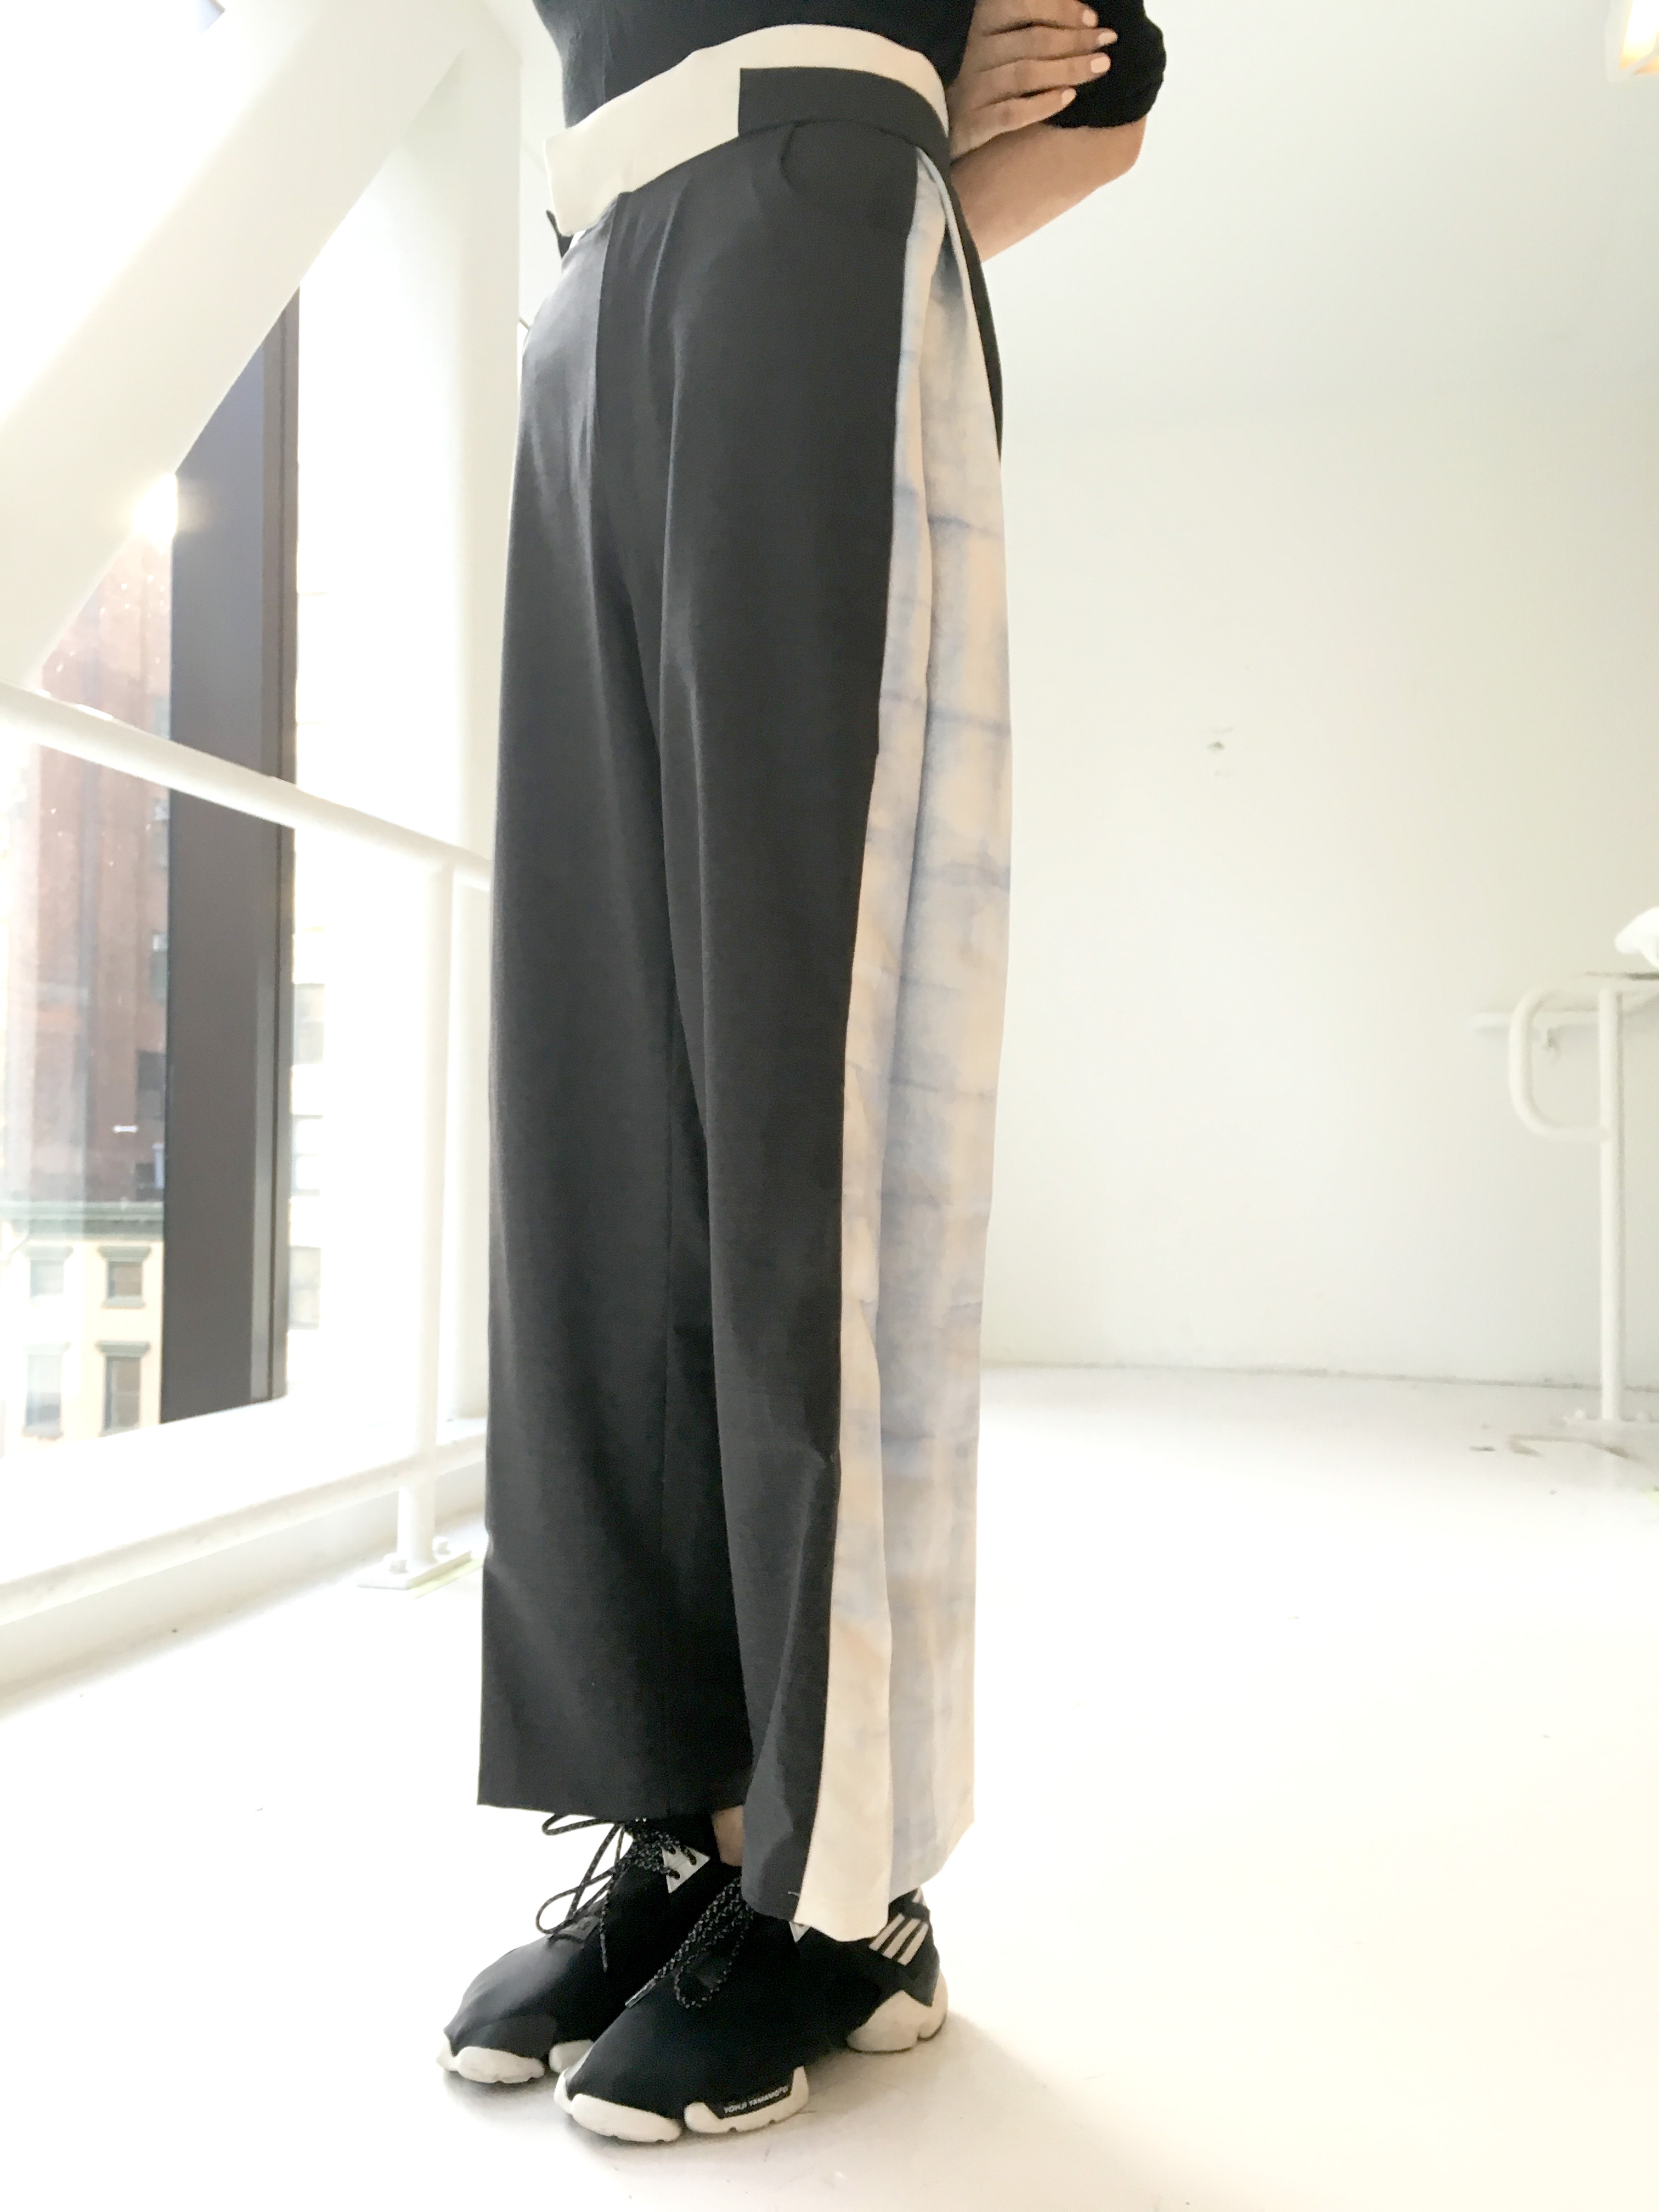
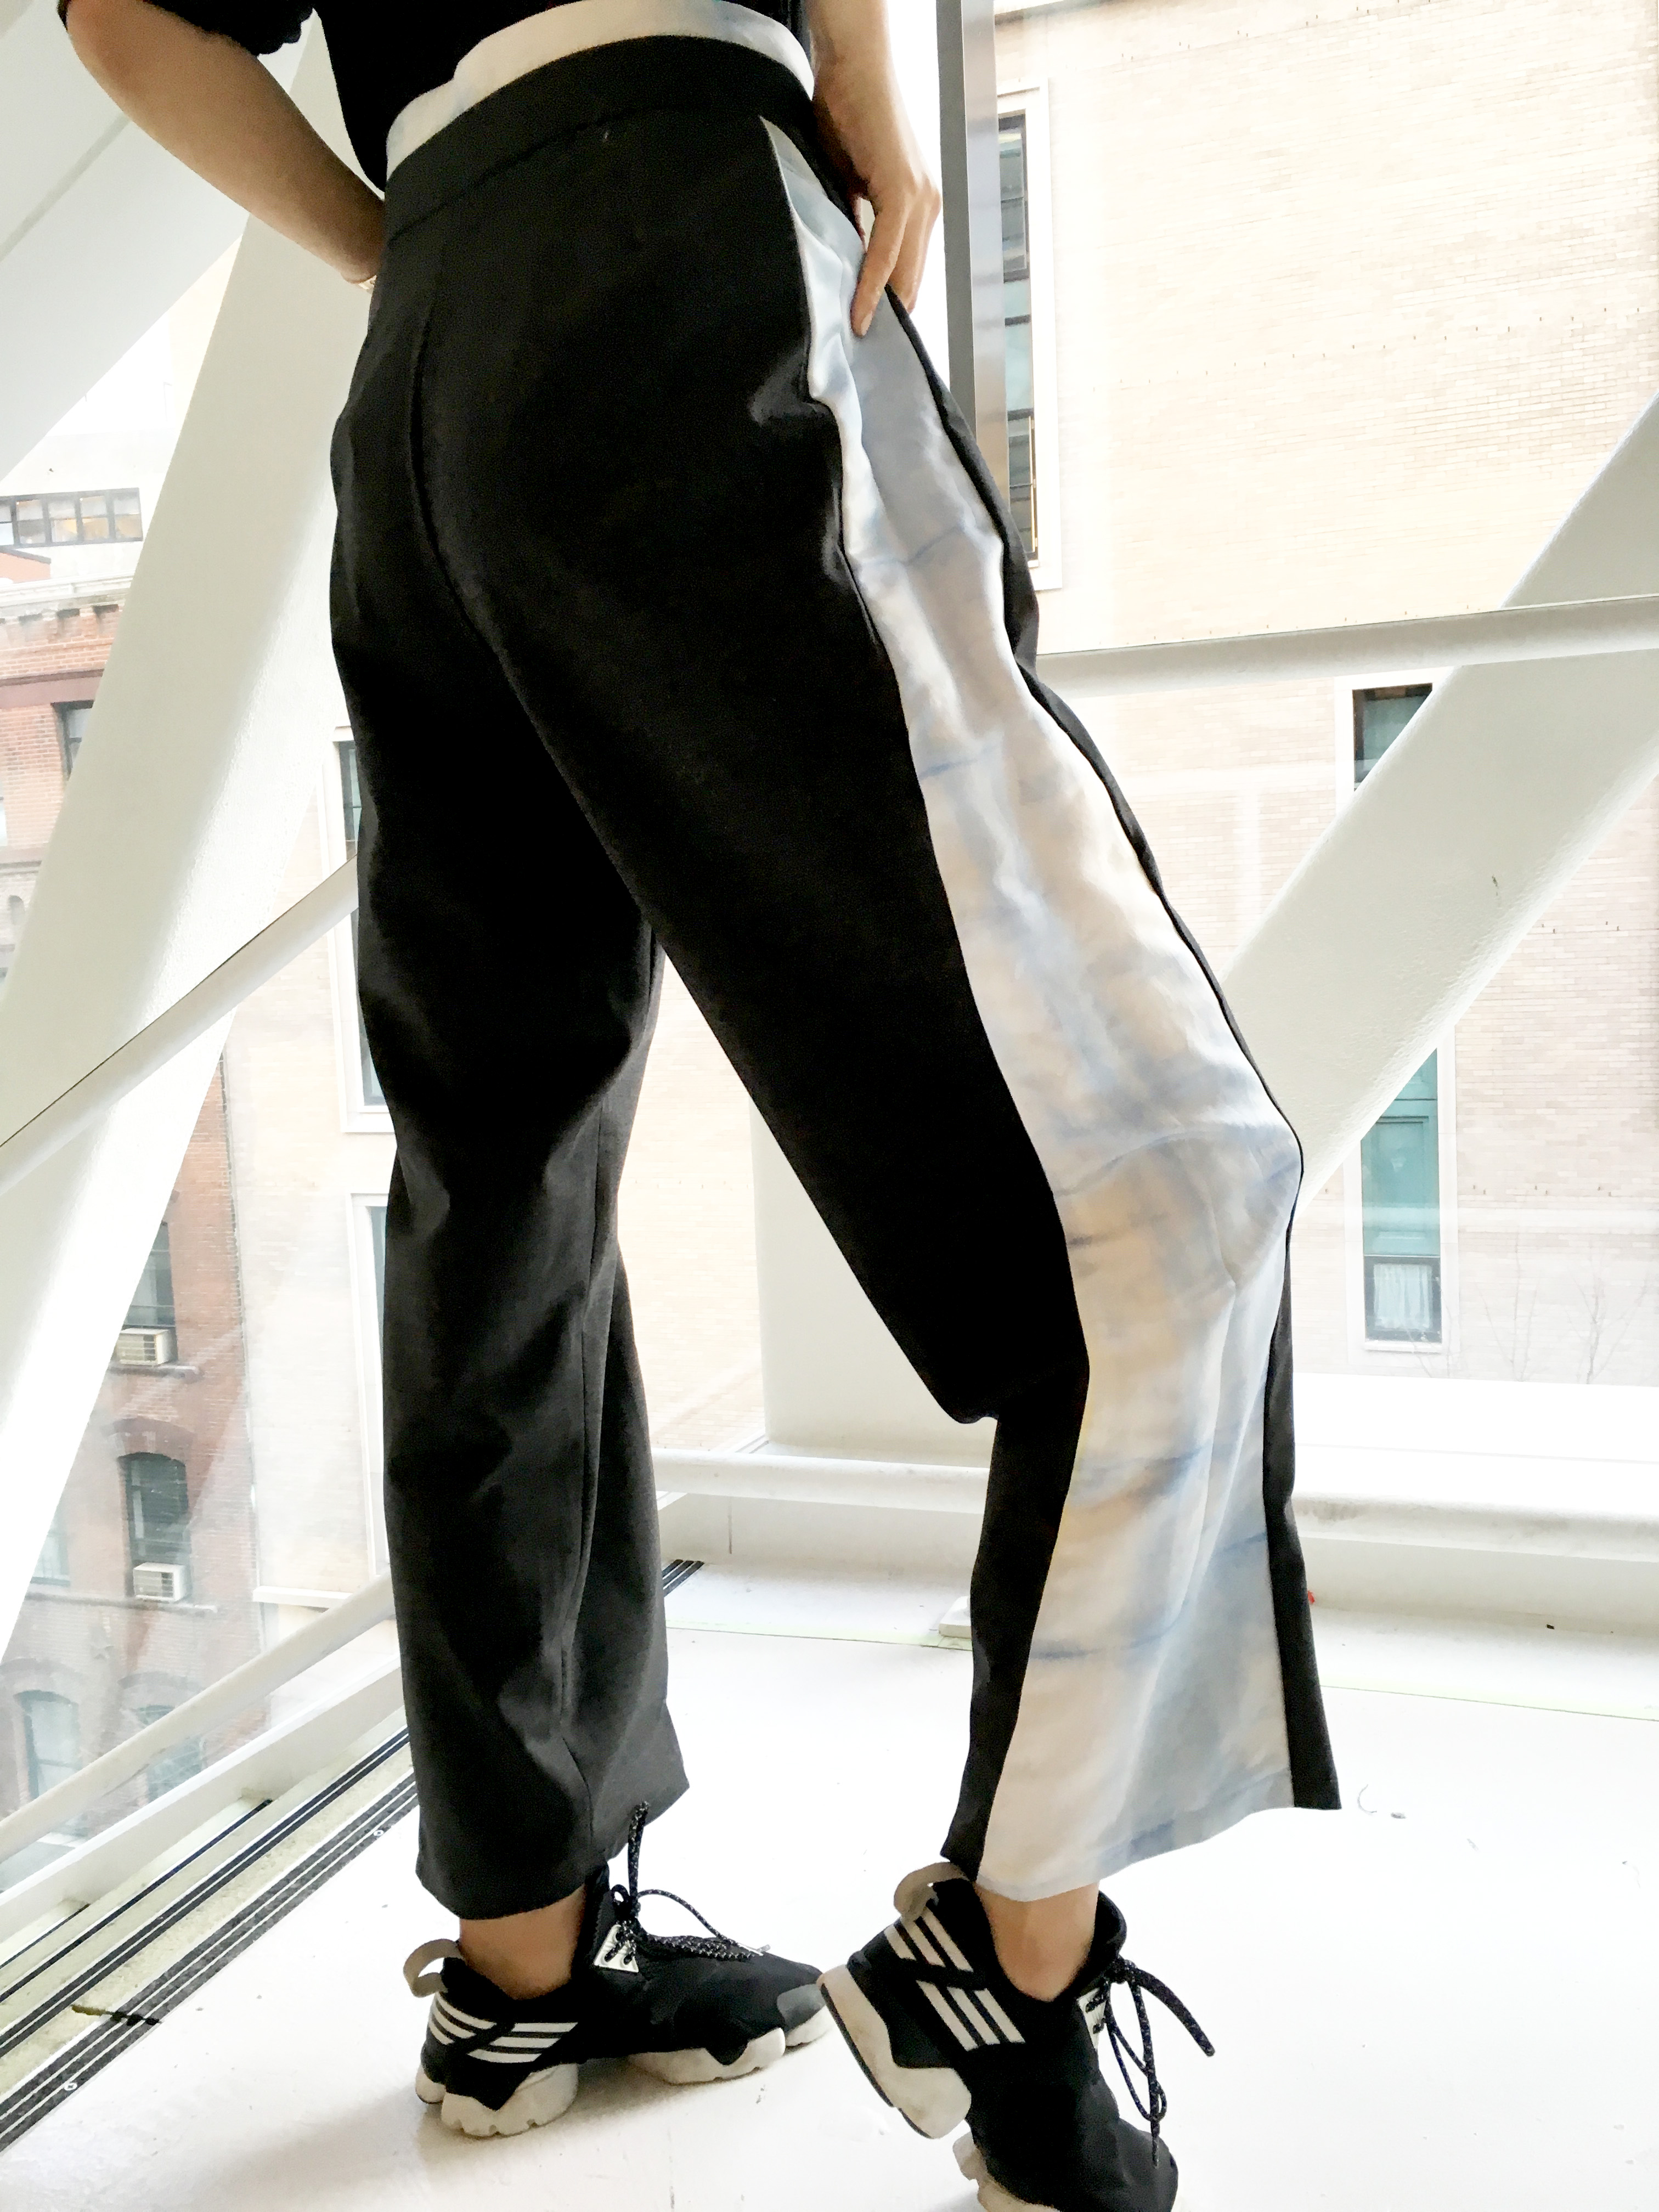
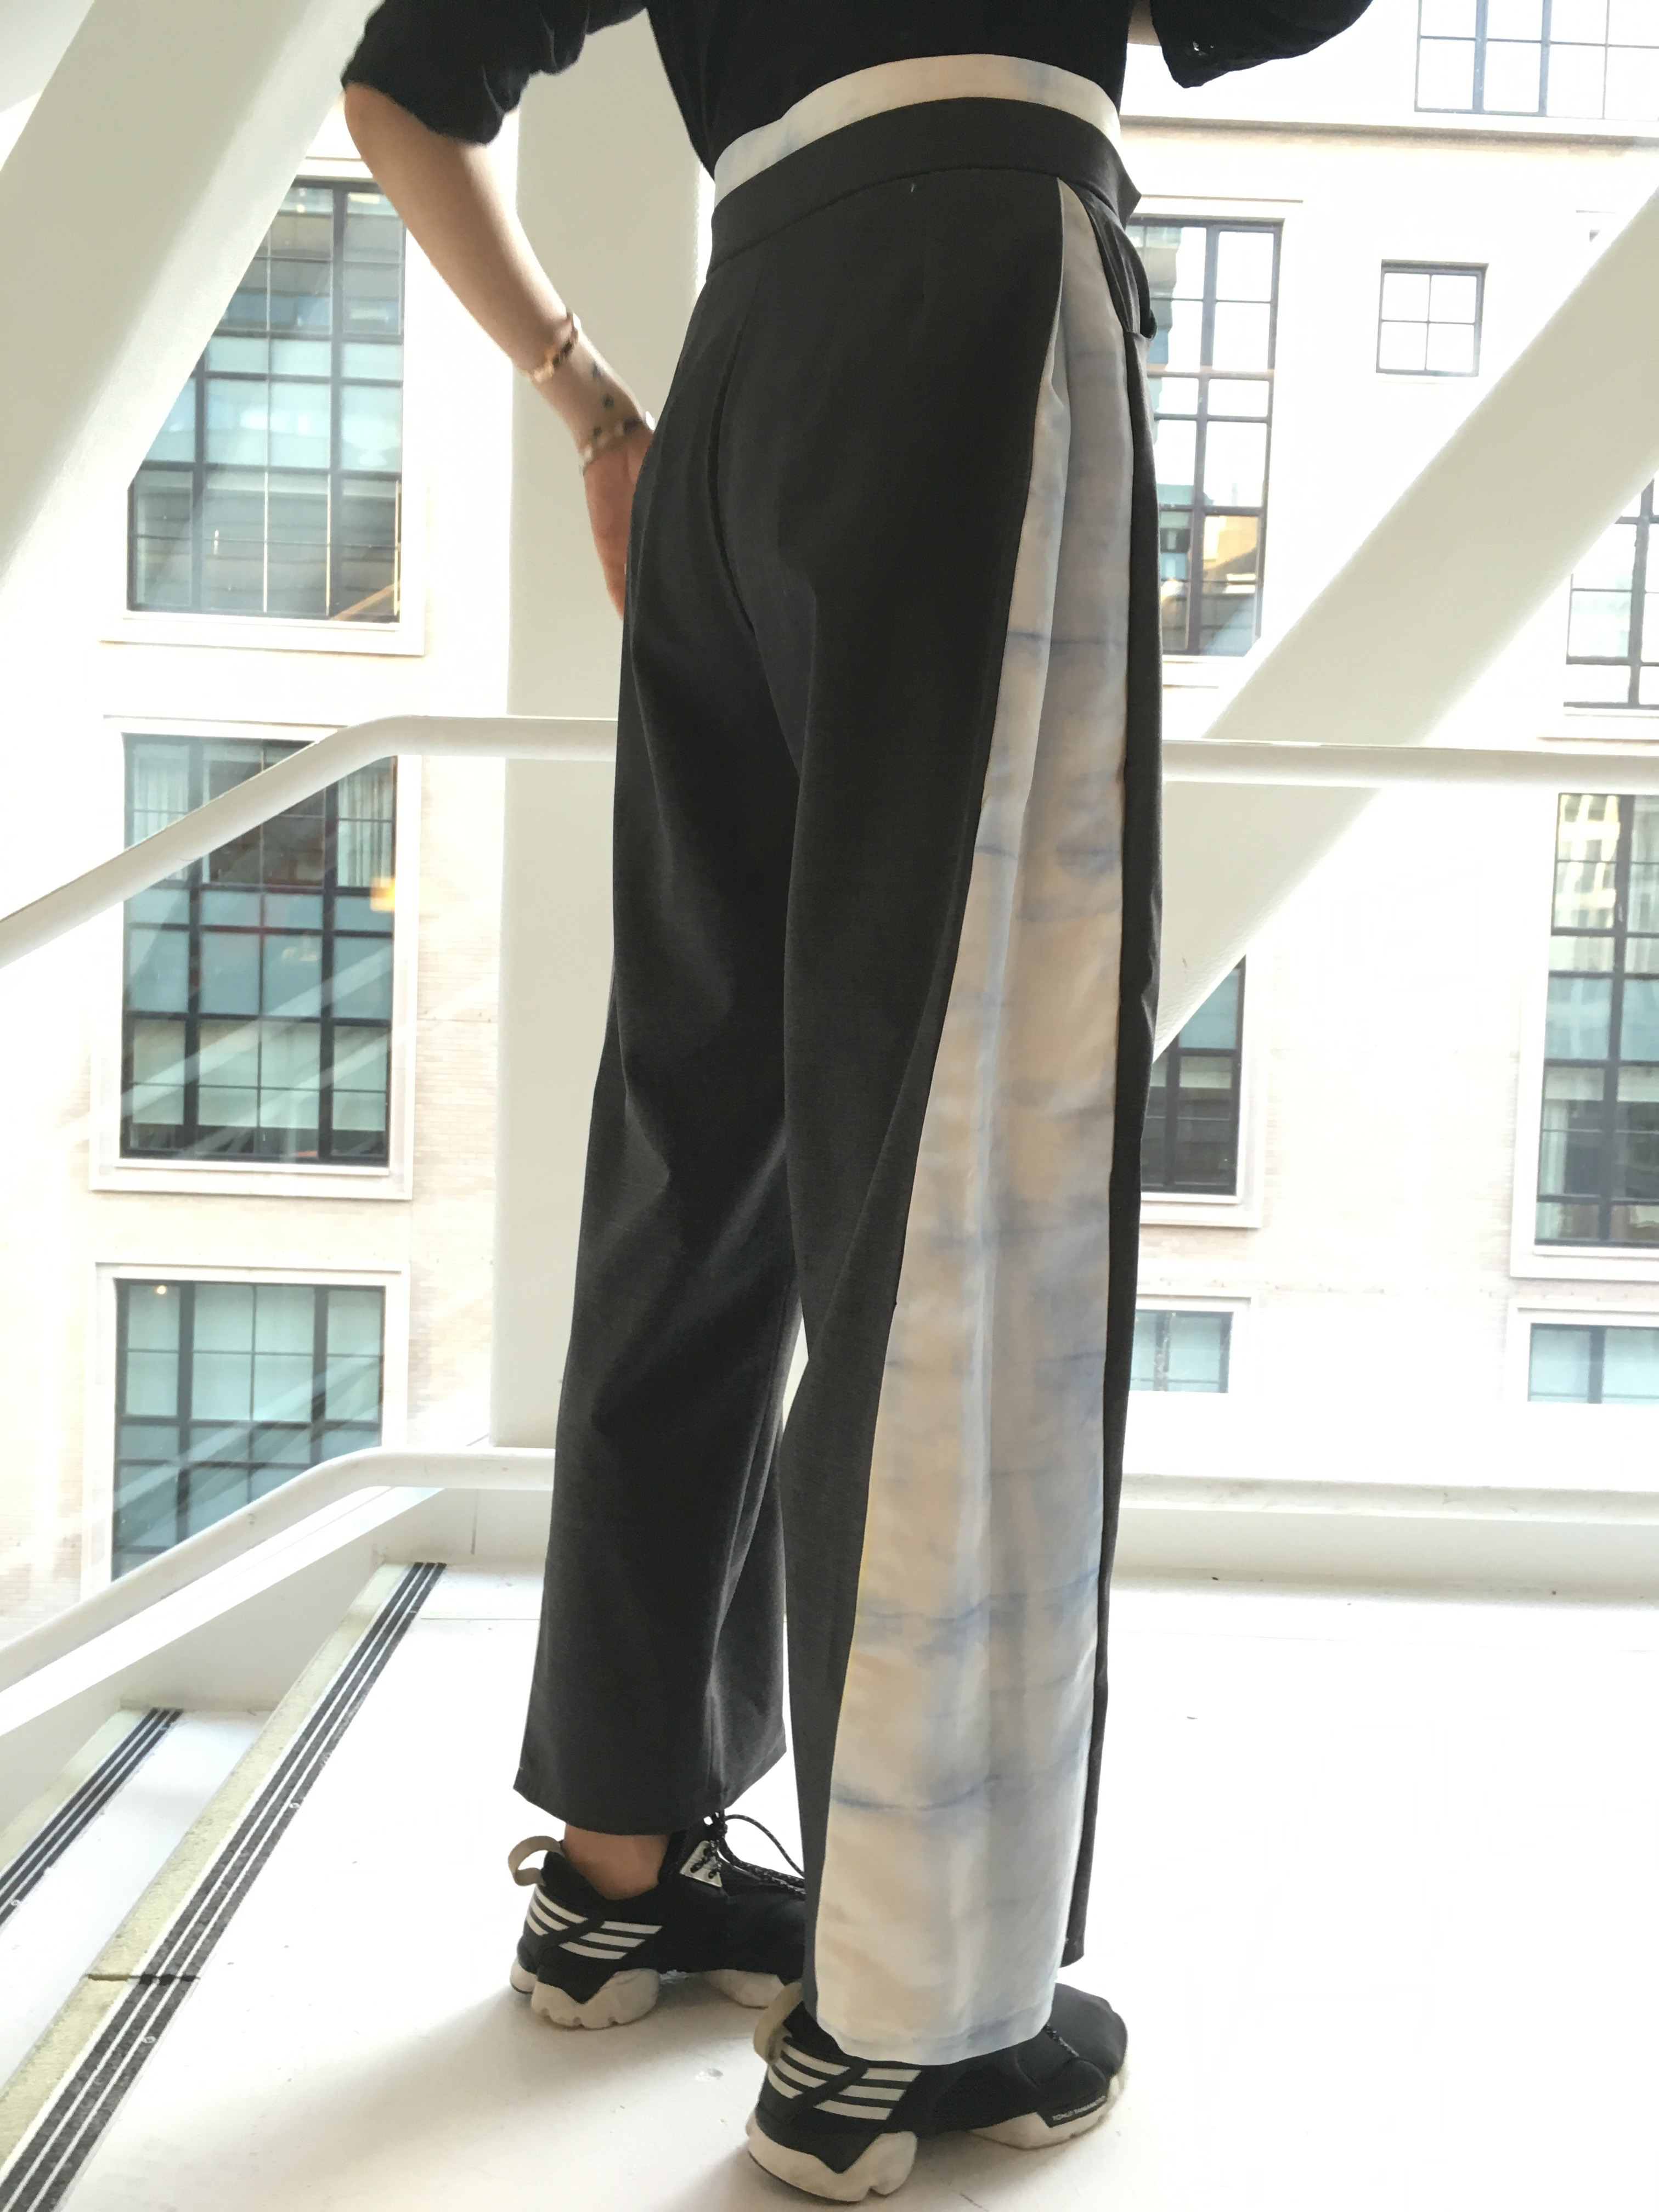
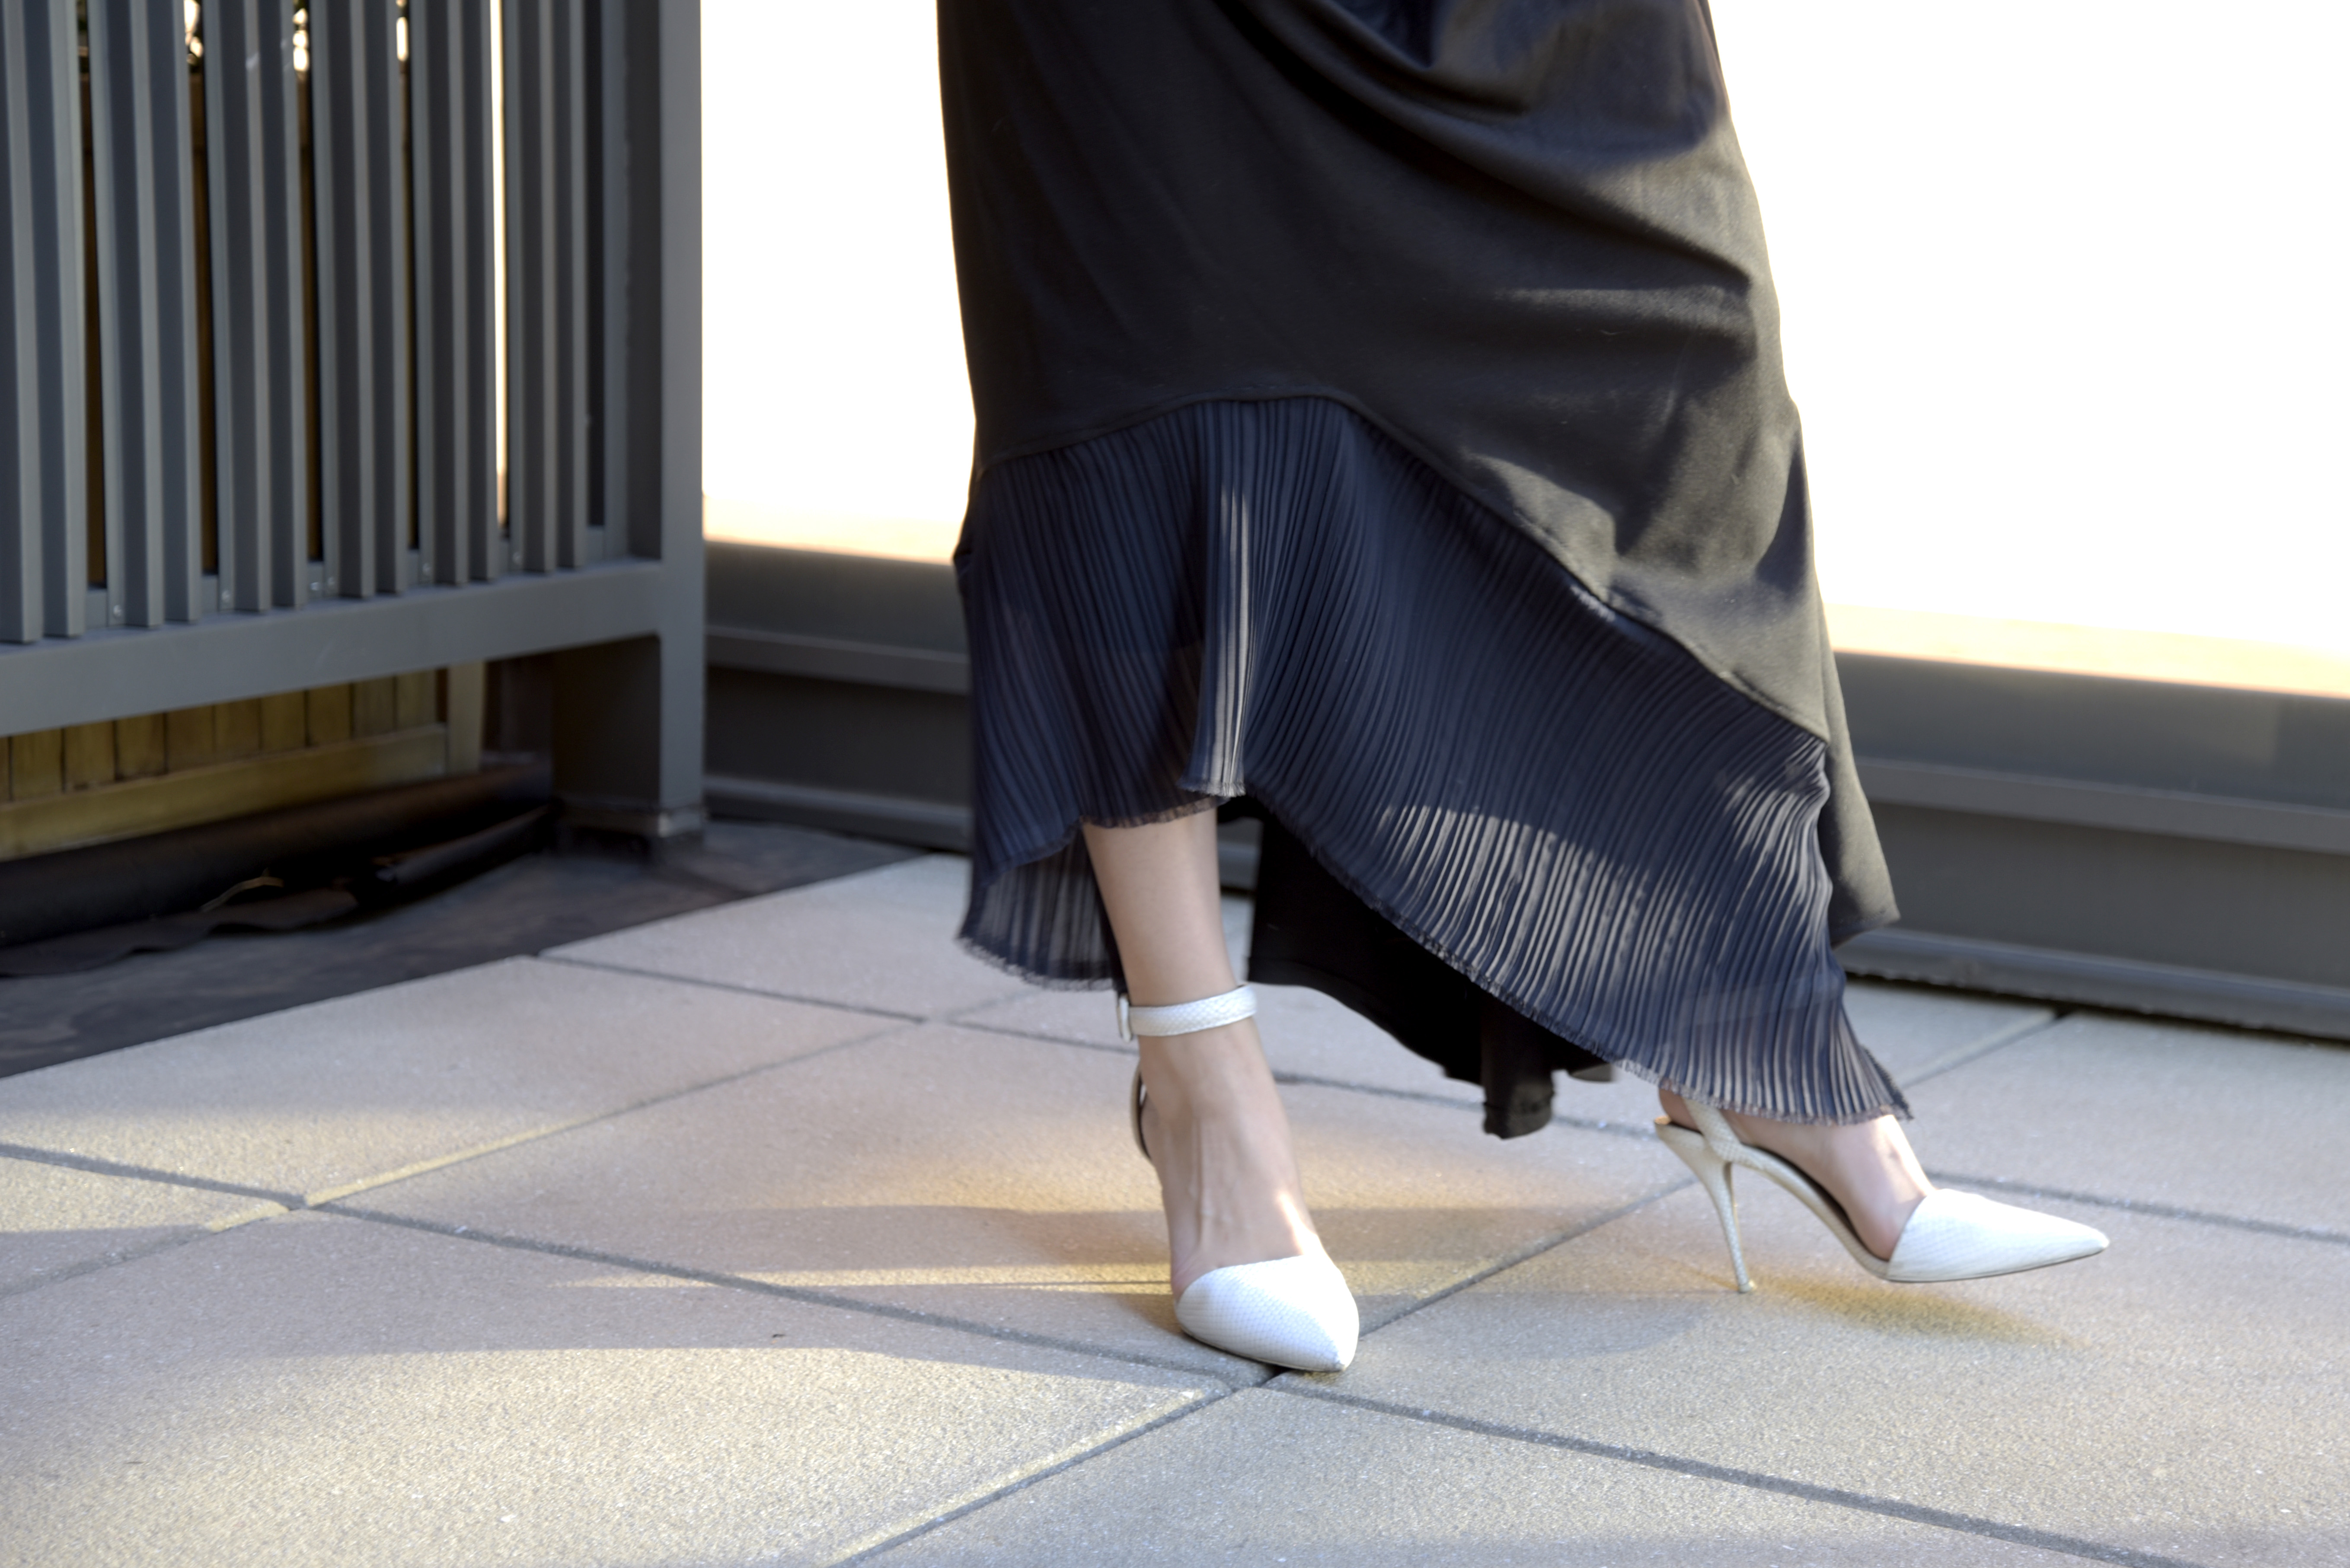
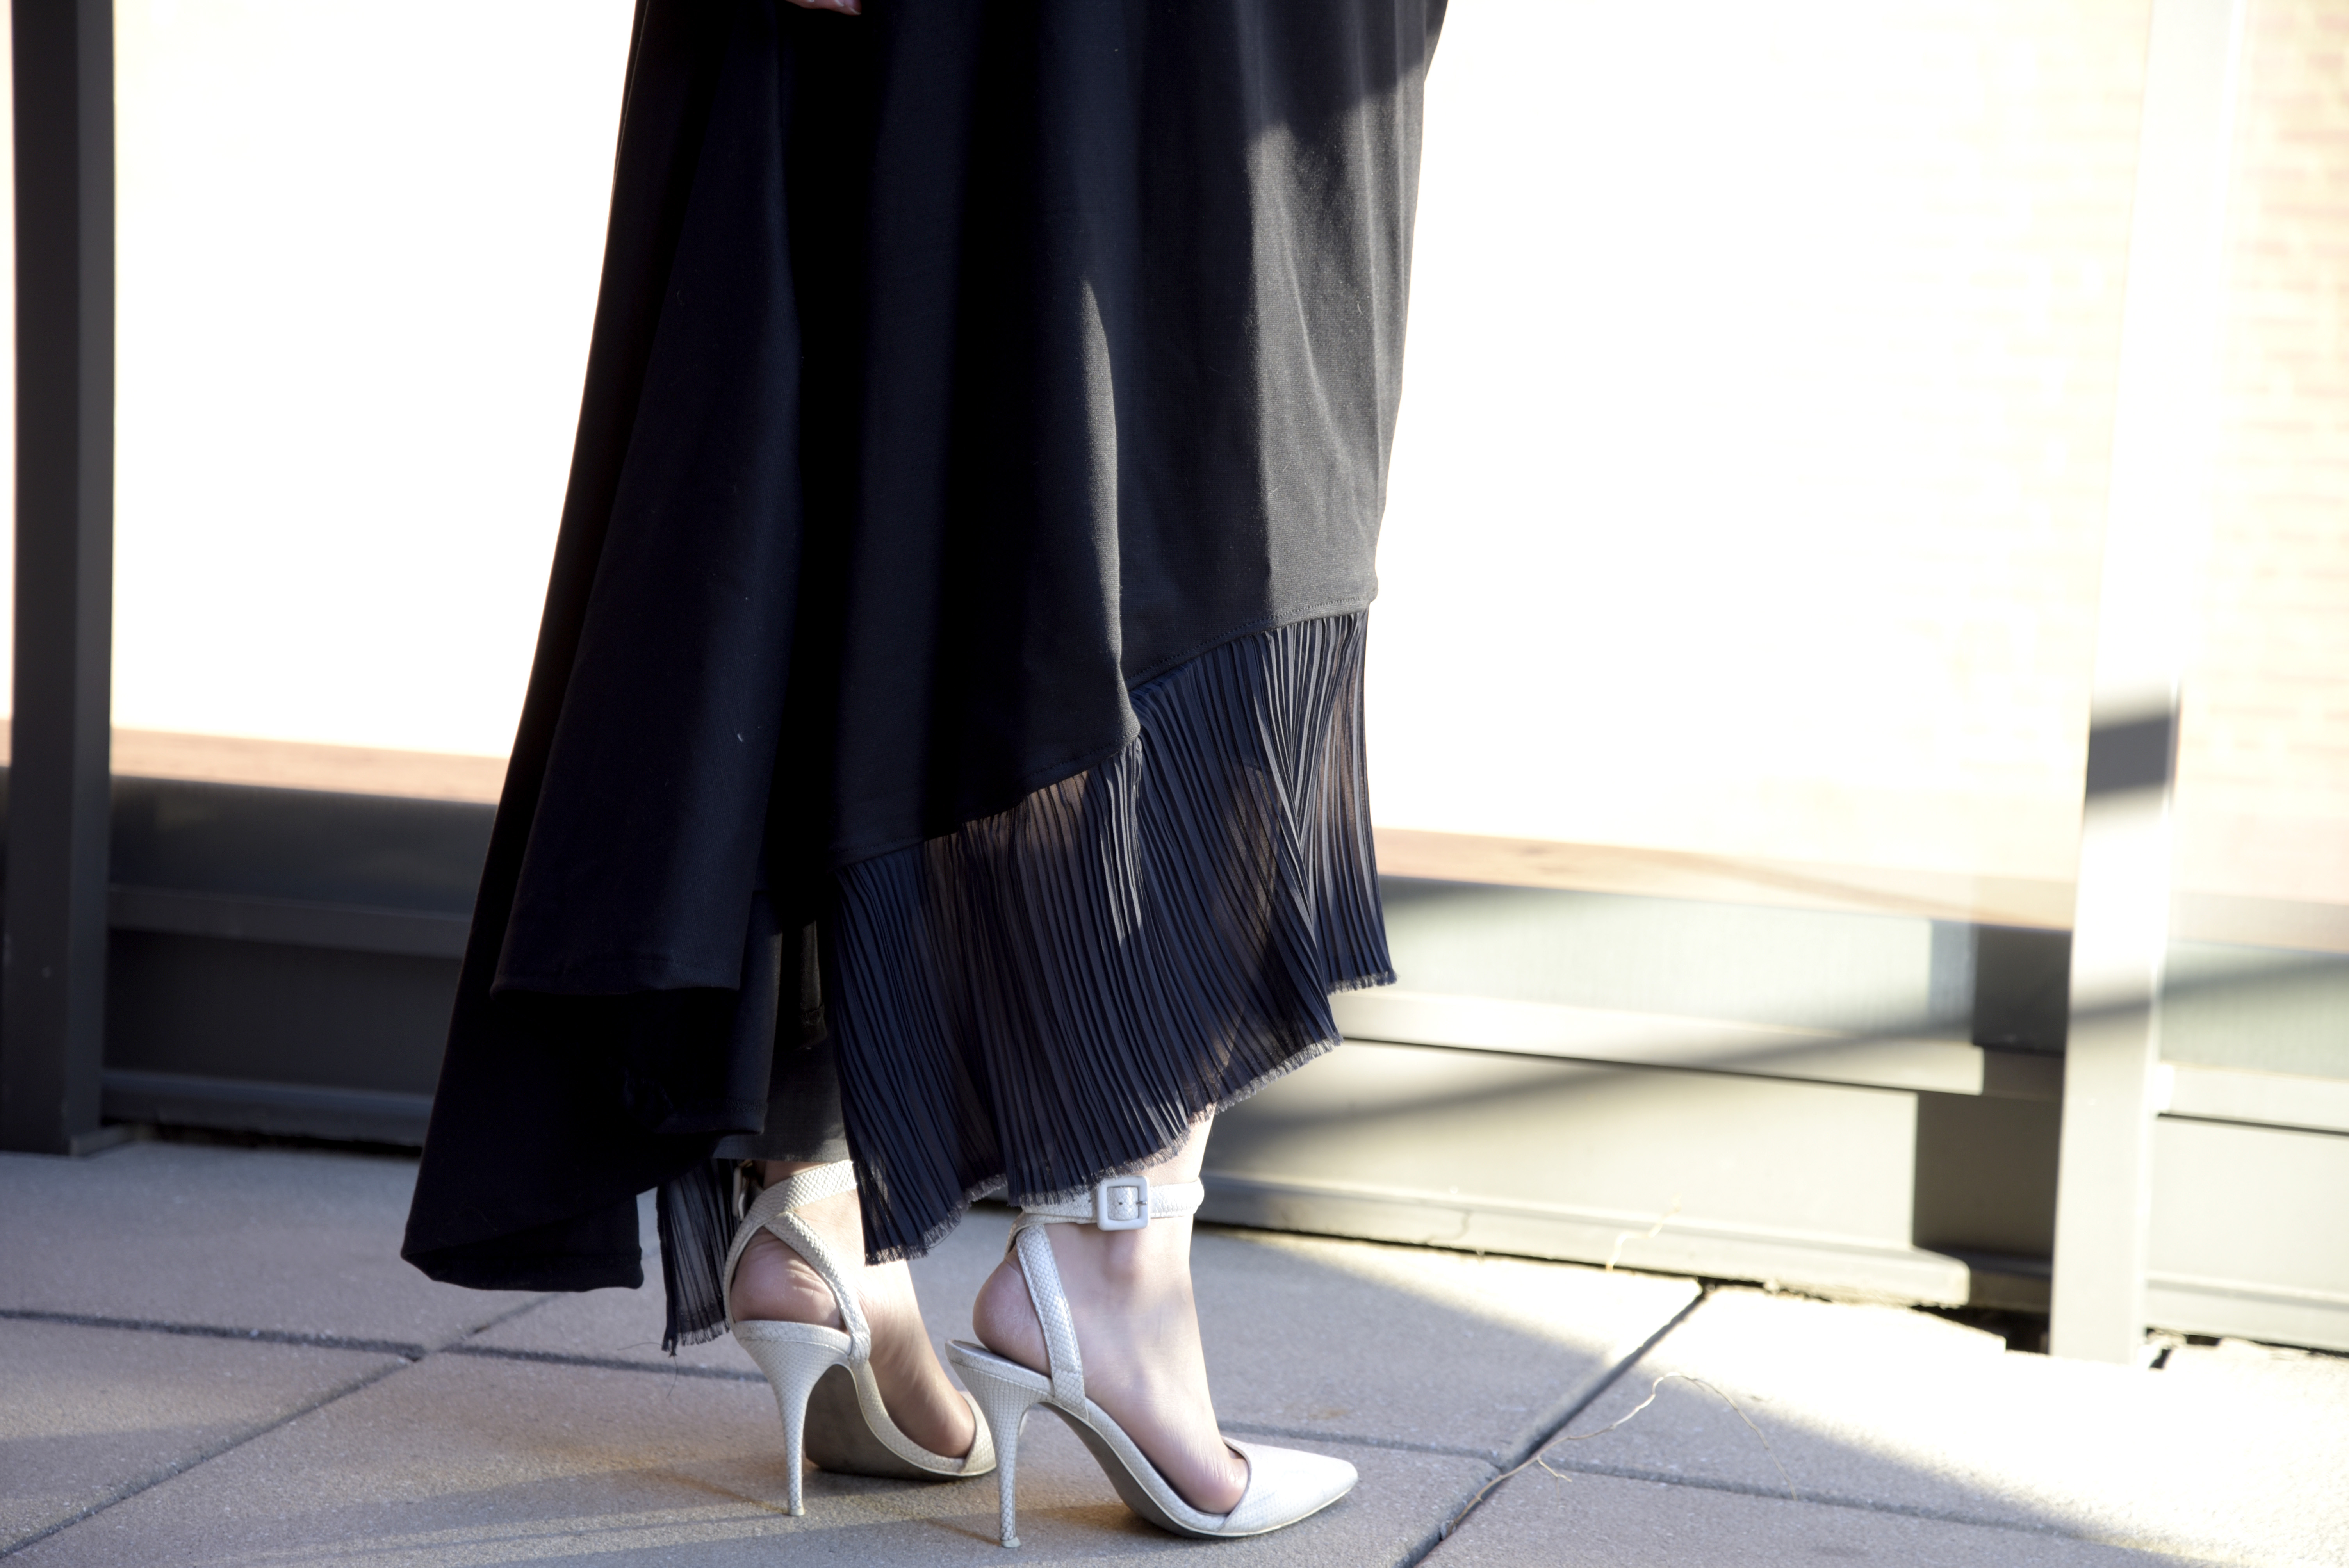
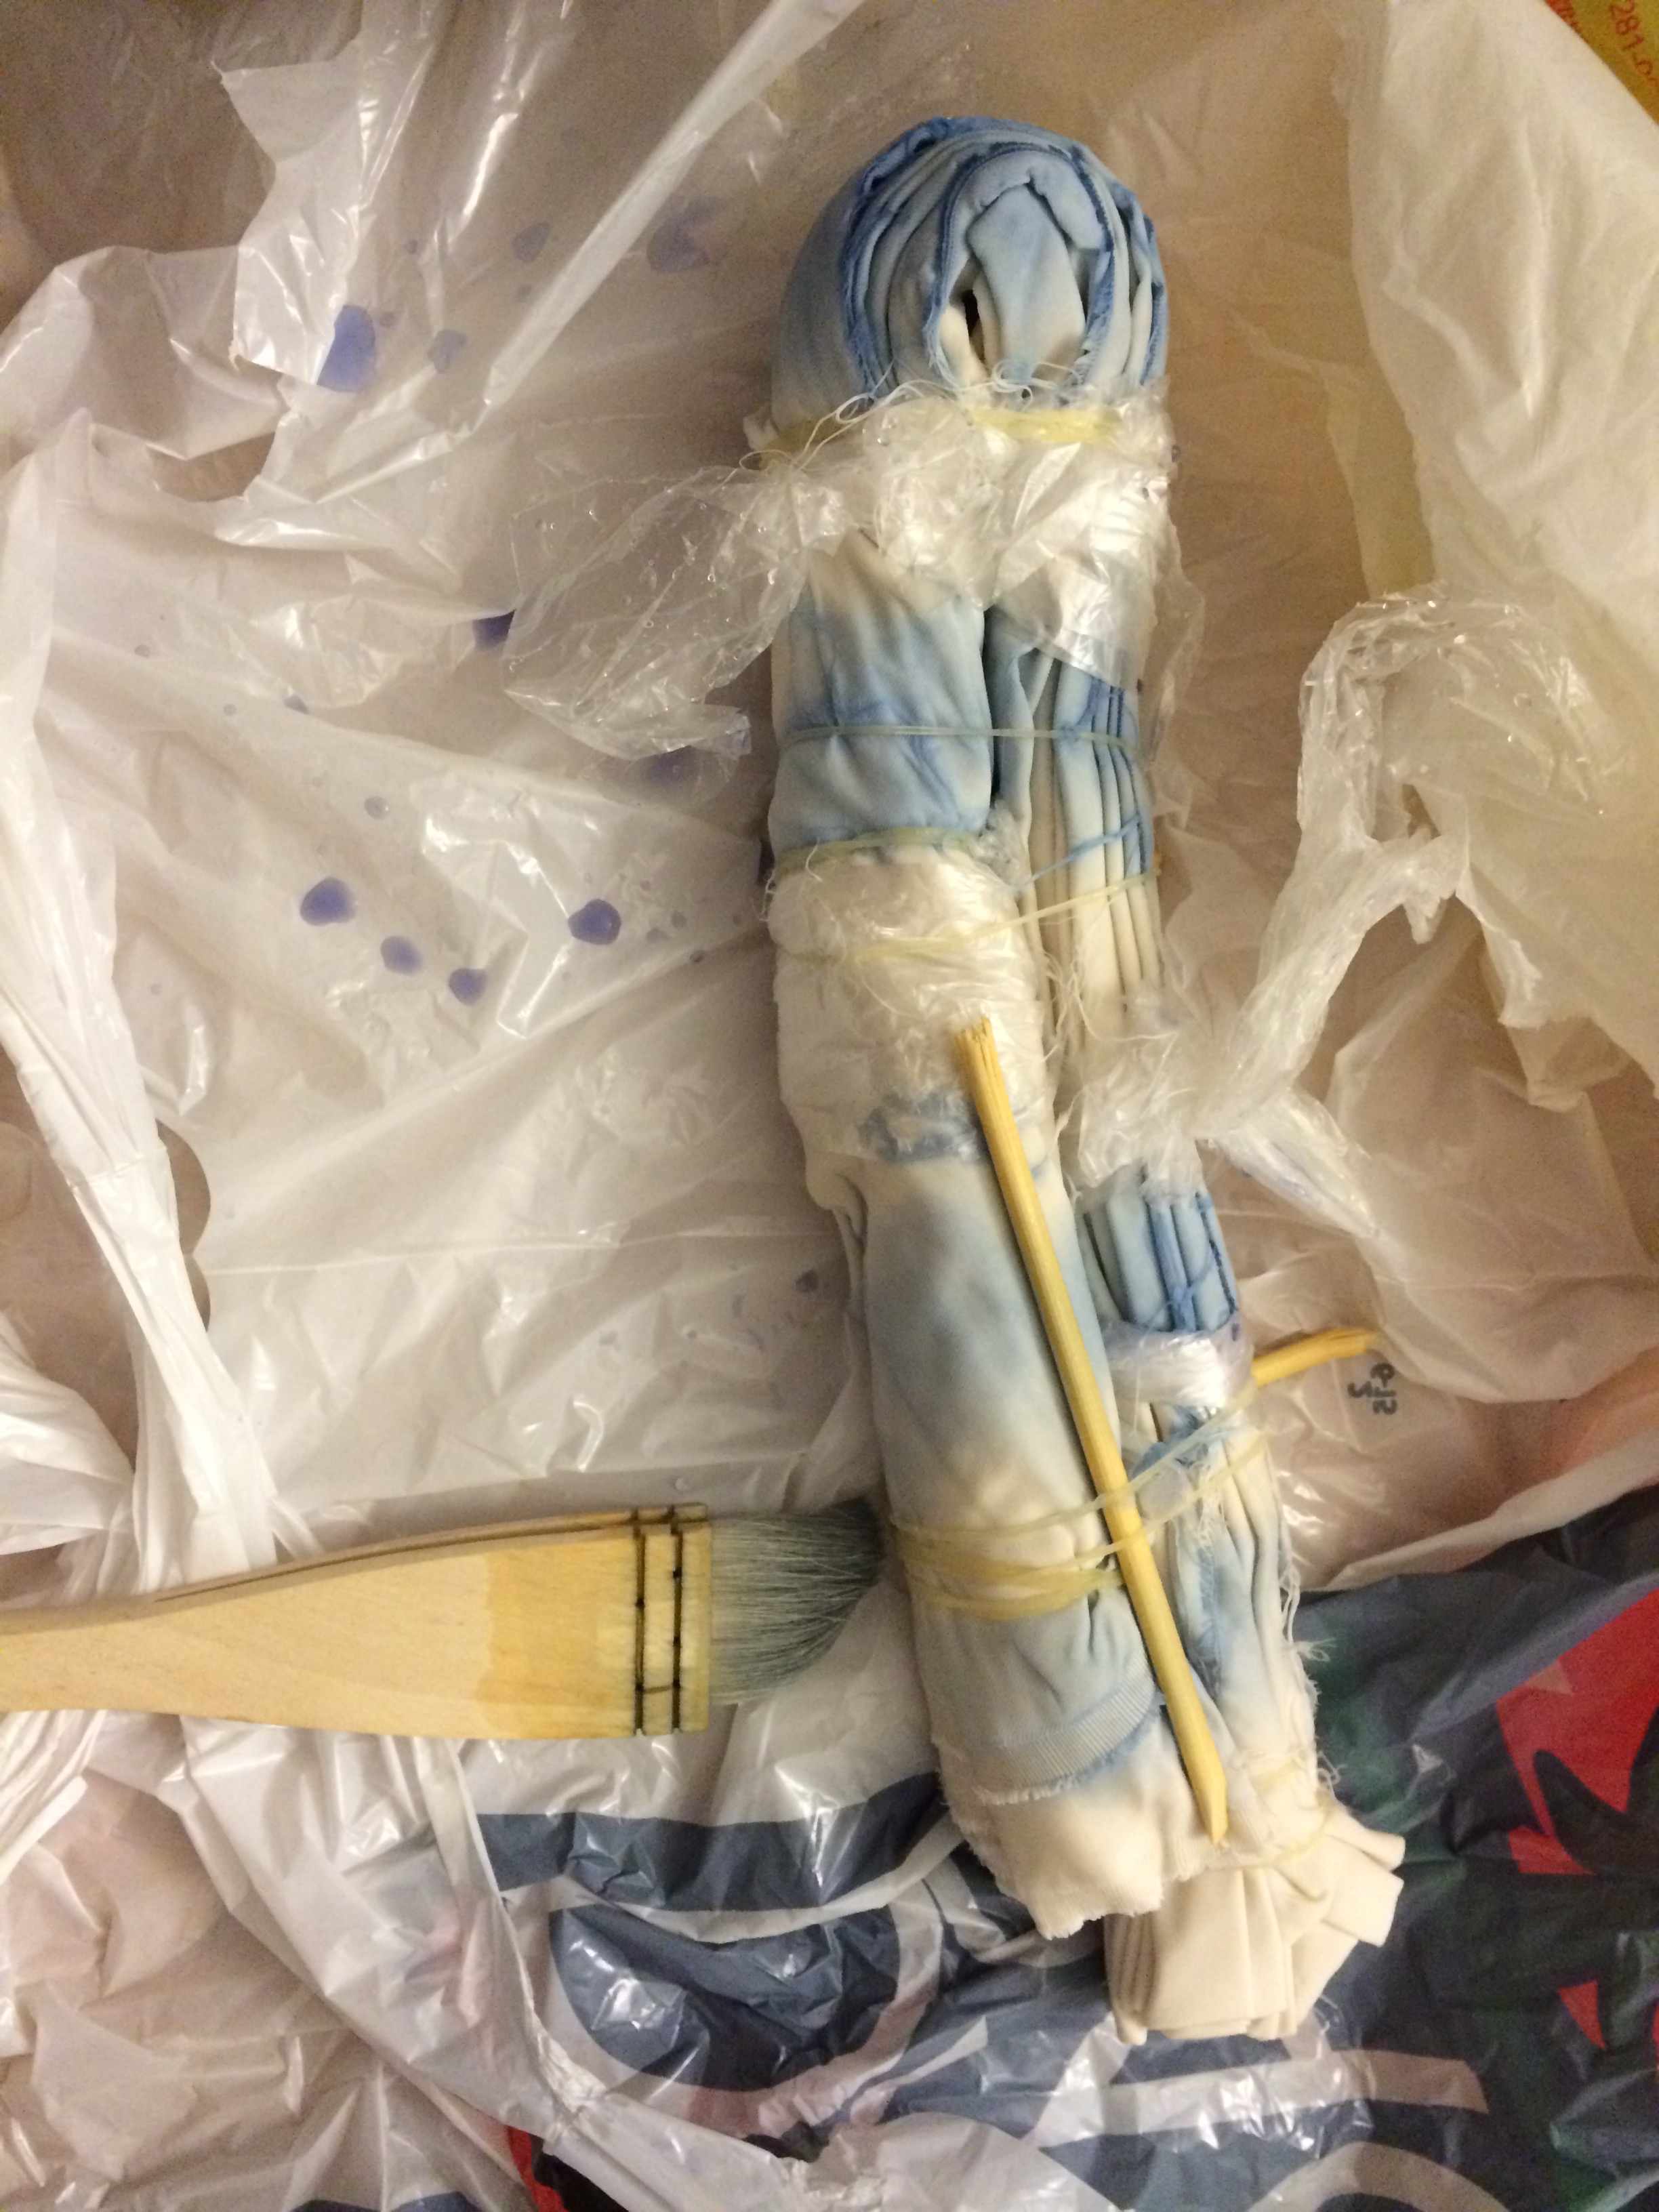
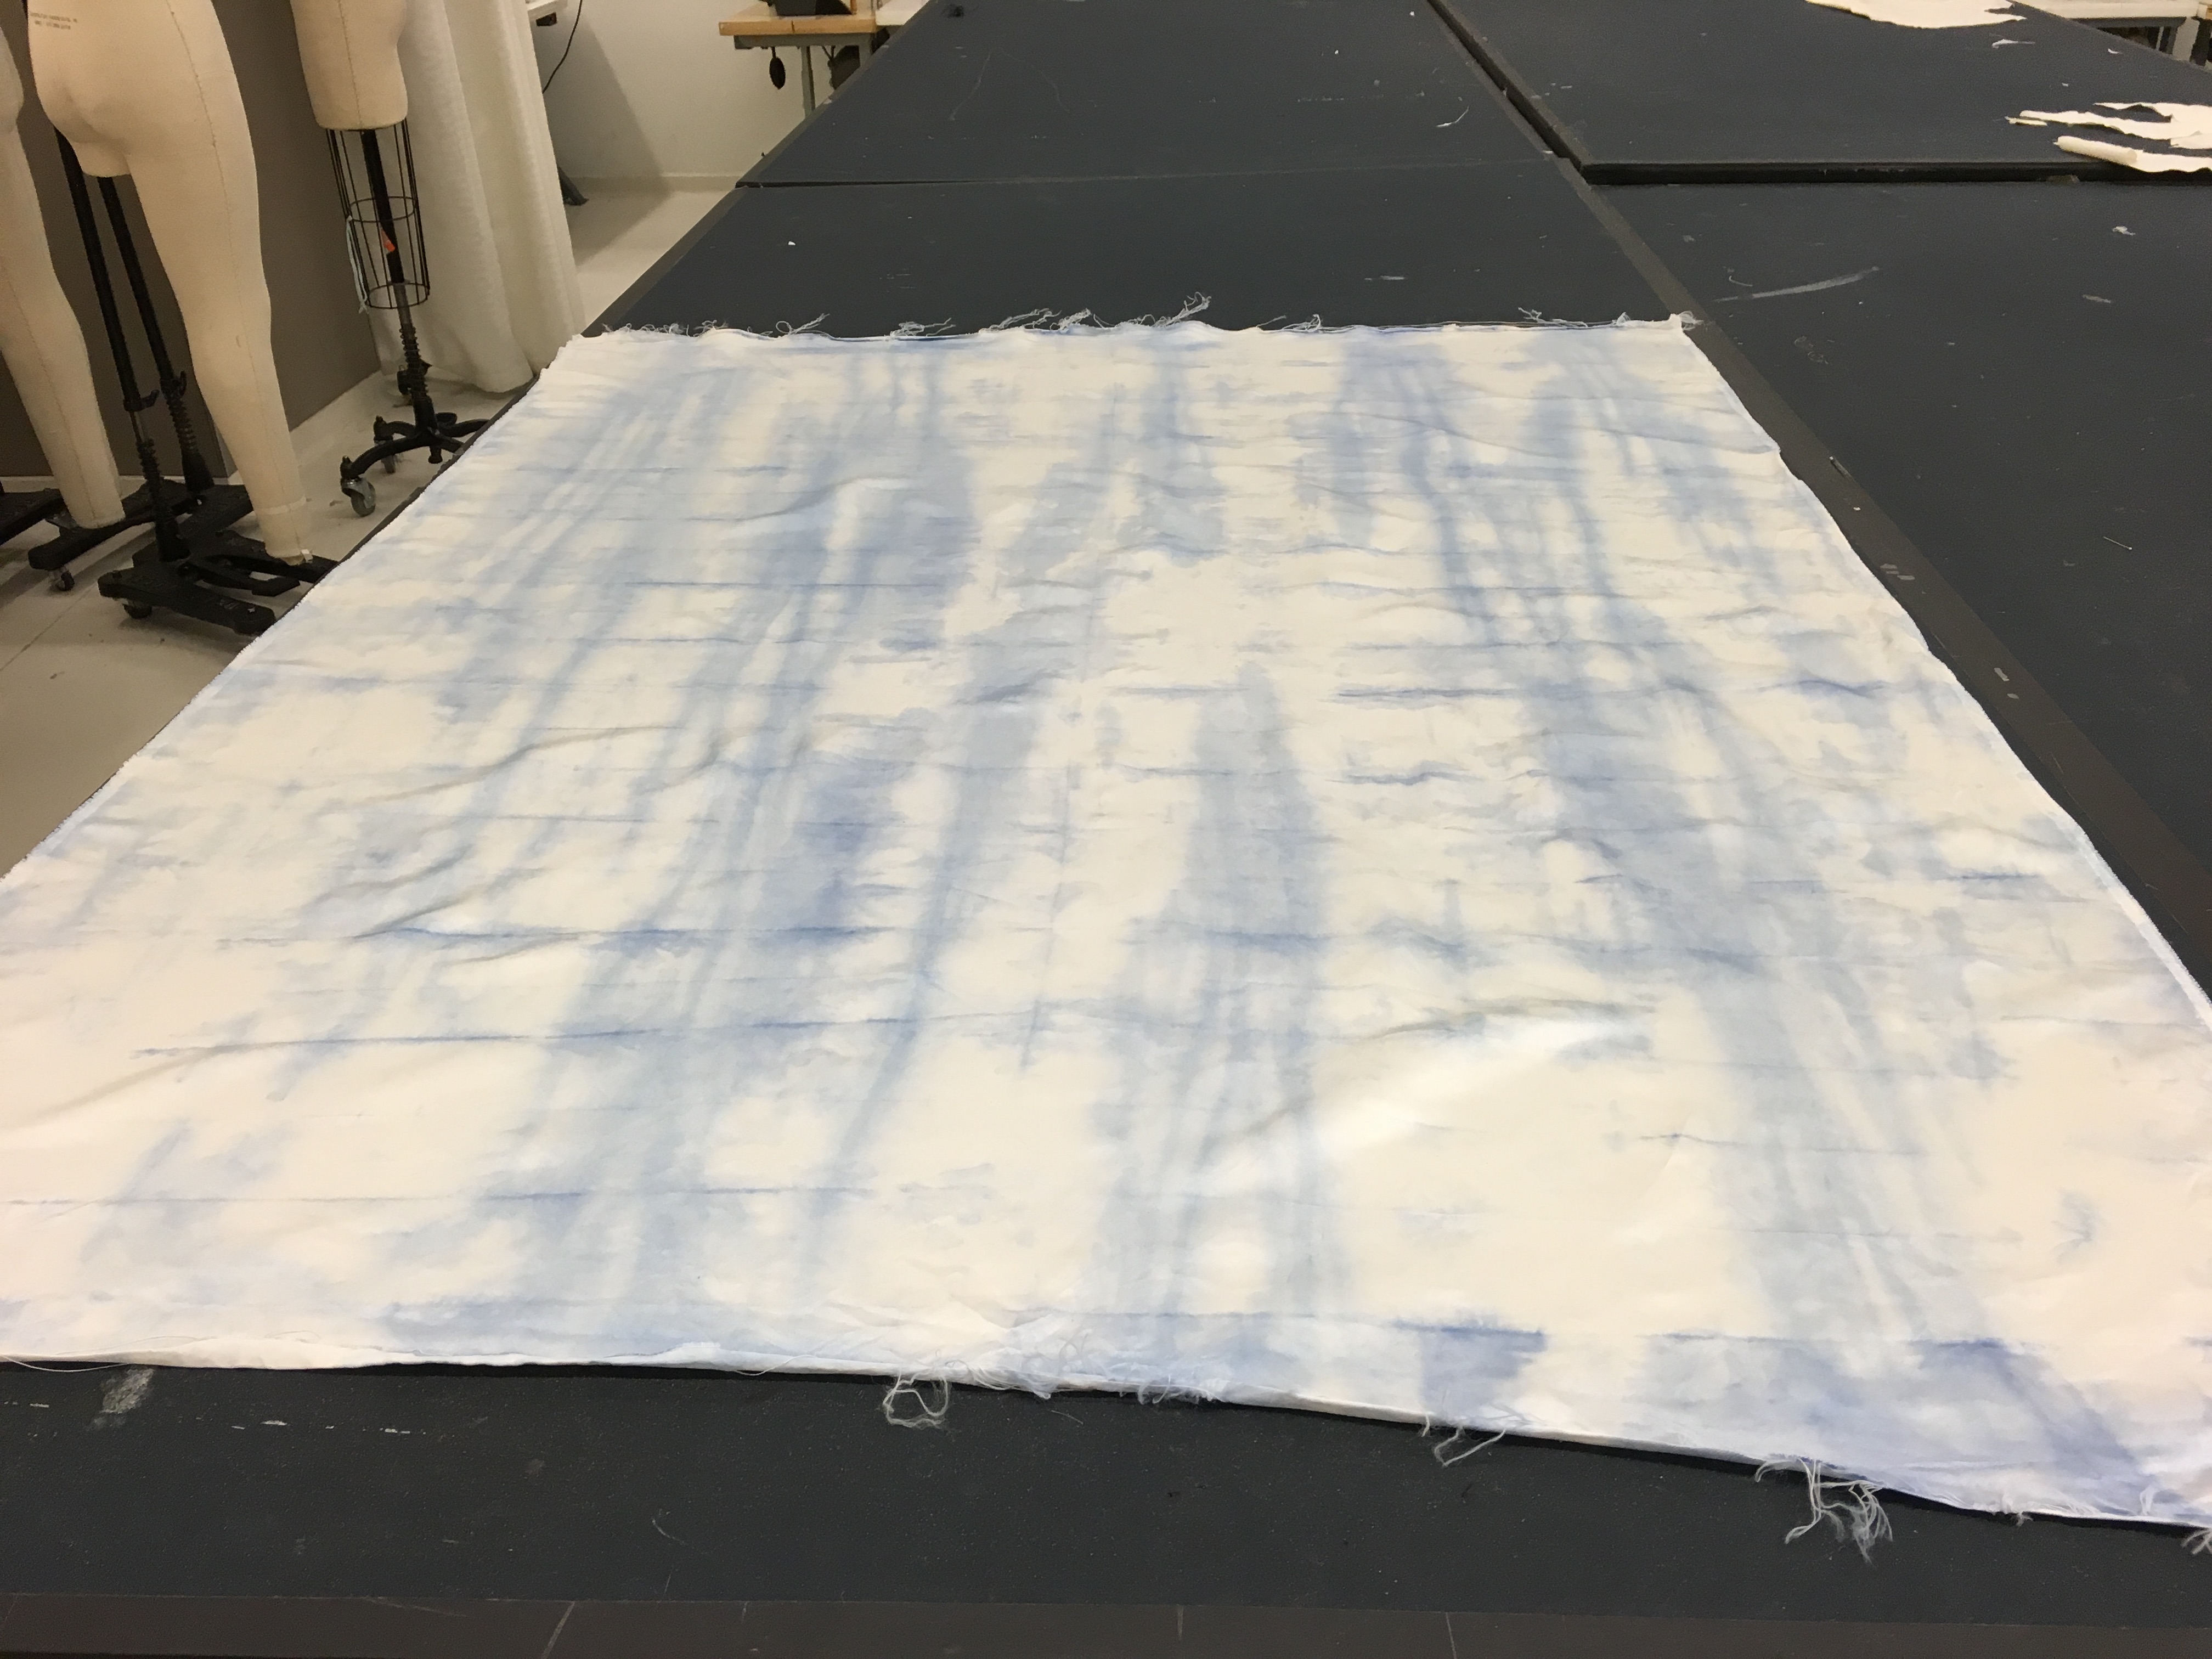
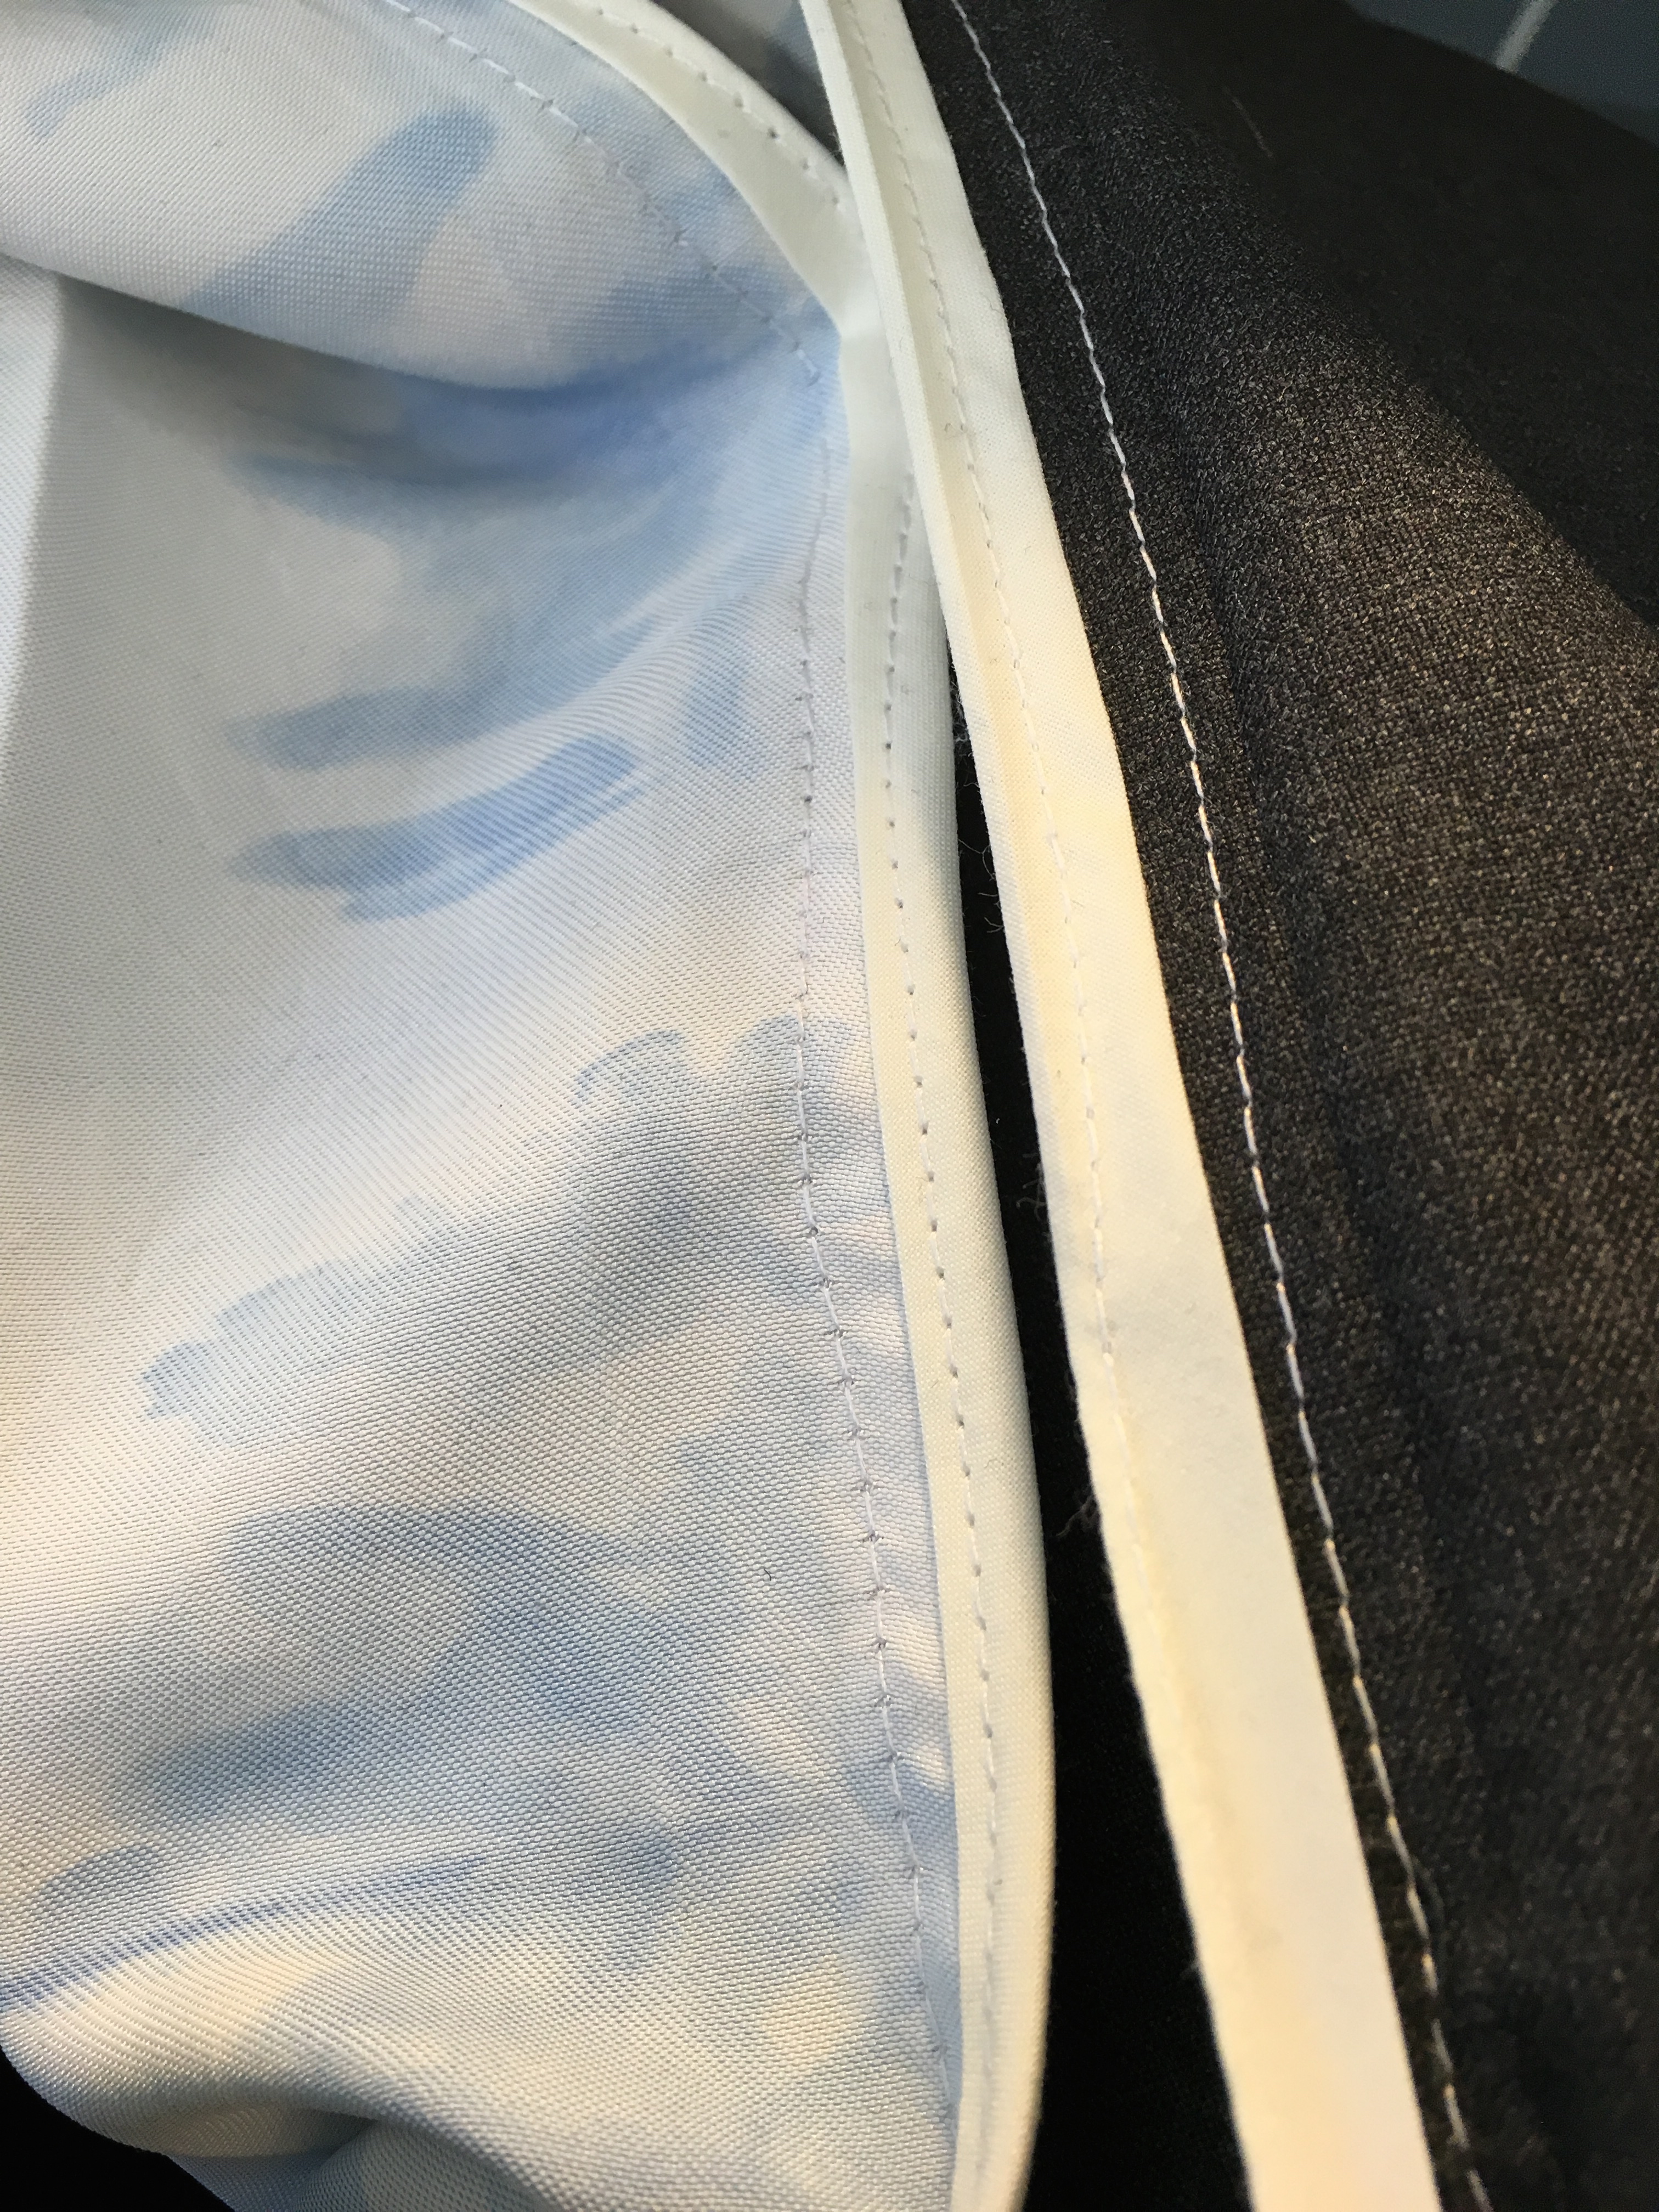
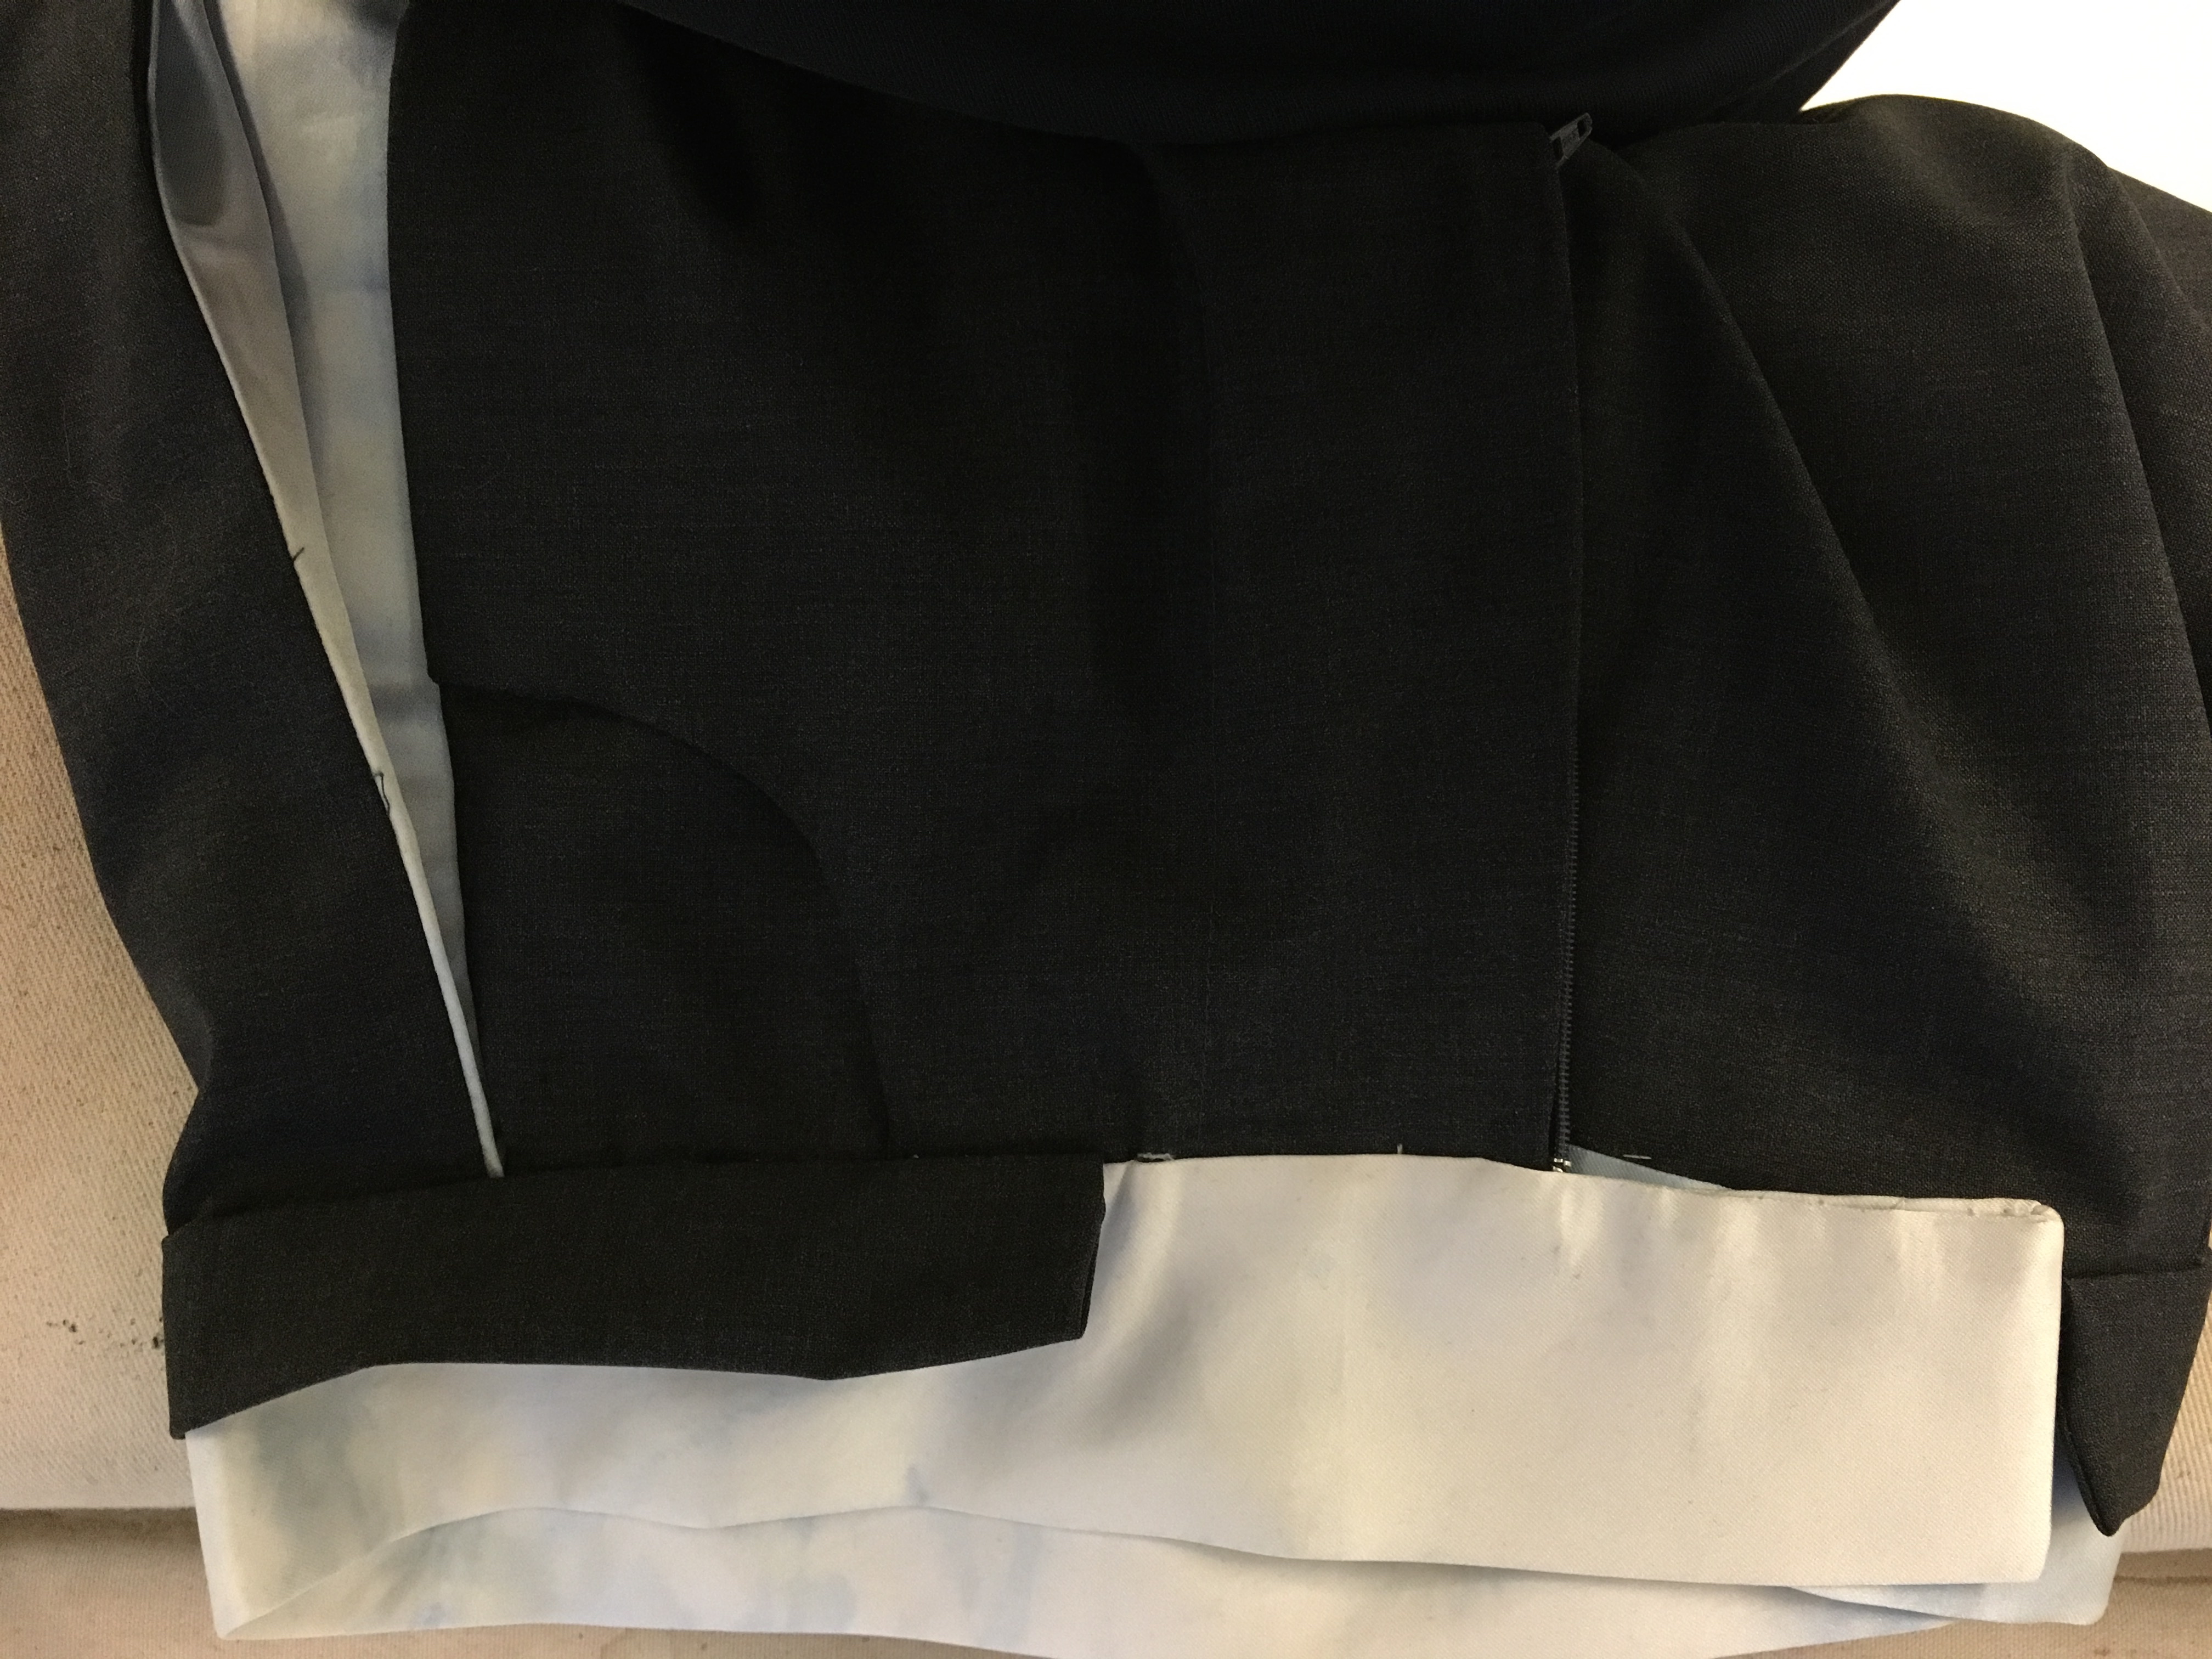
Then i got another yard of white satin fabric, and i applied tie dye to it.

IMG_0545 IMG_0546 IMG_0555 IMG_0556


IMG_4068 IMG_4069

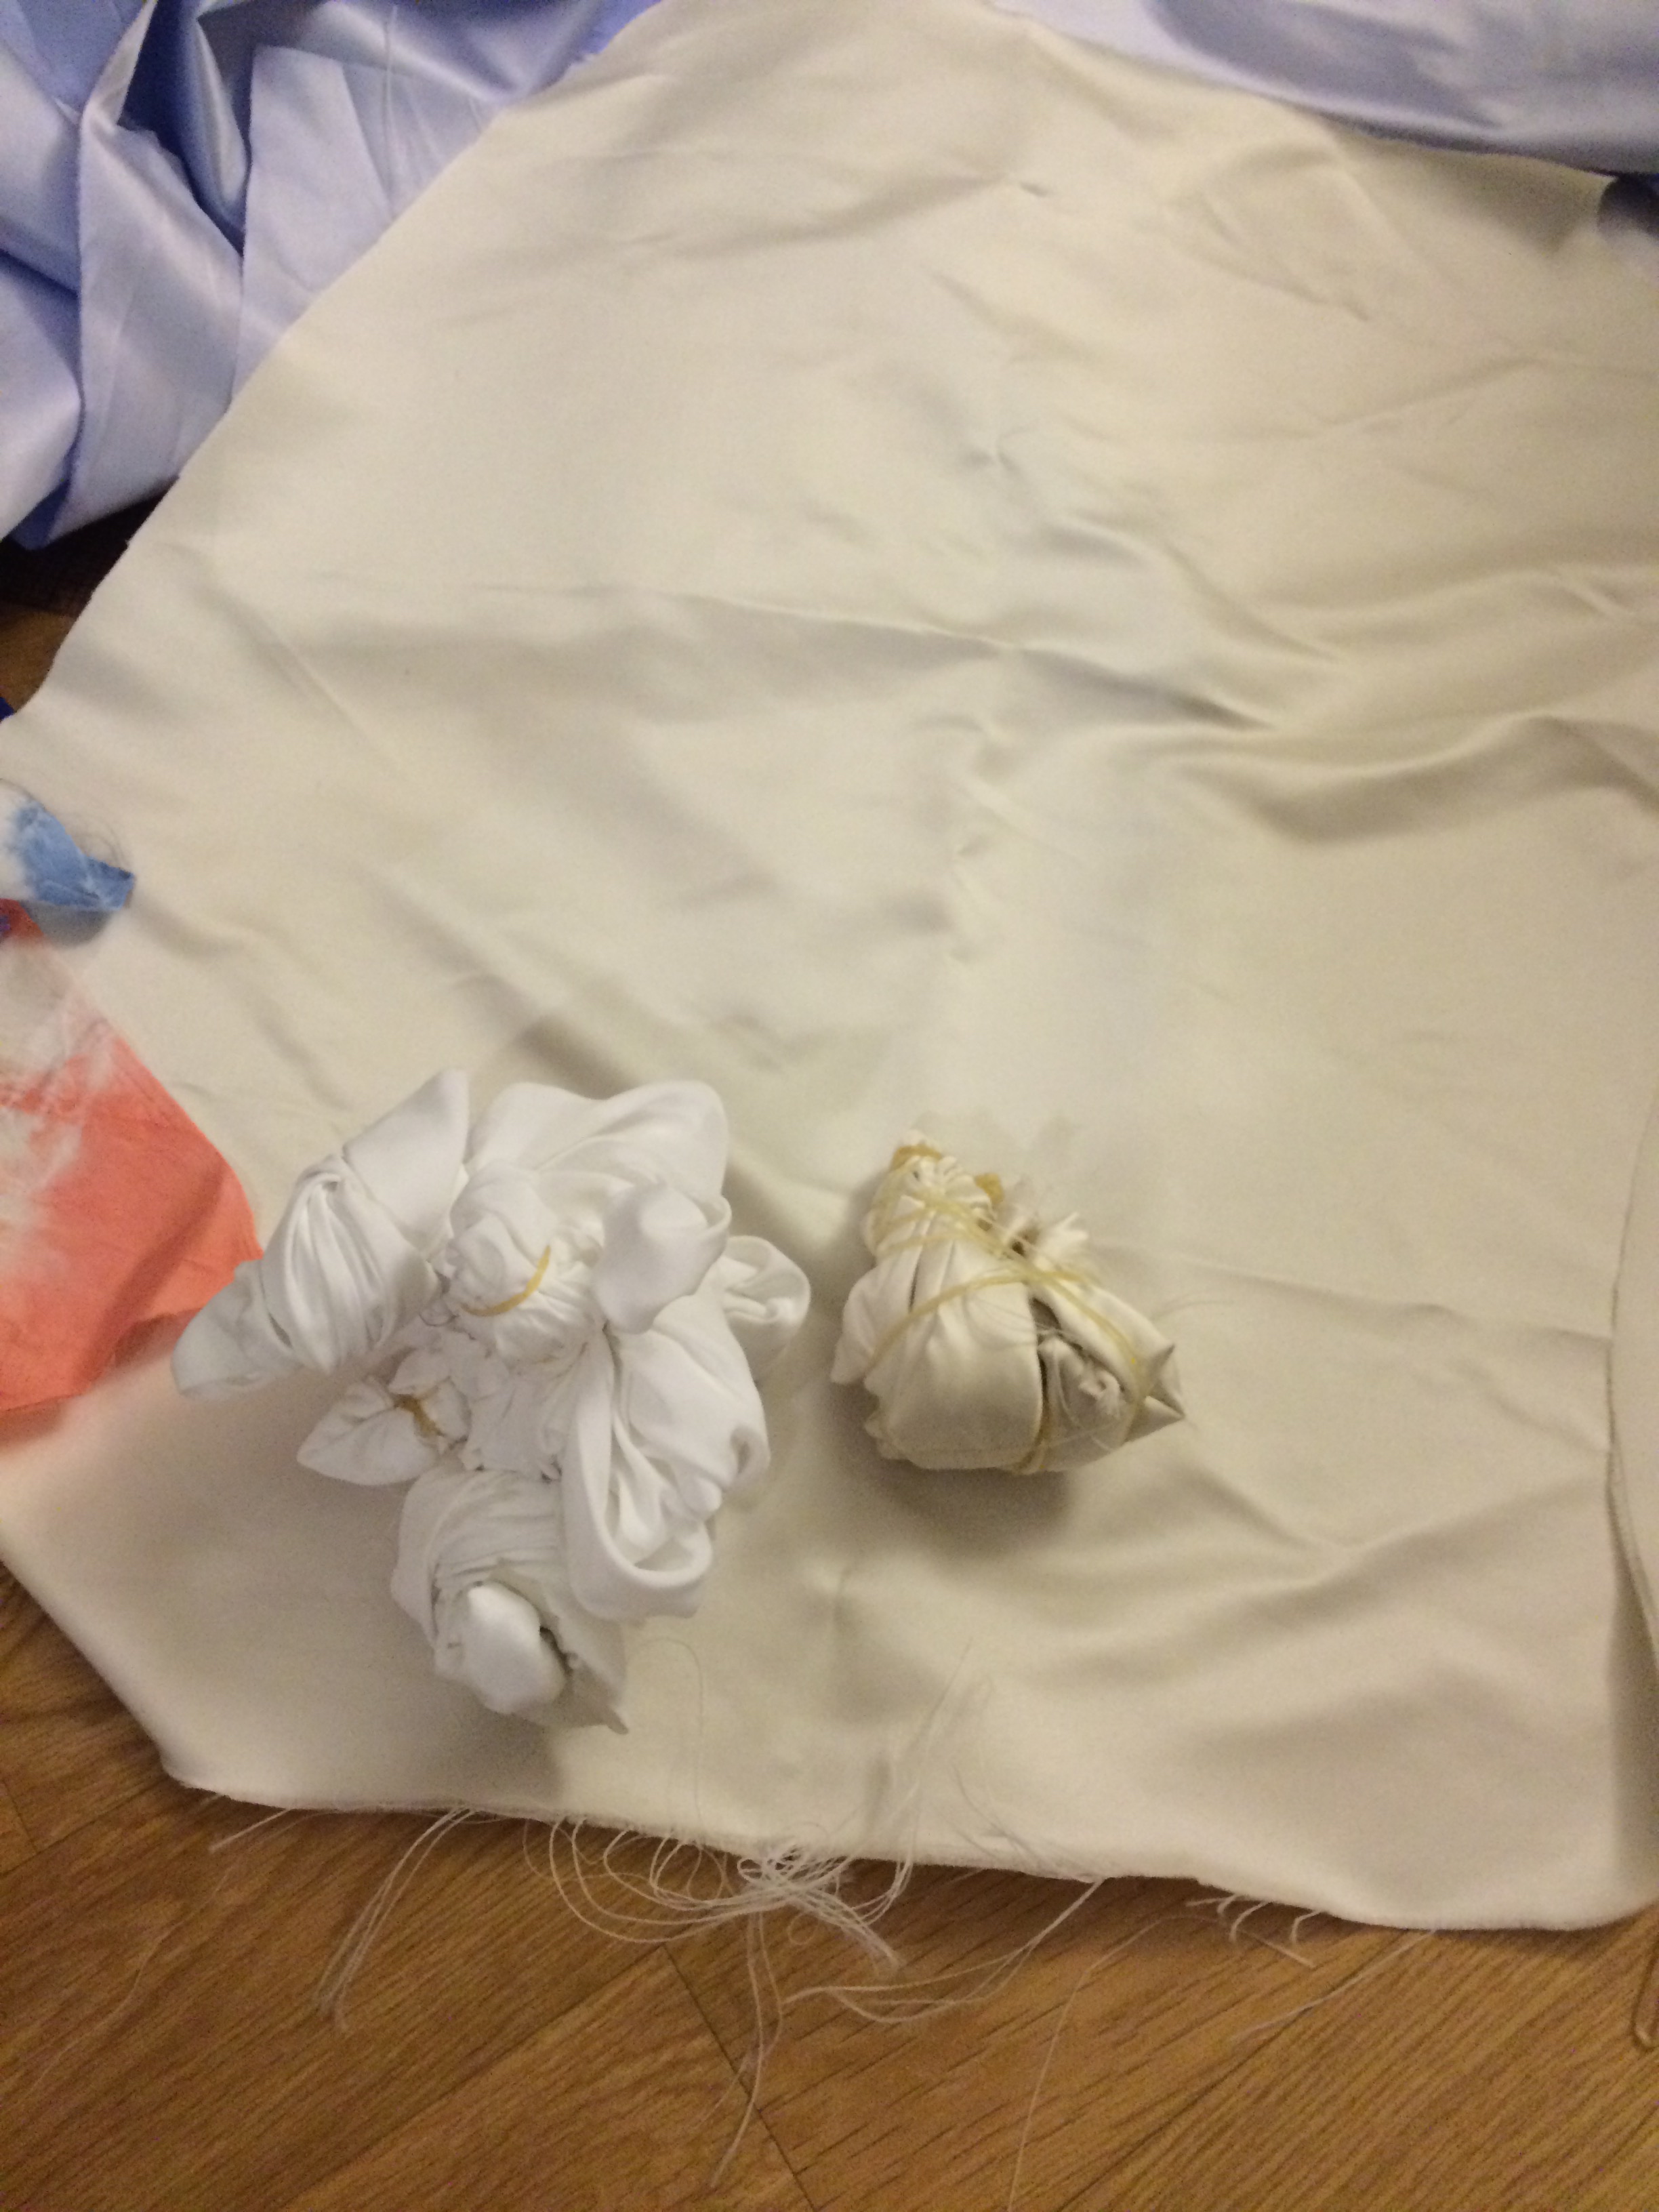
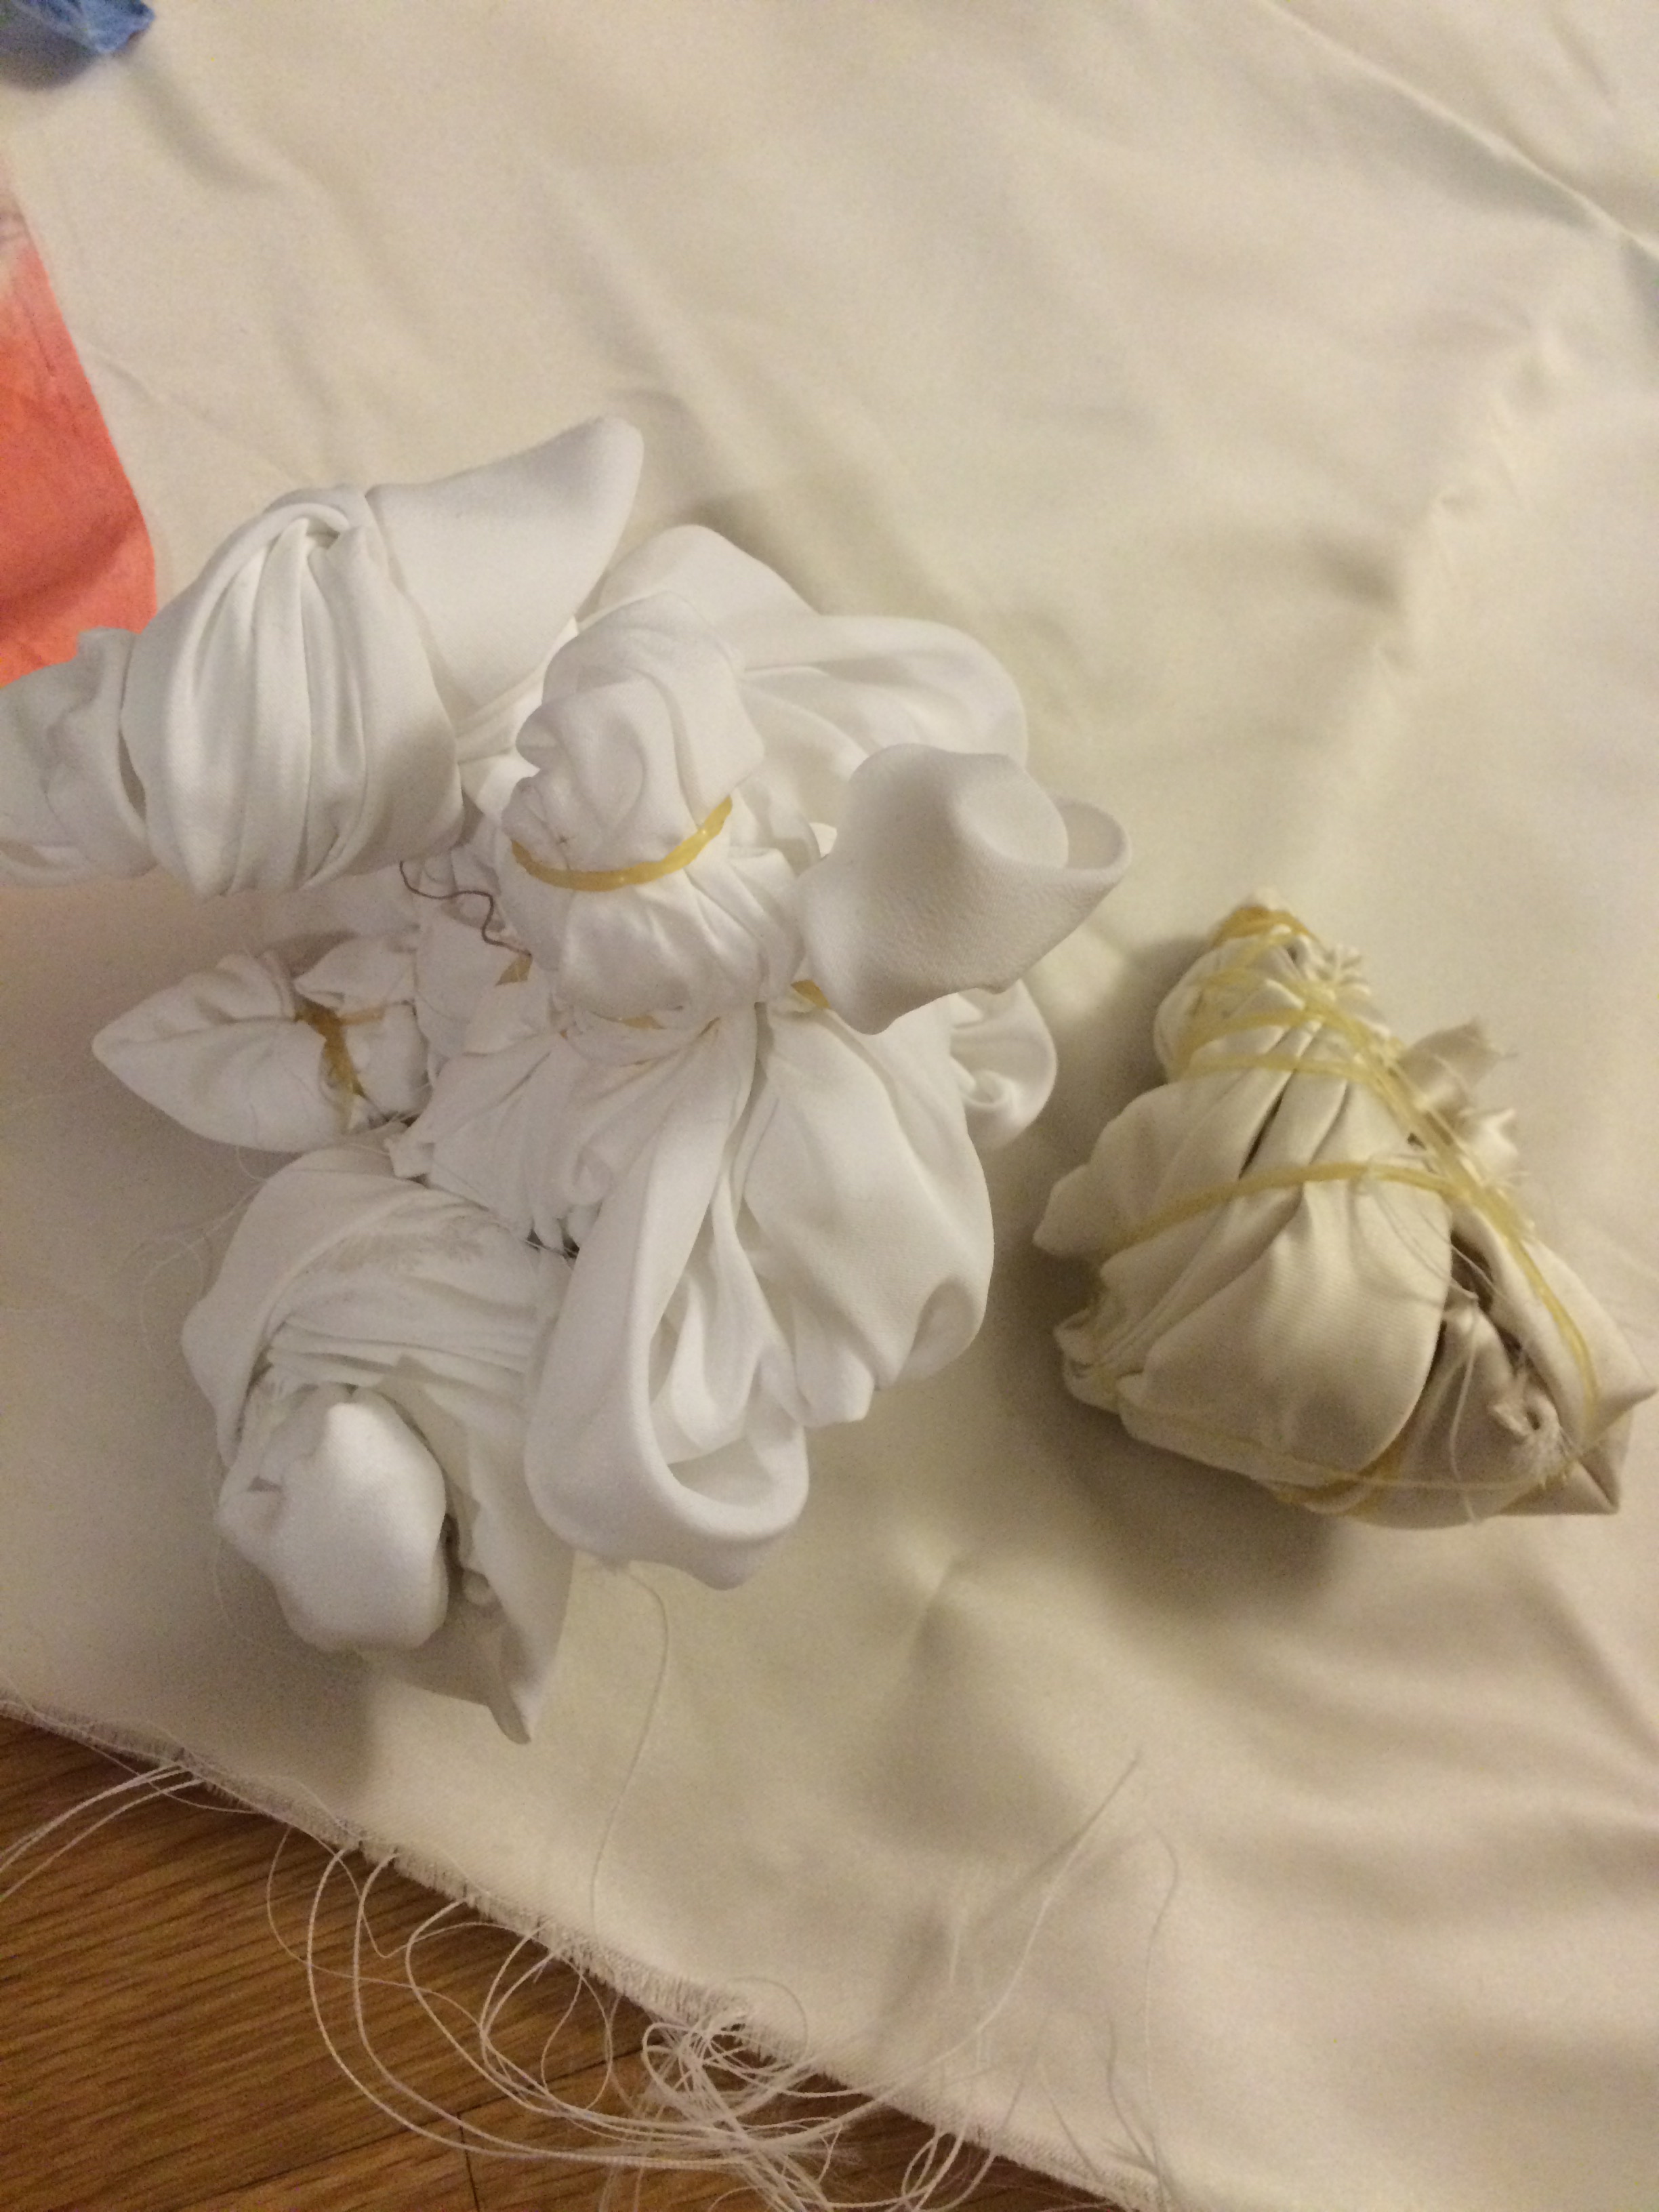
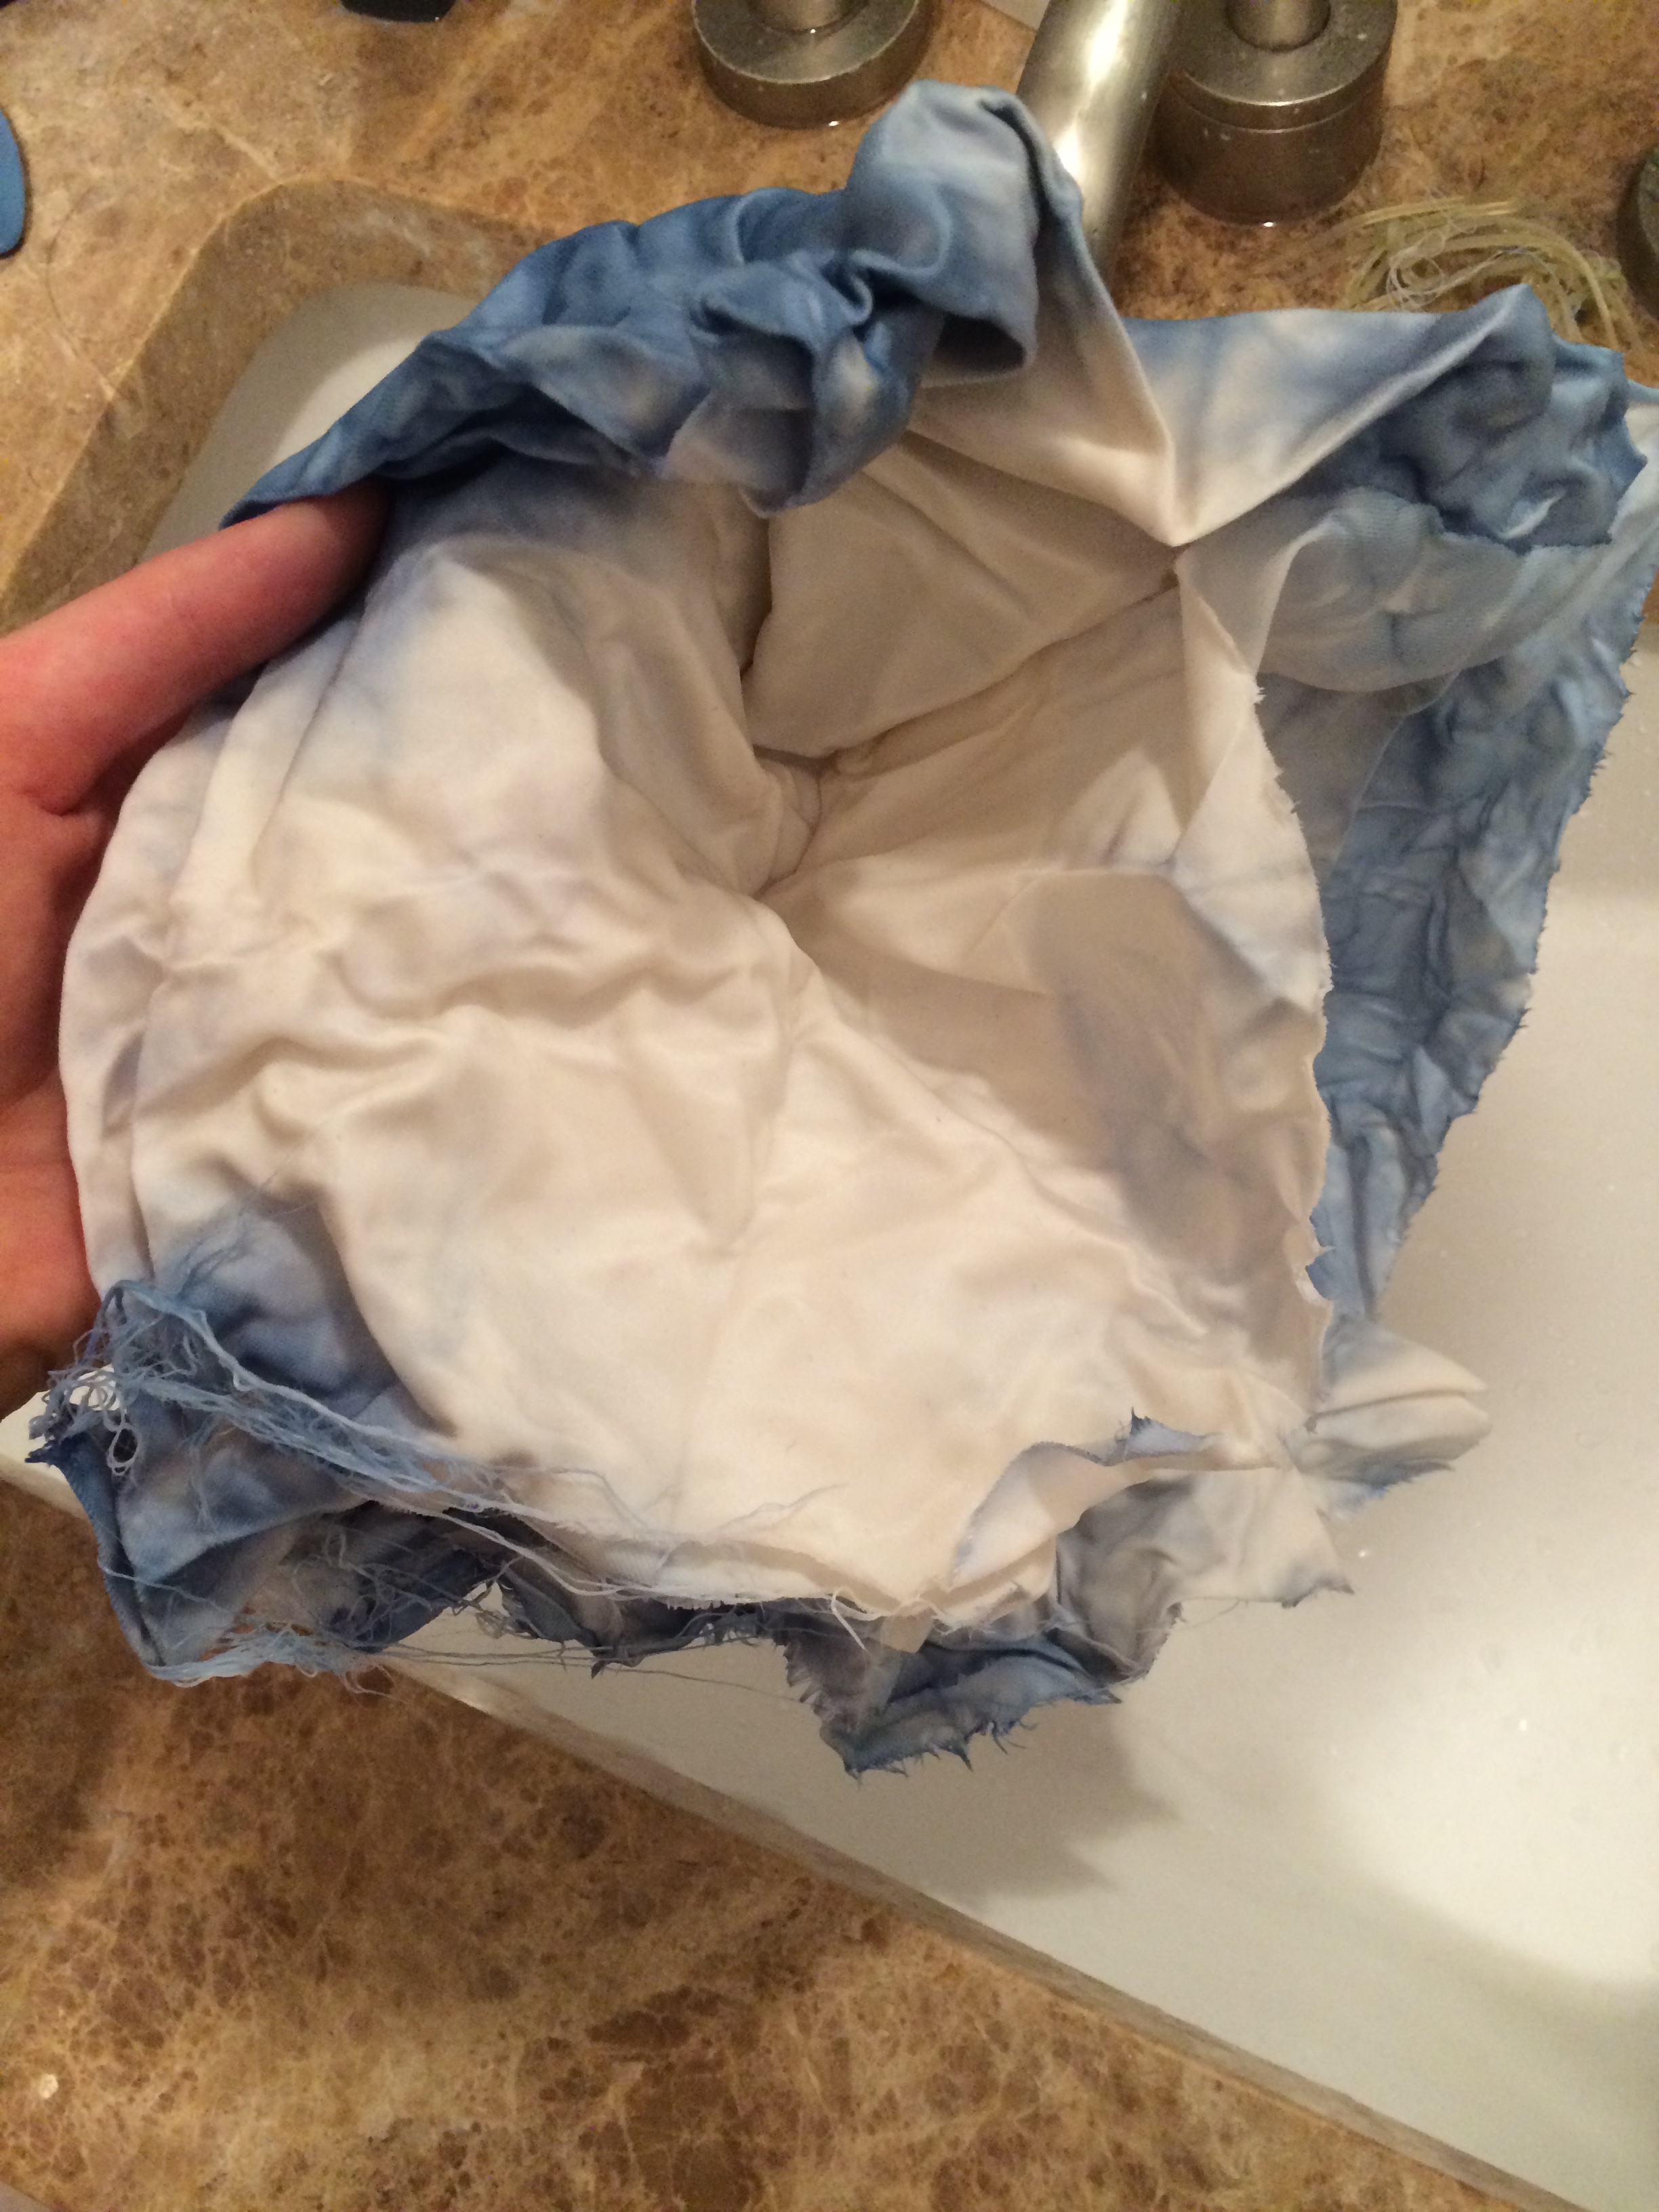
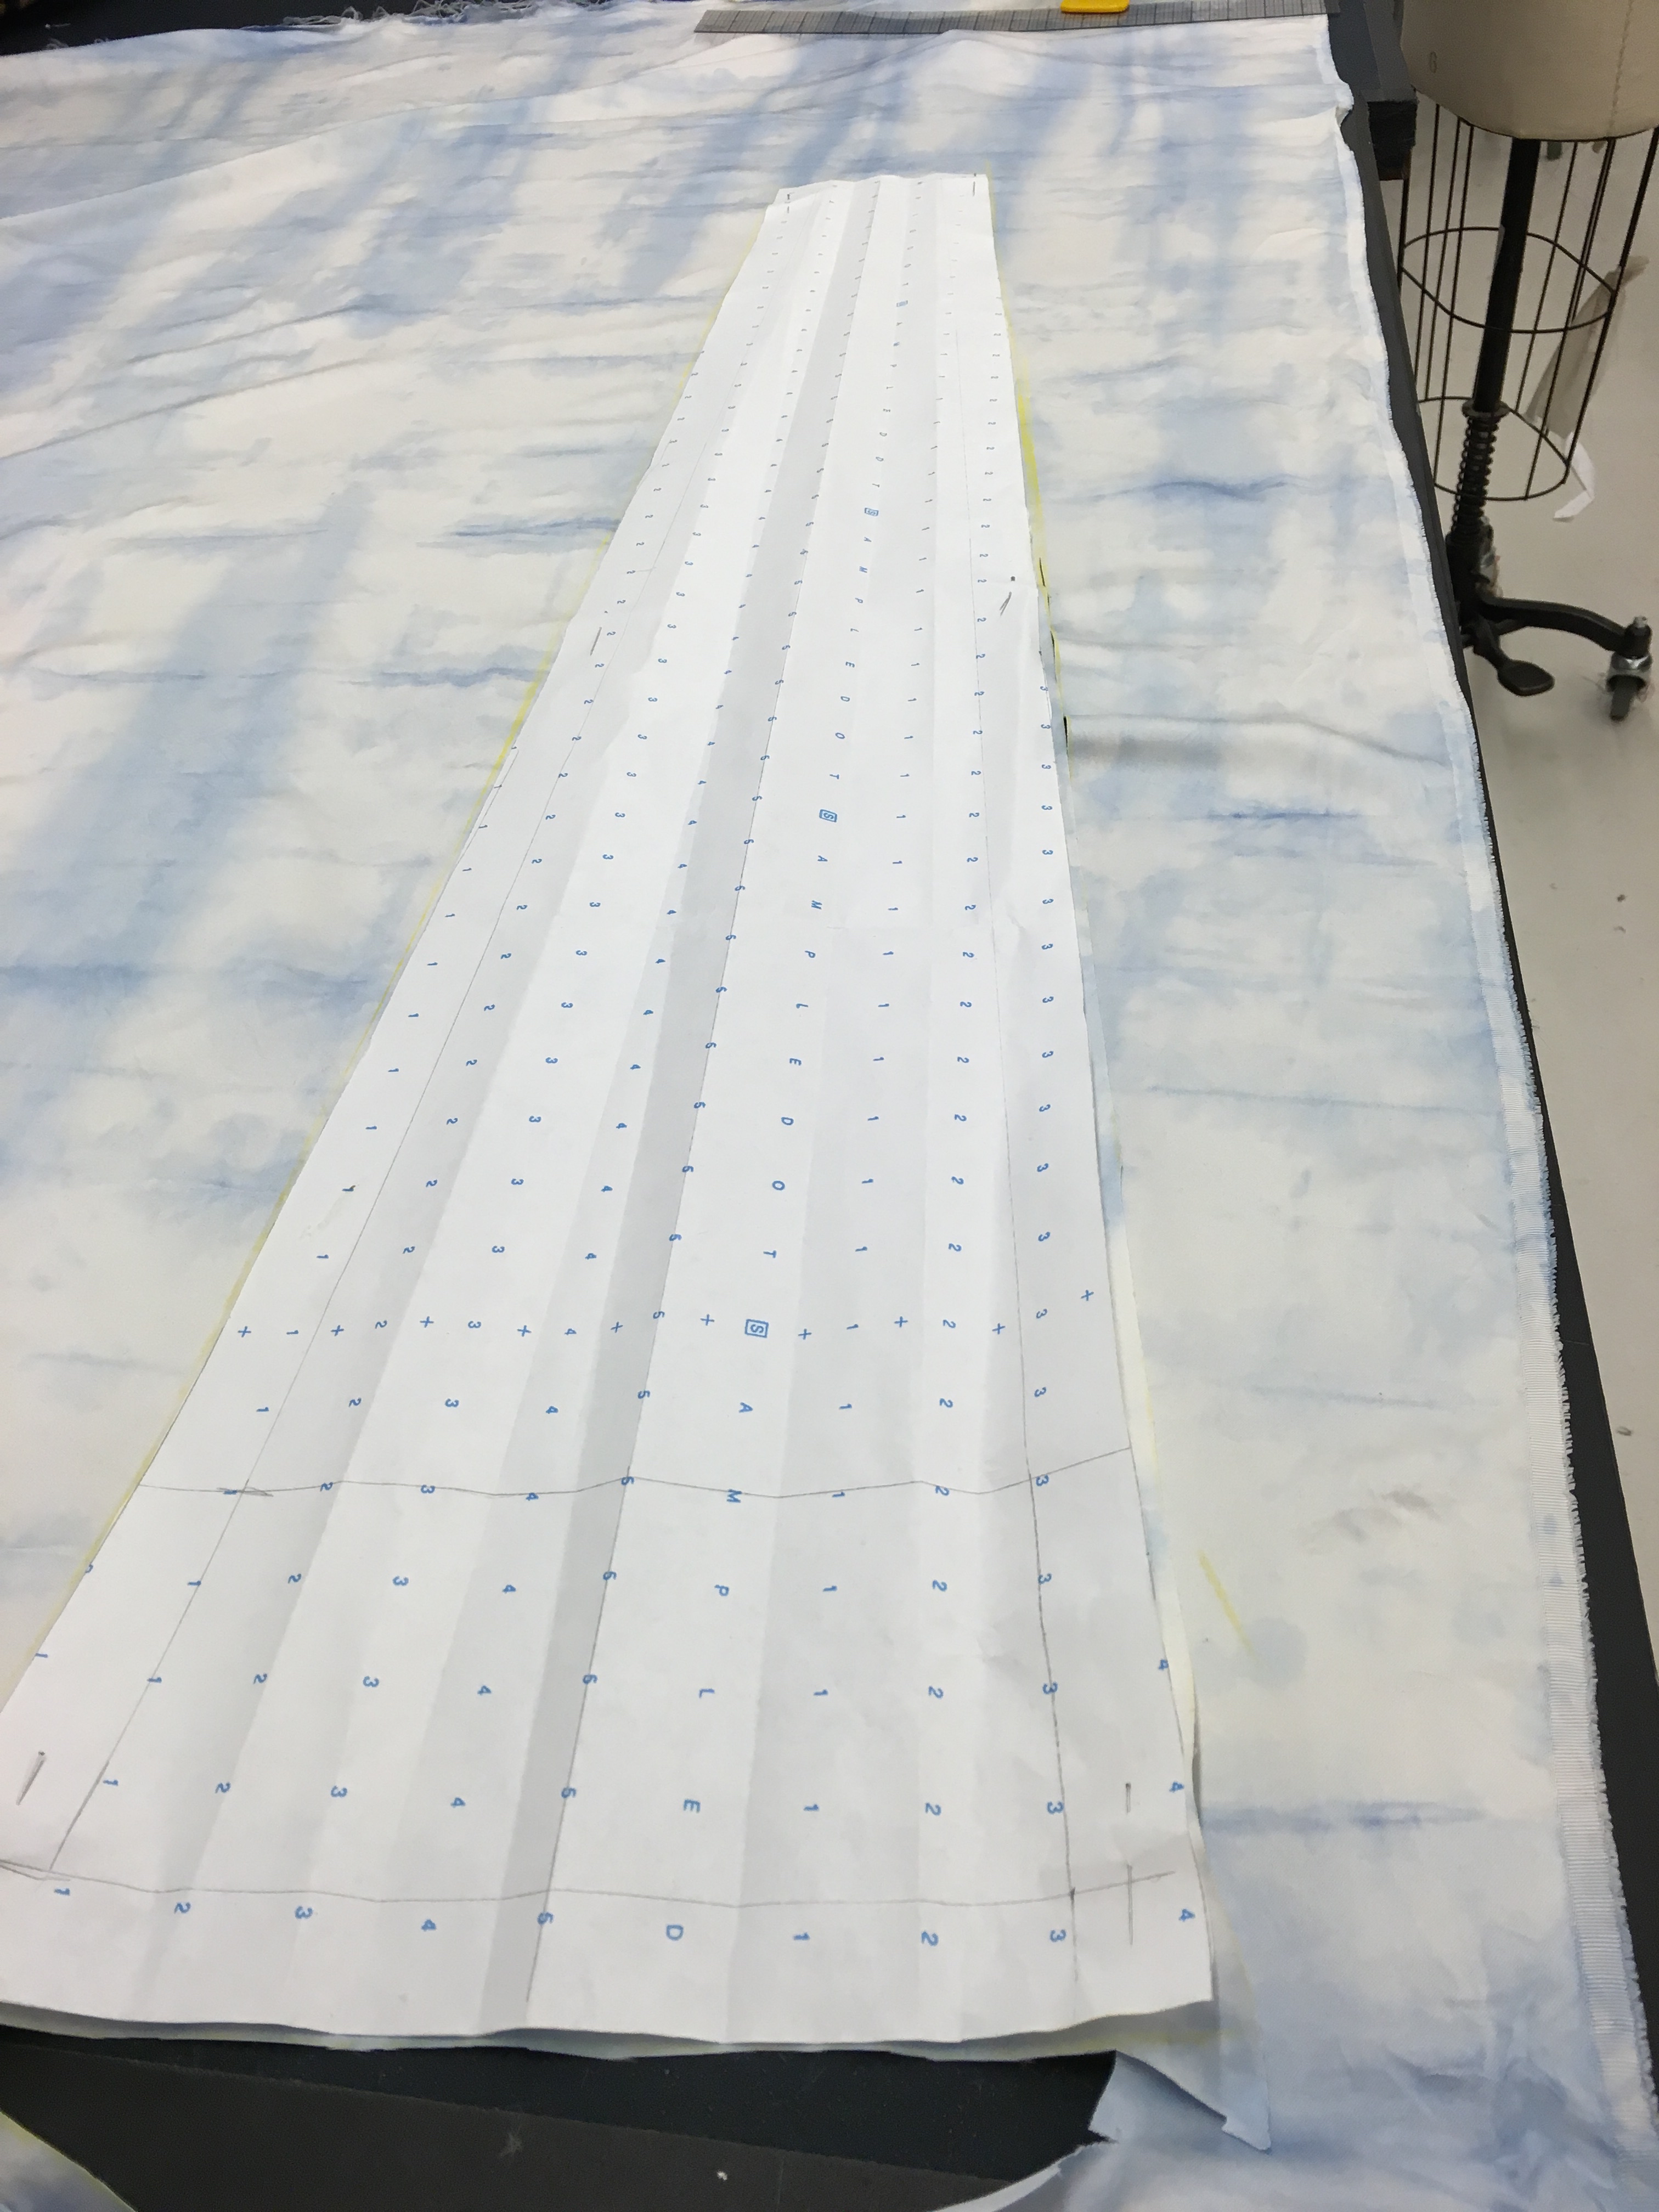
then i cut two “Godet” piece on this fabric, and wanted to add them to the two sides of my pants.

IMG_4073

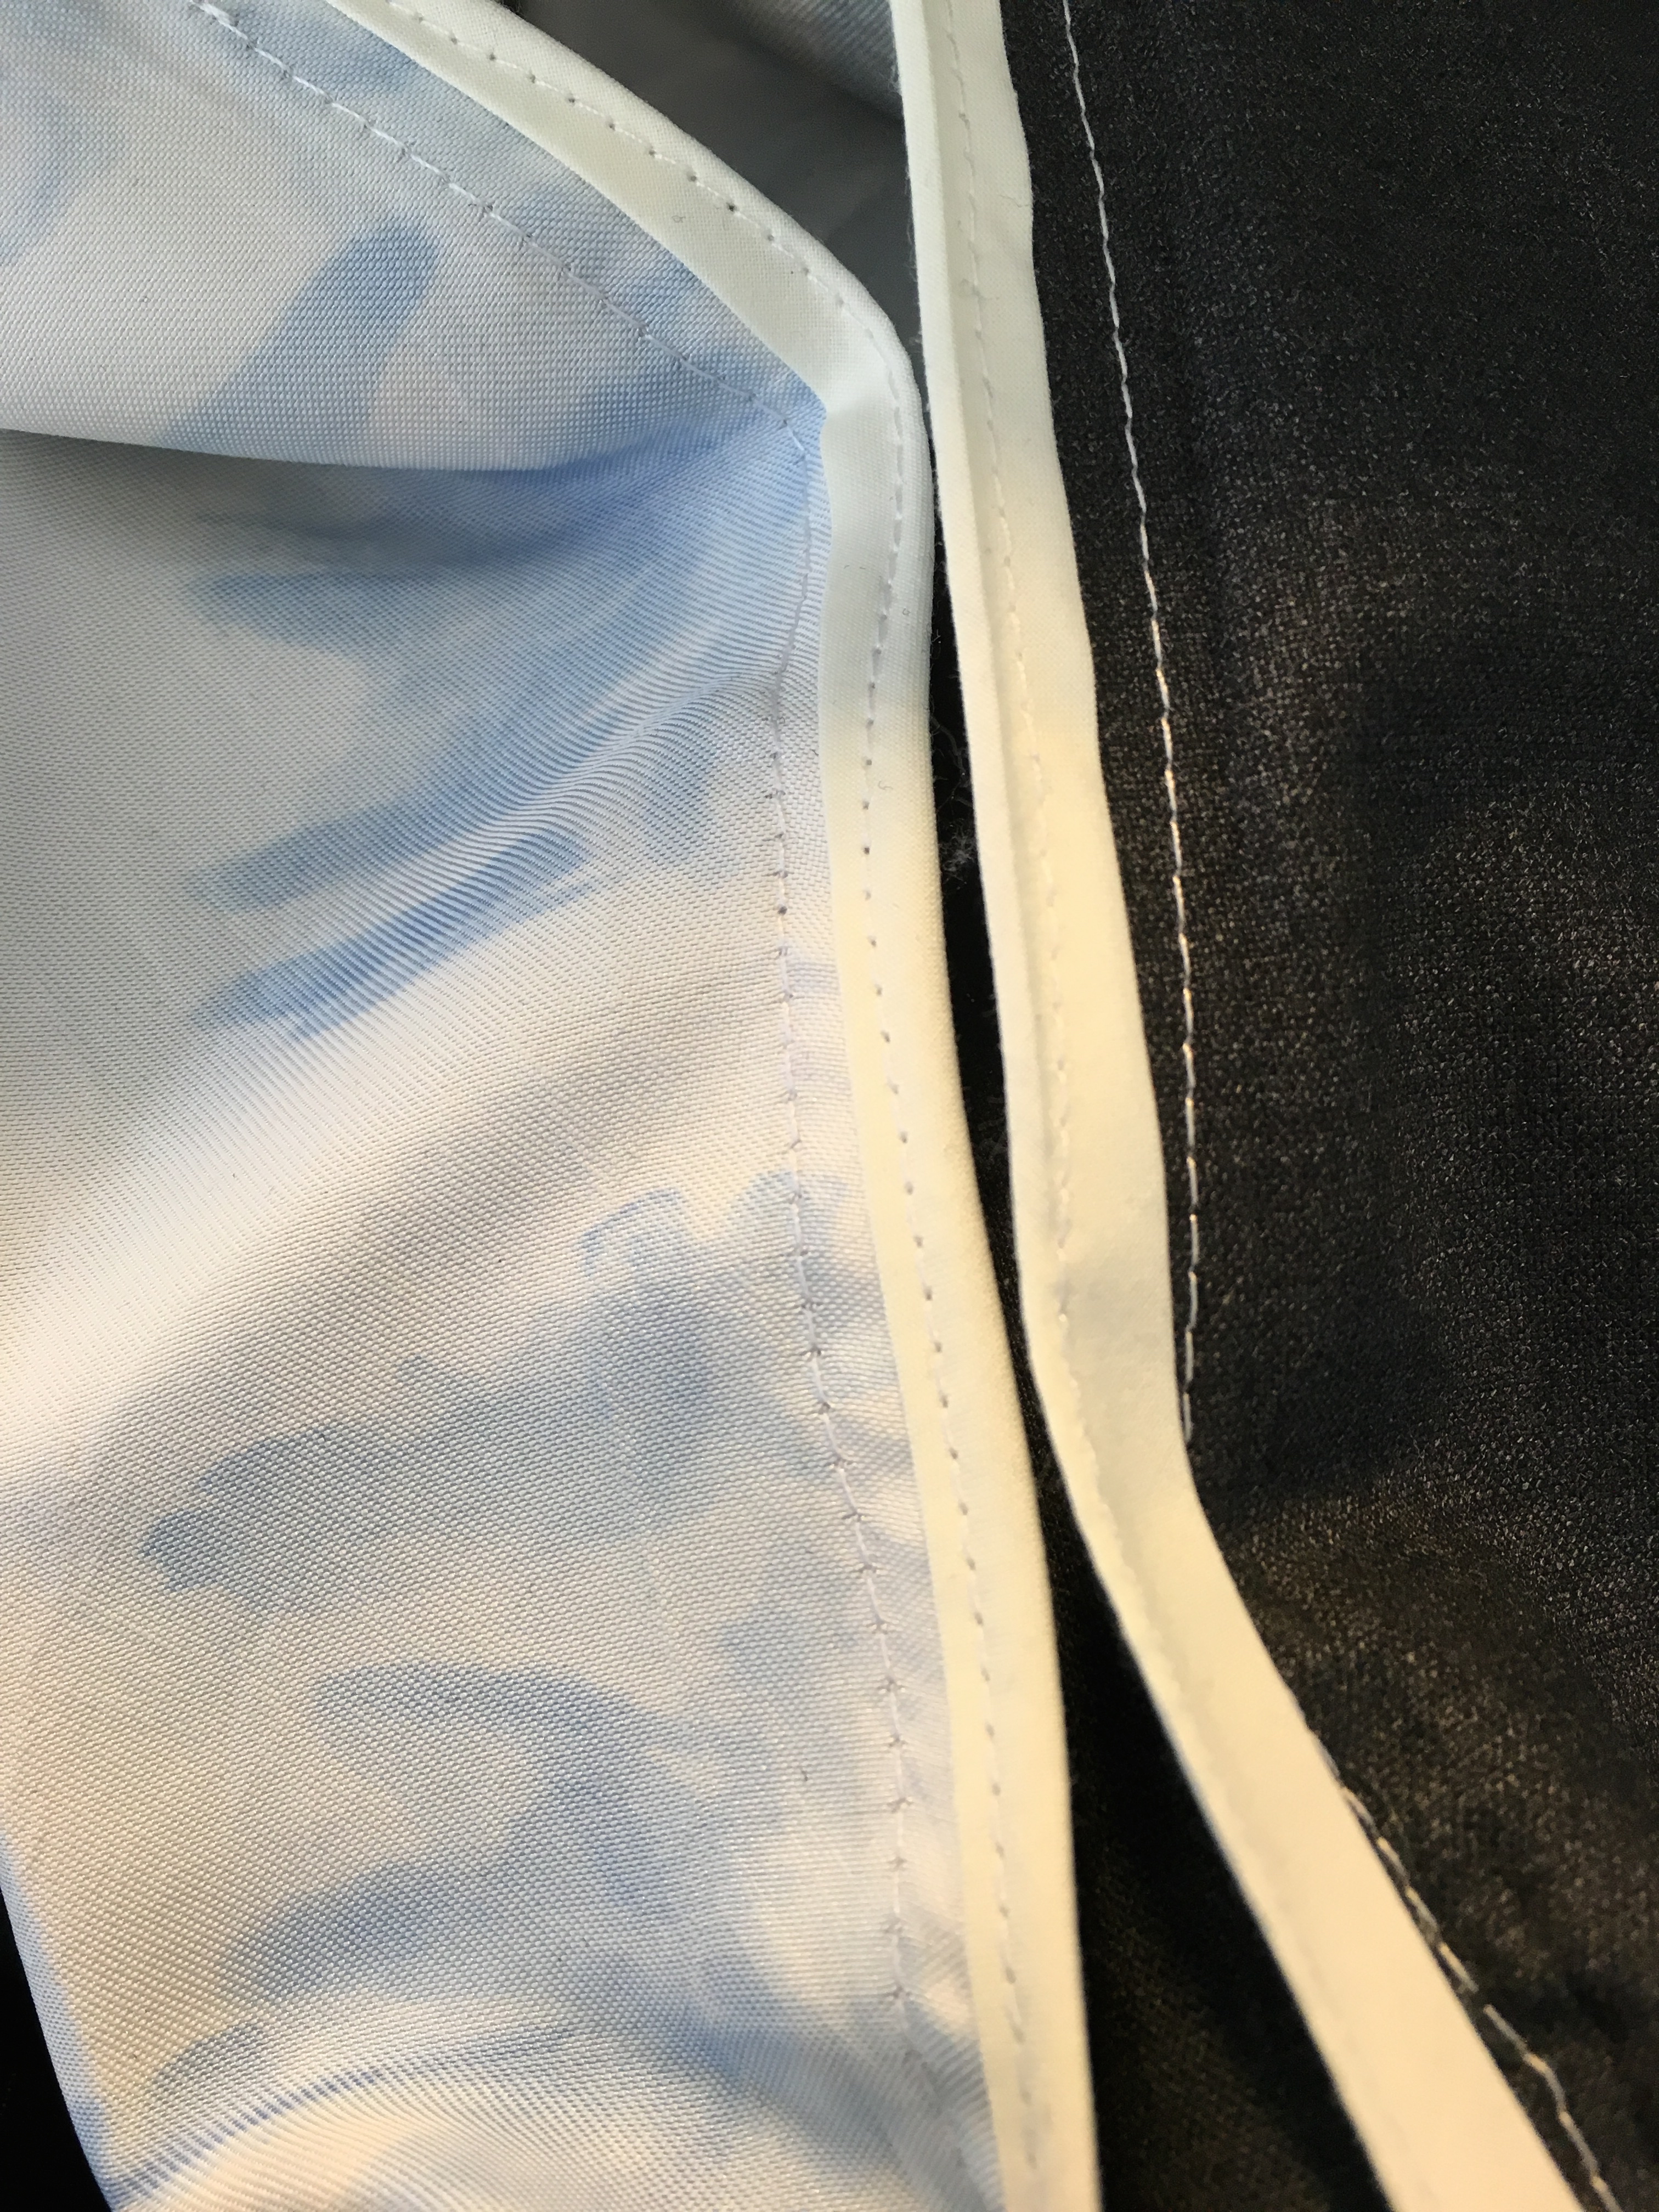
i used bias tape to do the finishing.

IMG_4074 IMG_4075


and i made two waistband via using both this fabric and the wool
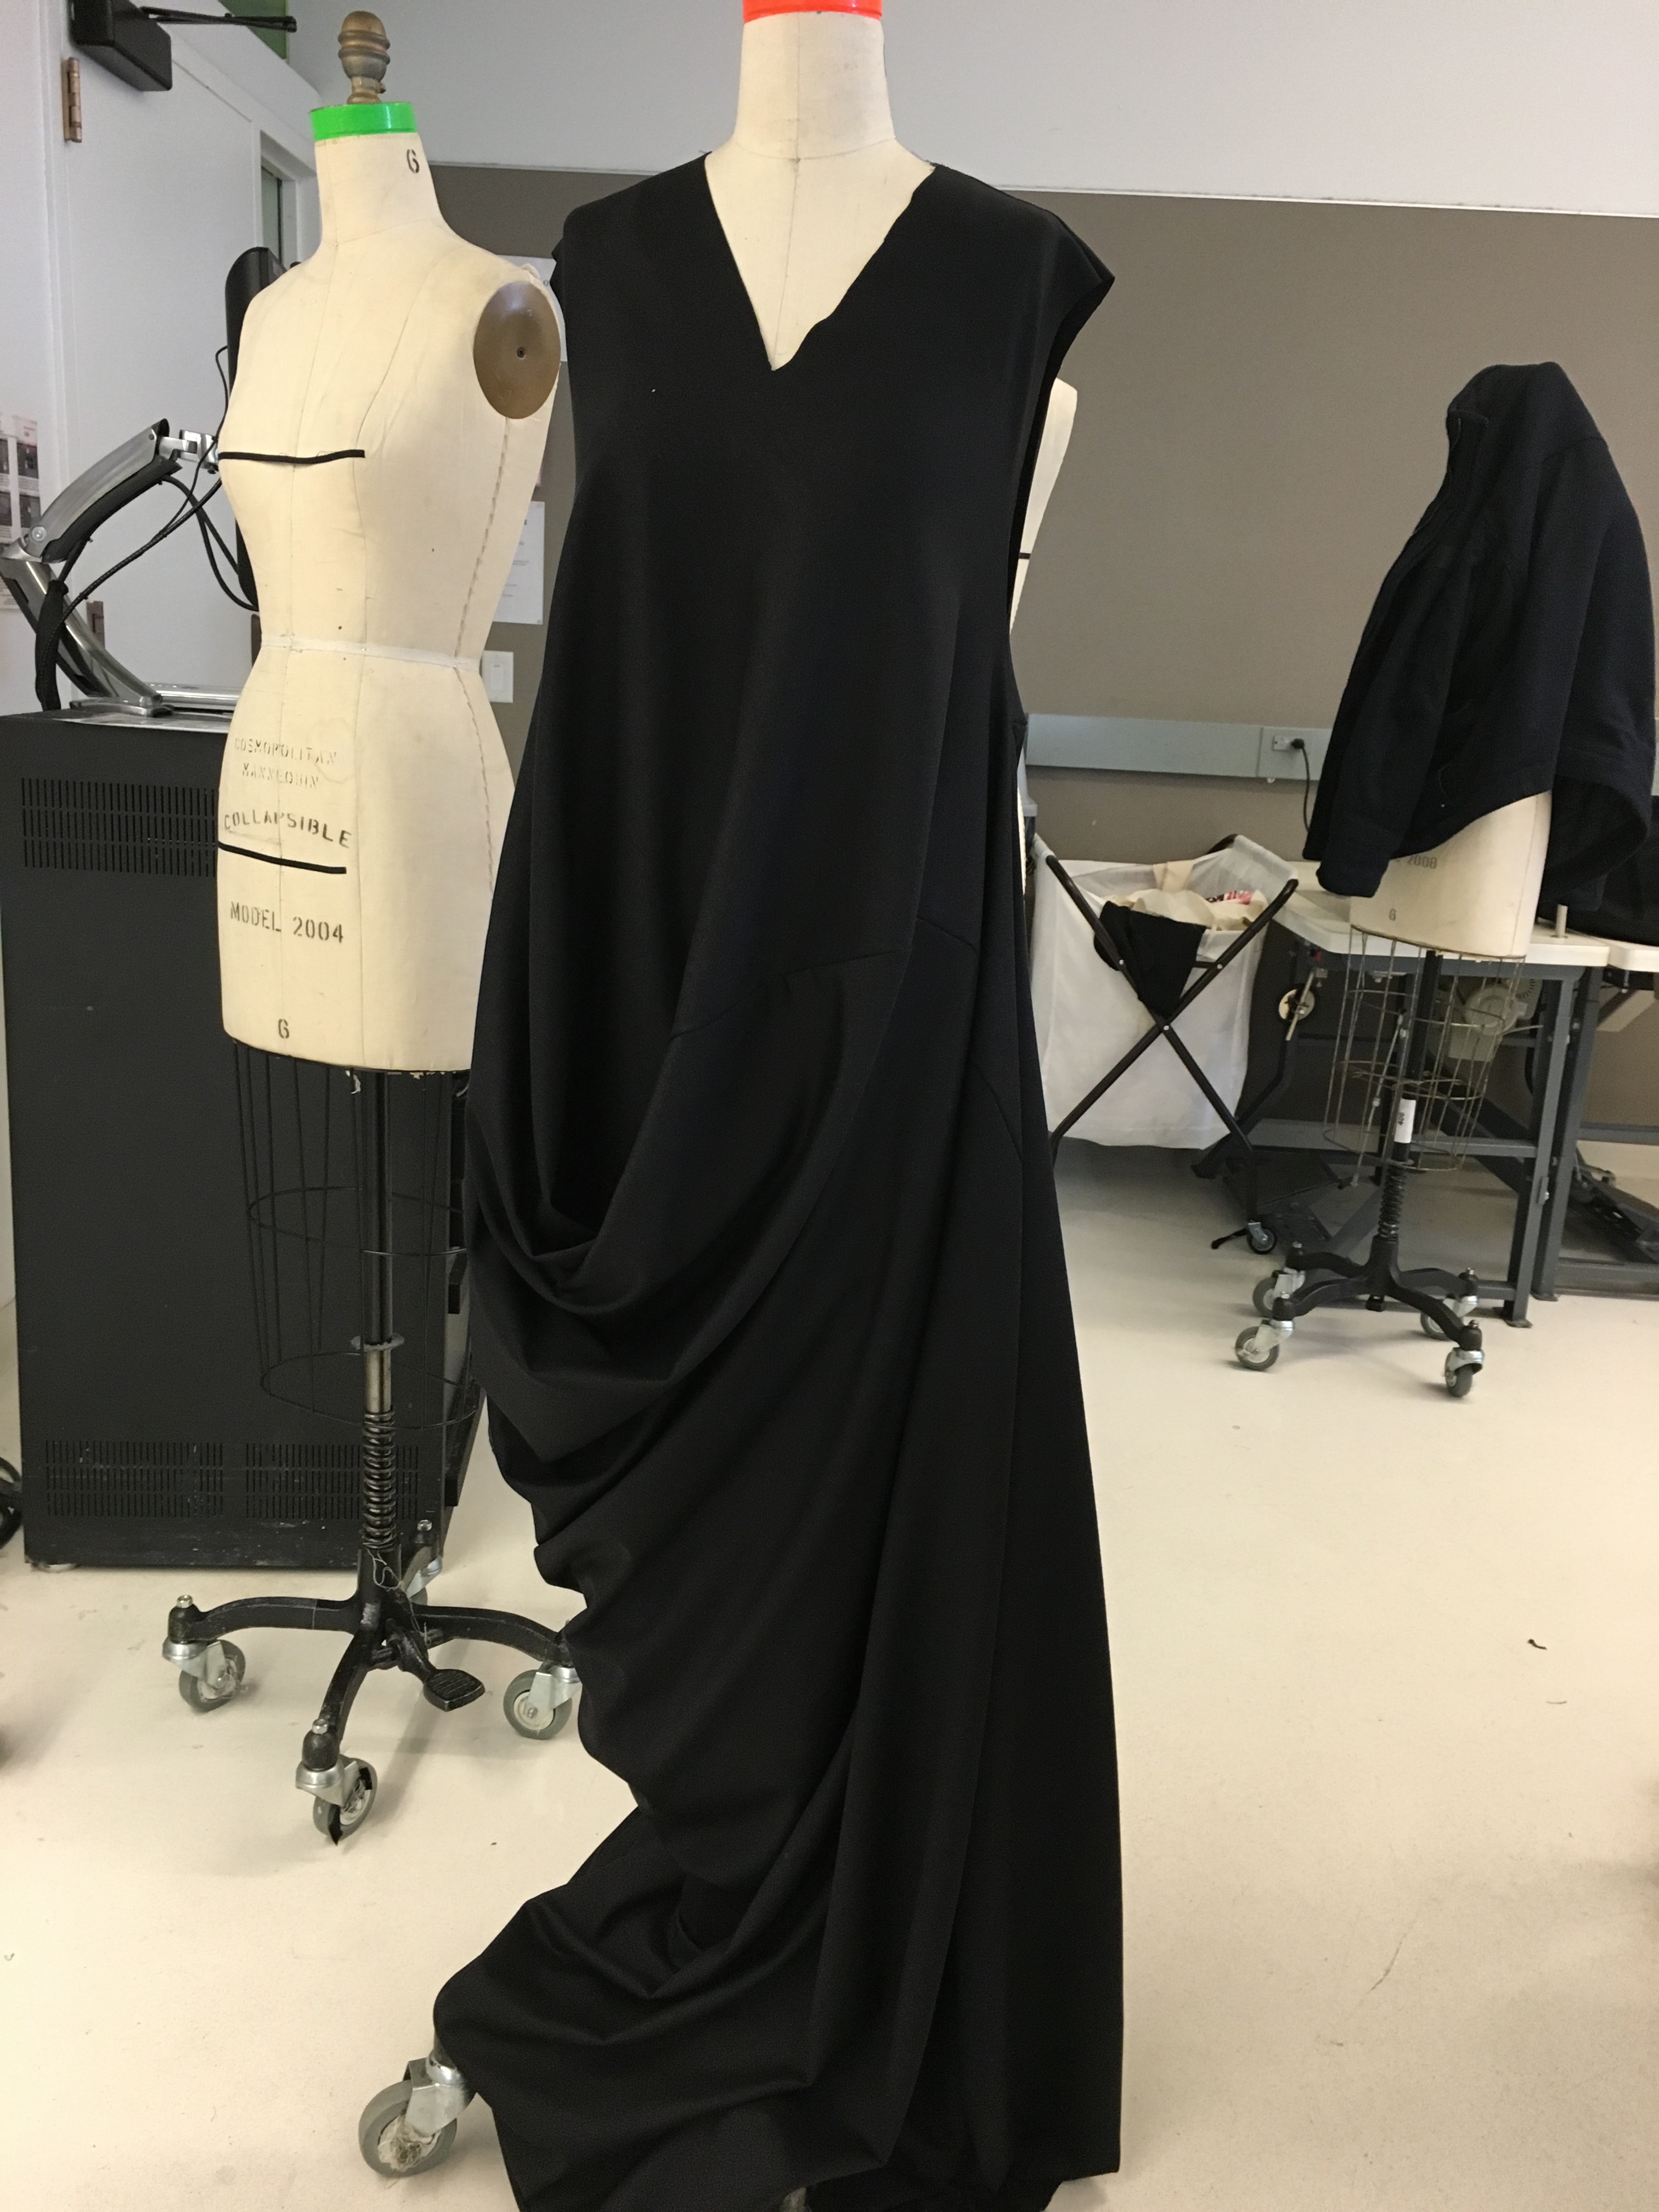
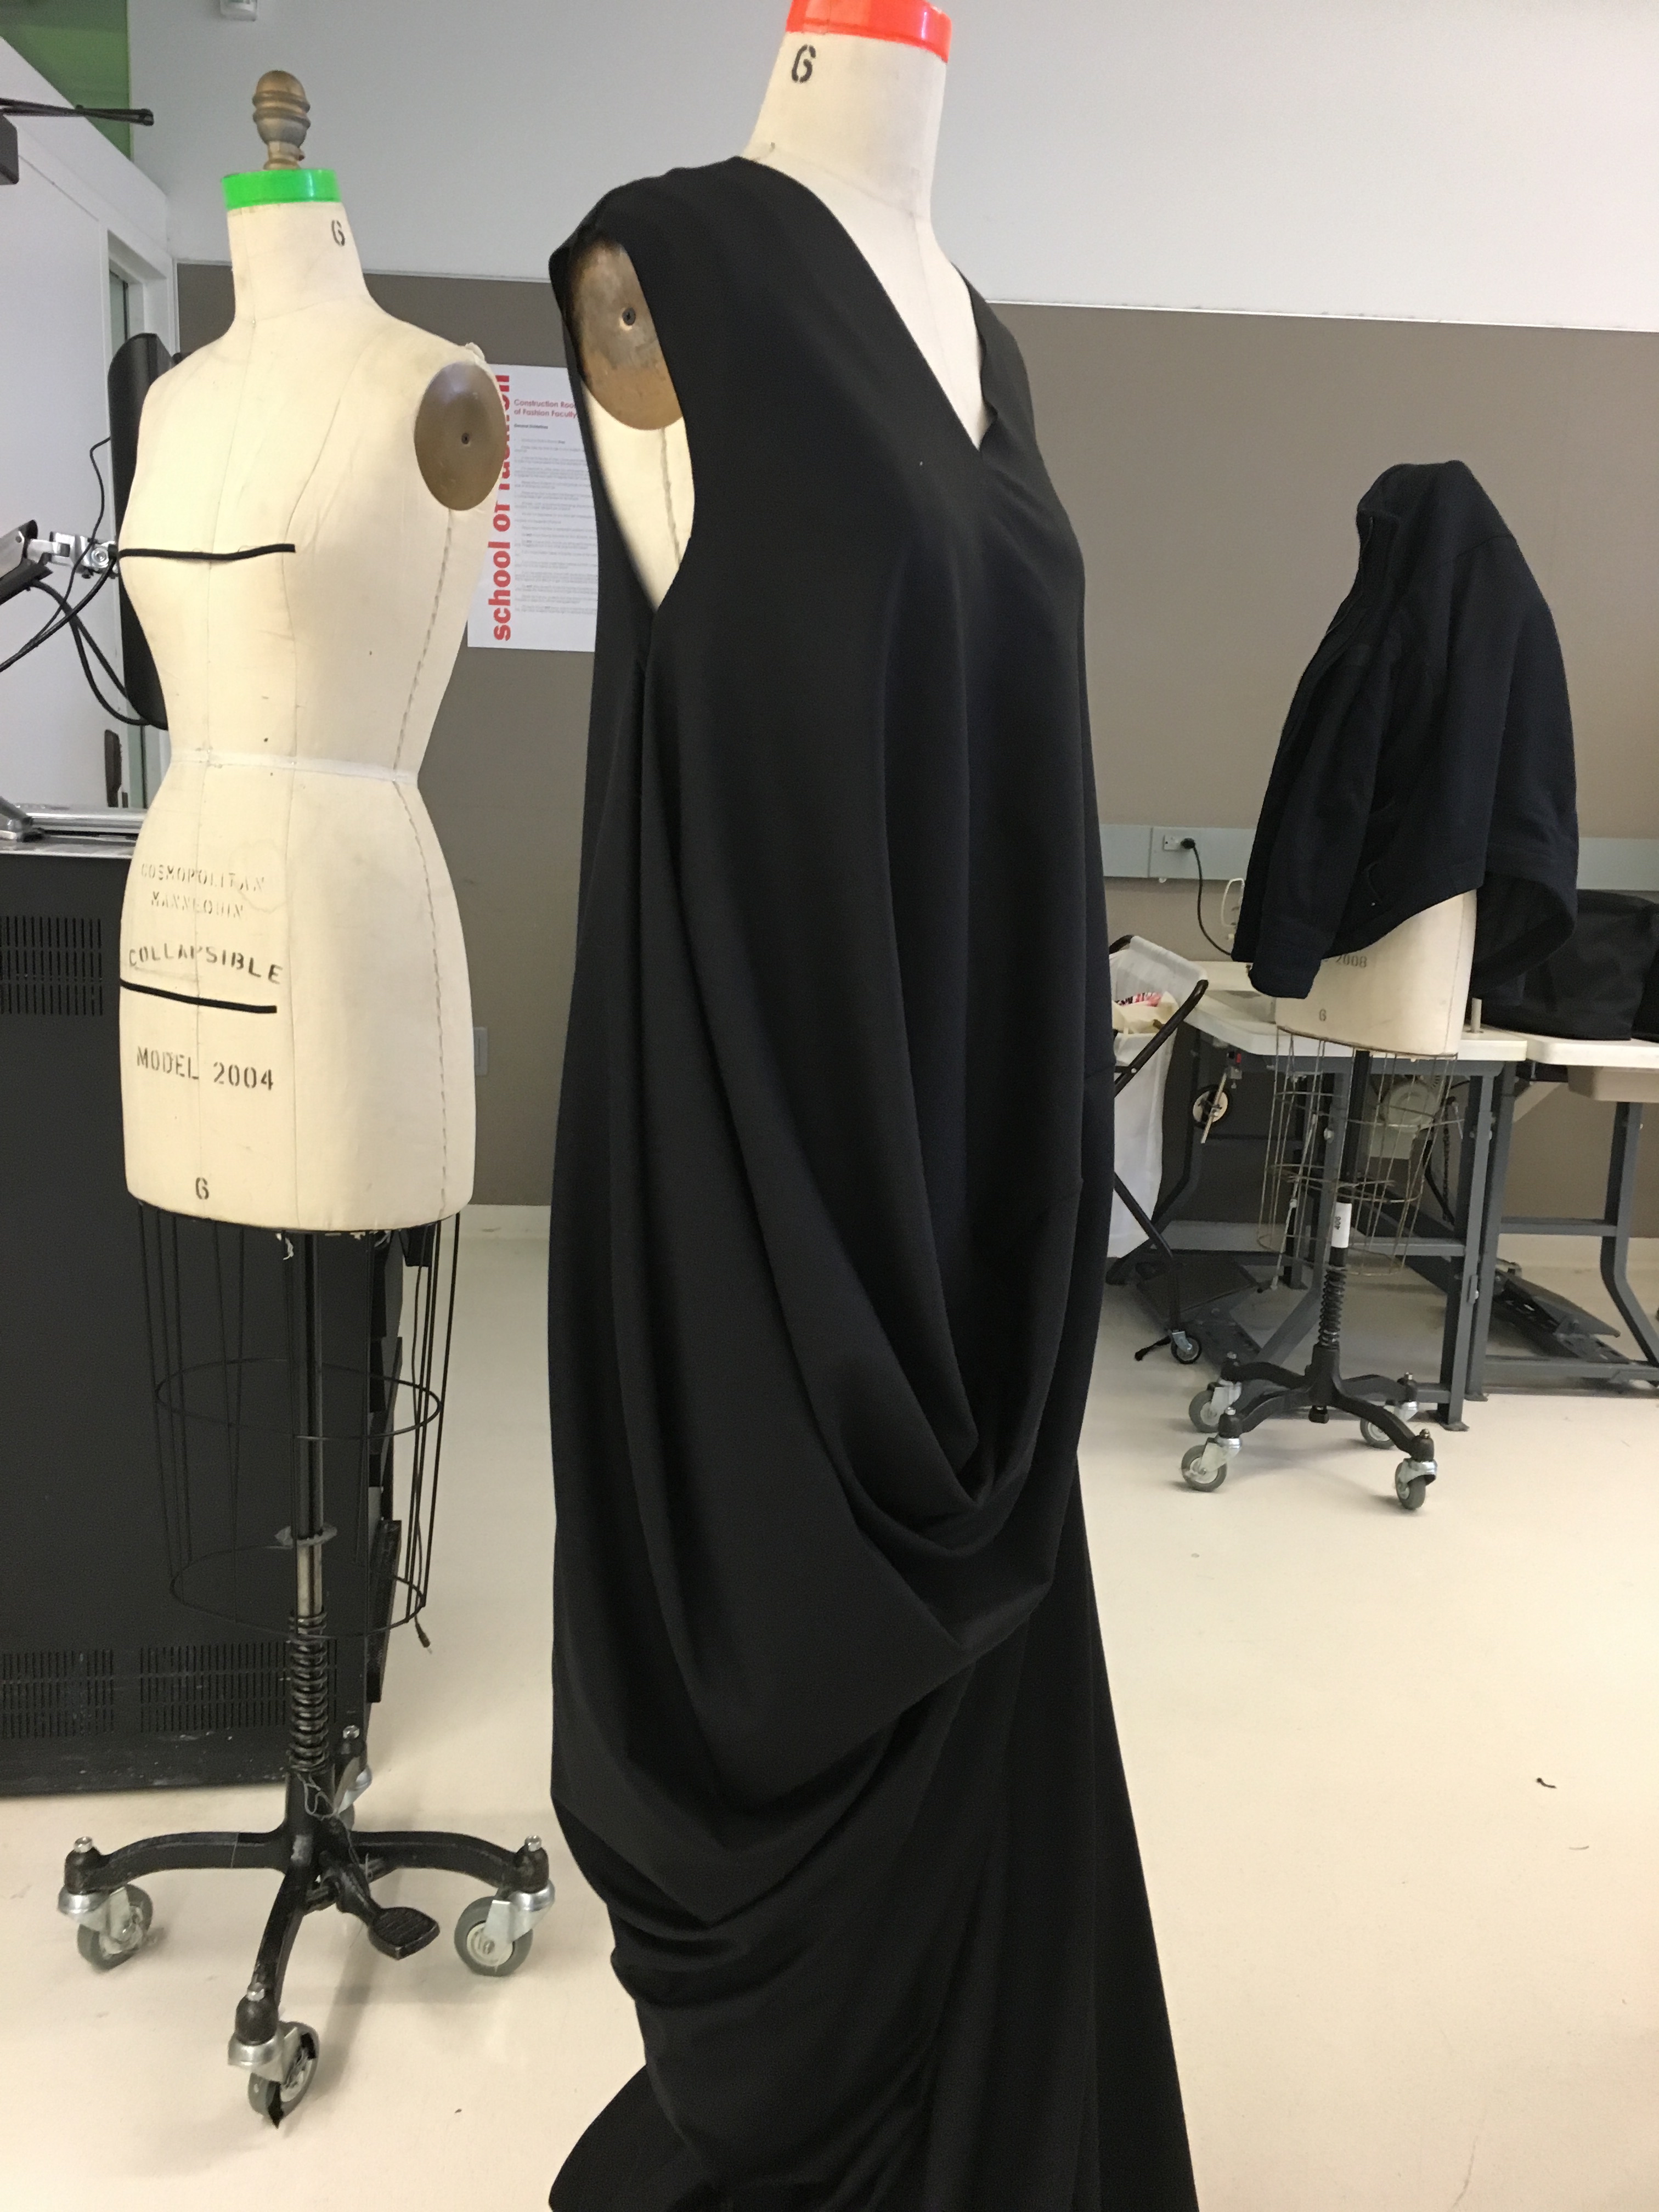
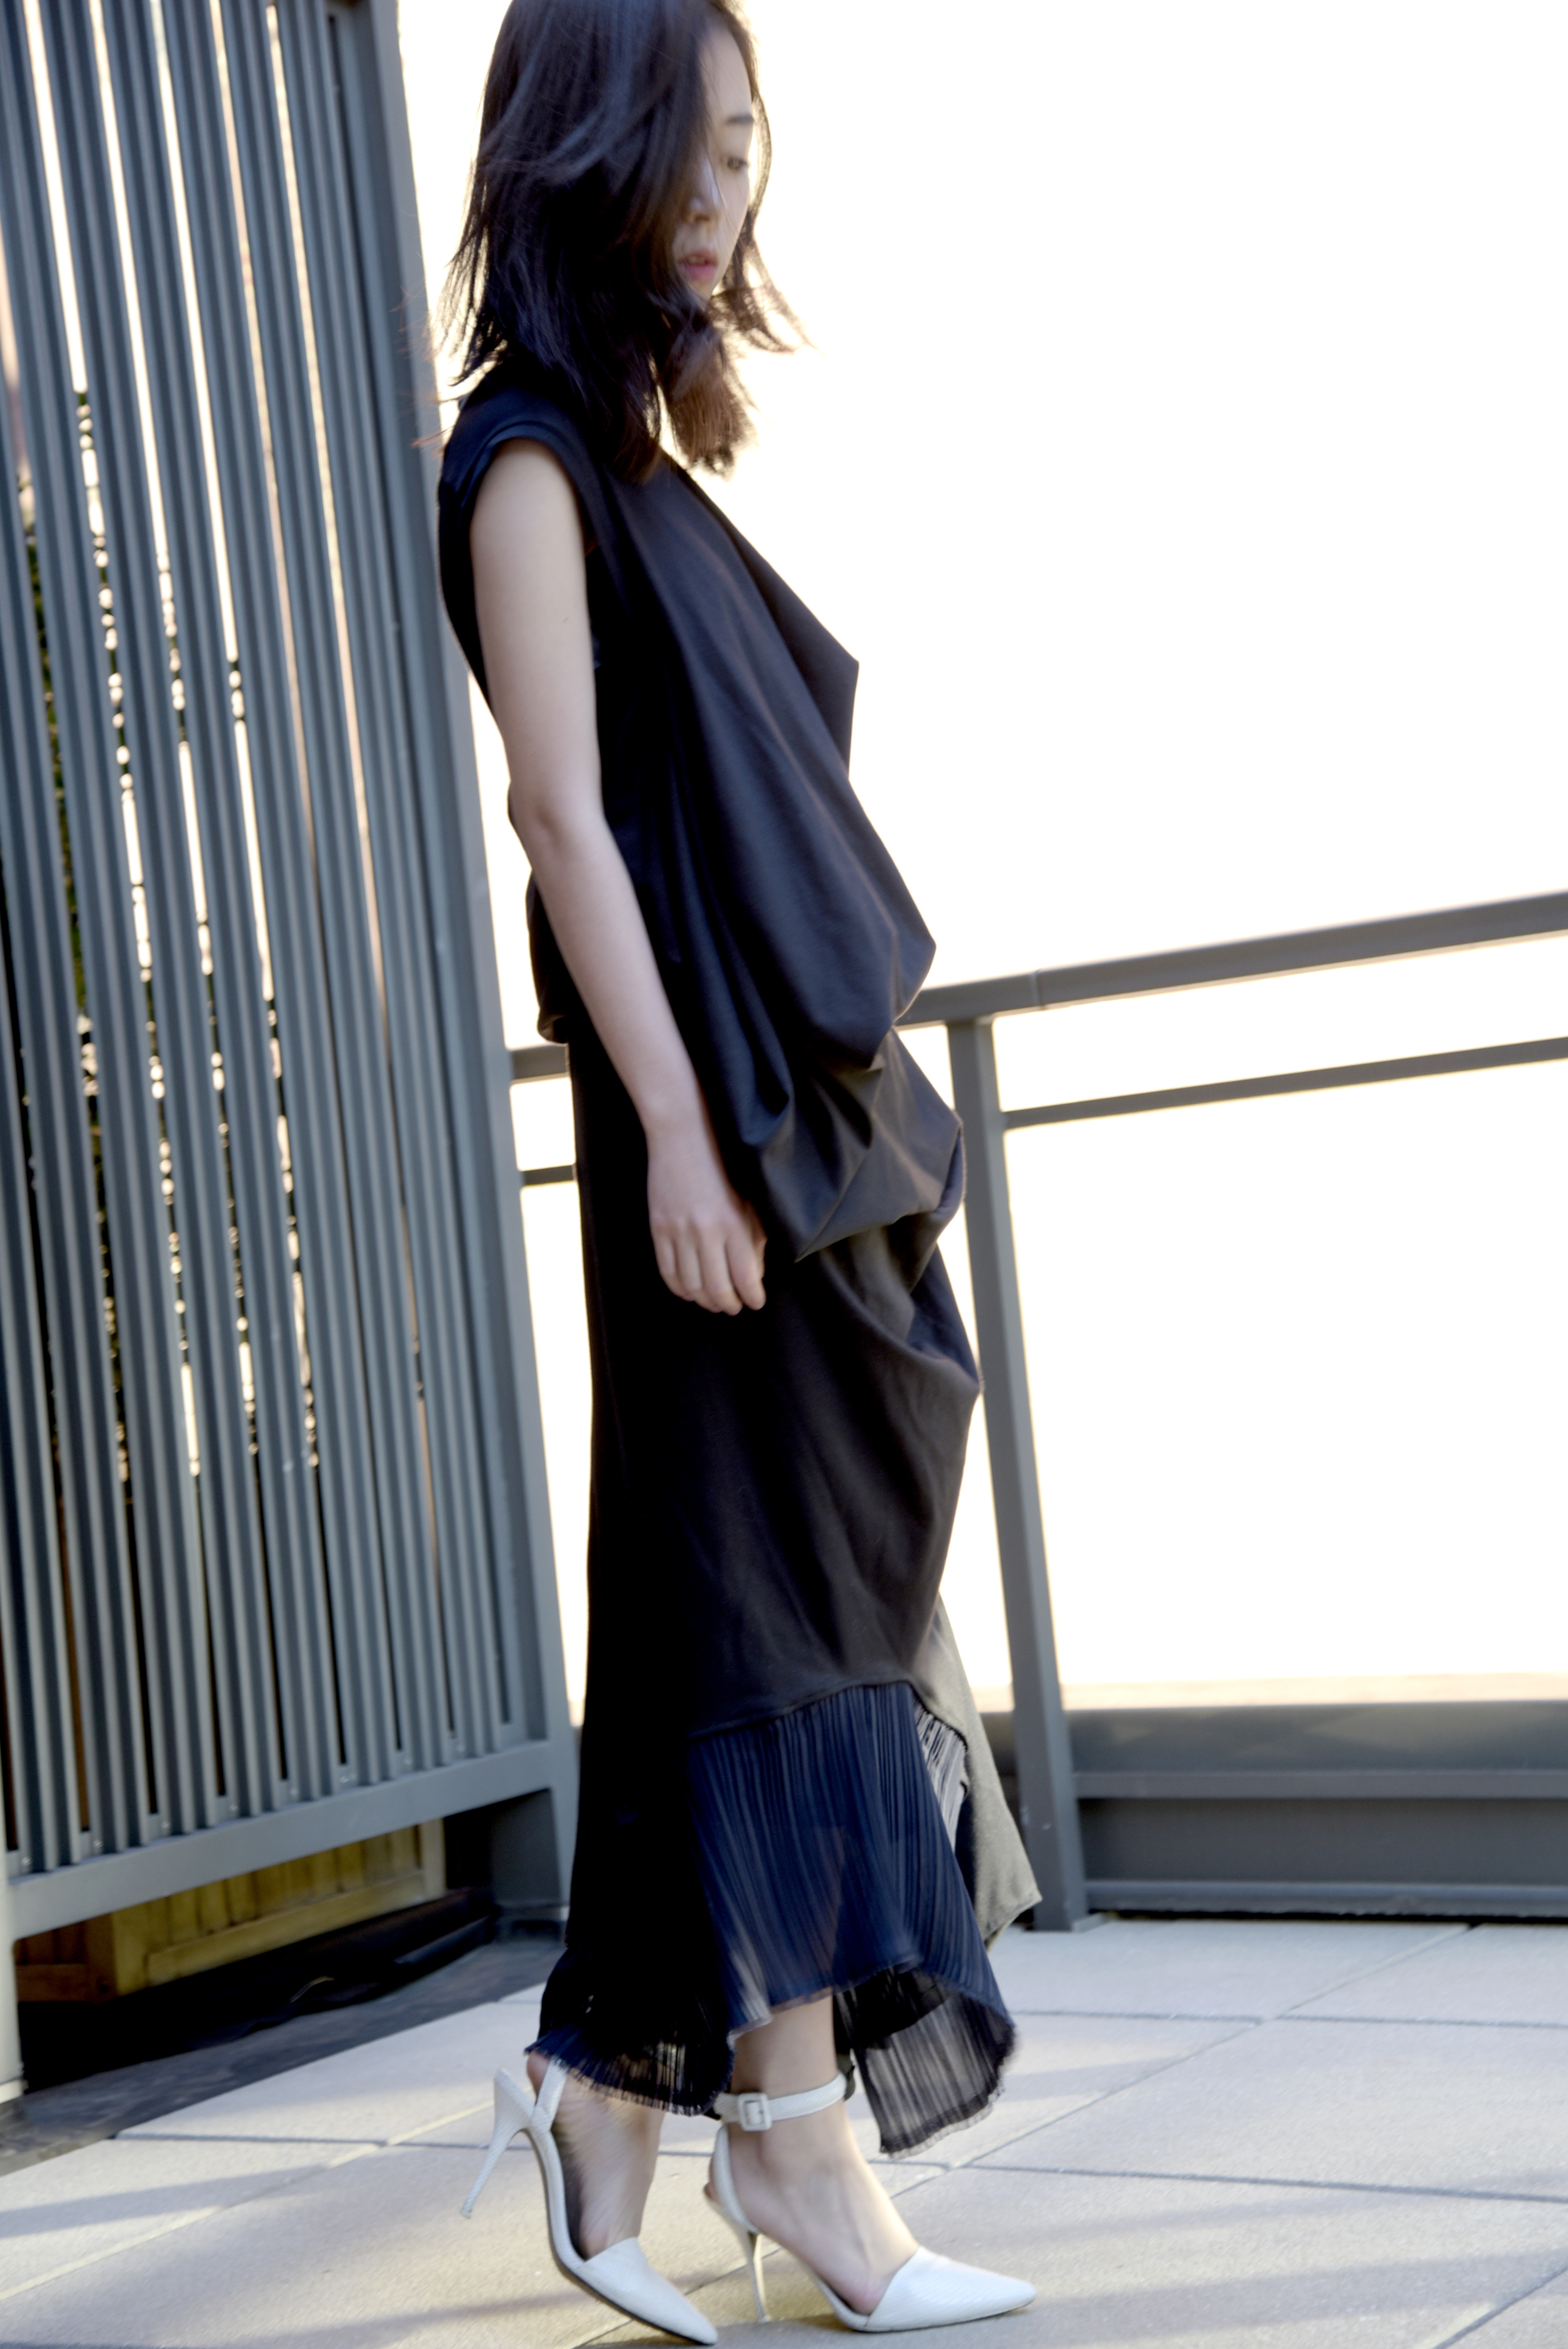
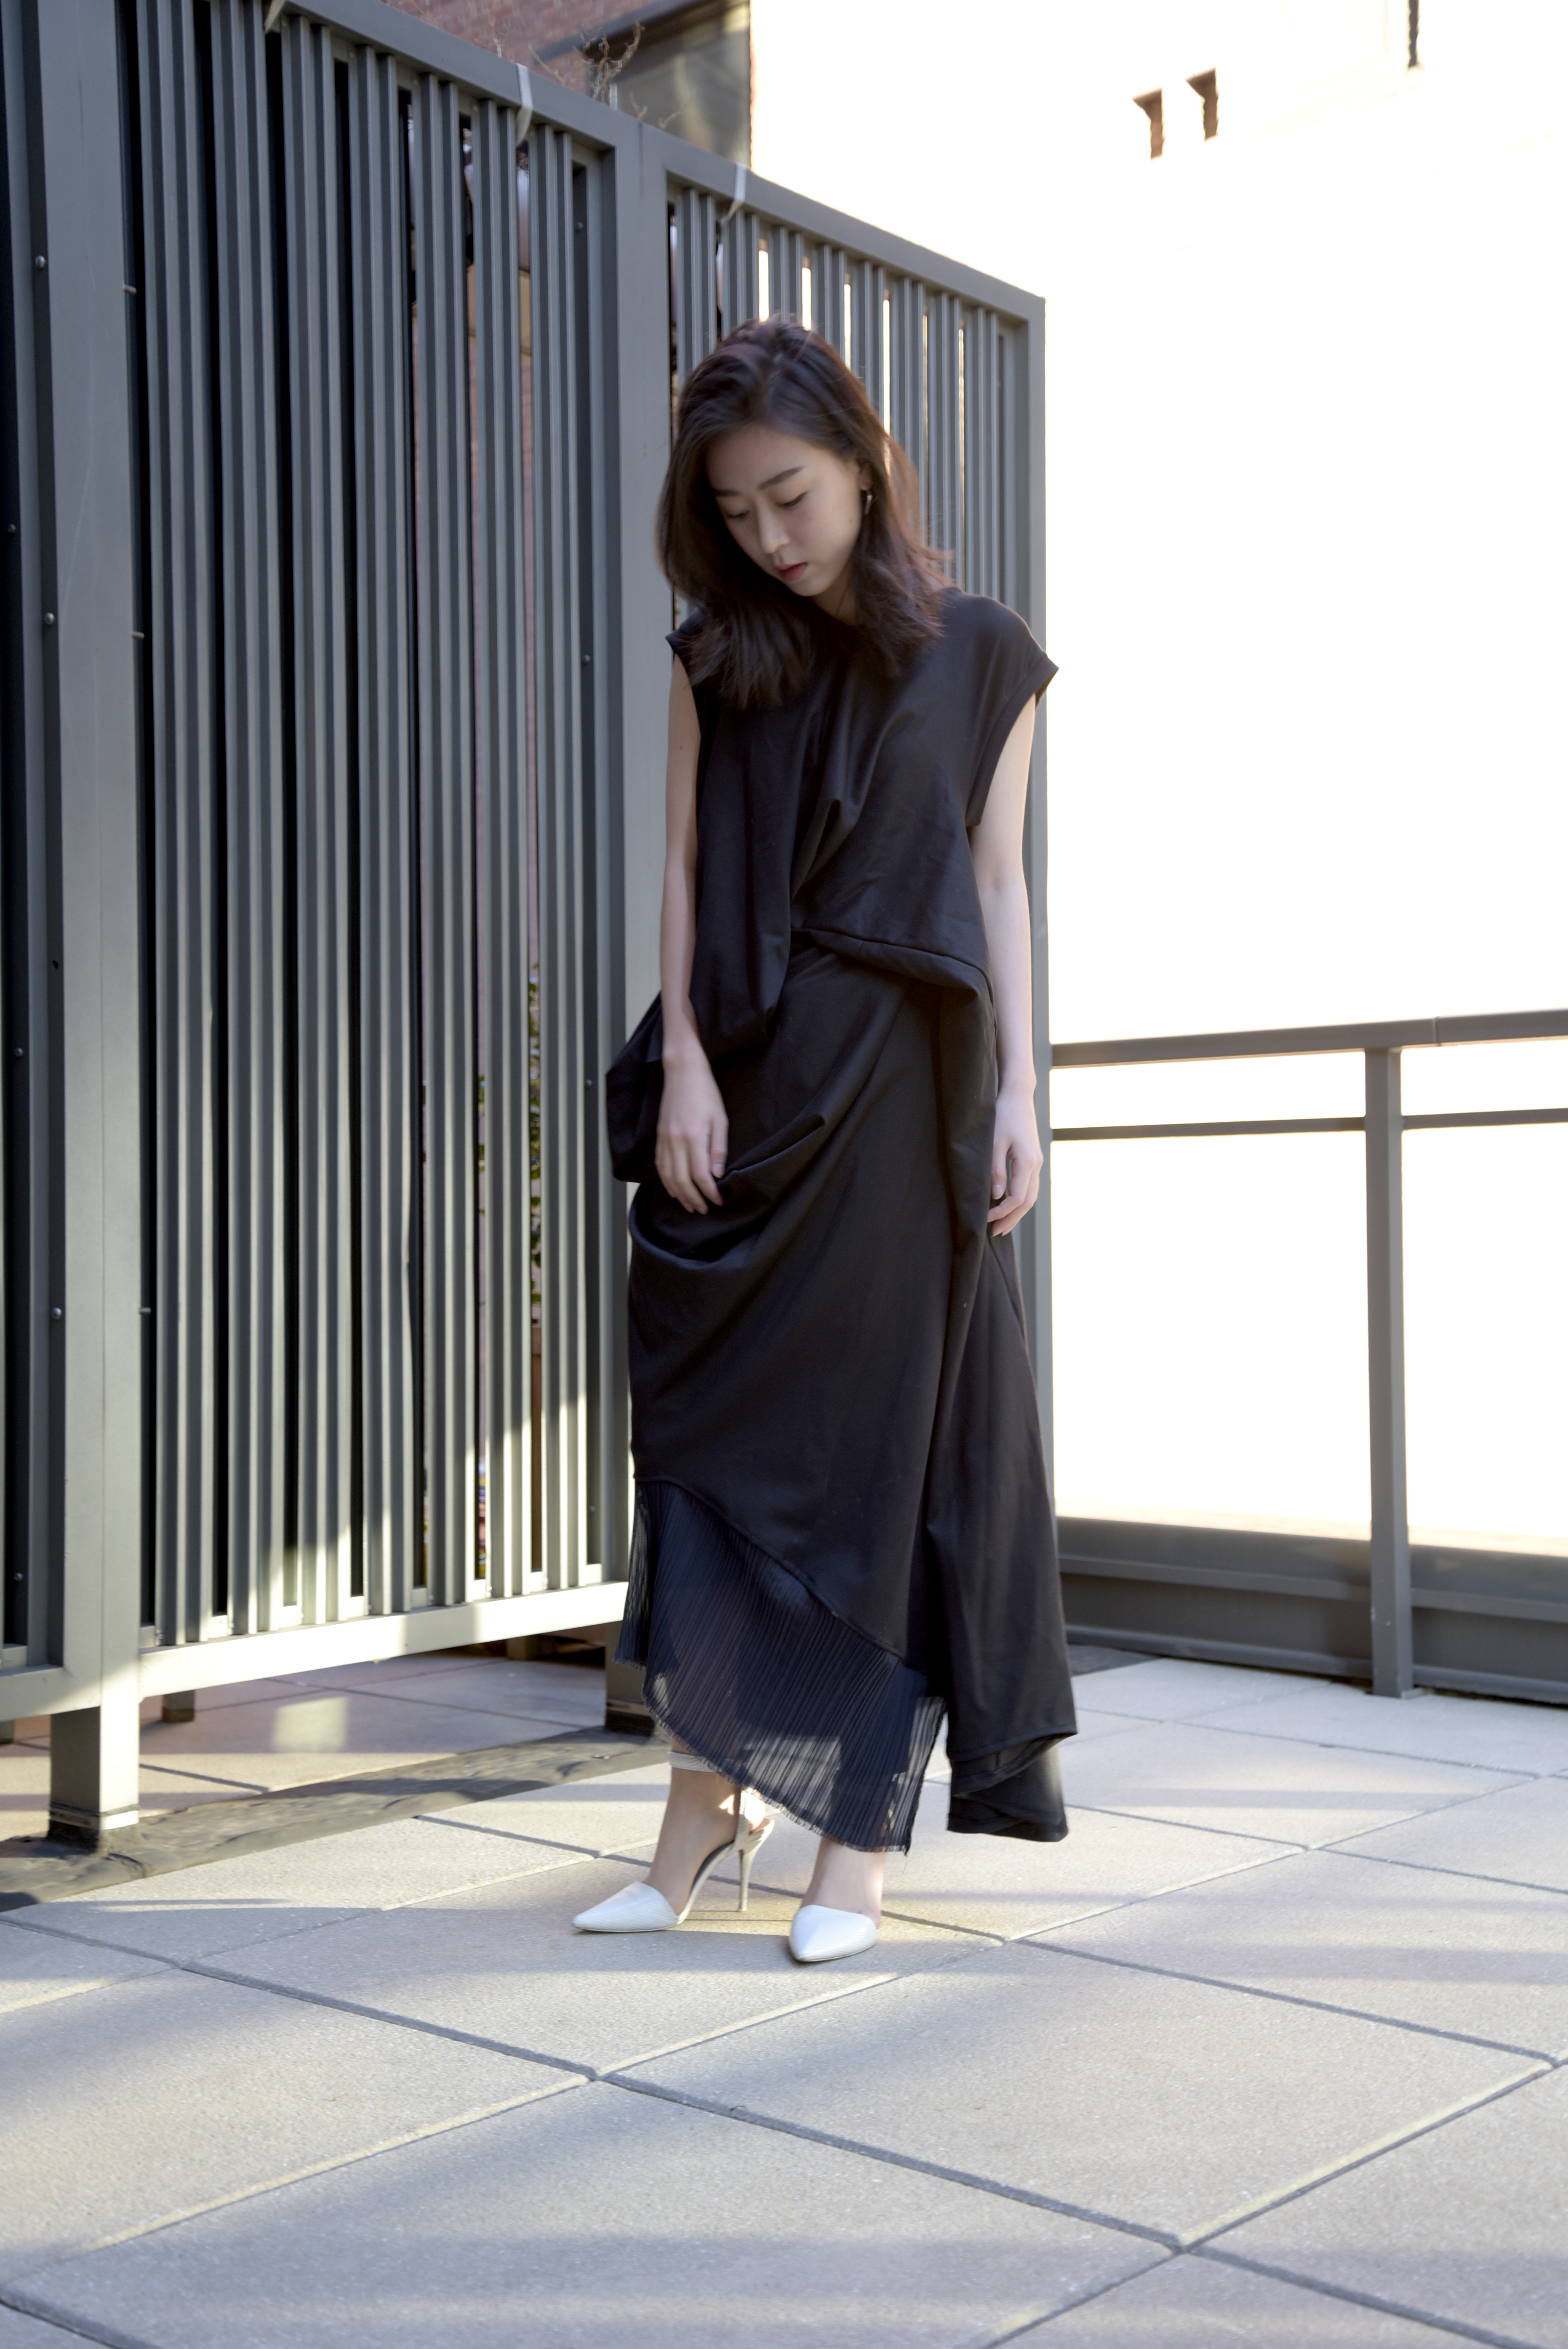
 IMG_4077 IMG_4078

The looks


IMG_4131 IMG_4123

IMG_4132 IMG_4145 IMG_4141


Project 1: Knit Dress–Creative Tech Studio 2

For this project, the idea is about free cutting and draping, and the technic is from Julian Roberts, but for the outcome of the project, the fabric must be a knit fabric.


CT Knit Drape Dress

inspiration board

Basically, i made a top V-neck pattern, and placed it on the fabric which i made into a big “pillow” shape, placed whatever i want, and connected each pieces from the armhole (as the diagram shows here)

CT Knit Drape Dress

CT Knit Drape Dress

IMG_2982 IMG_2983 IMG_2984 IMG_2985

process

IMG_2992 IMG_2993 IMG_2994 IMG_2995

After stage one which was cut out the negative space of the fabric and join each parts together.

This project is really about free cutting, so i did some draping to form the dress into a shape that i like, drawn holes on the fabric directly, then cut and sewn. IMG_3115 IMG_3114IMG_3123 IMG_3124 IMG_3125 IMG_3126


And the last step is just finished the bottom part.


here are the looks of a model

_DSC0941 _DSC0952 _DSC0943 _DSC0940 _DSC0939 _DSC0915 _DSC0910 _DSC0930 _DSC0938


I applied a pleats fabric on the bottom, just to give the dress a more fluid feeling.

Skip to toolbar