The first project of Creative Technical Studio 1
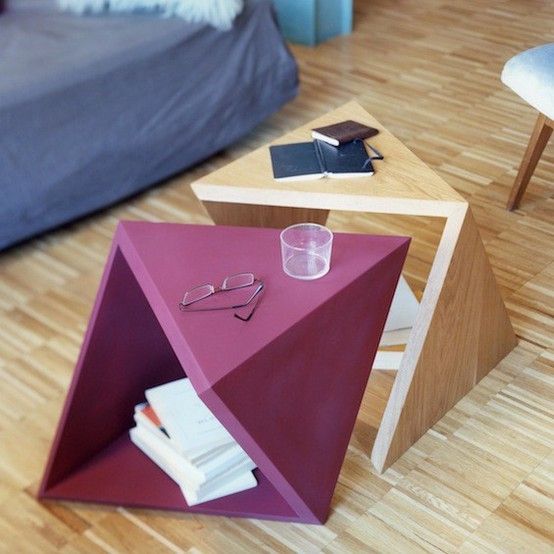
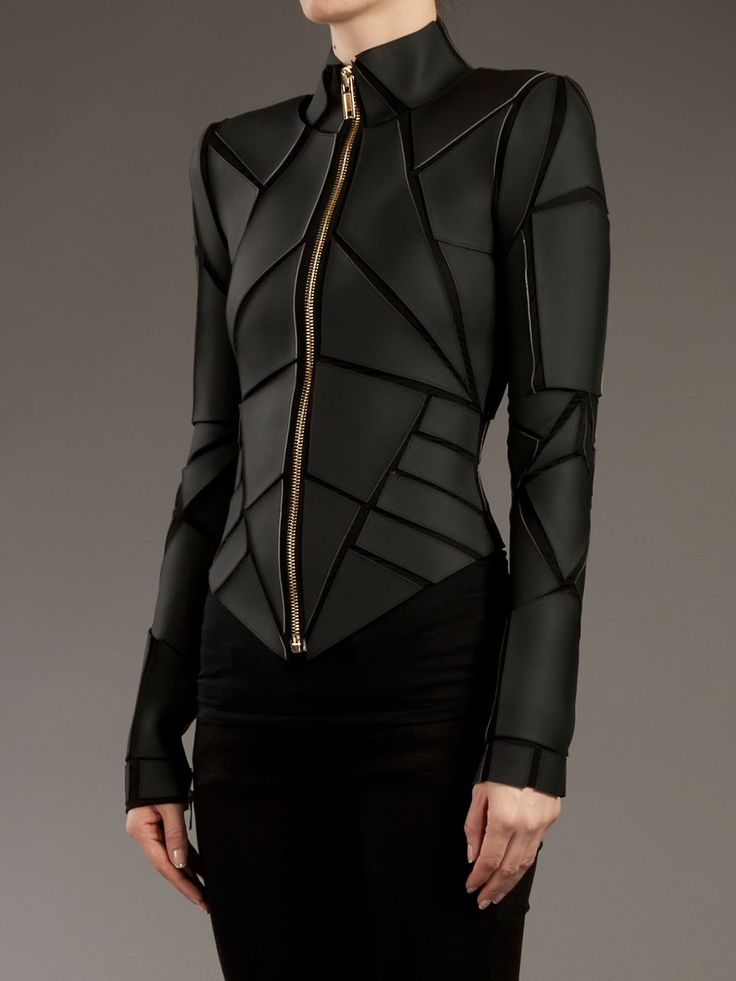
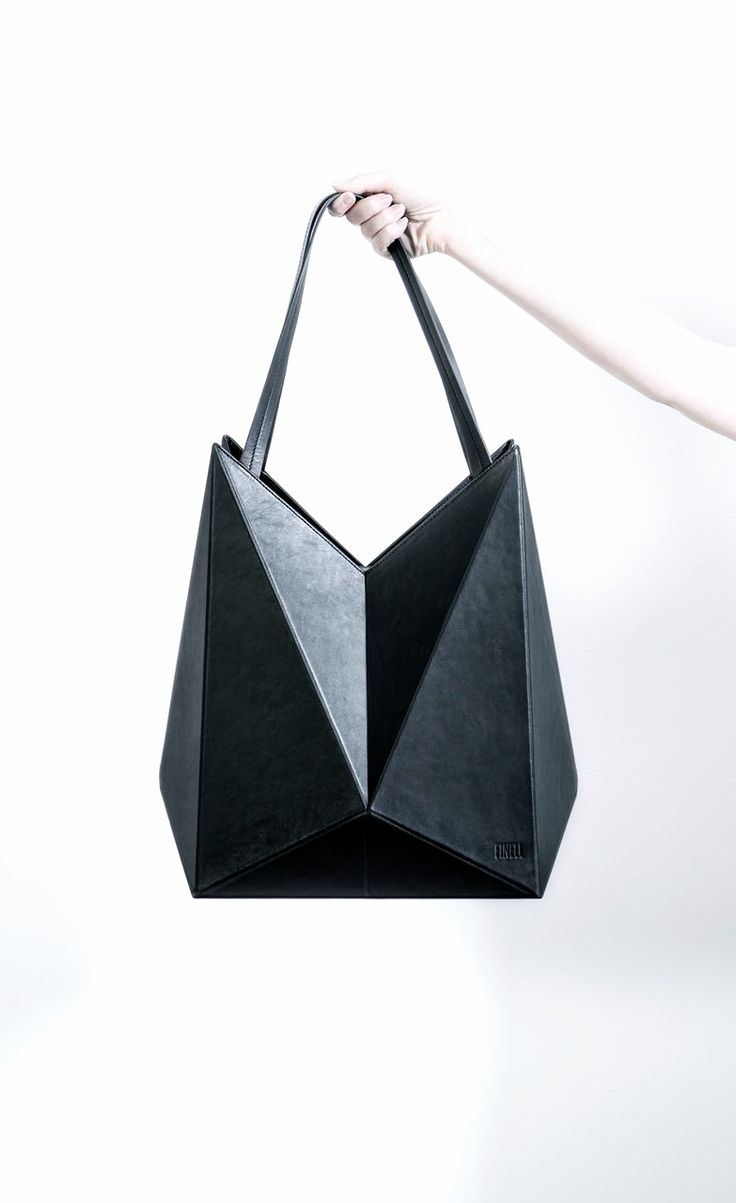
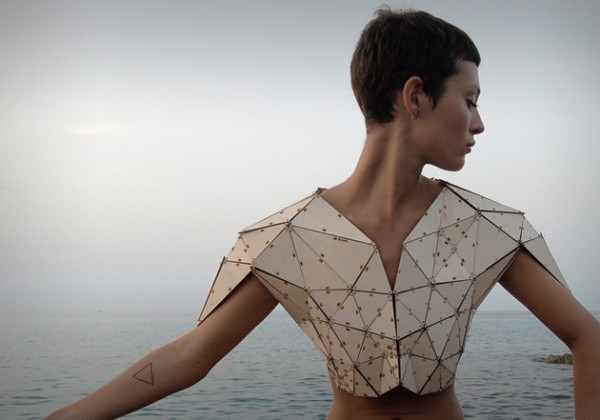
i got my inspiration from those geometrical images.
these rigid triangle shape could formed a quite stunning structure with its function whether as furniture, bag, accessories, art pieces or something wearable.
so, my idea is to make these shape stay,and meanwhile maintain its’ flexibility as collar and cuff.
first i started with the measurement, i decided the approximate size of my collar and cuff in muslin, and put that on mannequin to line of some important lines out, such as shoulder line, the length, width and center line.
 hand drawing of cuff
hand drawing of collar
muslin patterns.( scanning into computer for laser cutting)
then based on these drawing and patterns, and i have also got the size that i want, i stared to work on Adobe Illustrator, transfer those lines and shapes into a Illustrator file so that i could bring to laser cut.
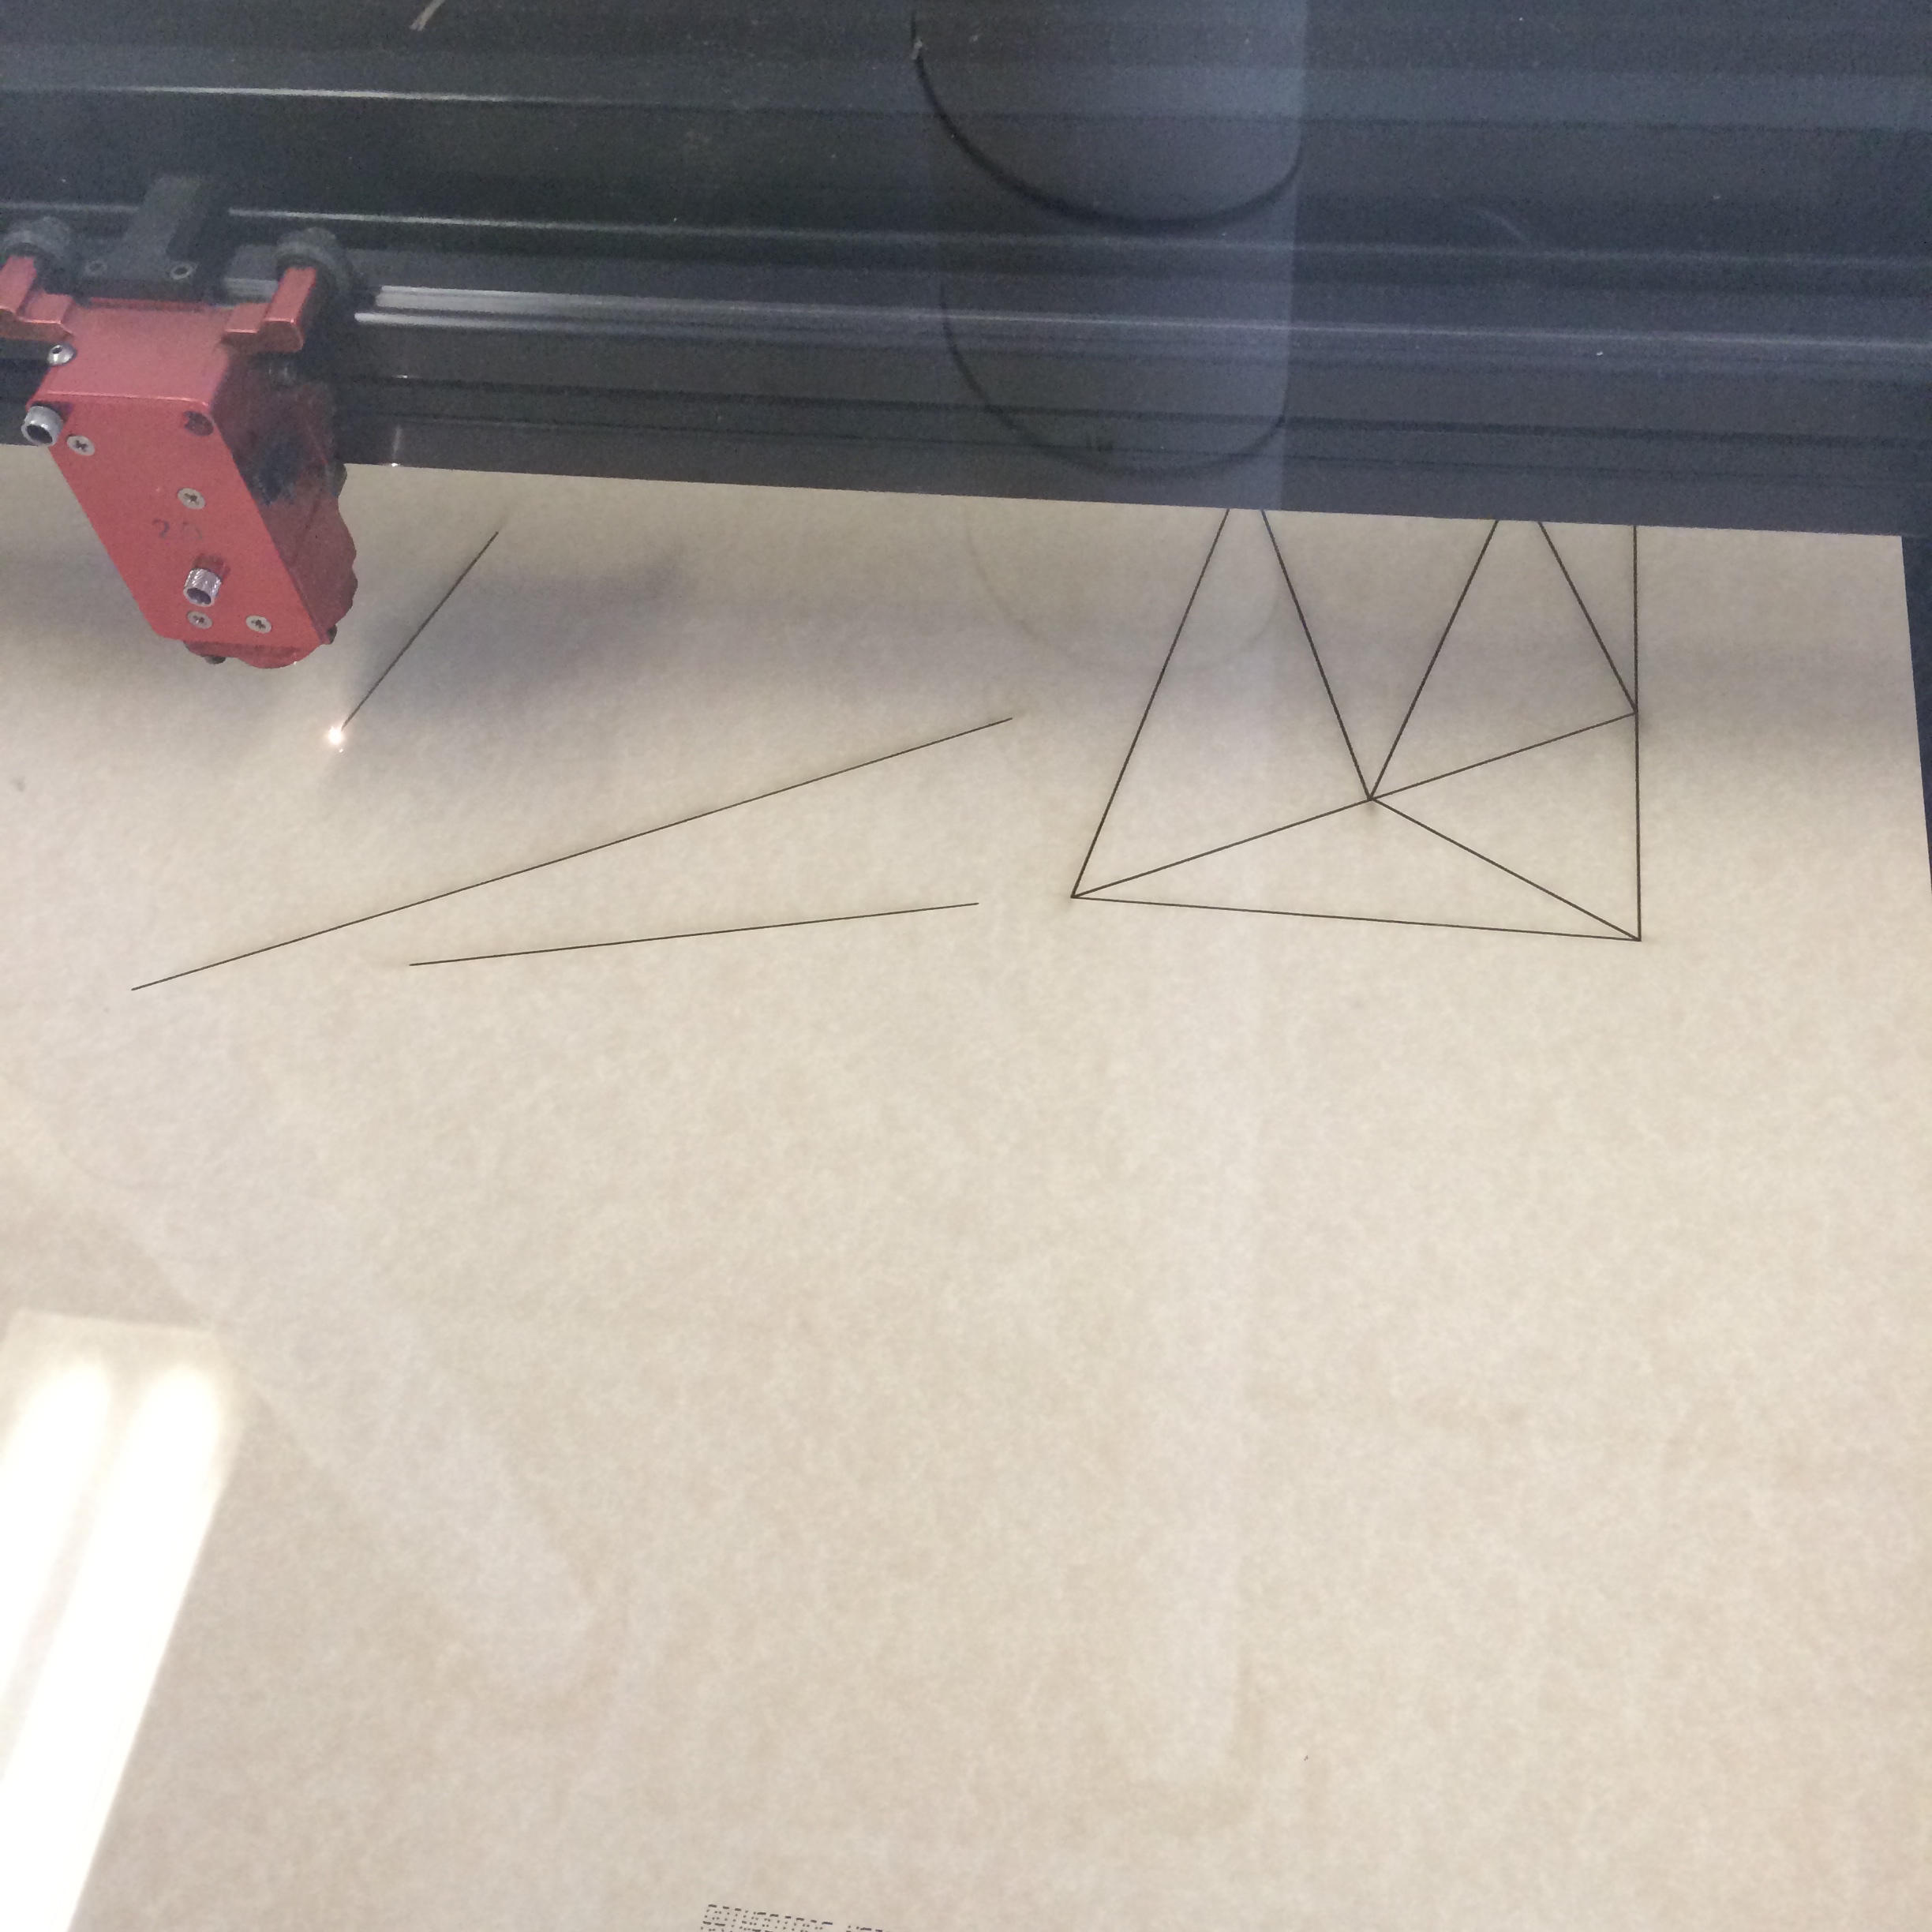
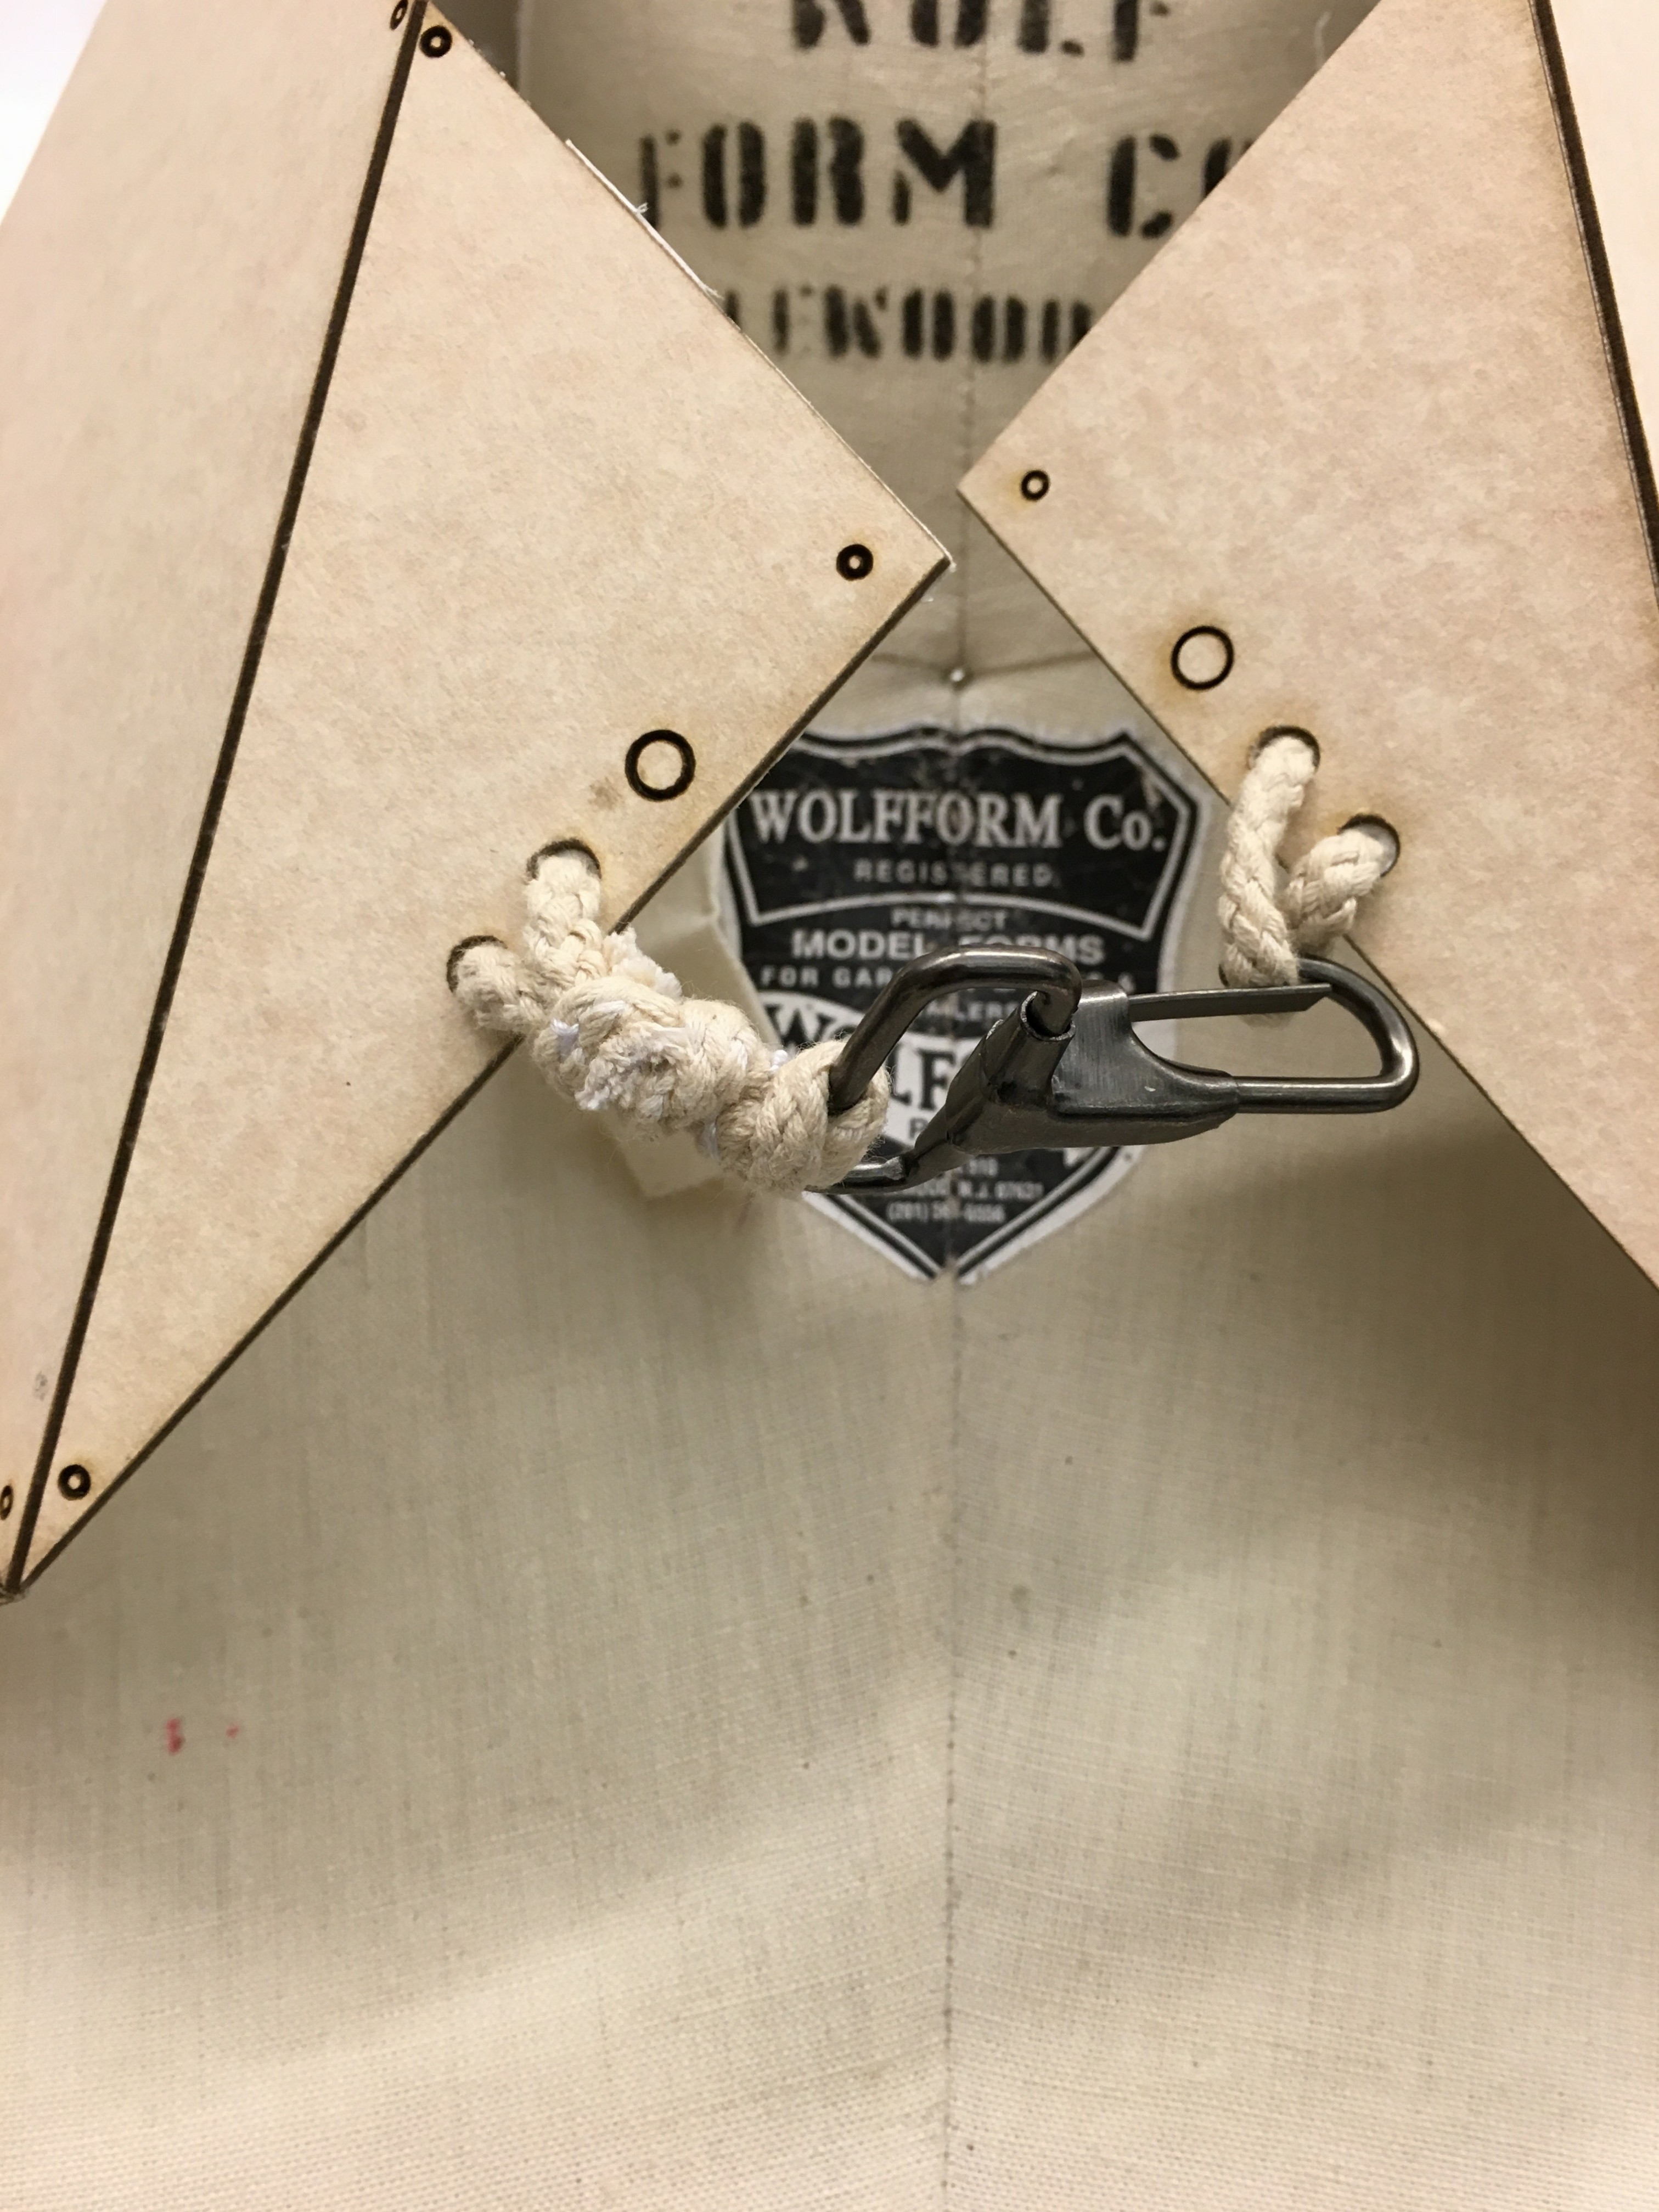
at first, i was thinking use thin wood, because i like its texture and color. however, that was too thin and fragile, and very easy to break. so i gave up on using wood, and did some material hunting, then i found out this, it is a kind of hard card paper, and the color is really similar to wood as well.
for total, i booked 4 laser cut appointment. the first one was too small, especially the collar, i can not even put that on. then after change the size and some small parts, i did the second one.
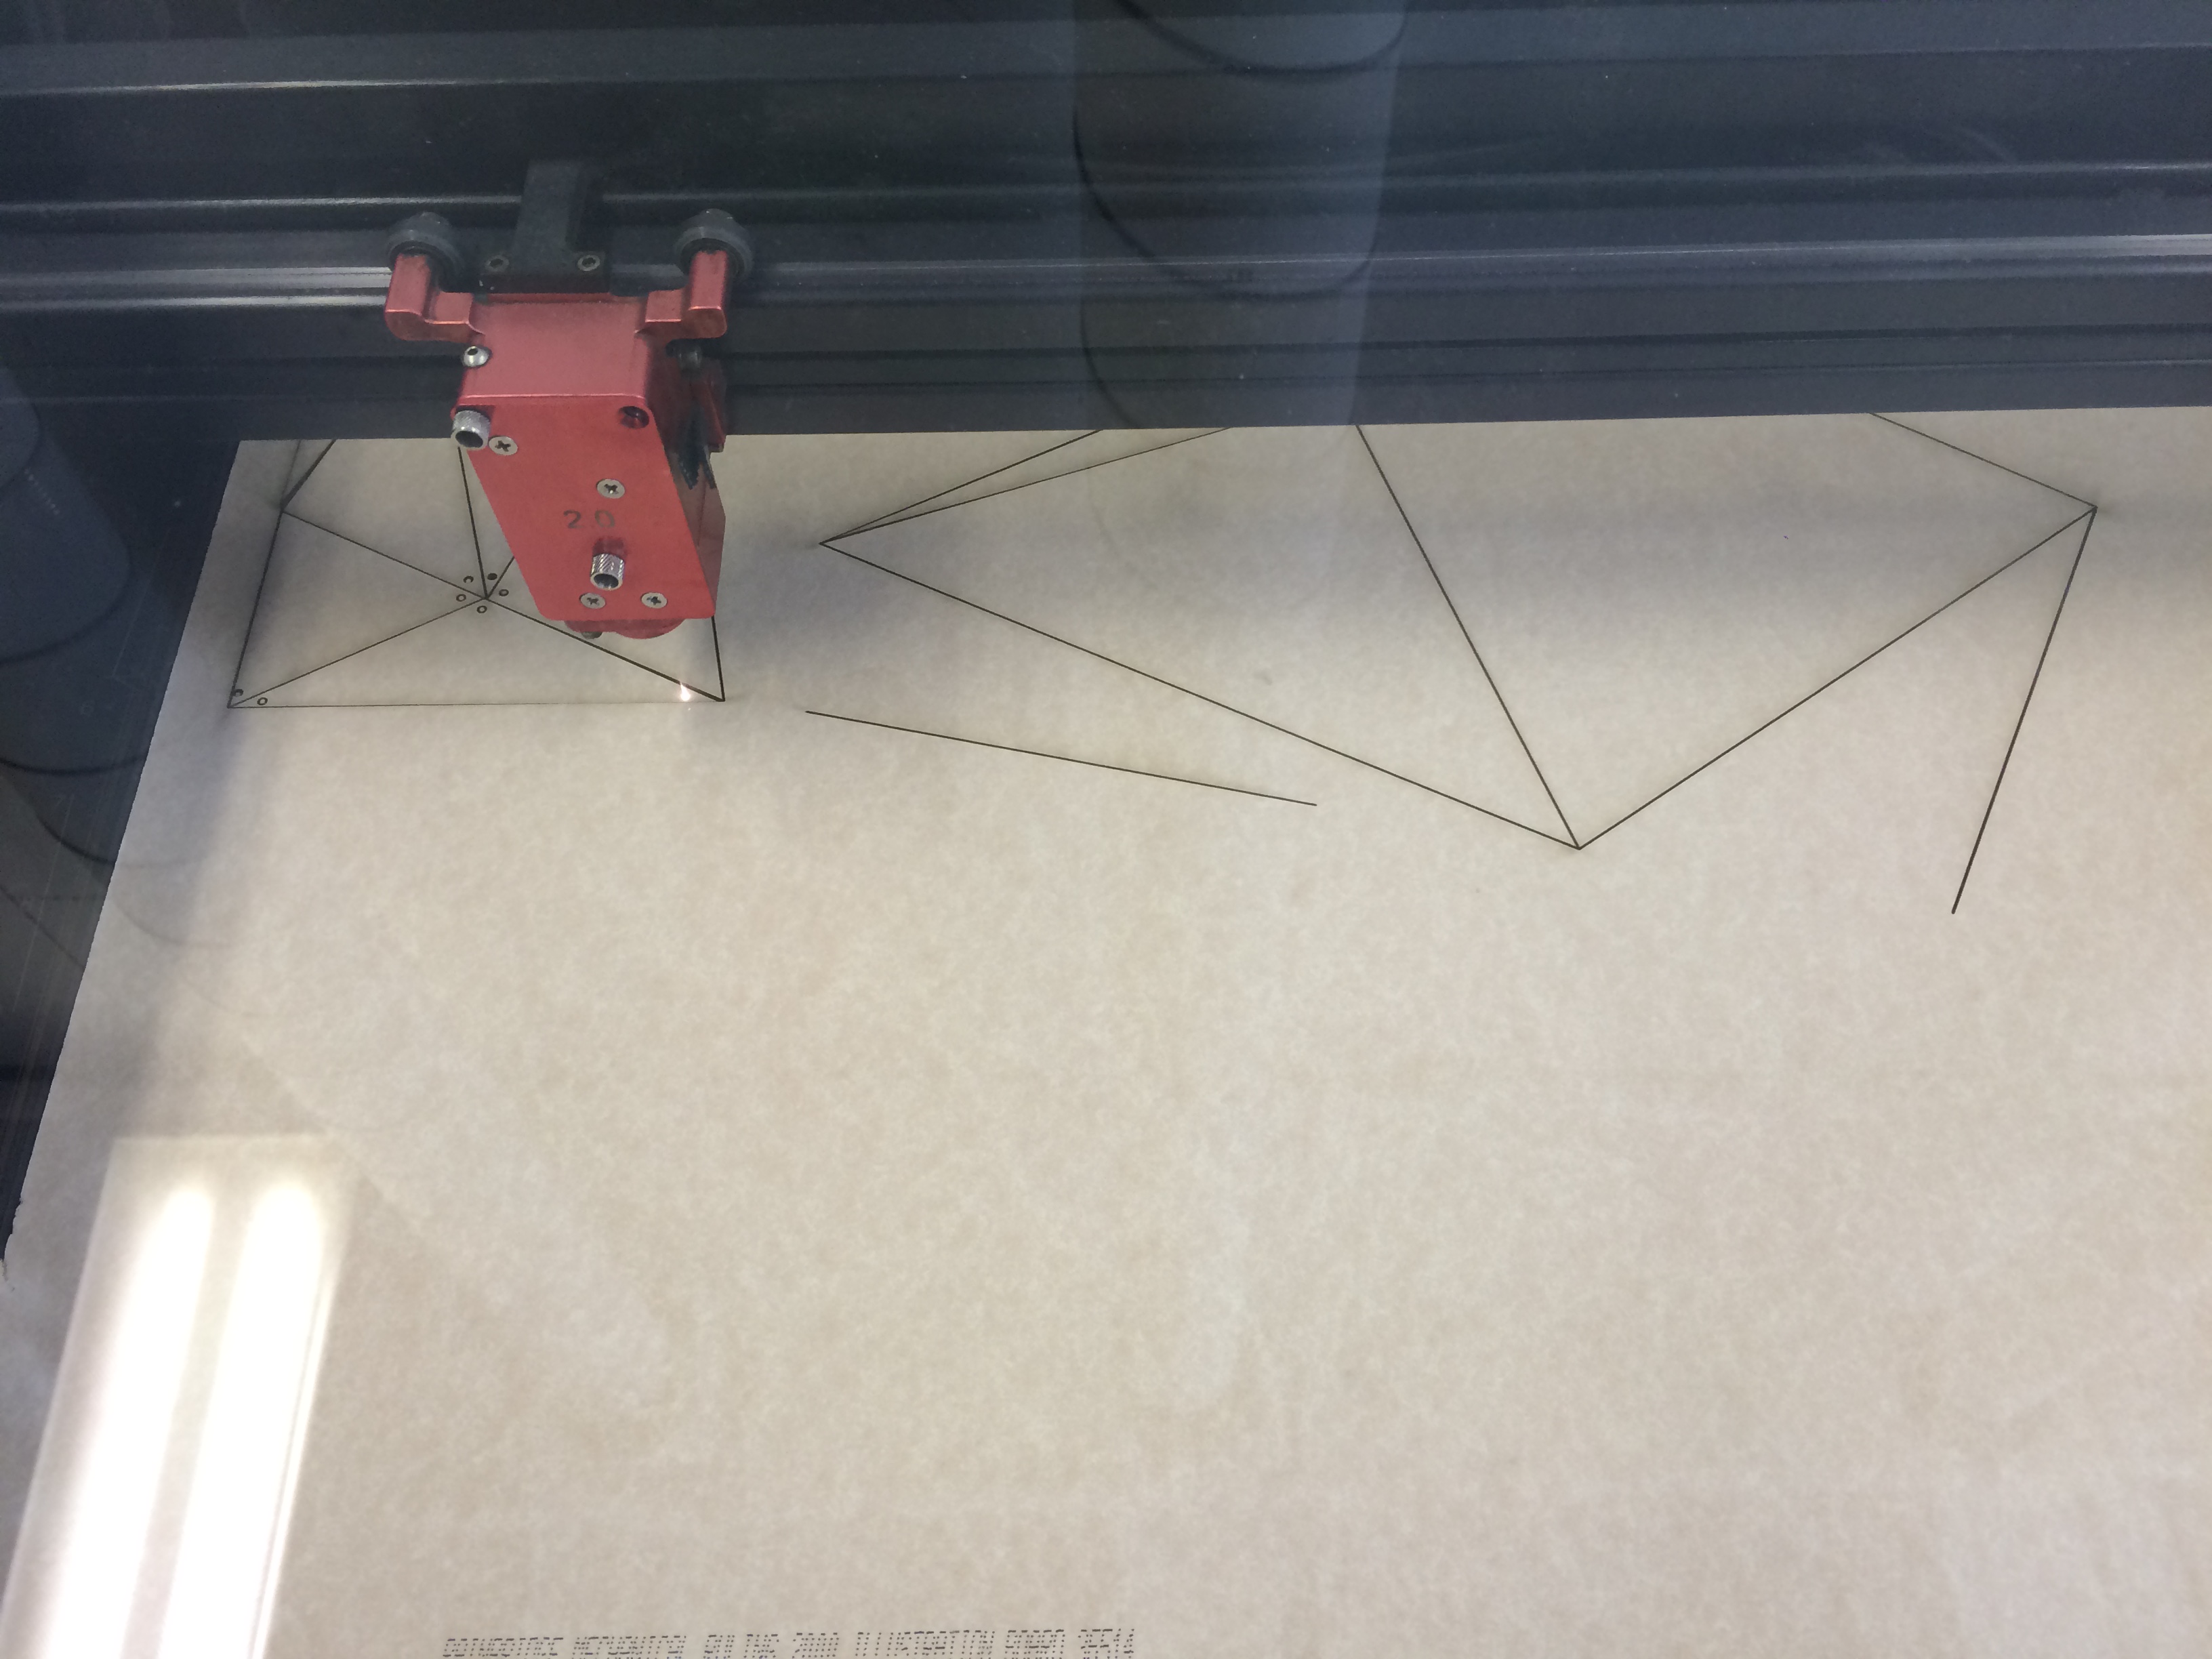
the challenge is that, the character of fabric and hard paper is totally two different thing. this board paper is hard, like wood, so the result was that, many lines that i made out based on muslin didn’t work out of board paper, so the whole piece wasn’t fit at all, and very staid.
Again, i have to make changes. so, i add some lines, and moved some as well because they were not in the right place. overall, the adjustment was basically to make the piece more flexible as it support to. then i went to do my third cutting.
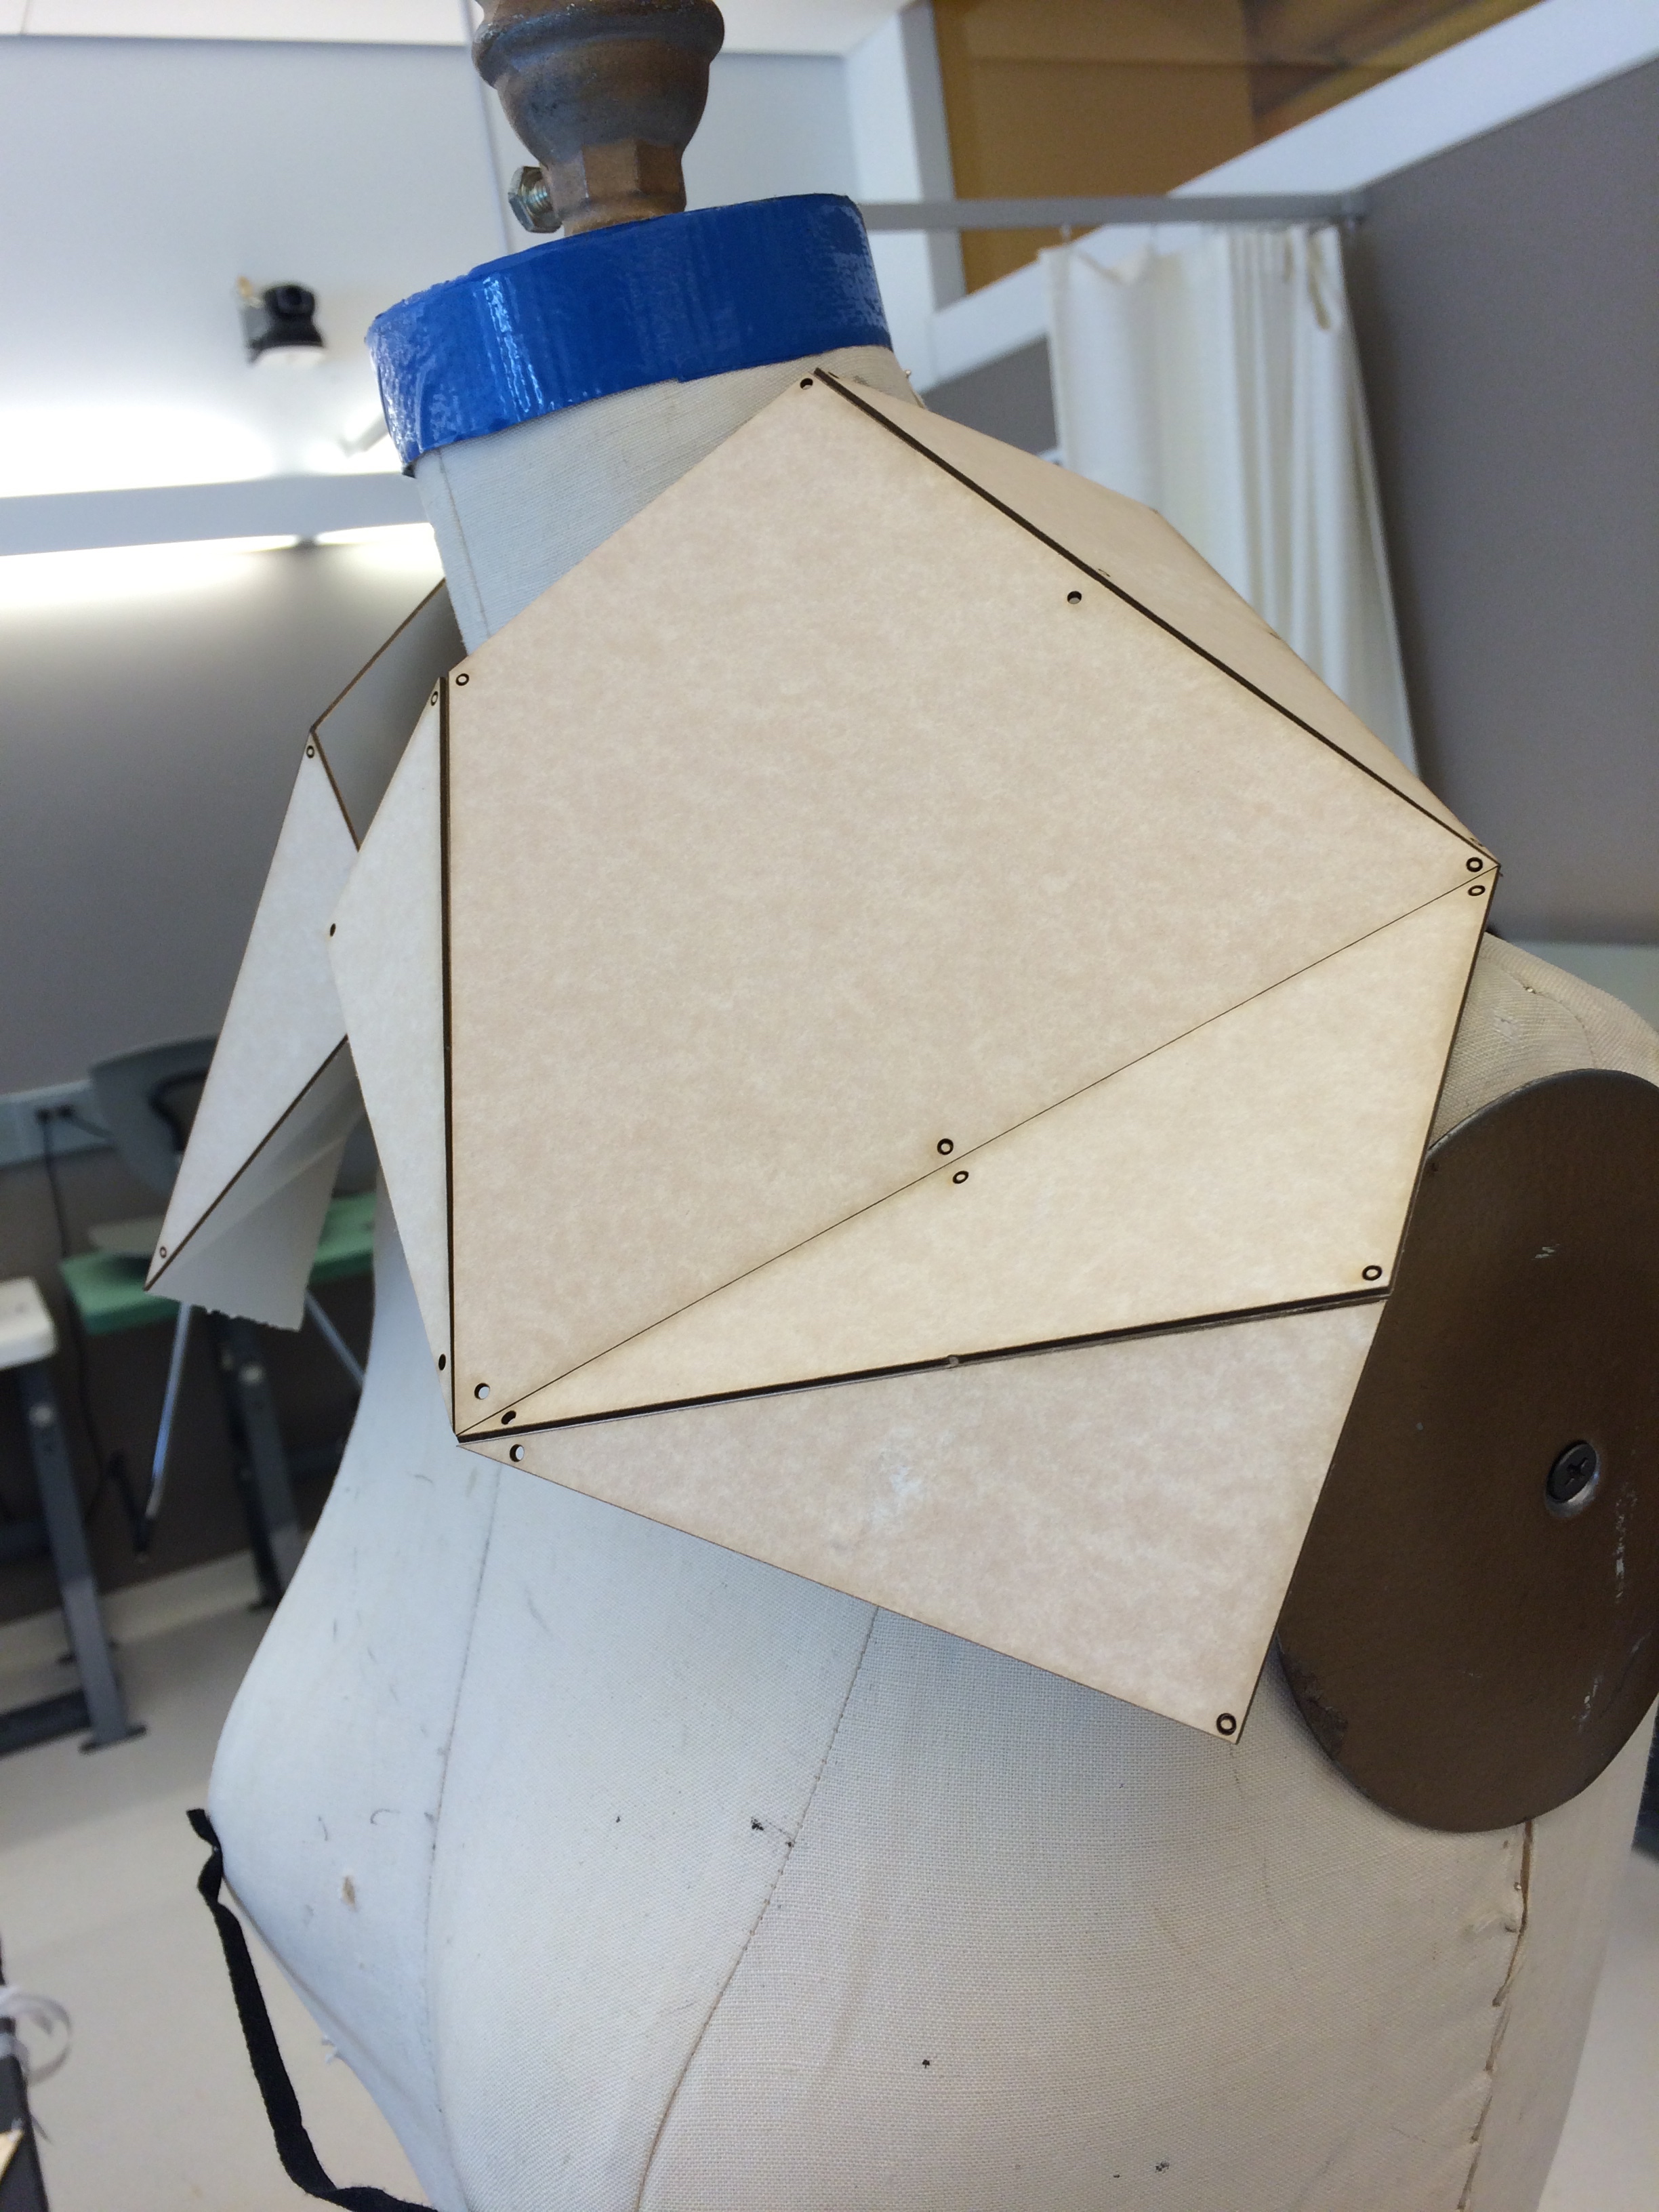
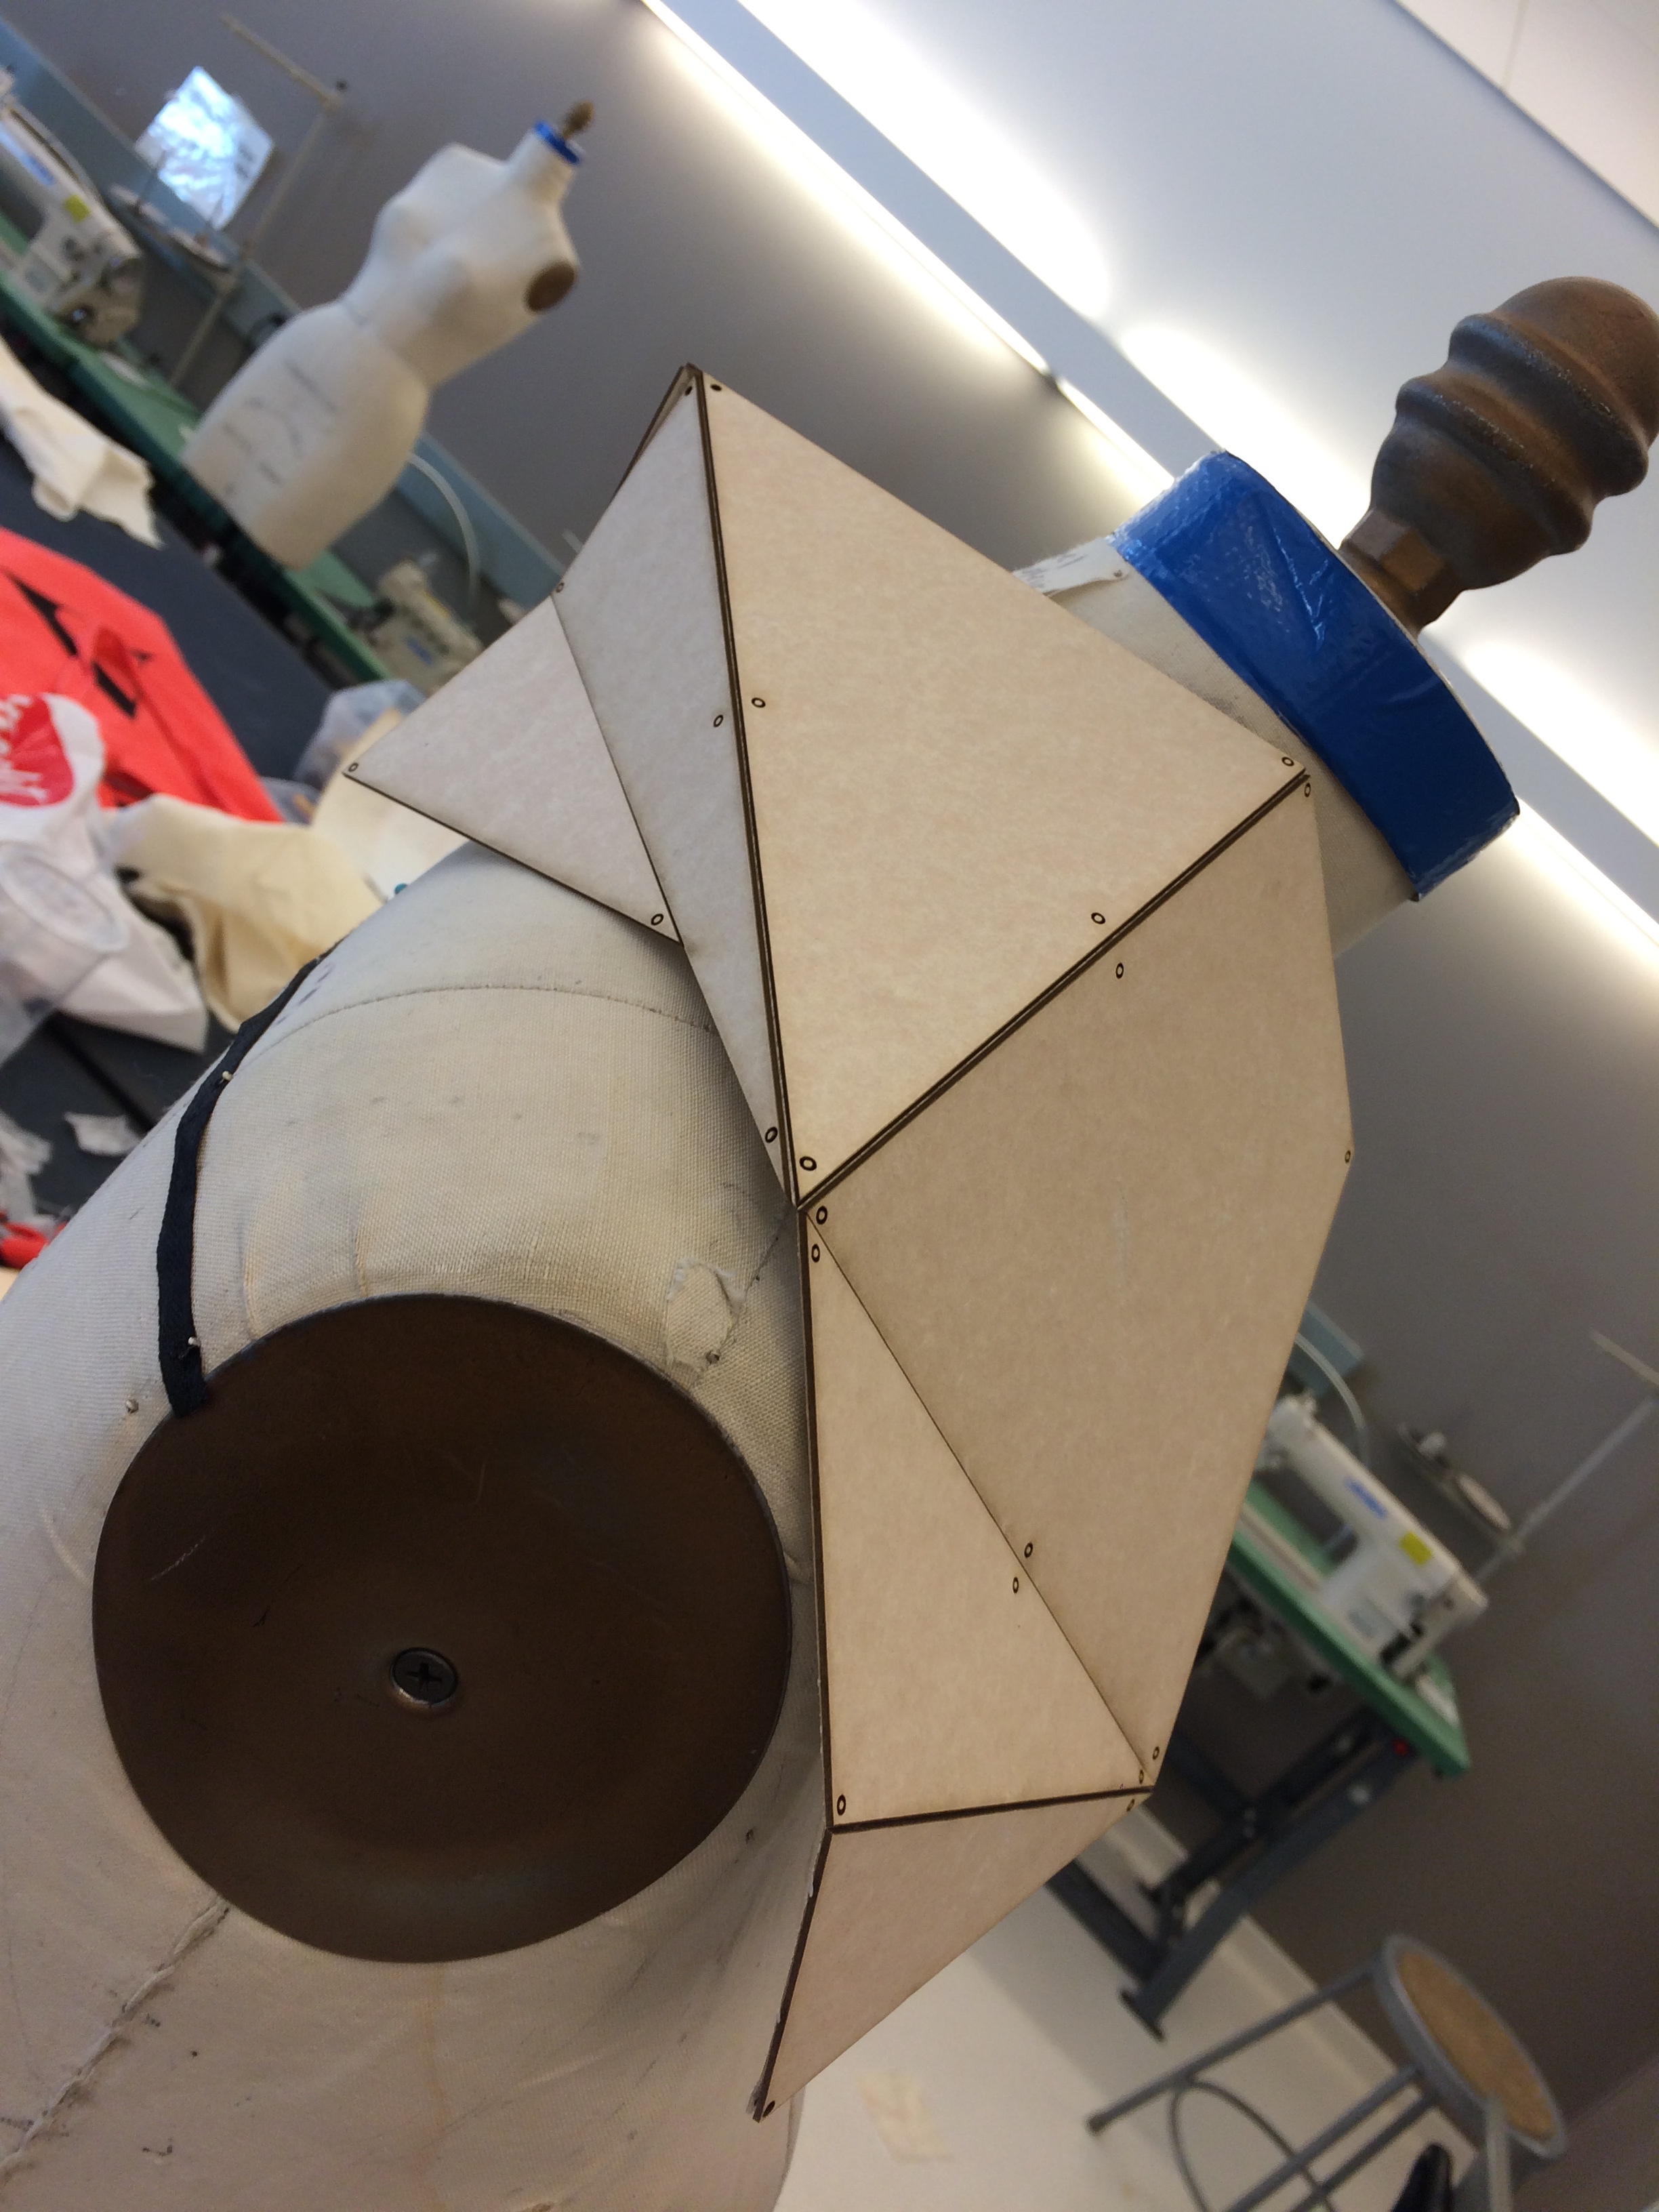
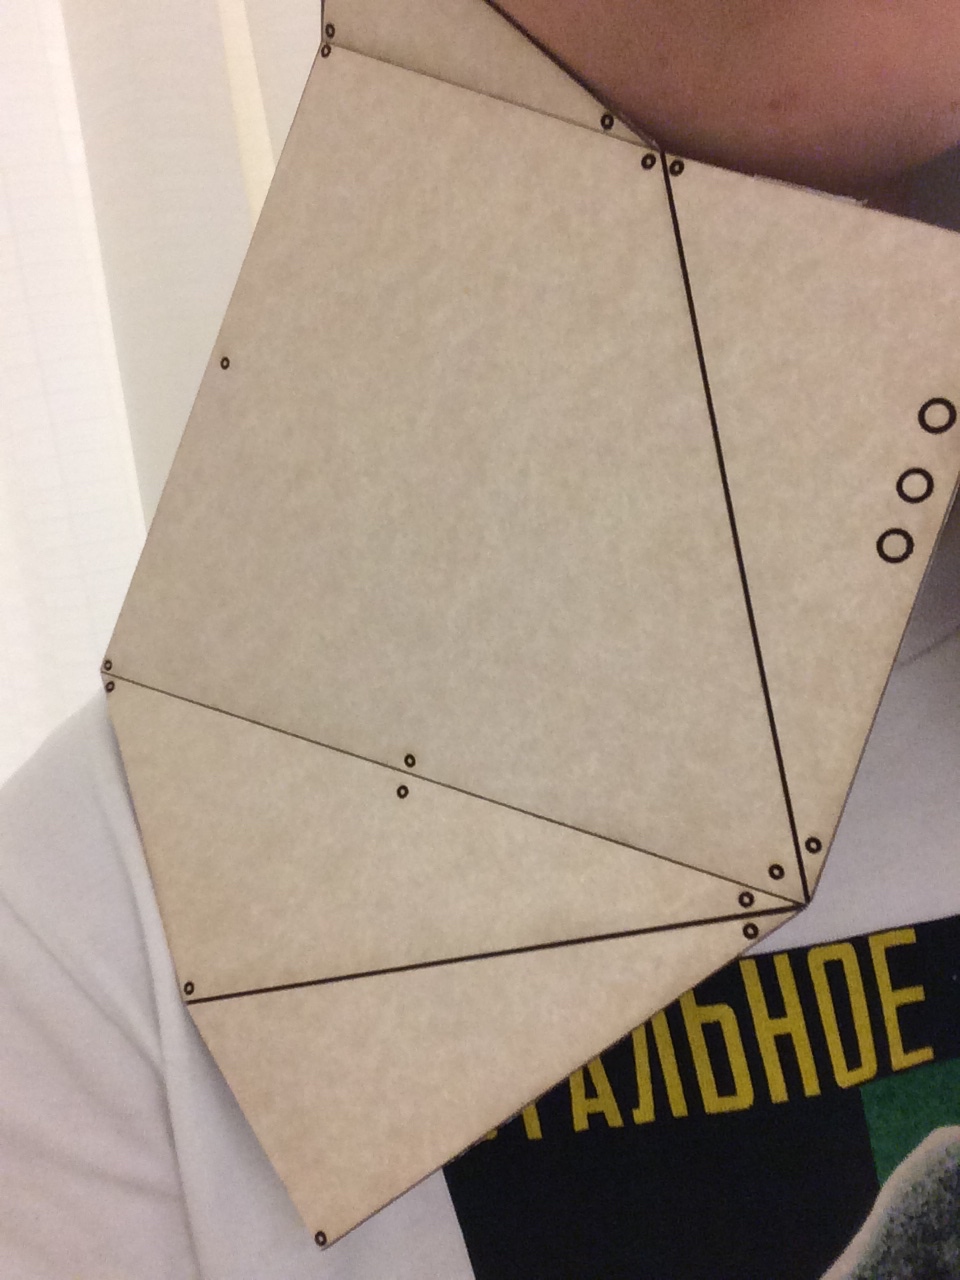
this time, very thing worked well, i can started to give shape to my collar and cuff.
i used threat as the connection of each piece. but as i was working on that, i found out that the threat could n’t maintain the shape stablelly, and that is a big problem, and that makes me really struggled.
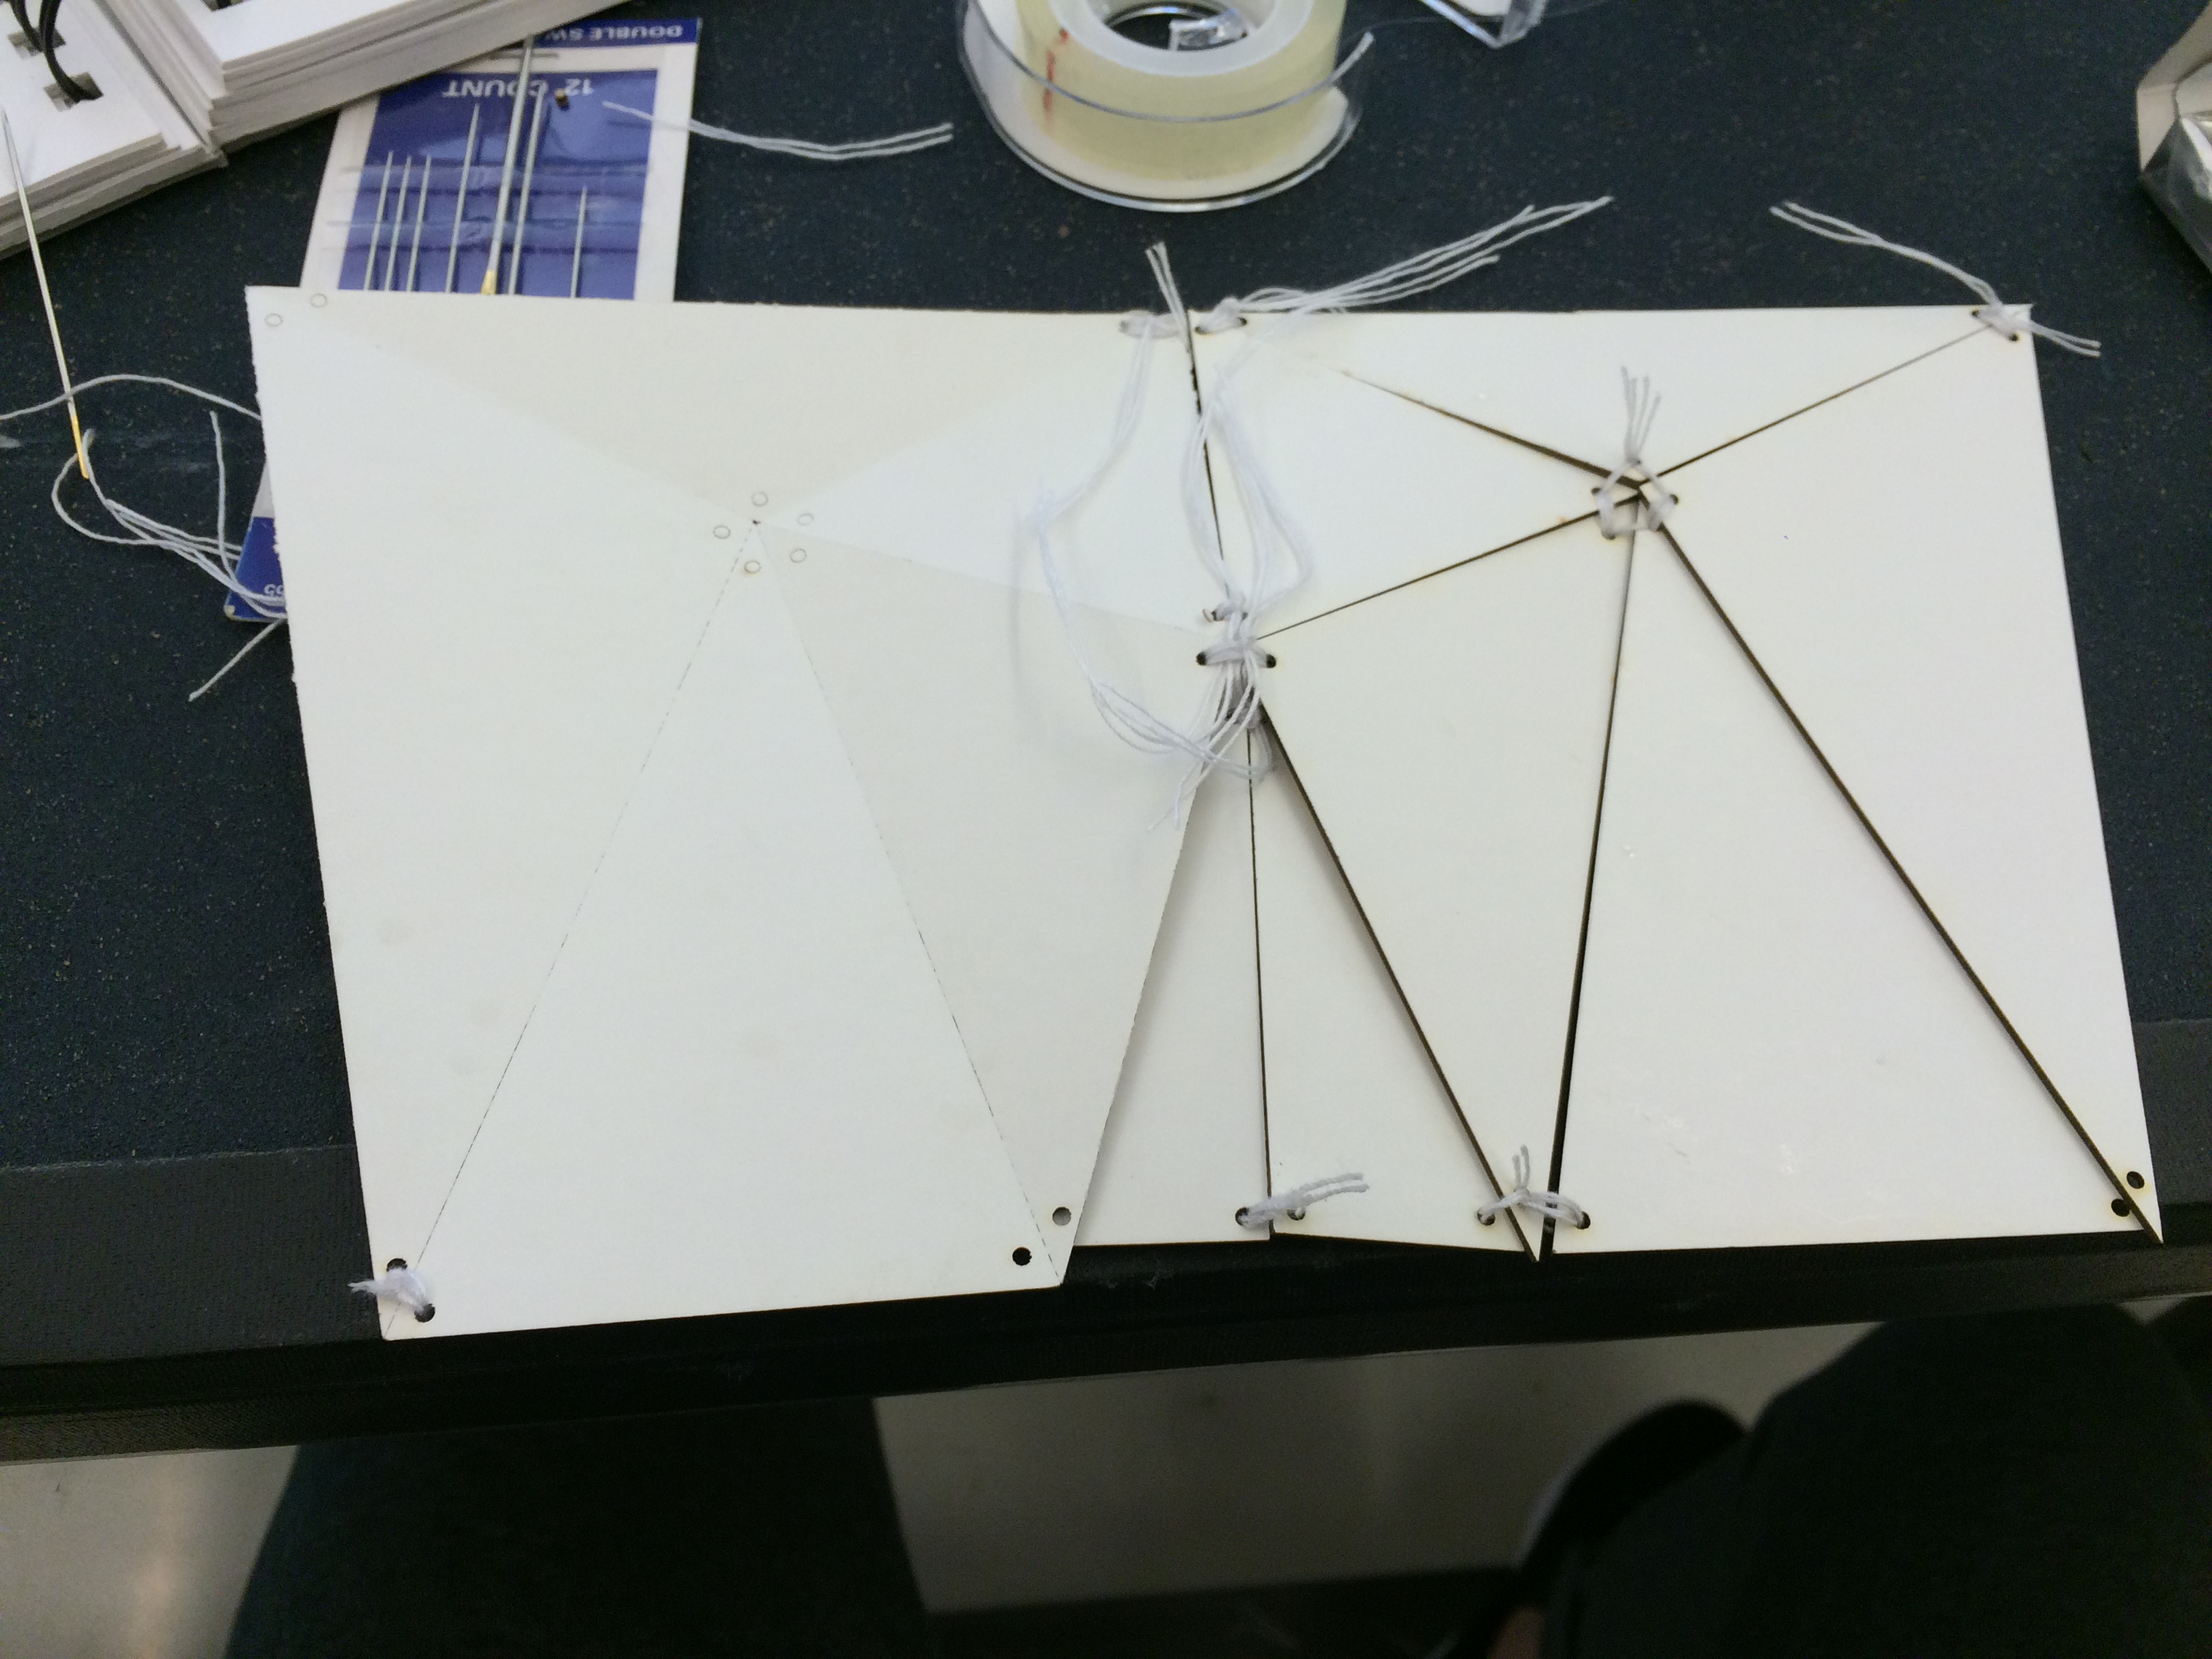

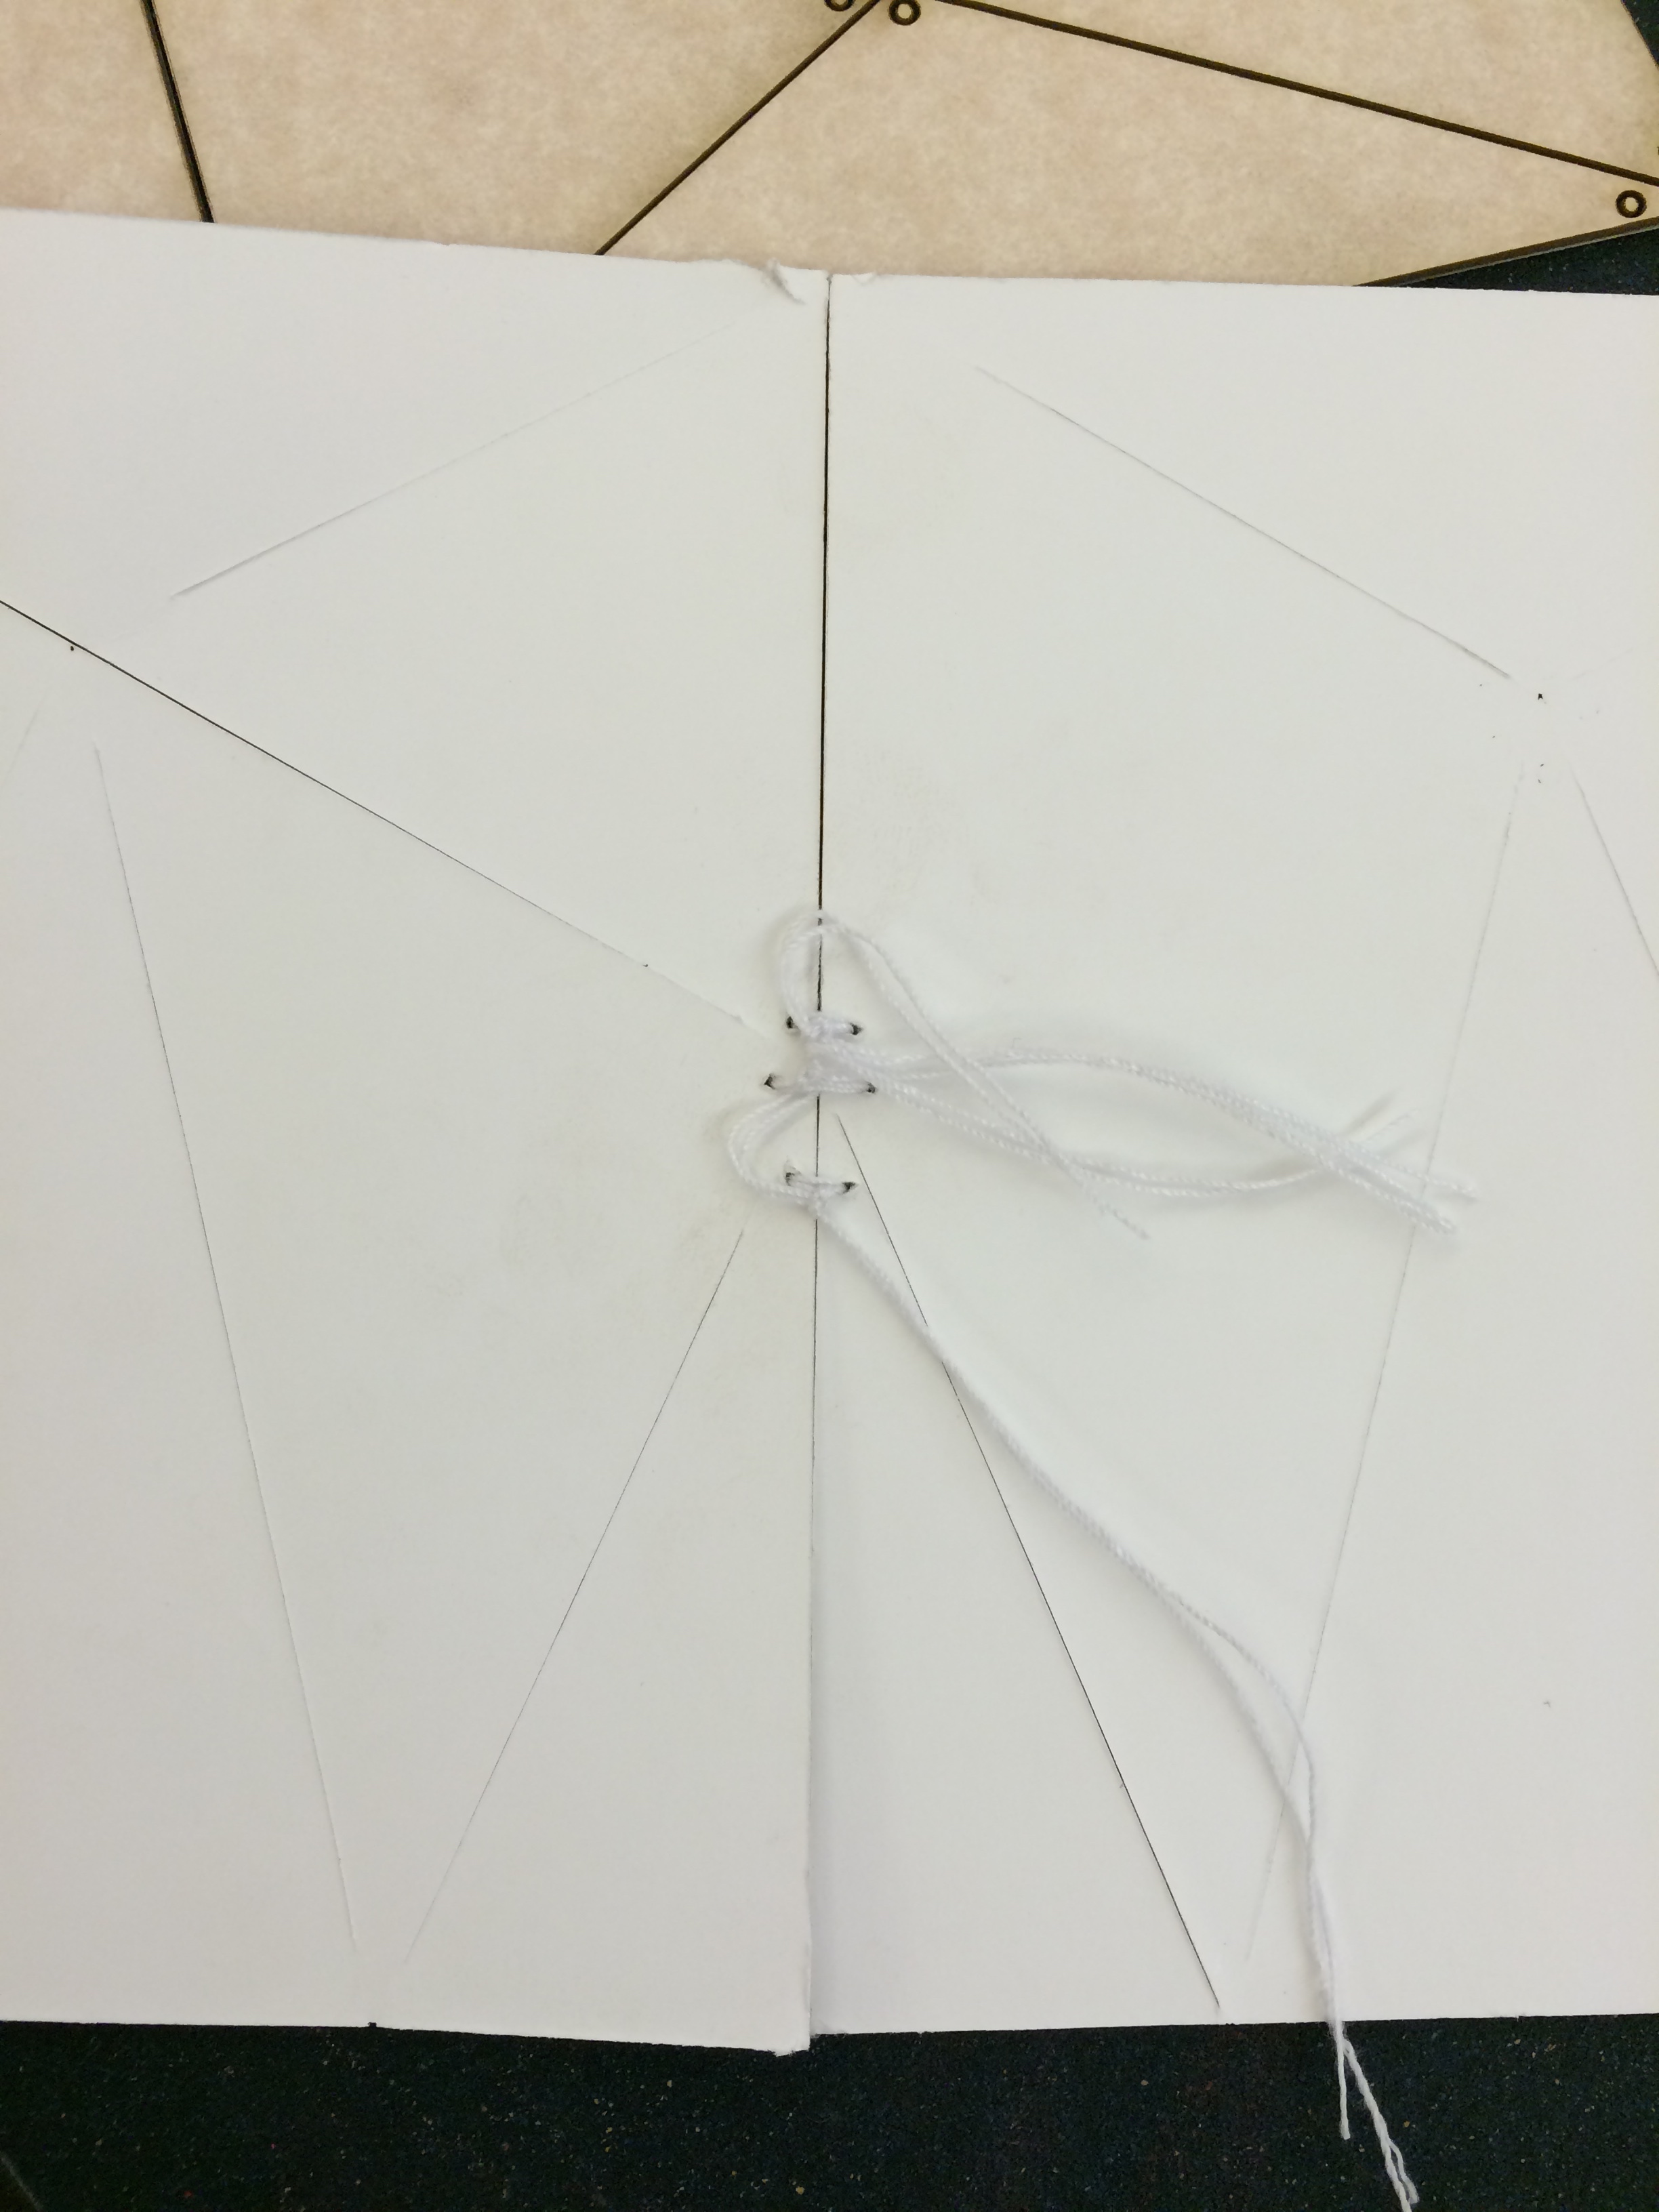
in some parts of my cuff pattern, the laser machine didn’t cut through the whole three layers of the board paper, maybe that was because the power setting was different. Accidentally, i found that it helps to maintain the shape if the paper was not be 100% cut out. so, to prove that, i did my fourth cutting, and this time i lowered all the power setting of laser cut machine, and keep the last layer of the board paper.
adding details
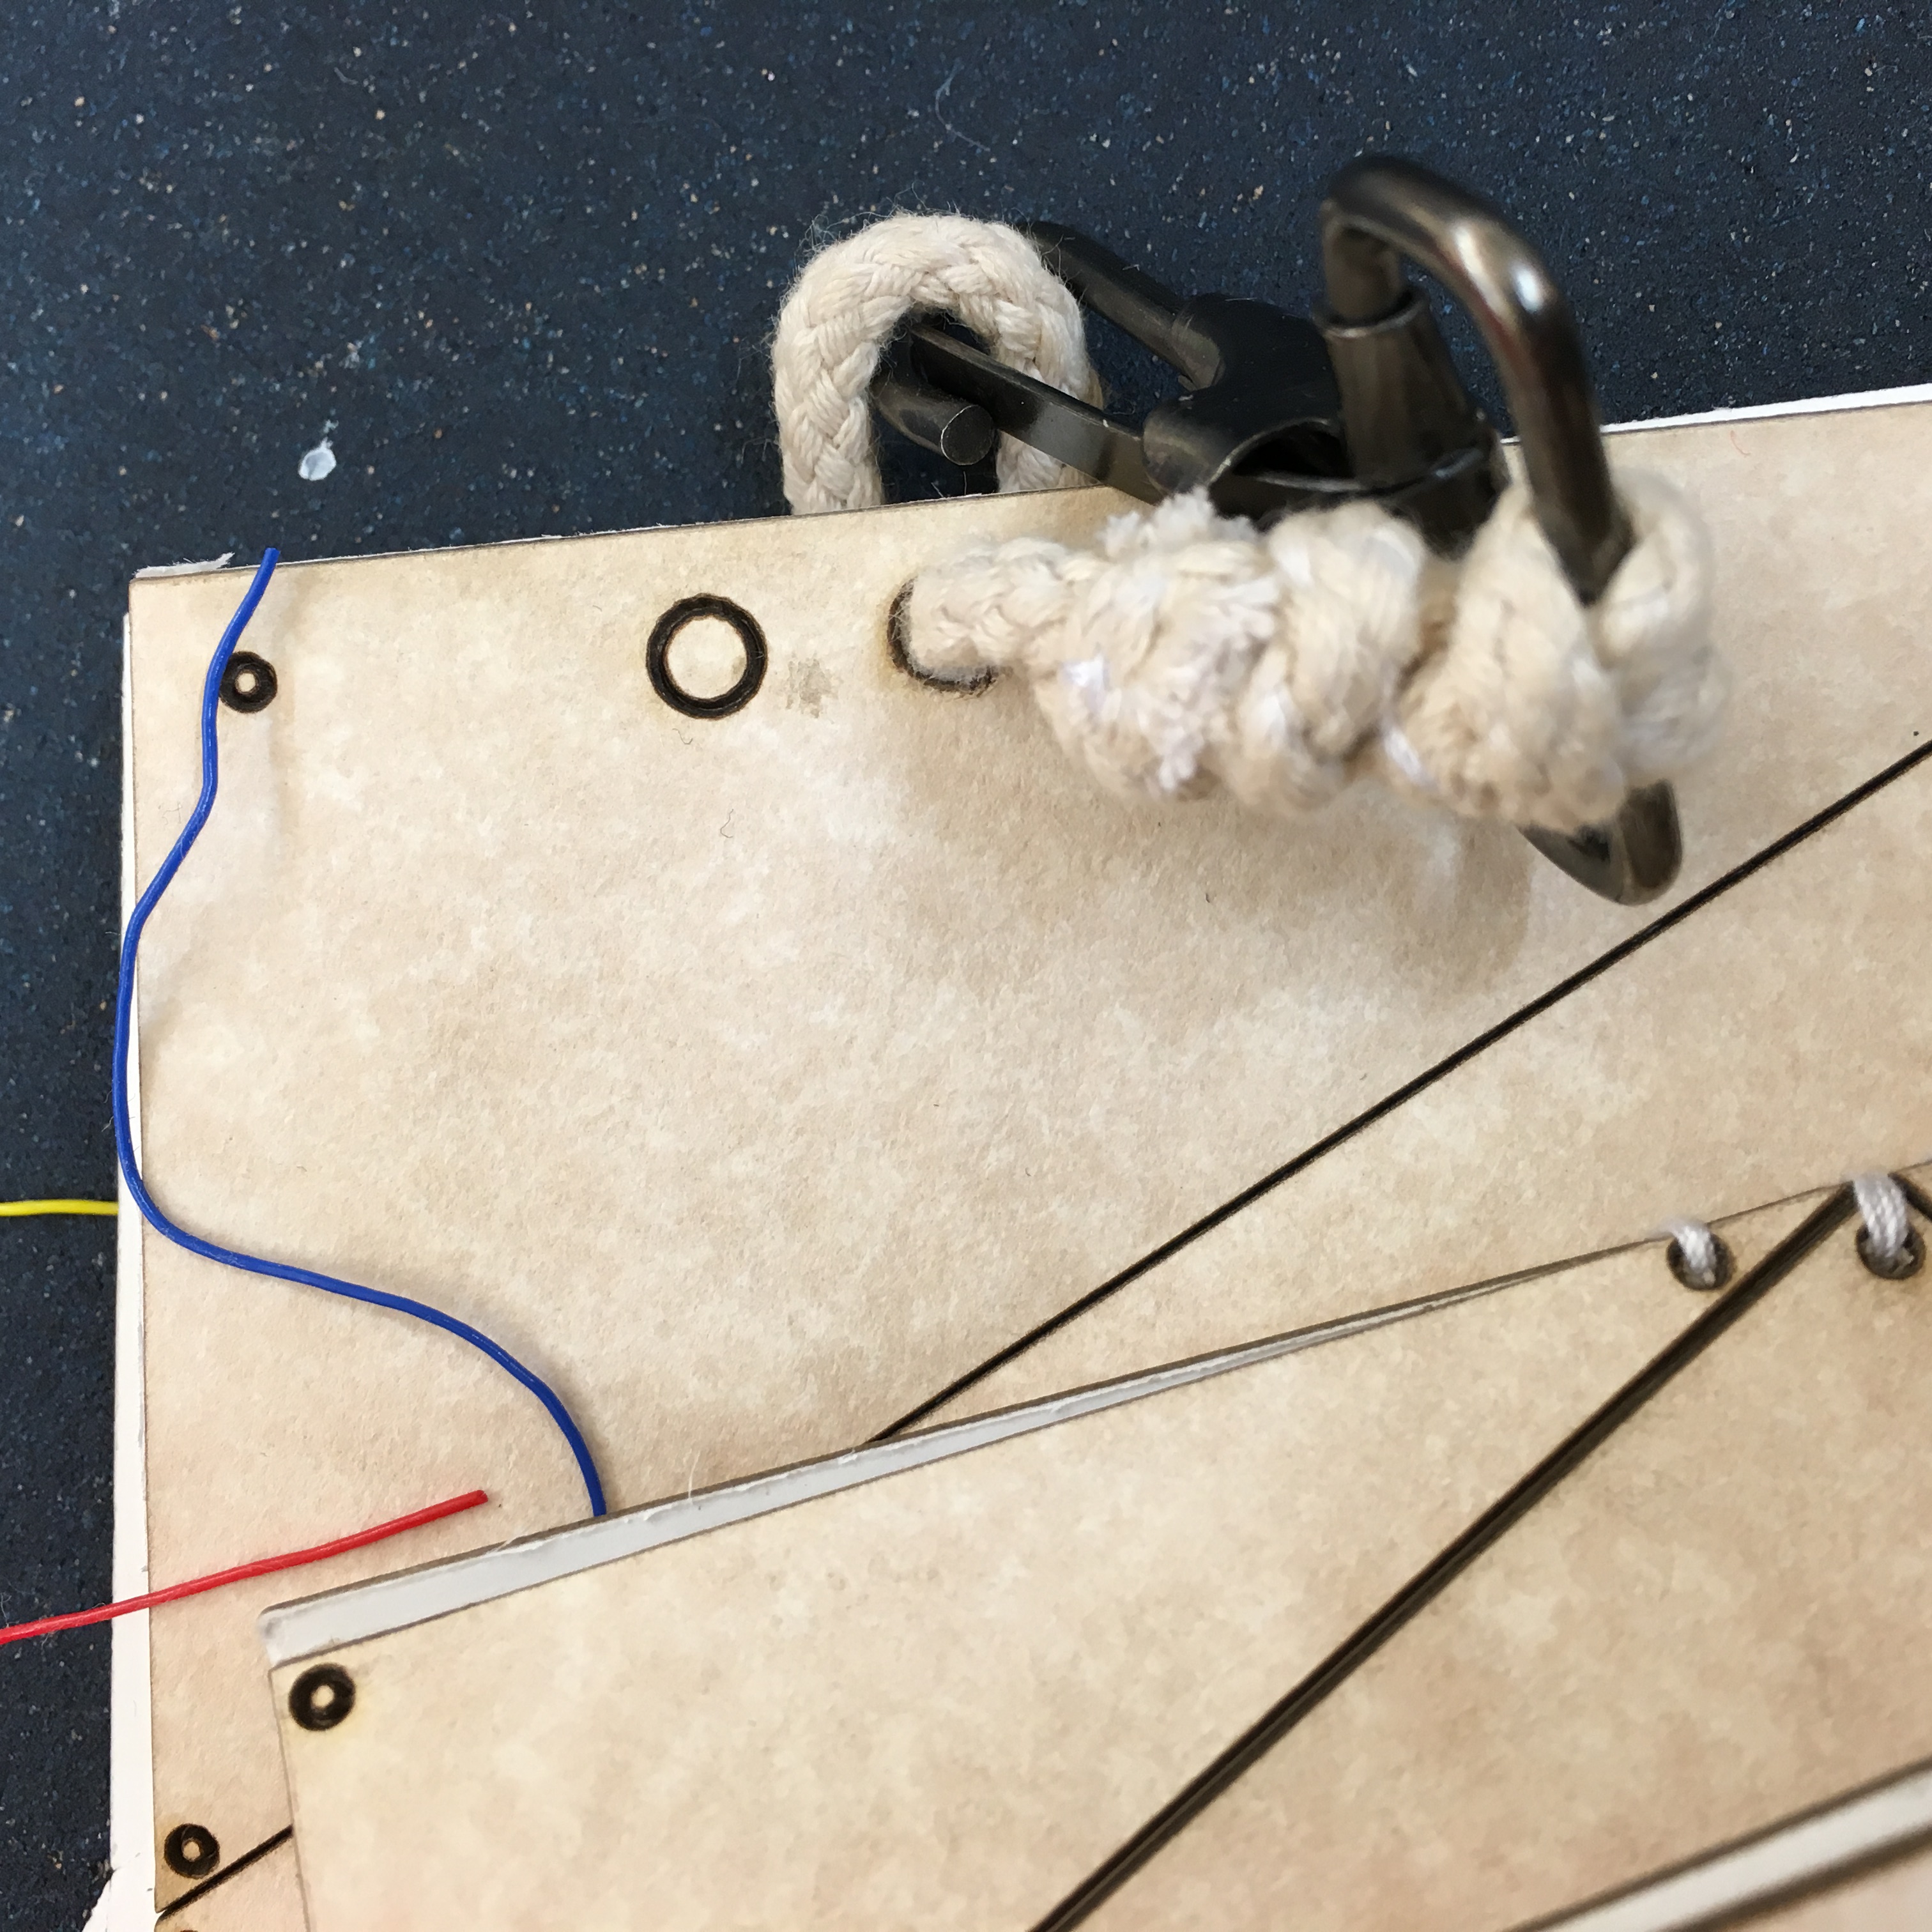
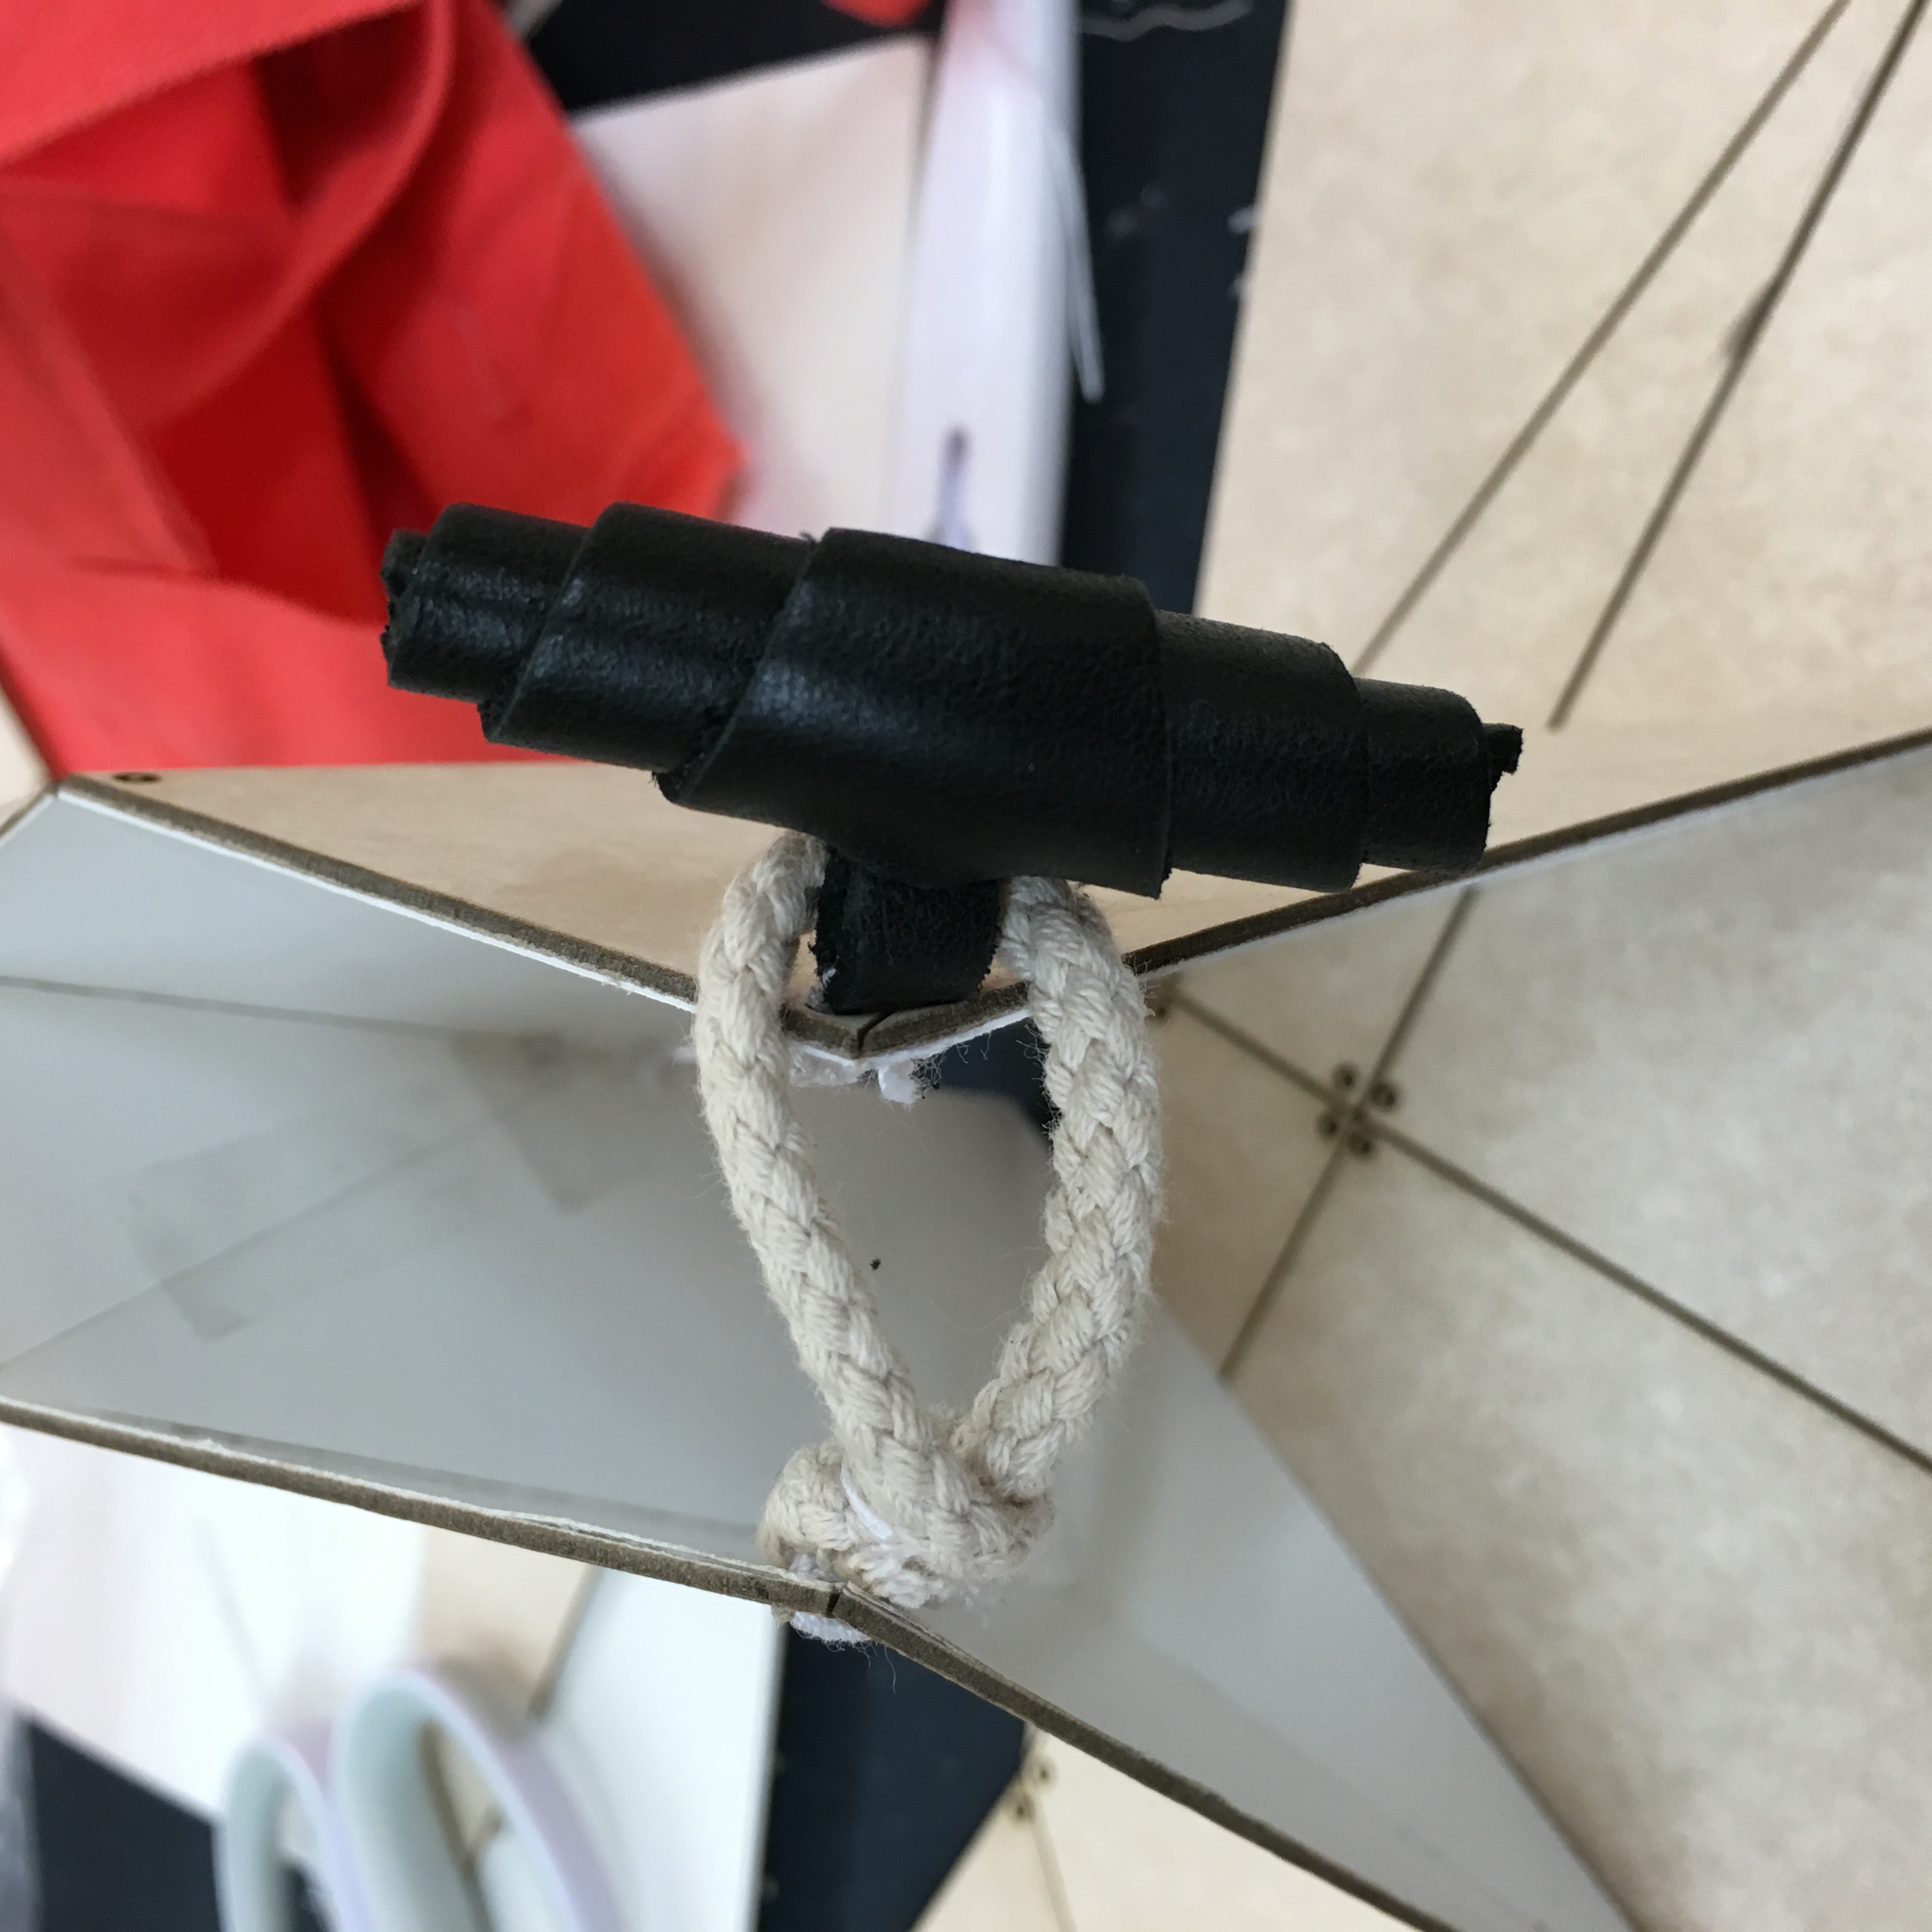
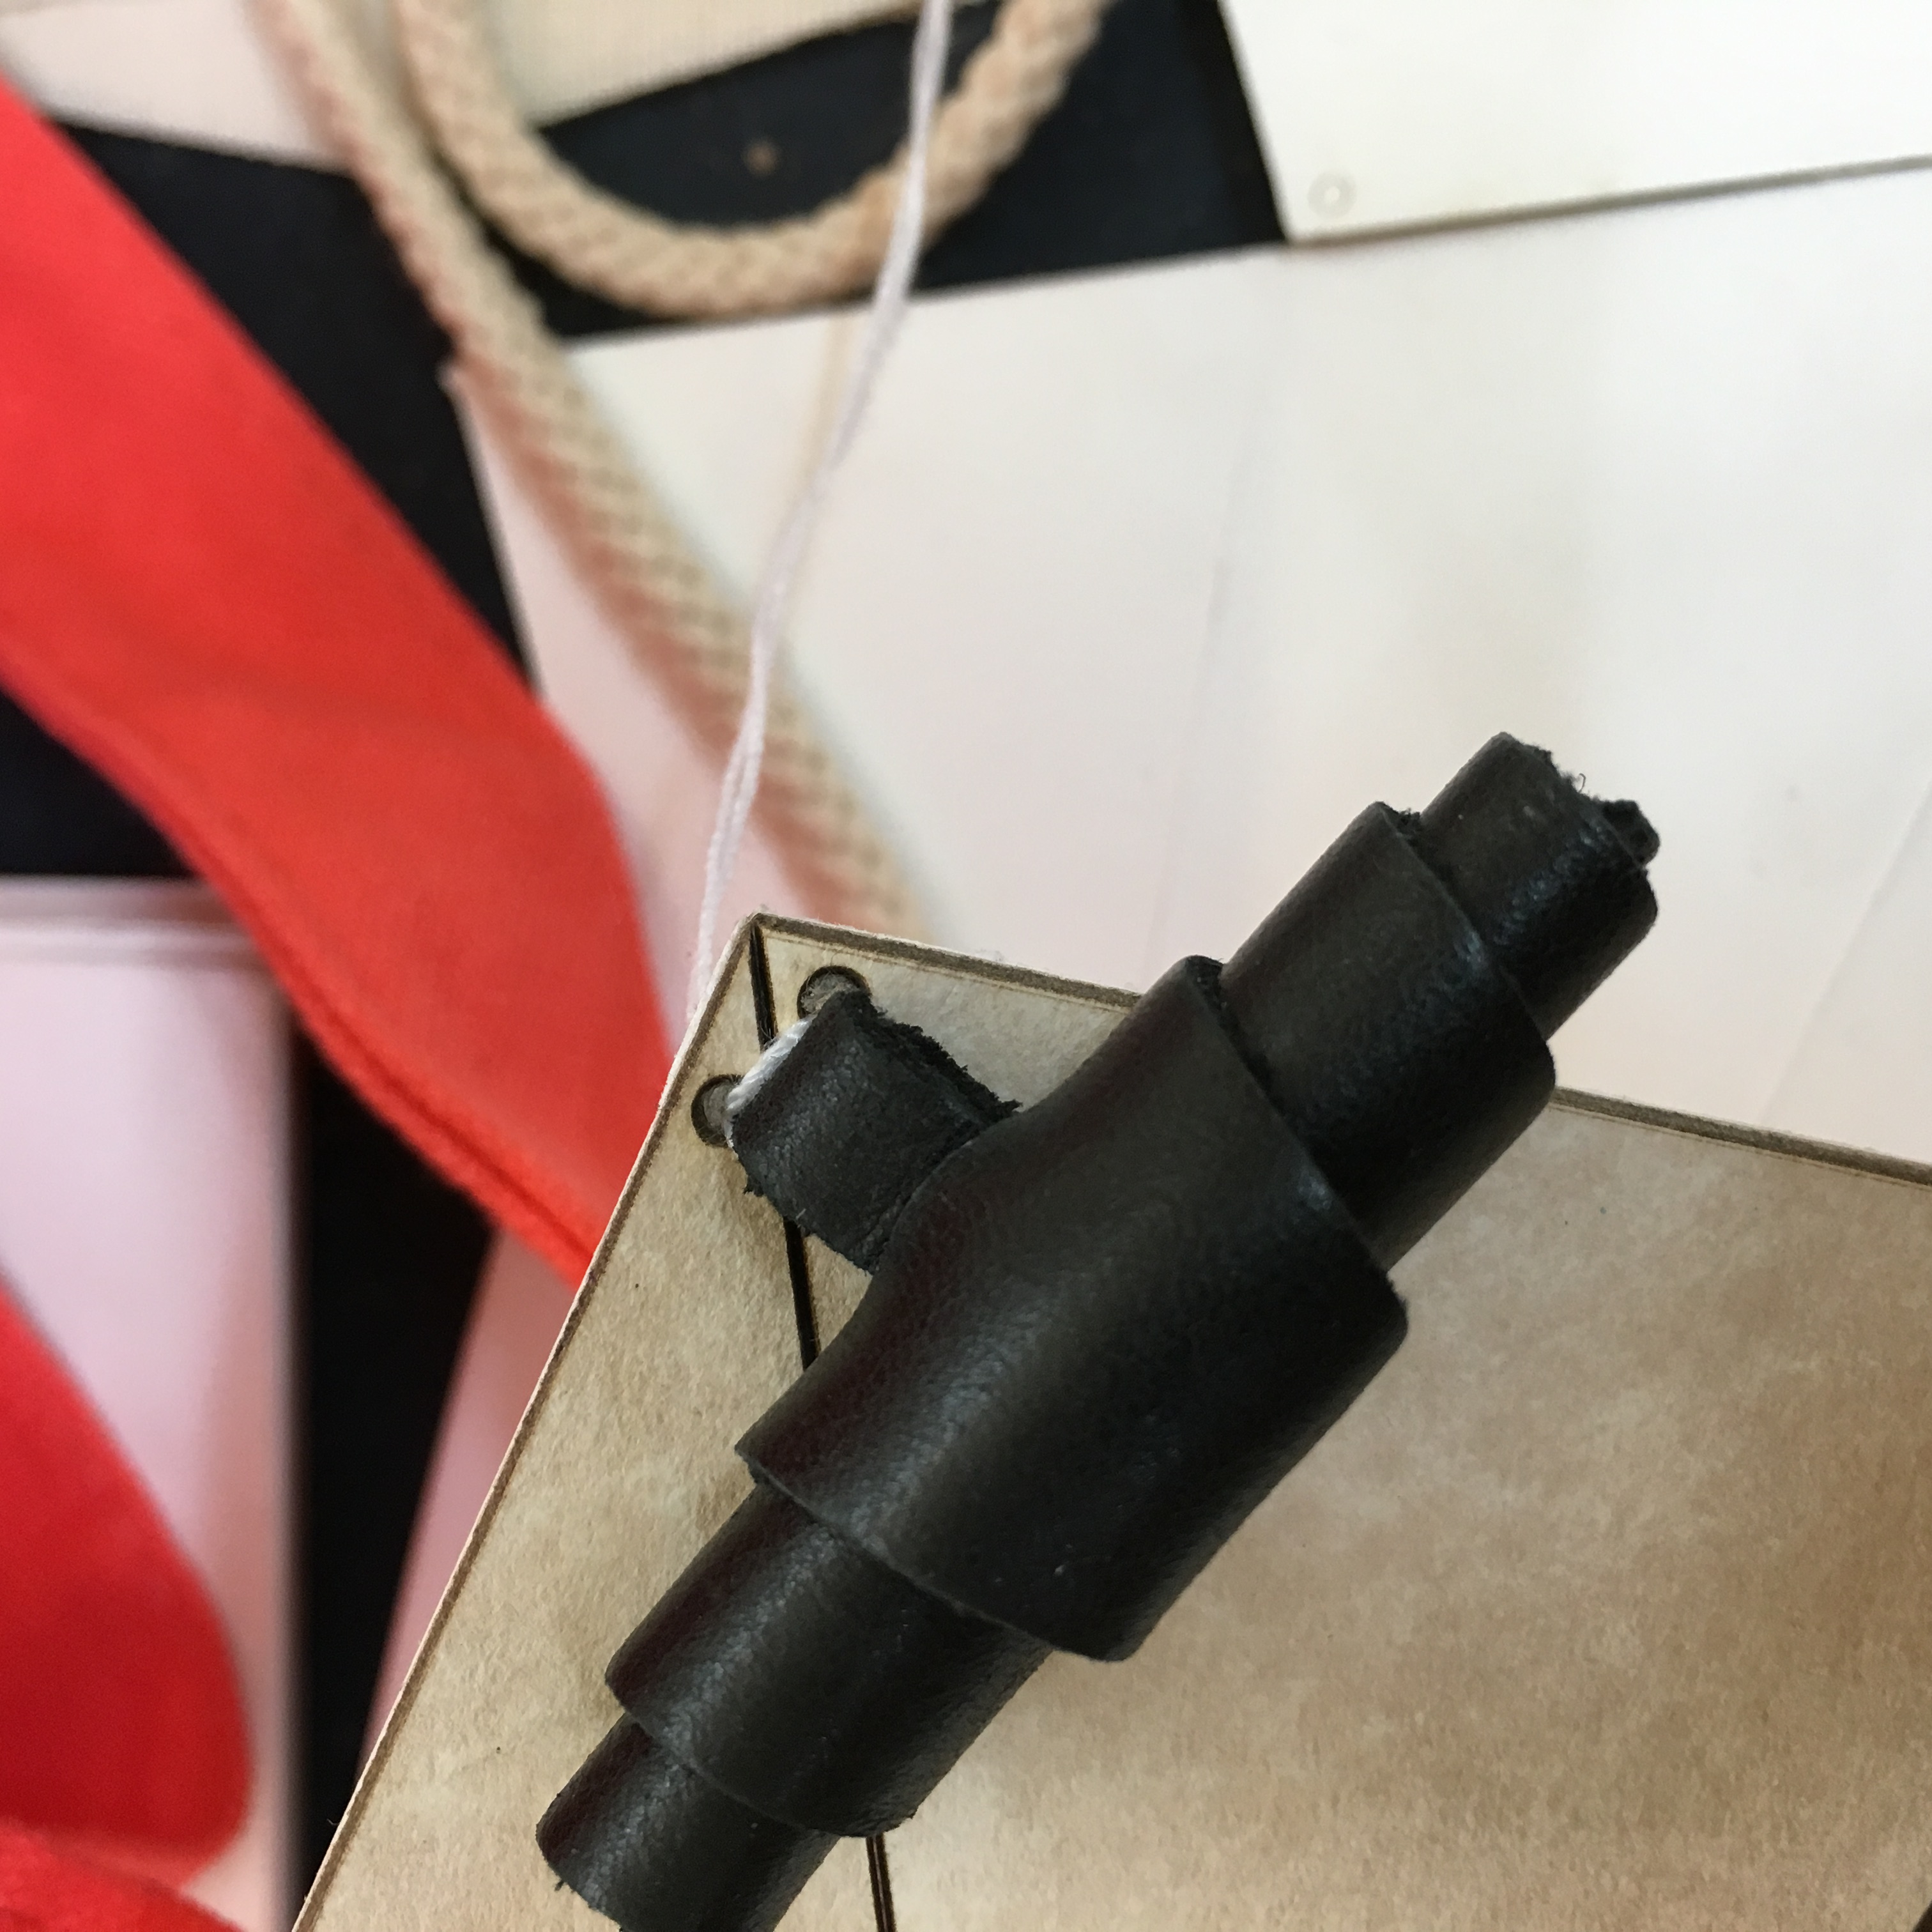
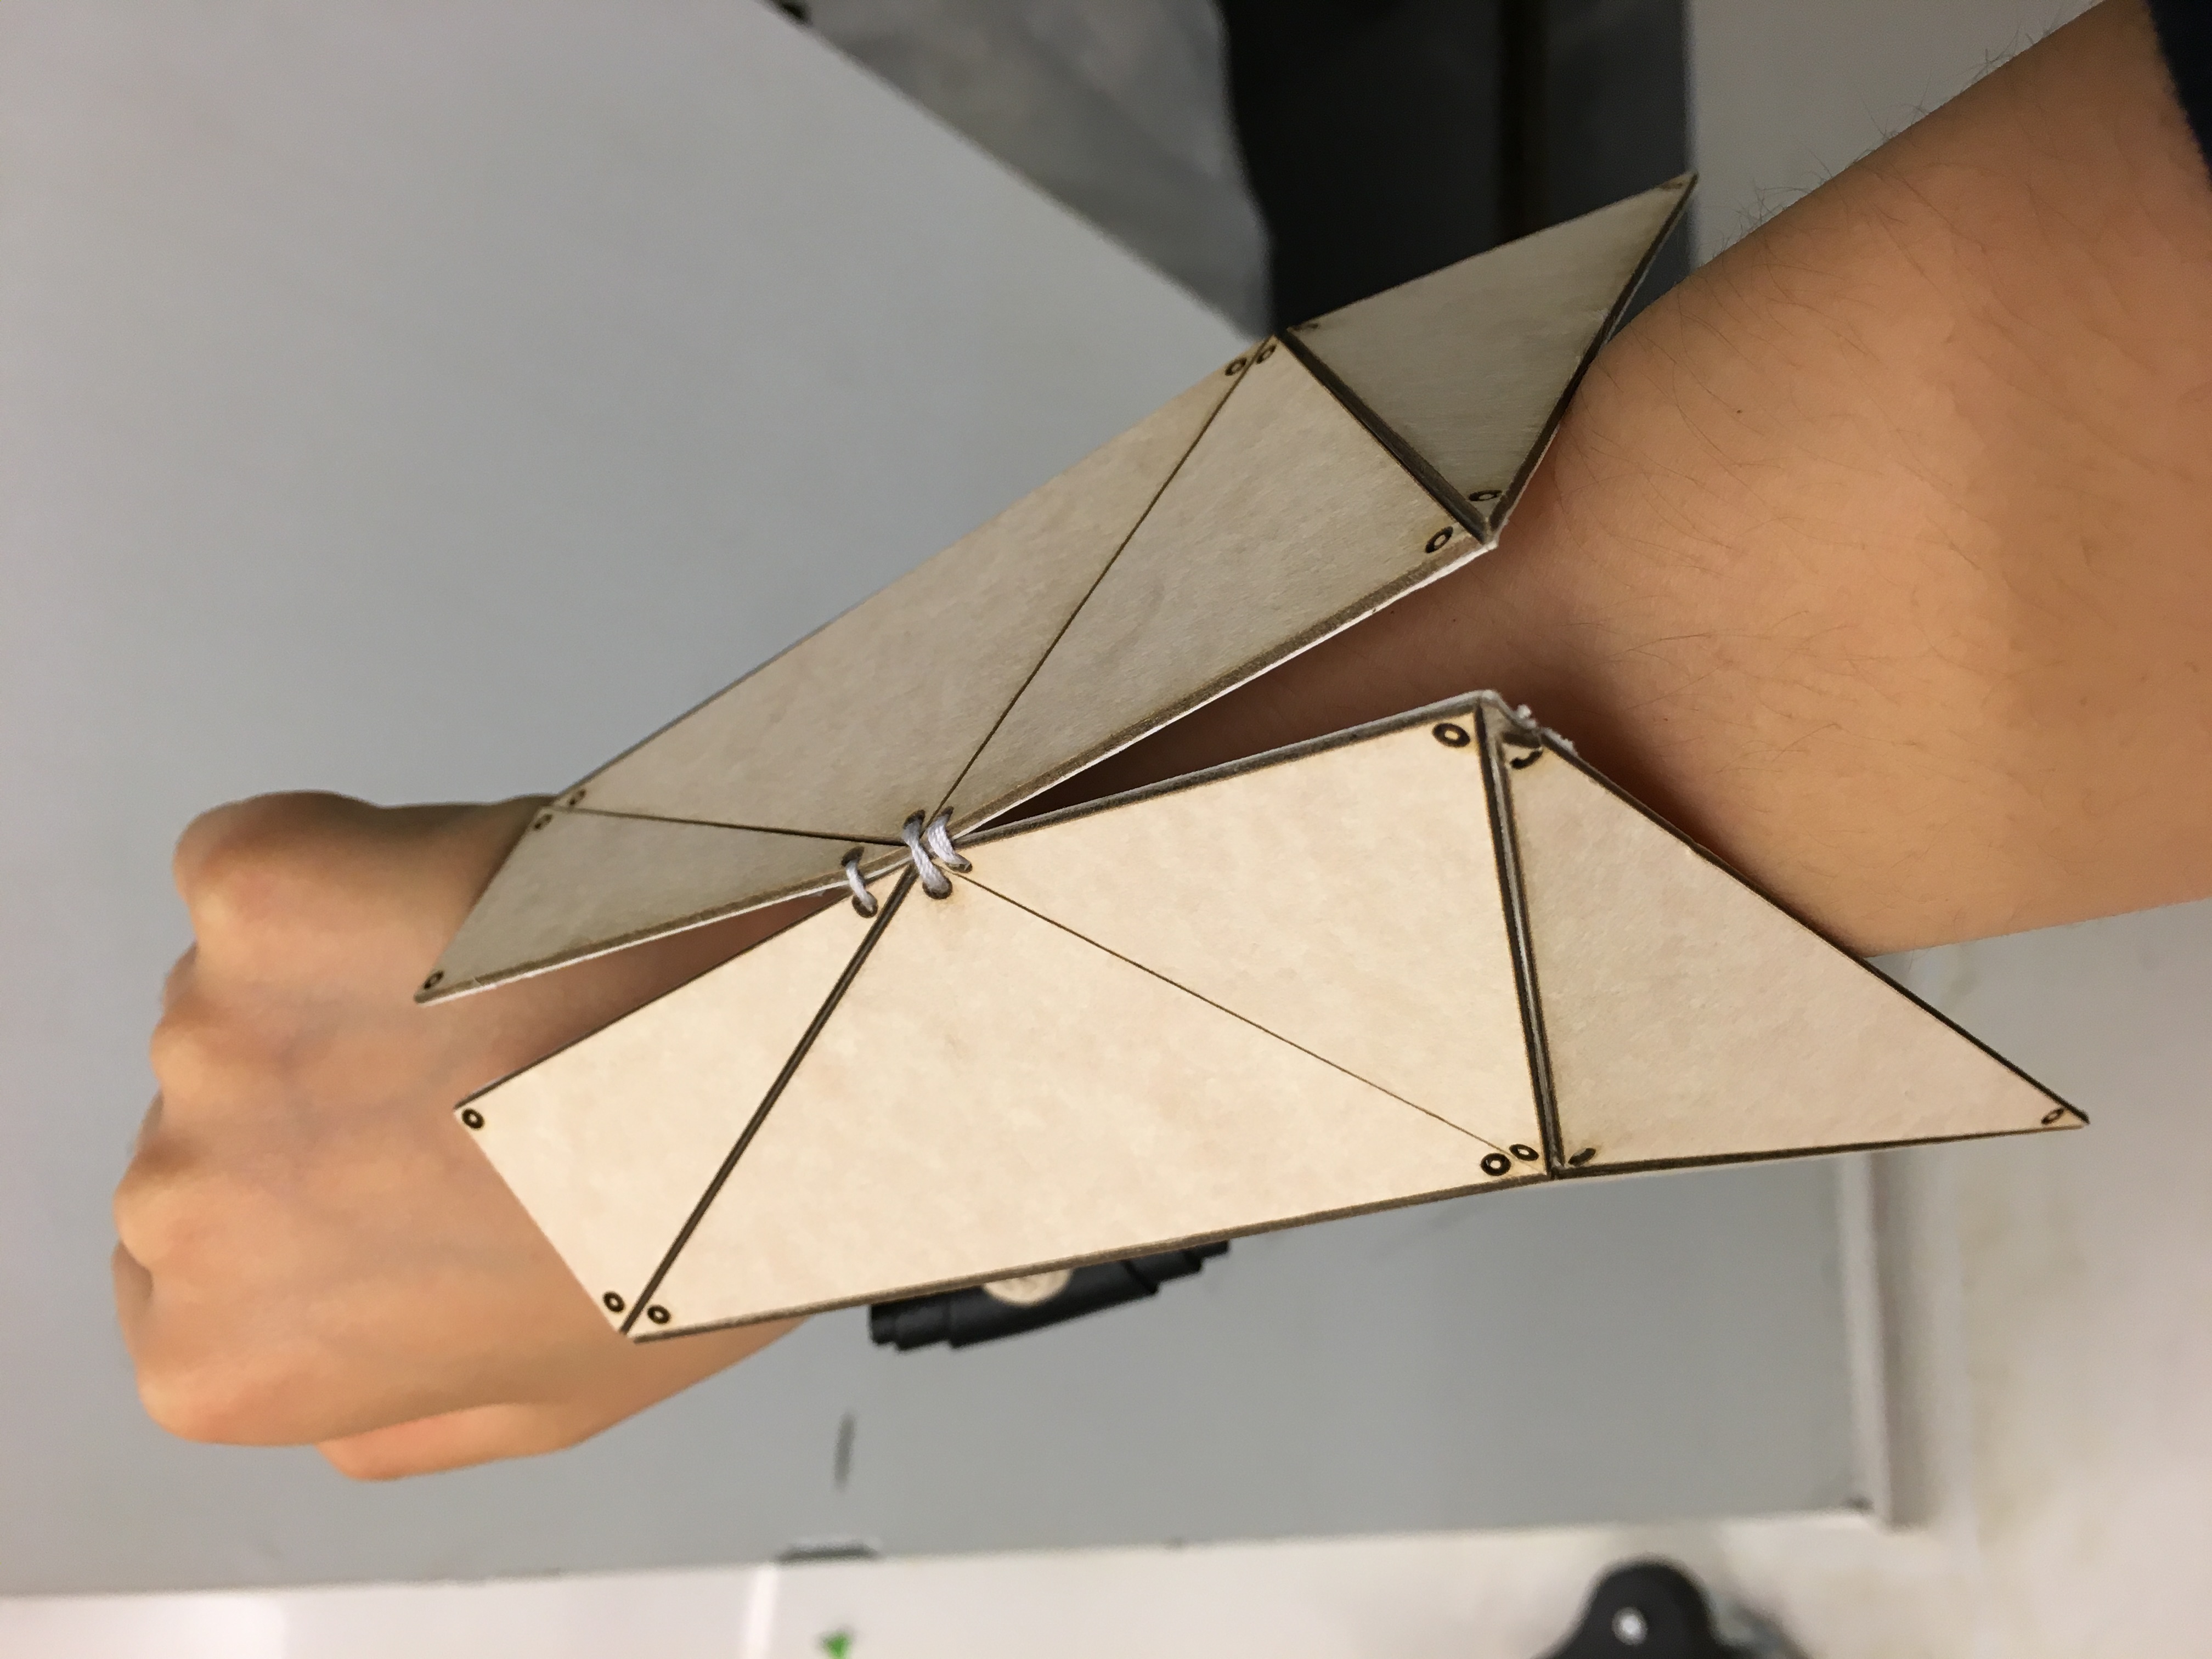
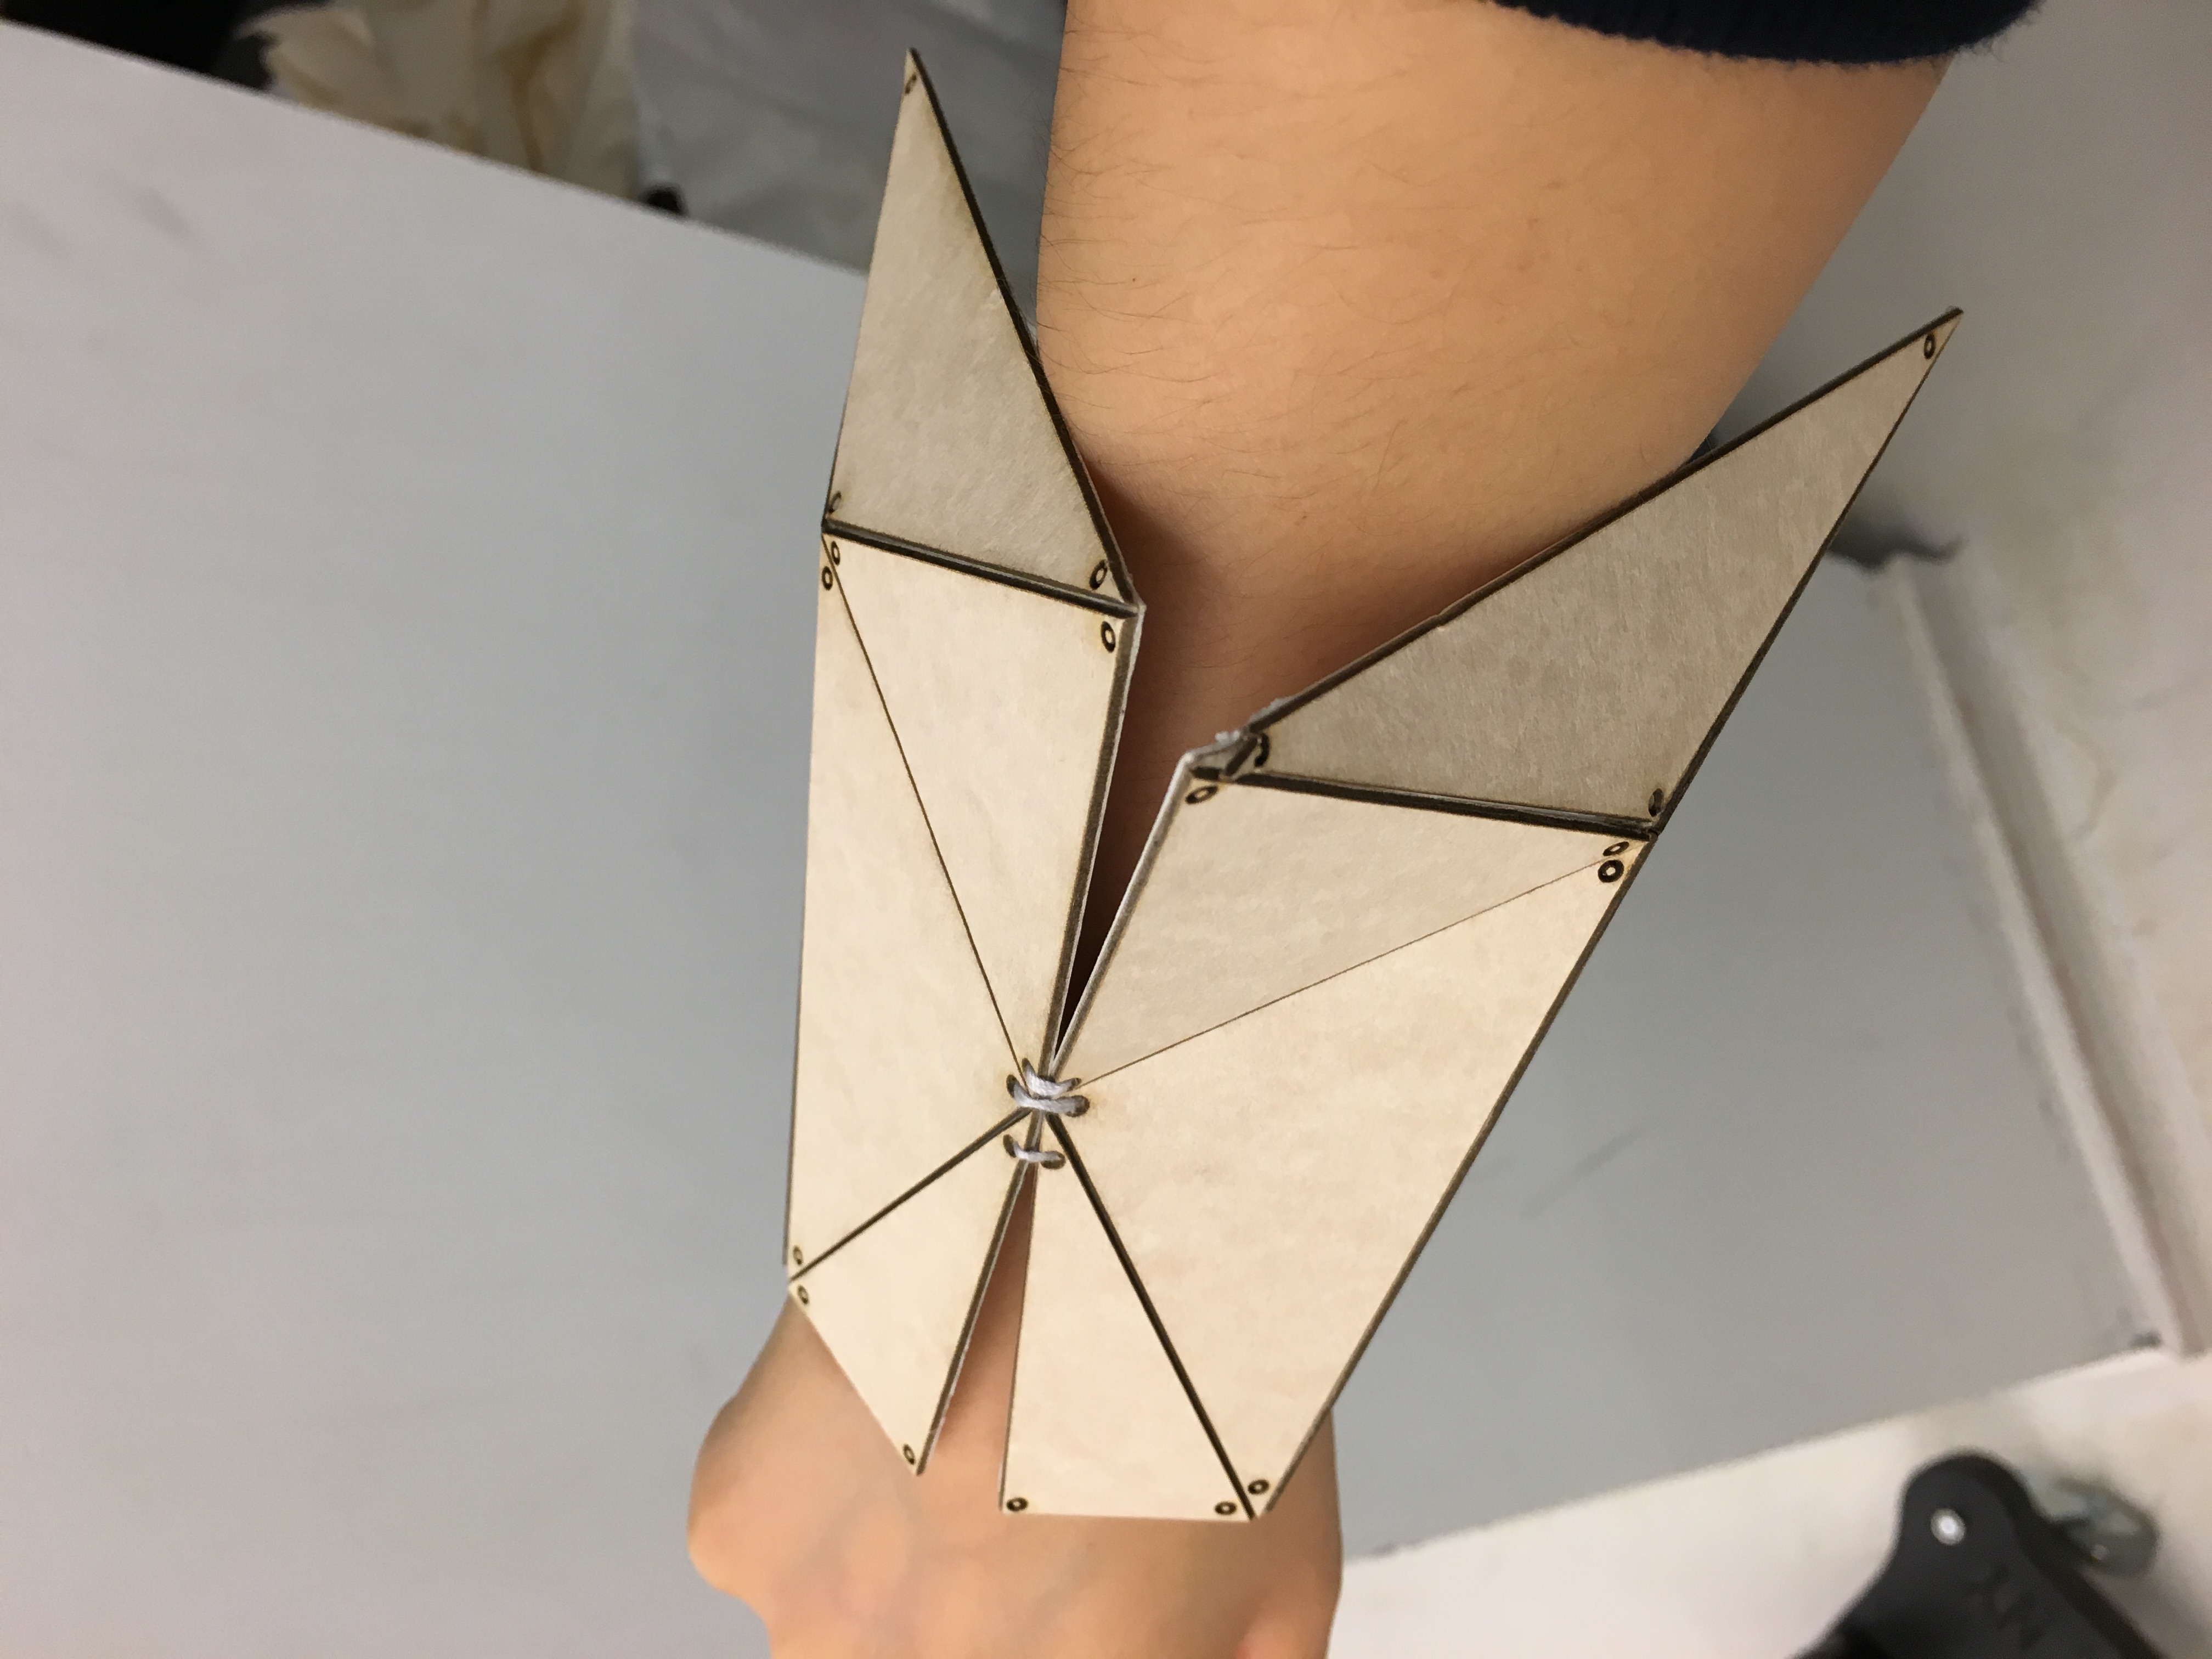
cuff final look

detail
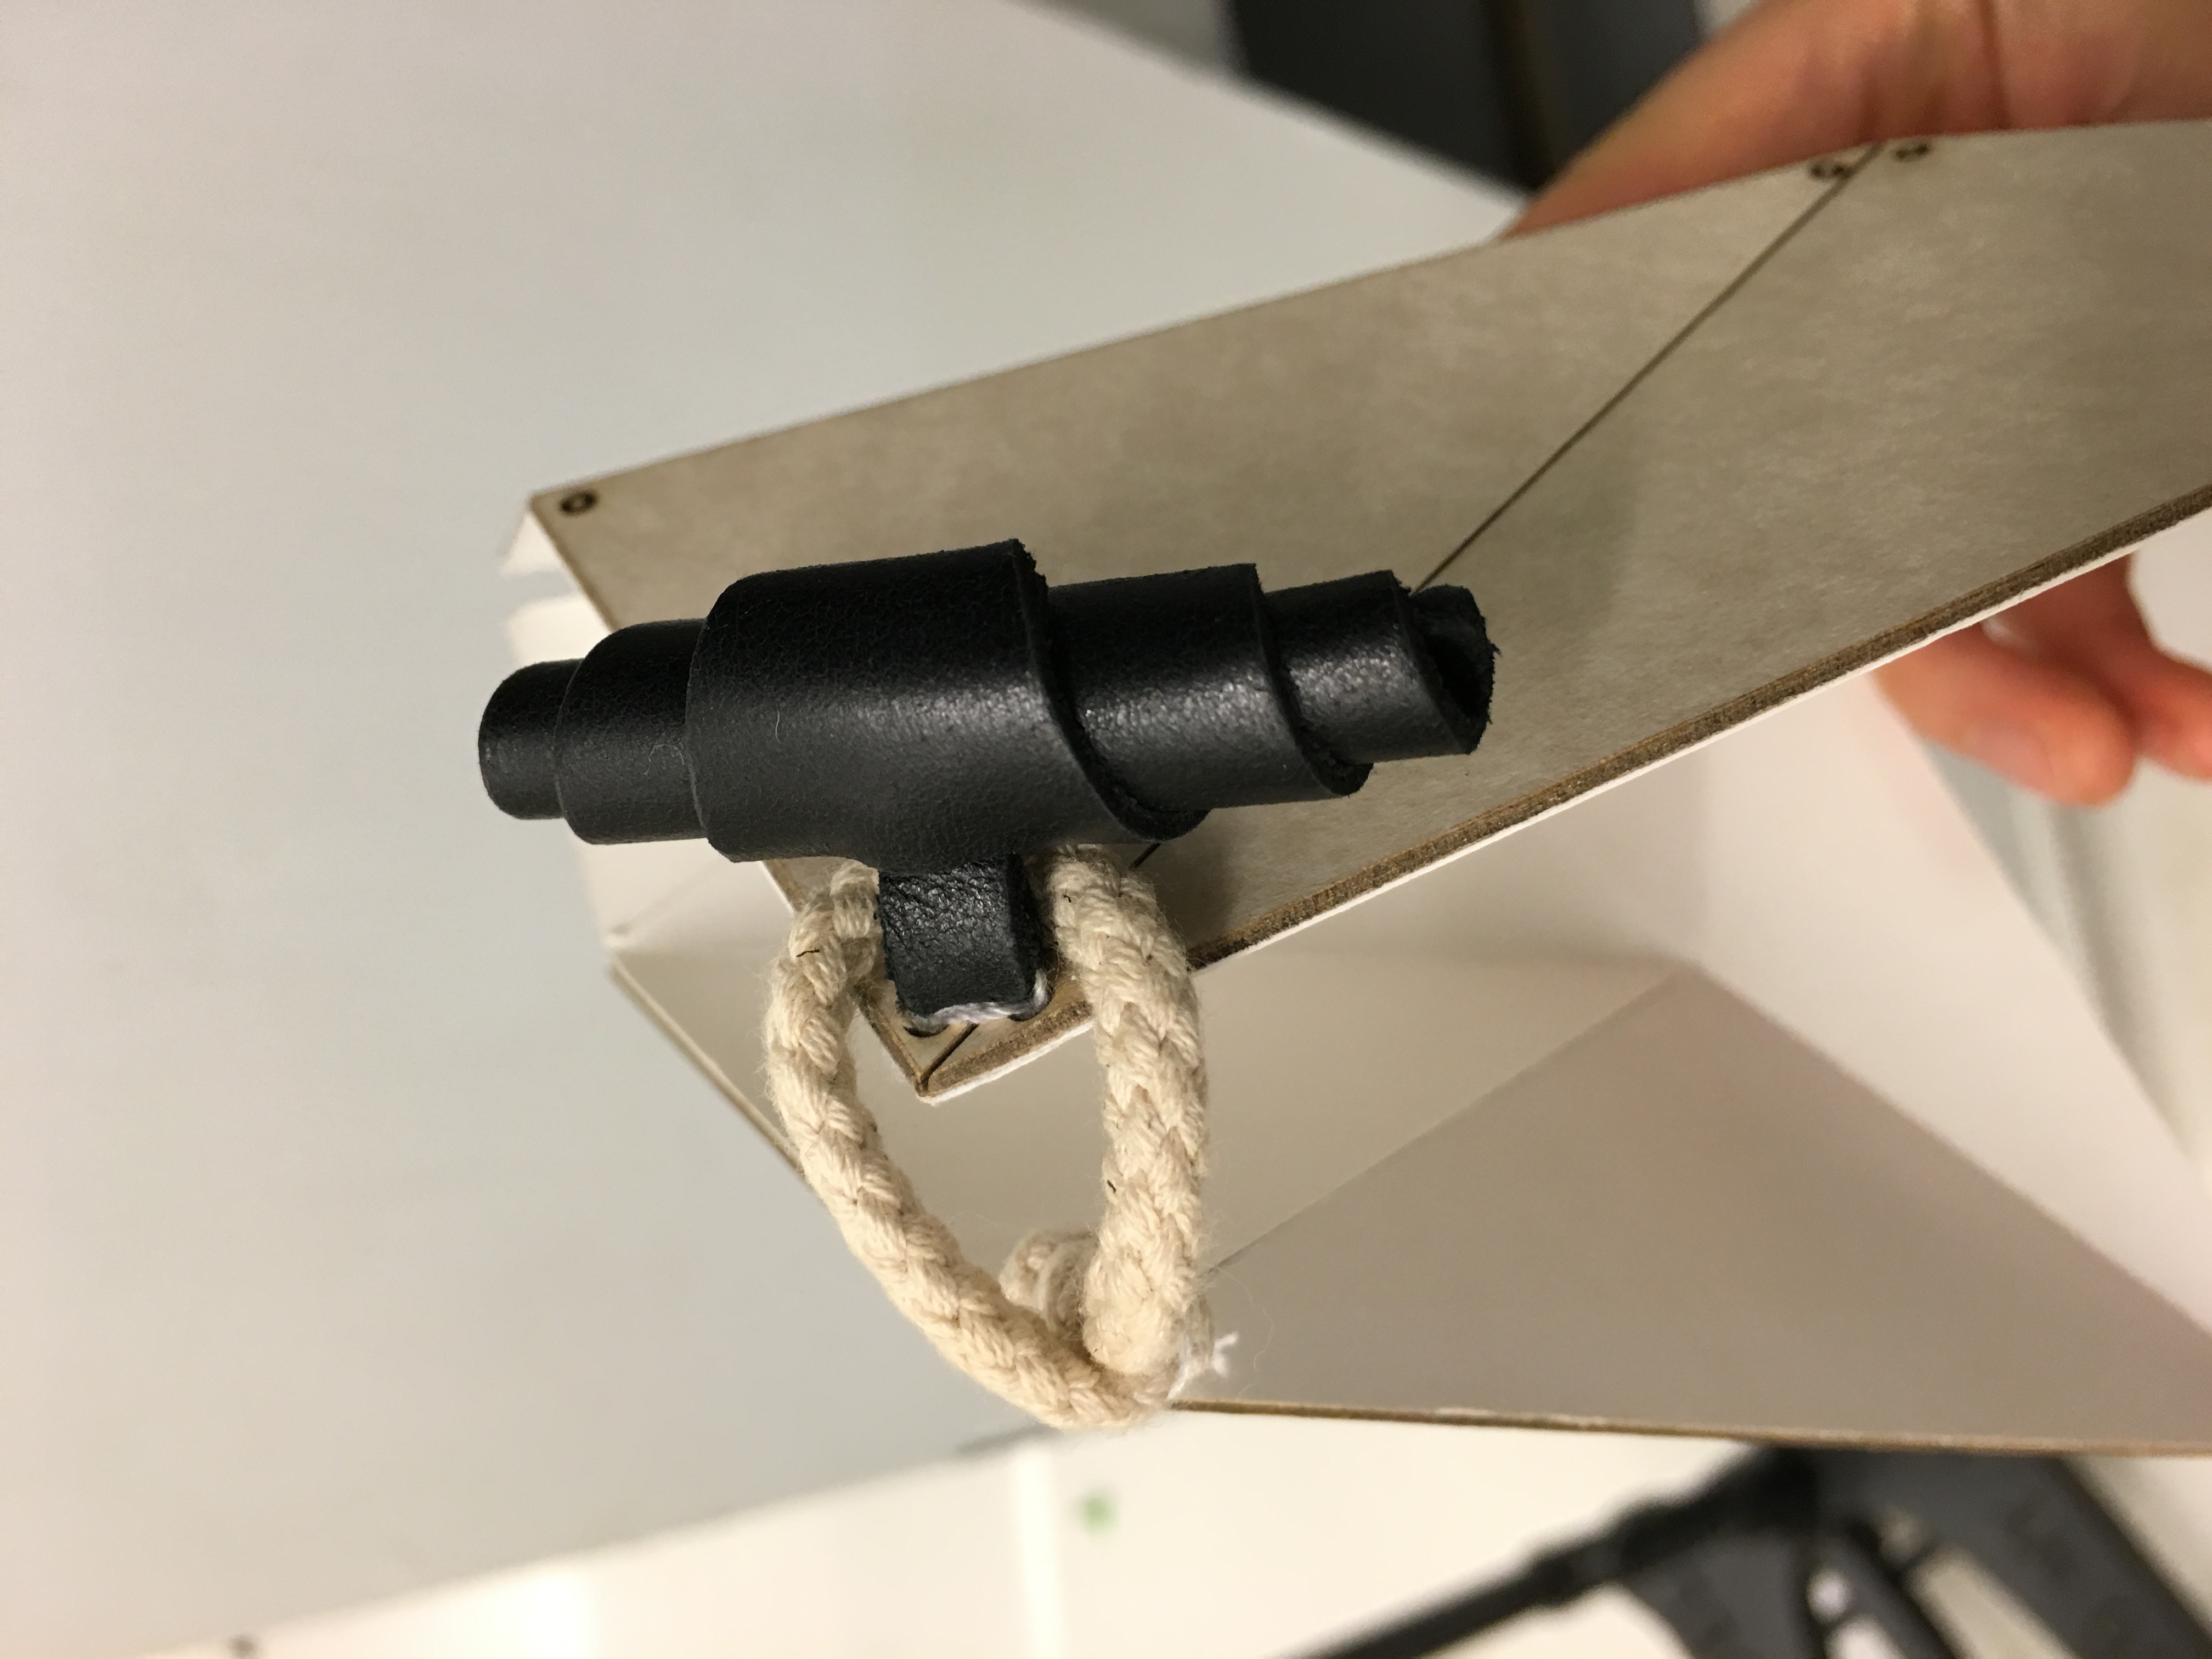
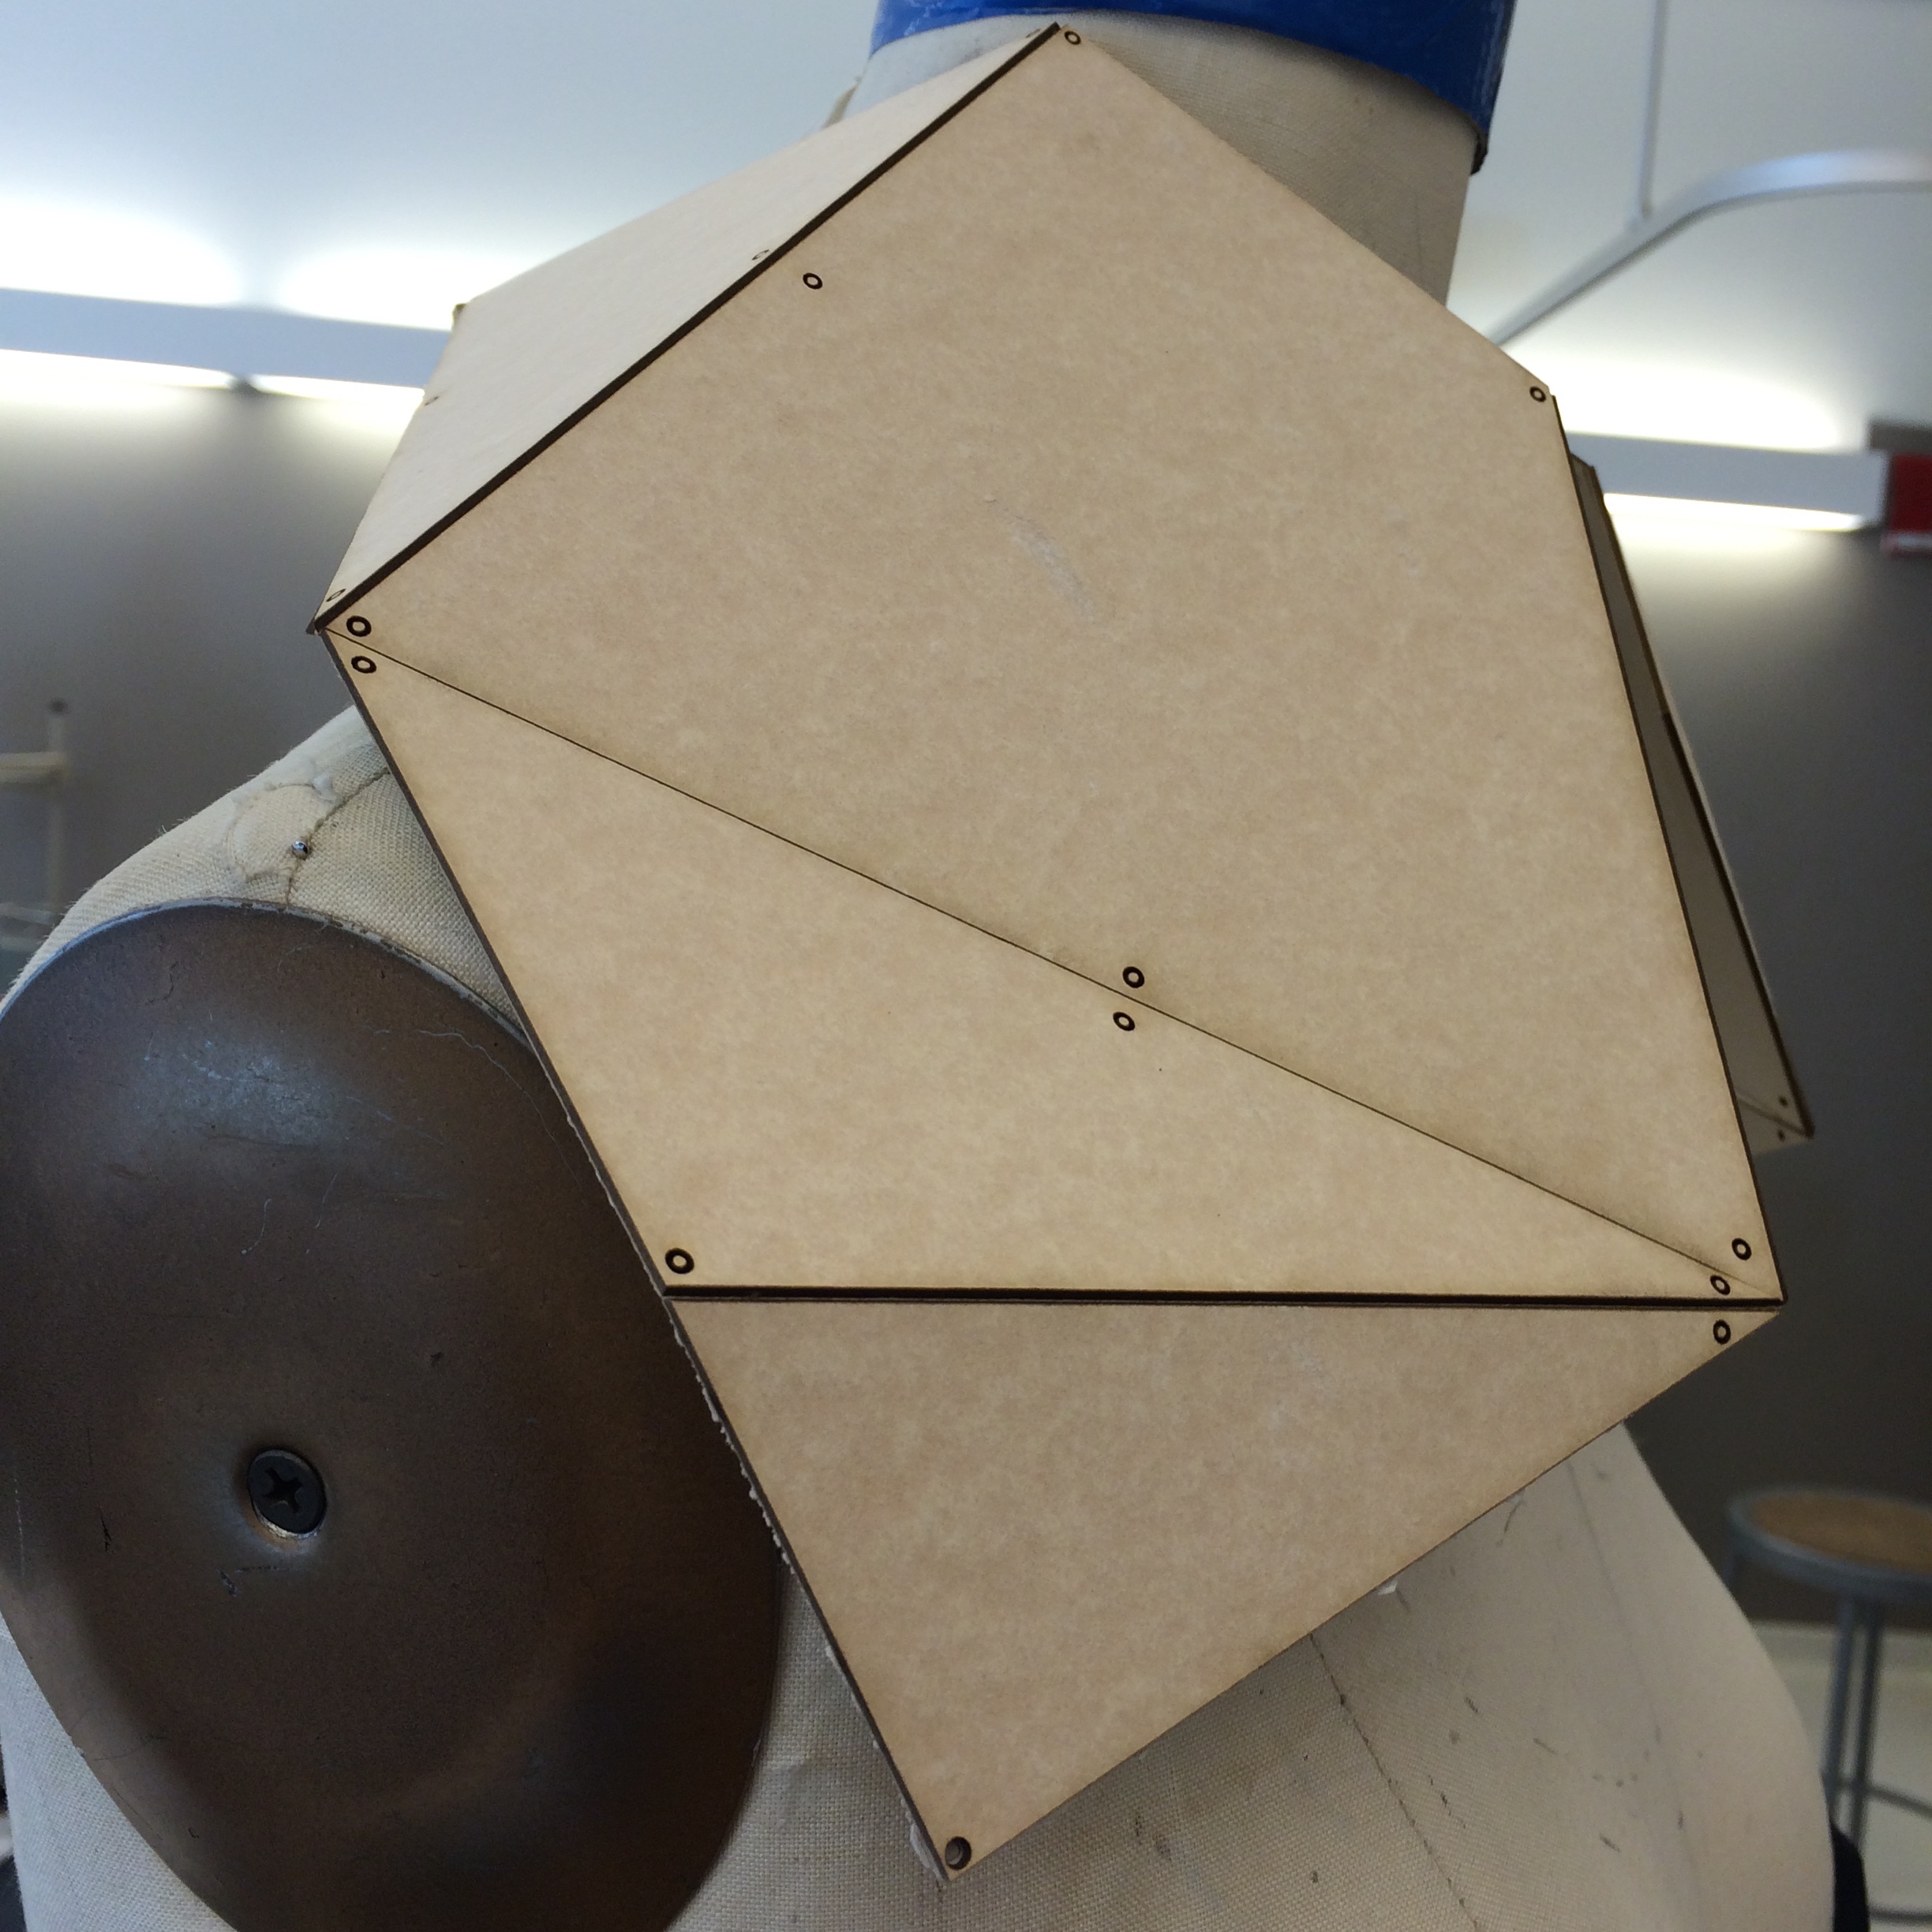
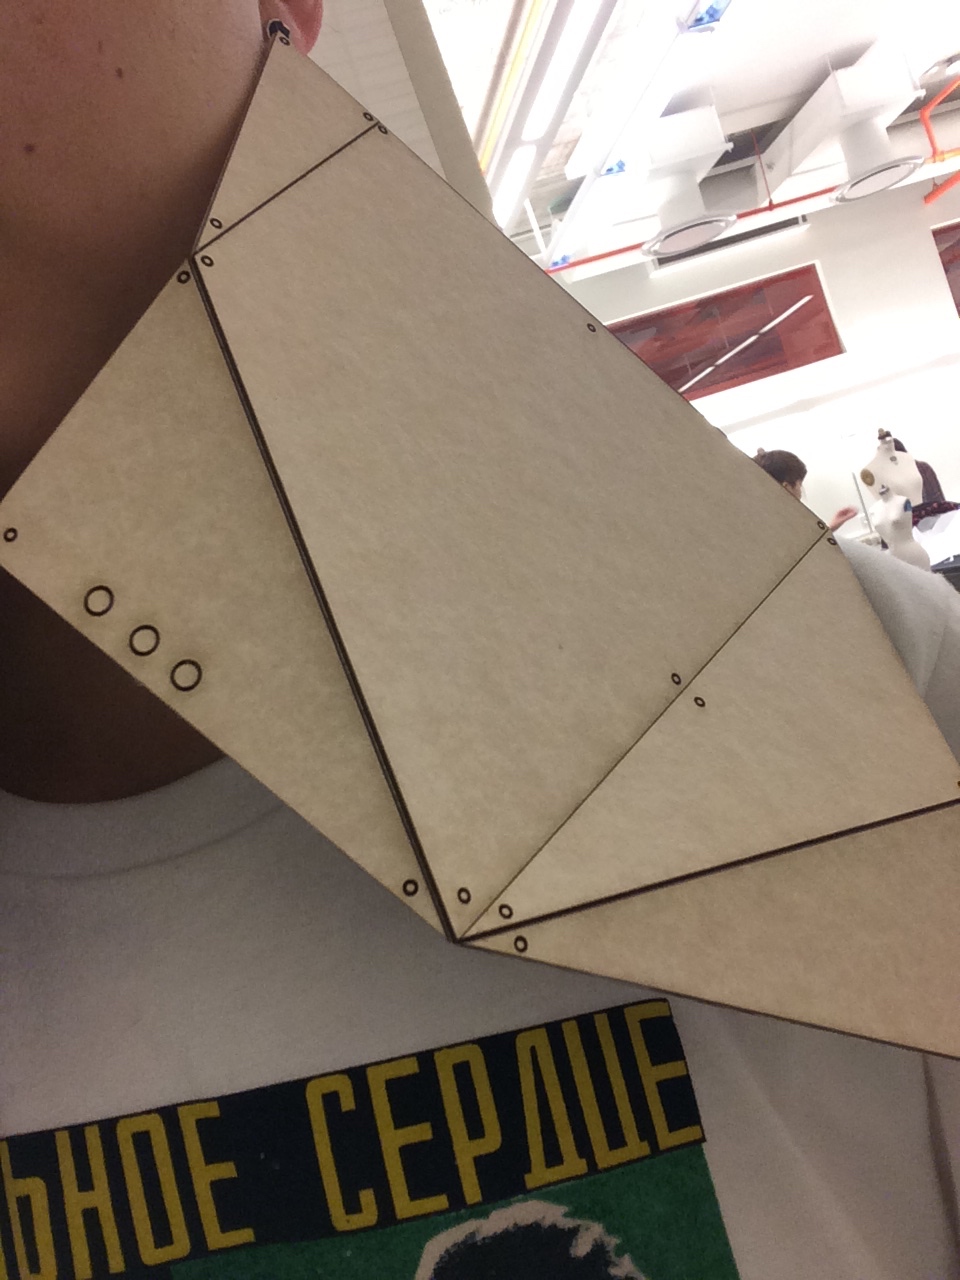
collar final look
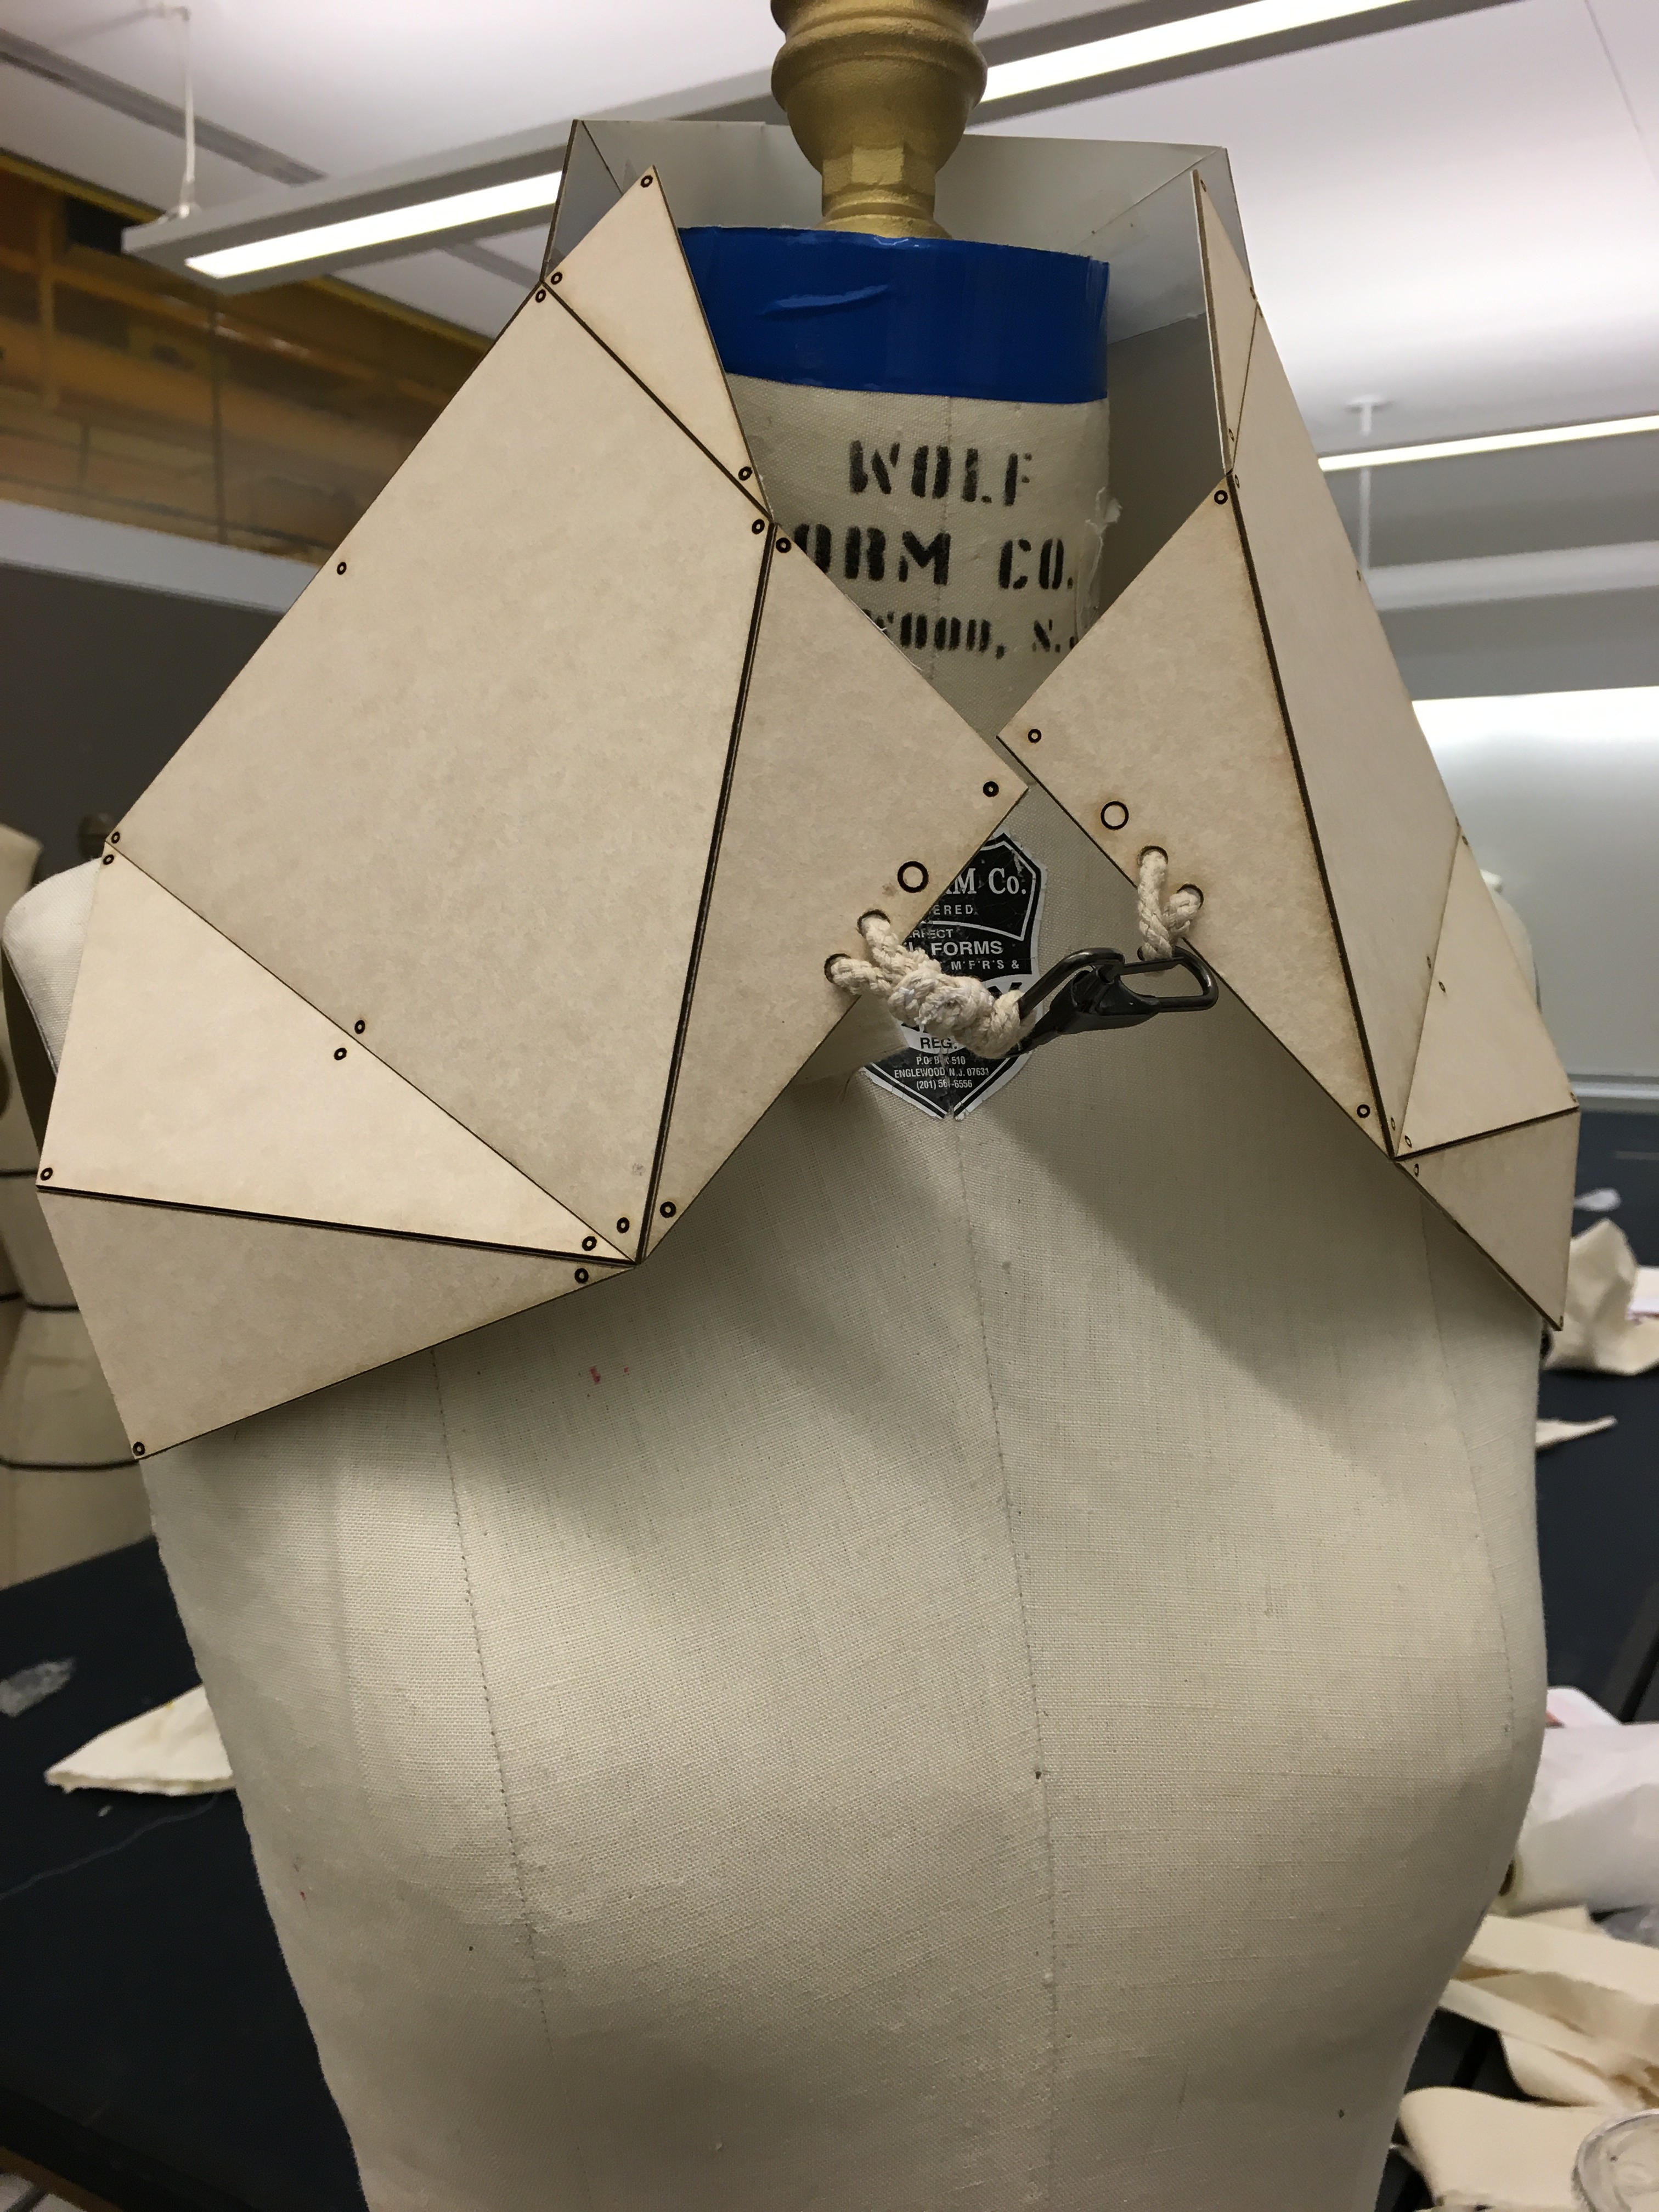
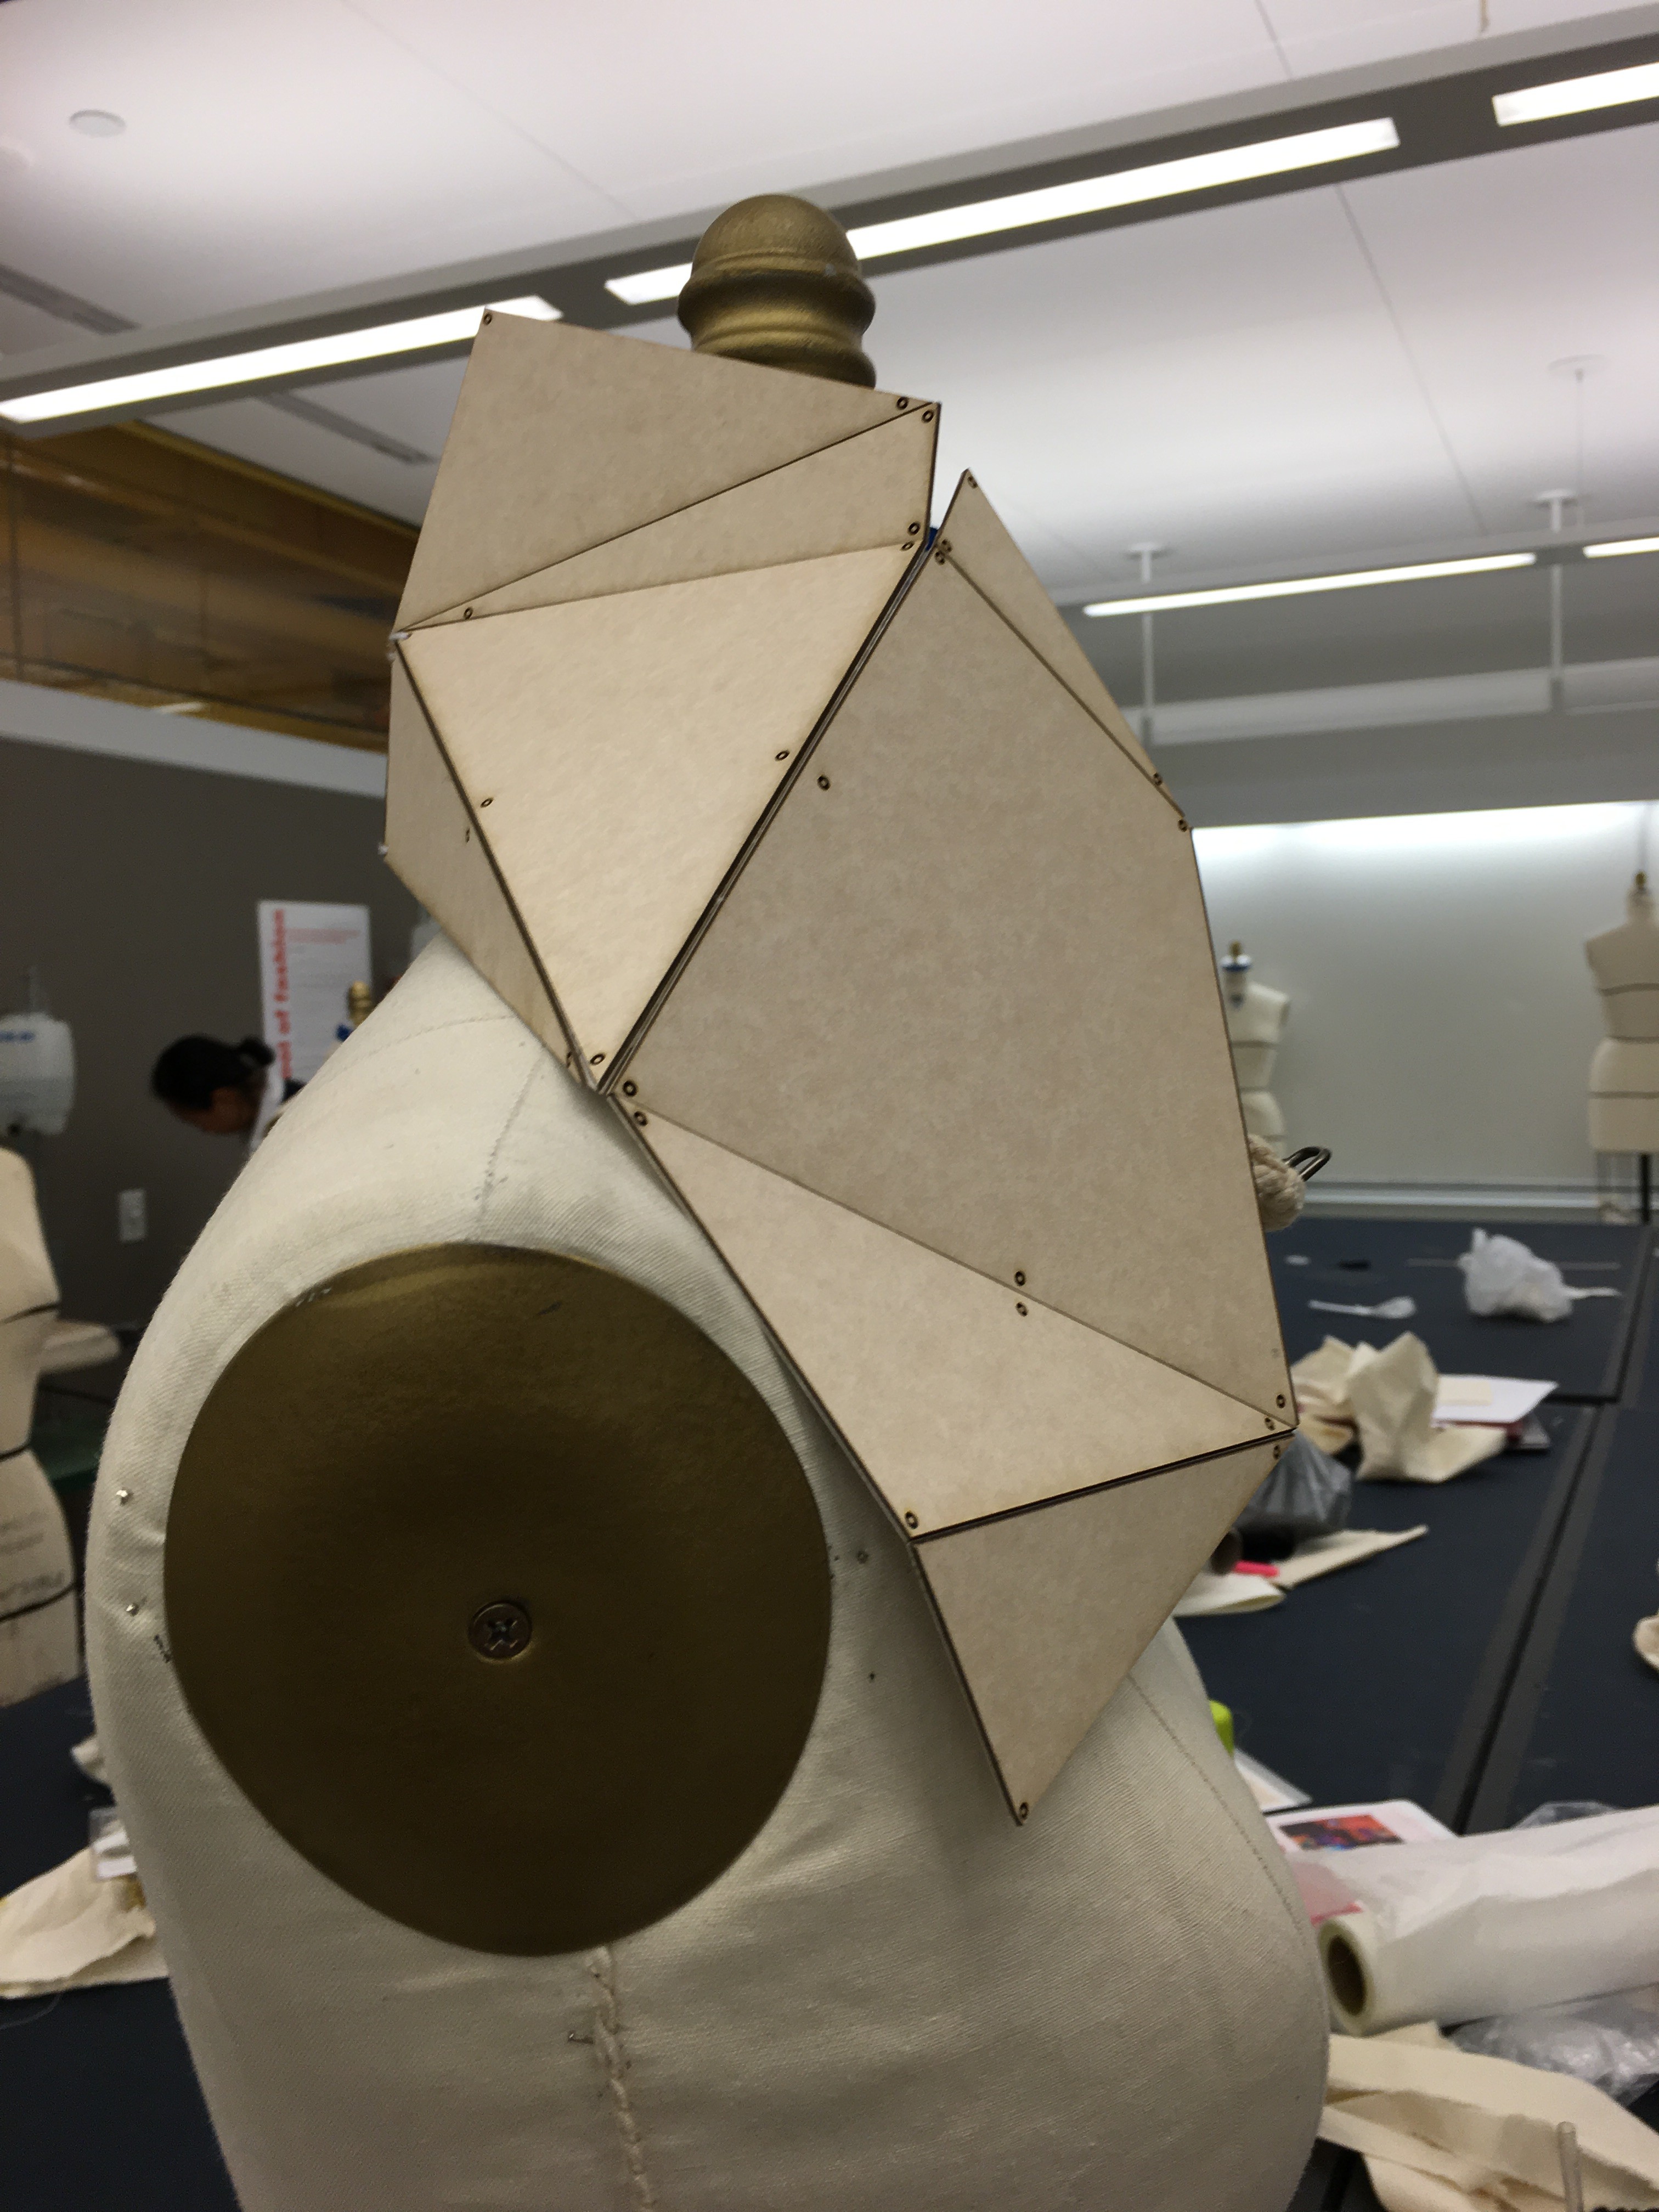
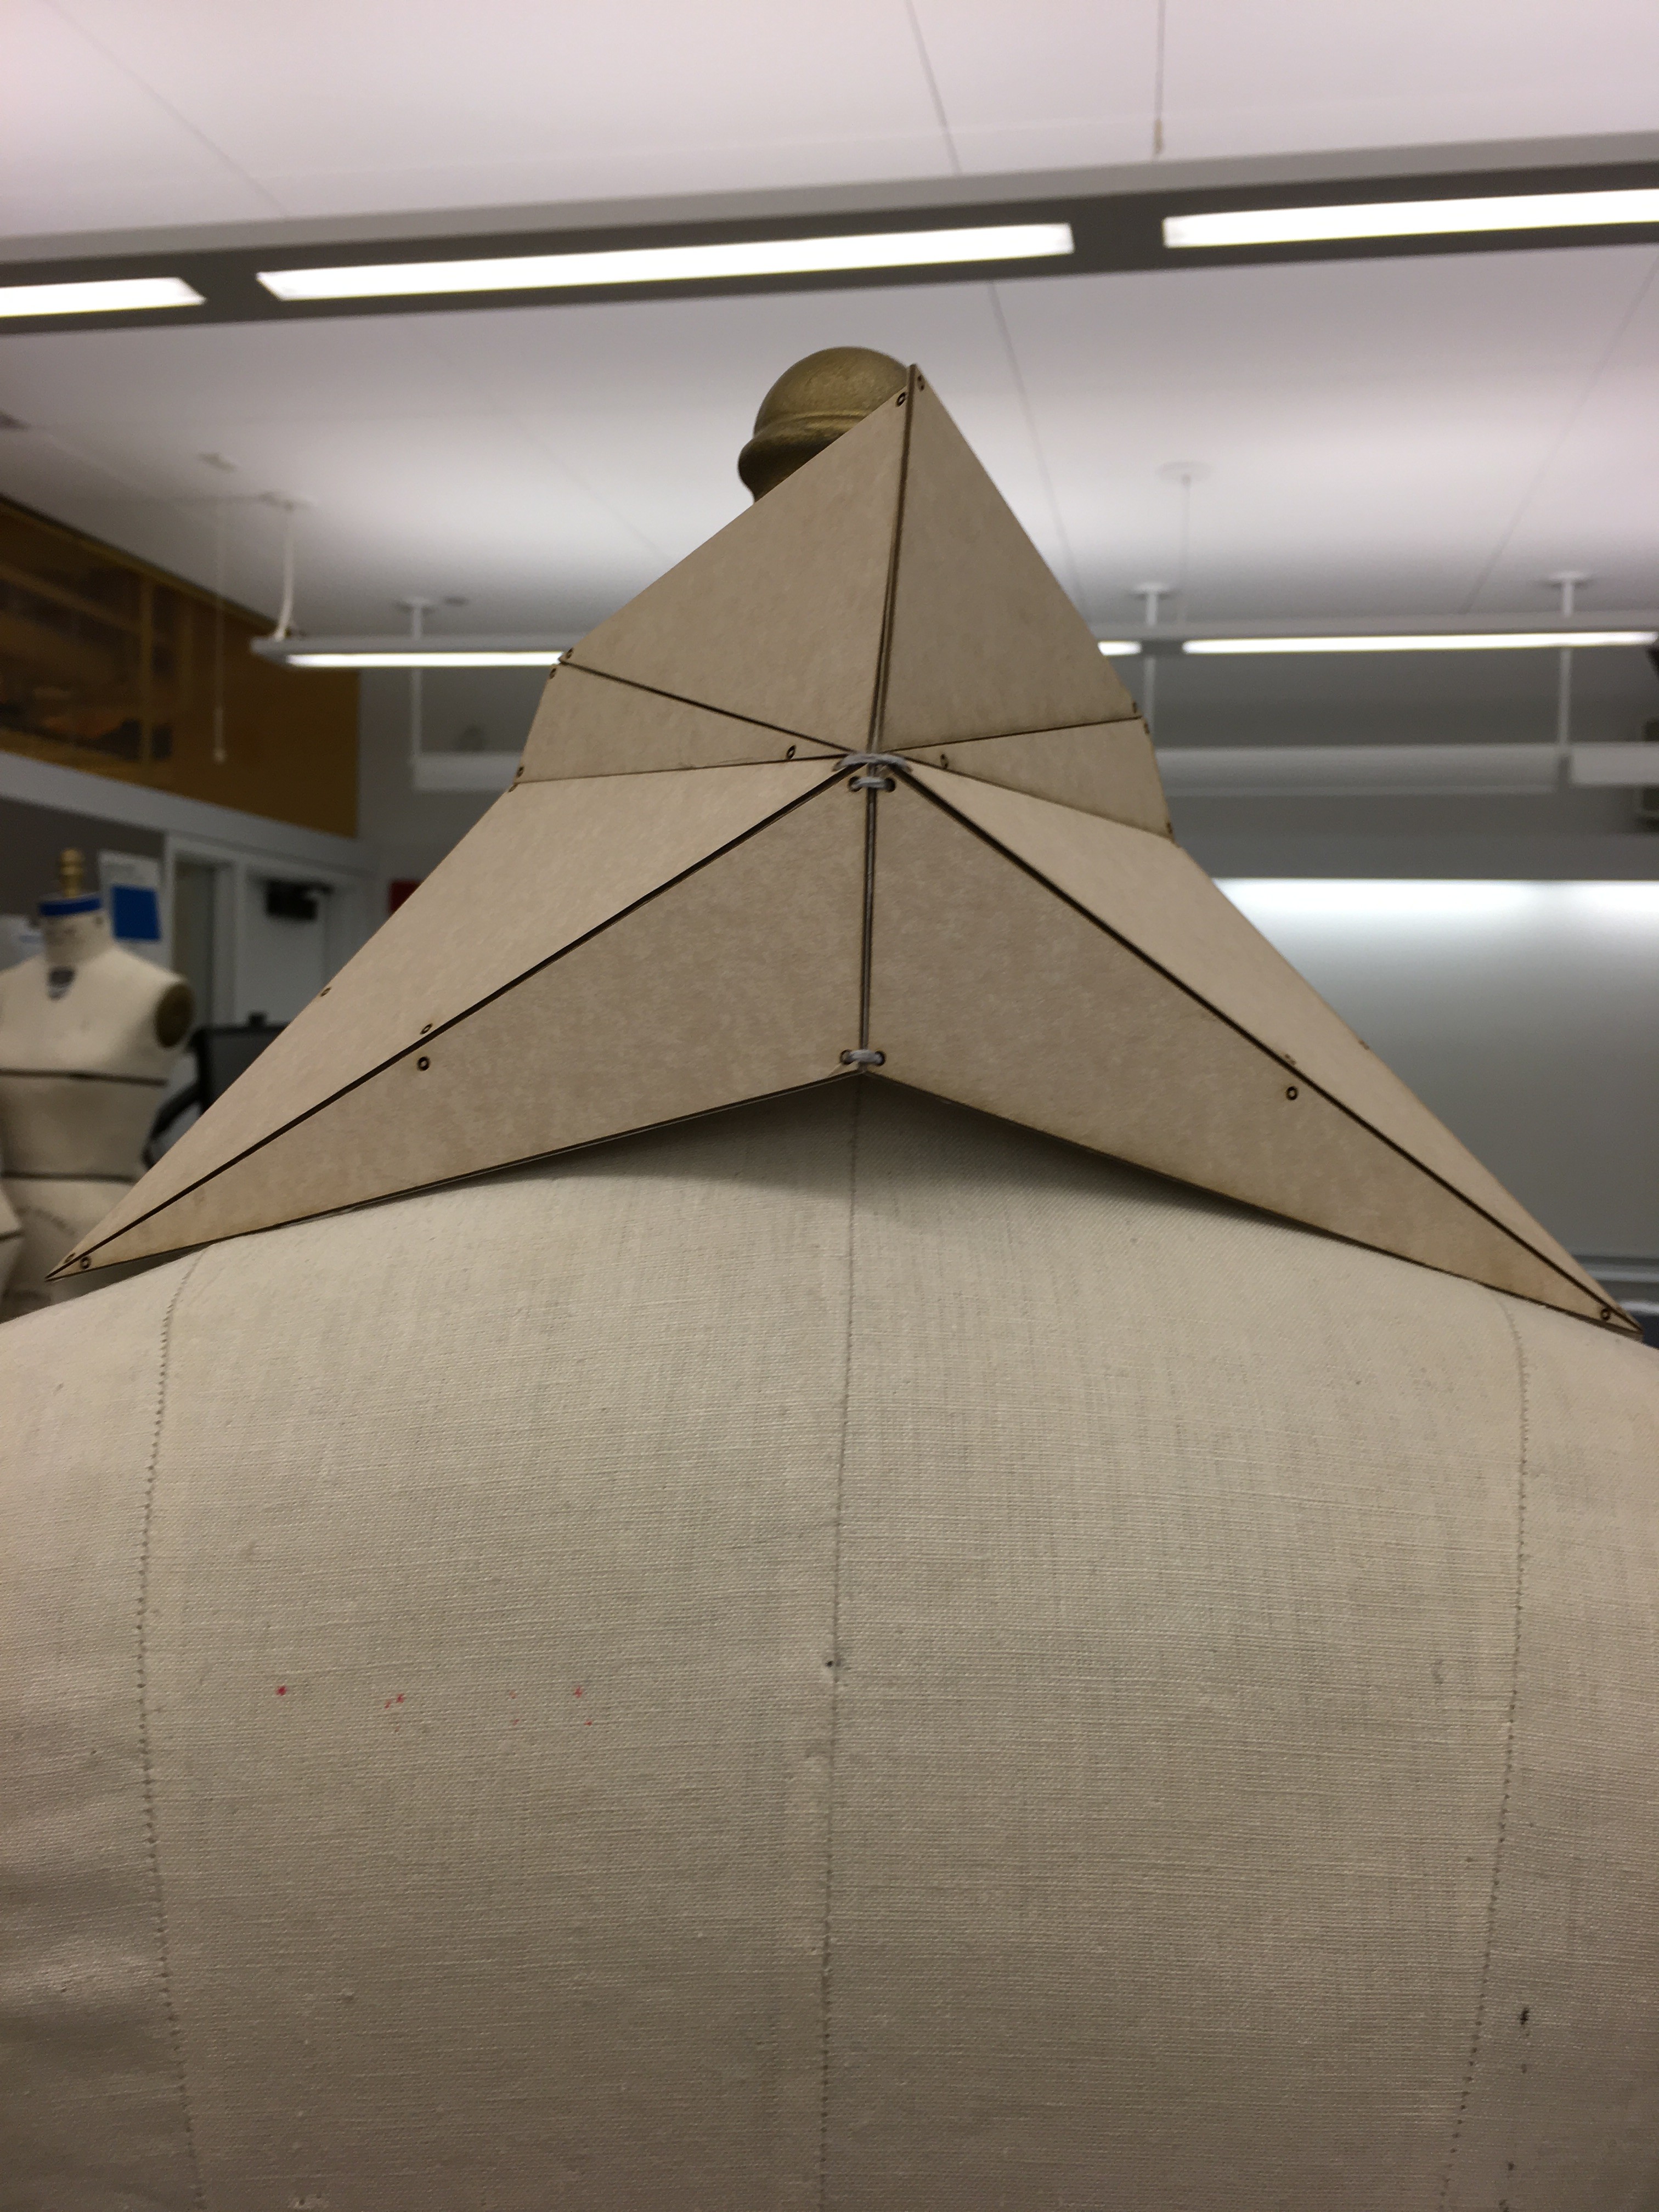
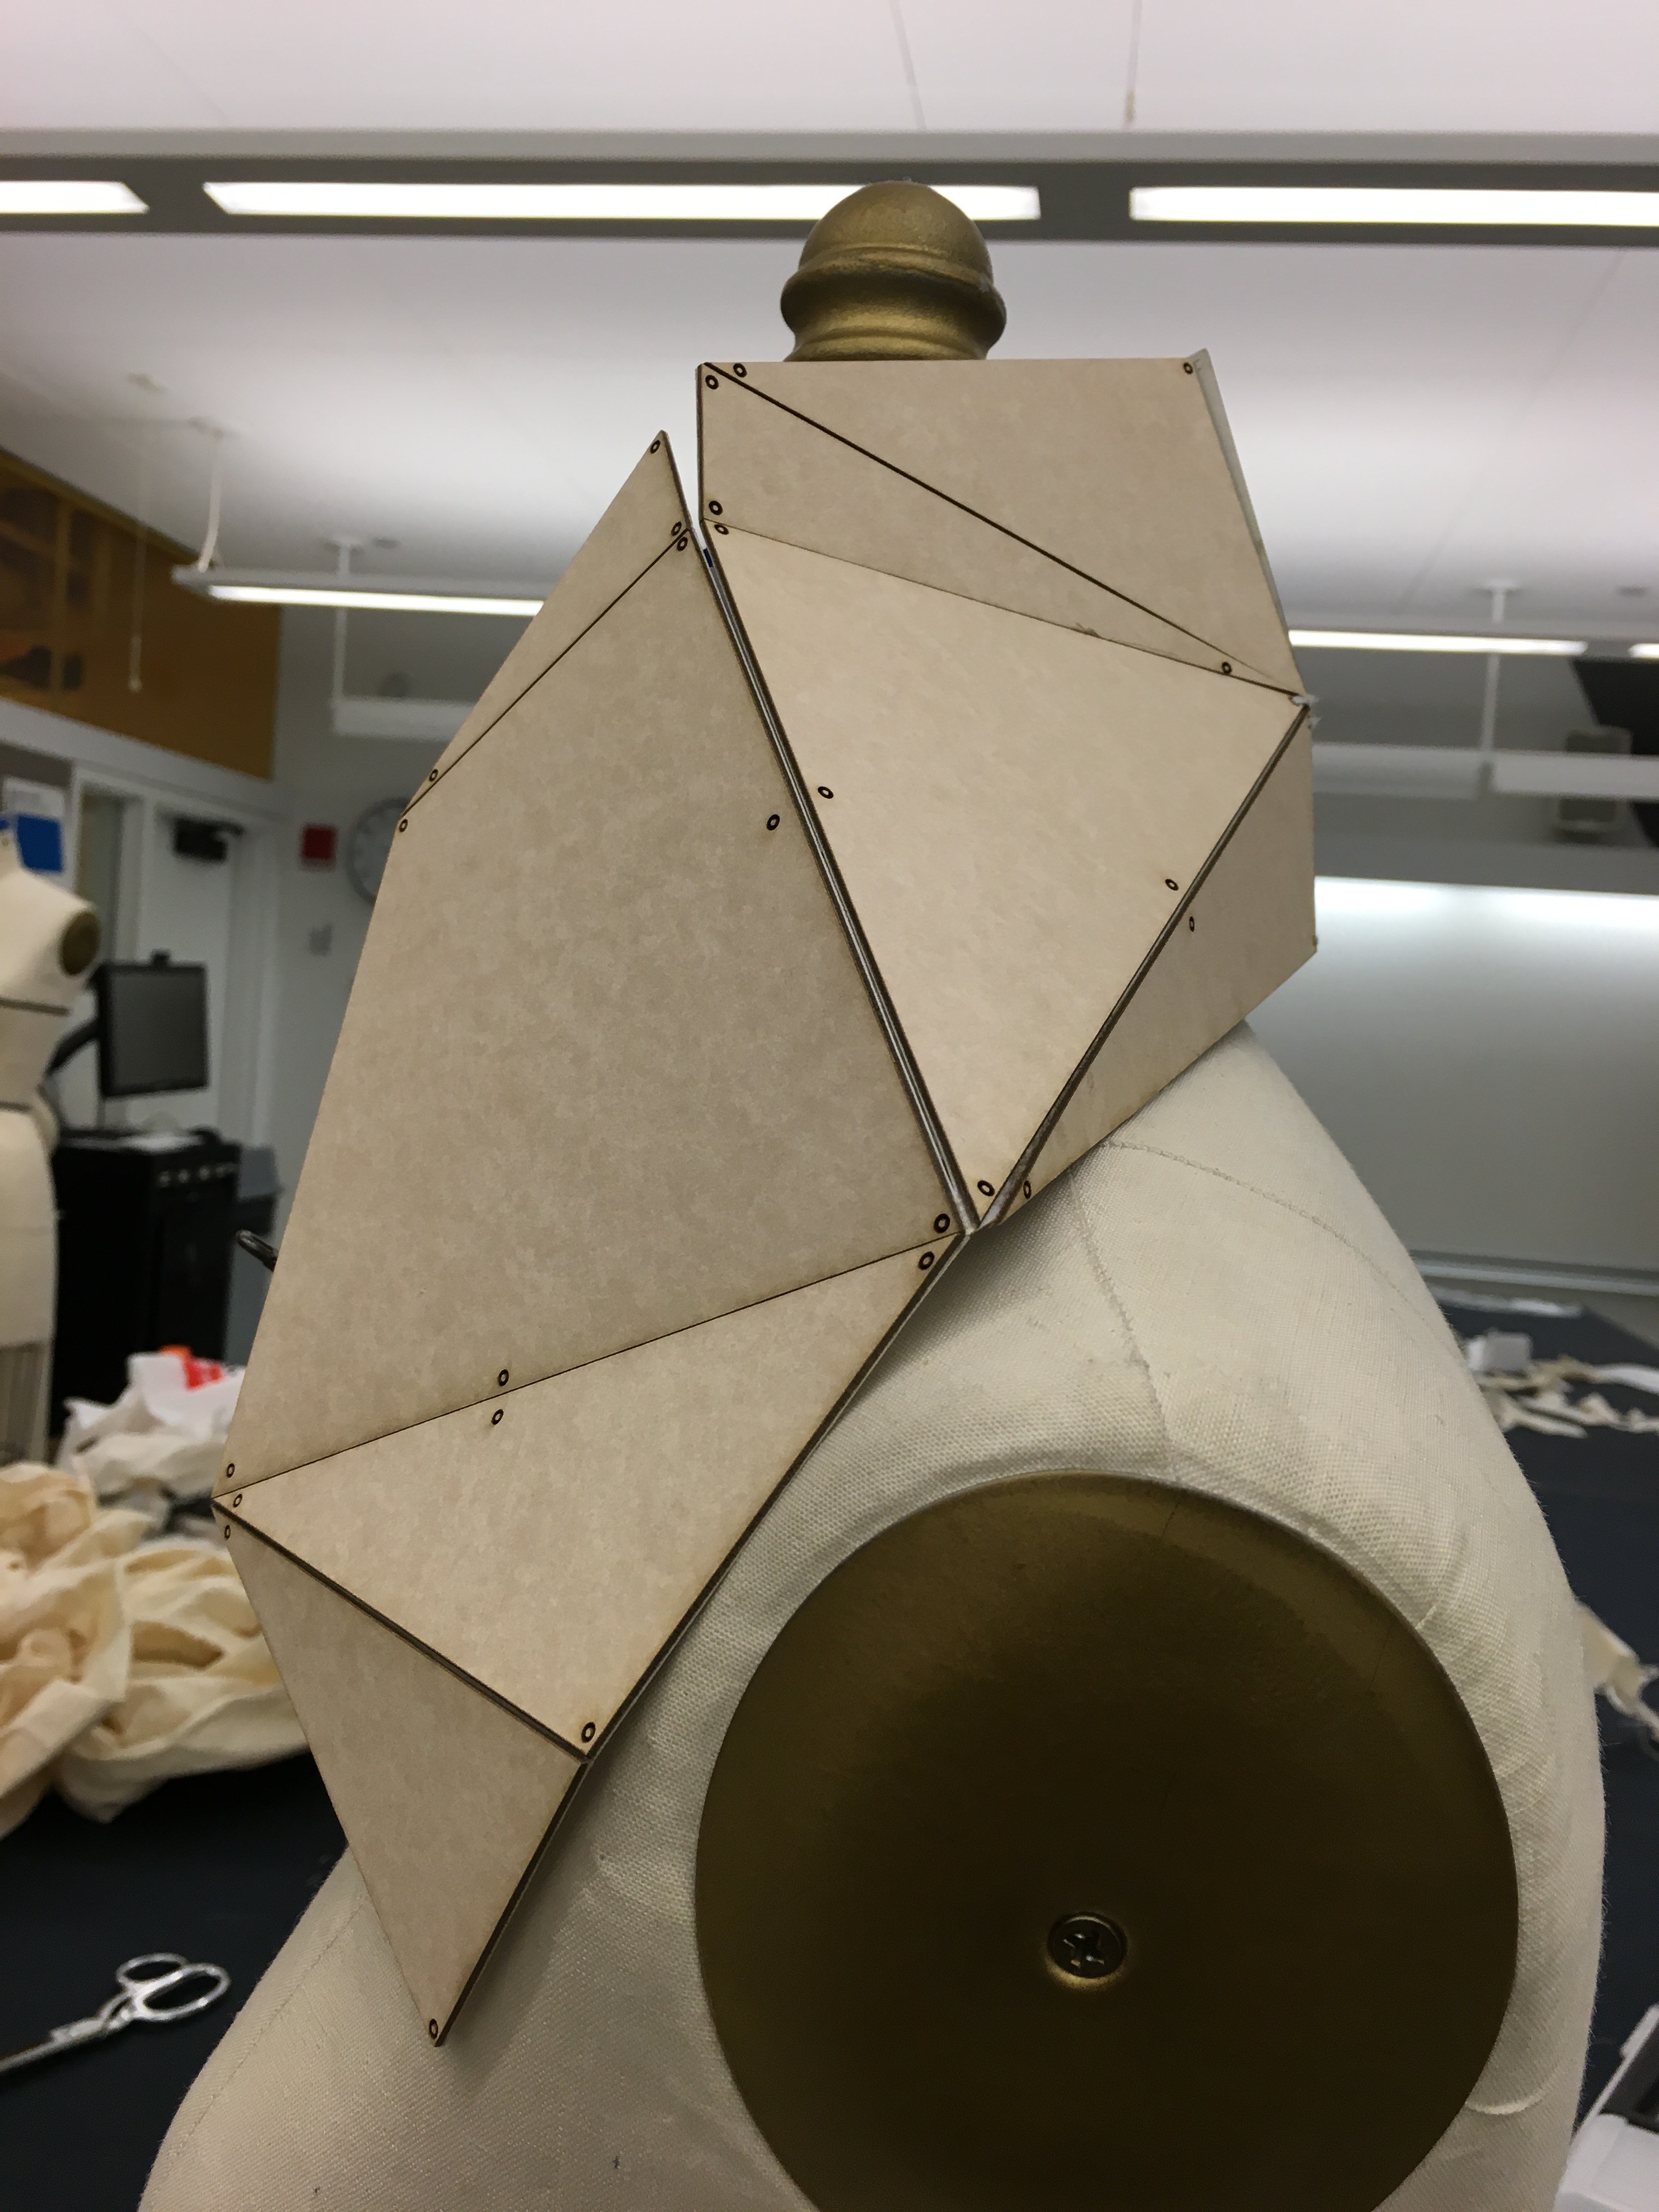
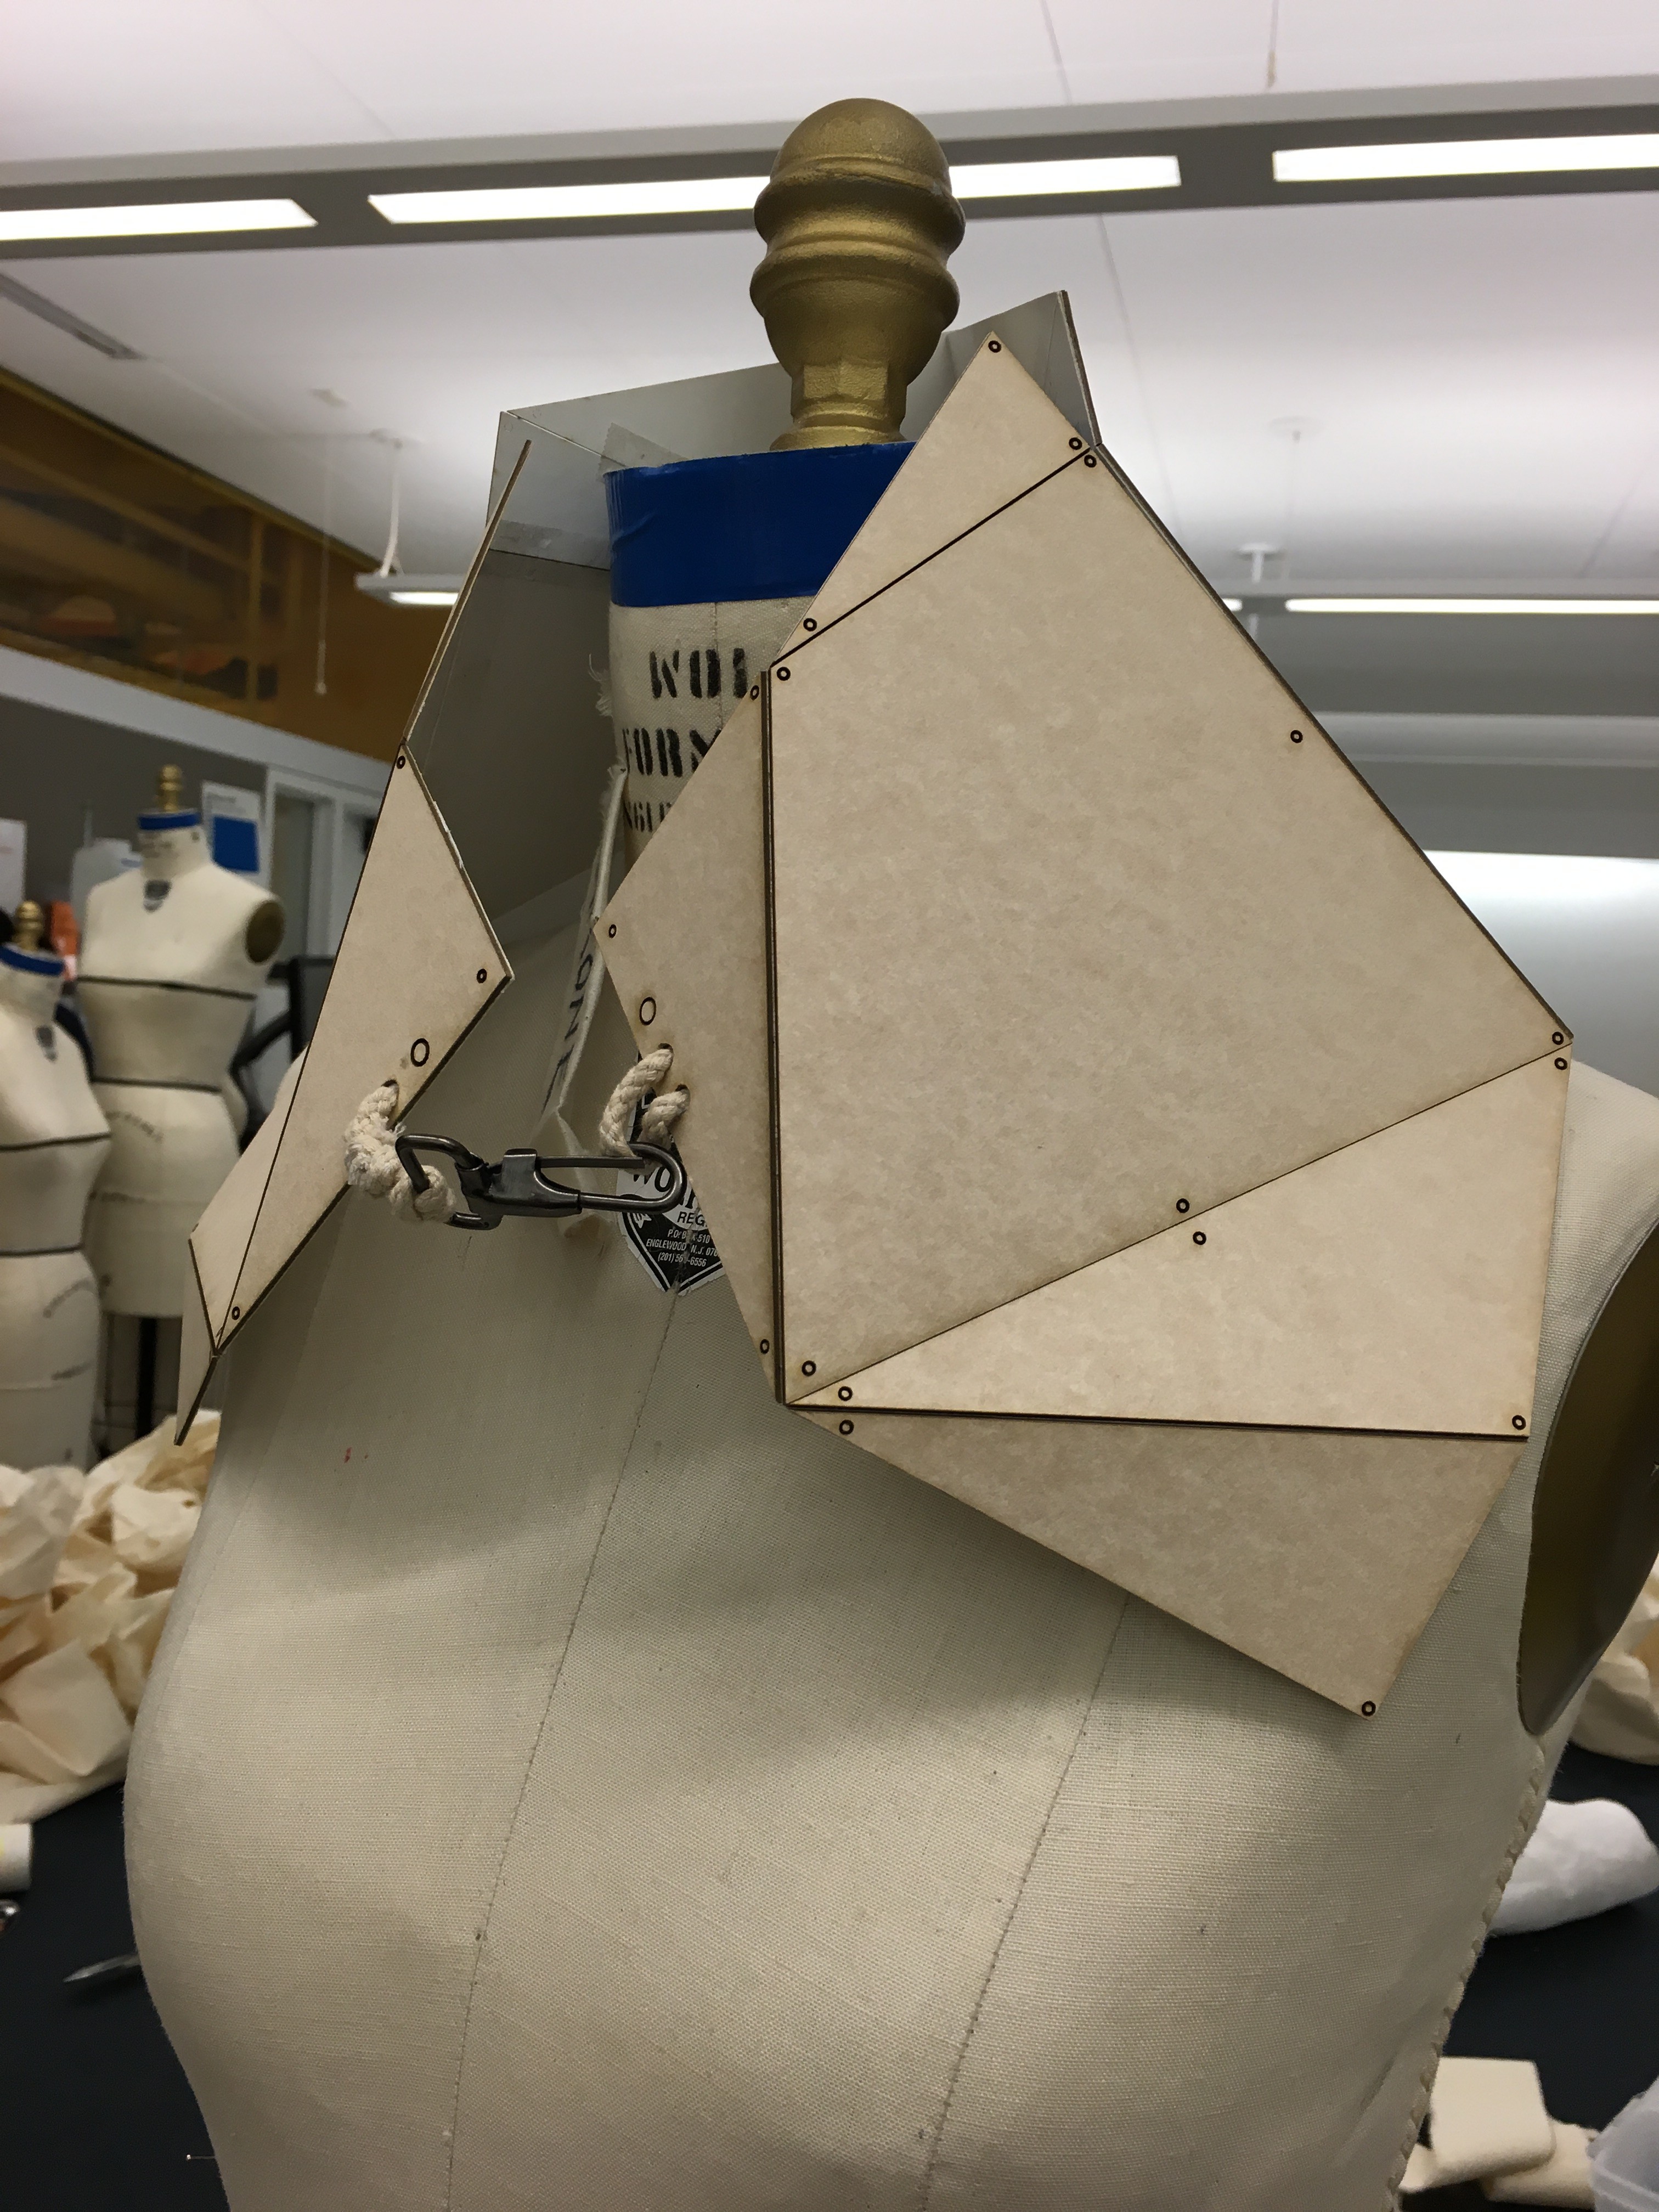
details