Zero-Waste garment


For this project, i started with some simple draping

I want to focus on the idea which is not only zero-waste,  but also less cut.

So, to started in this concept, i just simply have two rectangle pieces of fabric, and placed it on a half-scale dress form,  one for body part, my first cut is on the mid-way of this piece (at this stage, this piece was not been fully cut down), which kind evenly divided this piece into front and back piece around the body. Then i use pins to pin up on the right side, made some dots on the waist. And then i pined another rectangle piece on the left side together (not cuts, just a fold) .

Here are the first rough look of my draping.

IMG_1272 IMG_1273 IMG_1274 IMG_1275IMG_1271


Therefore, i got inspirations from those dress

IMG_1316 IMG_1315 IMG_1314


the binding tape. Can be as a nice way for me to do the finishing part of my garment, also it can be consider as a nice decorations.


So, here is my pattern, as simple as it is.

屏幕快照 2015-12-21 下午8.10.55


for this garment, i want to combine two fabric together

IMG_1641 
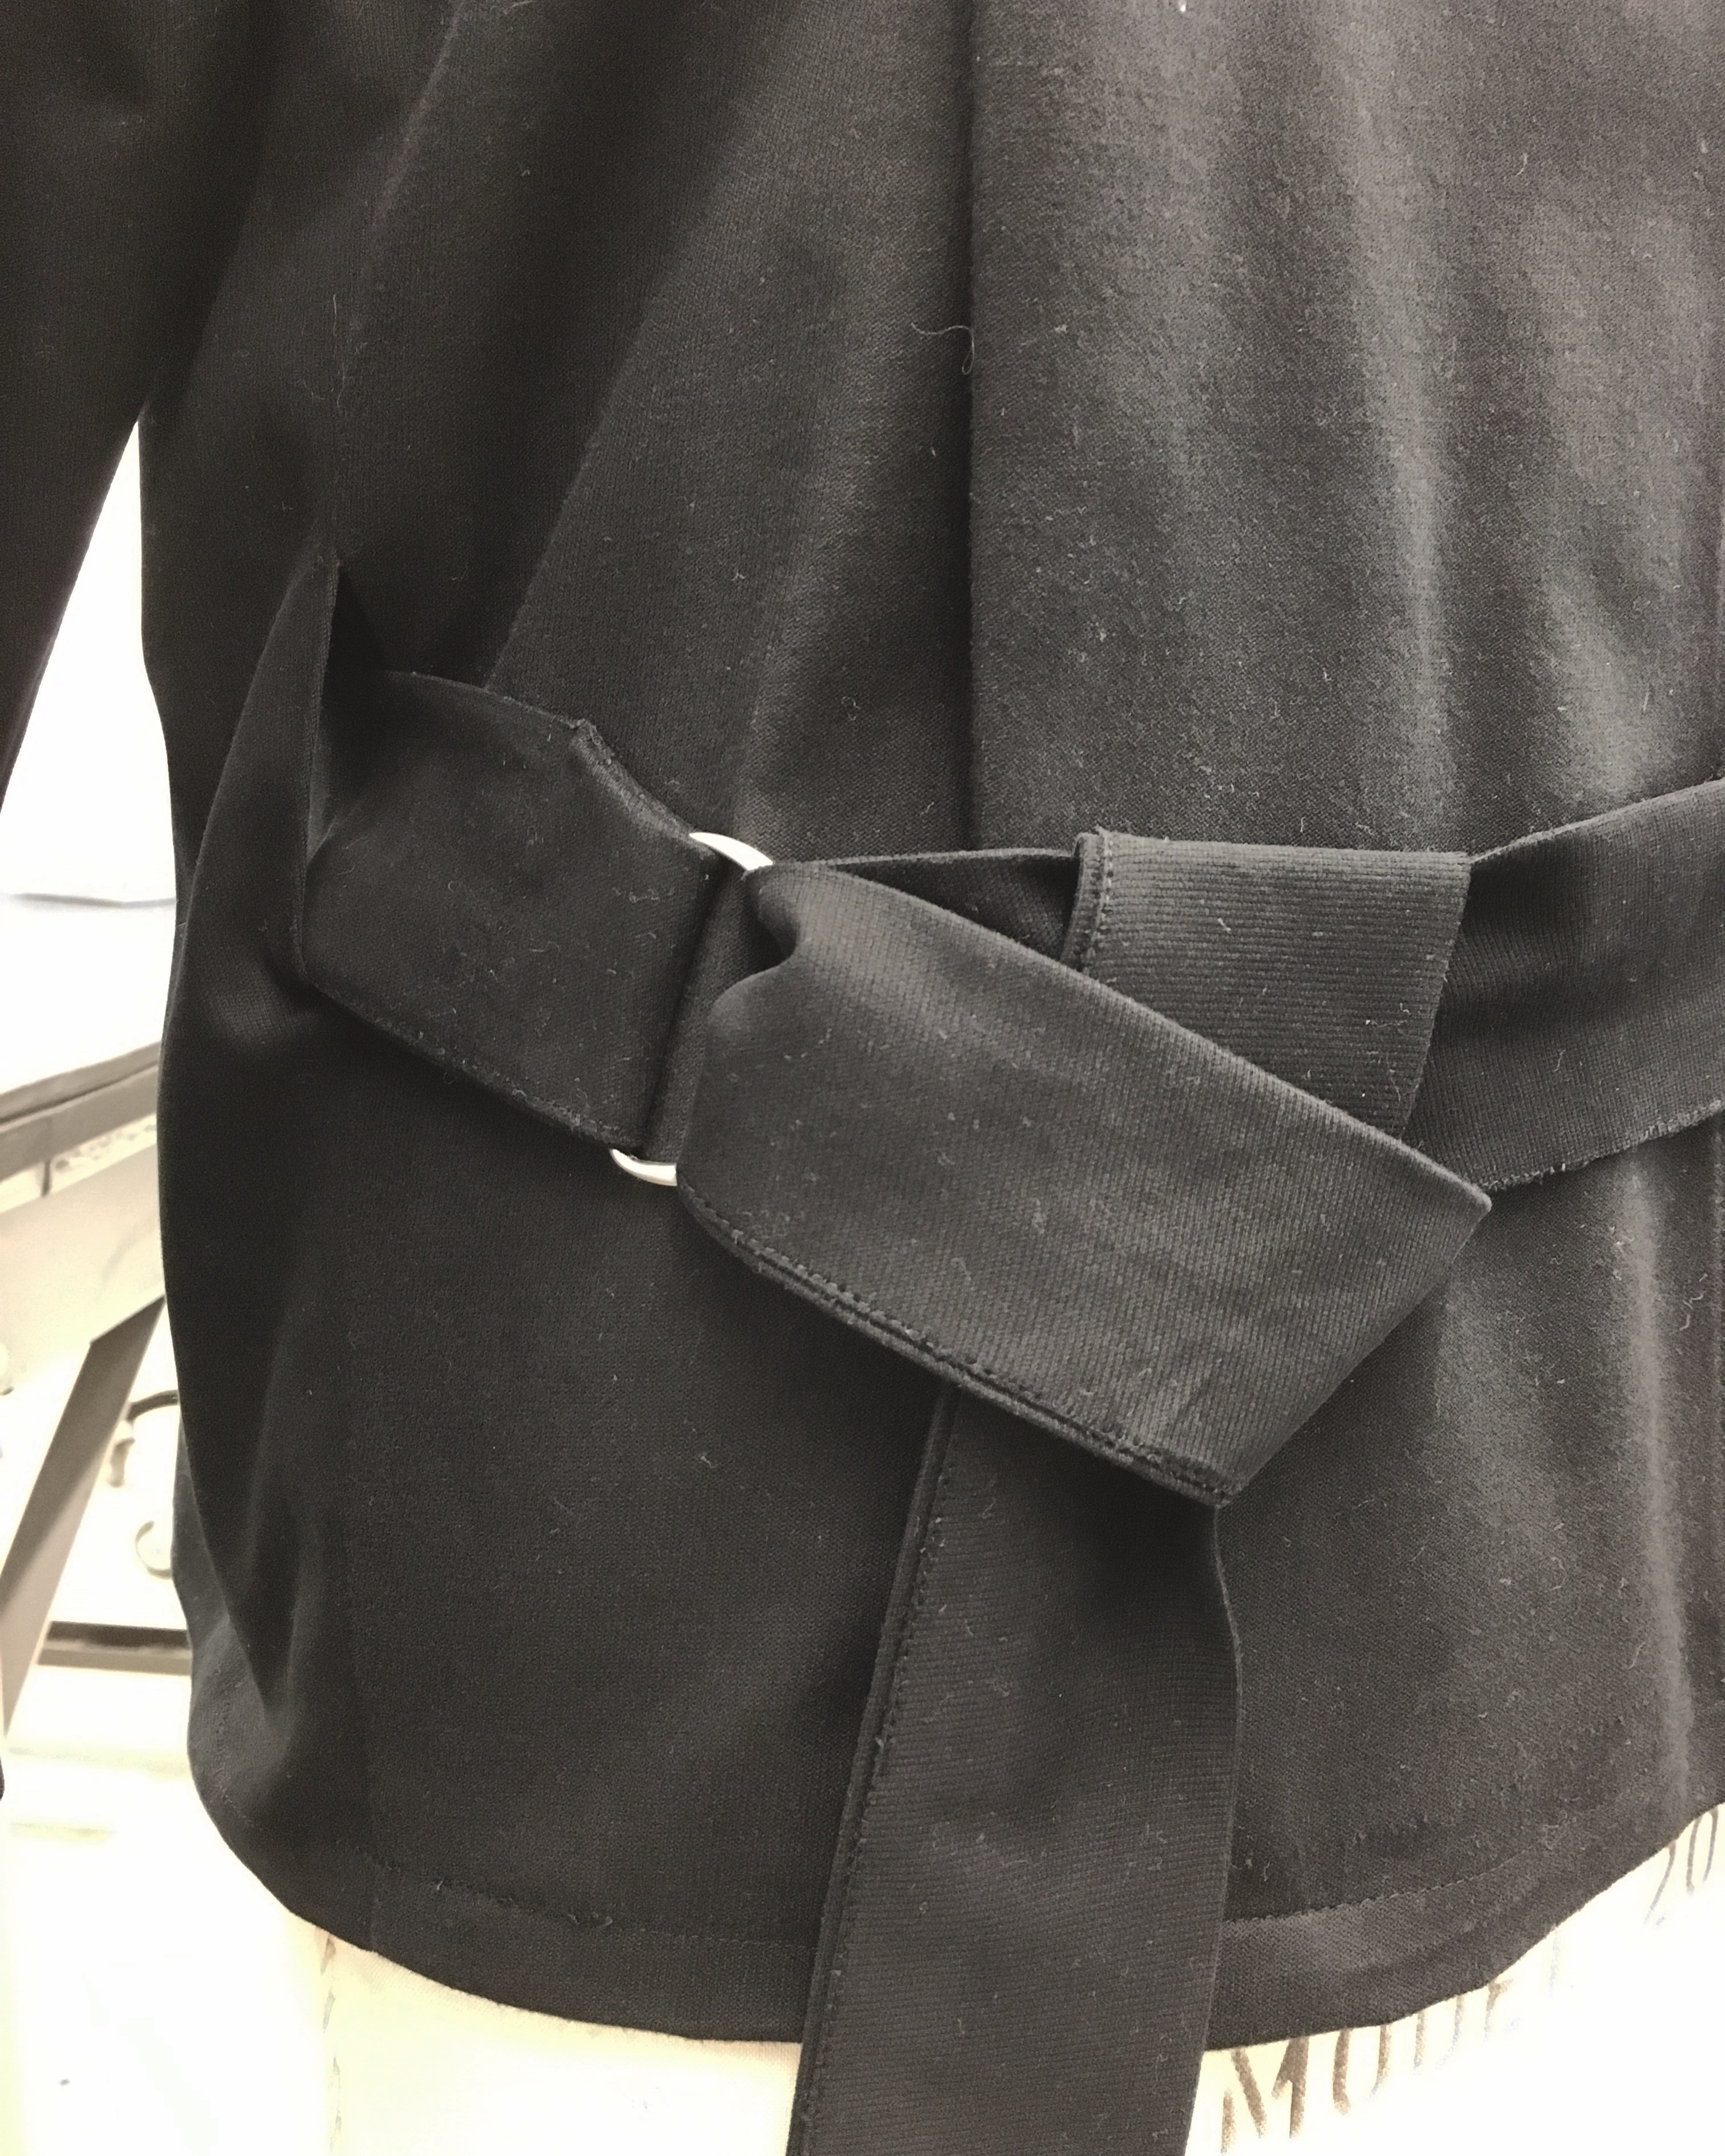
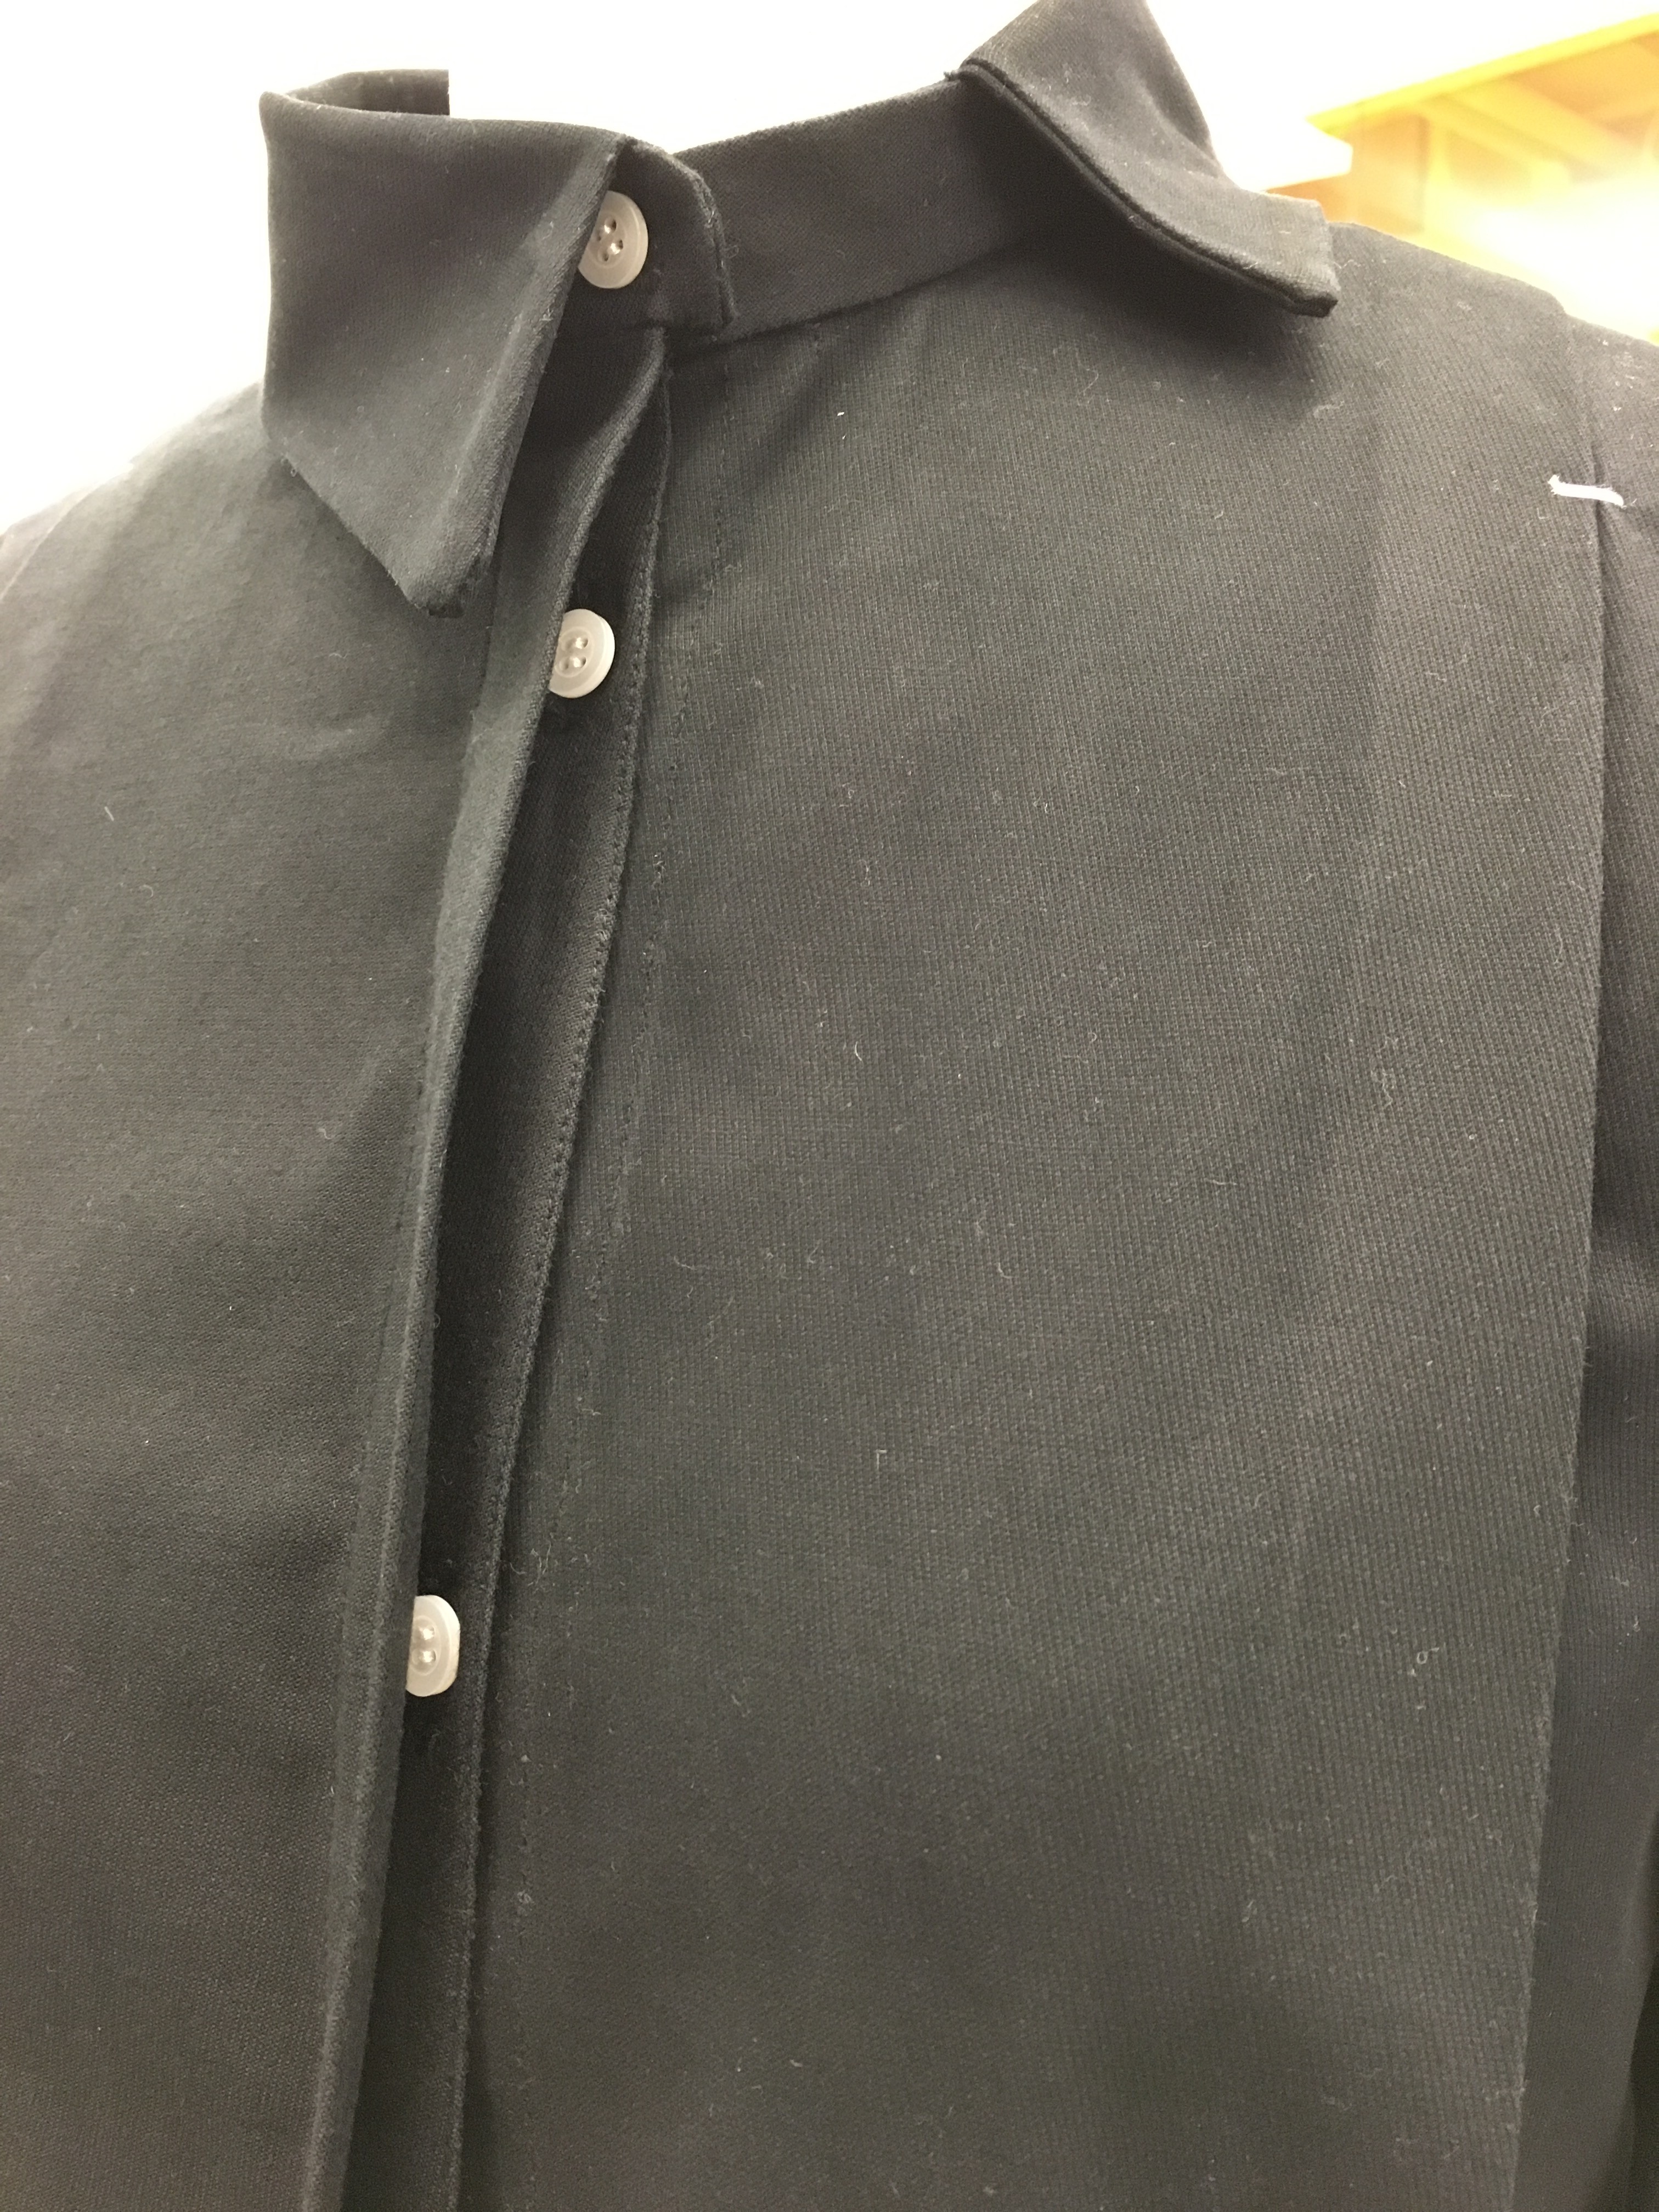
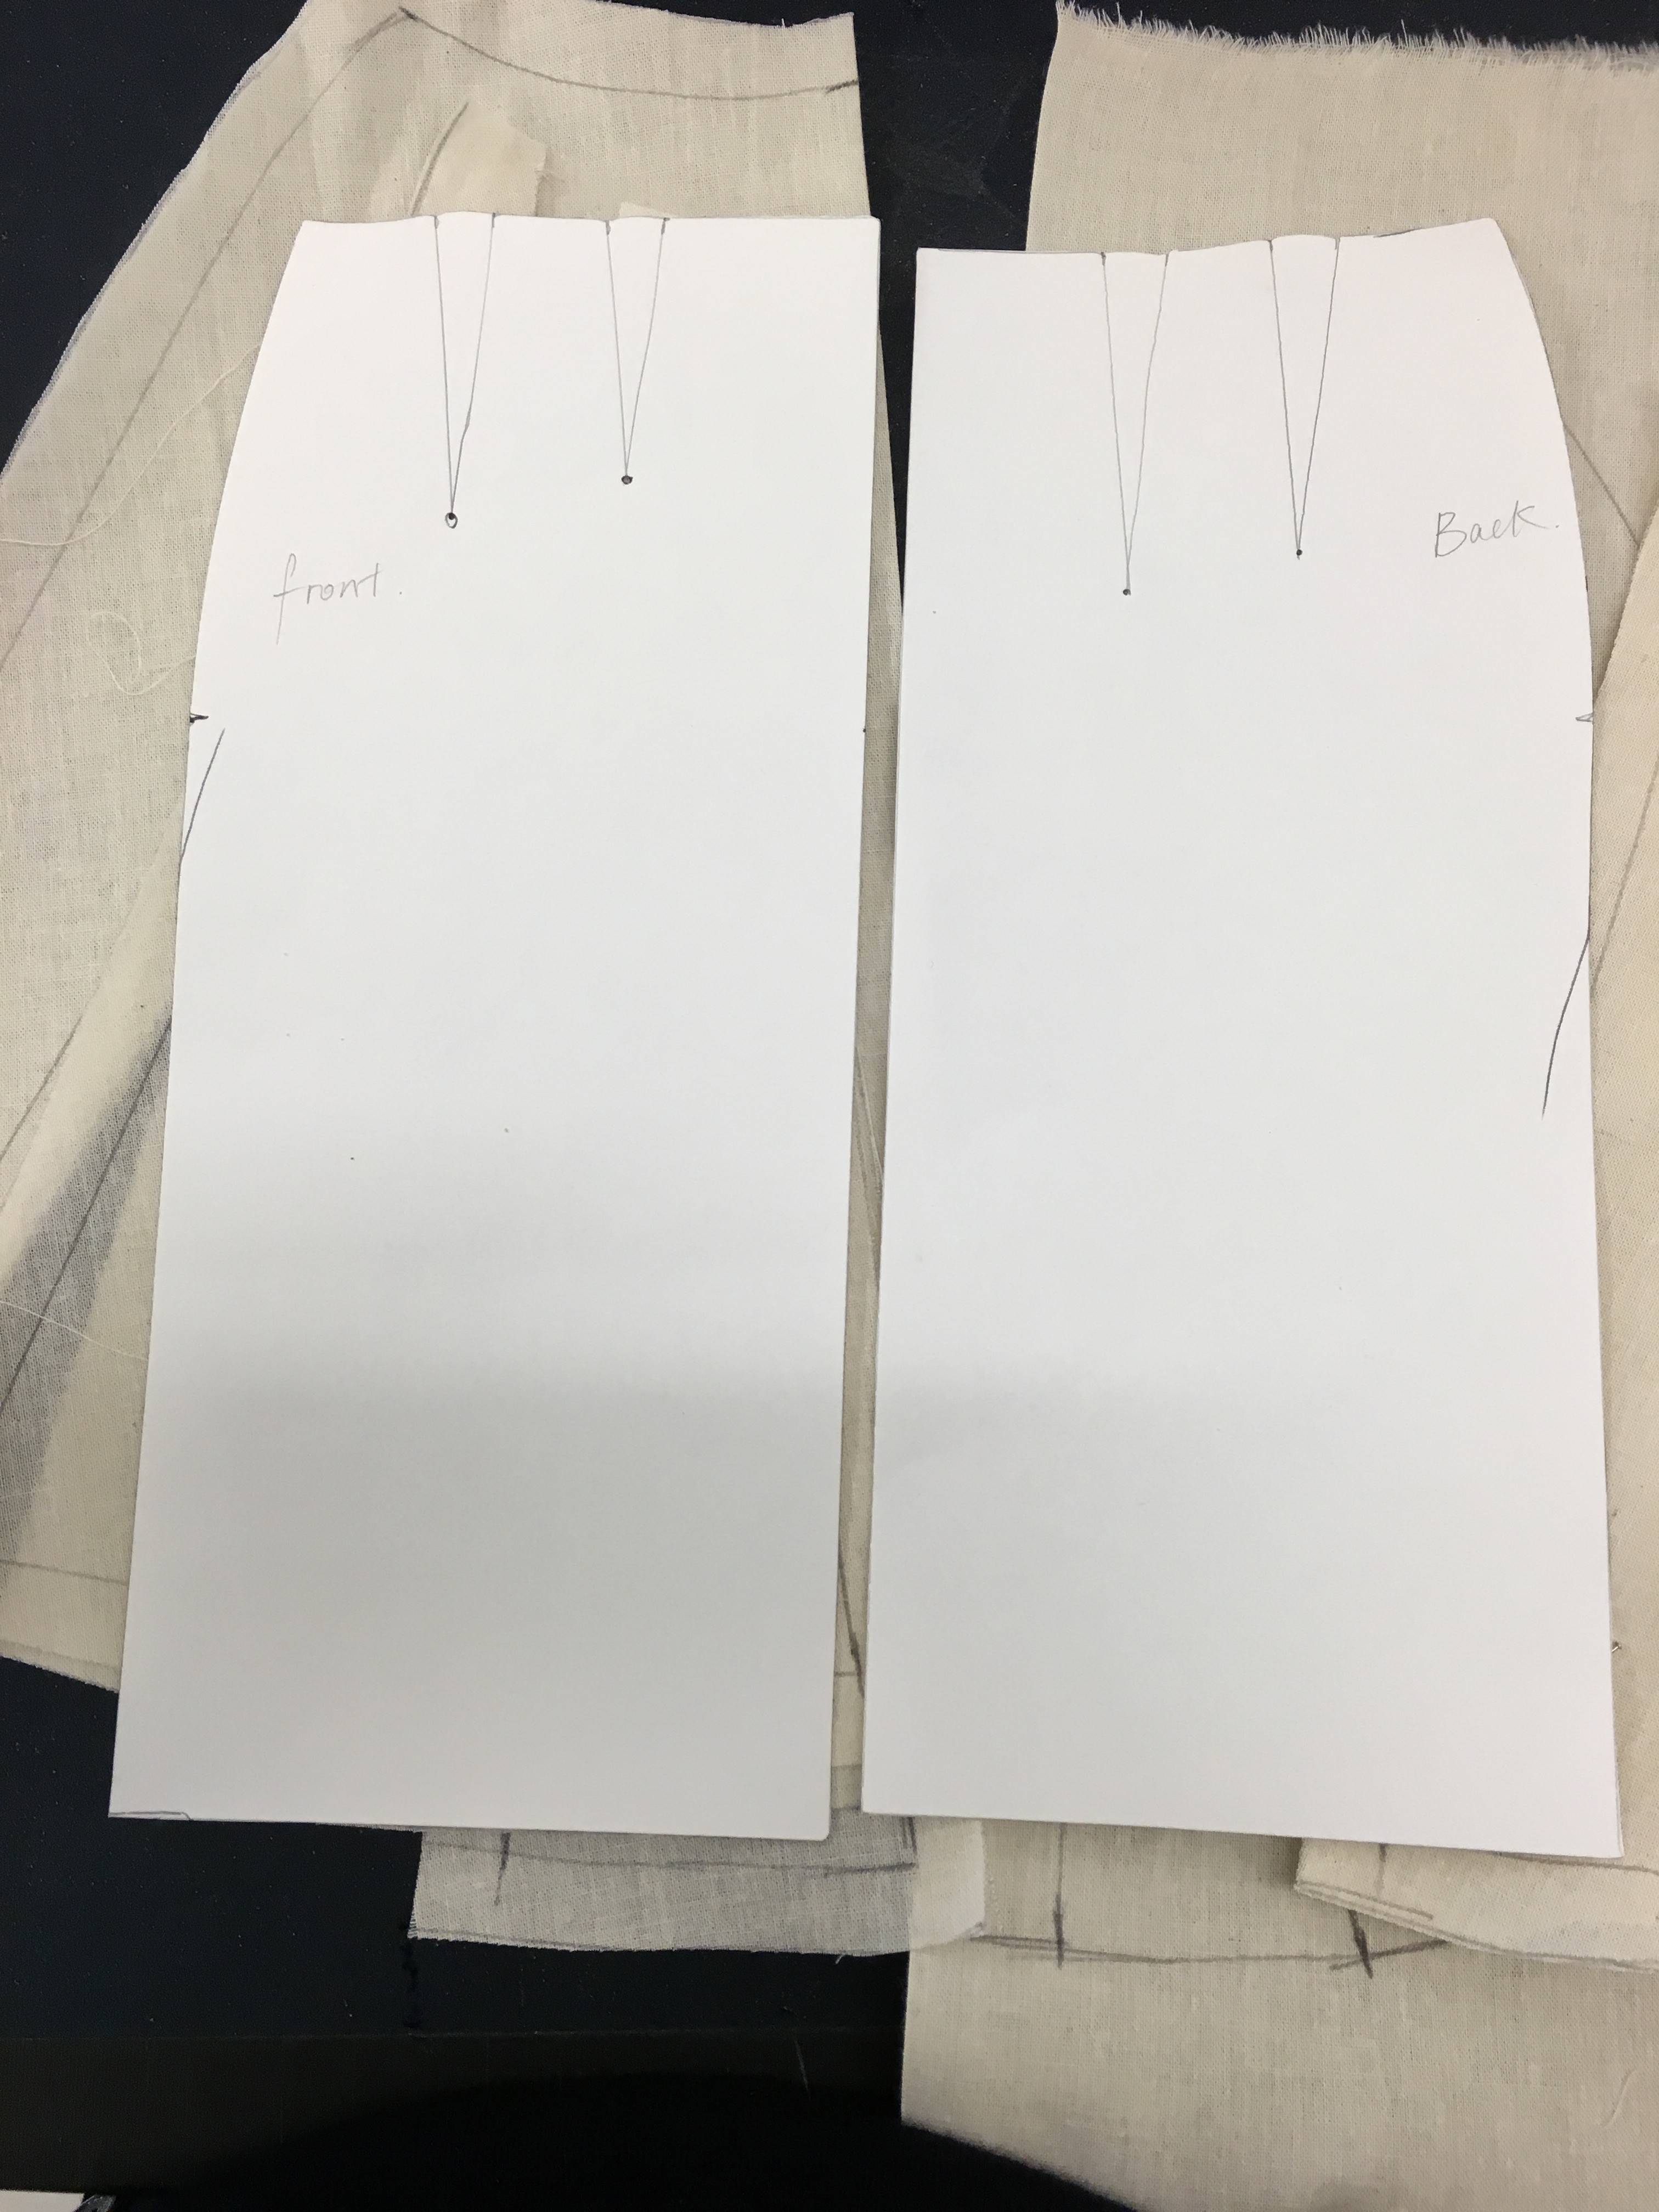
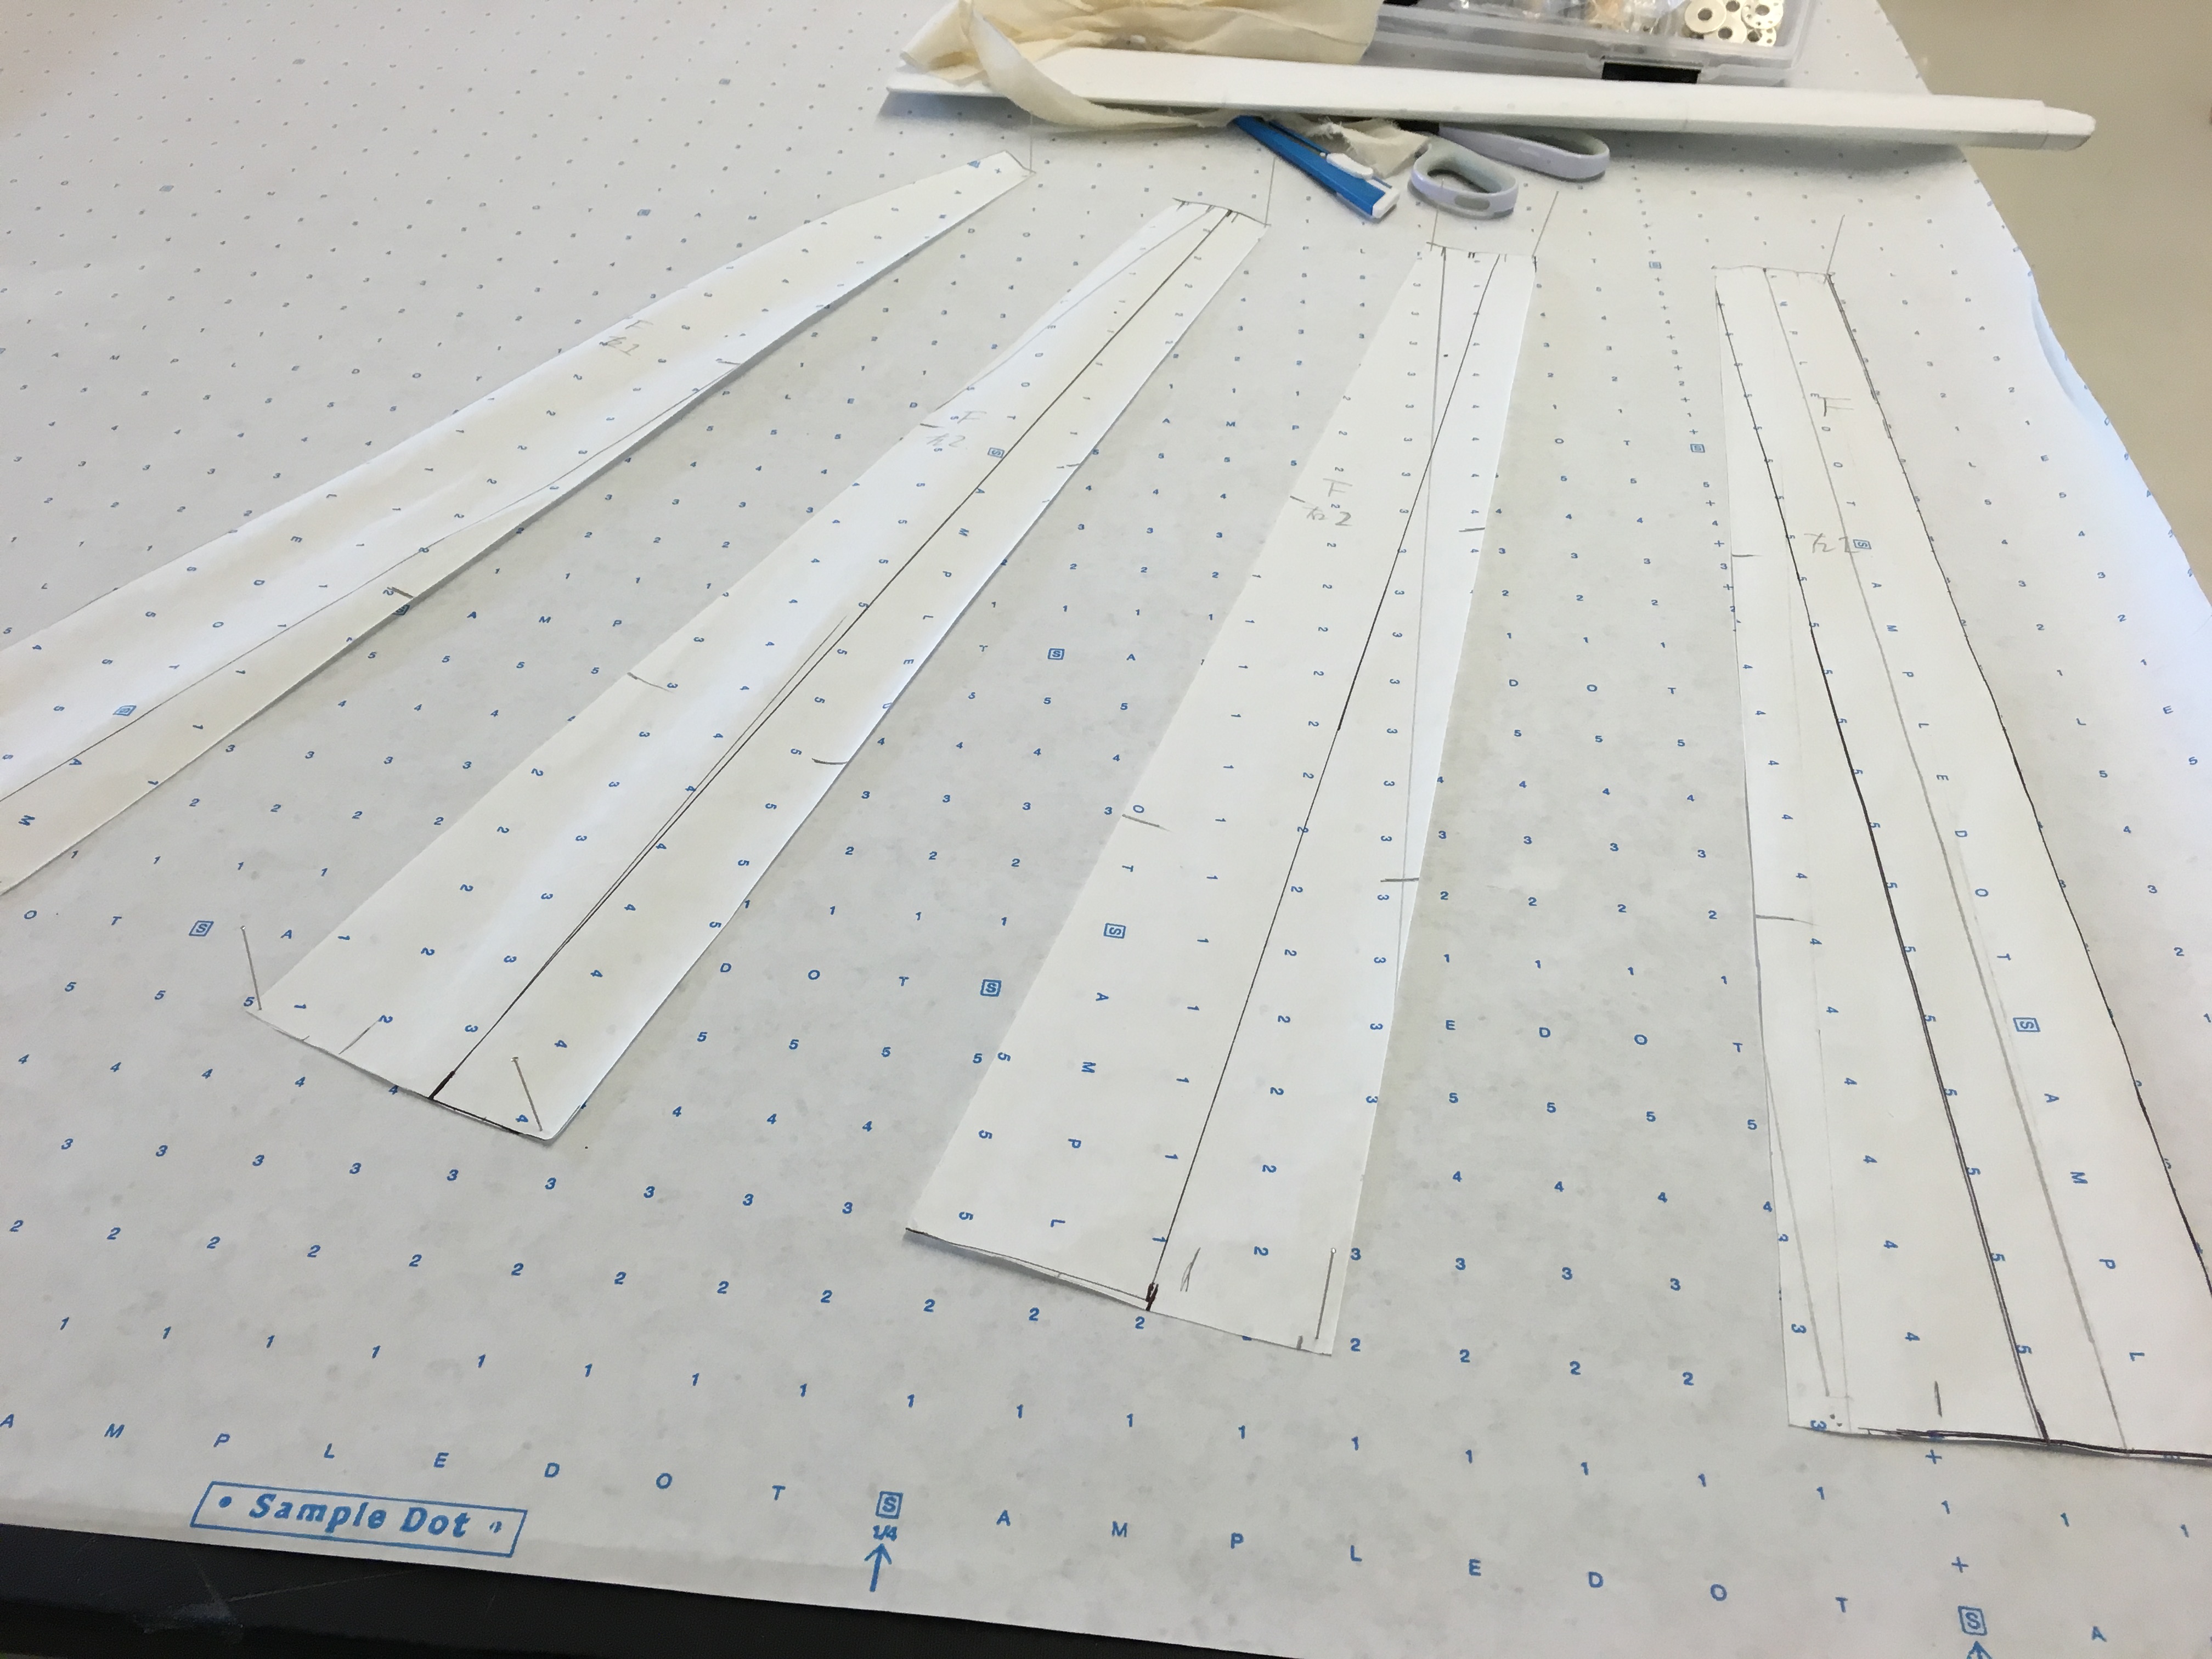
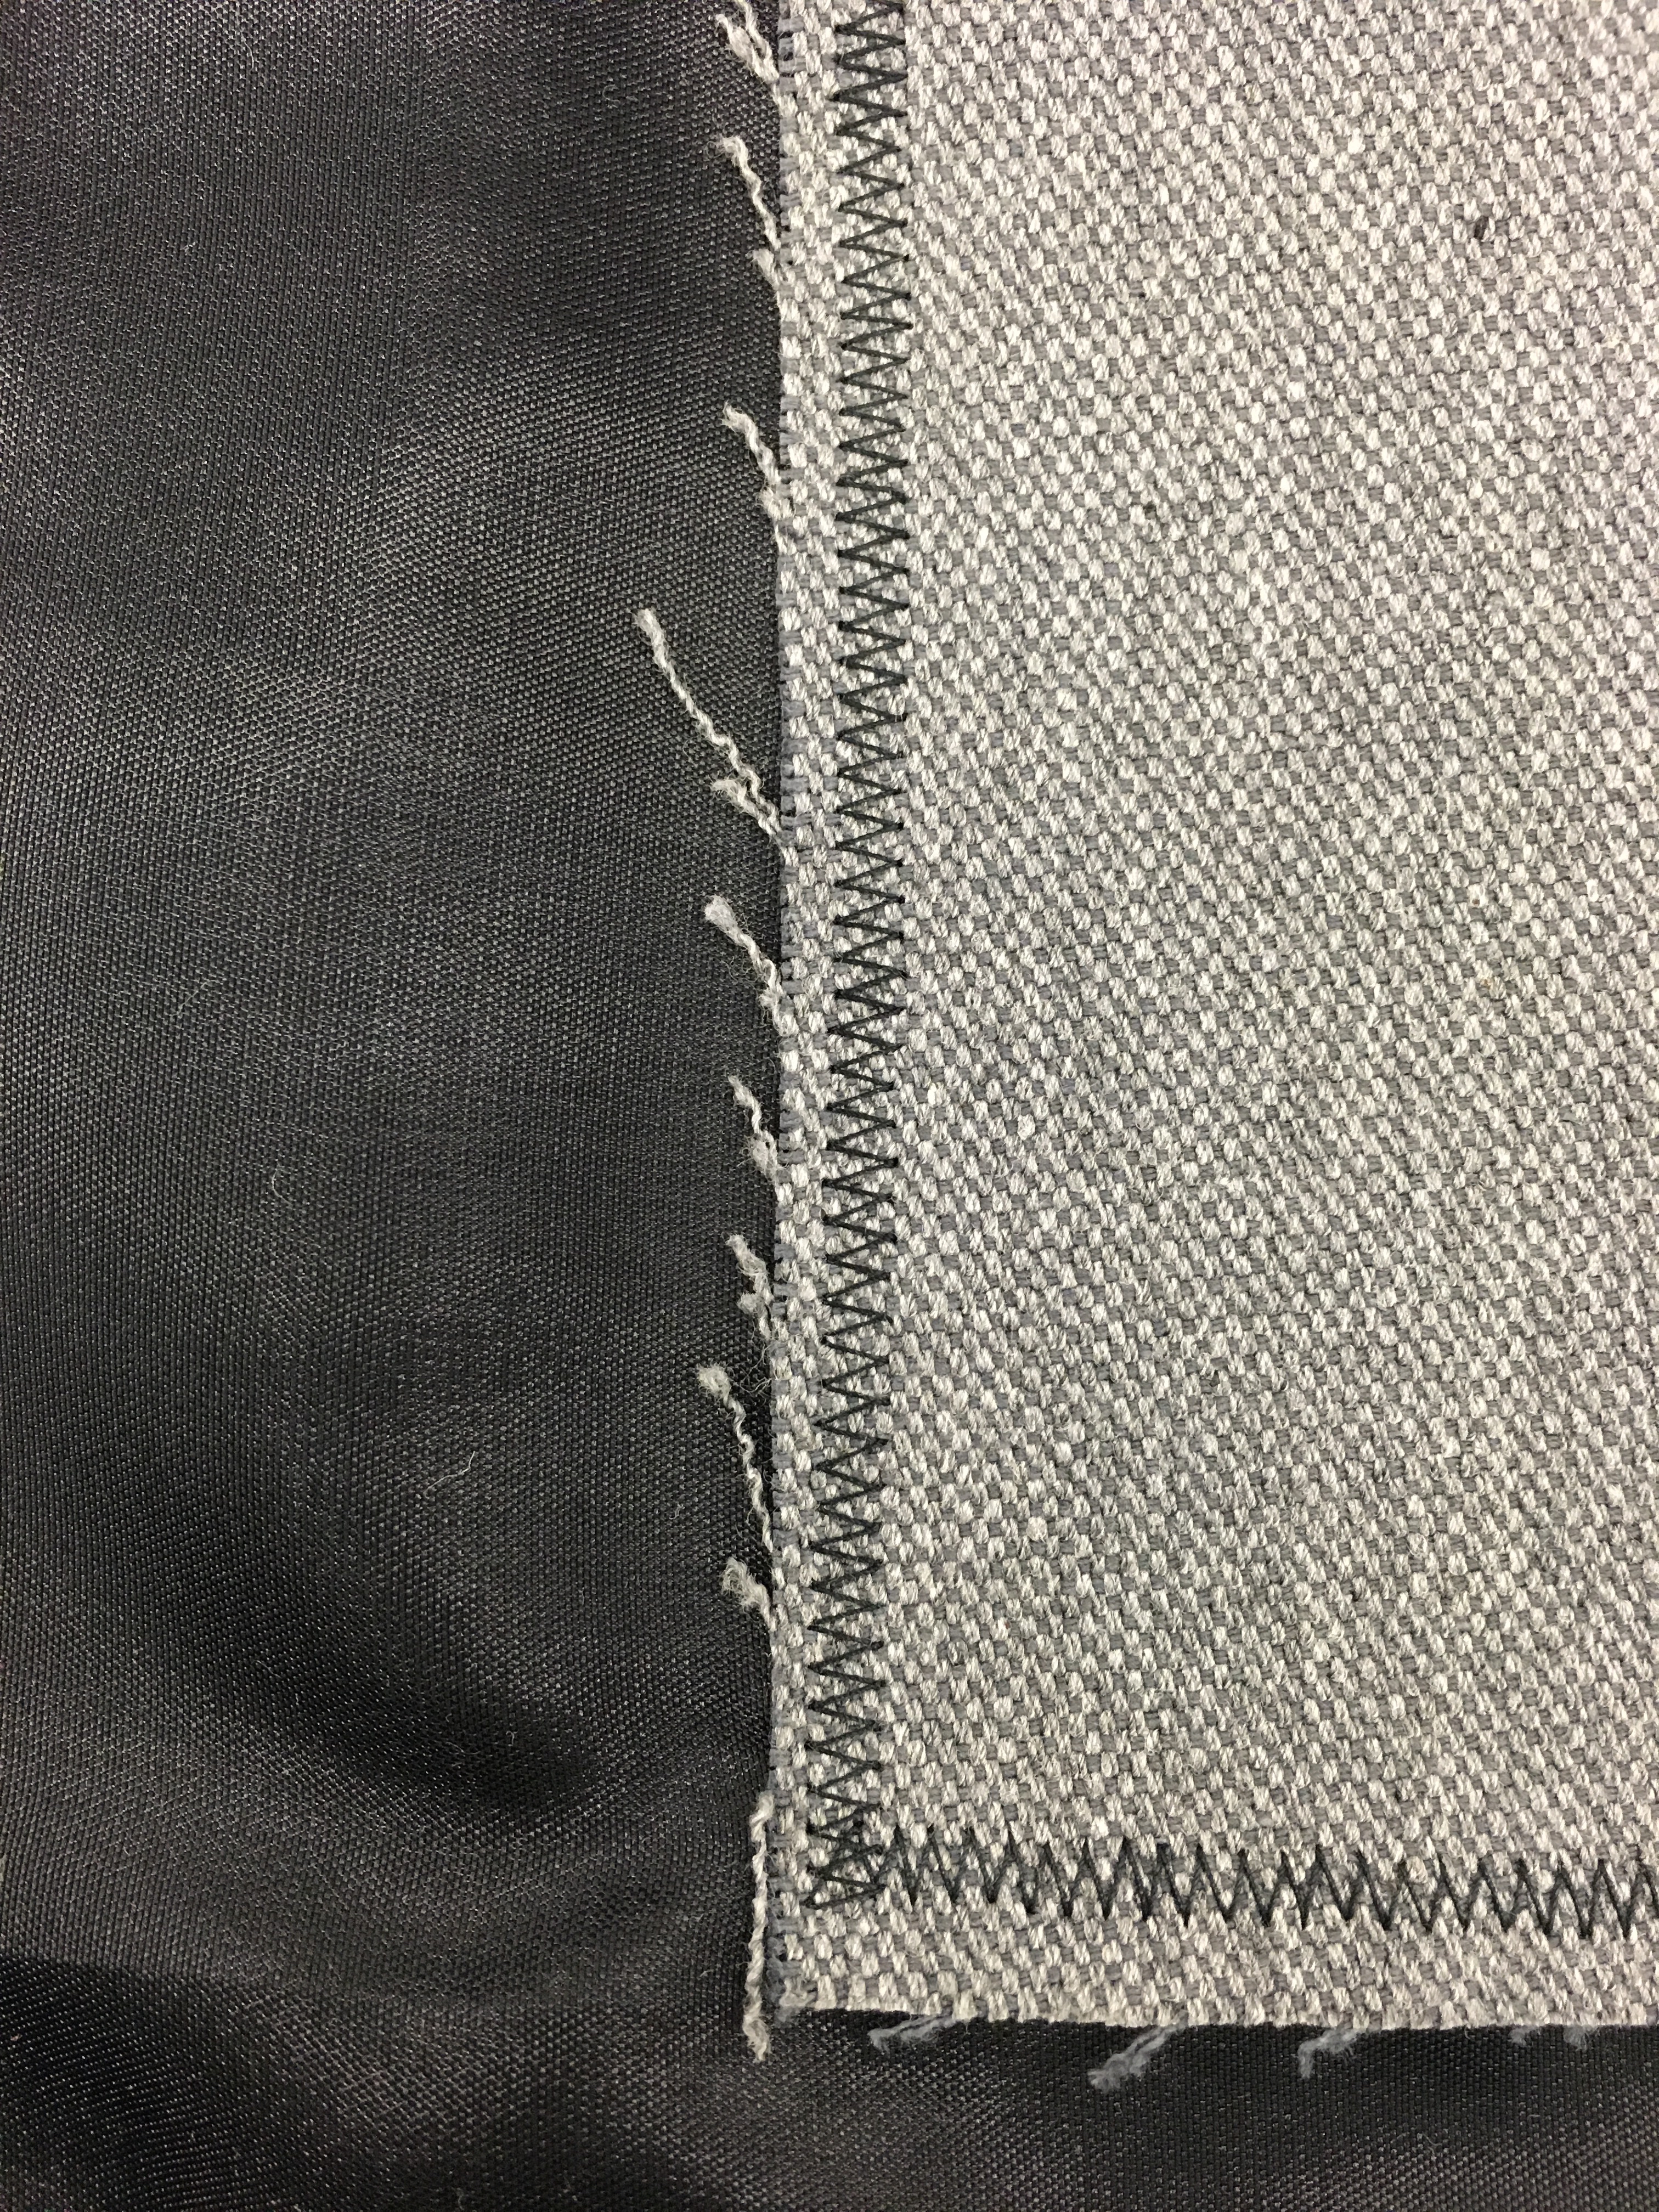
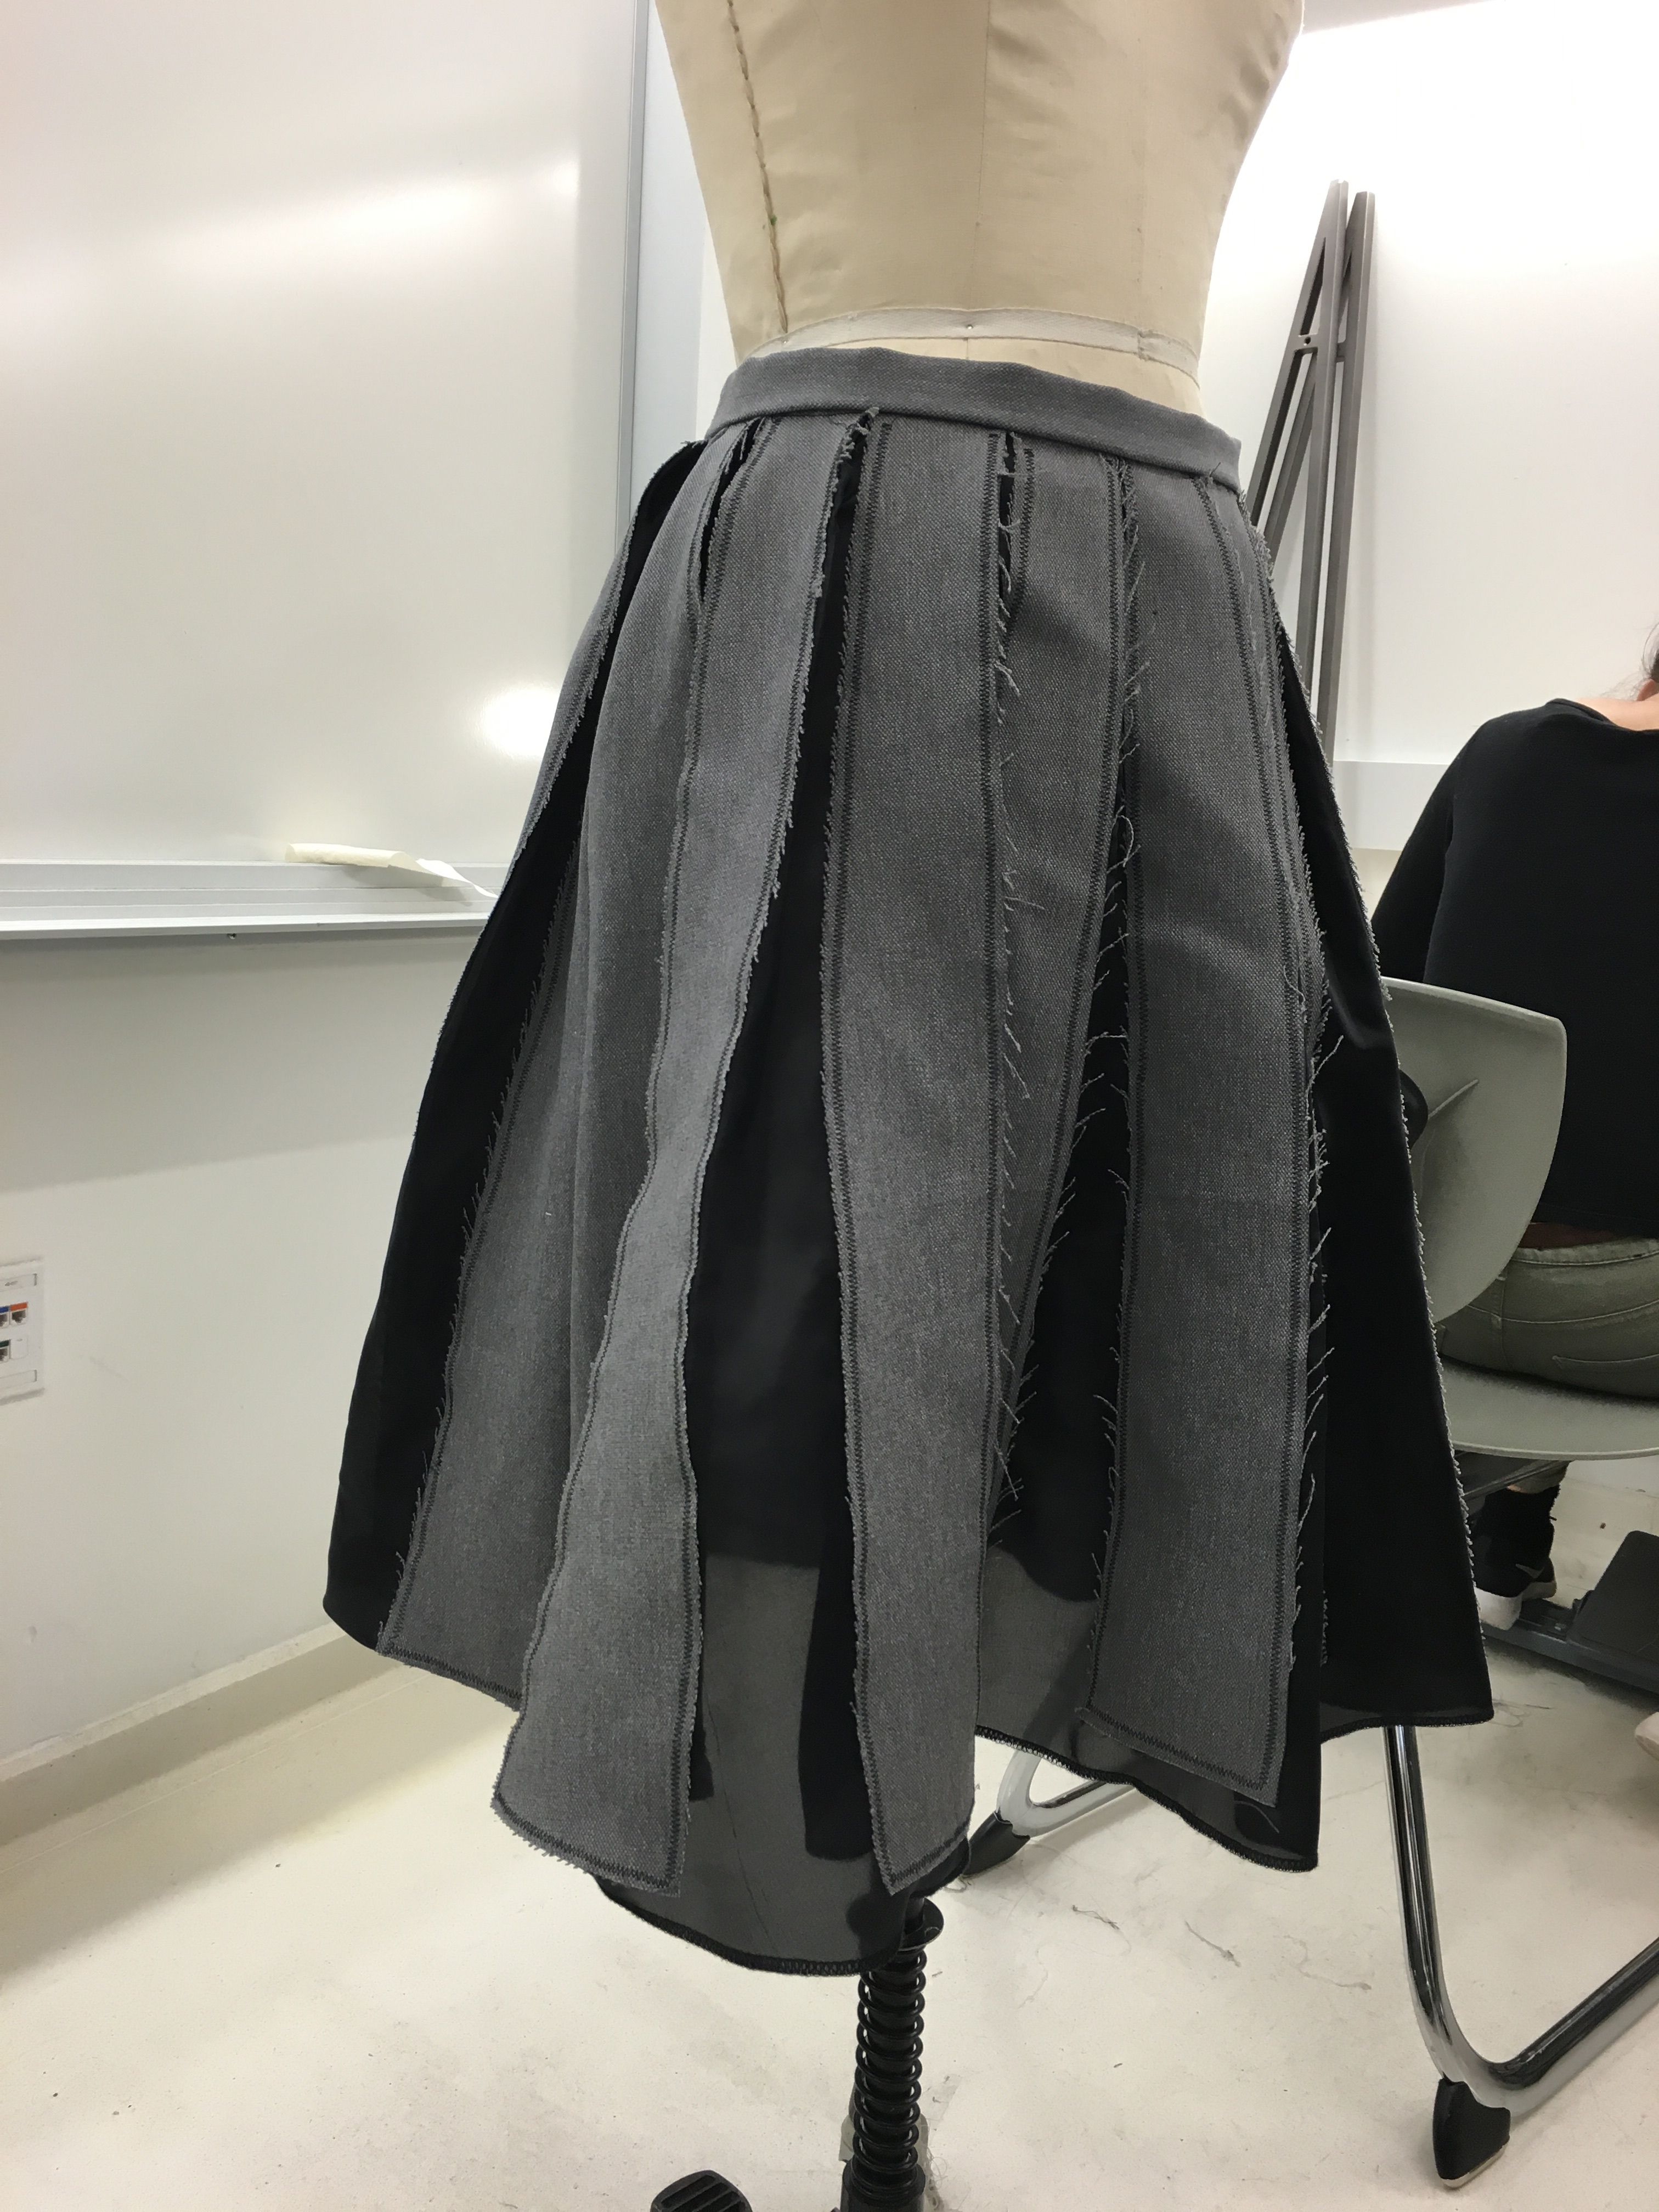
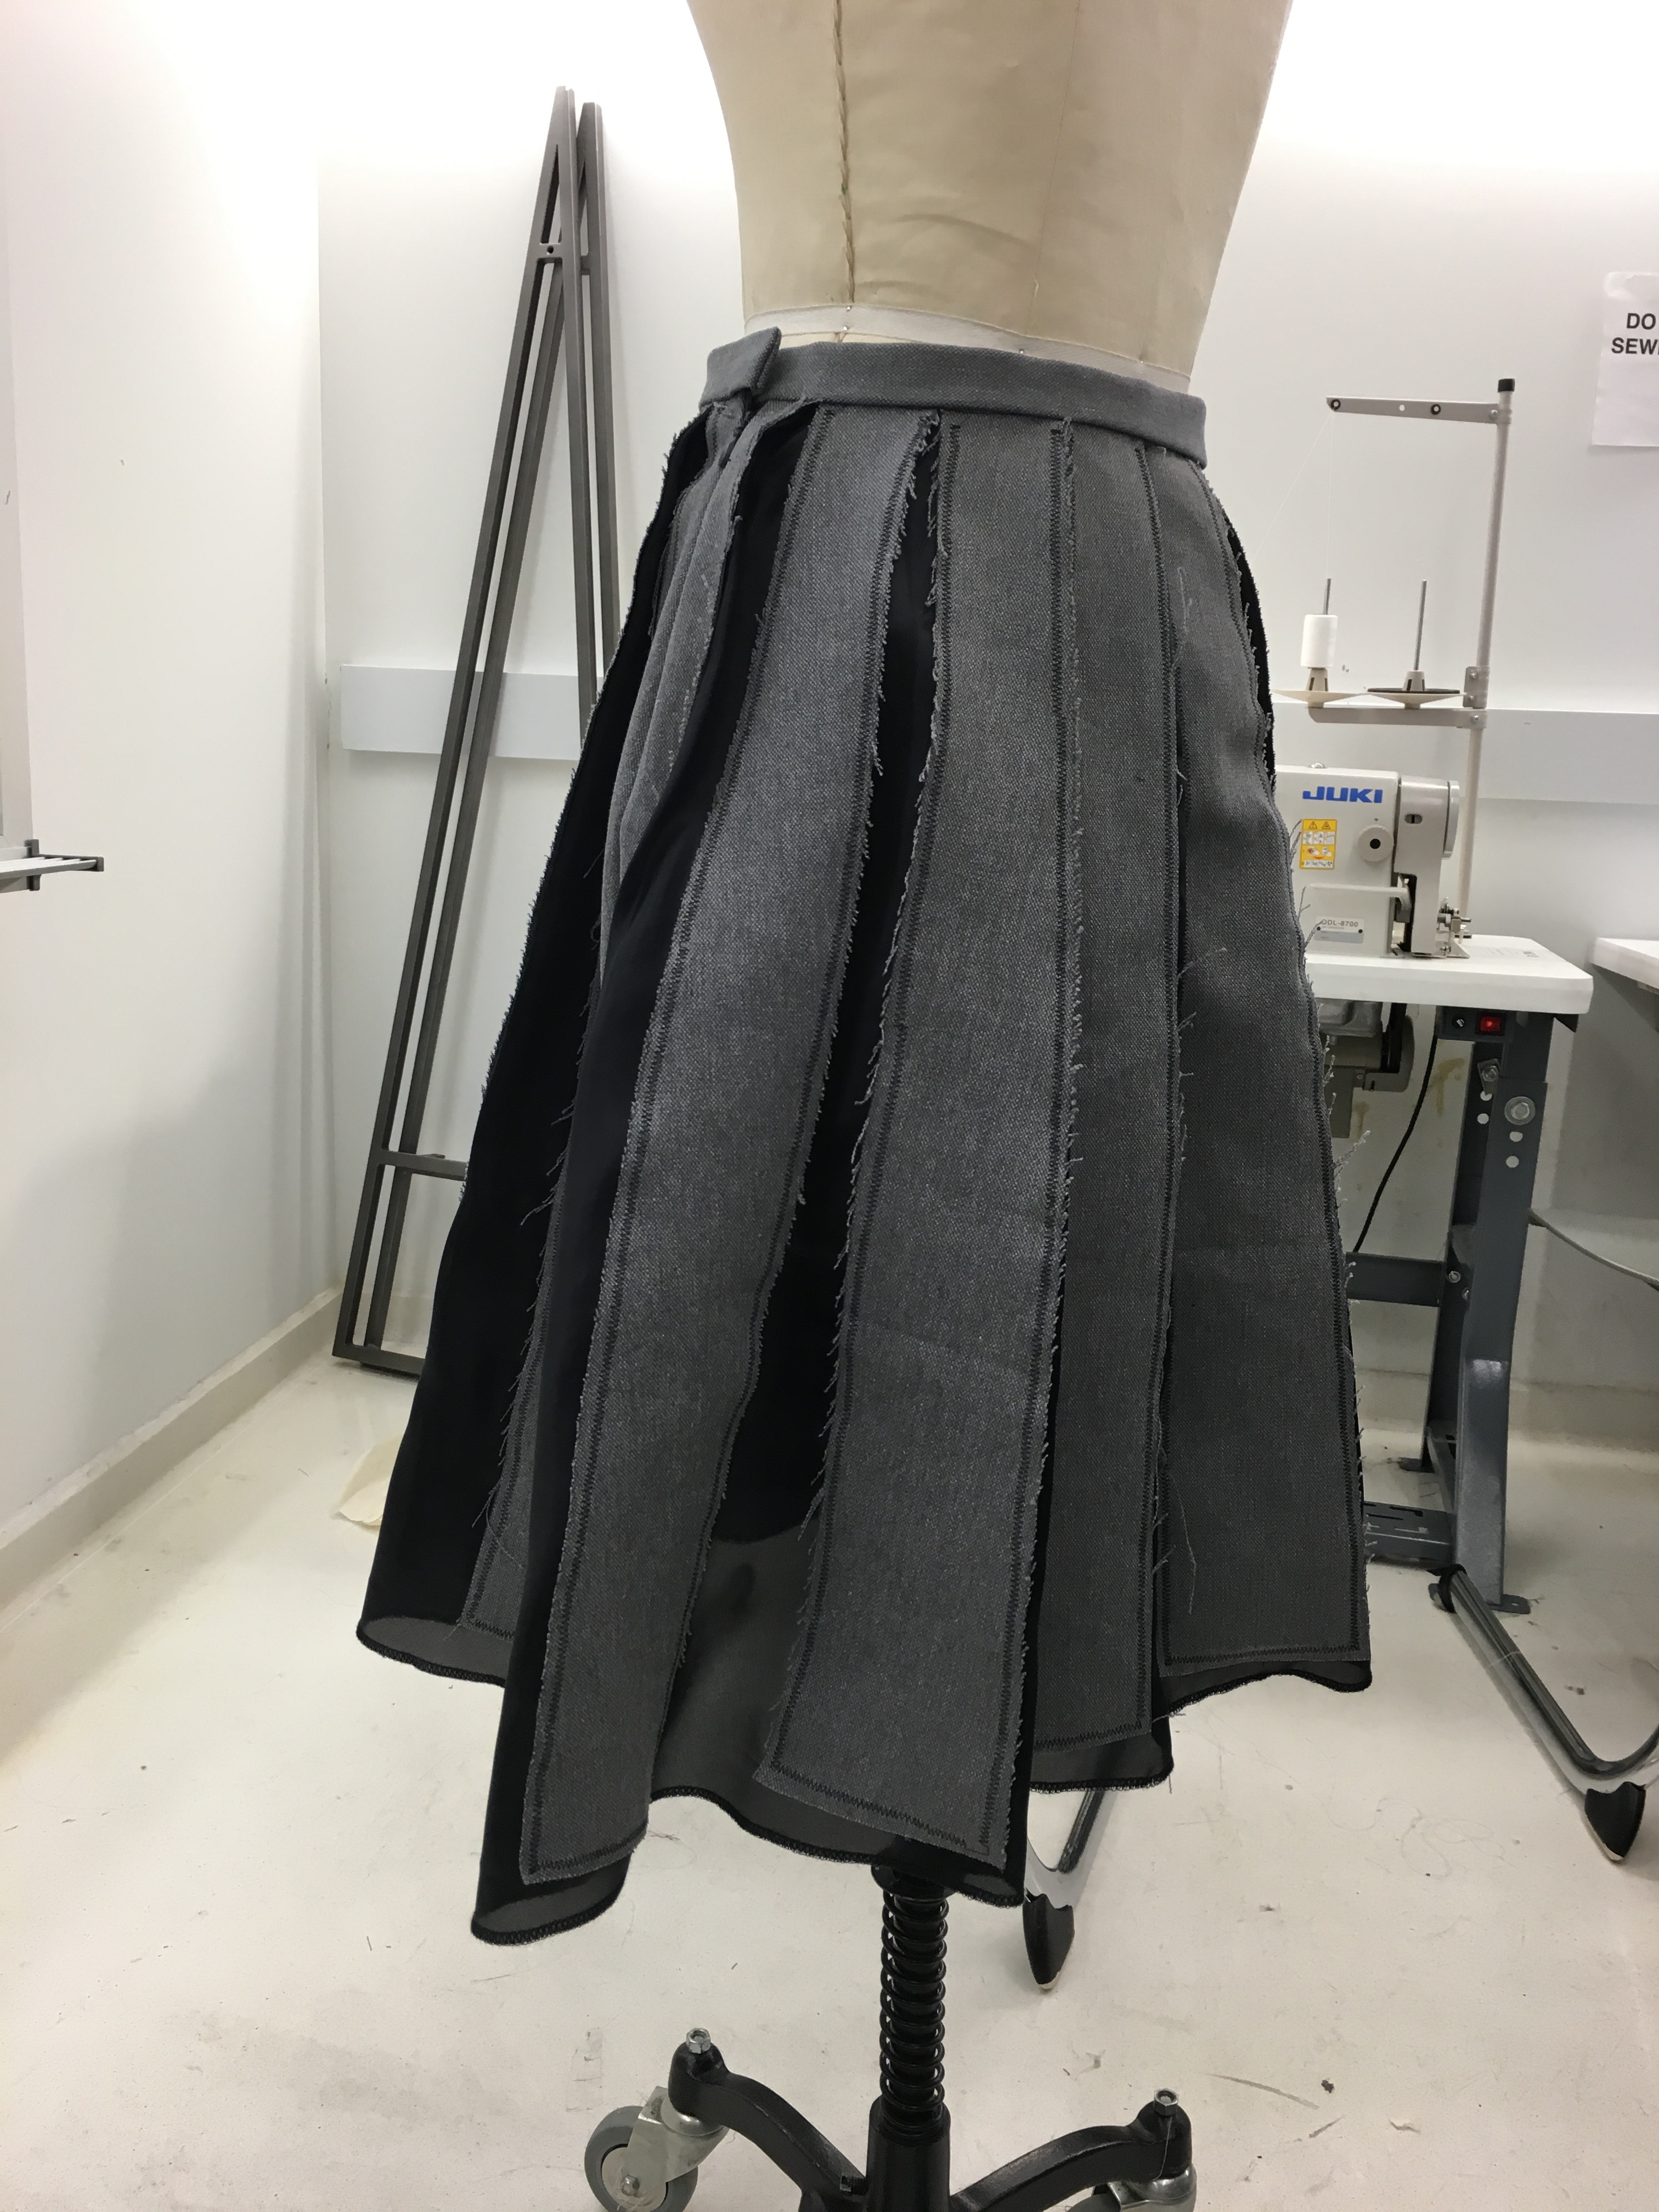
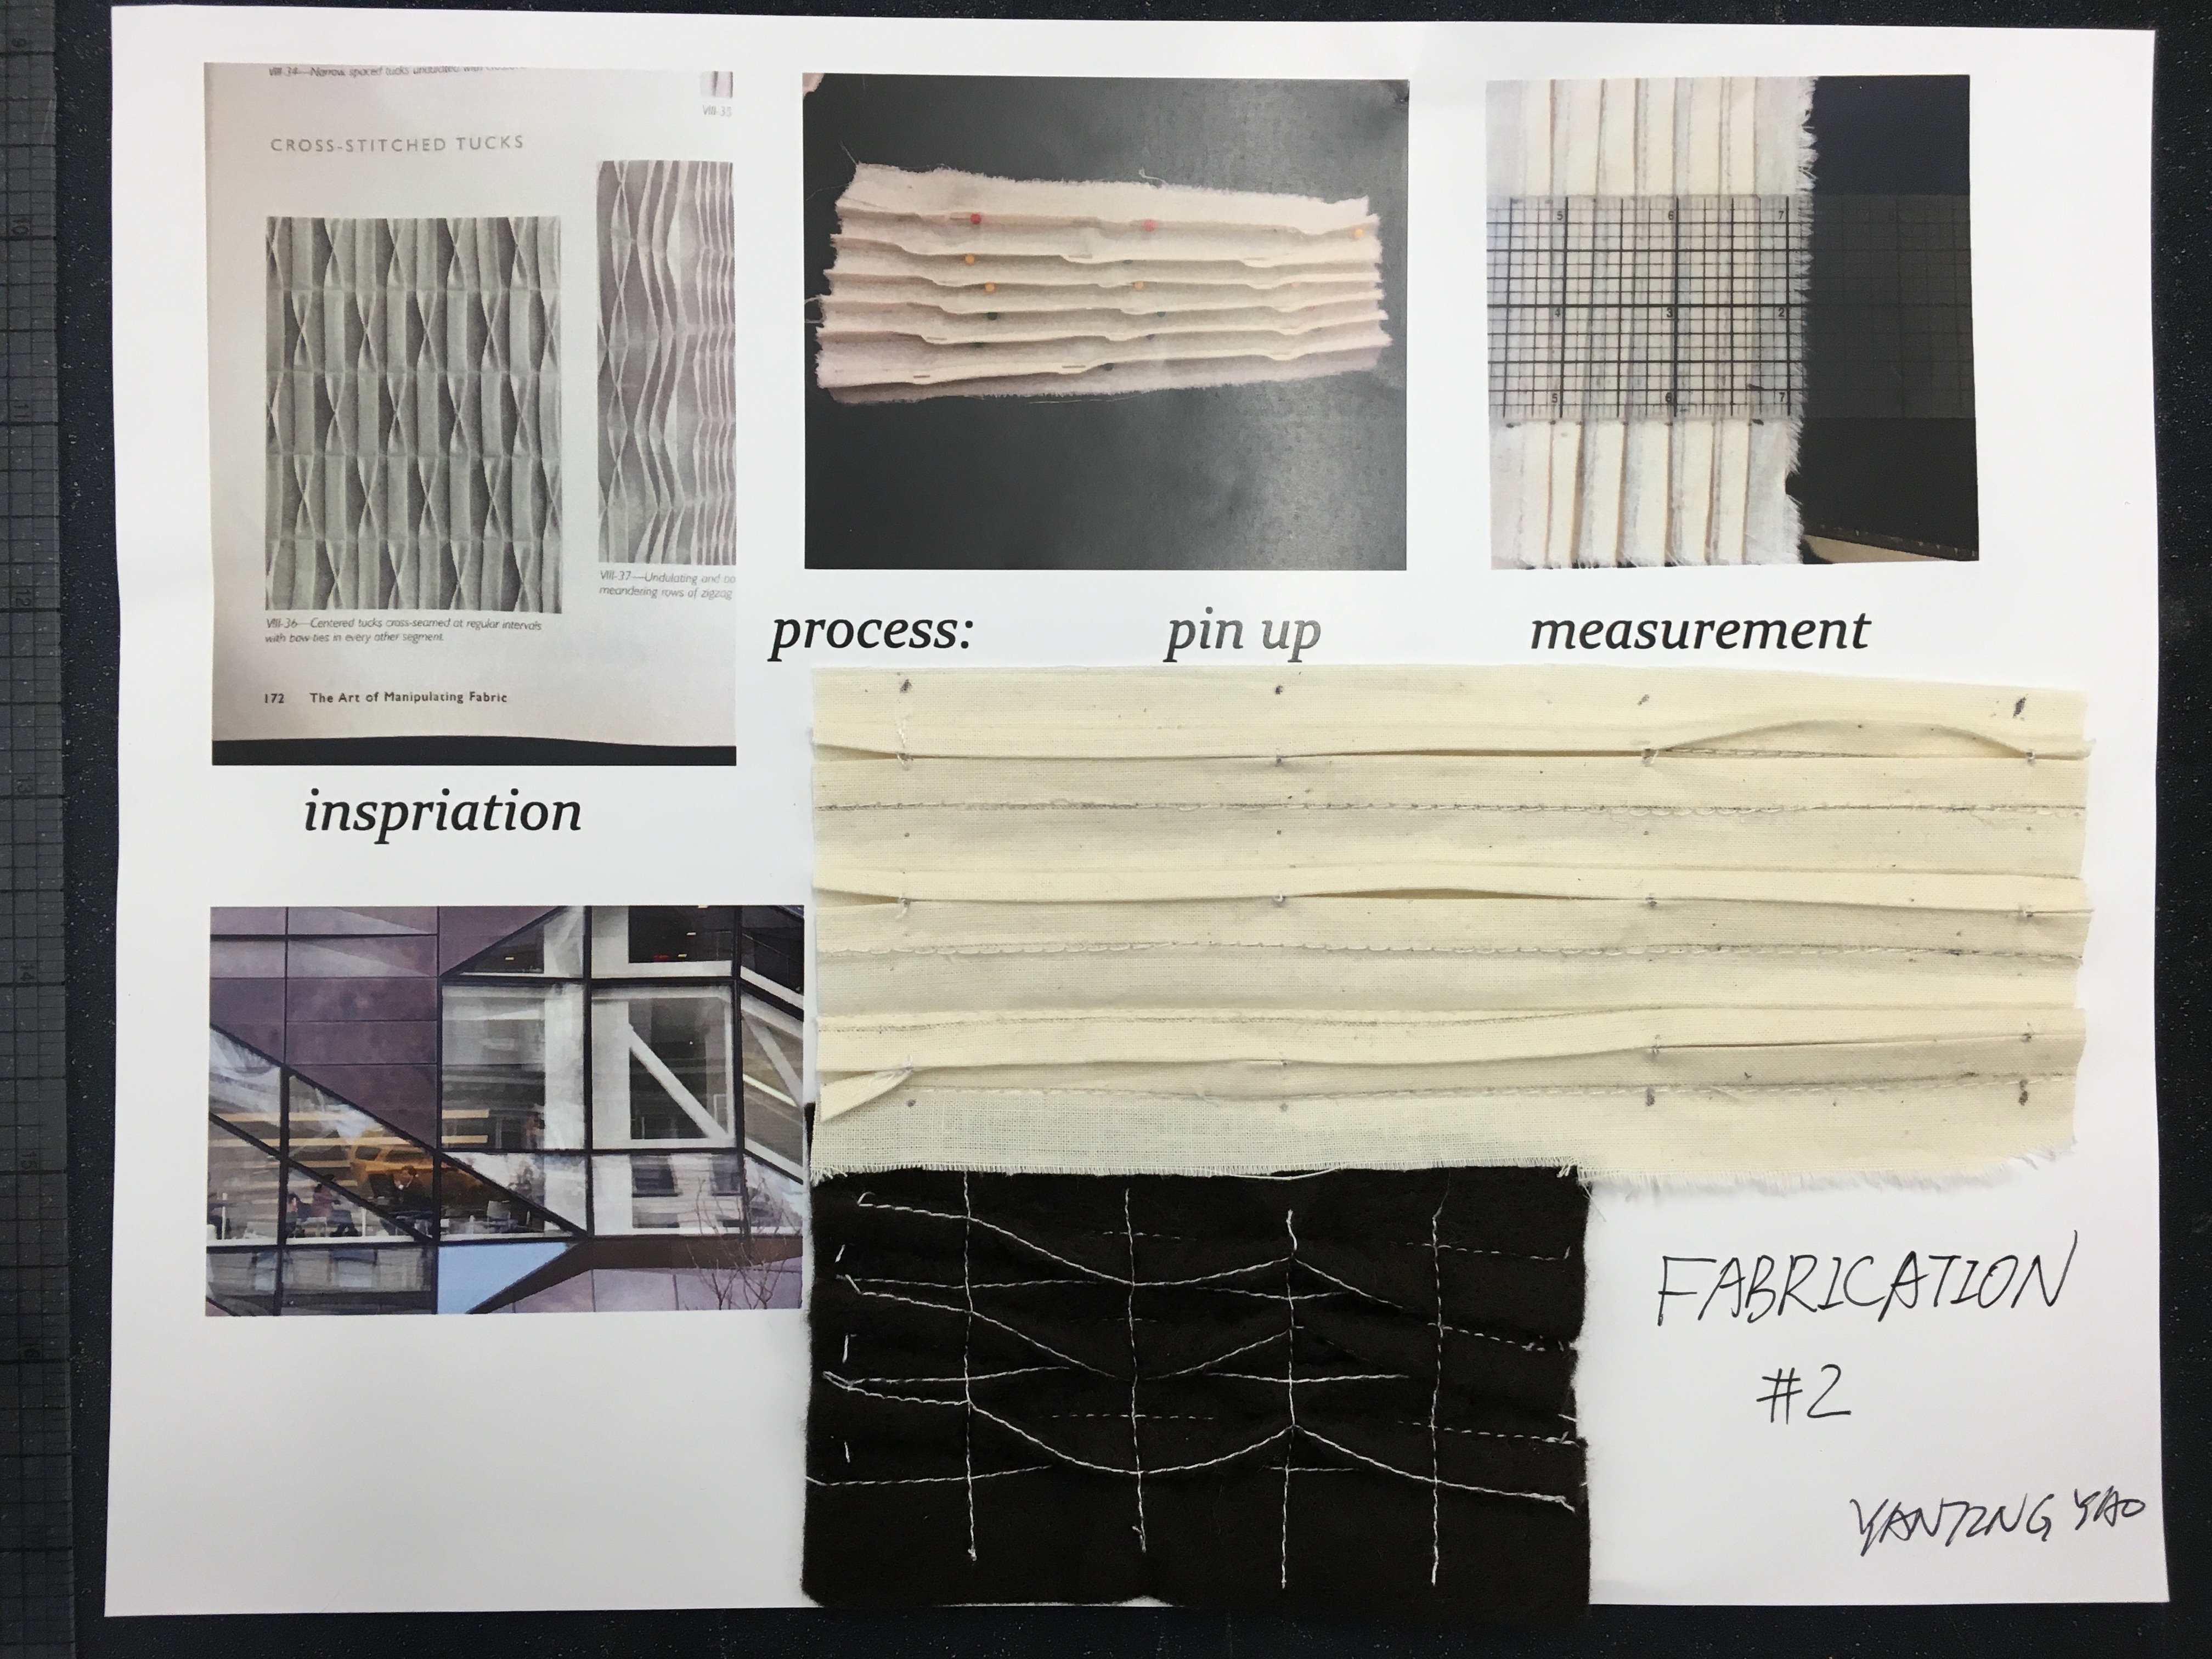
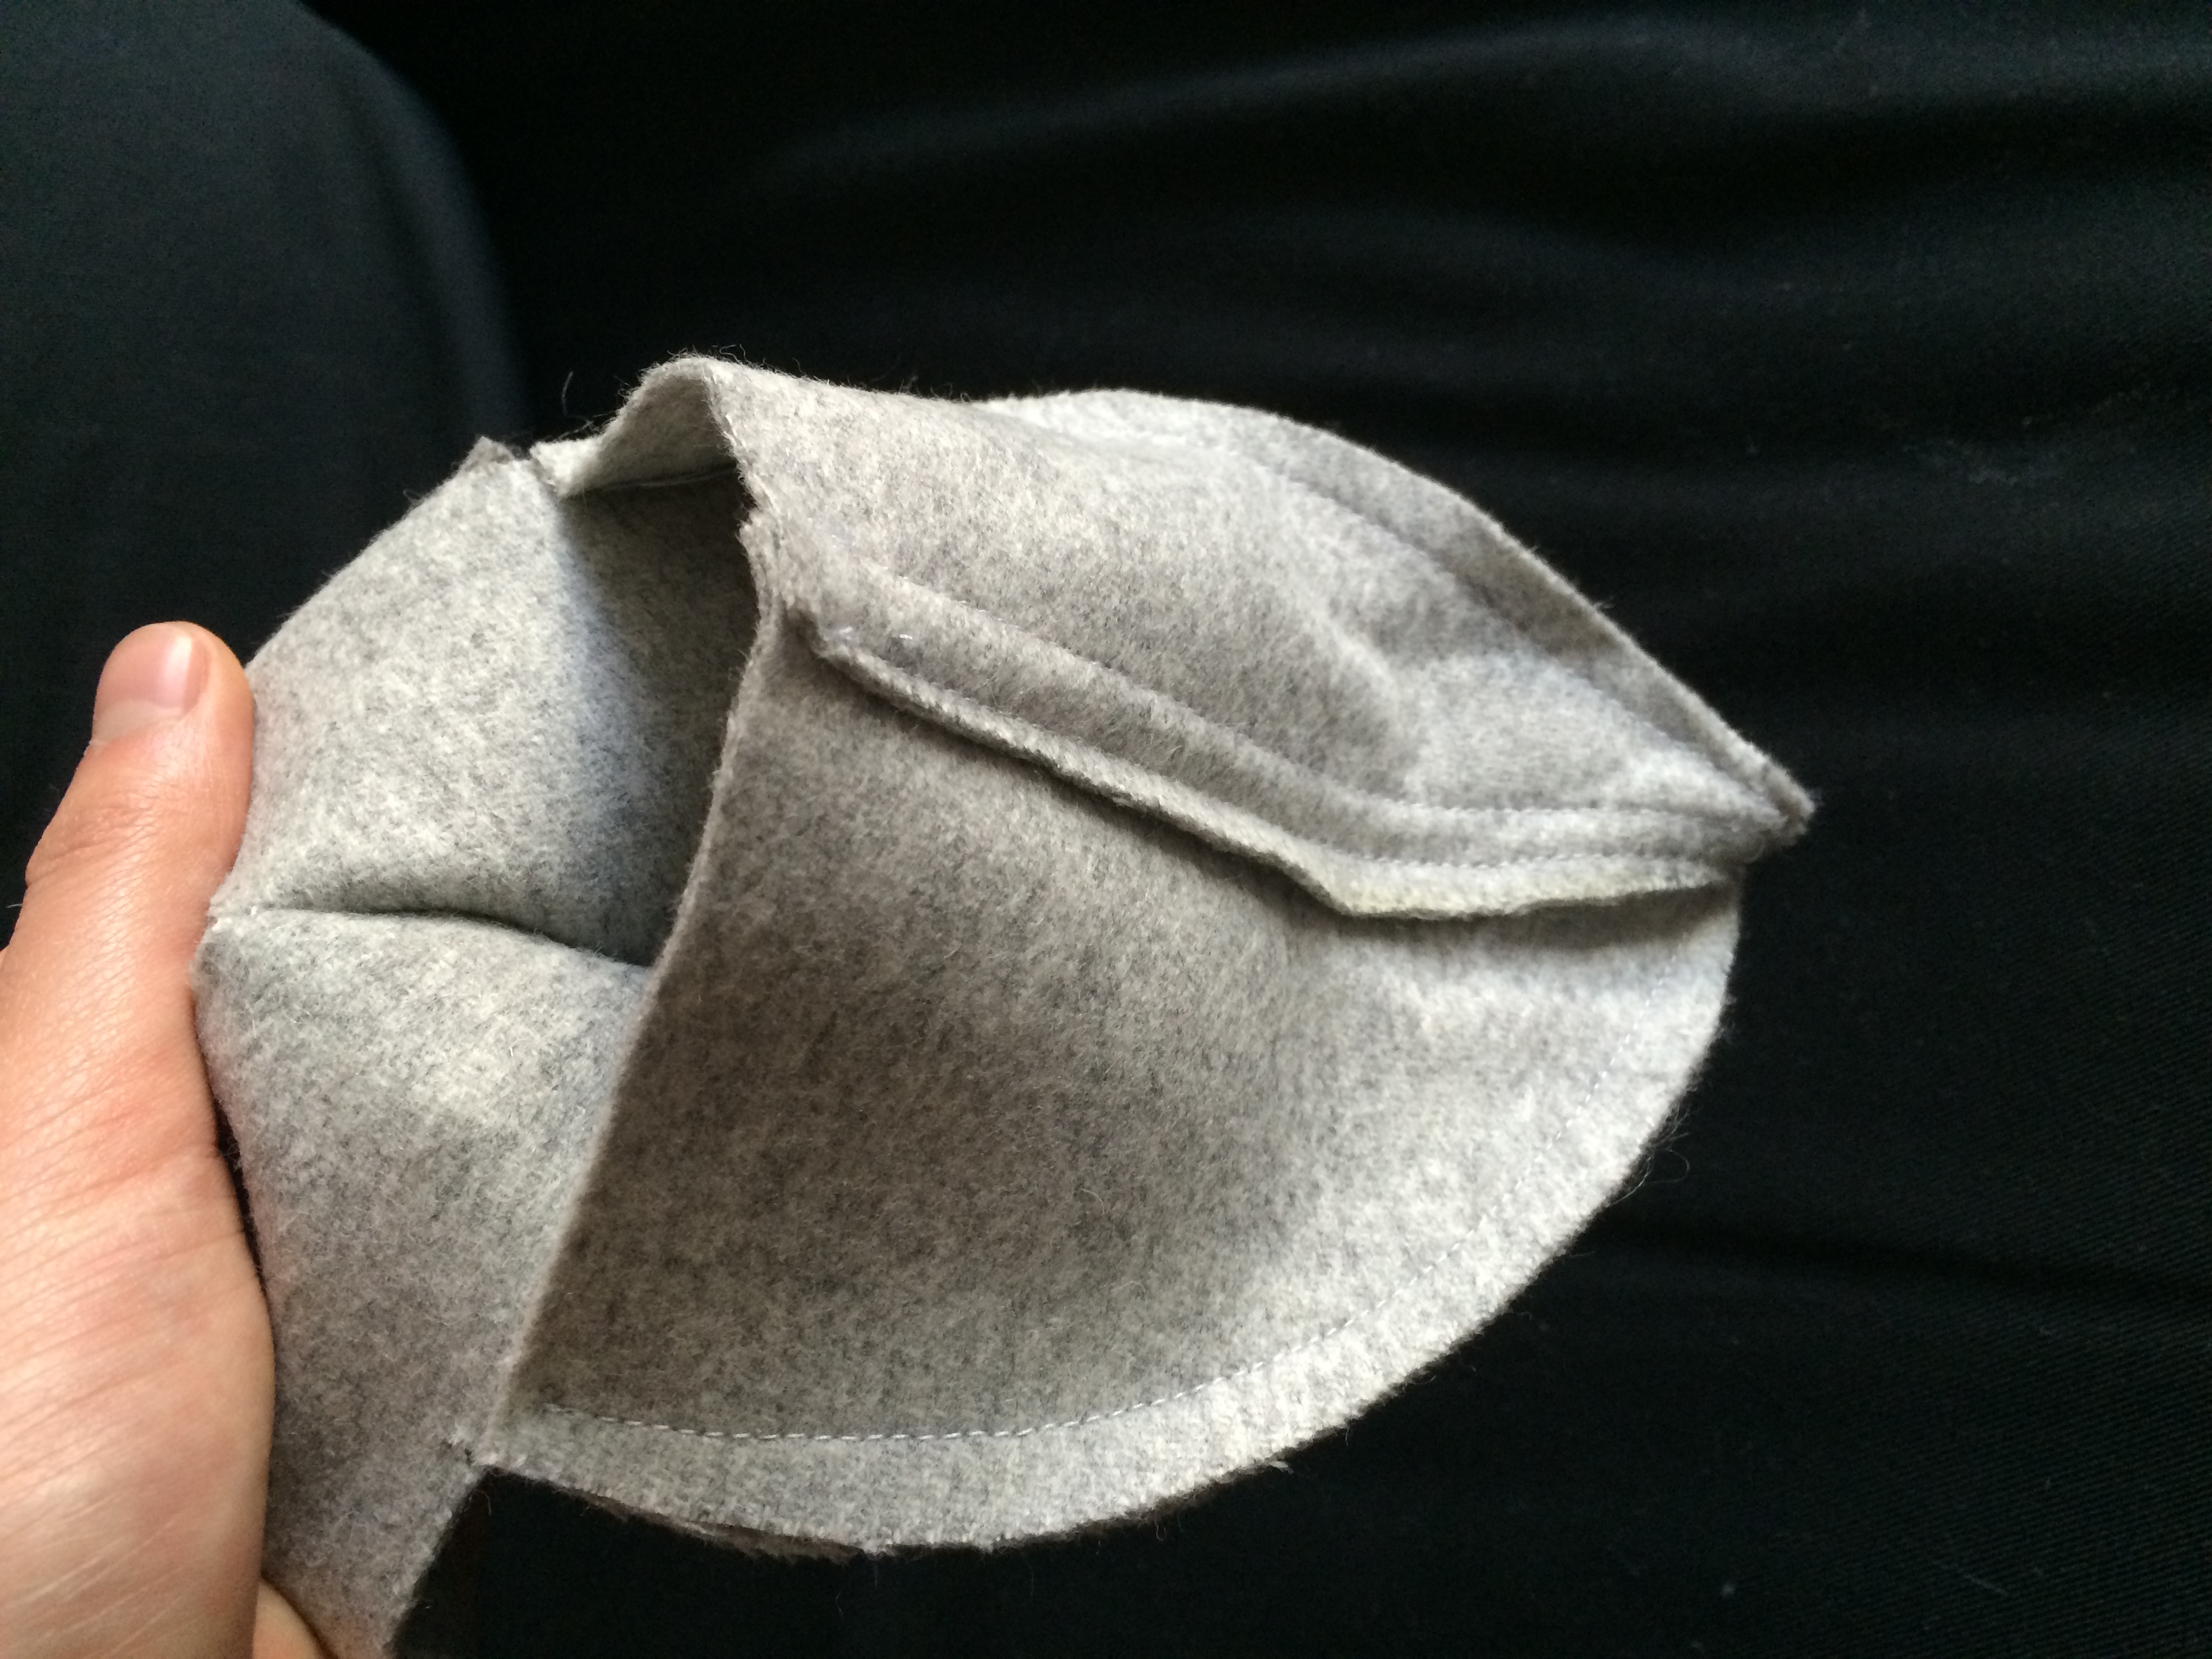
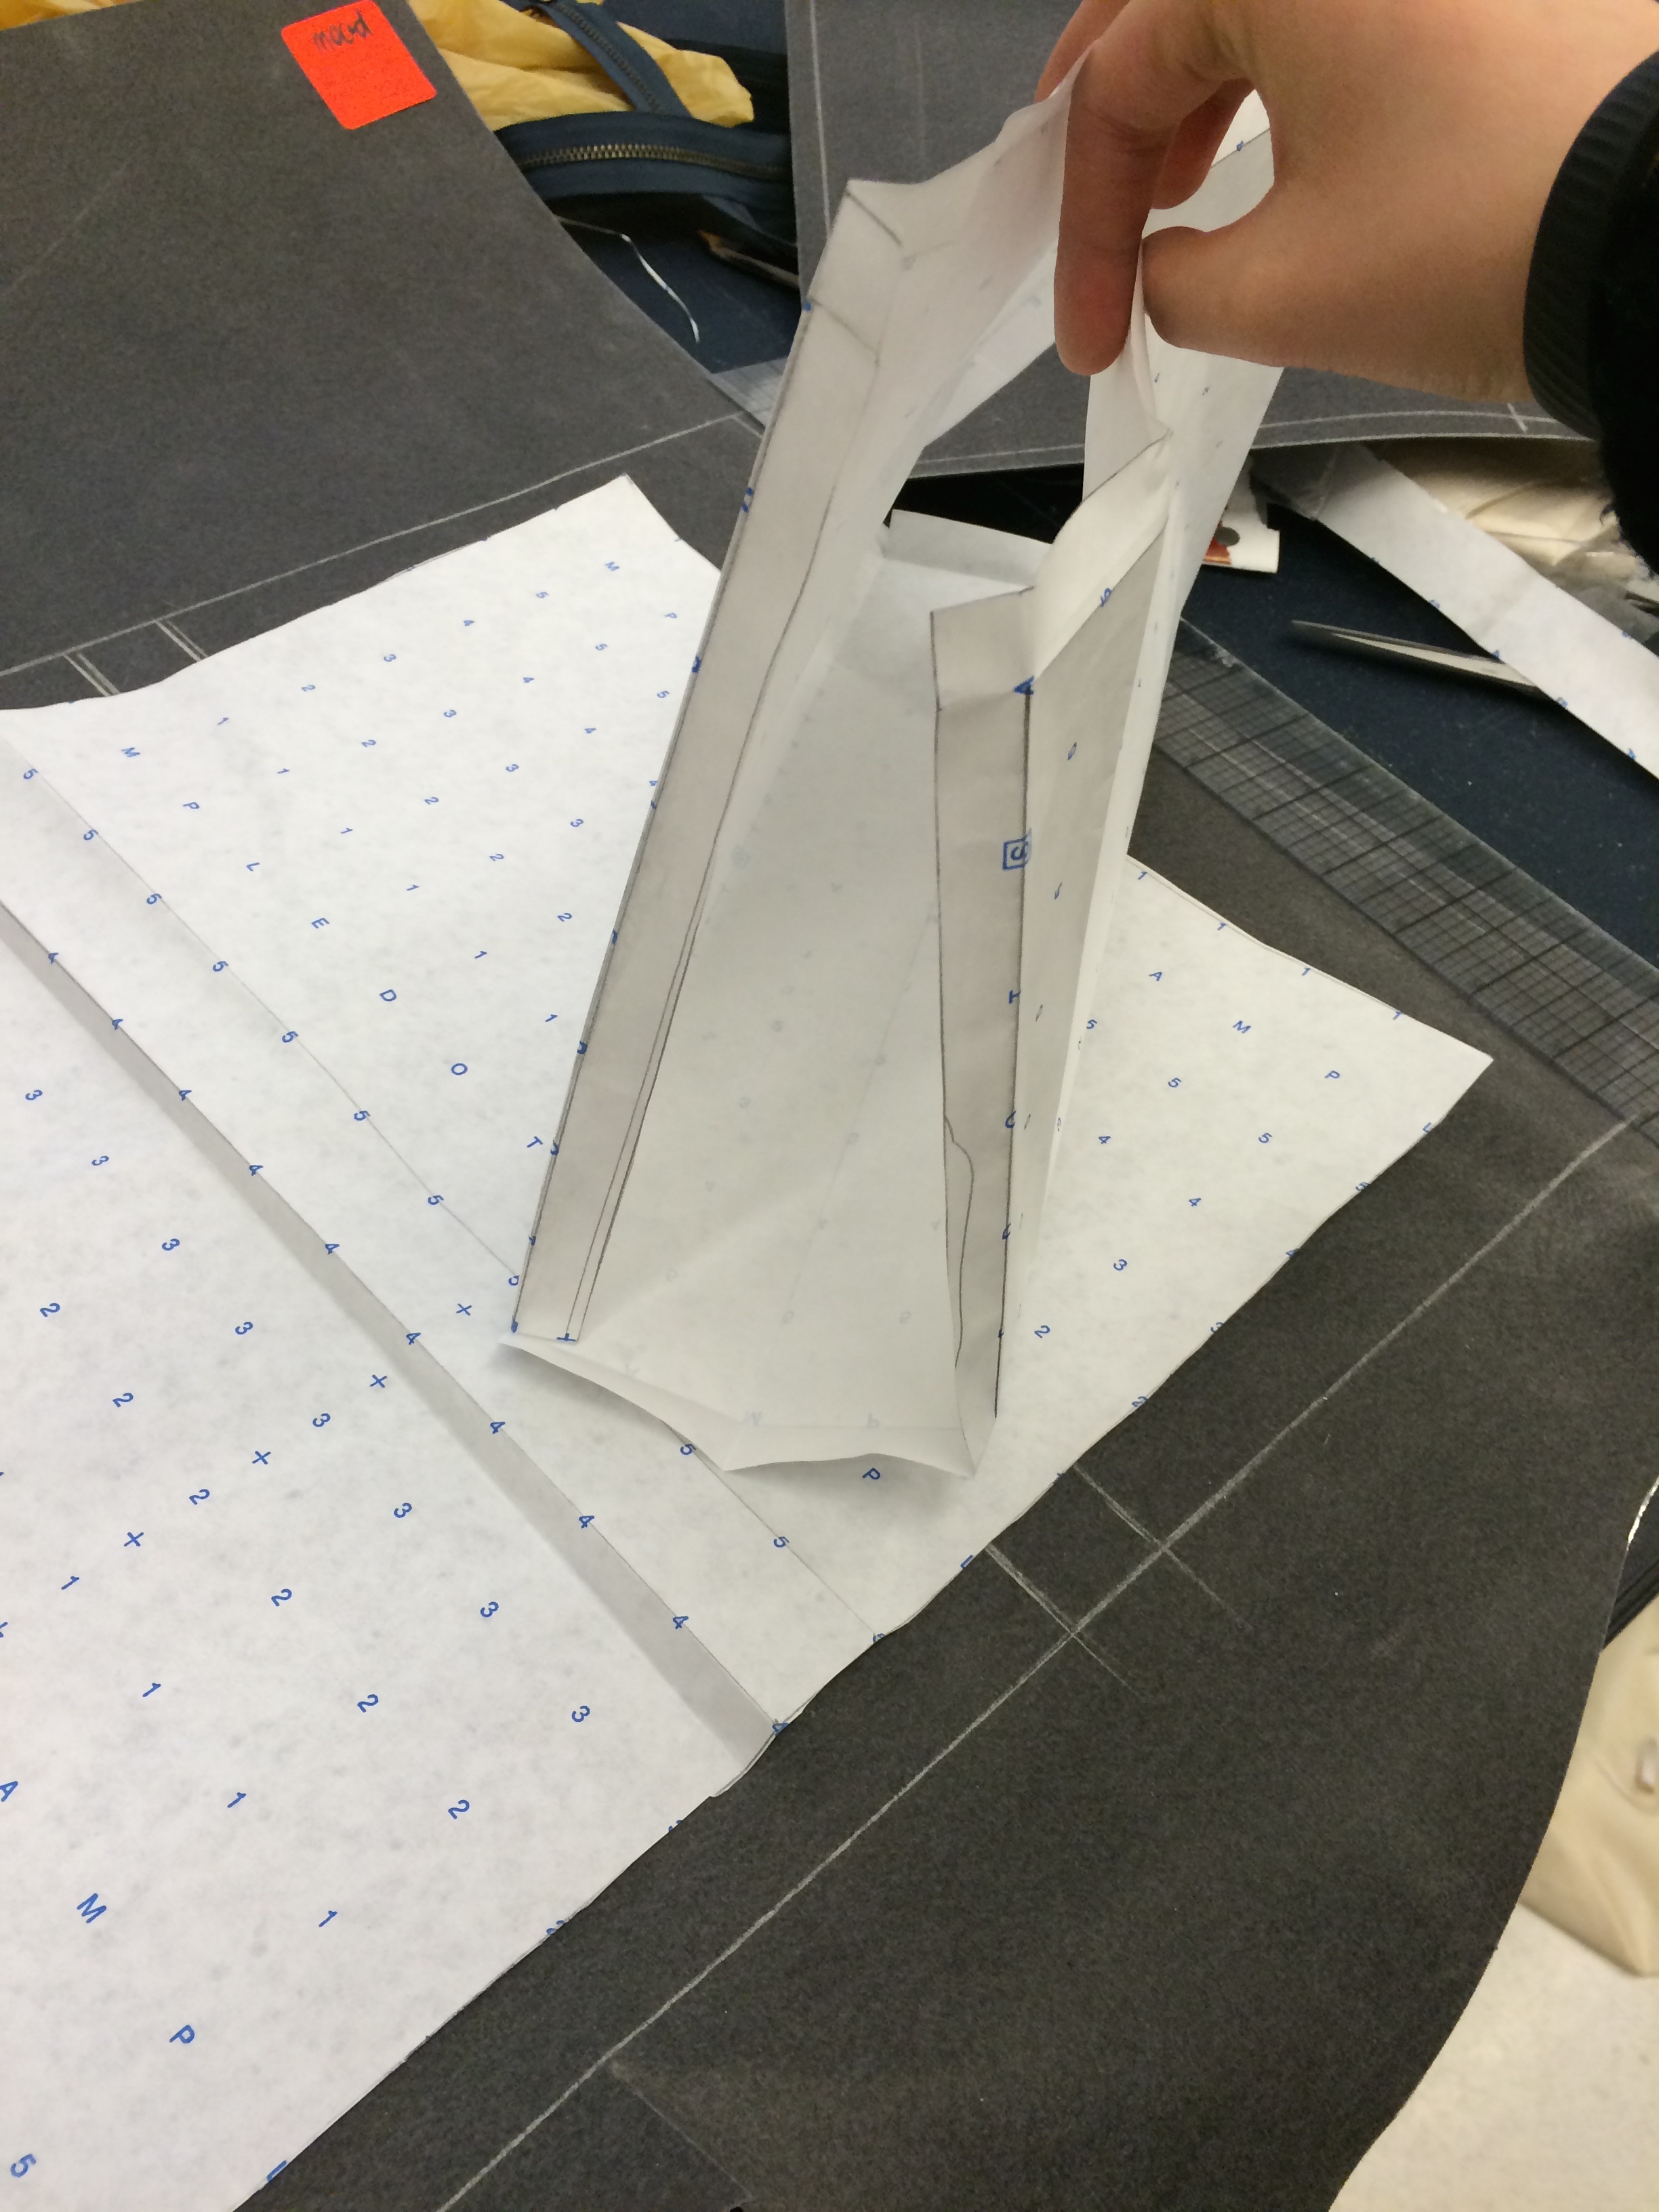
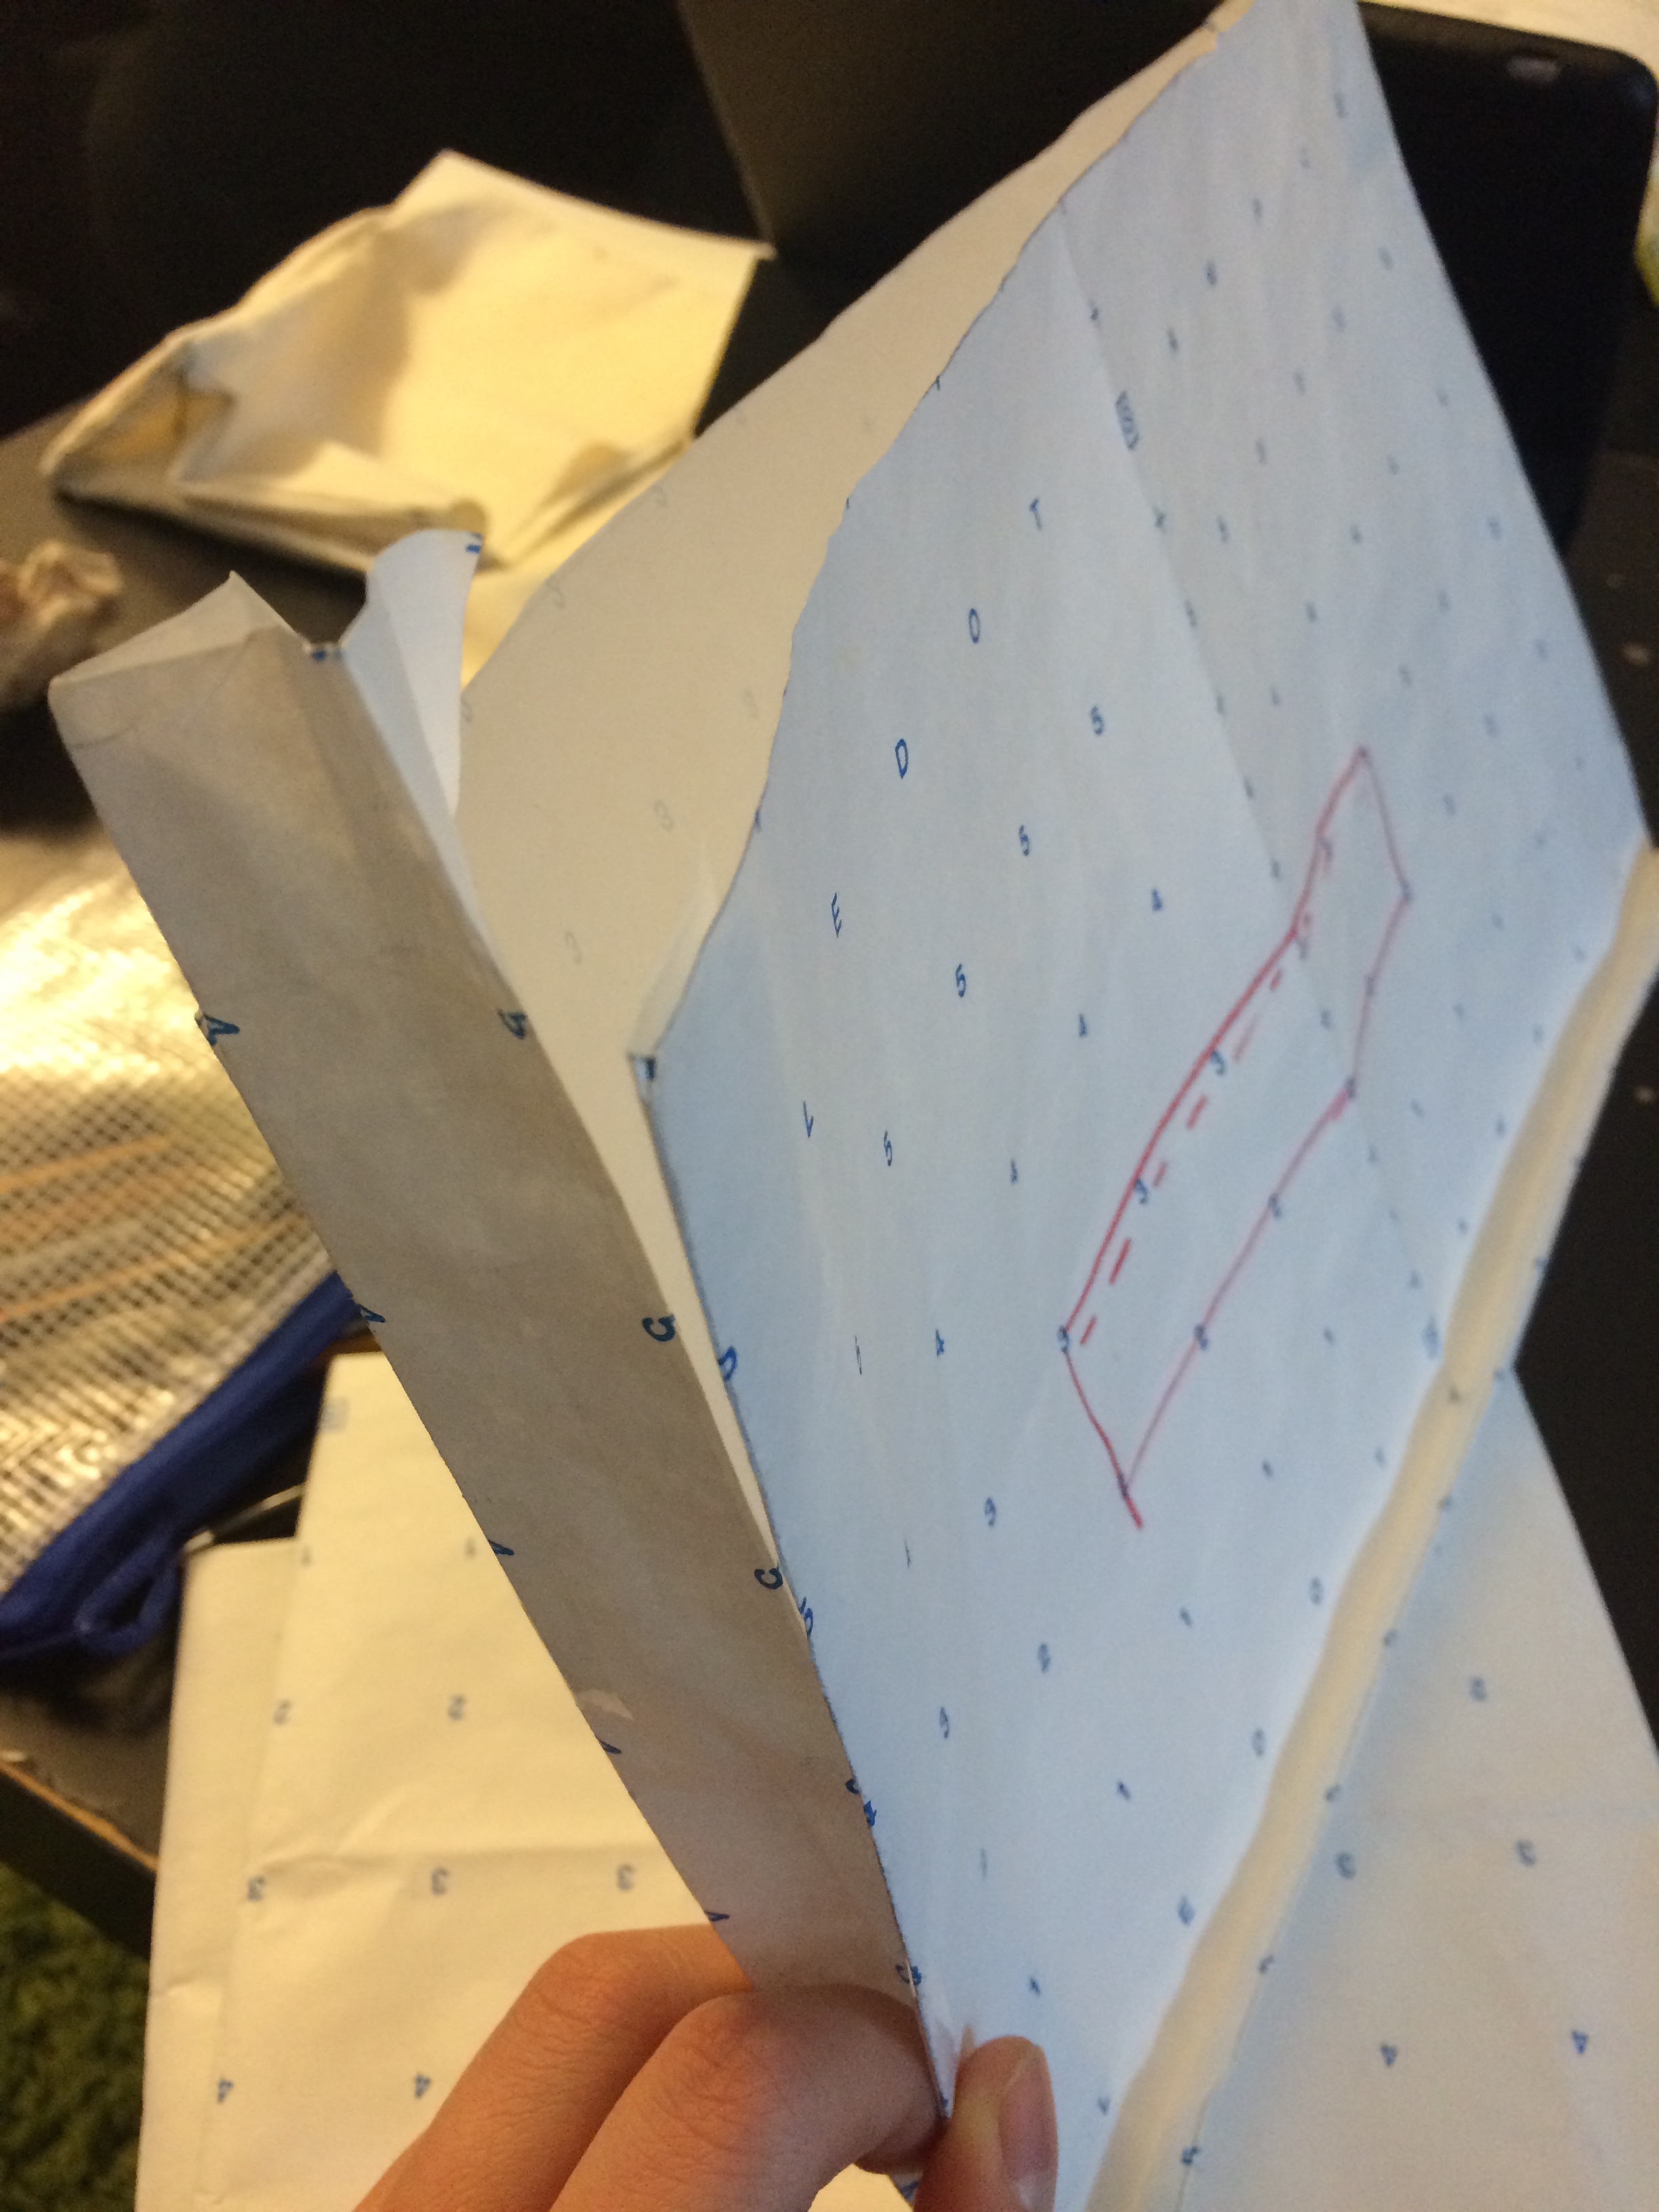
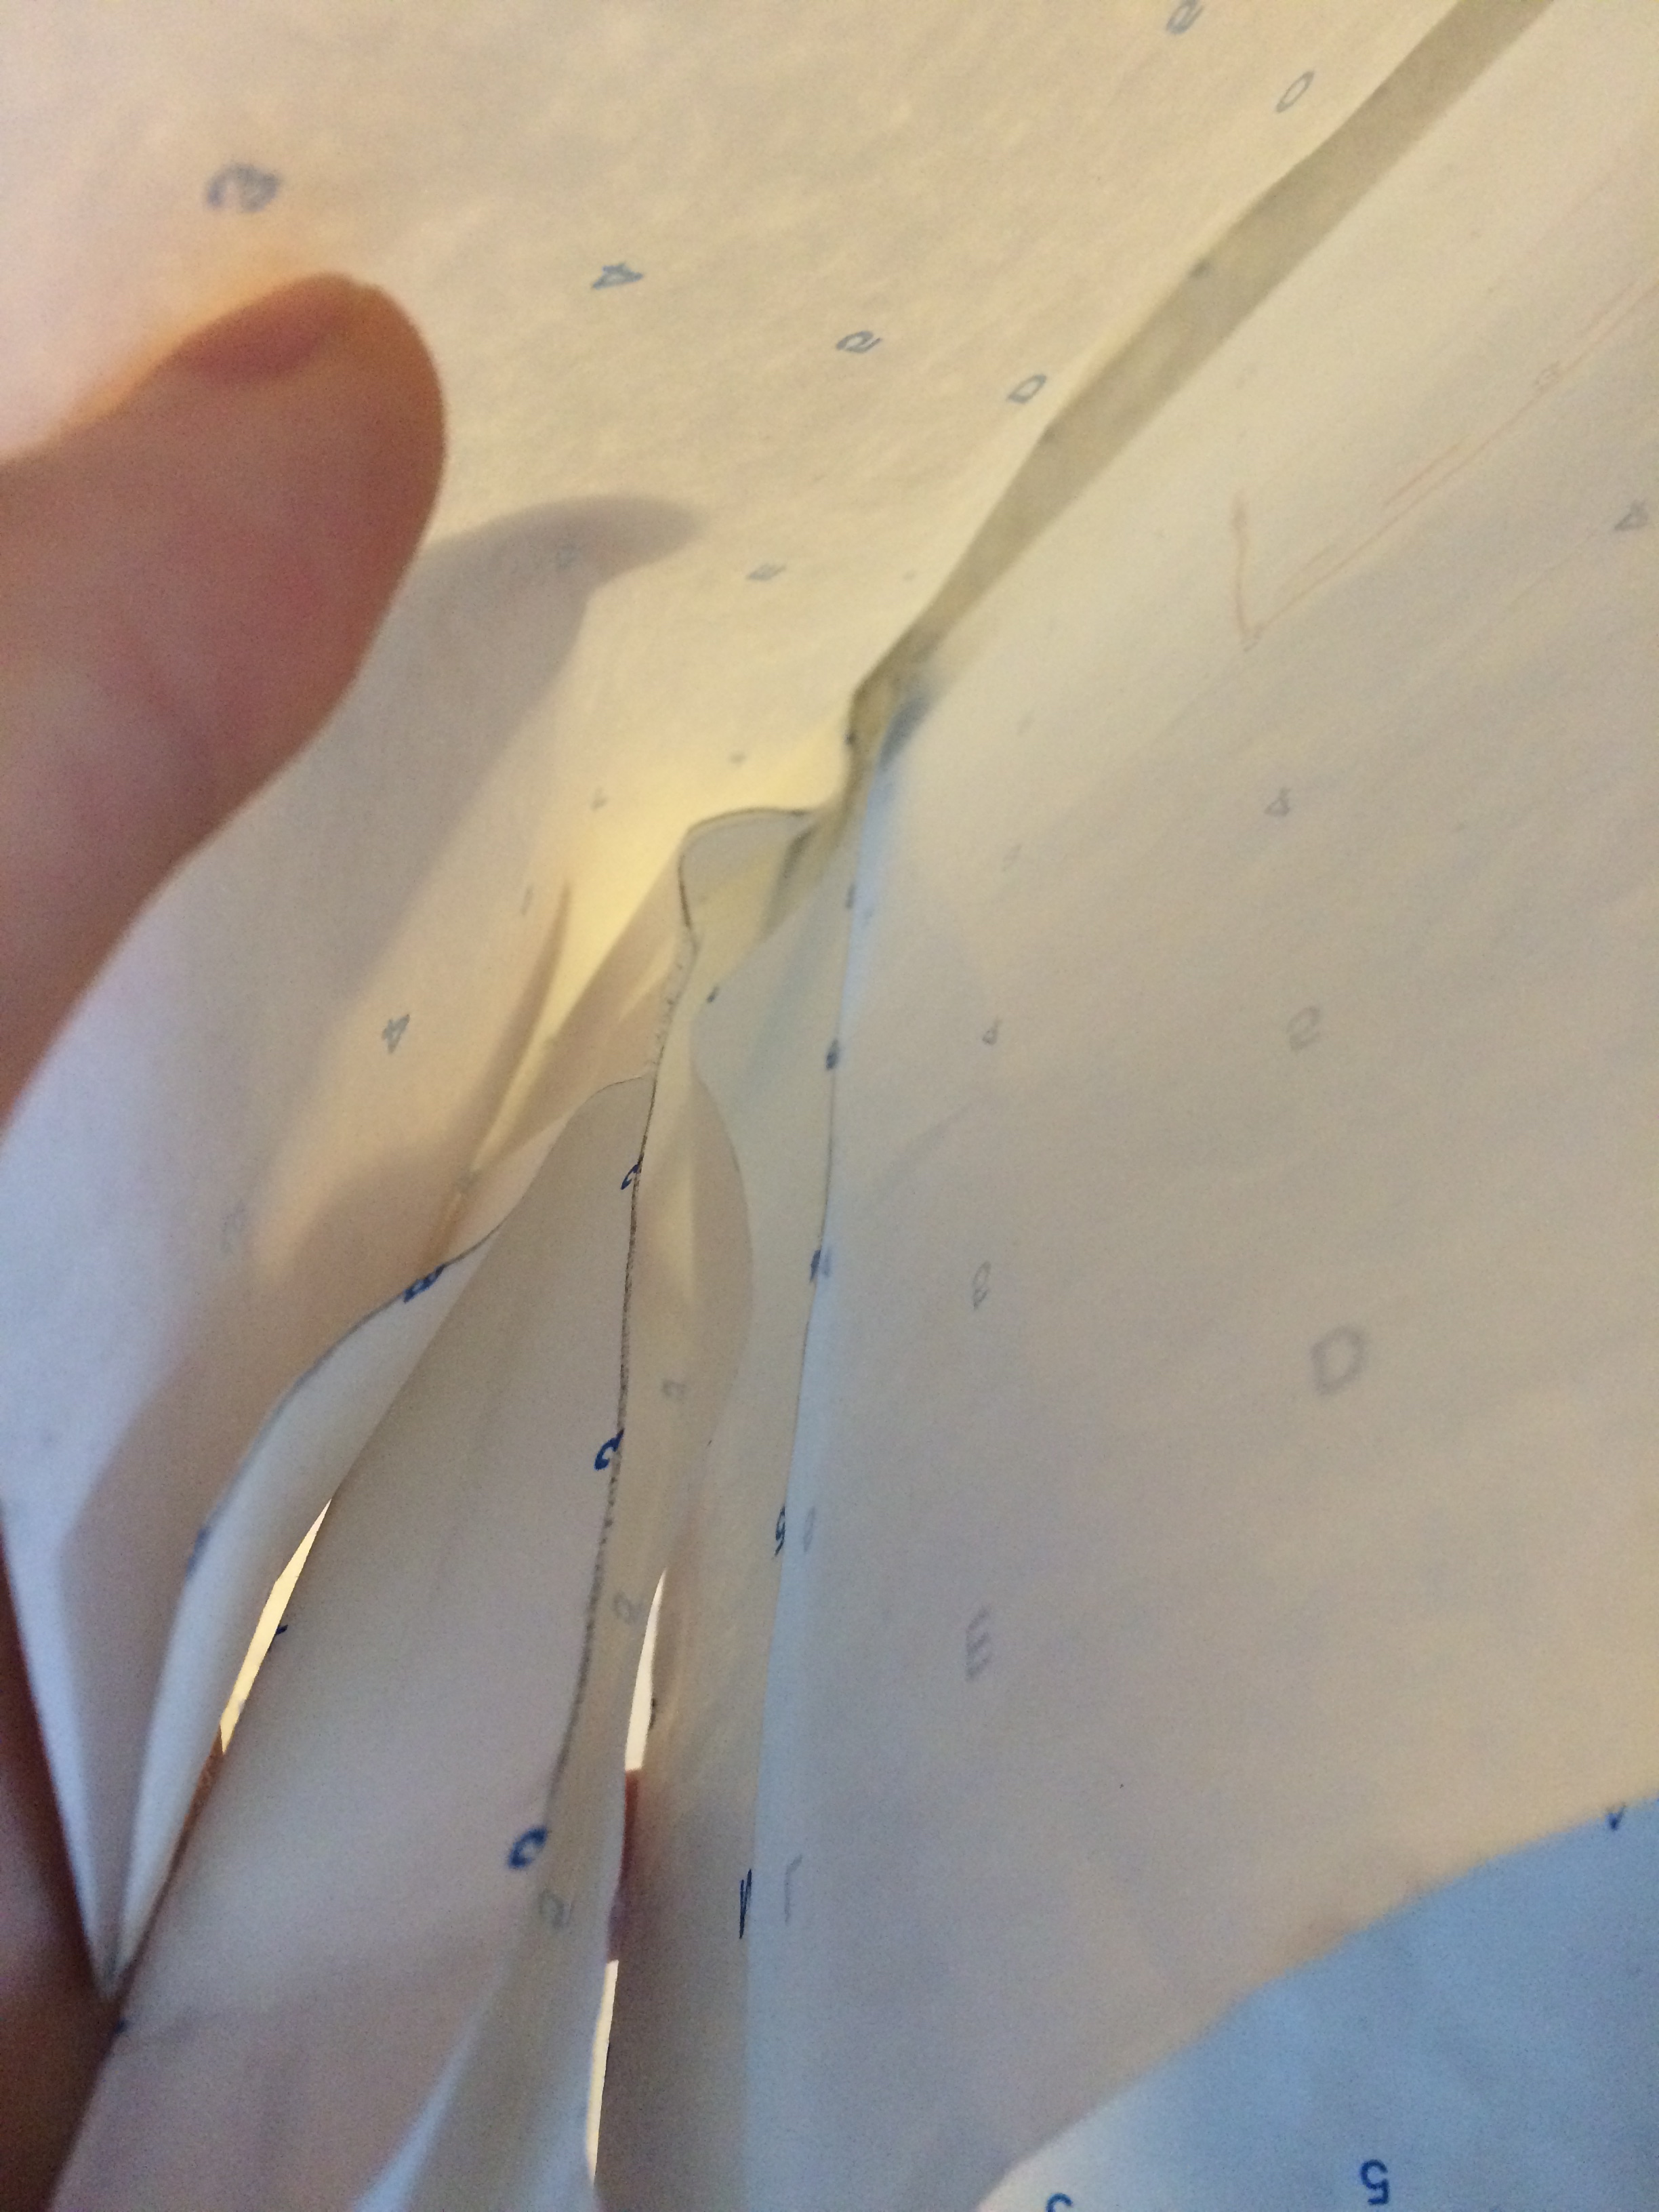
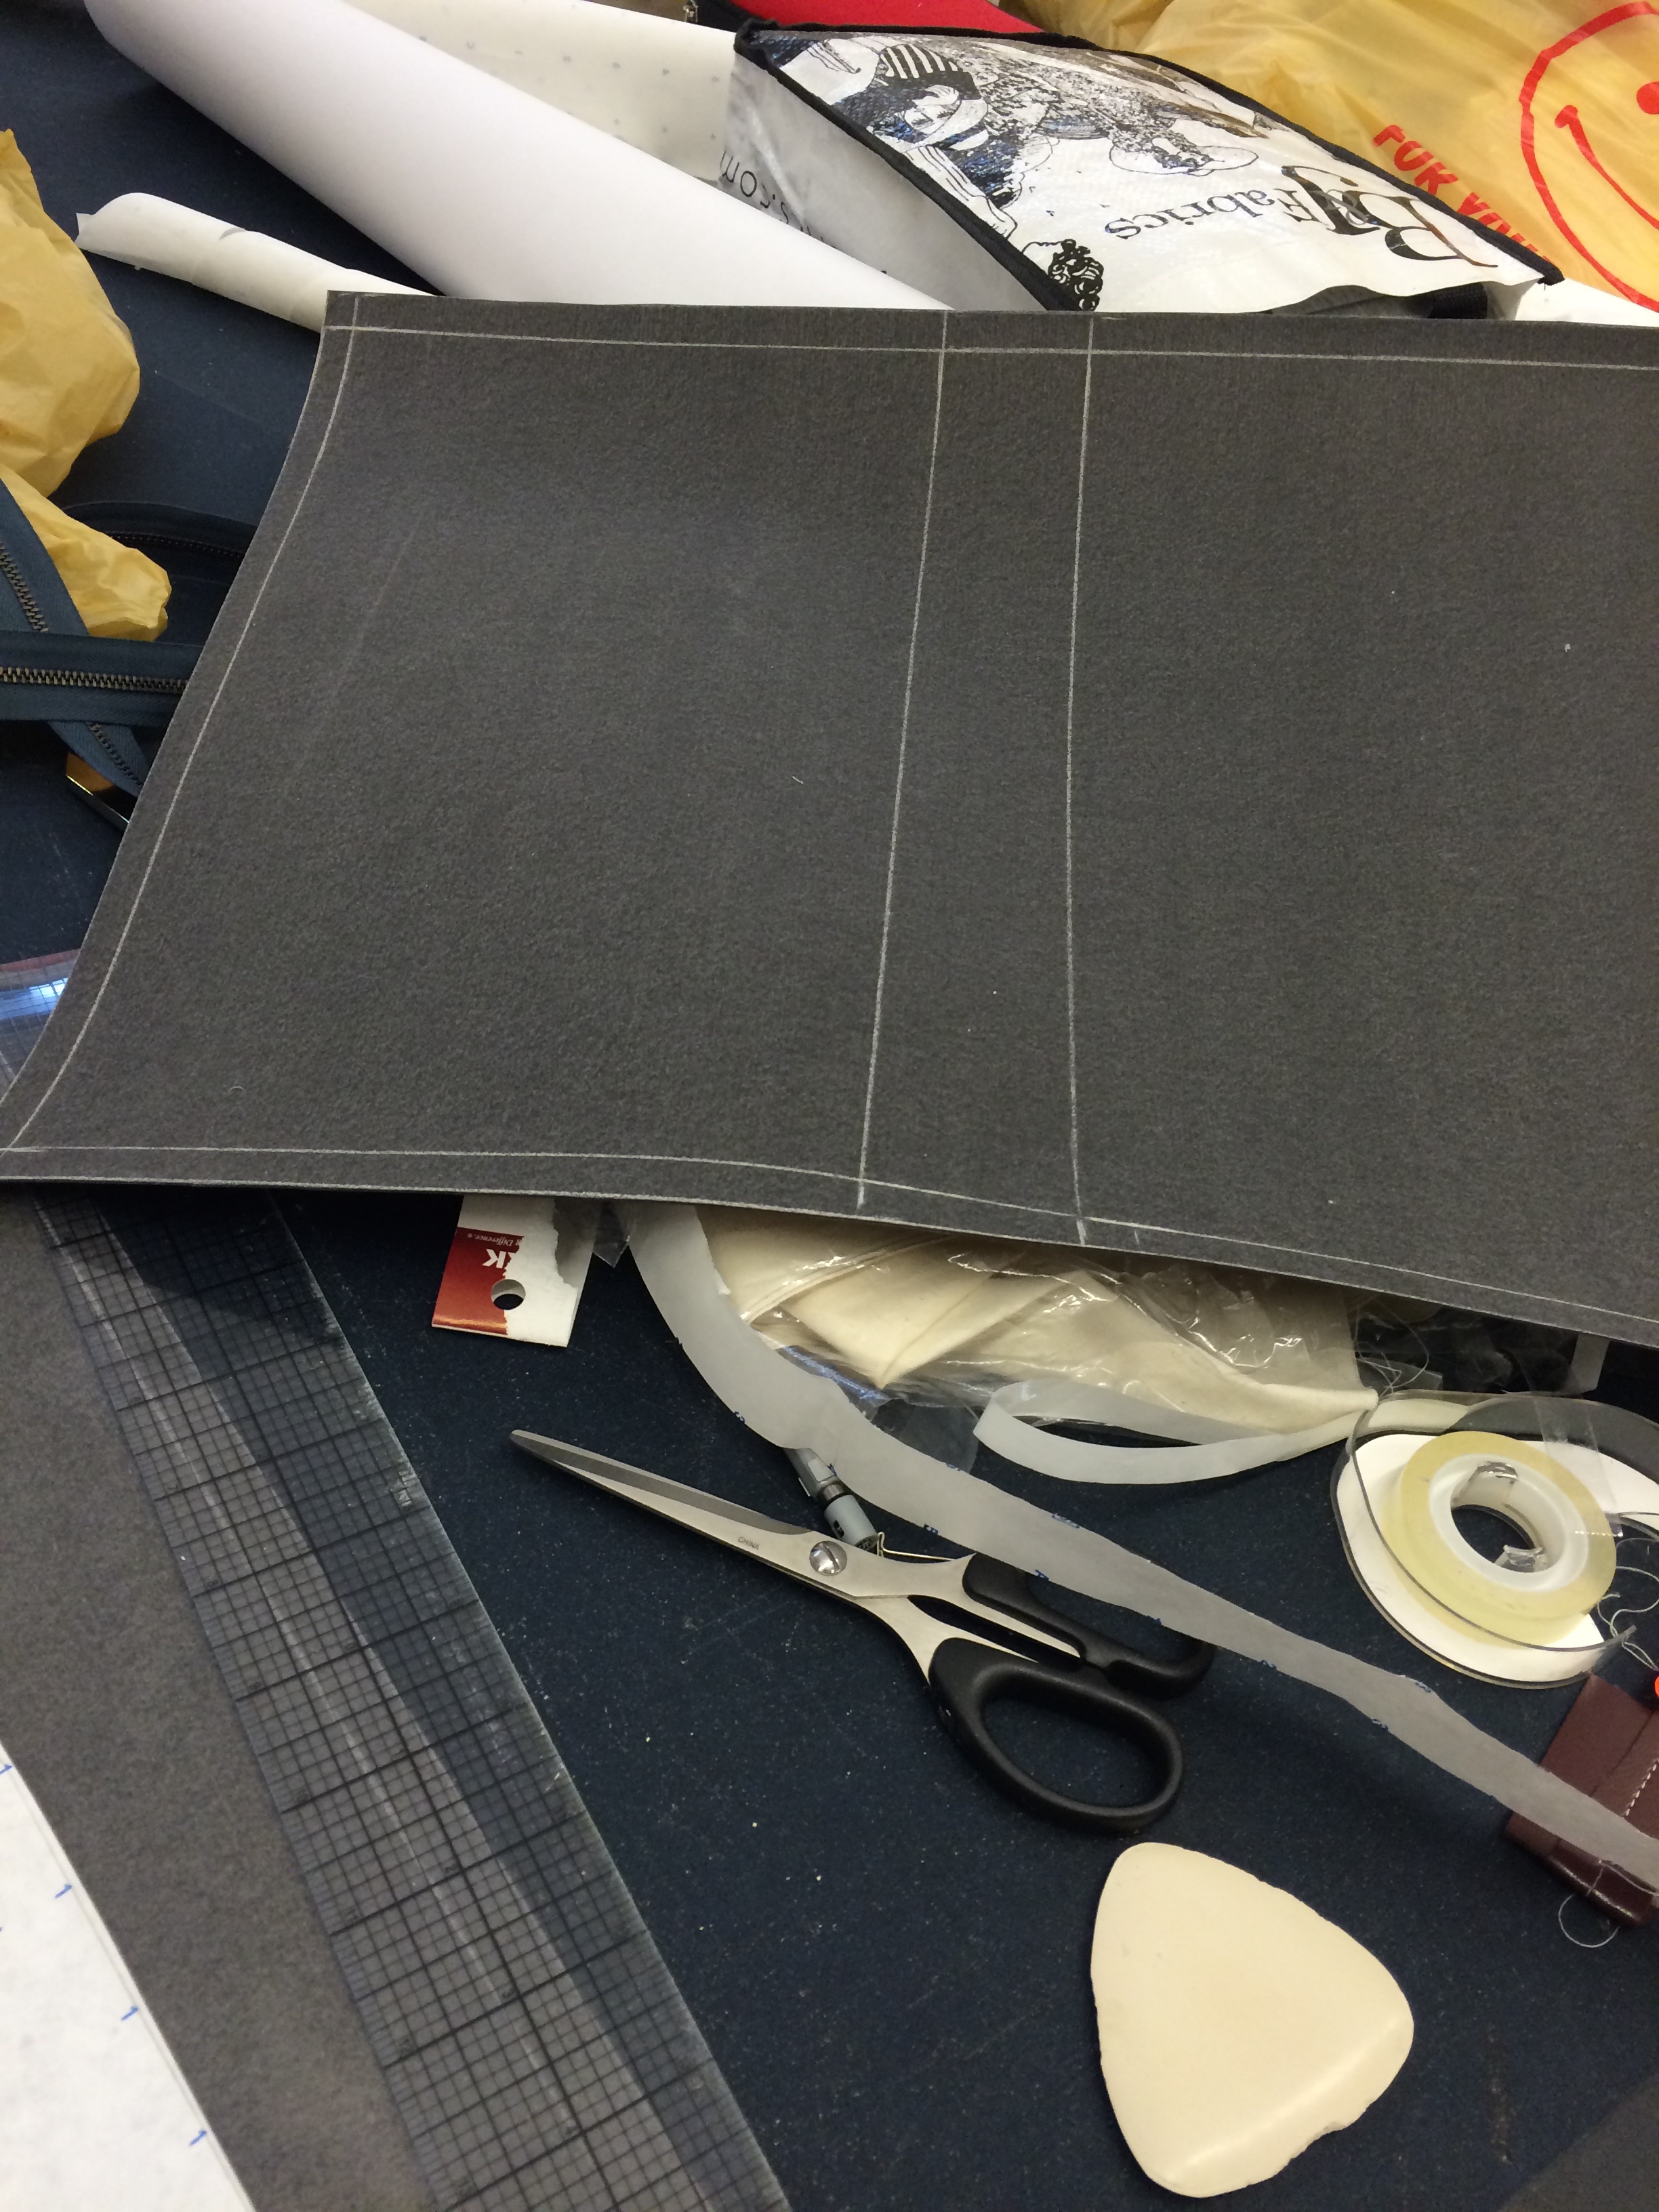
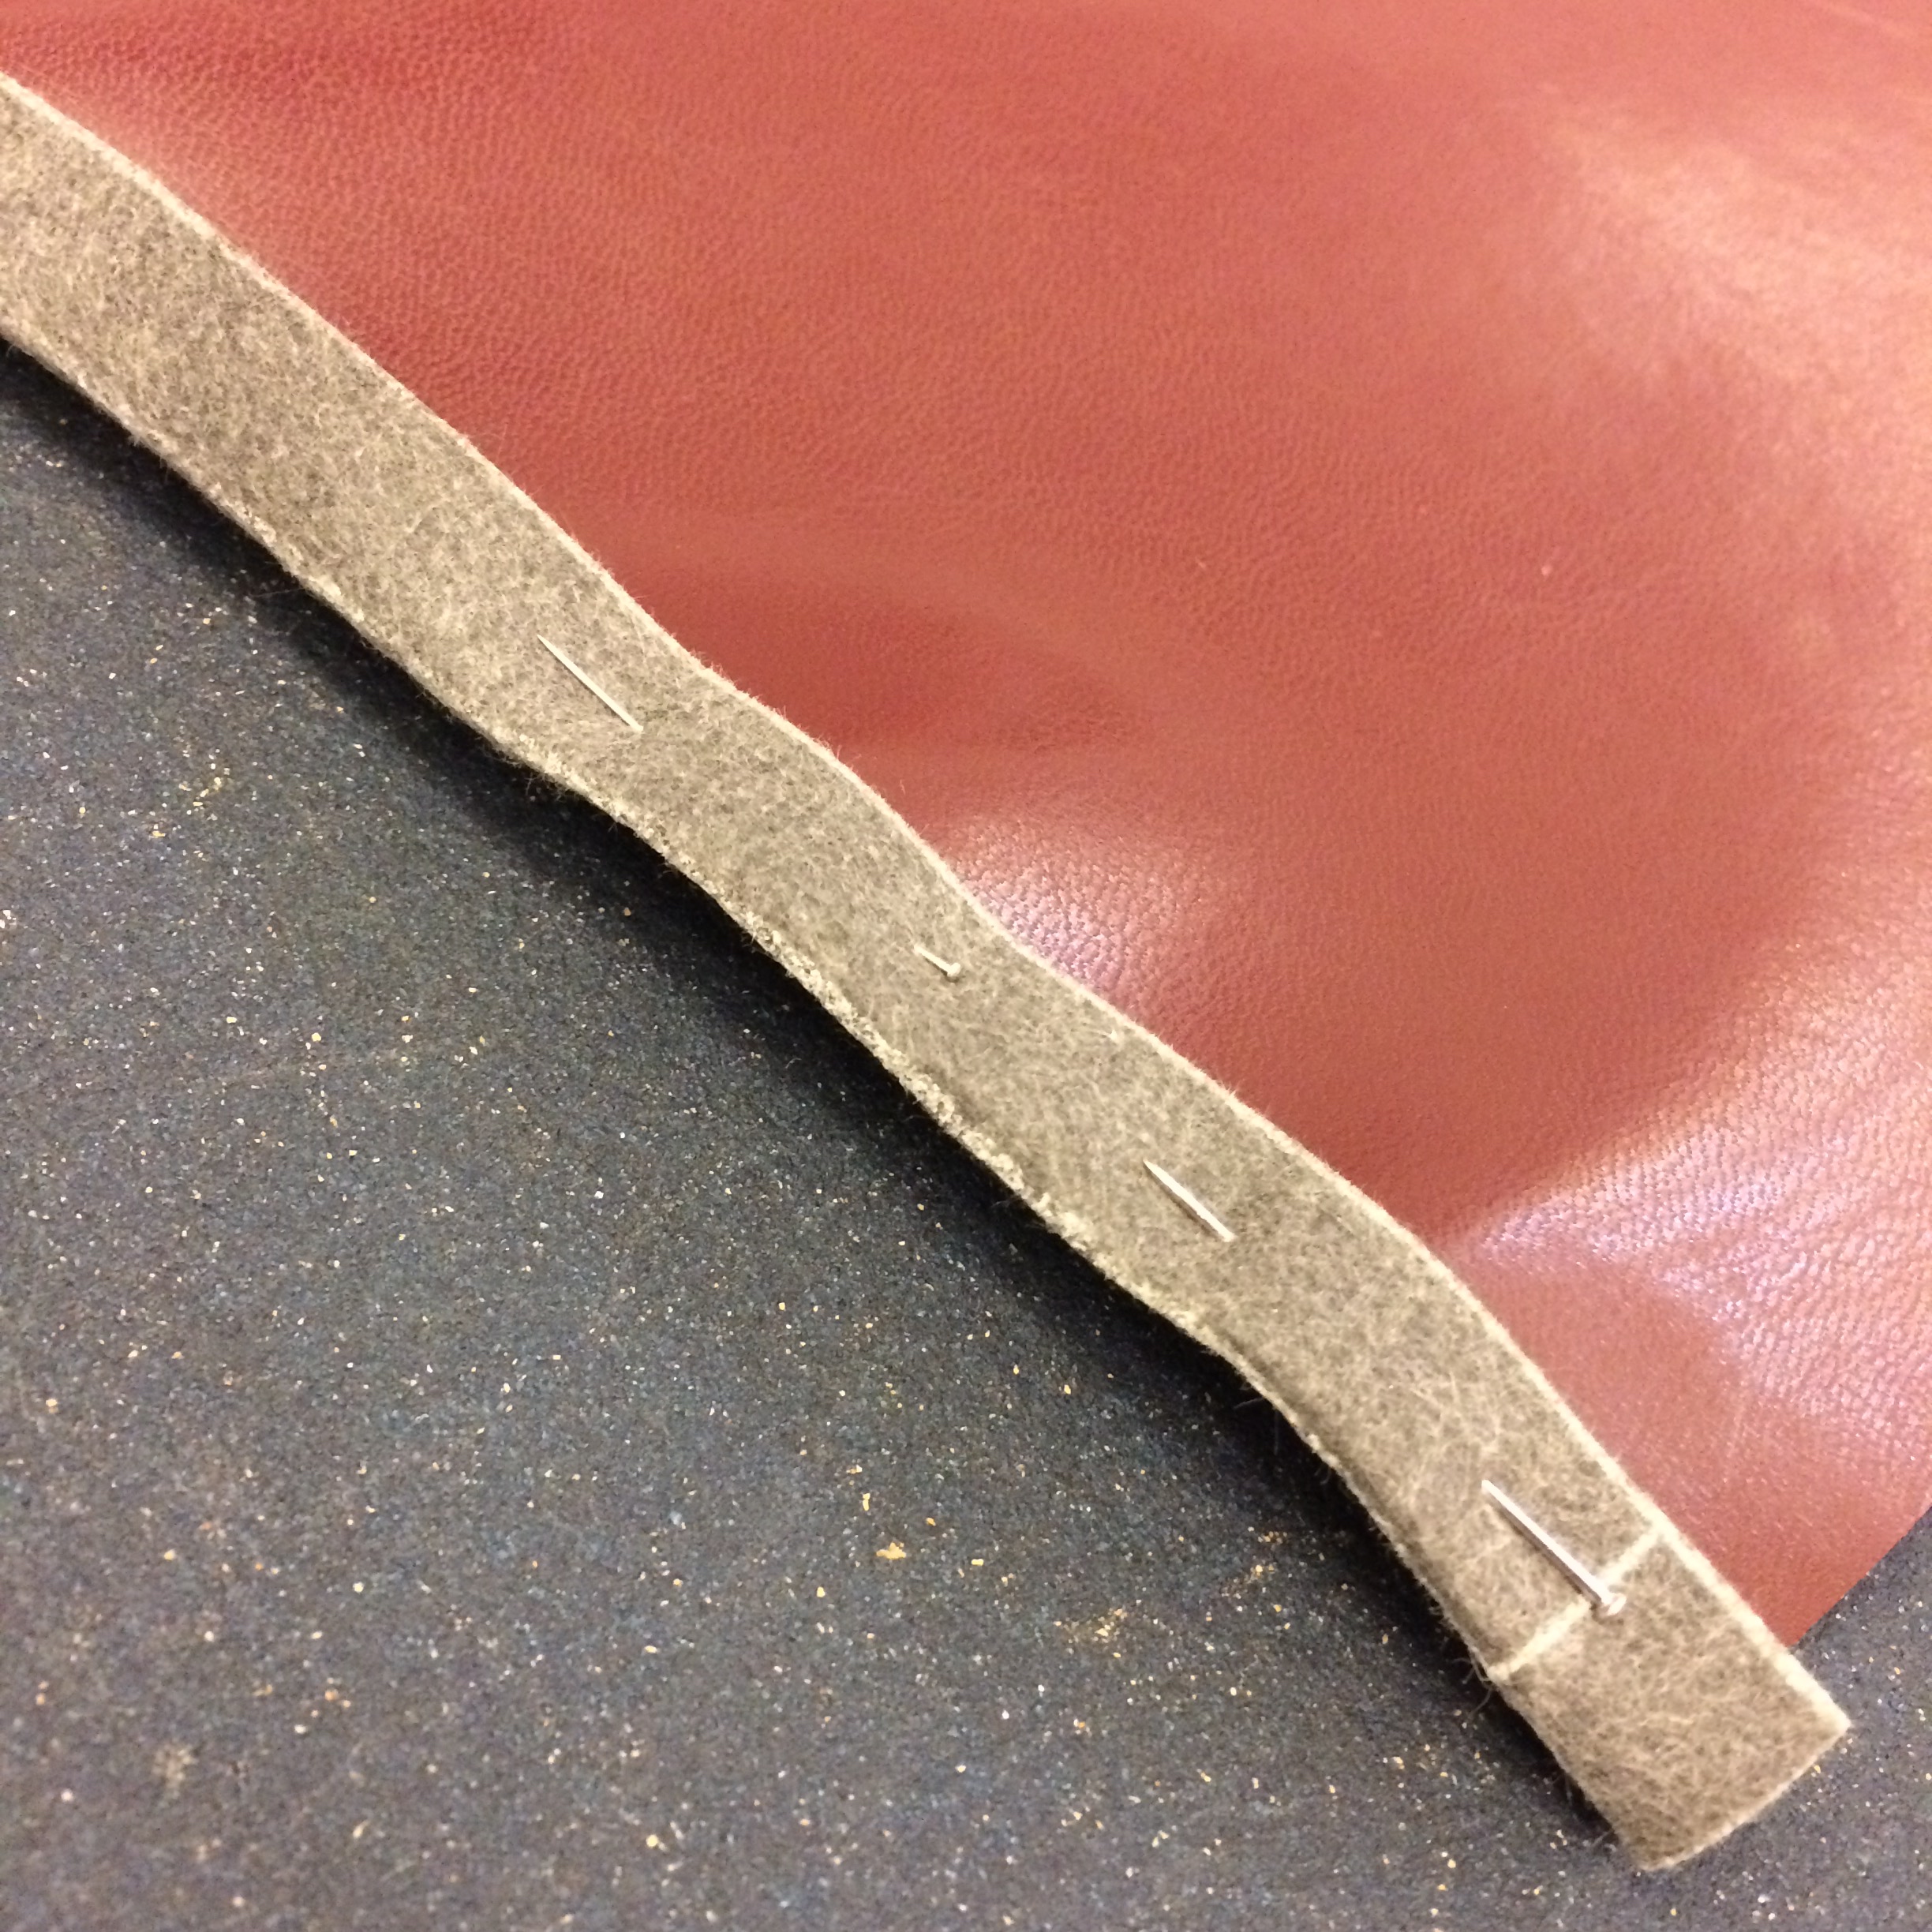
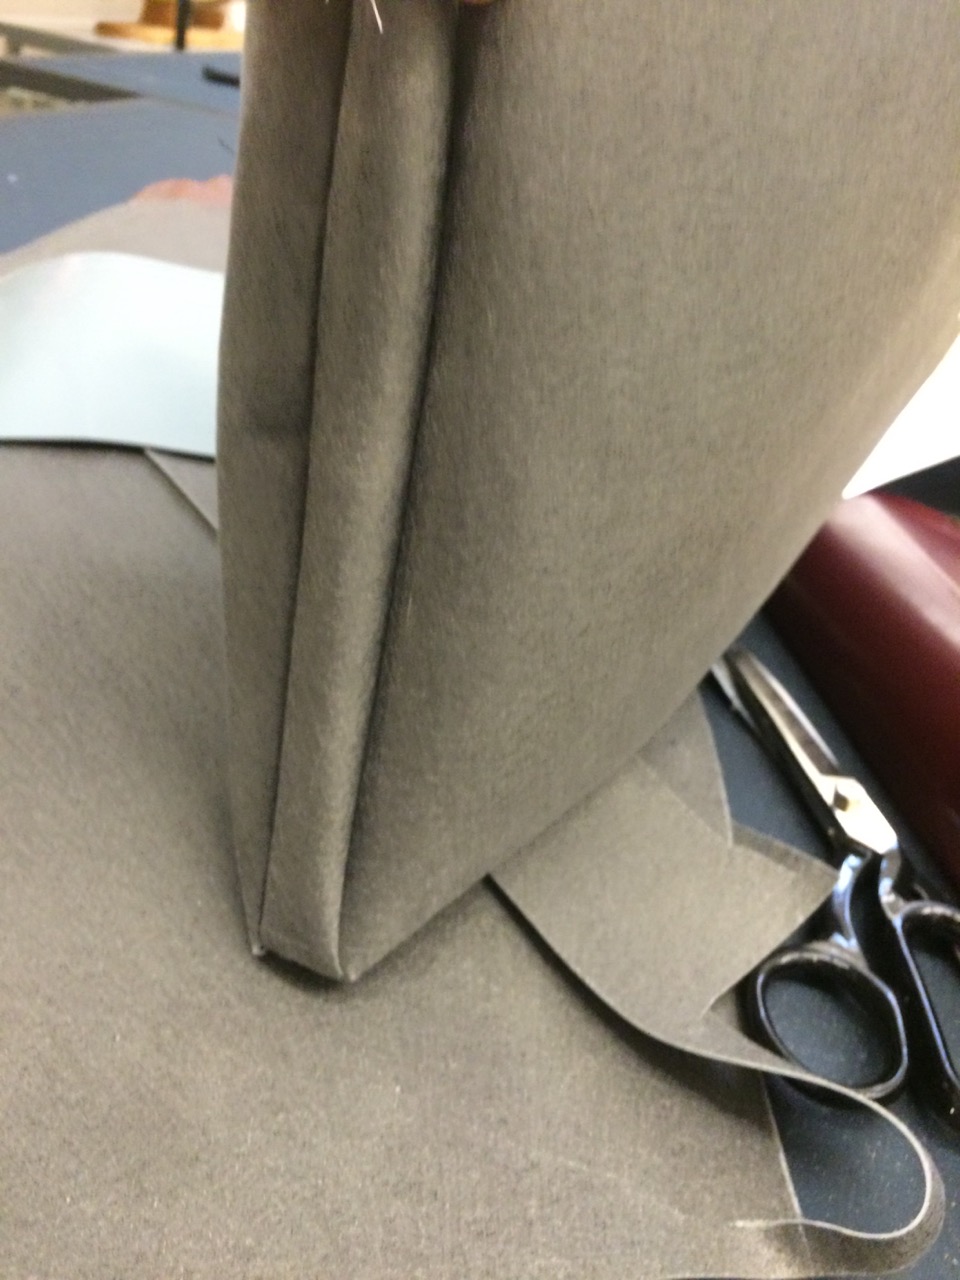
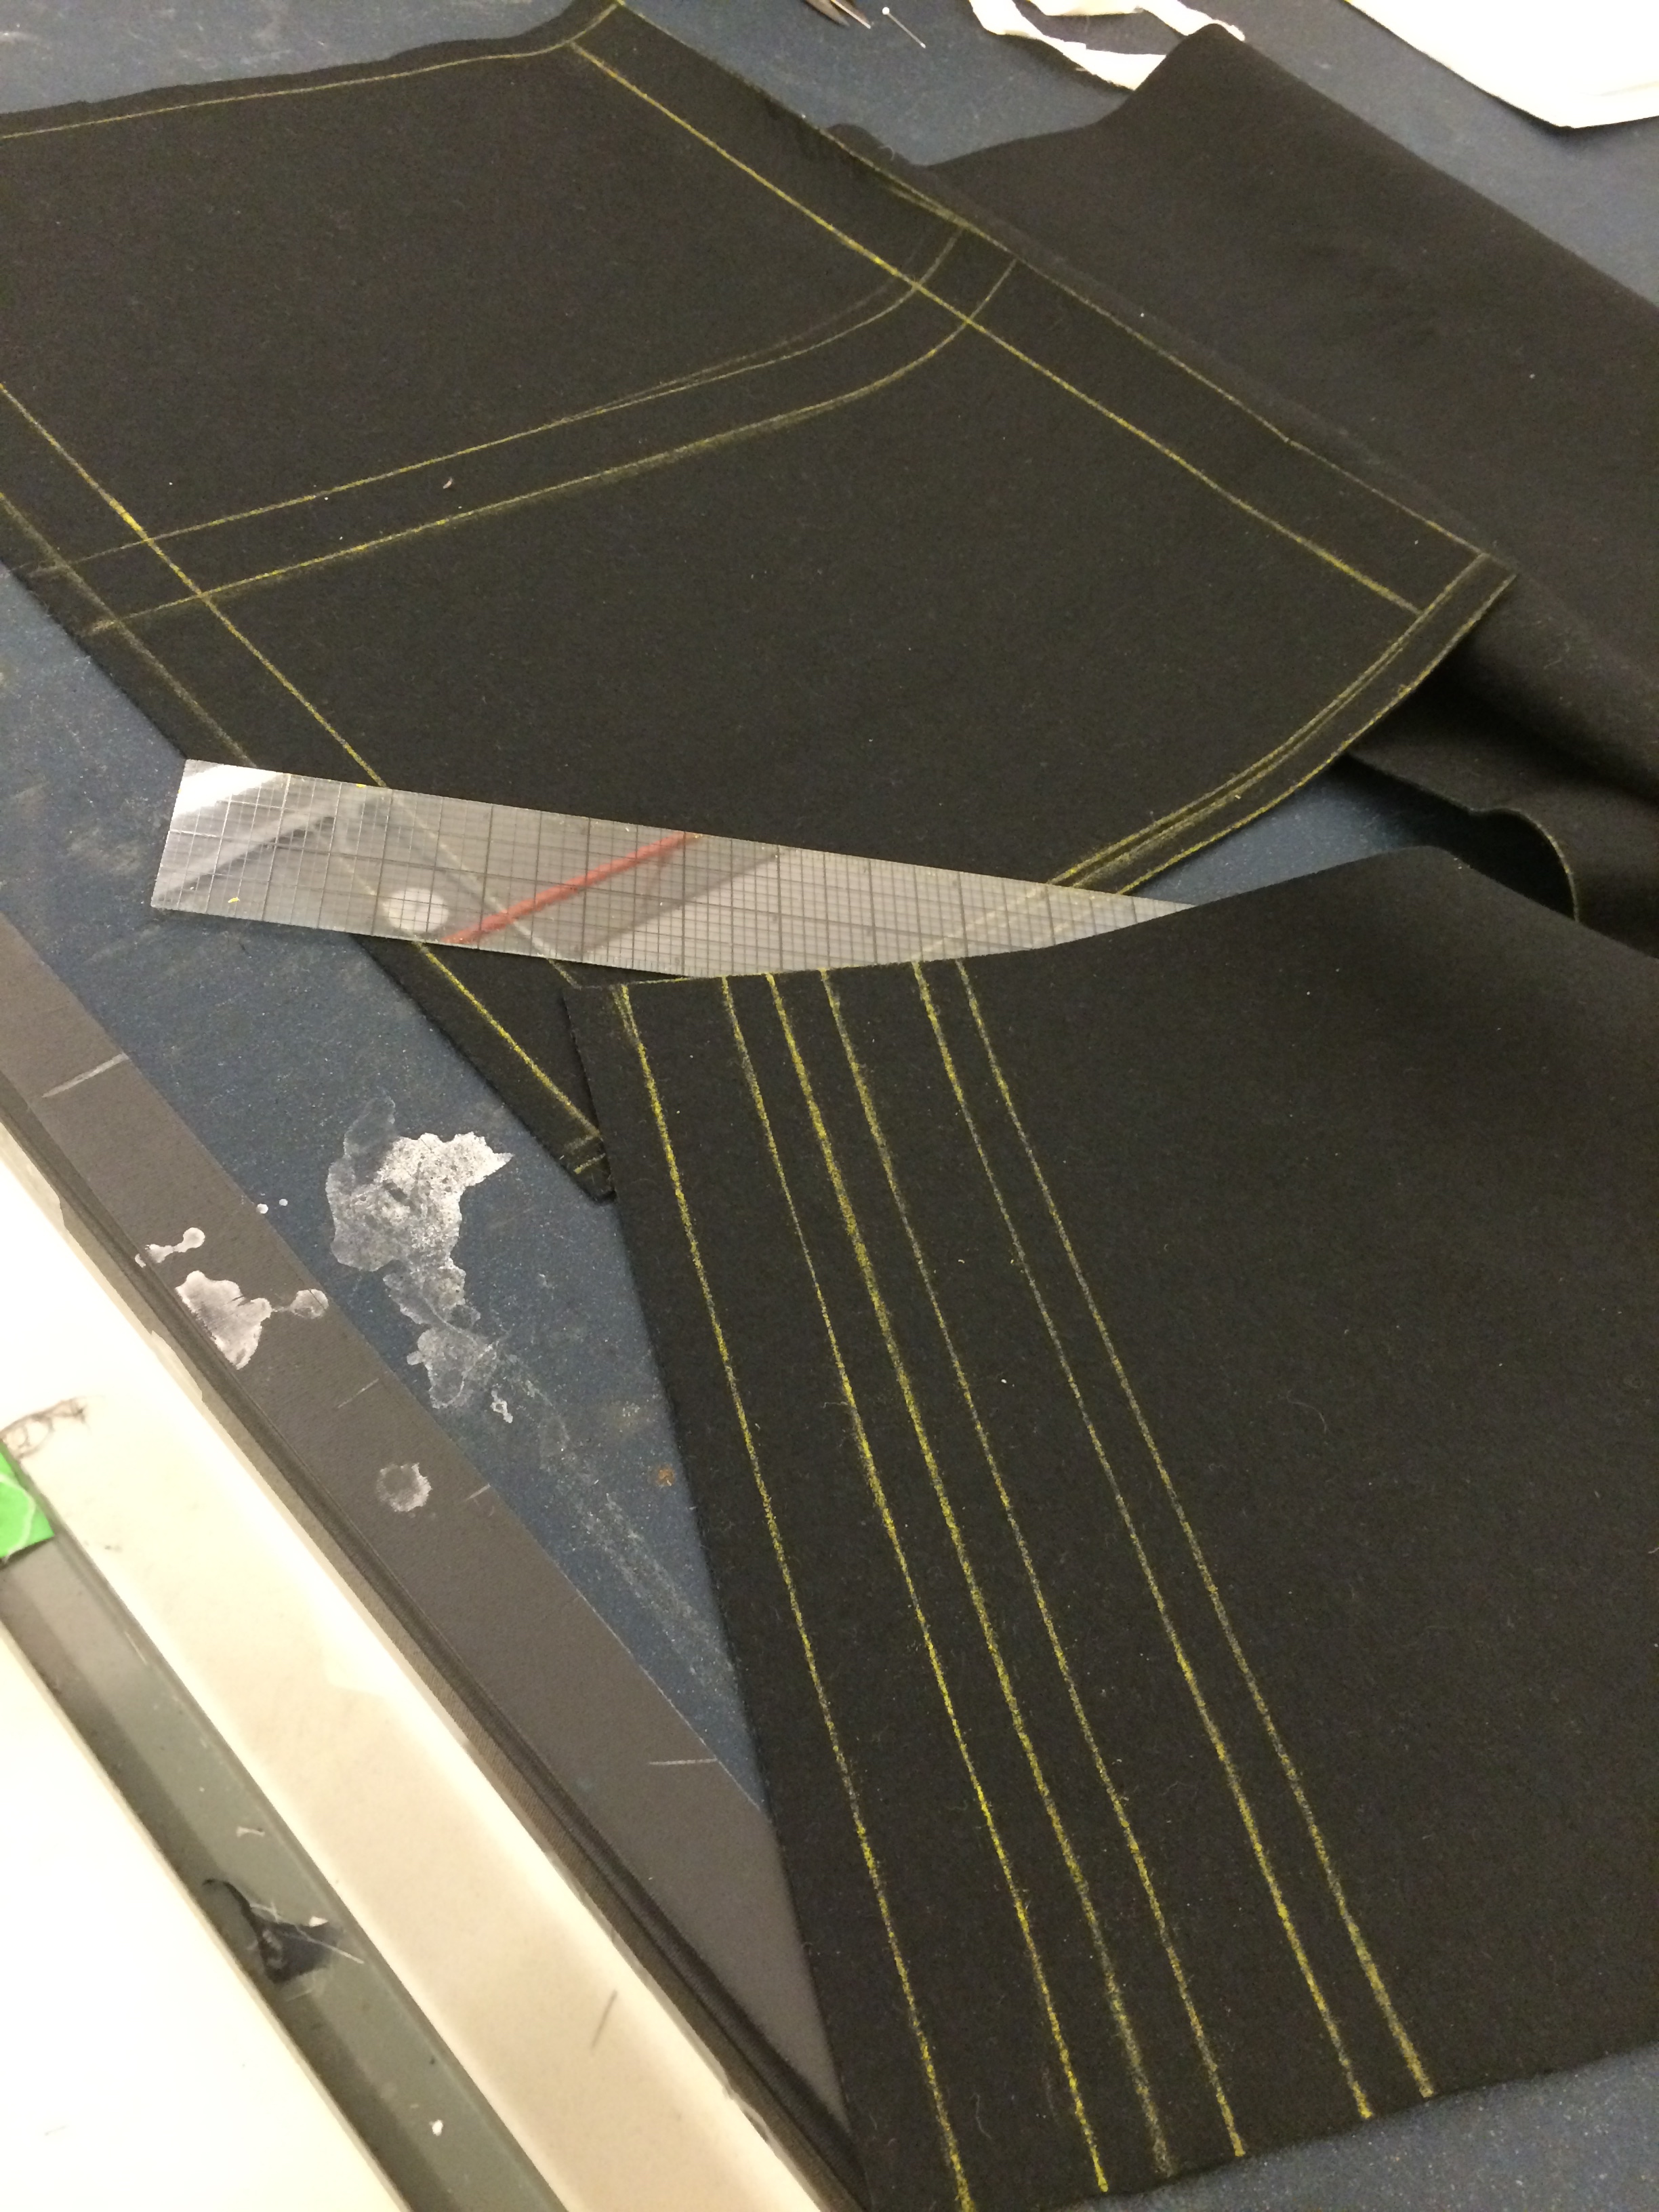
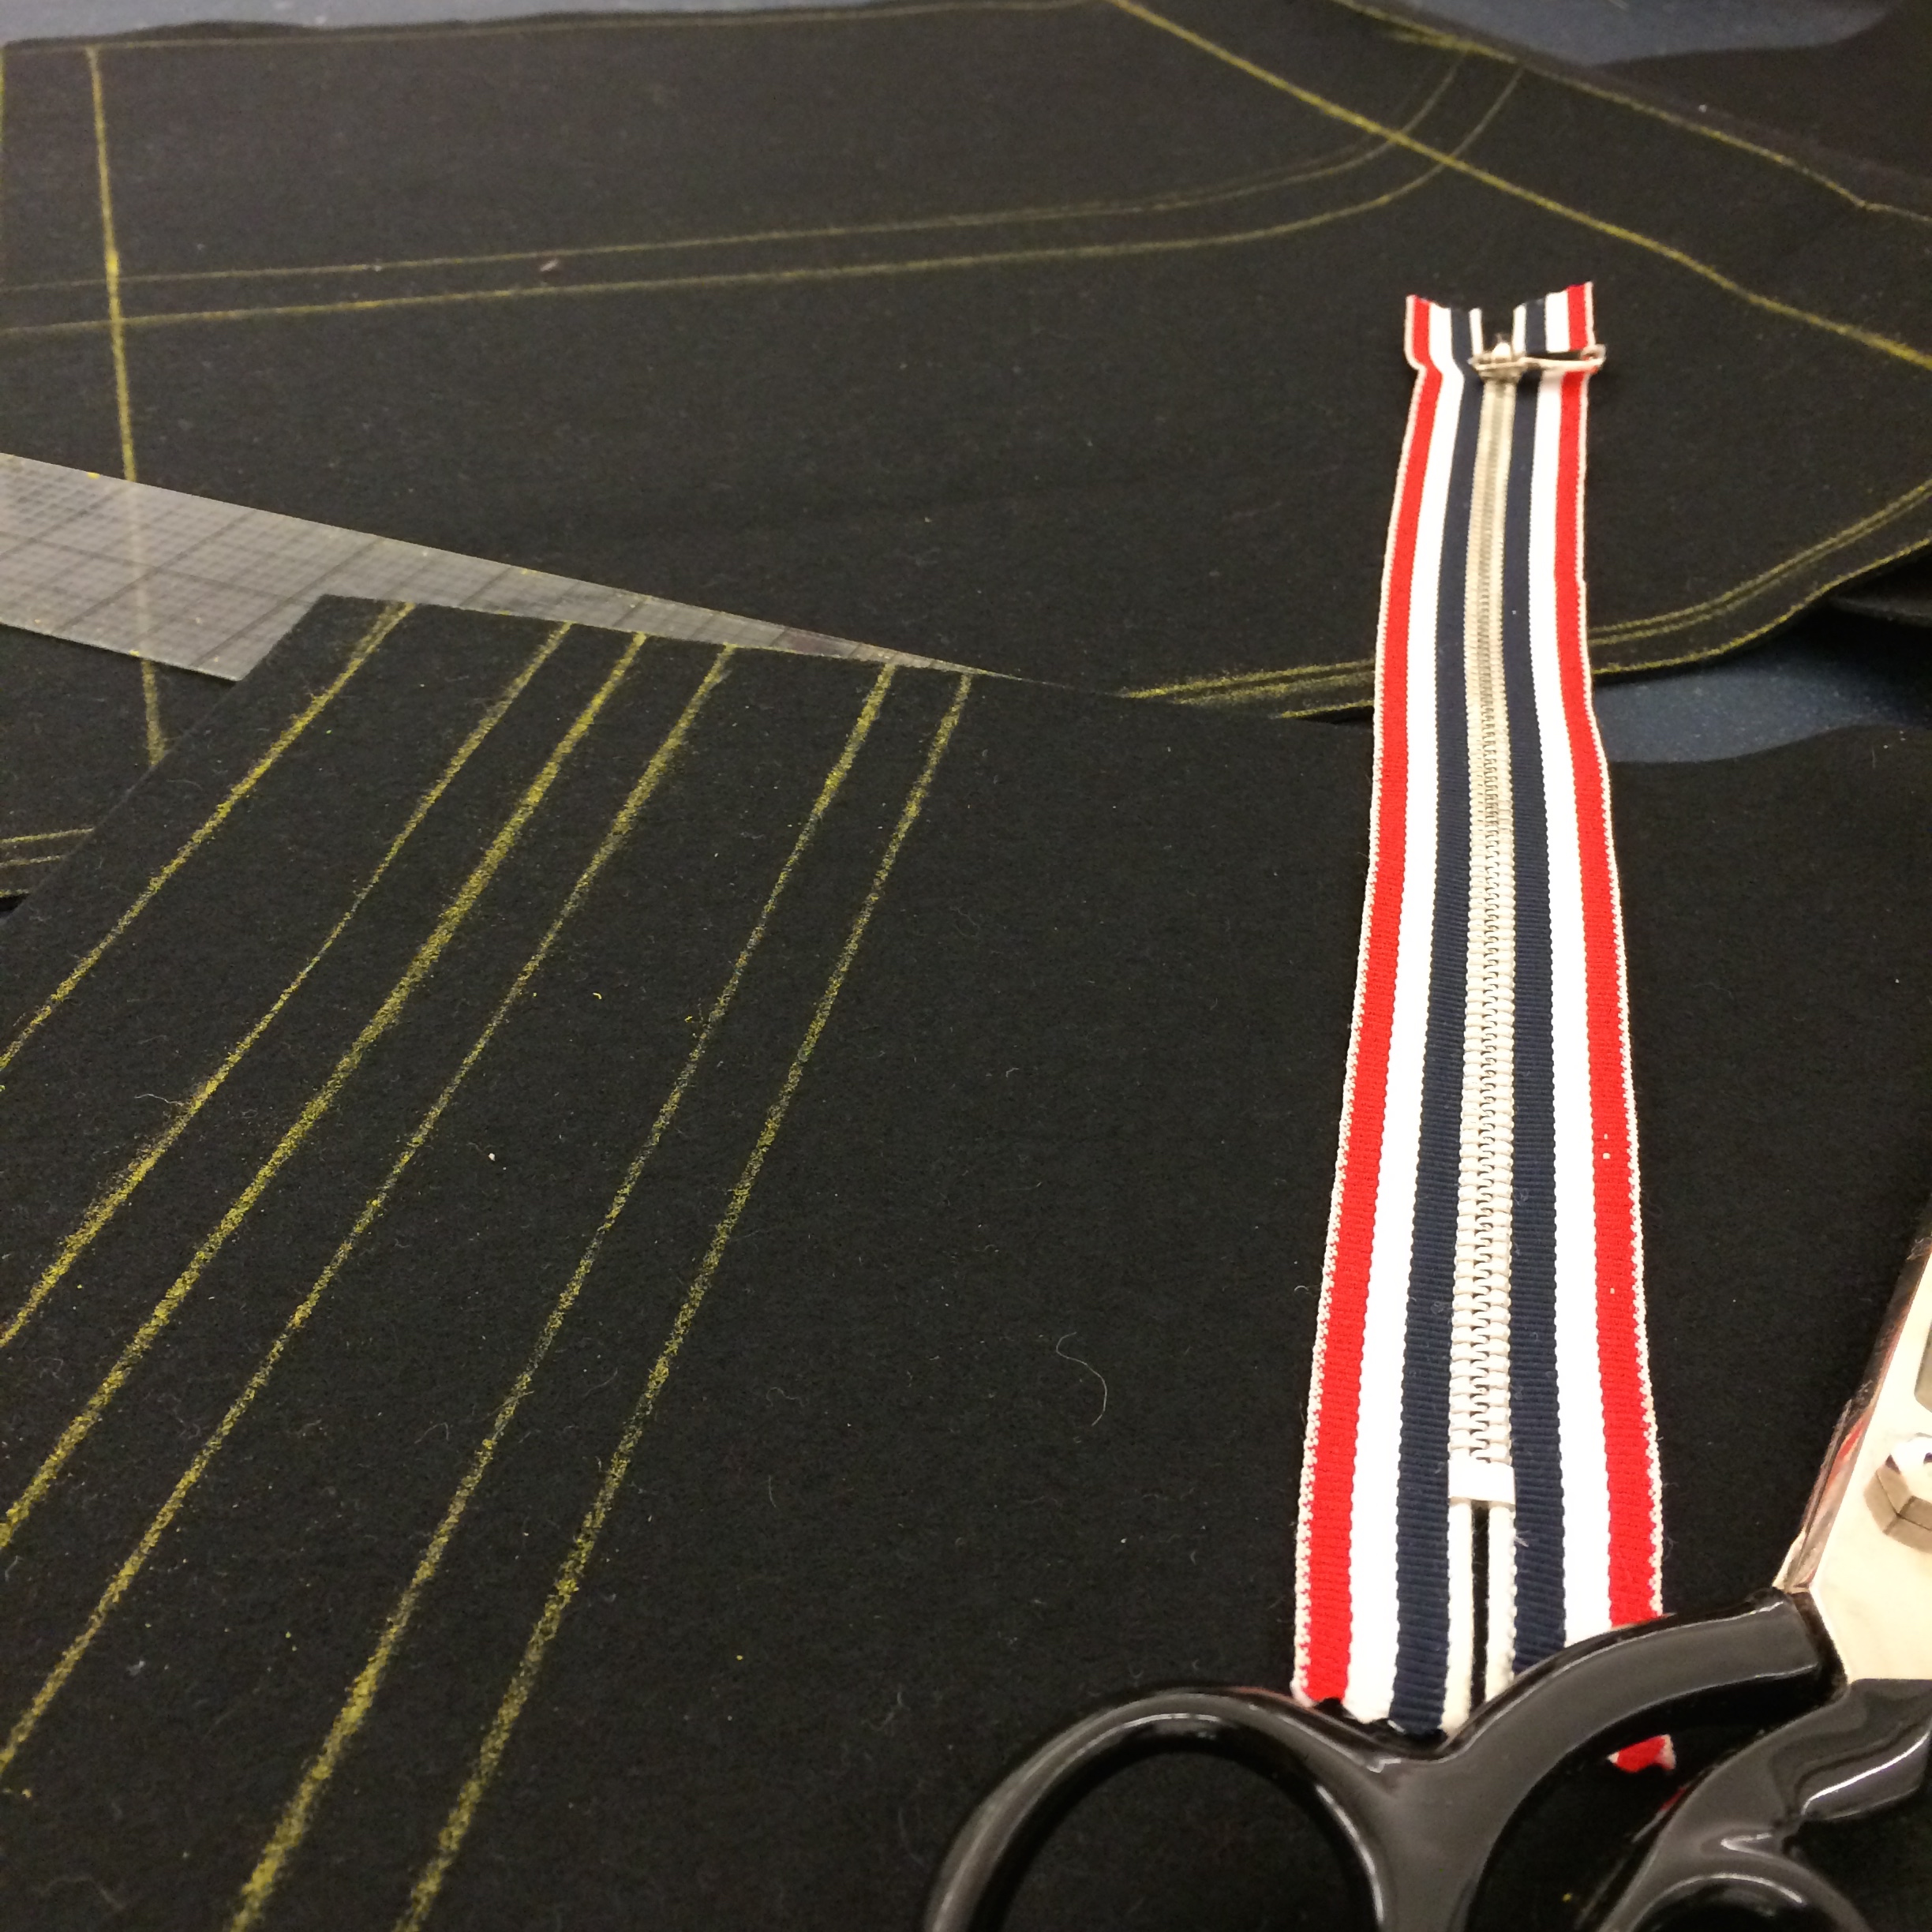
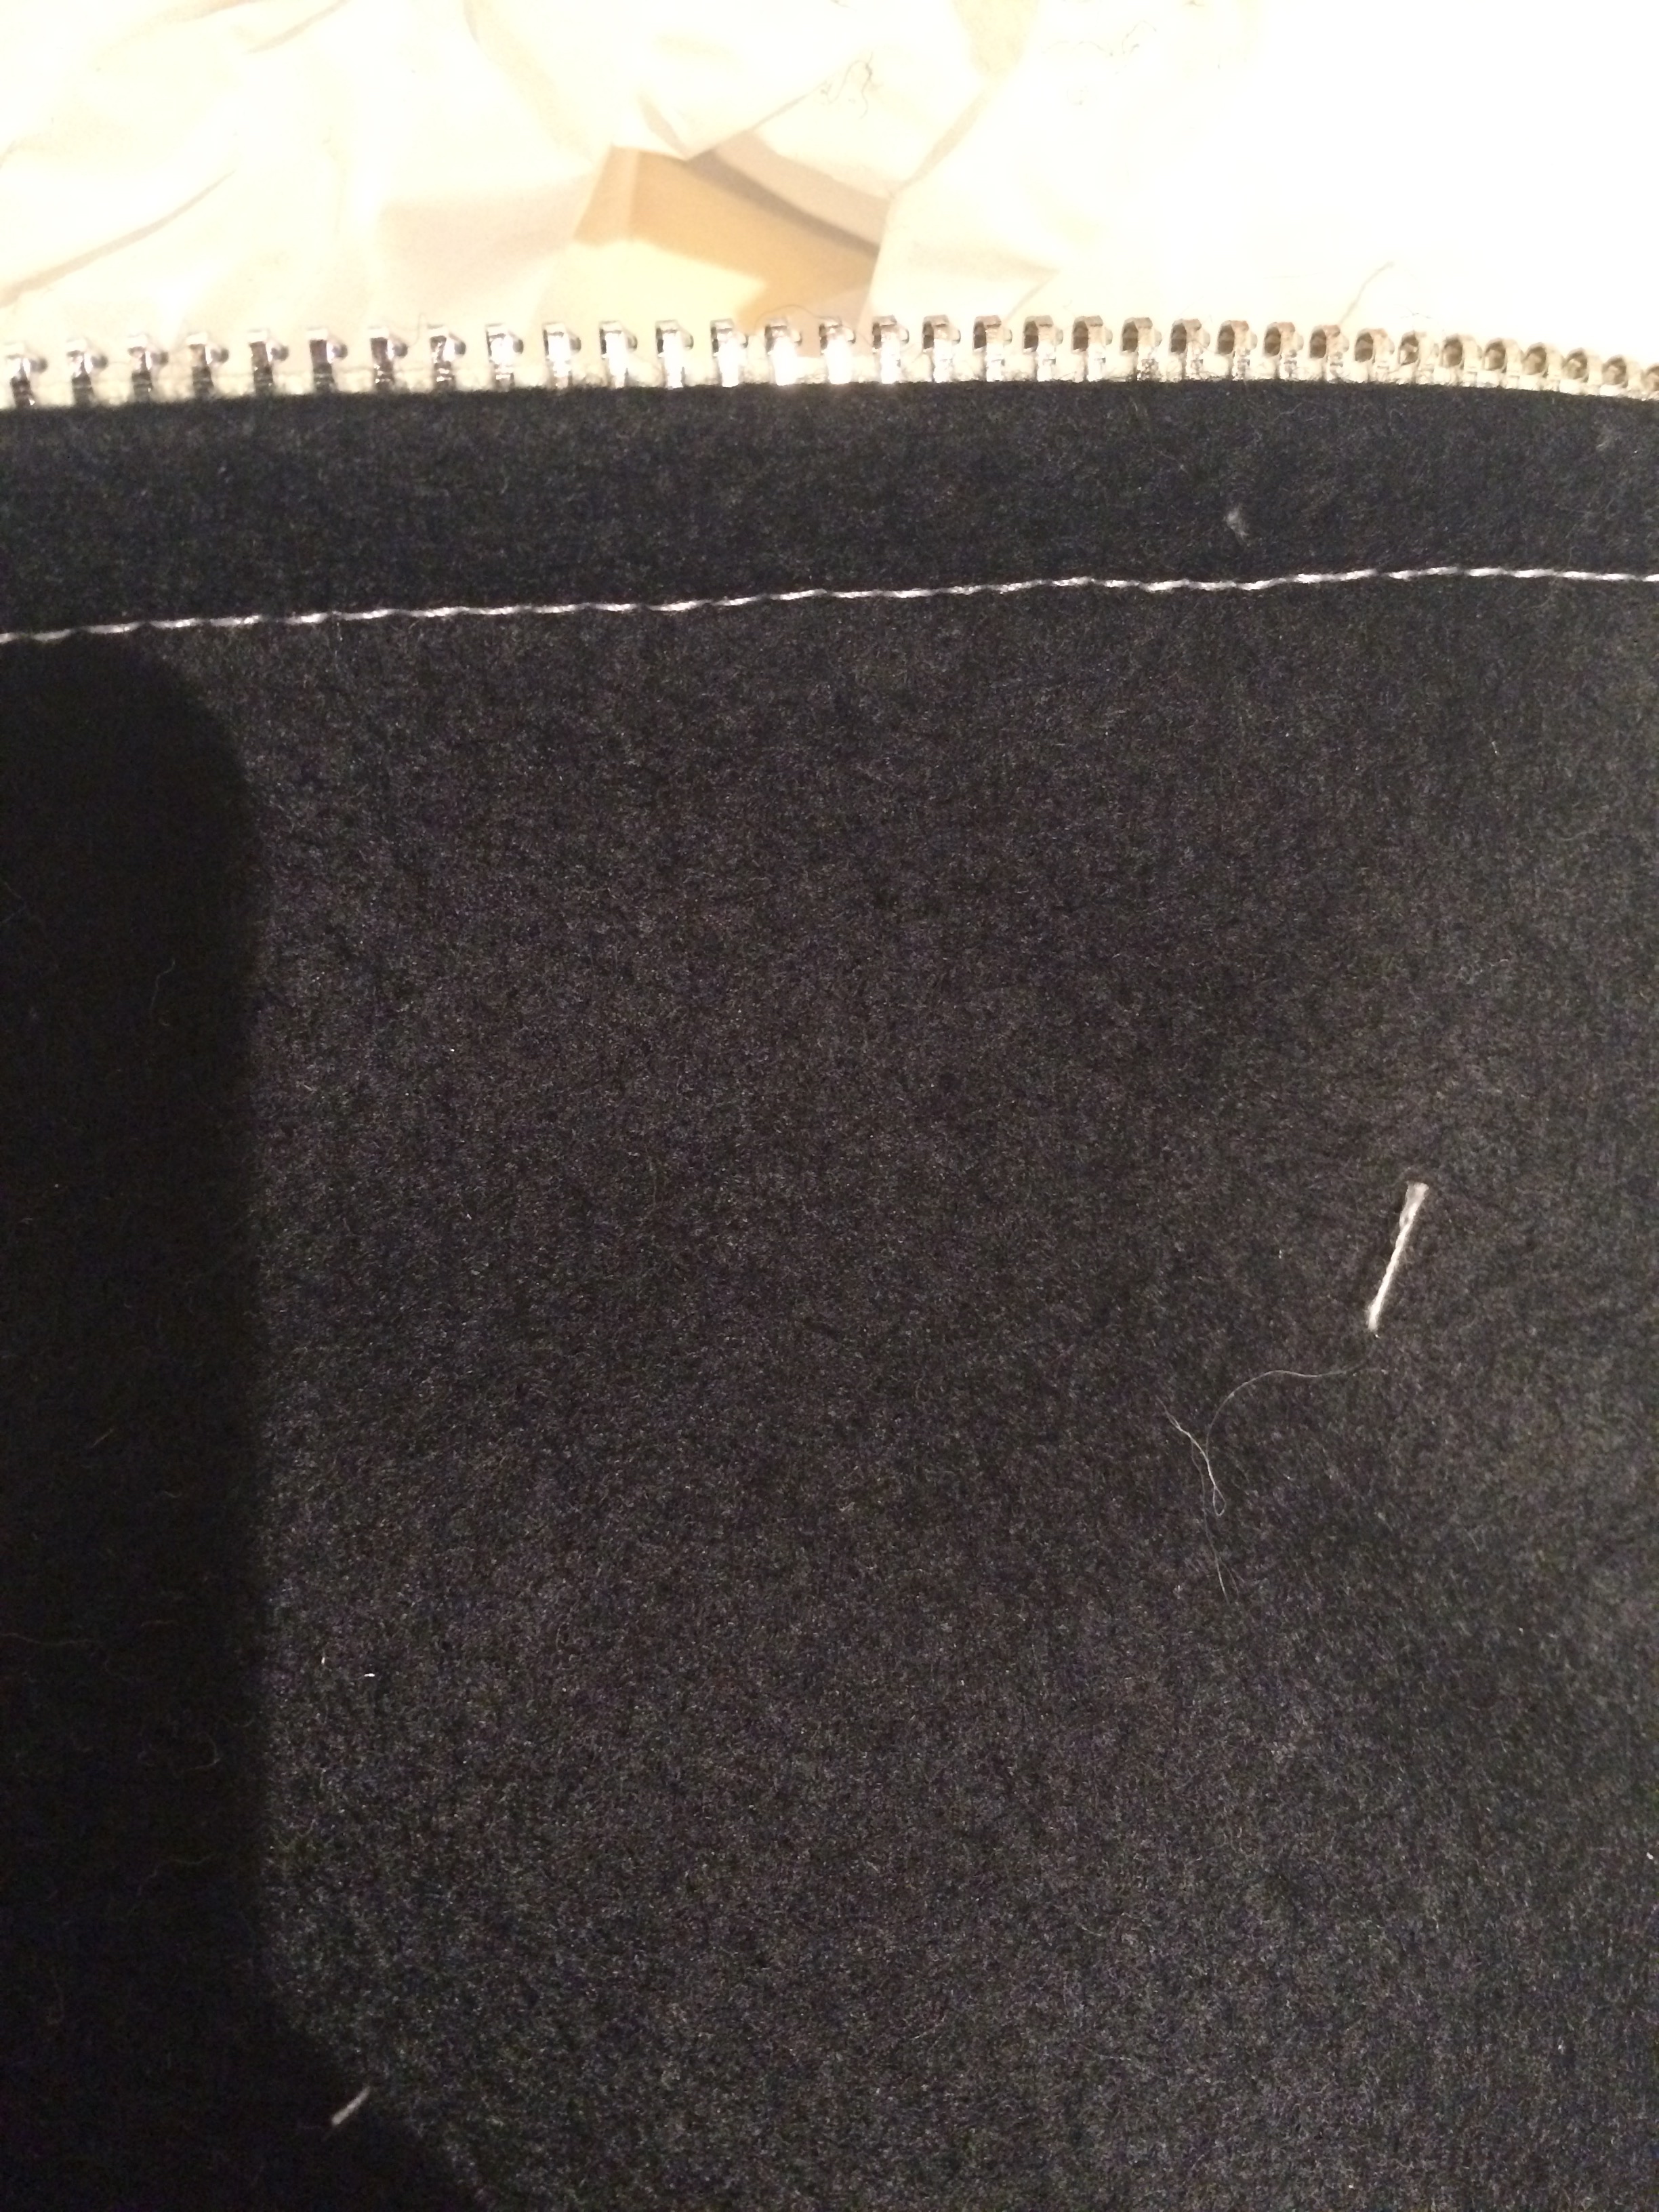
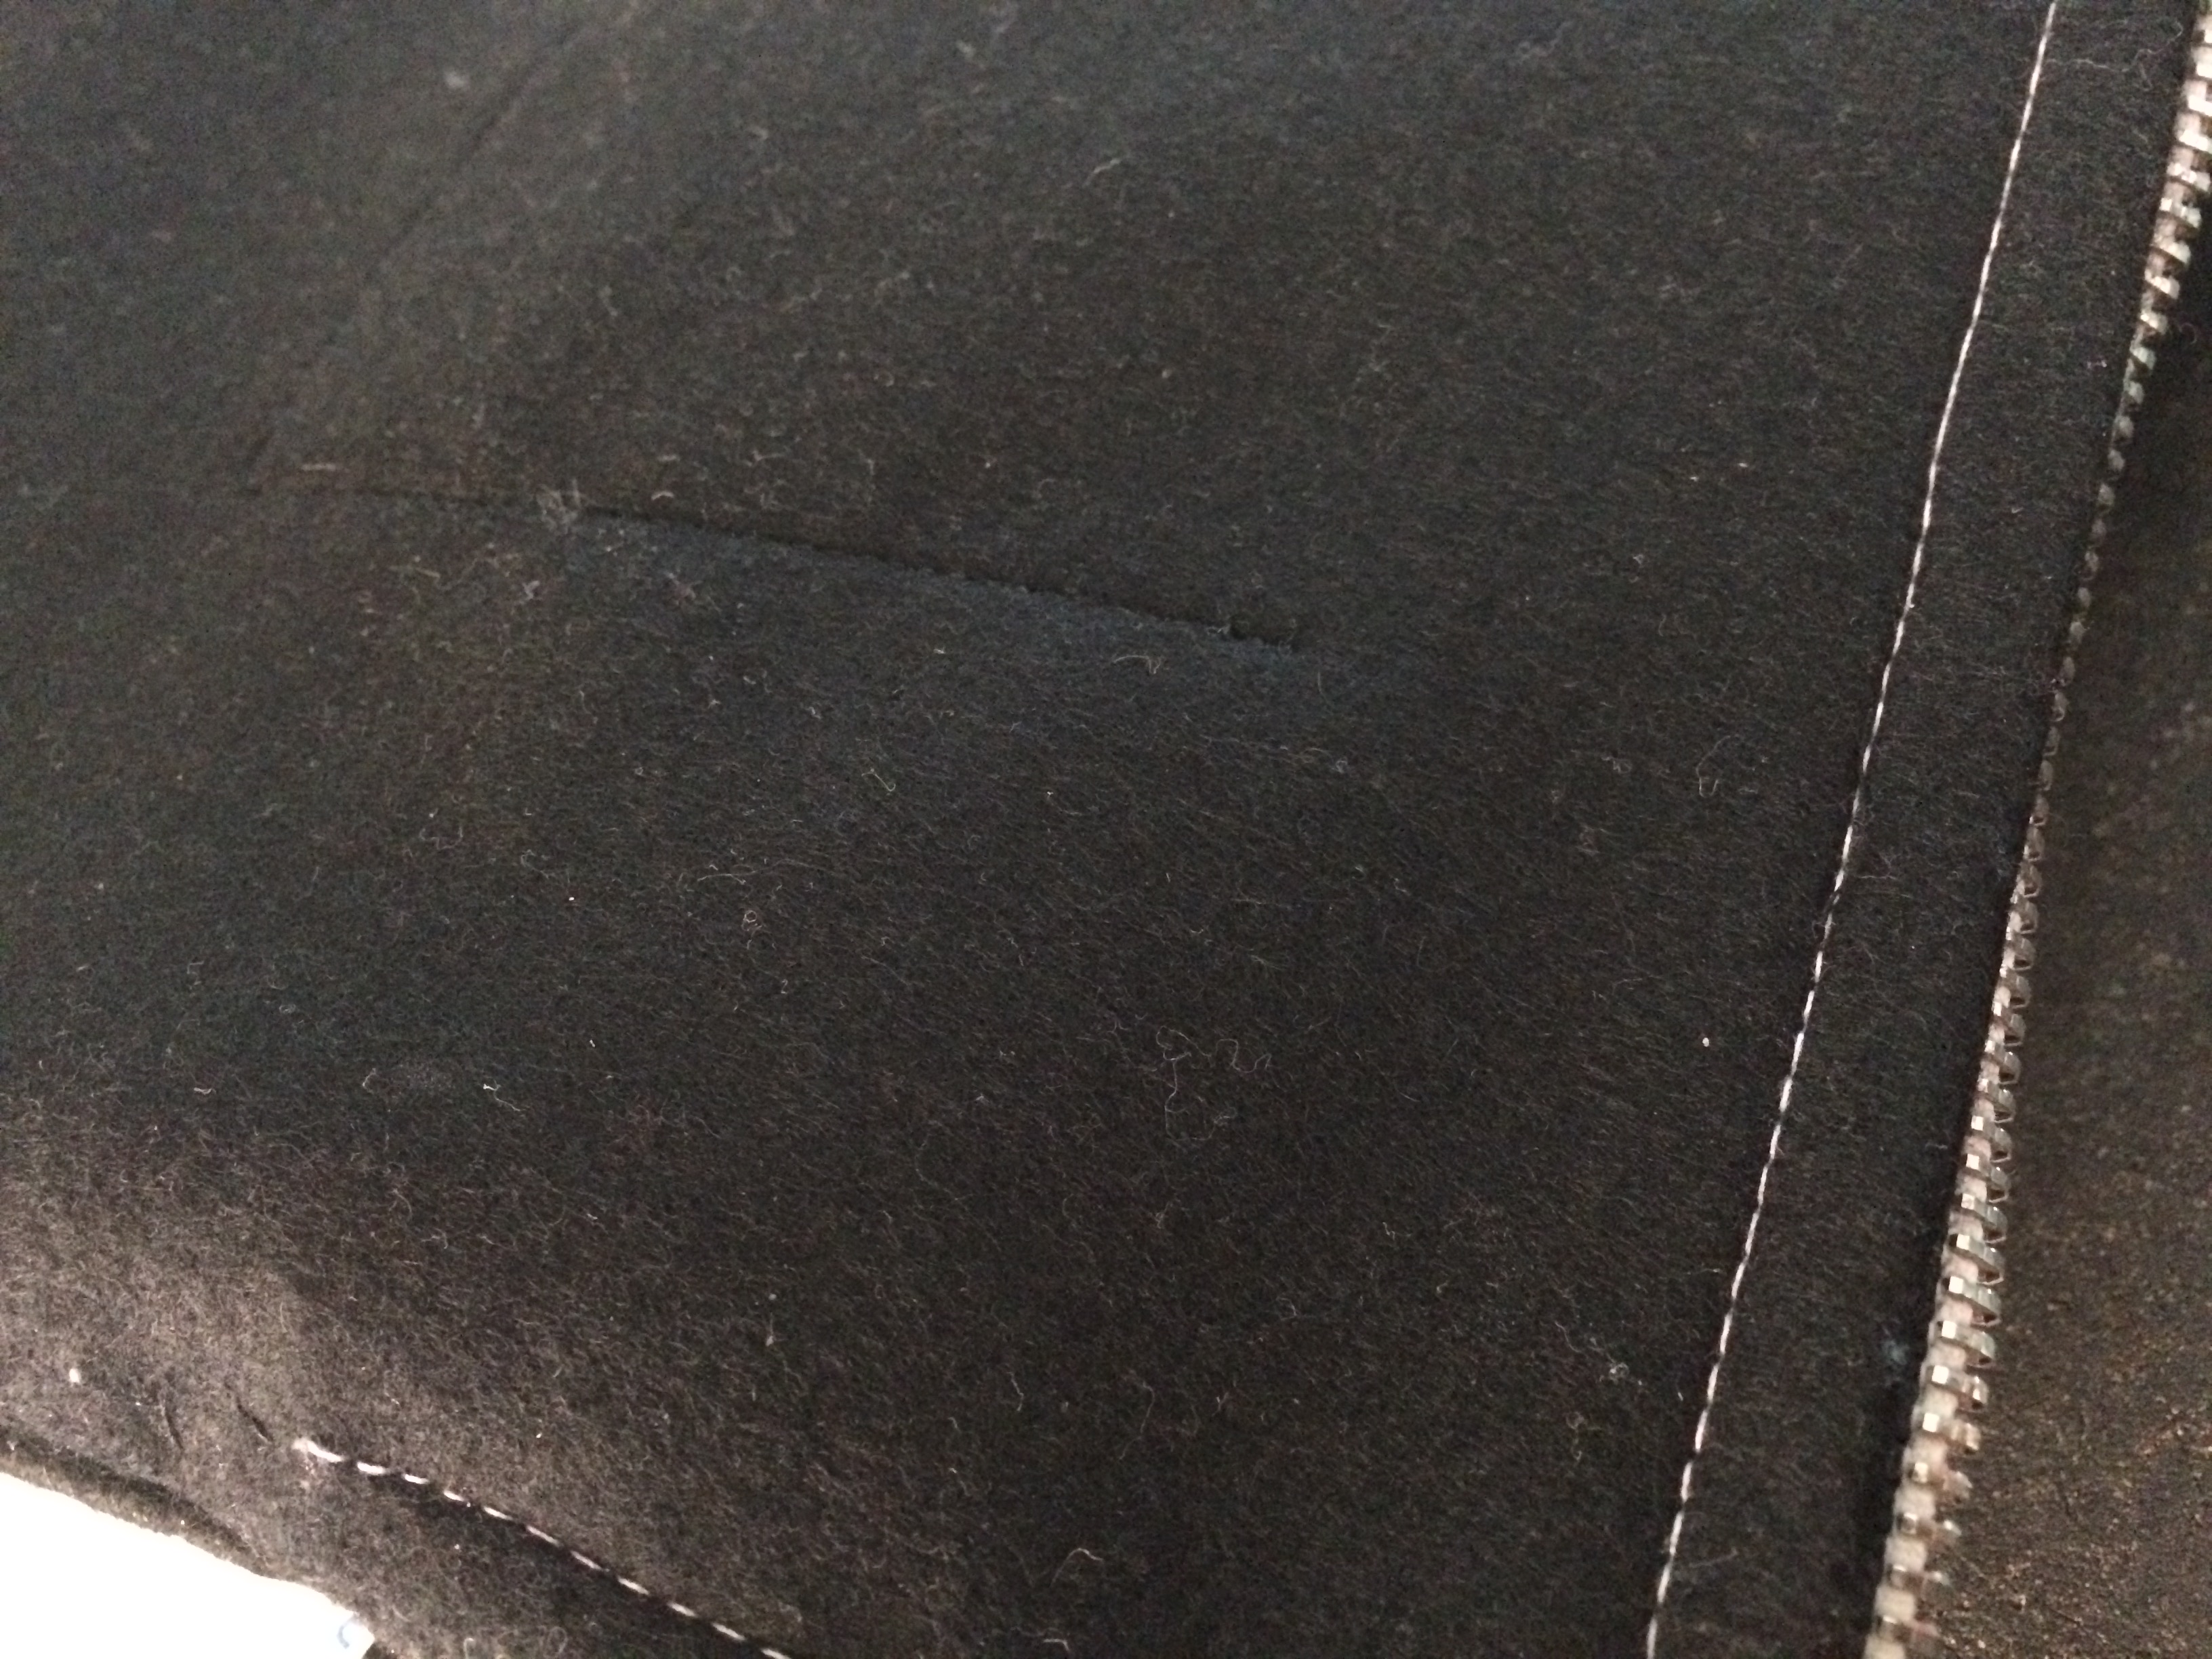
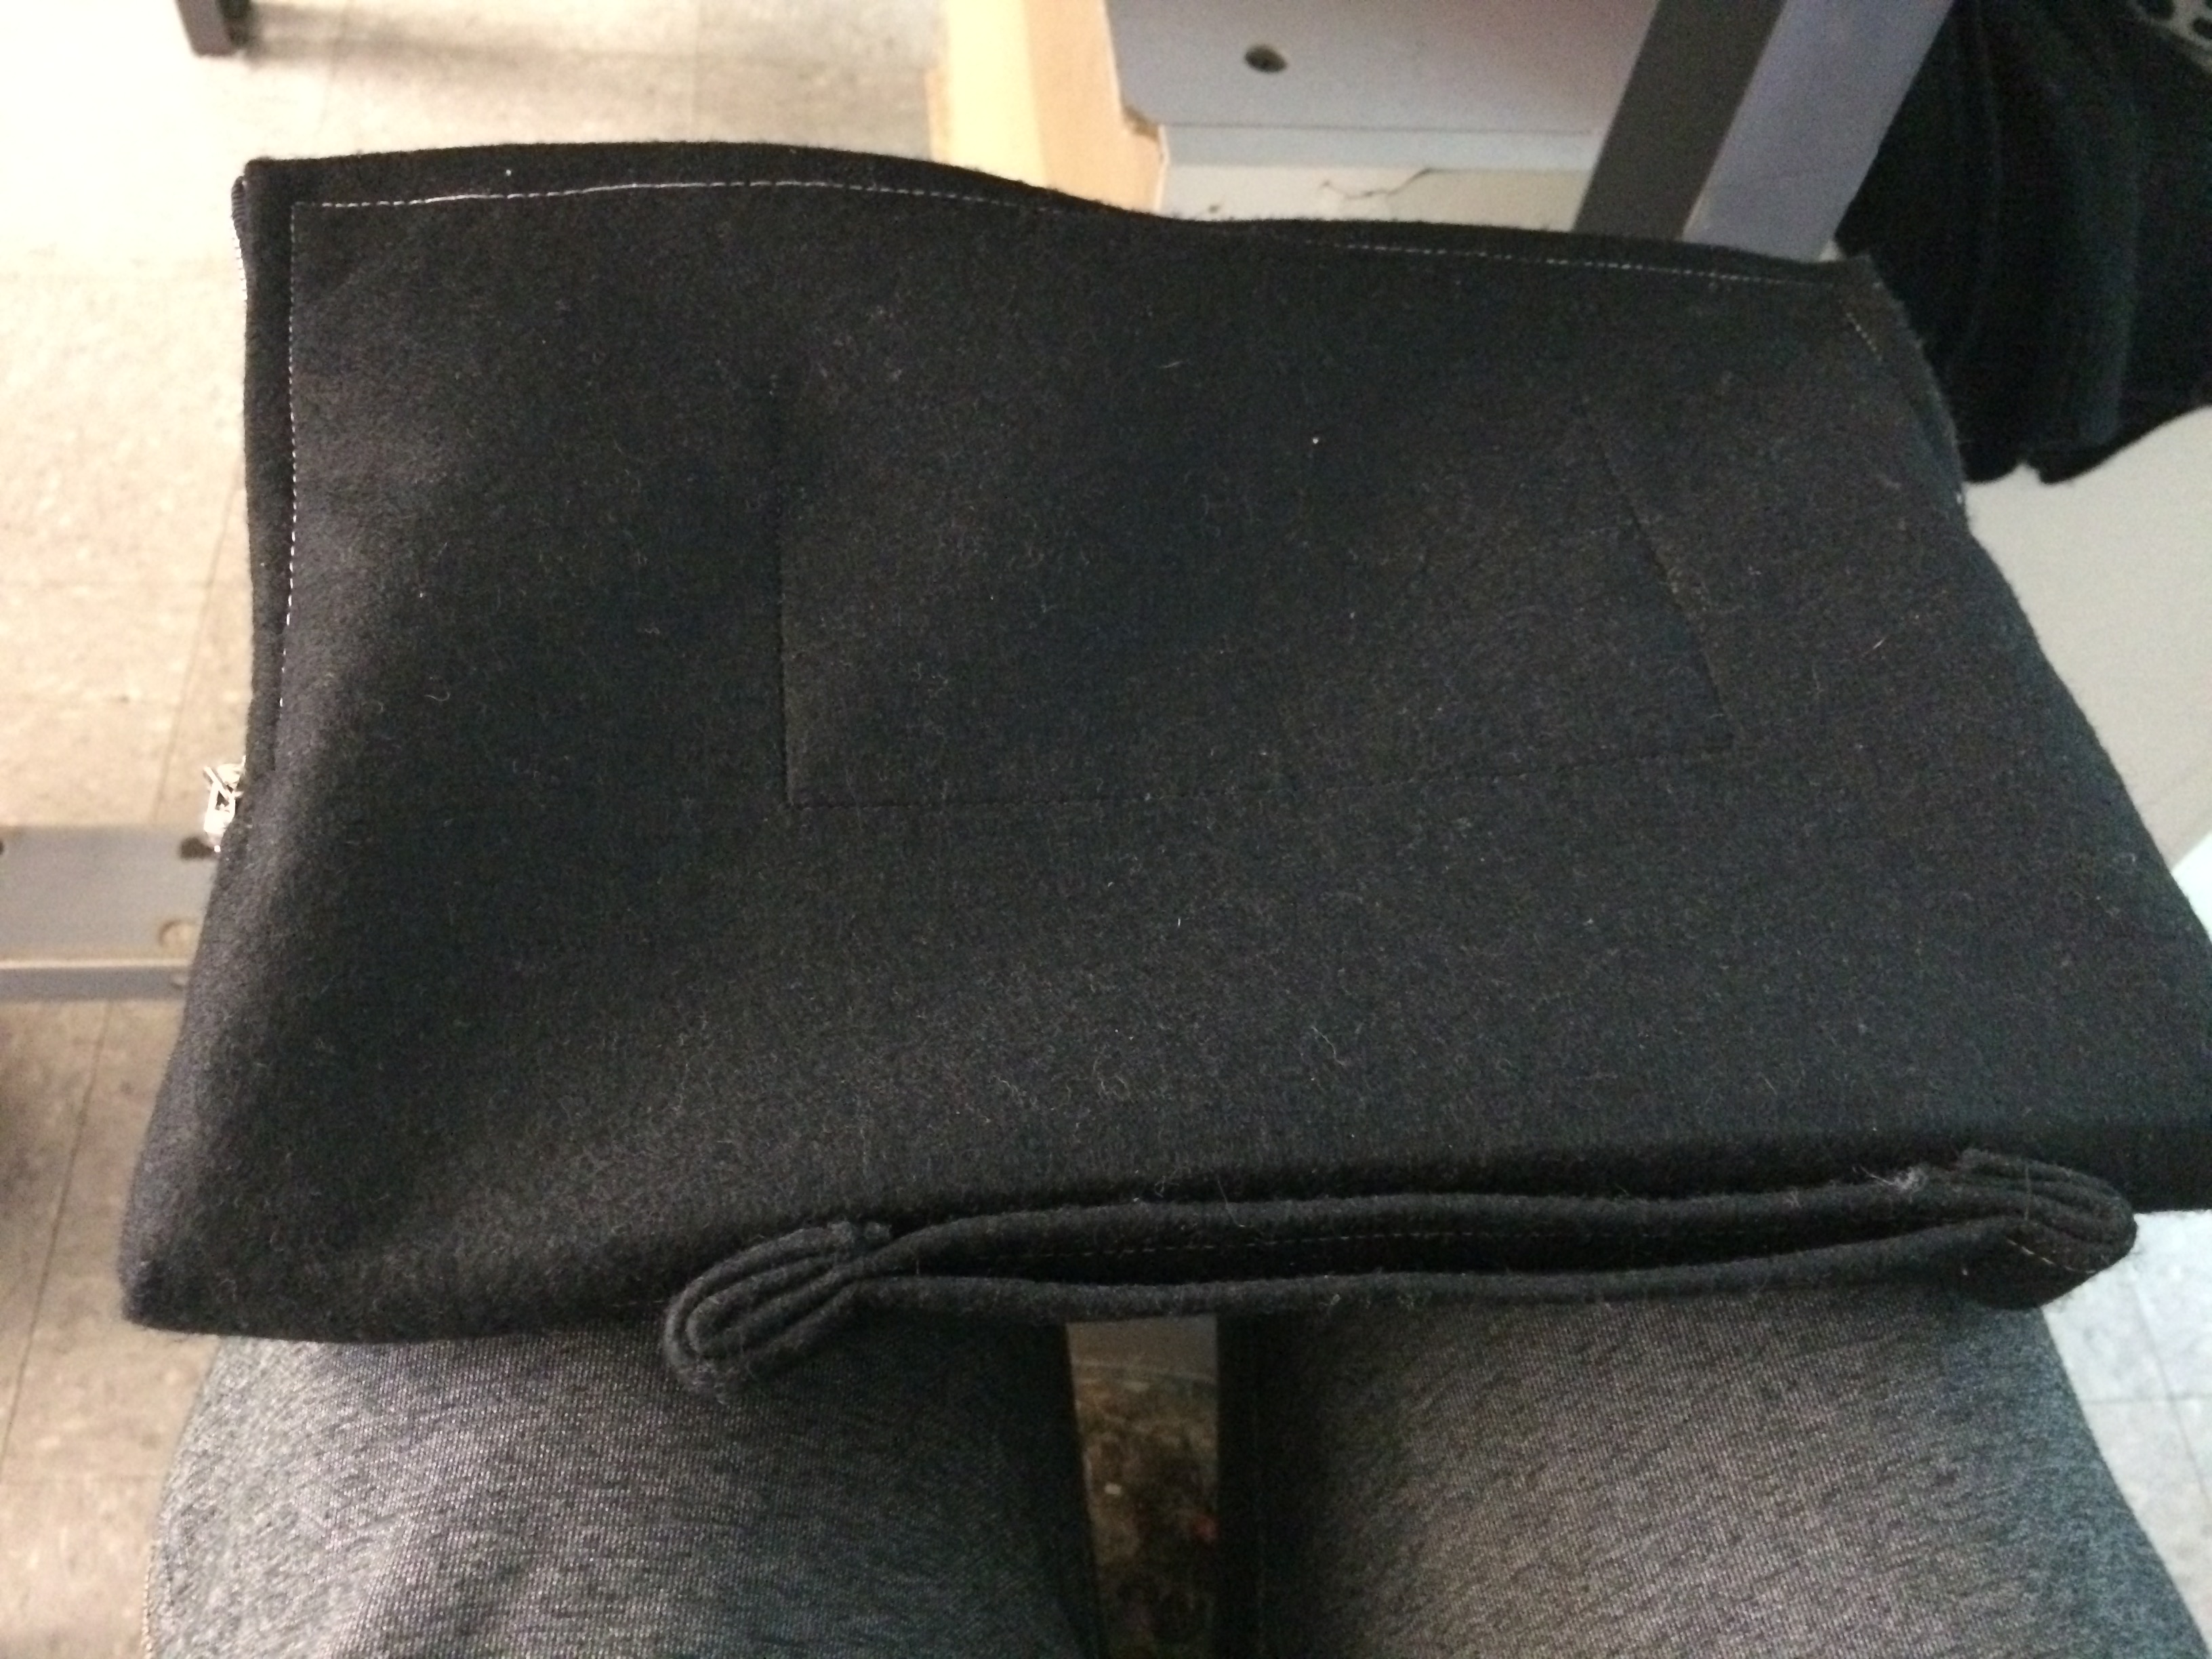
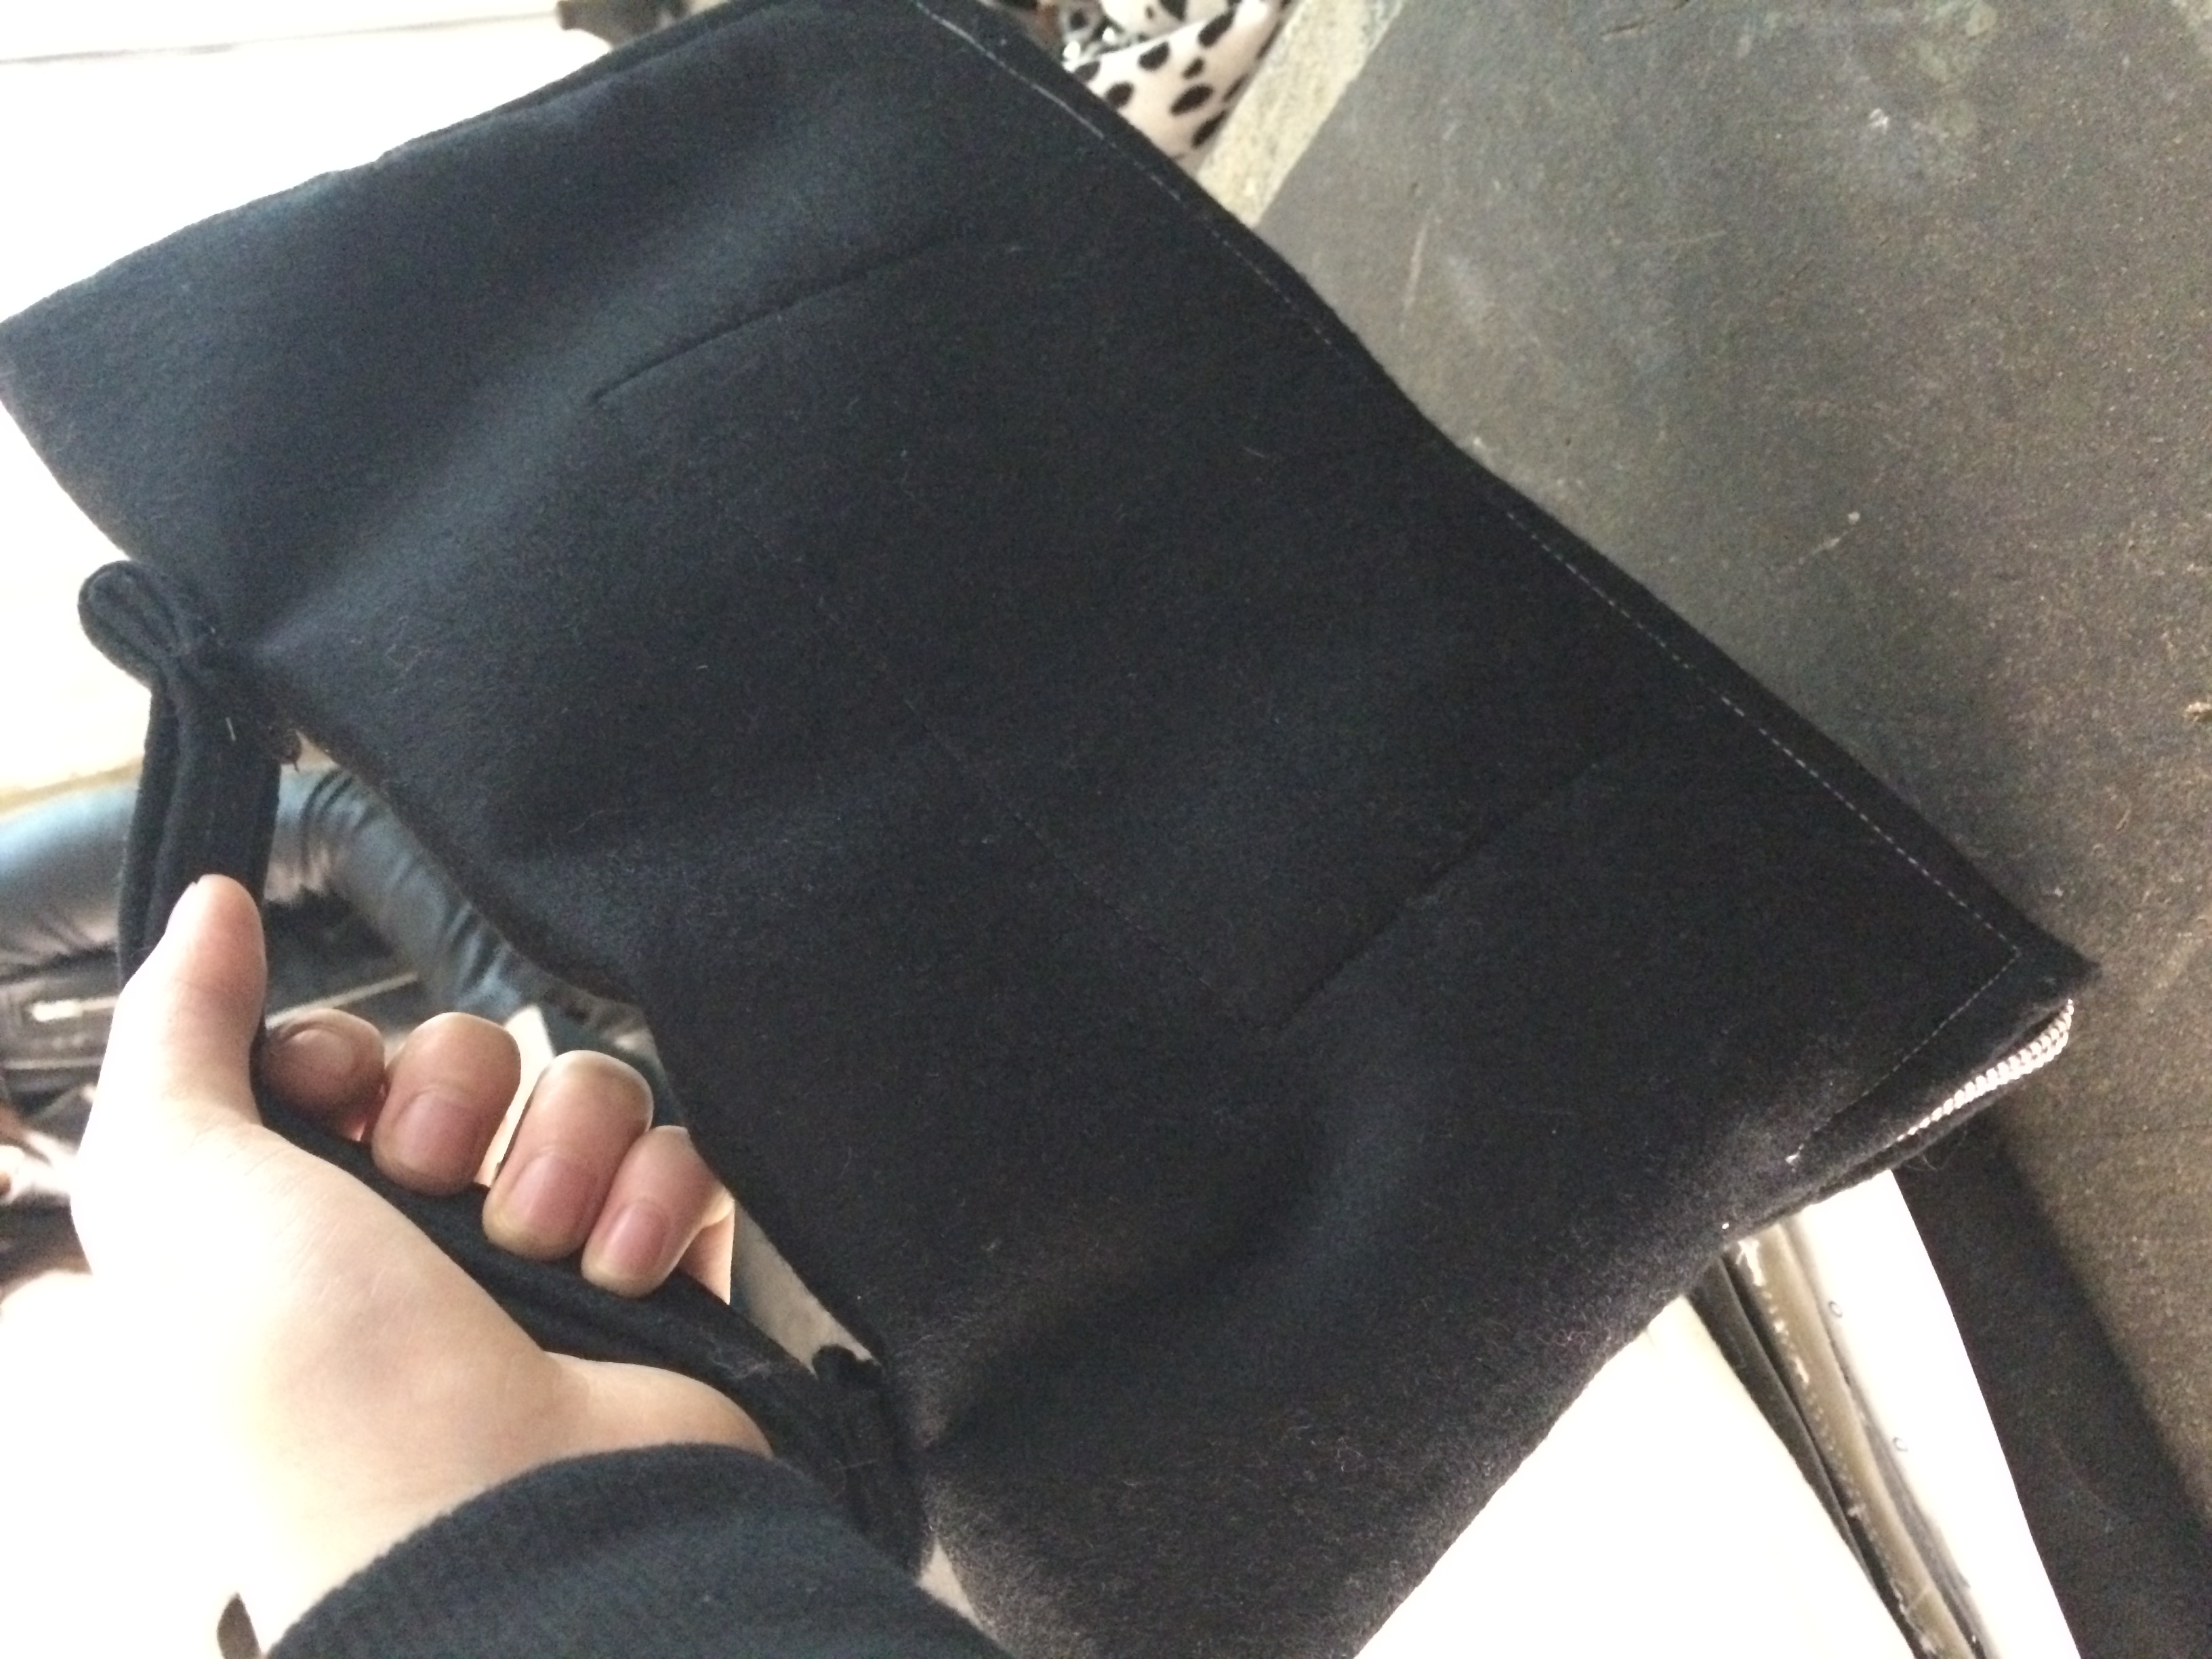
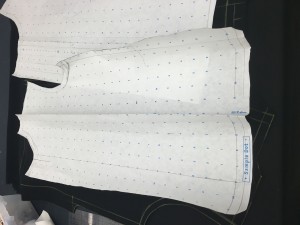
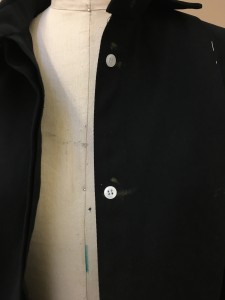
these two fabric are both wool, and they are kind stretched which i realized are not very easy for sewing.
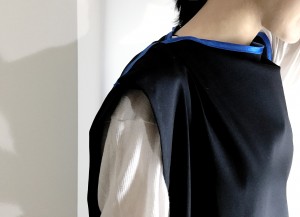
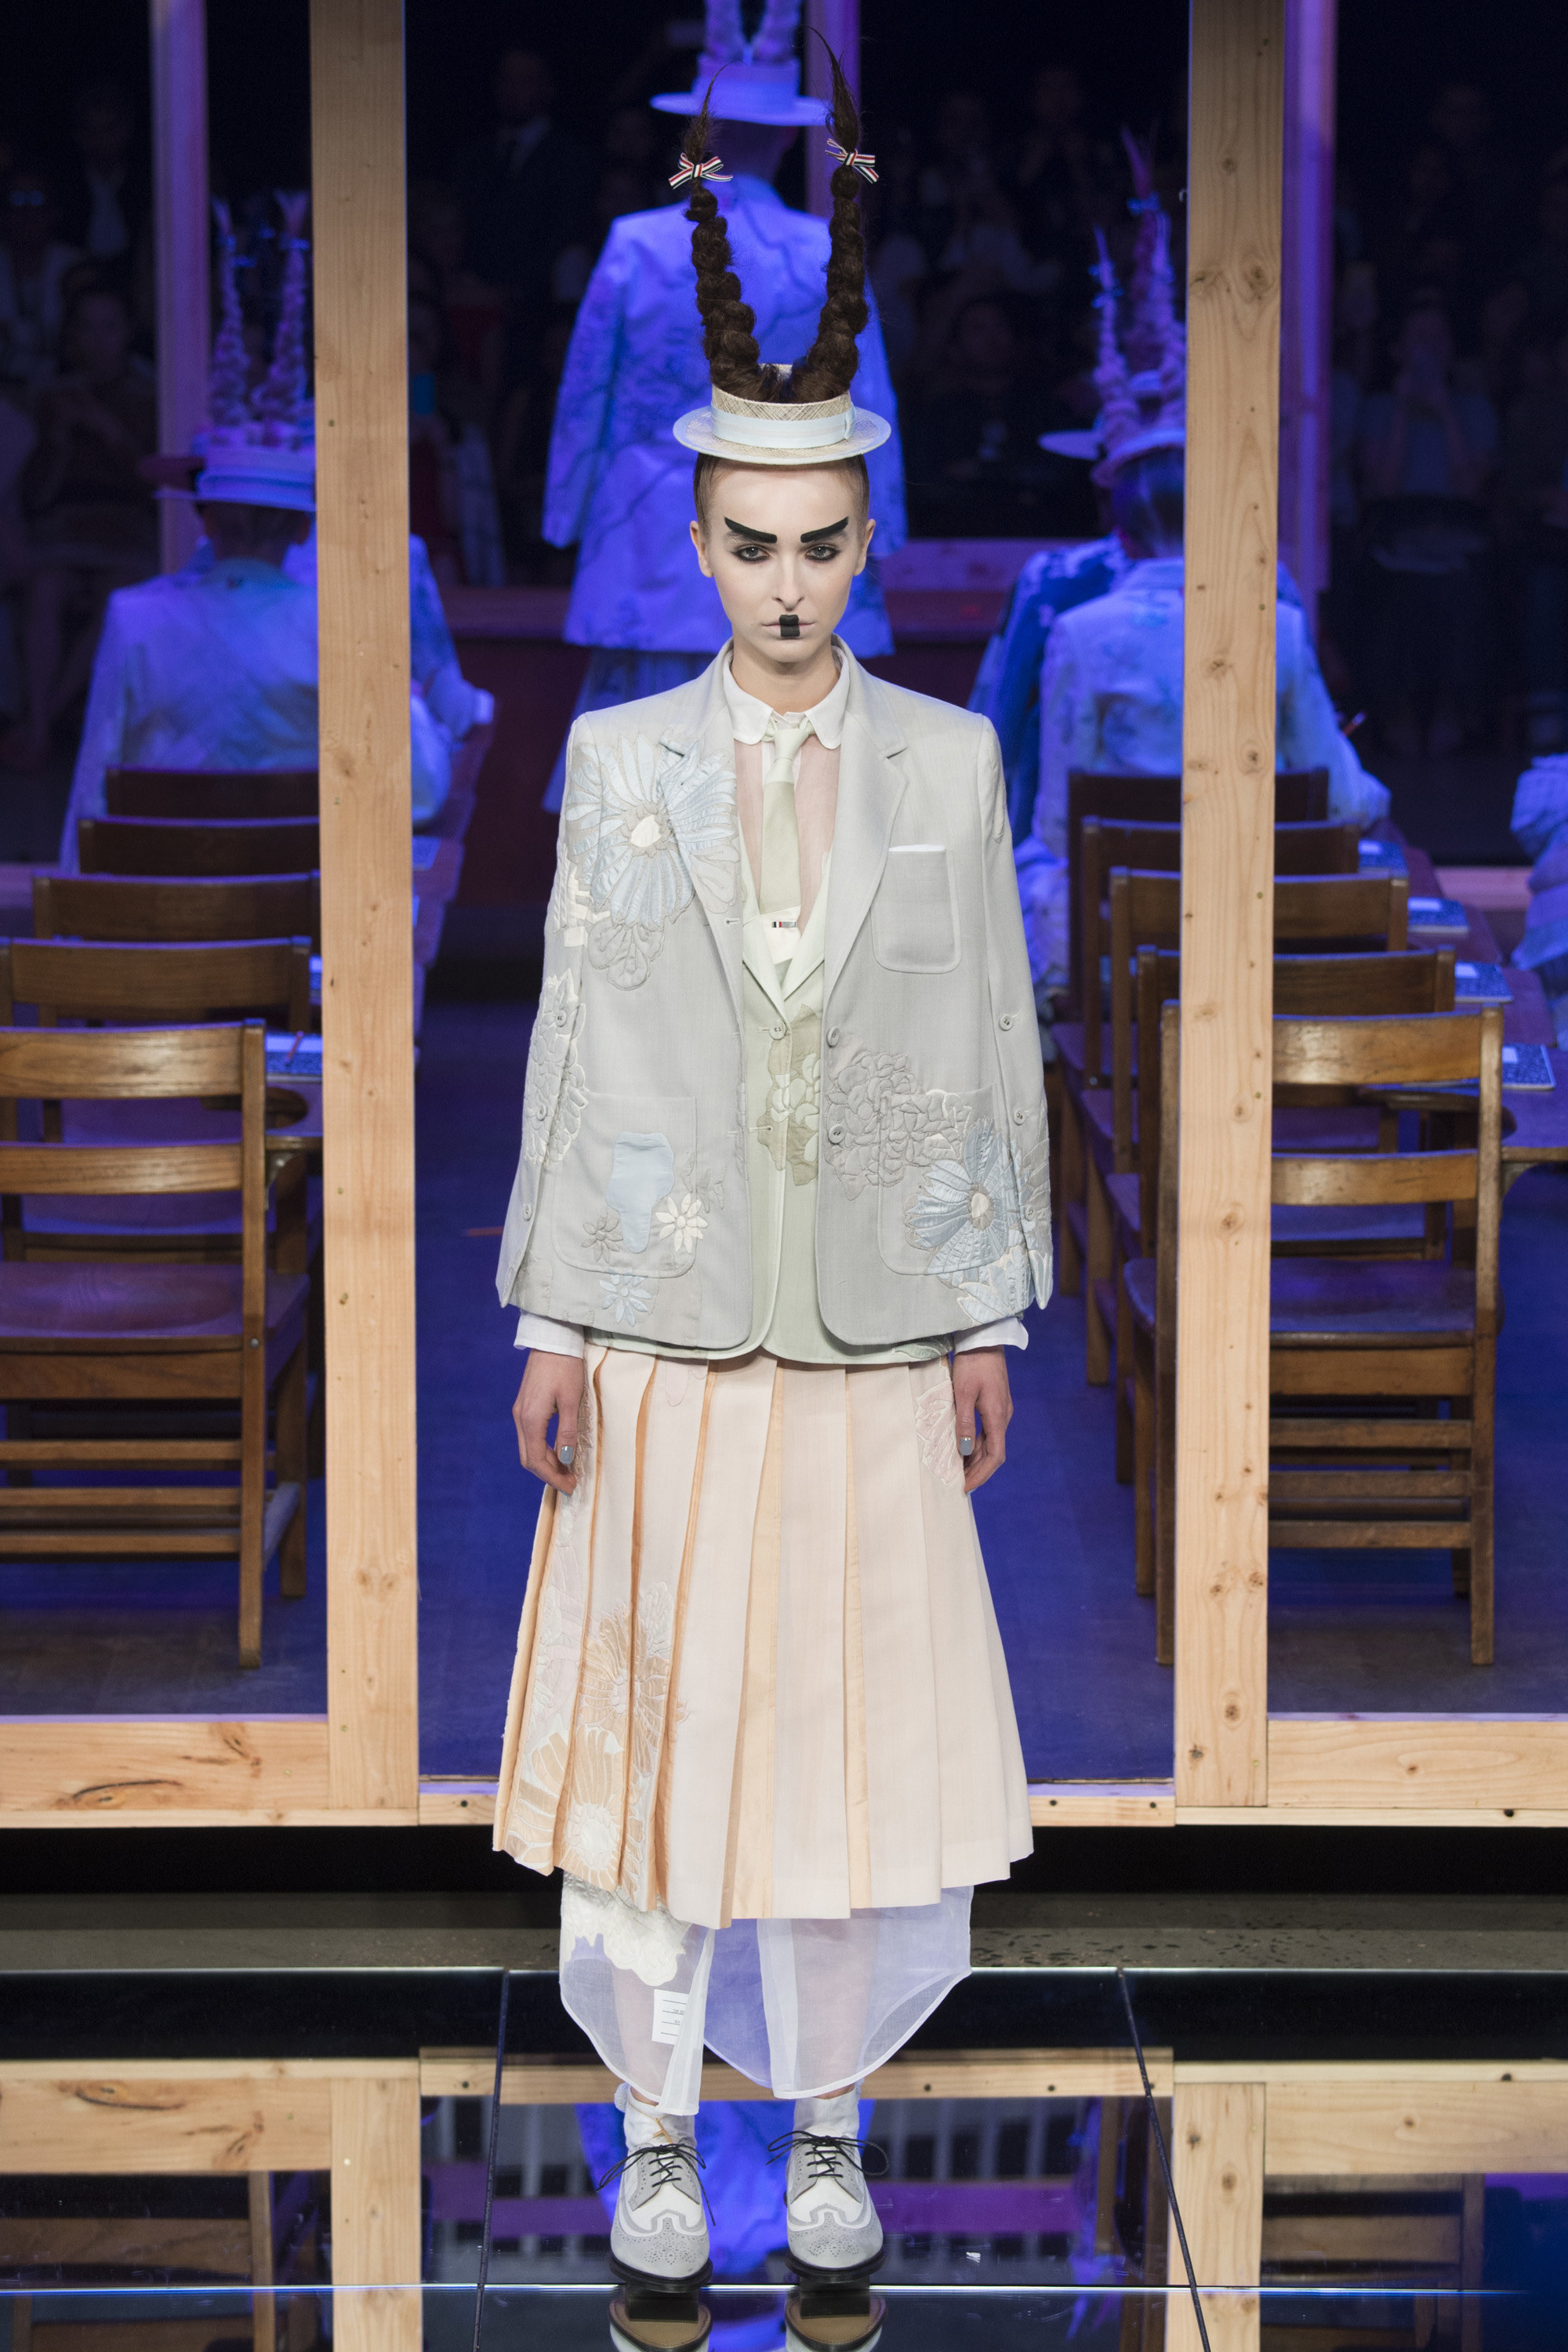
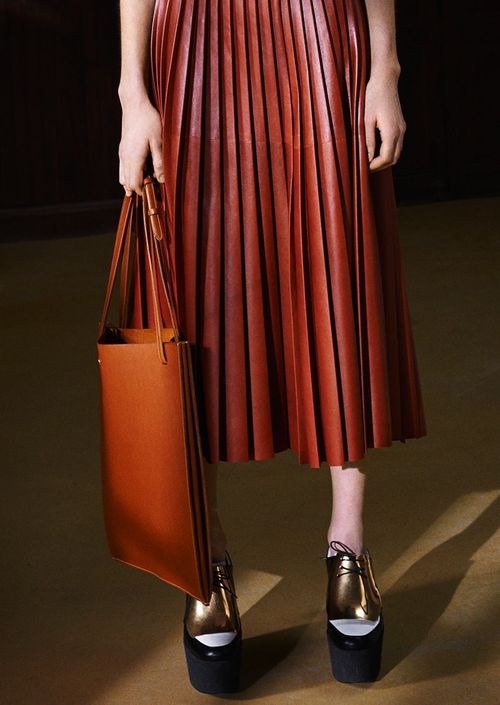
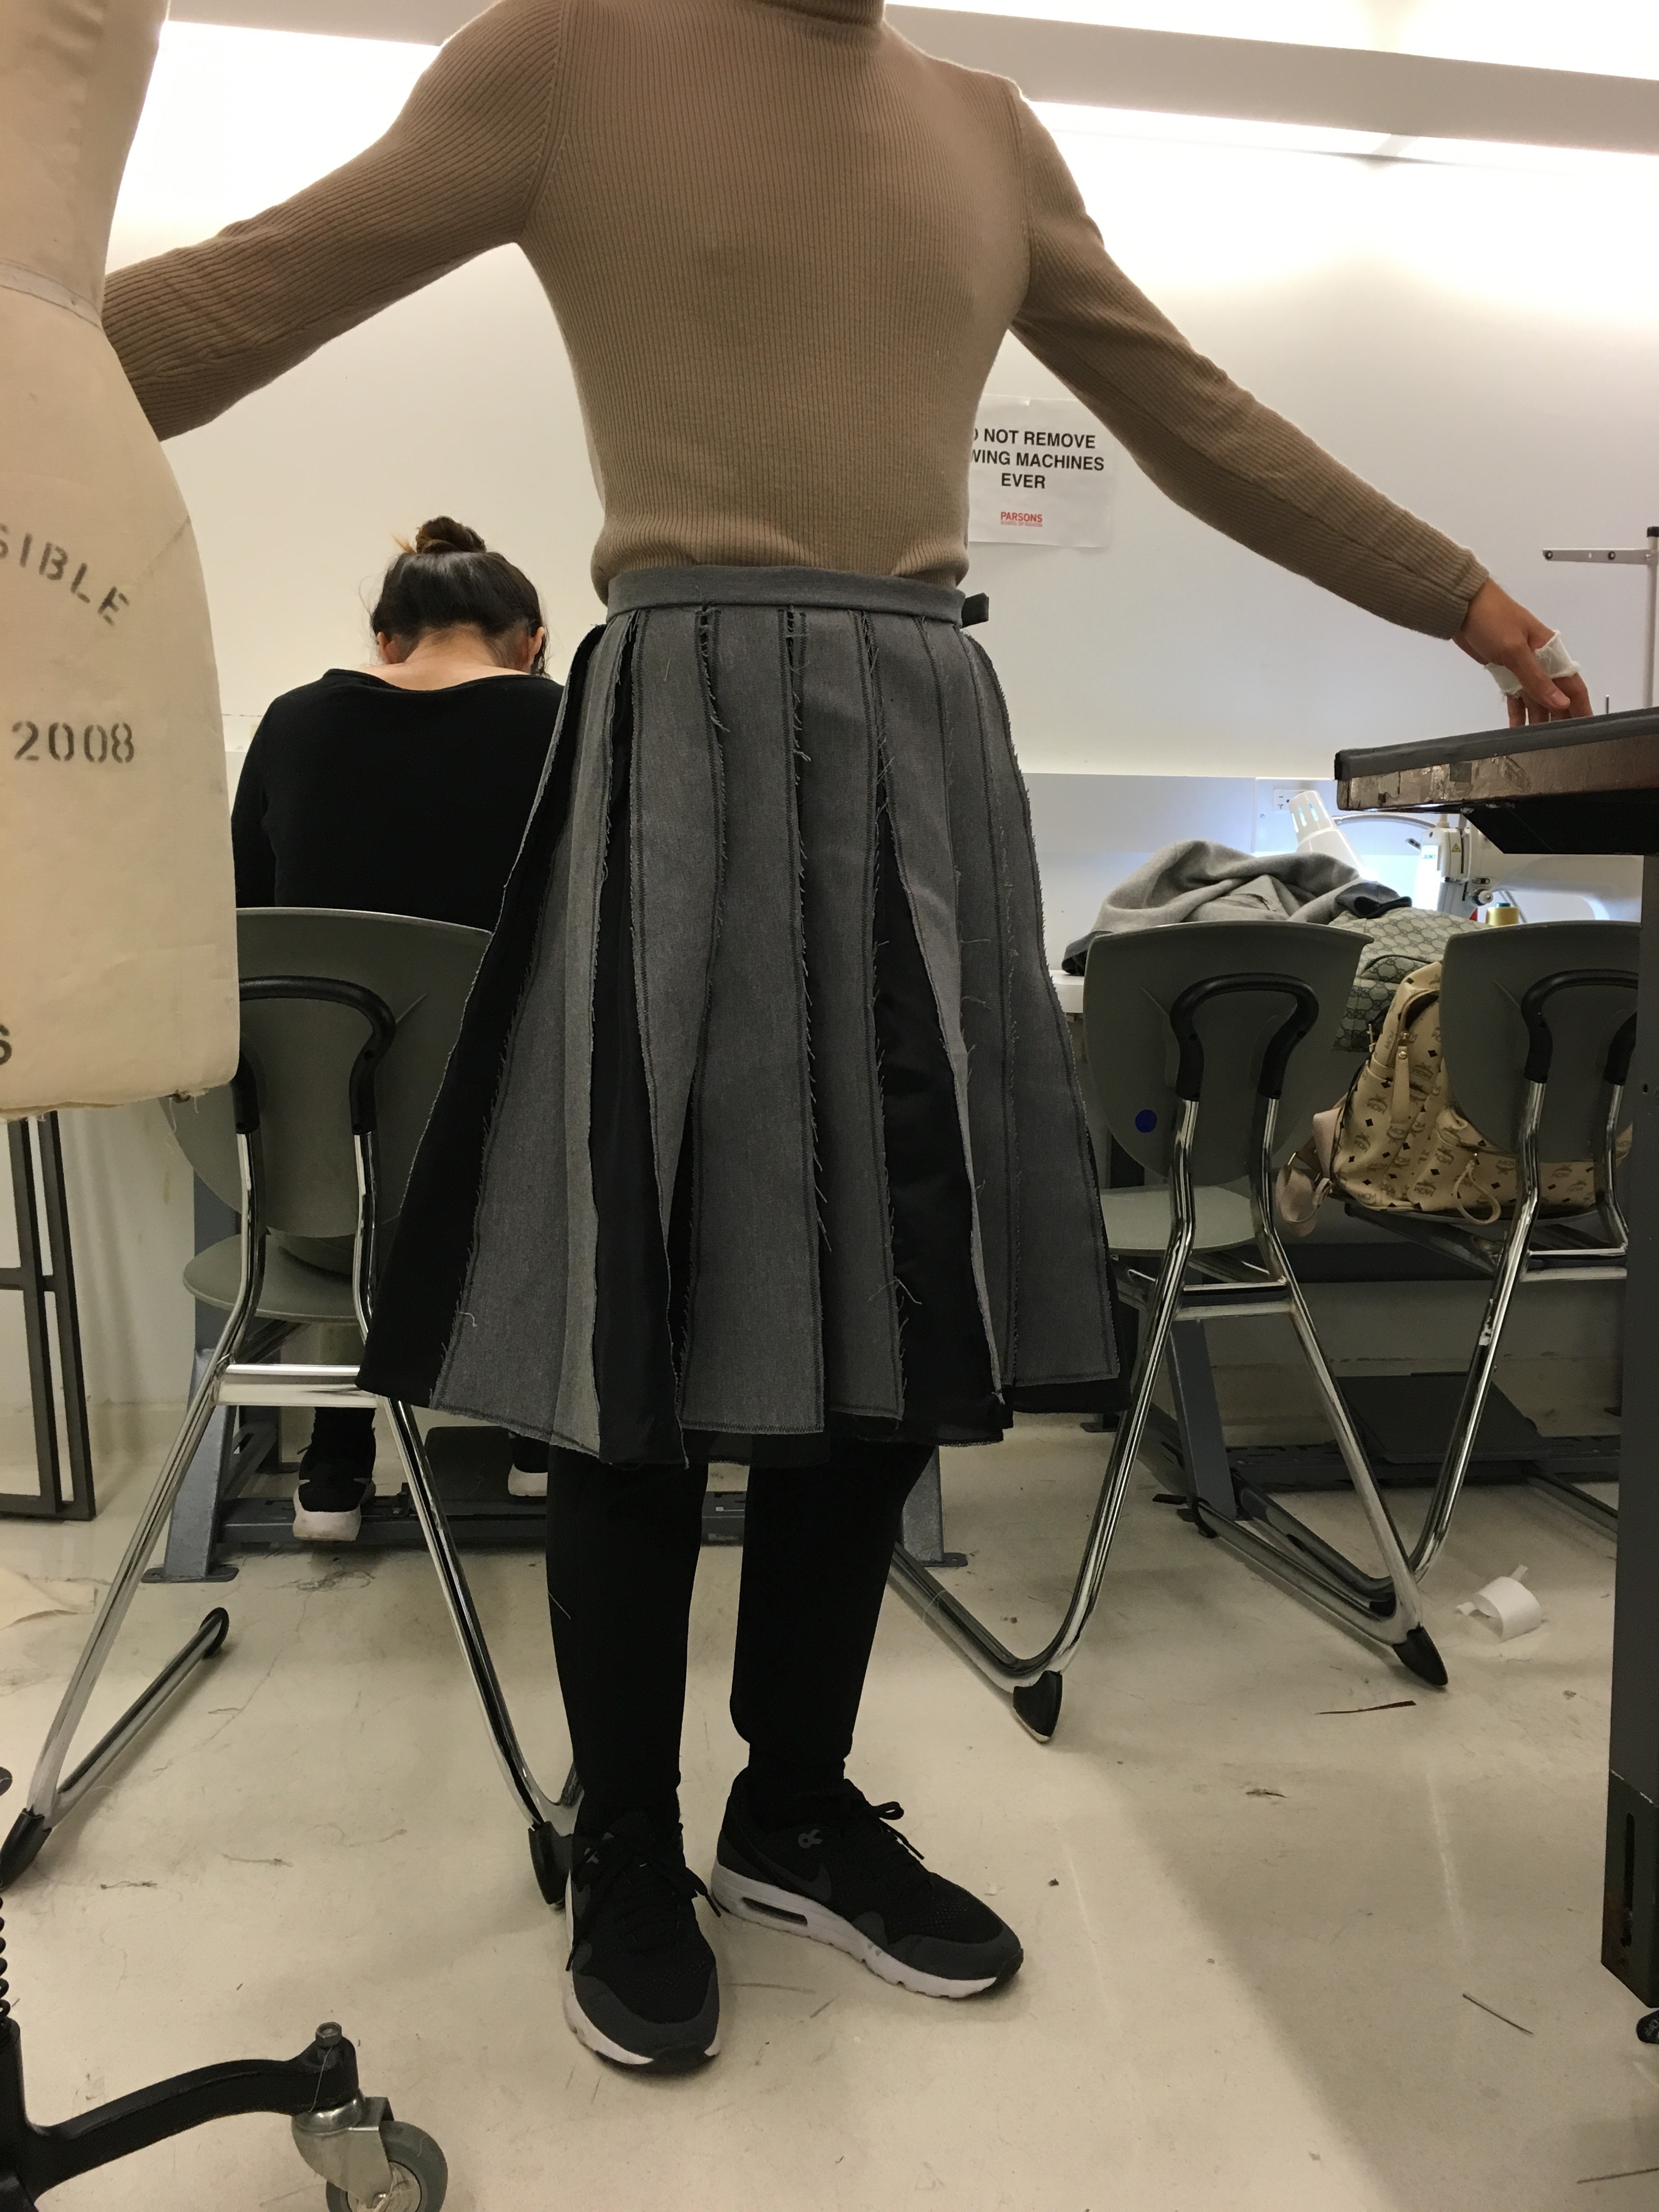
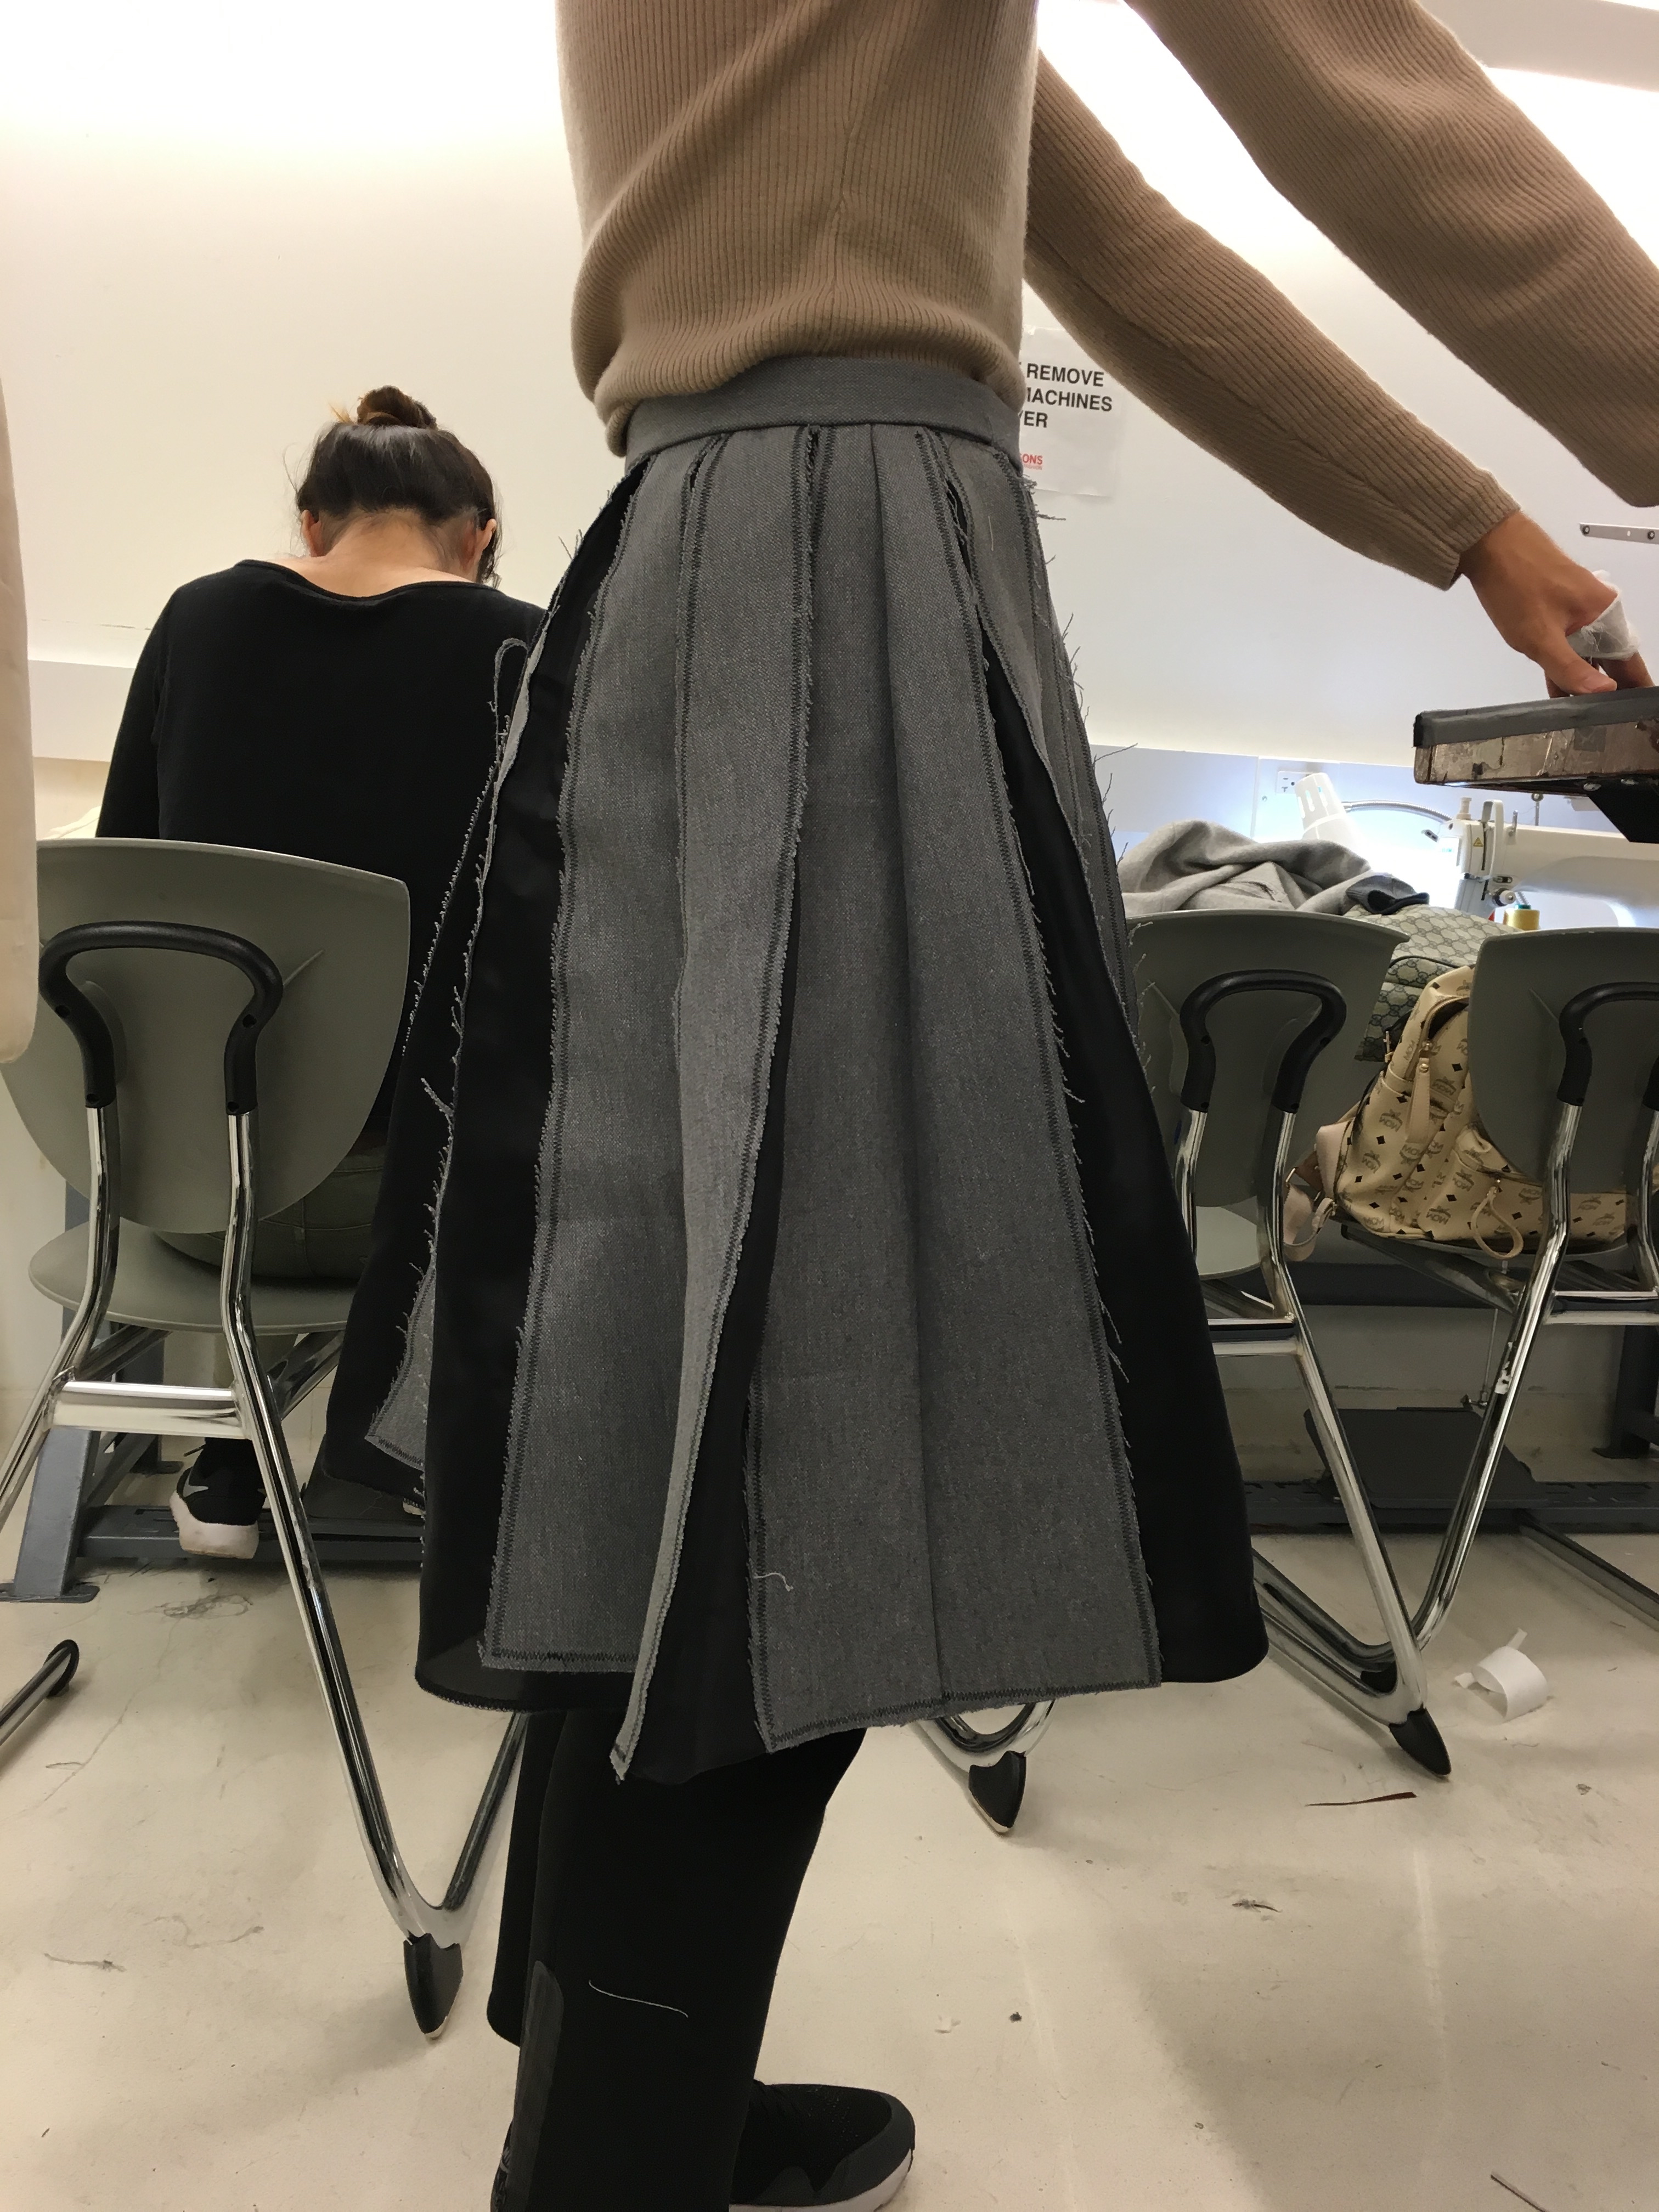
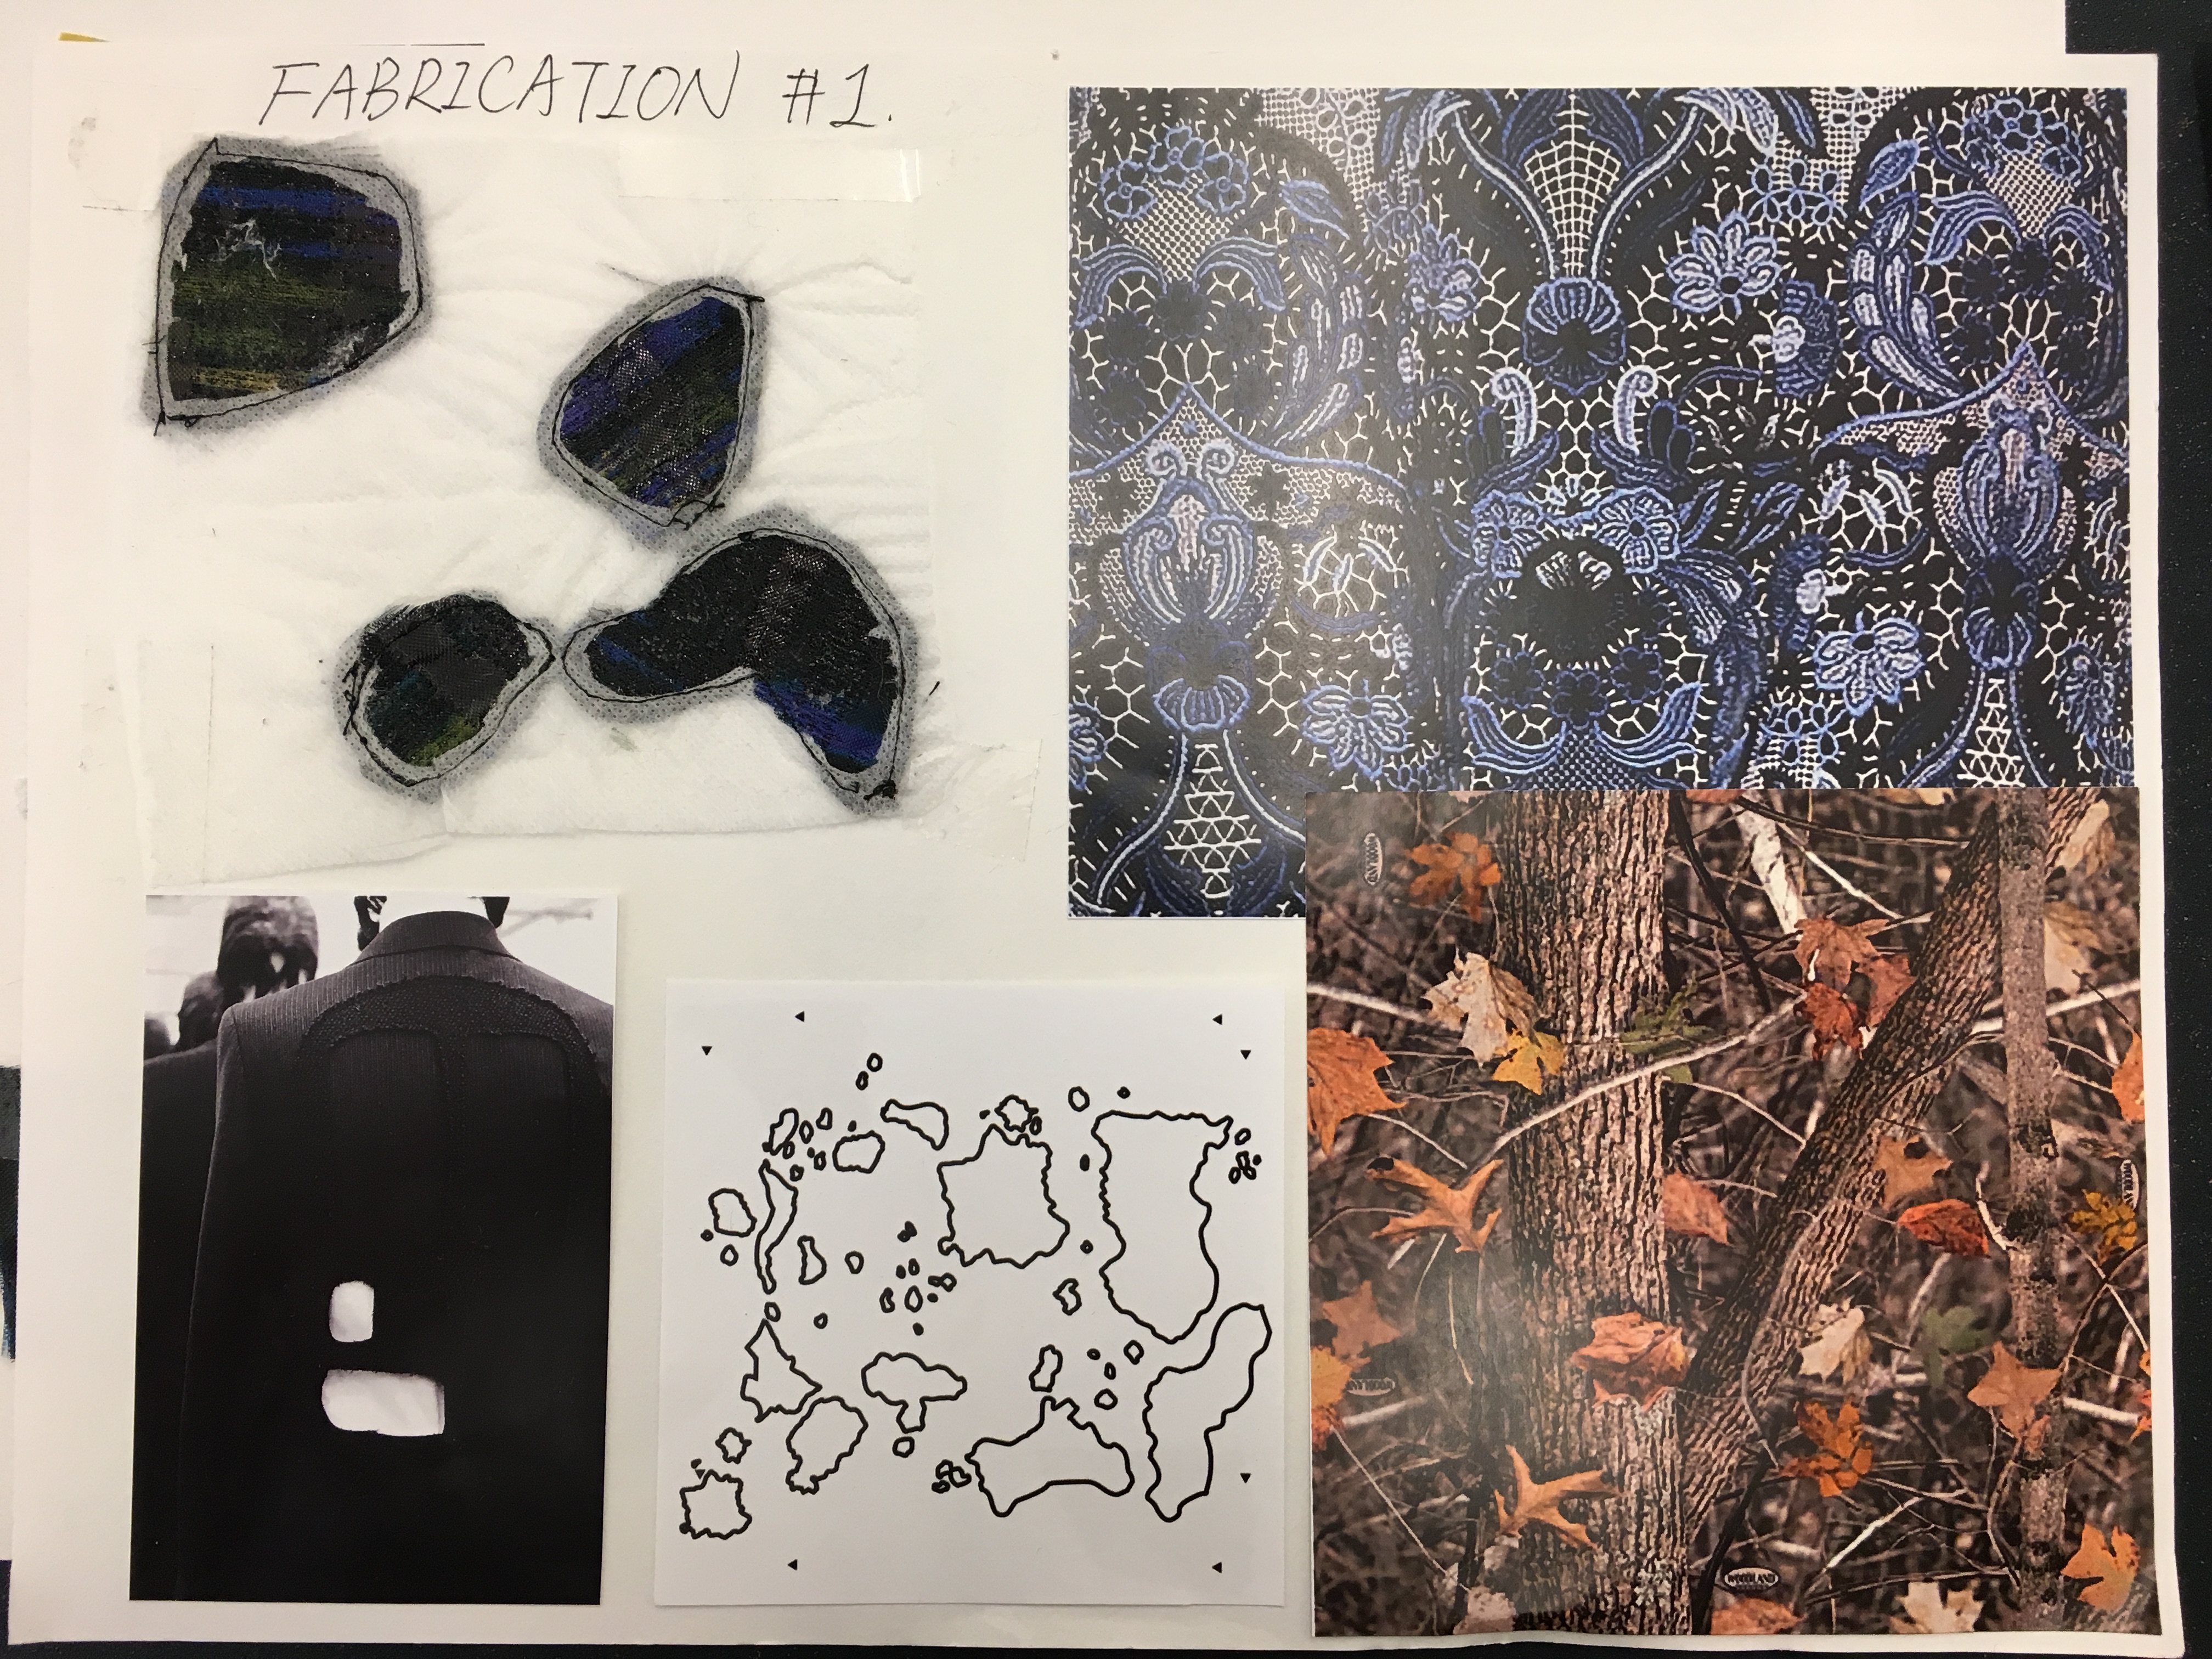
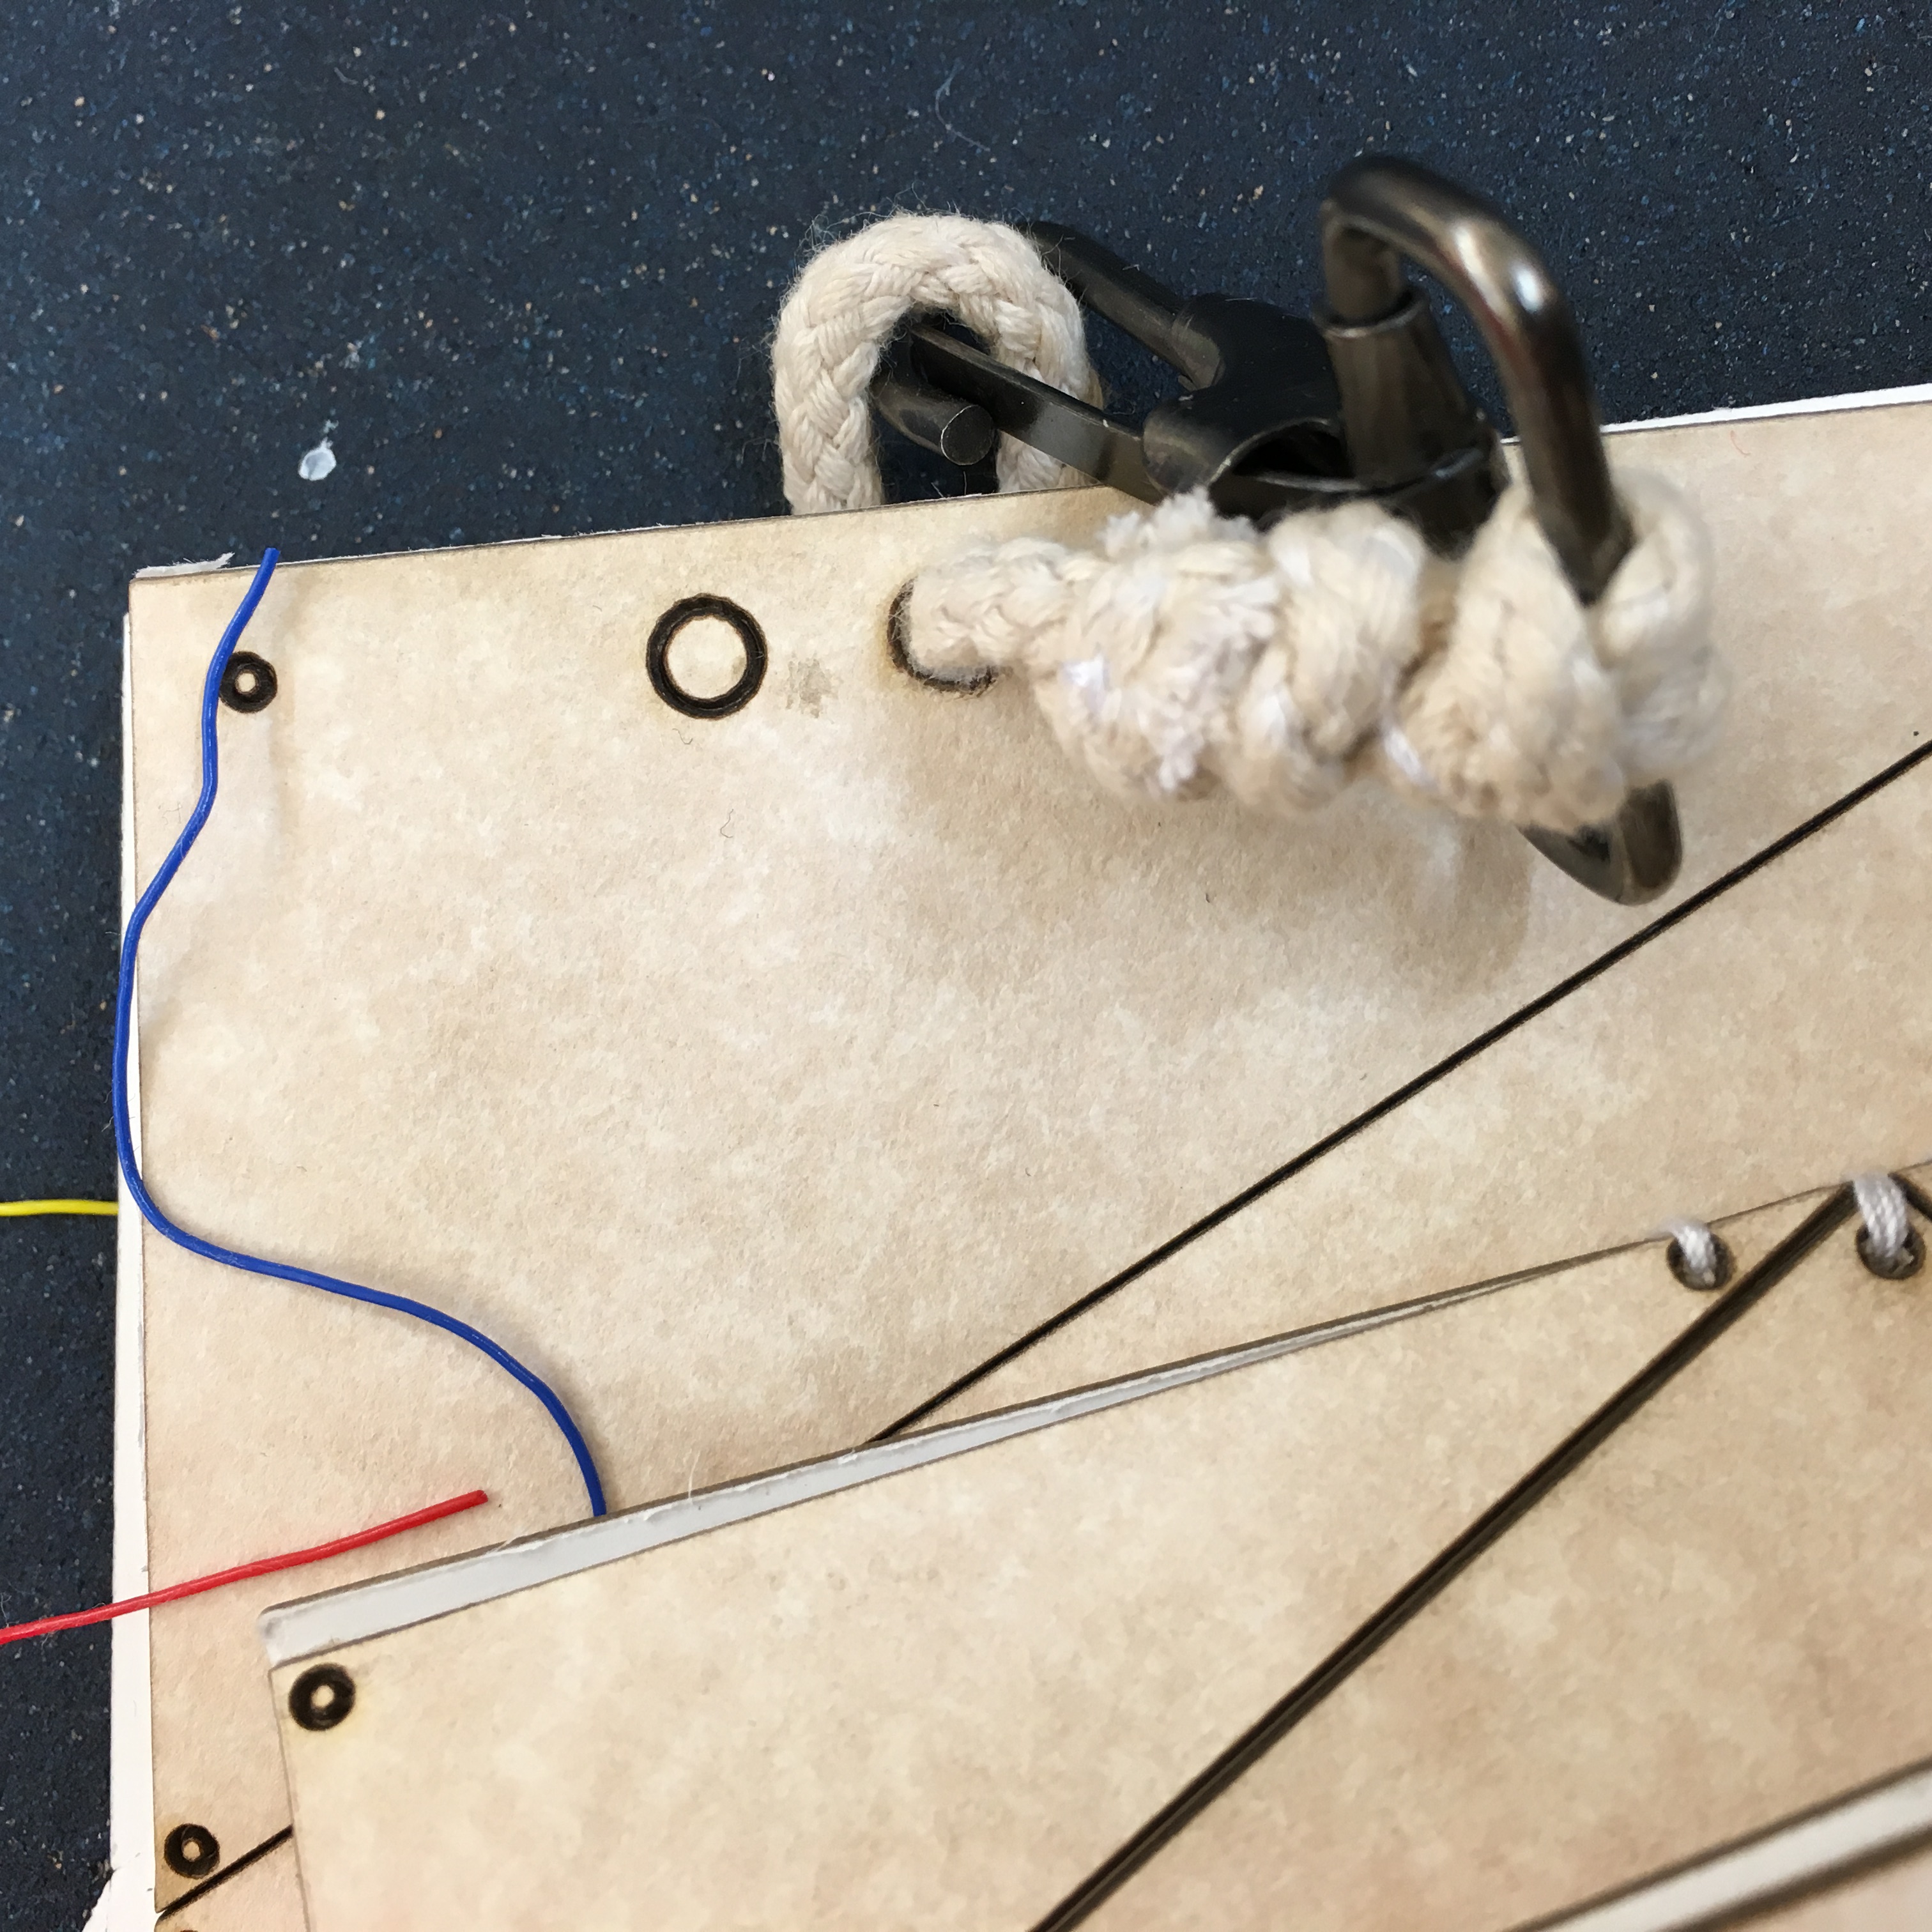
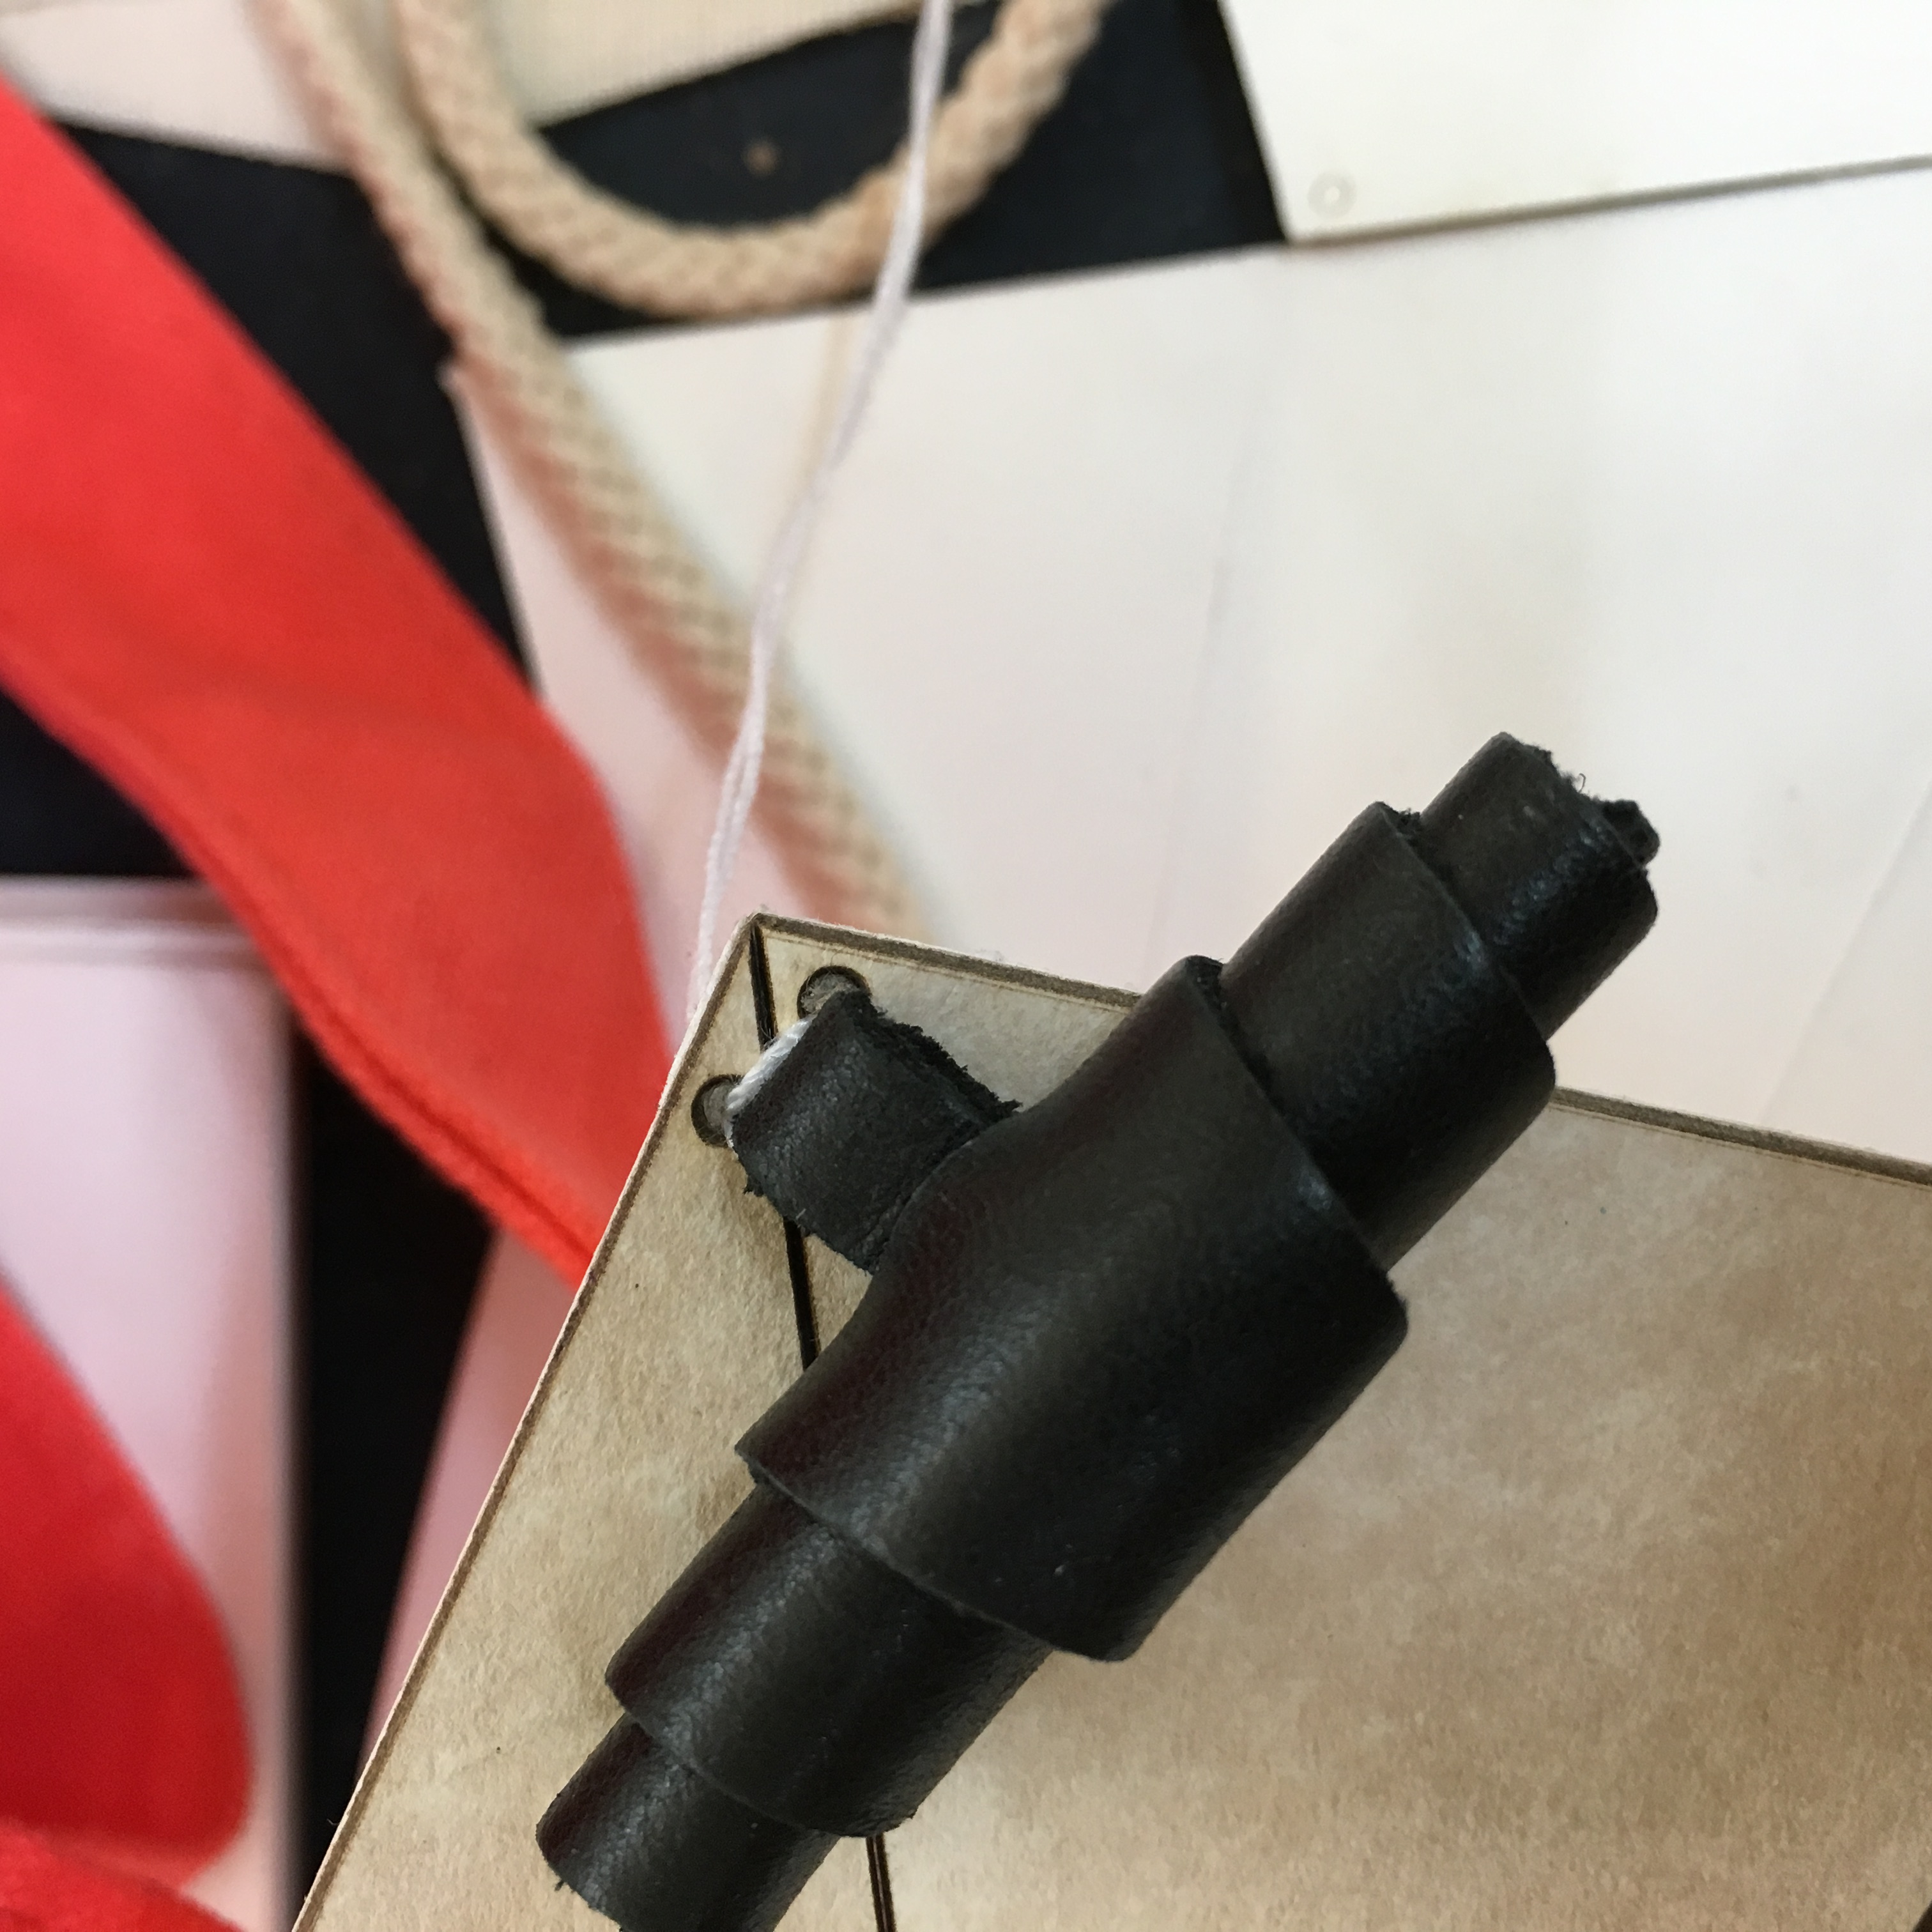
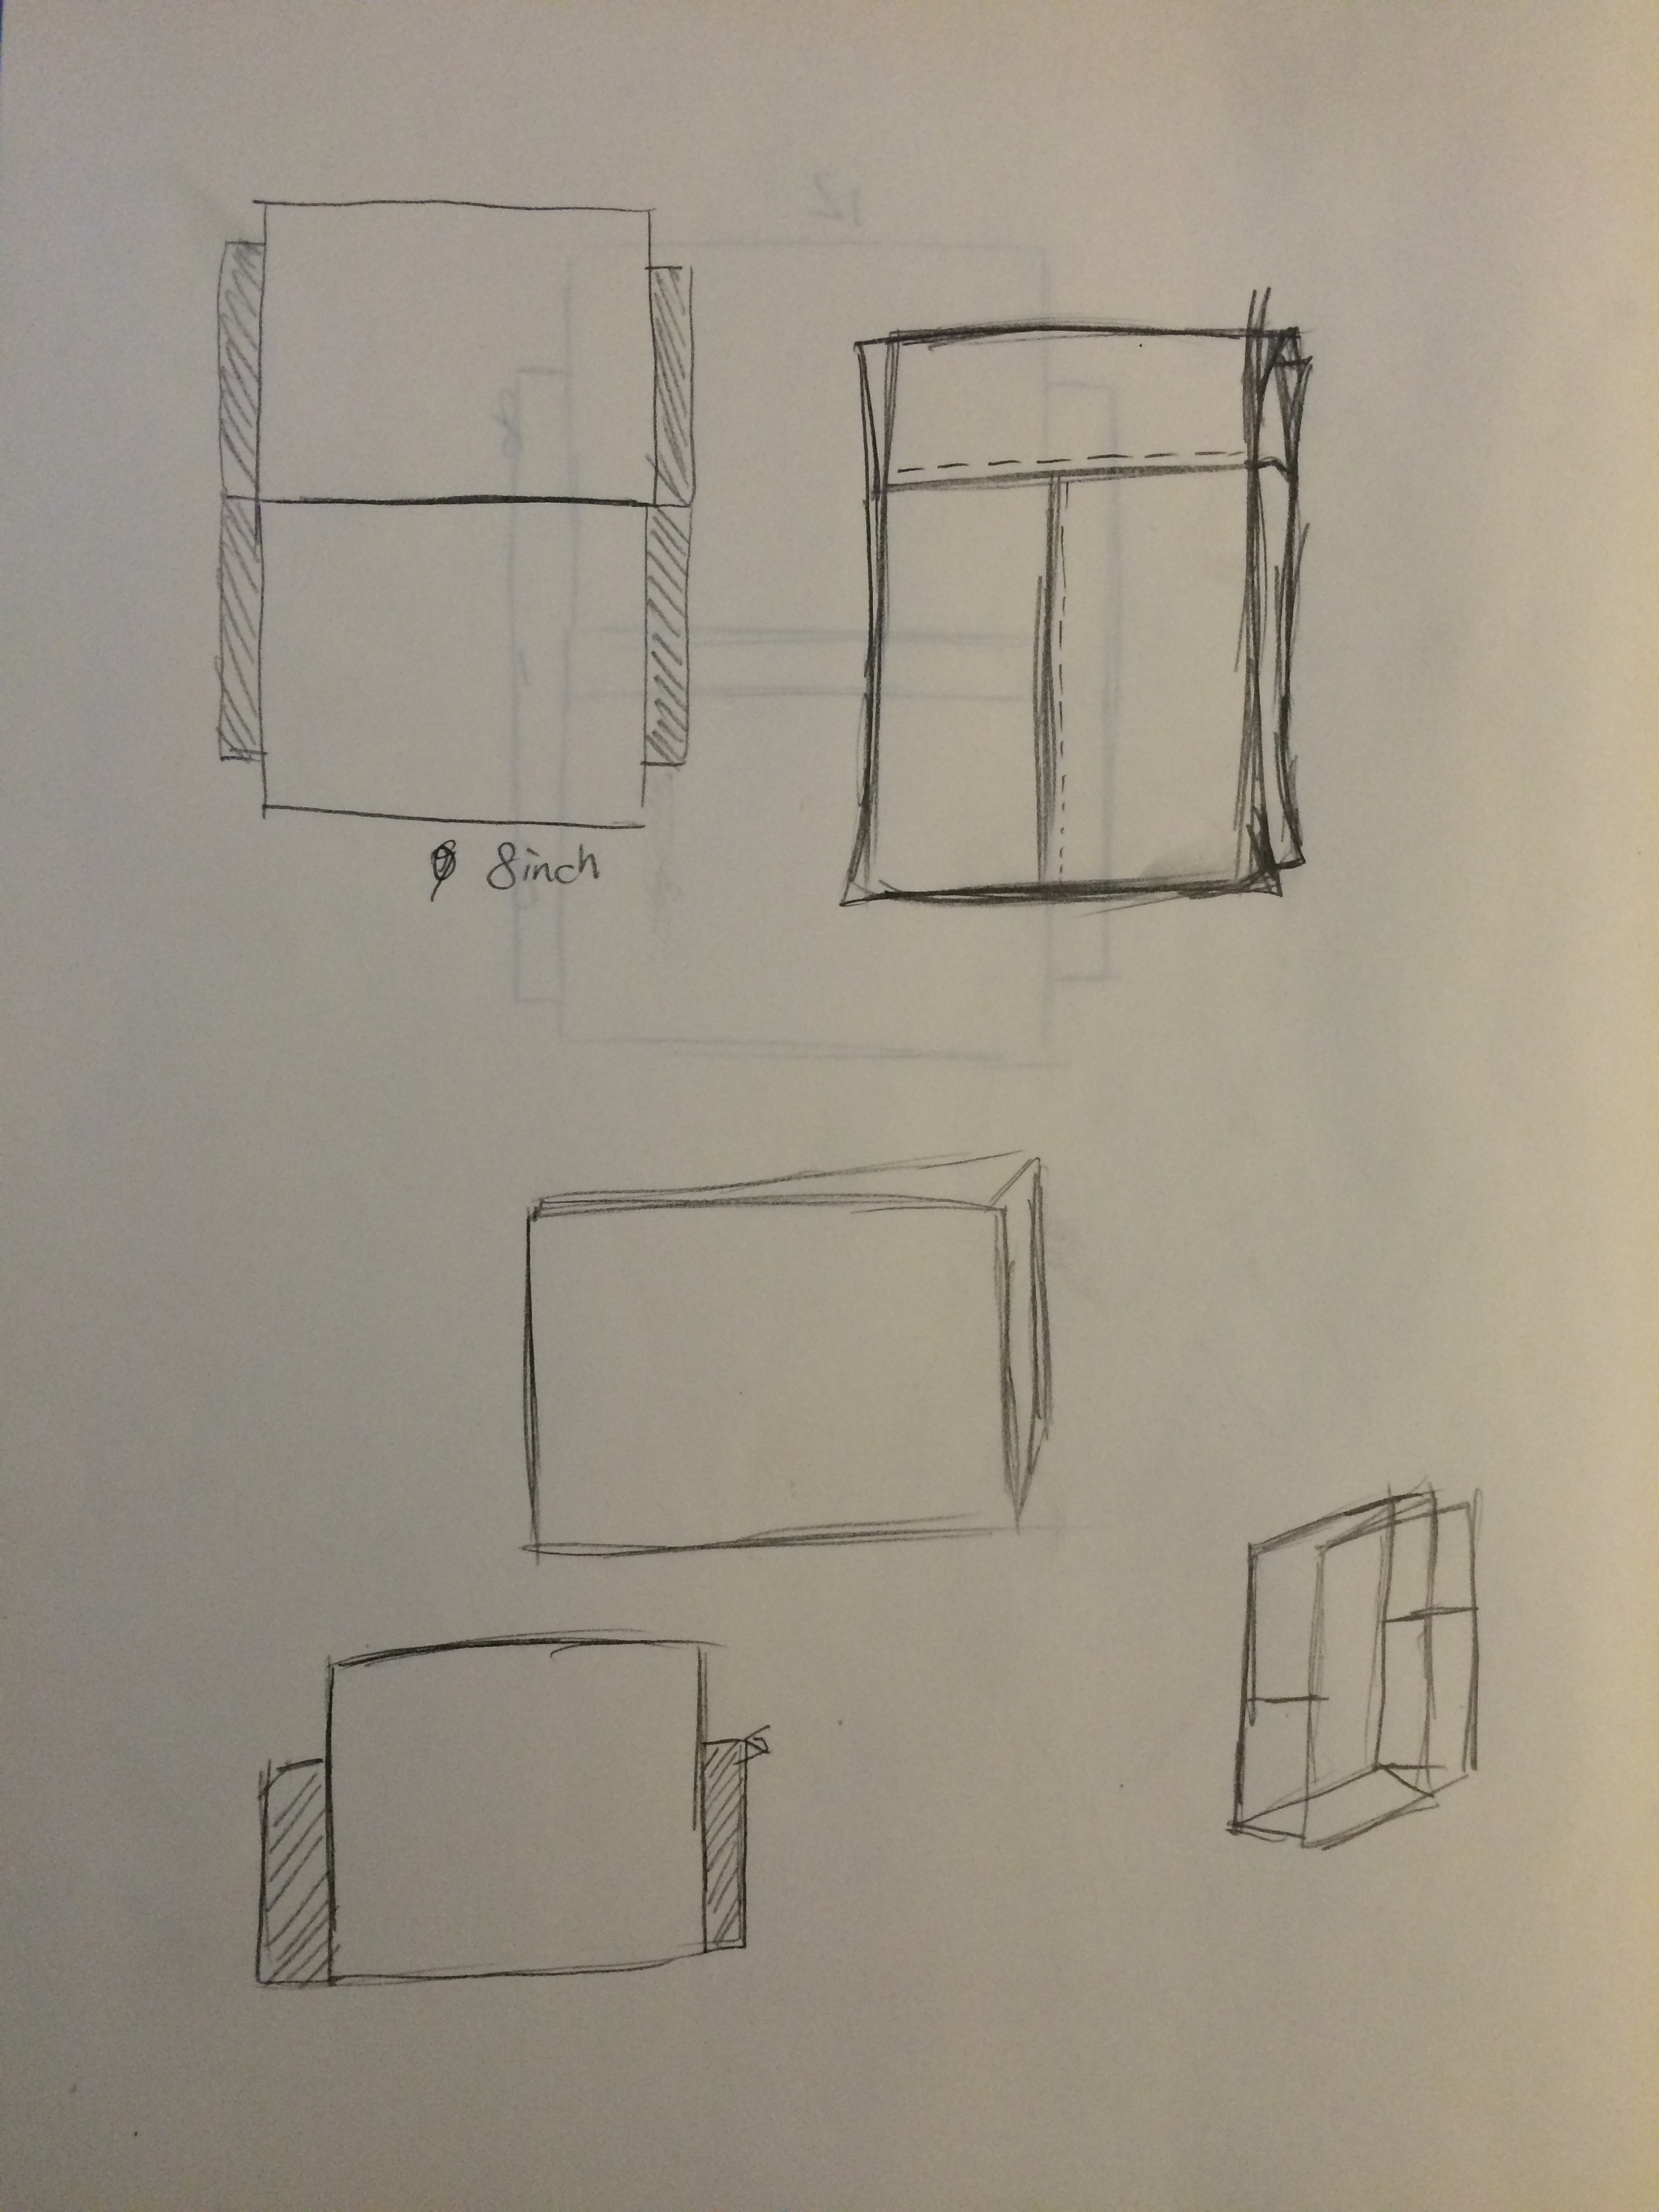
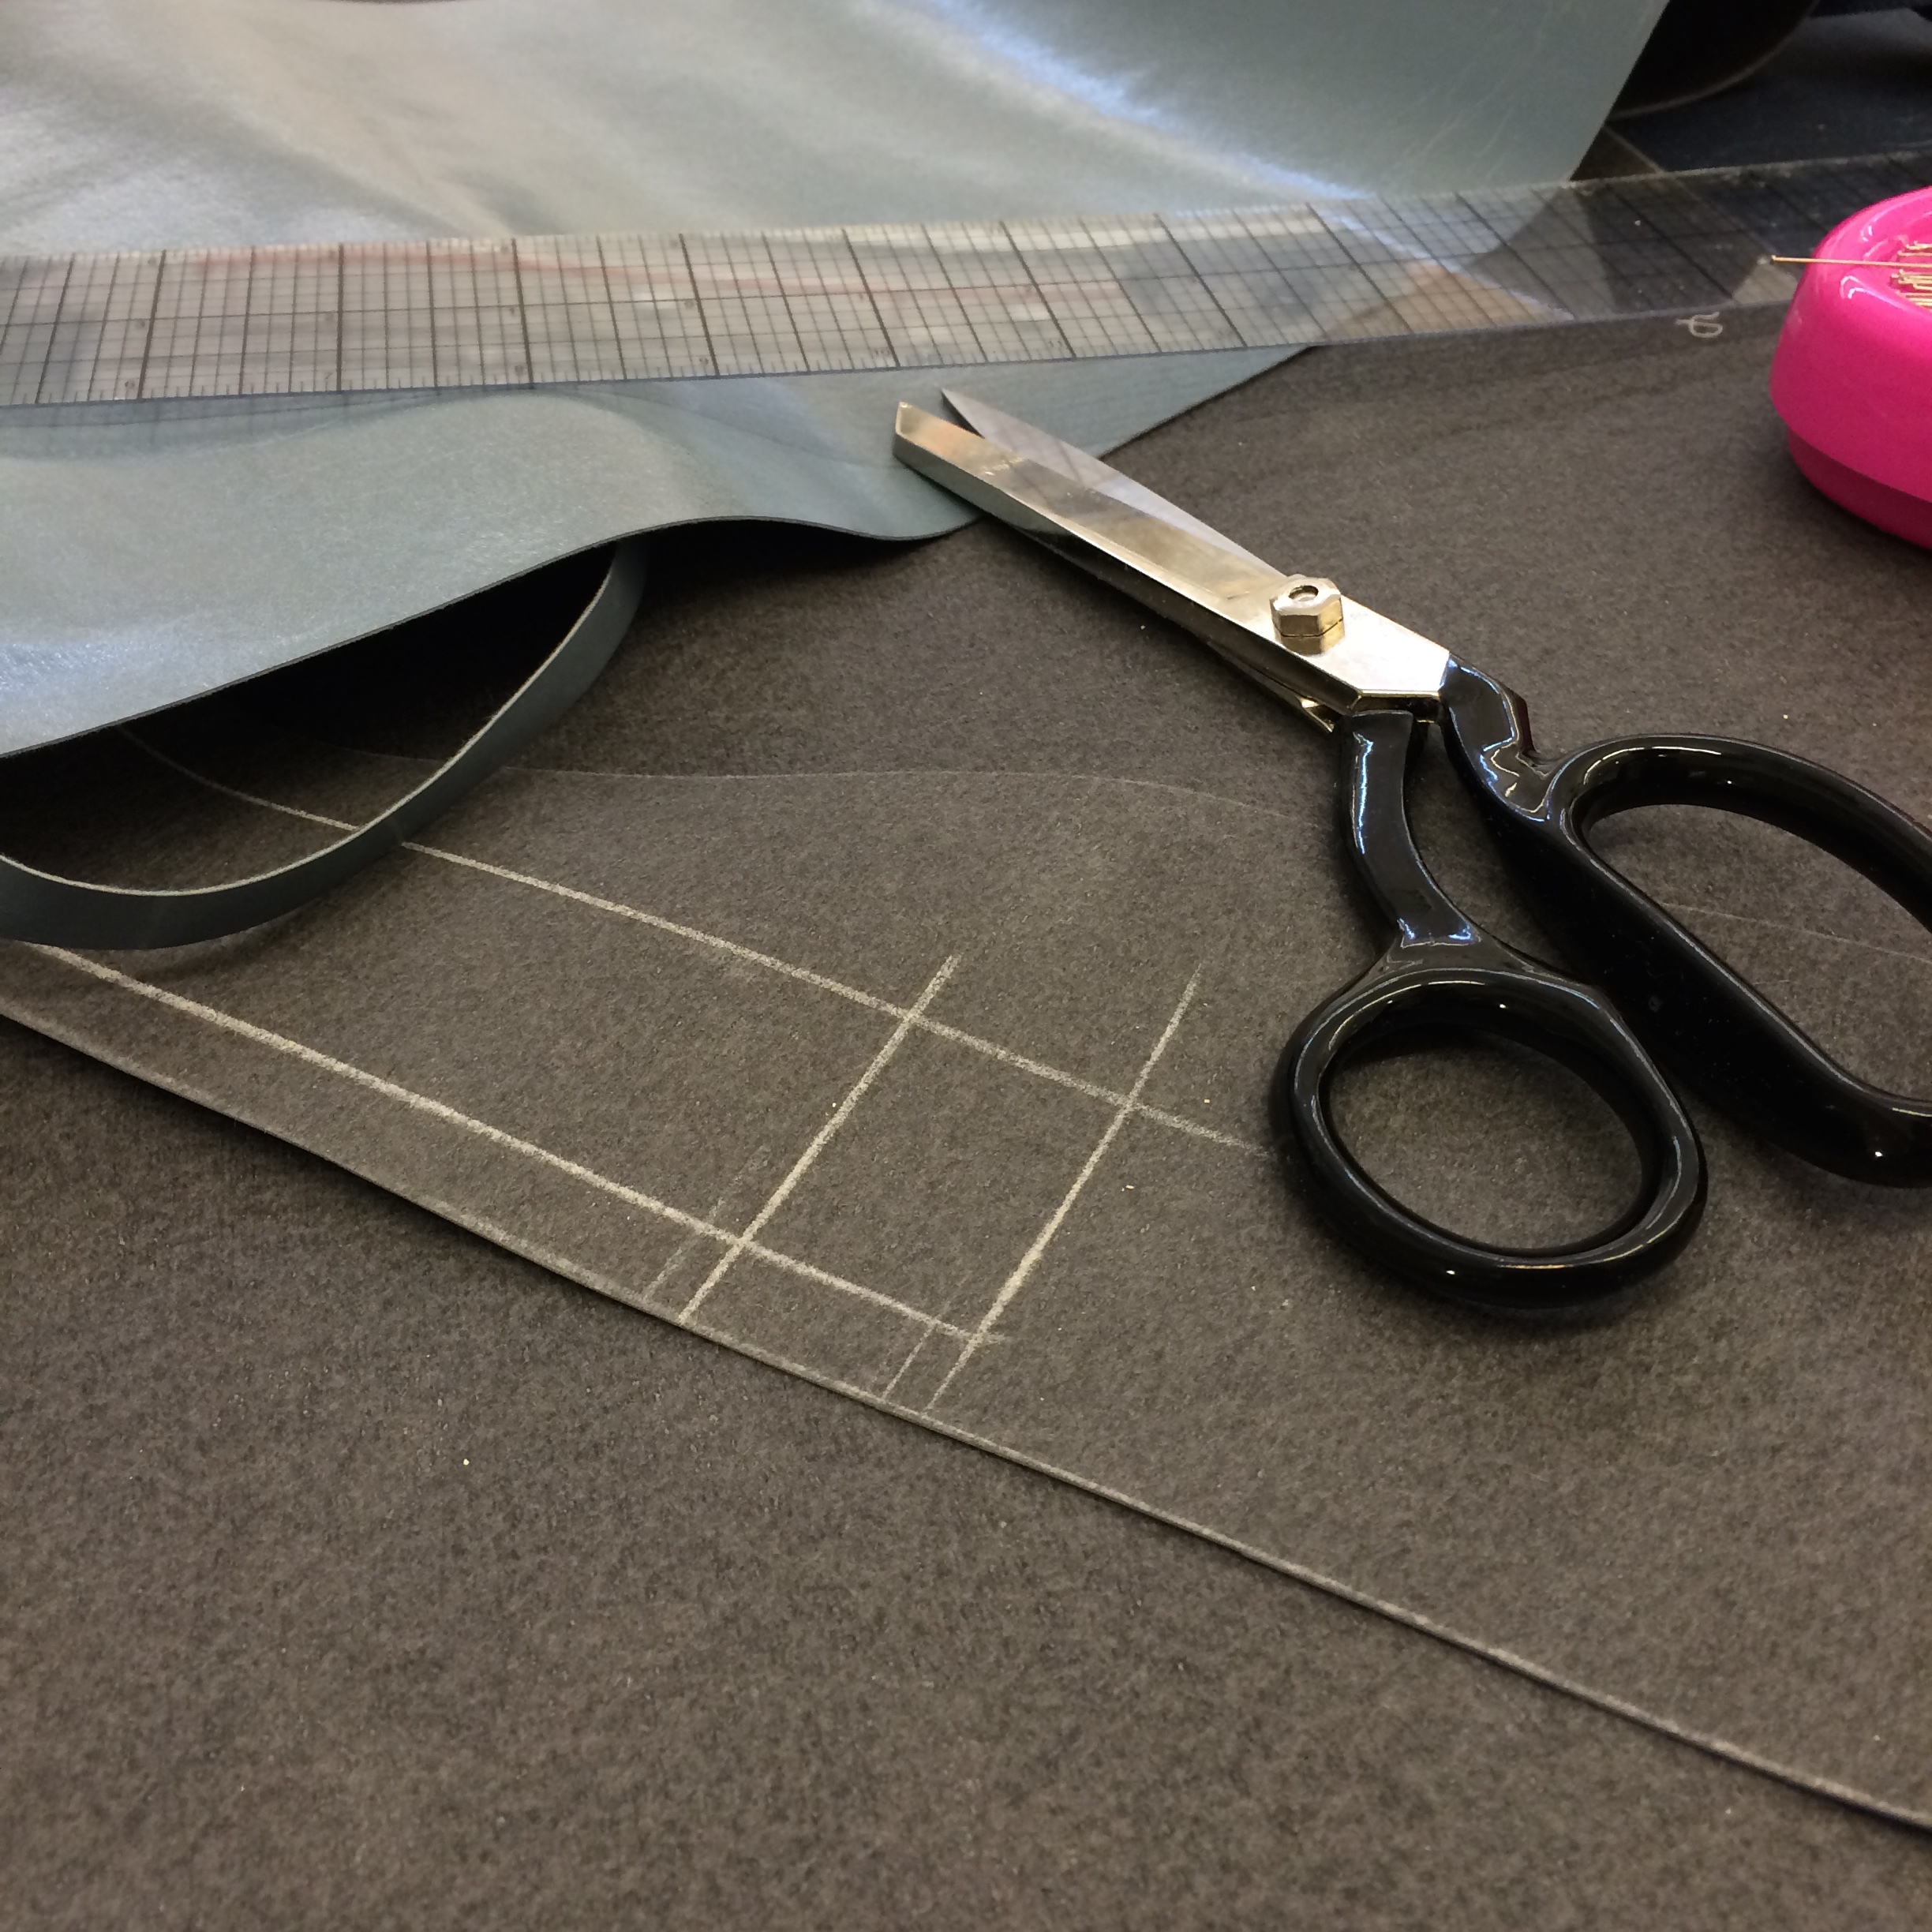
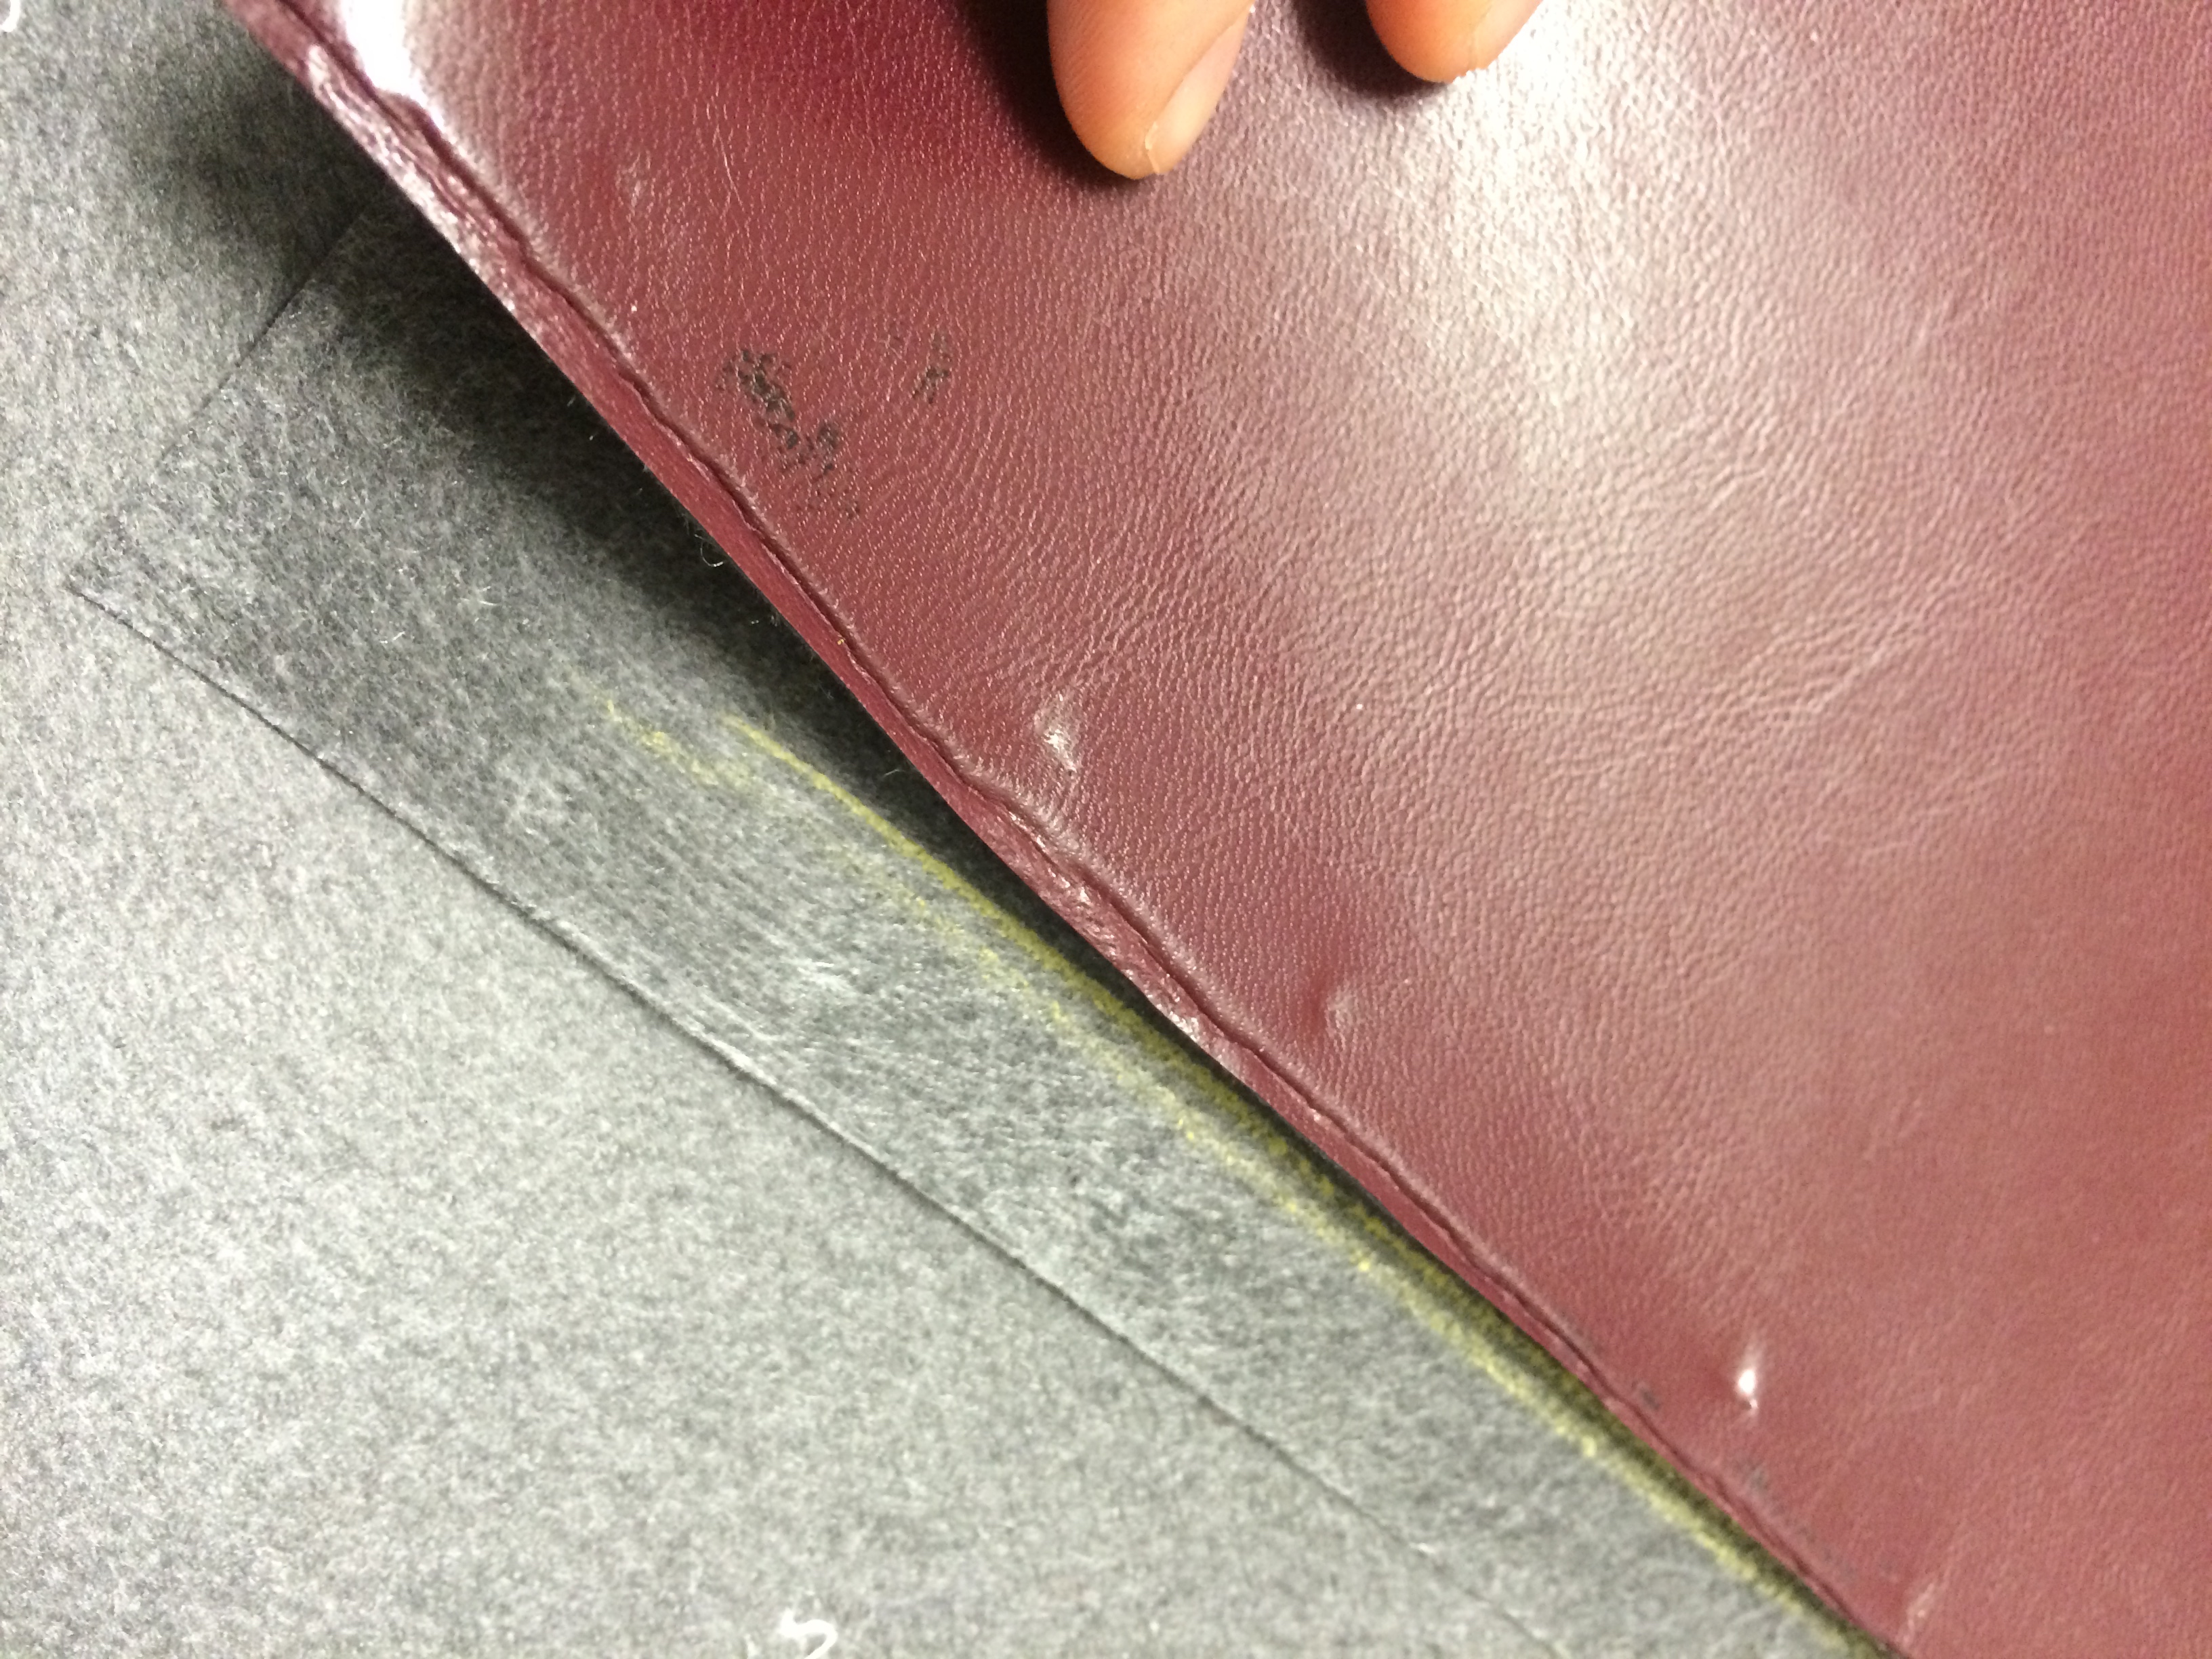
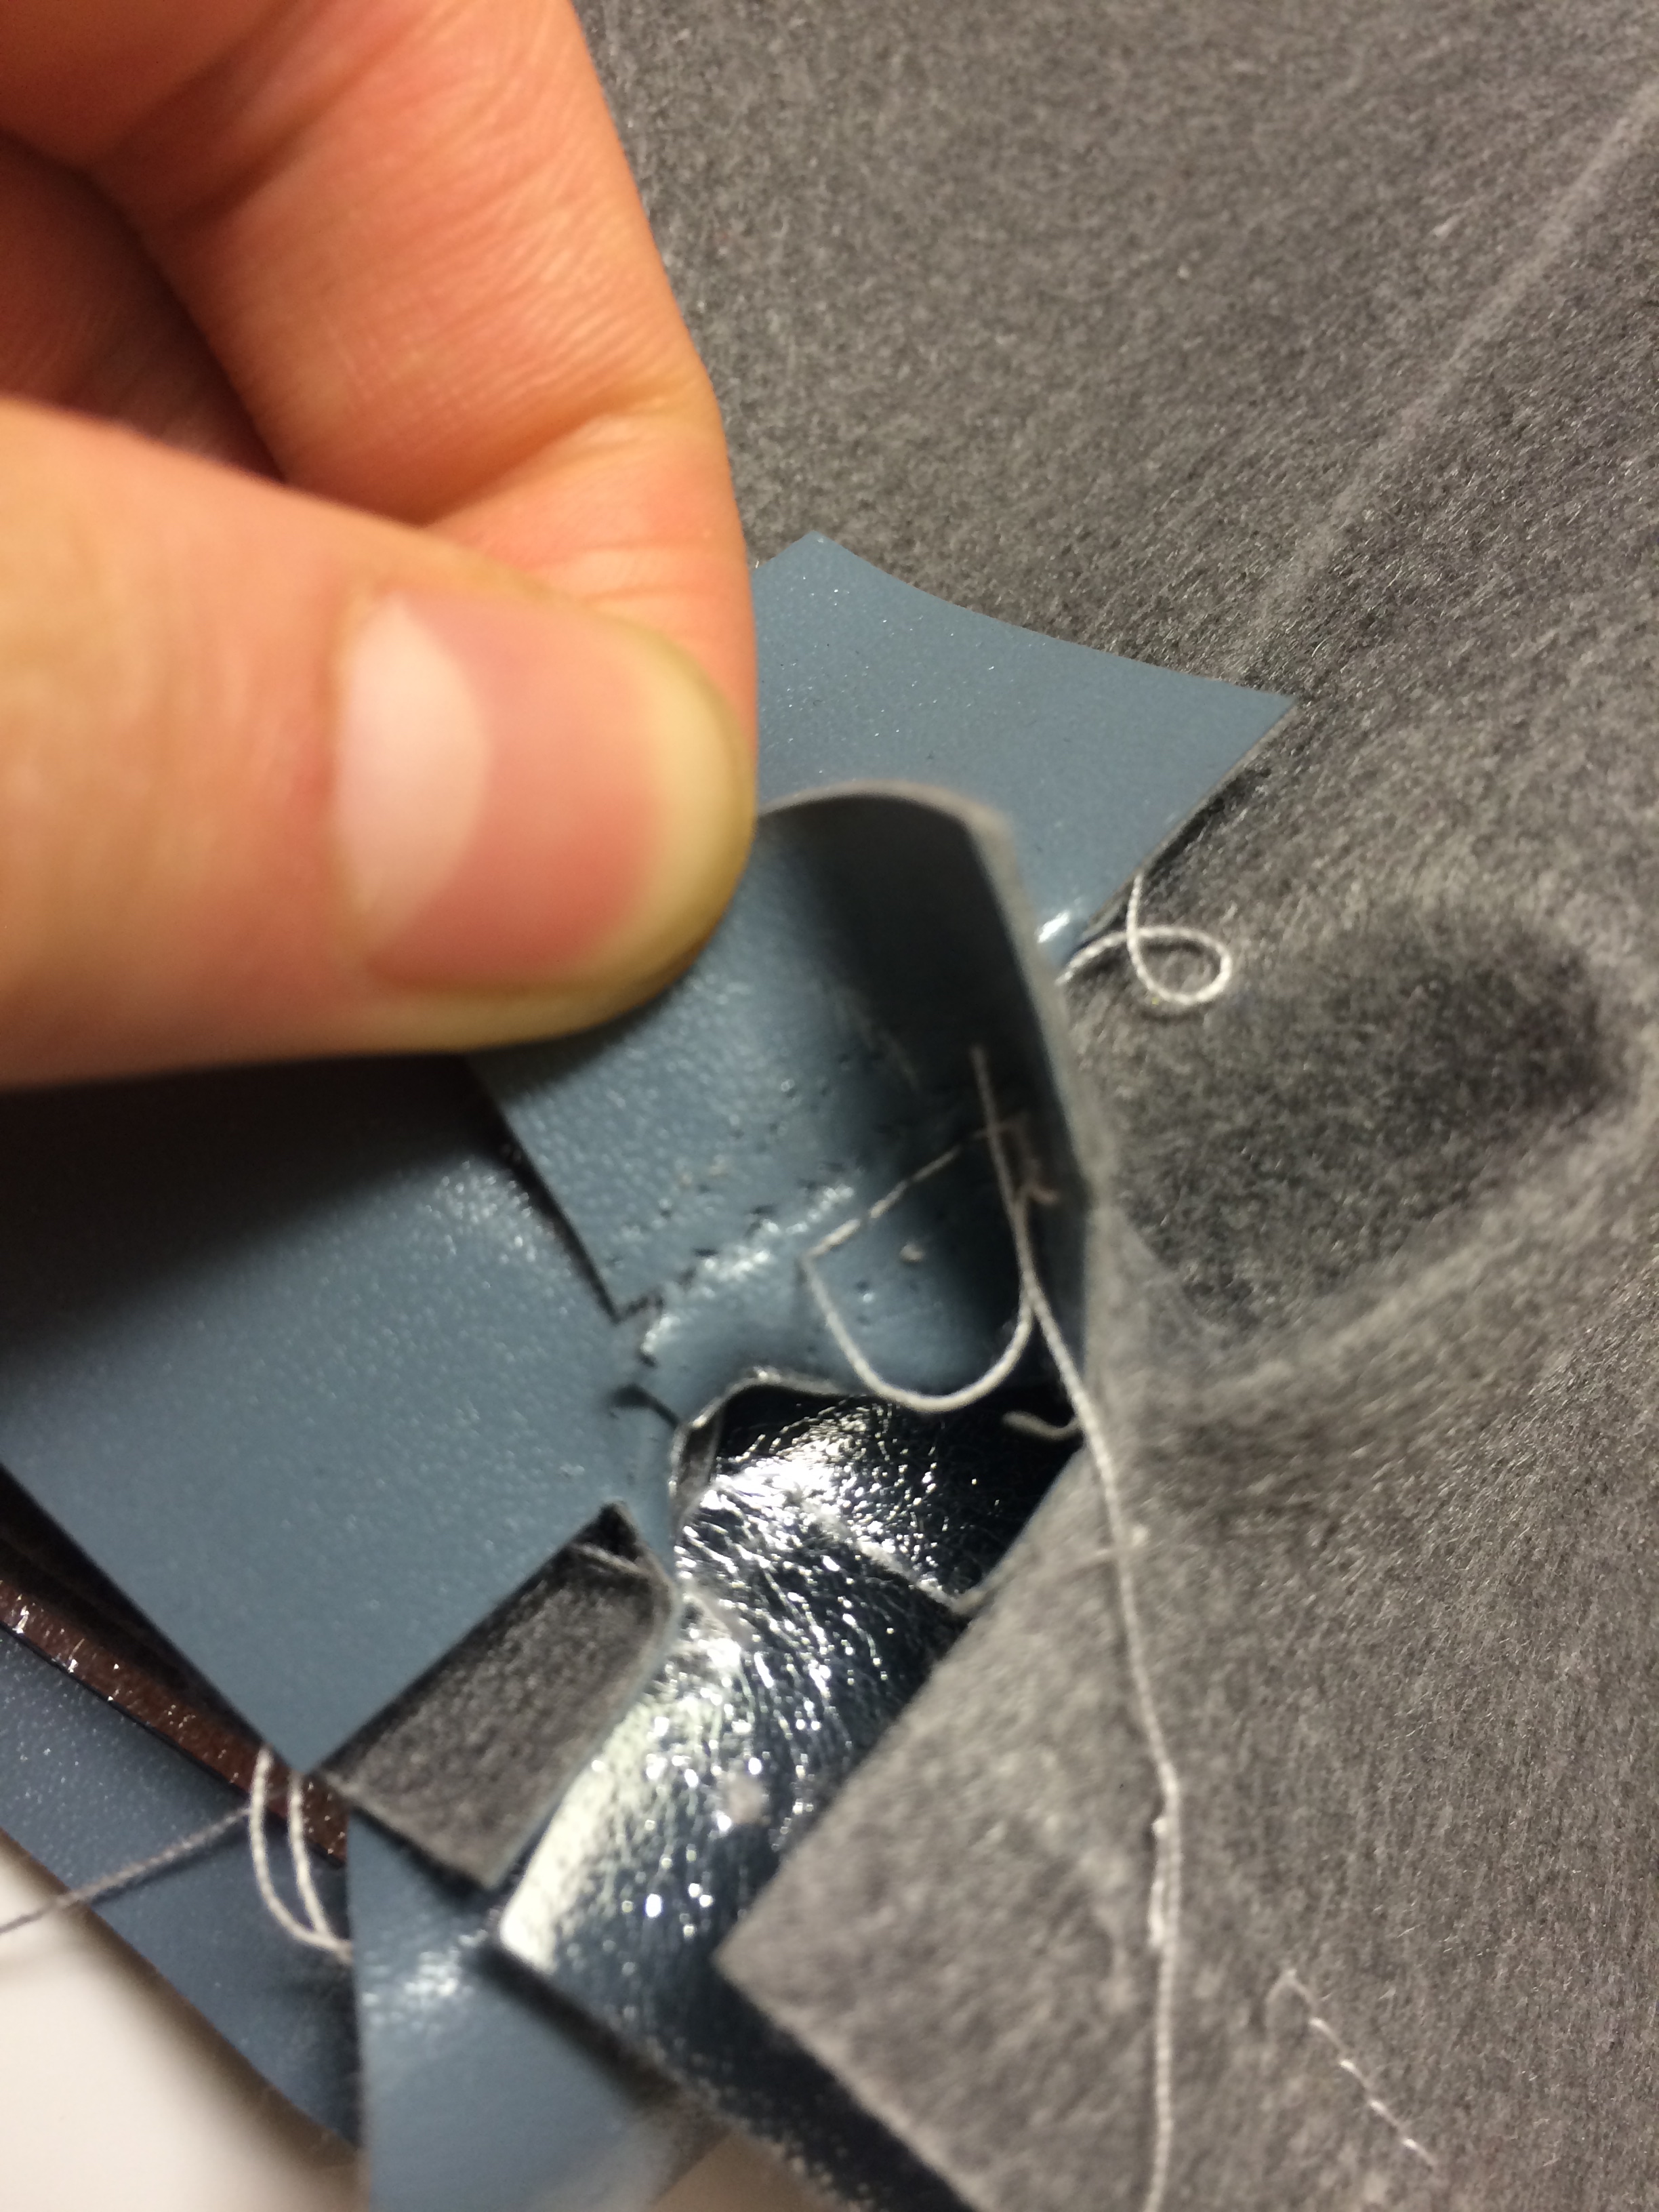
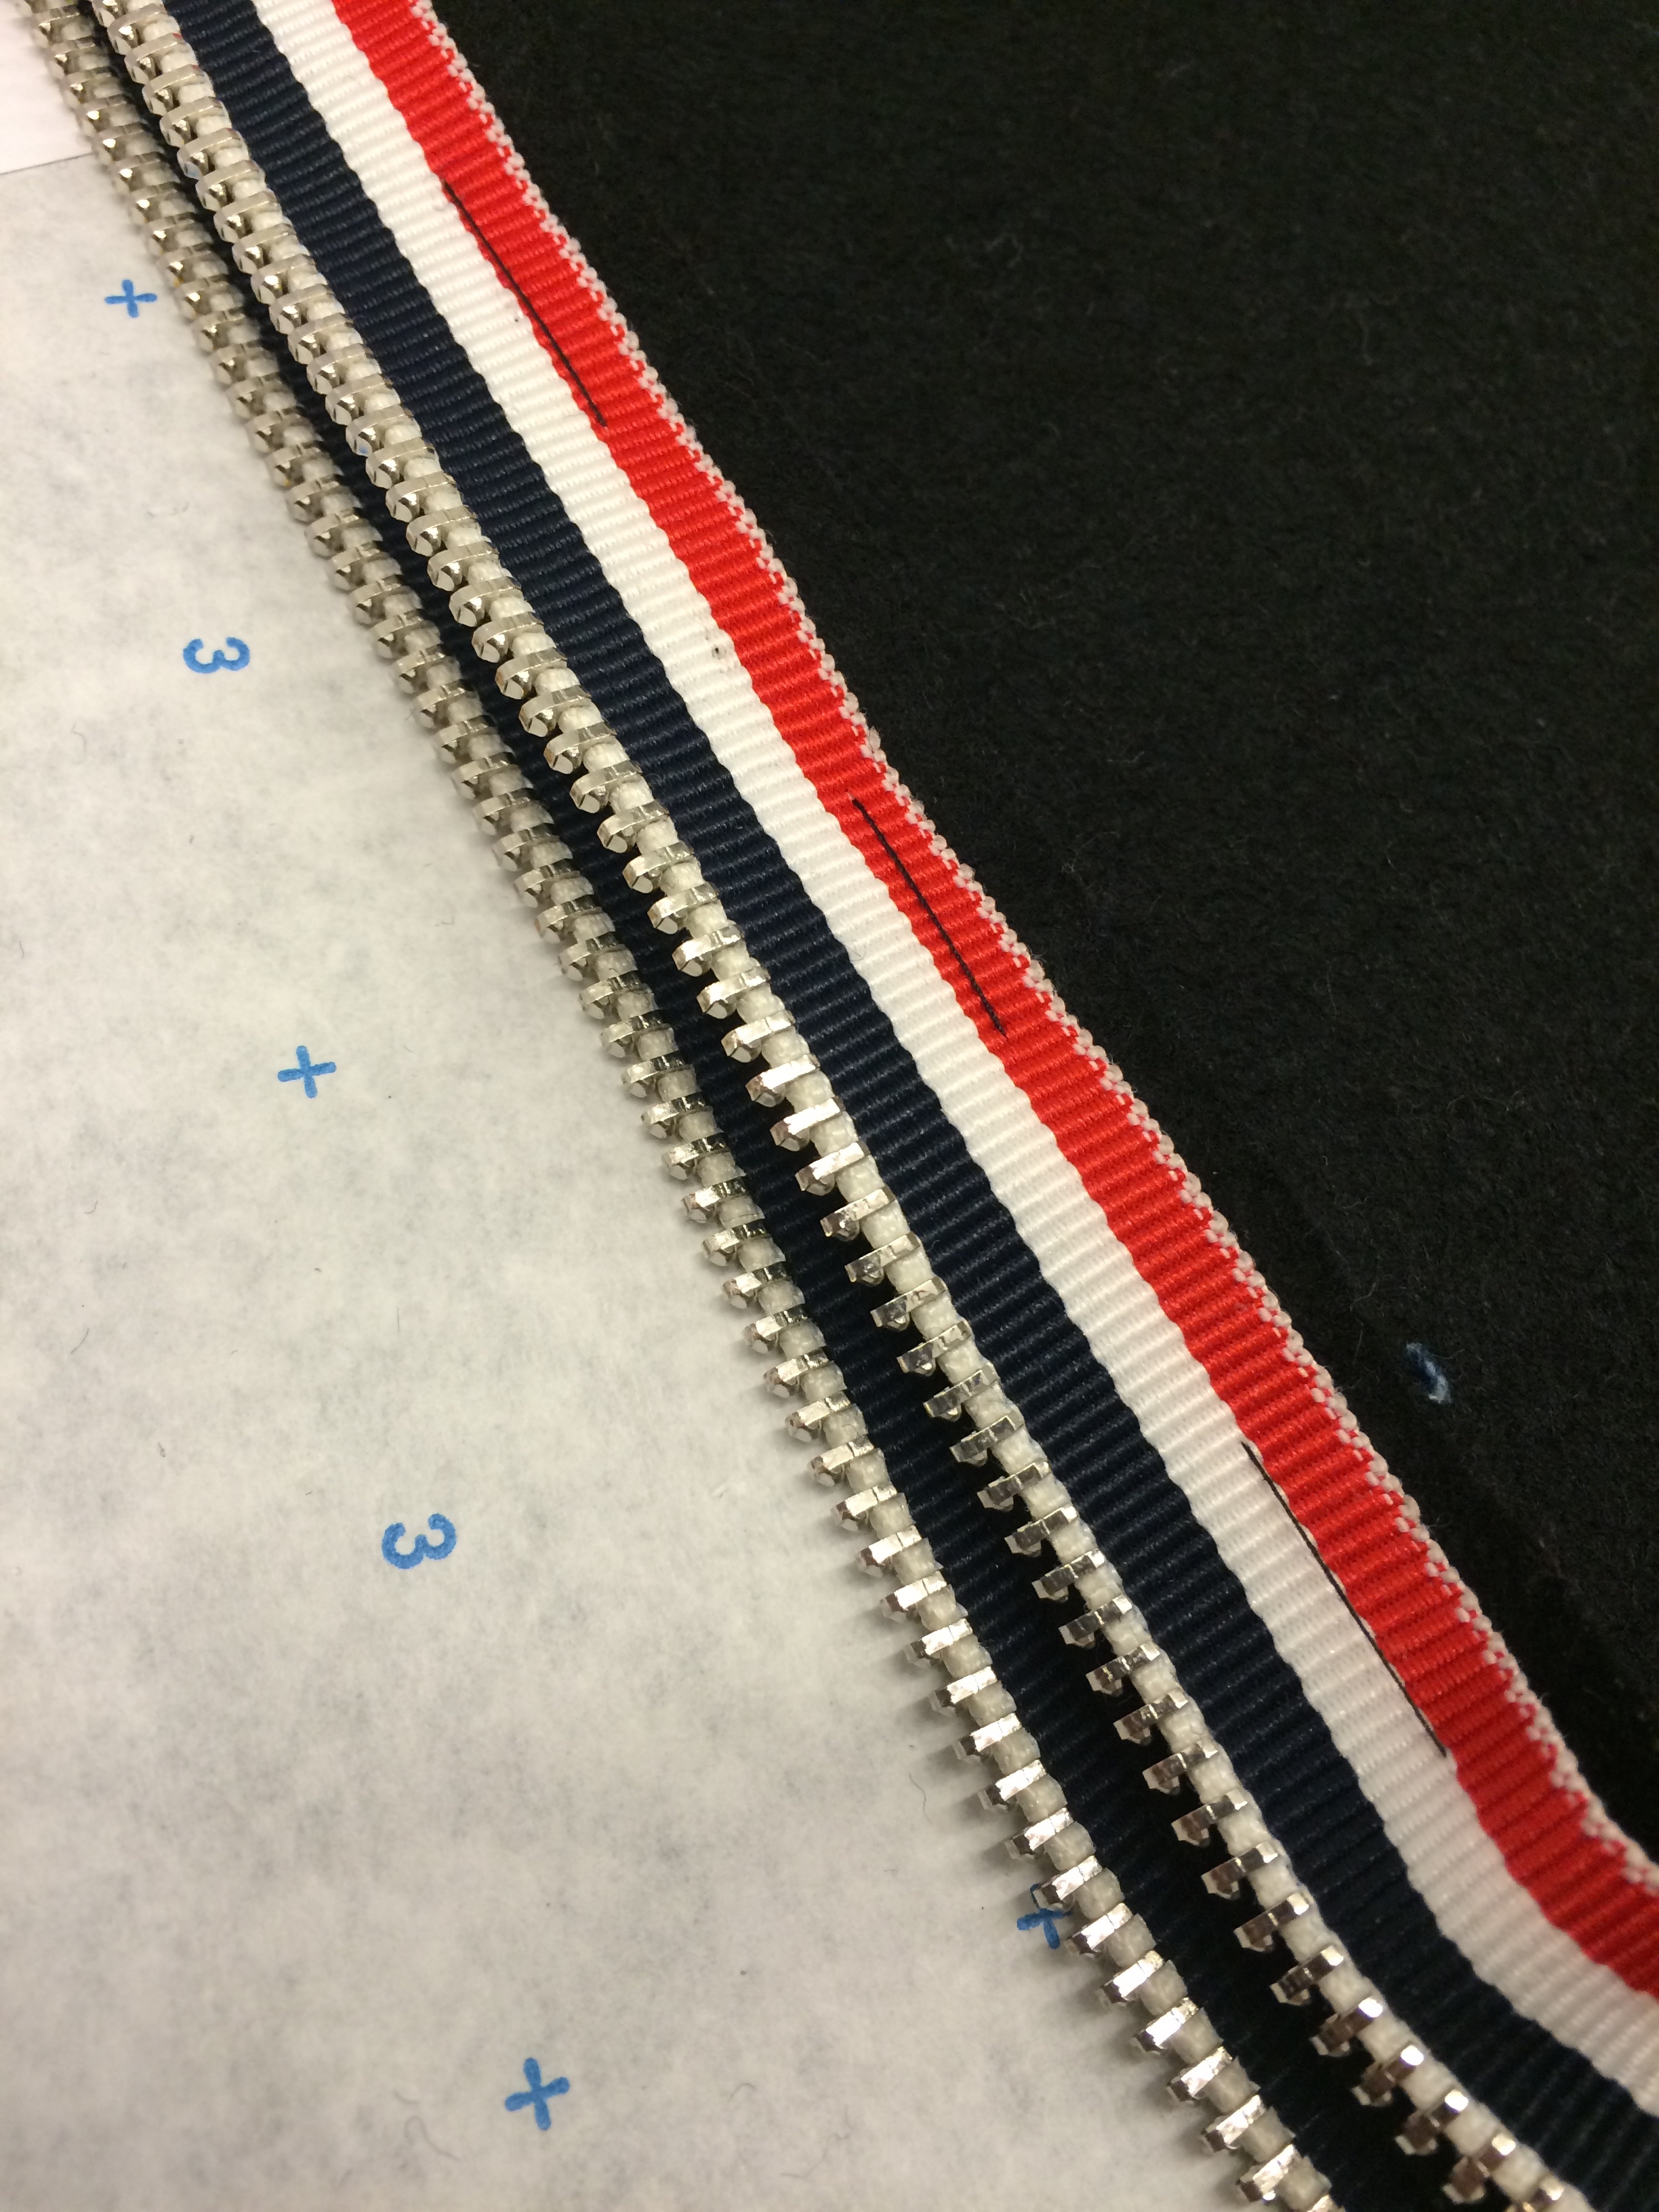
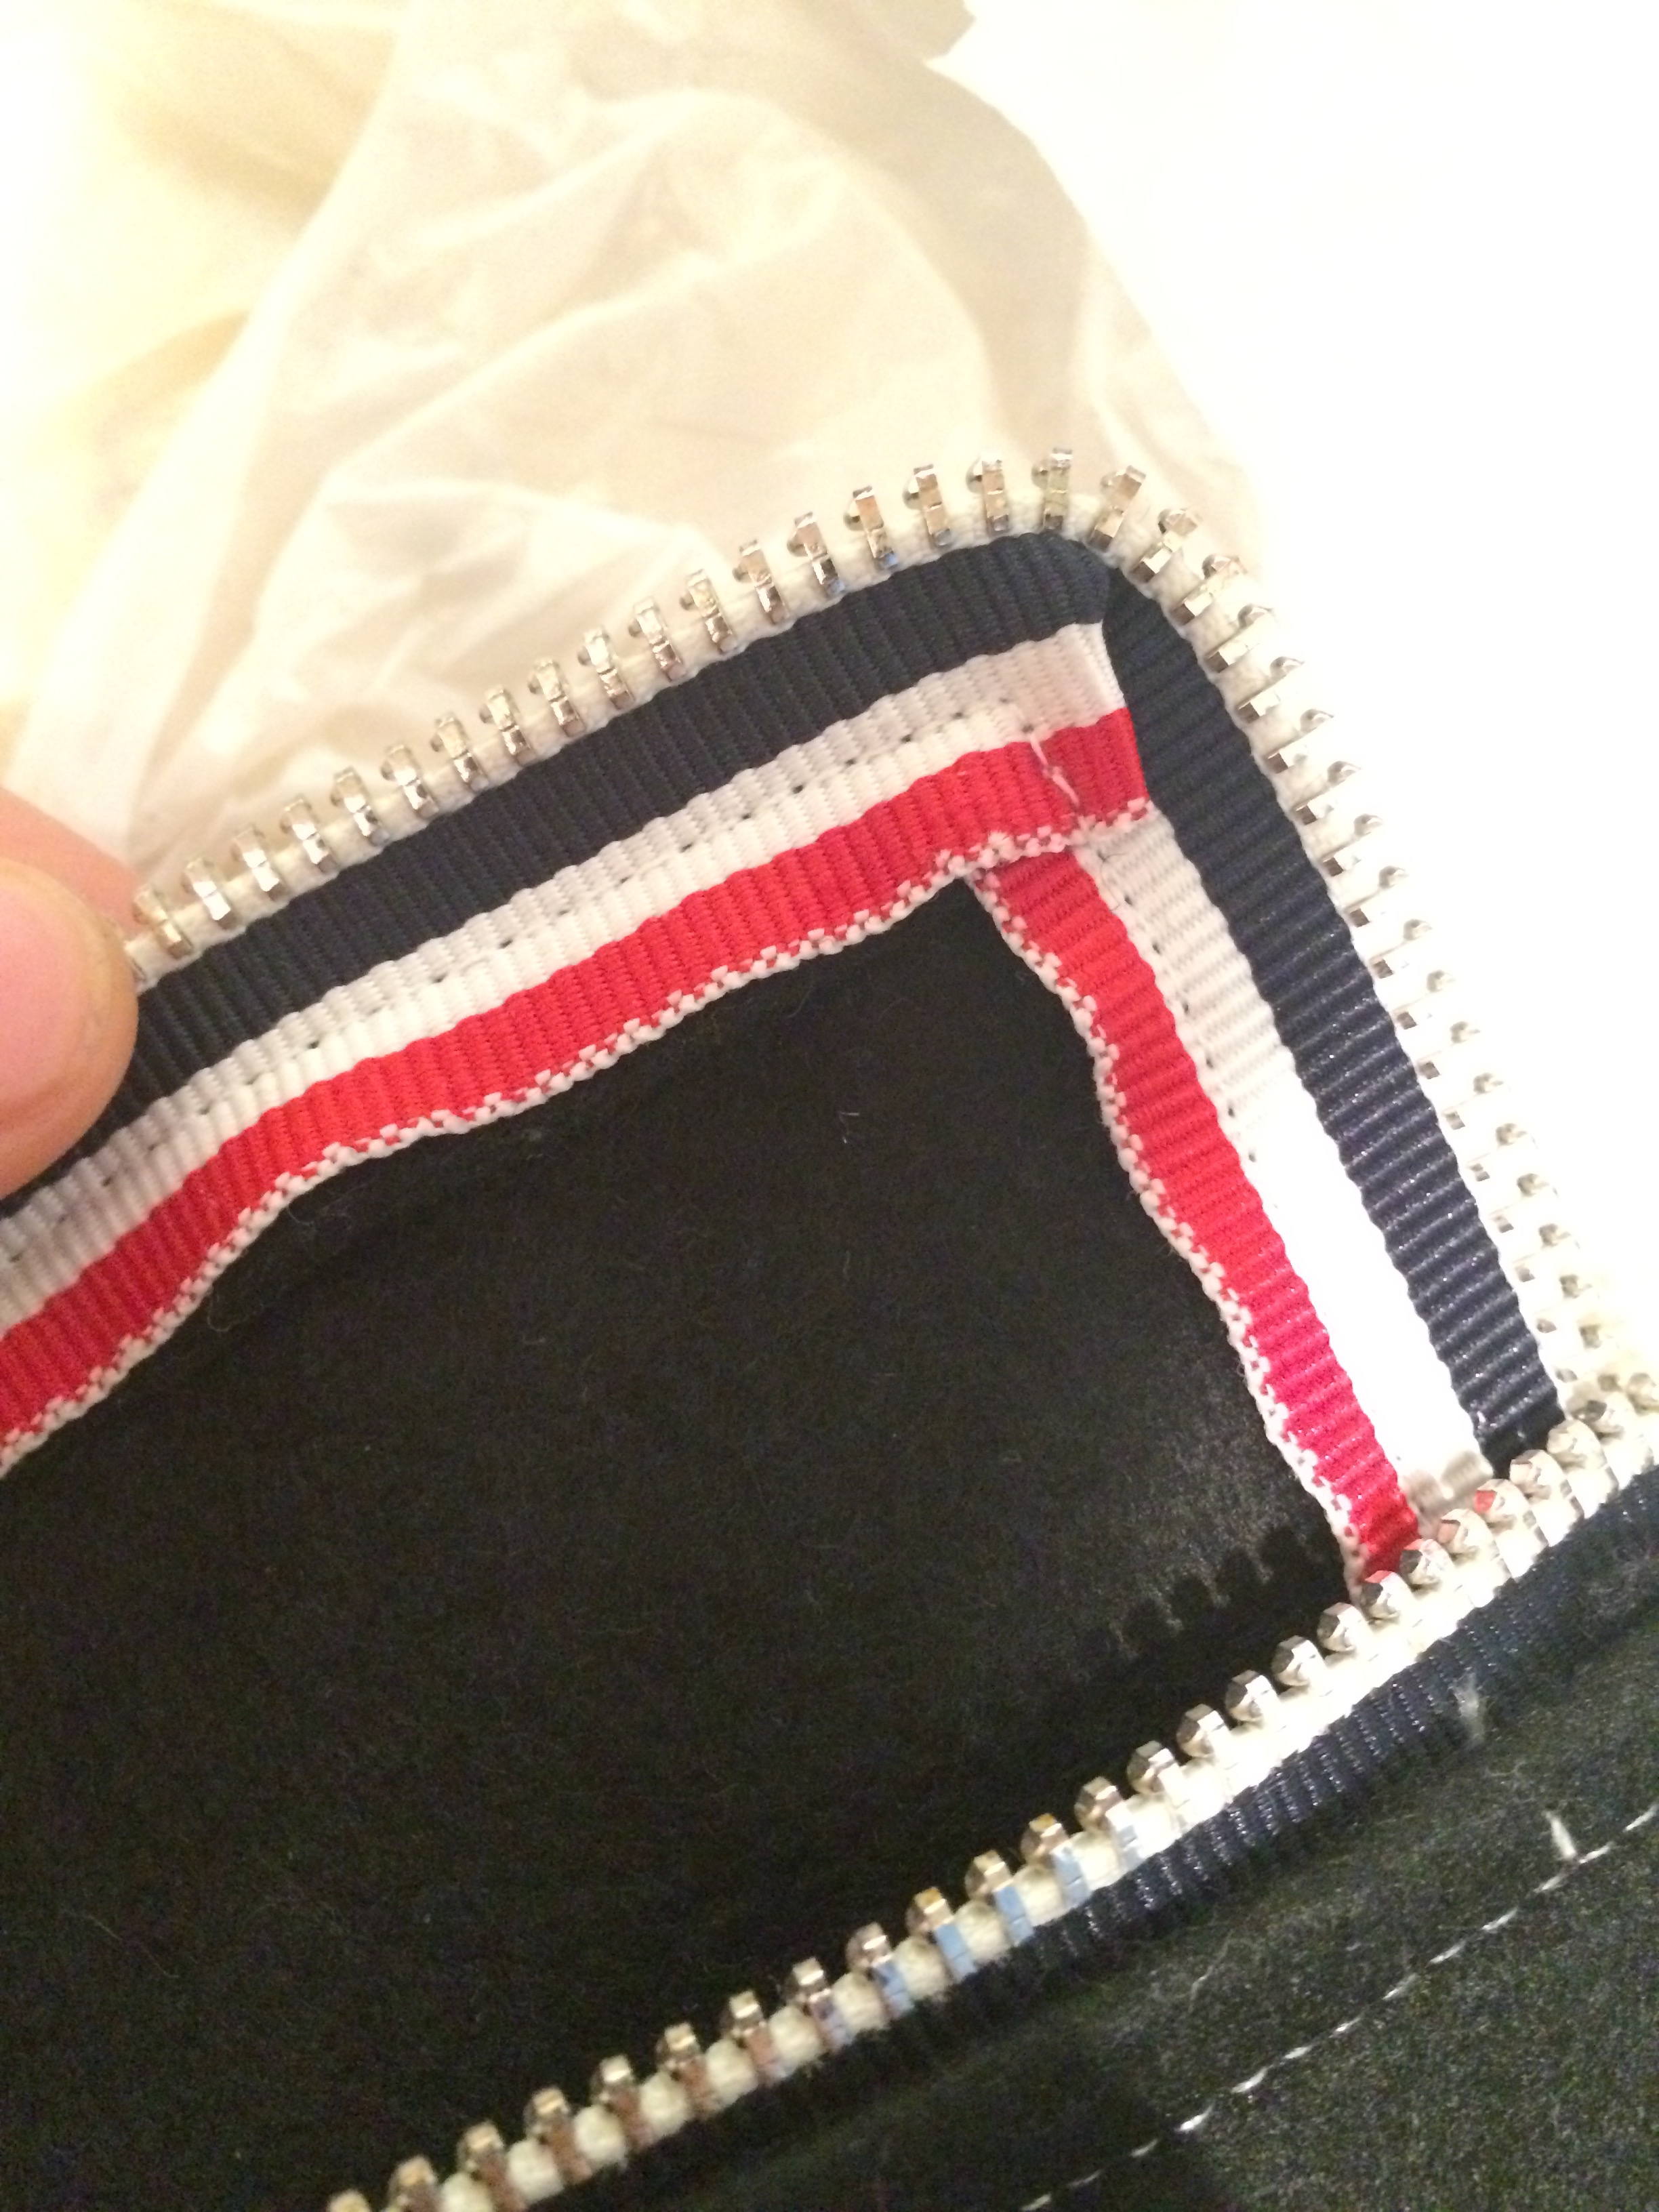
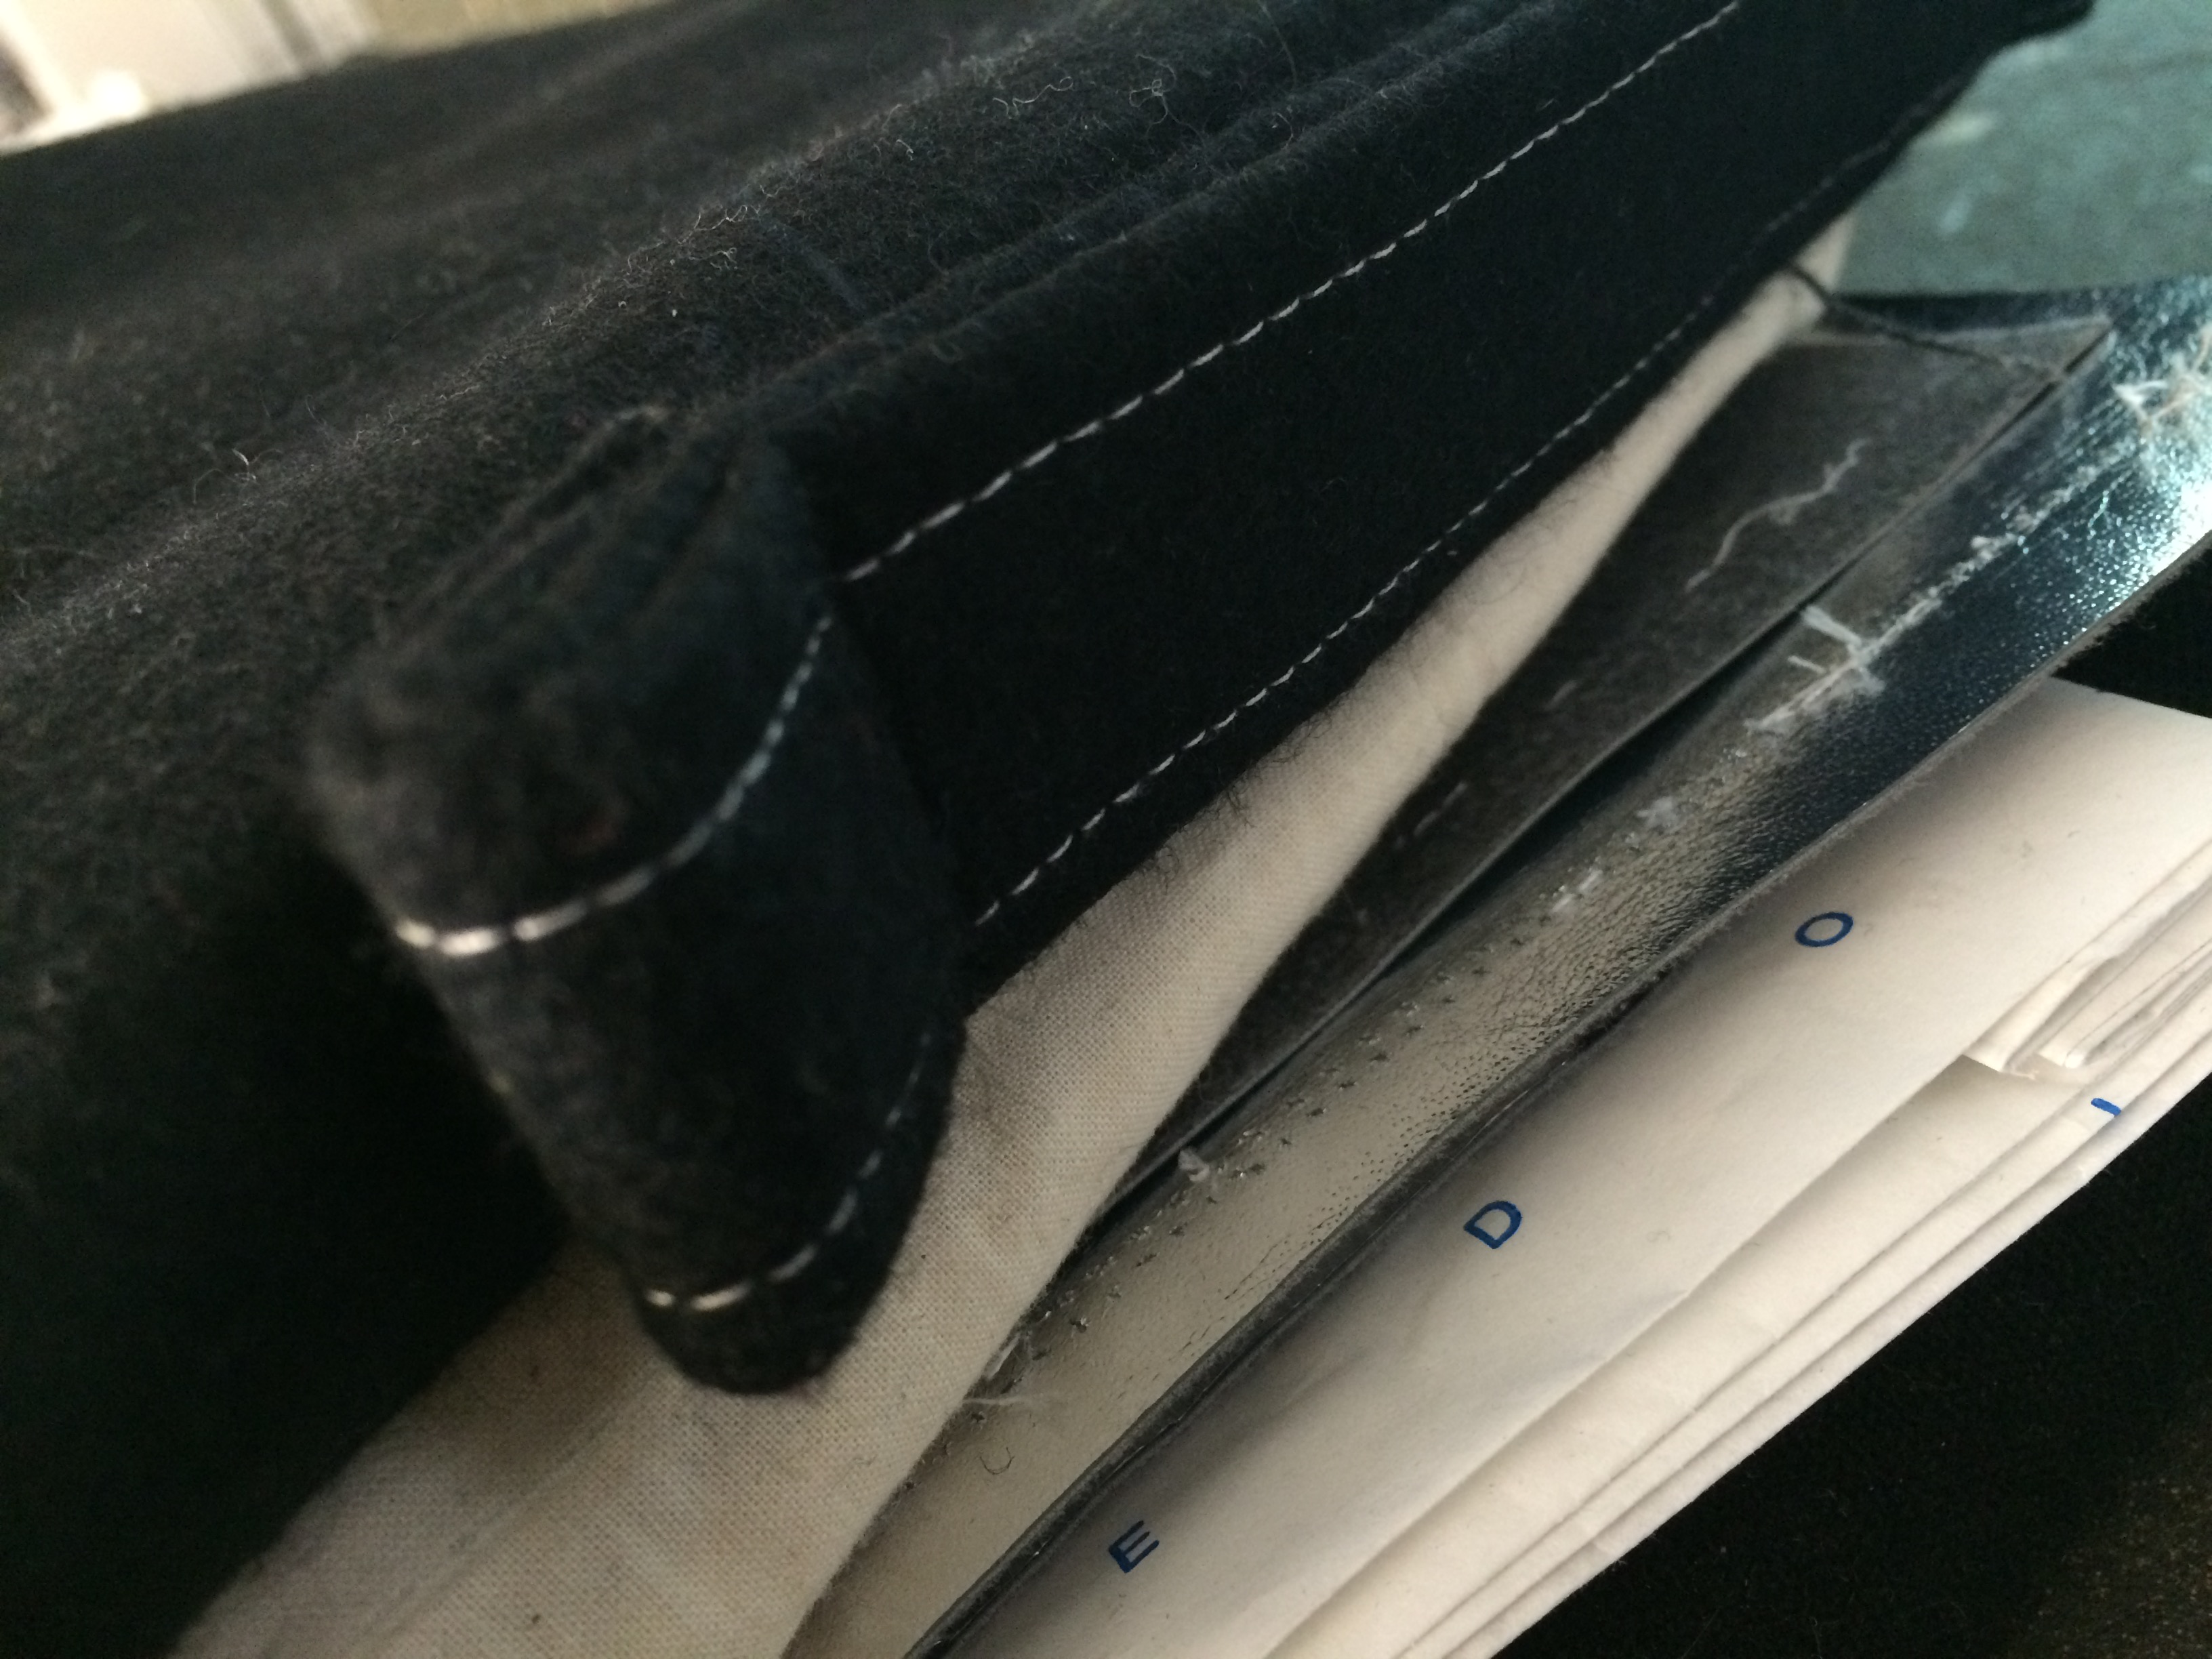
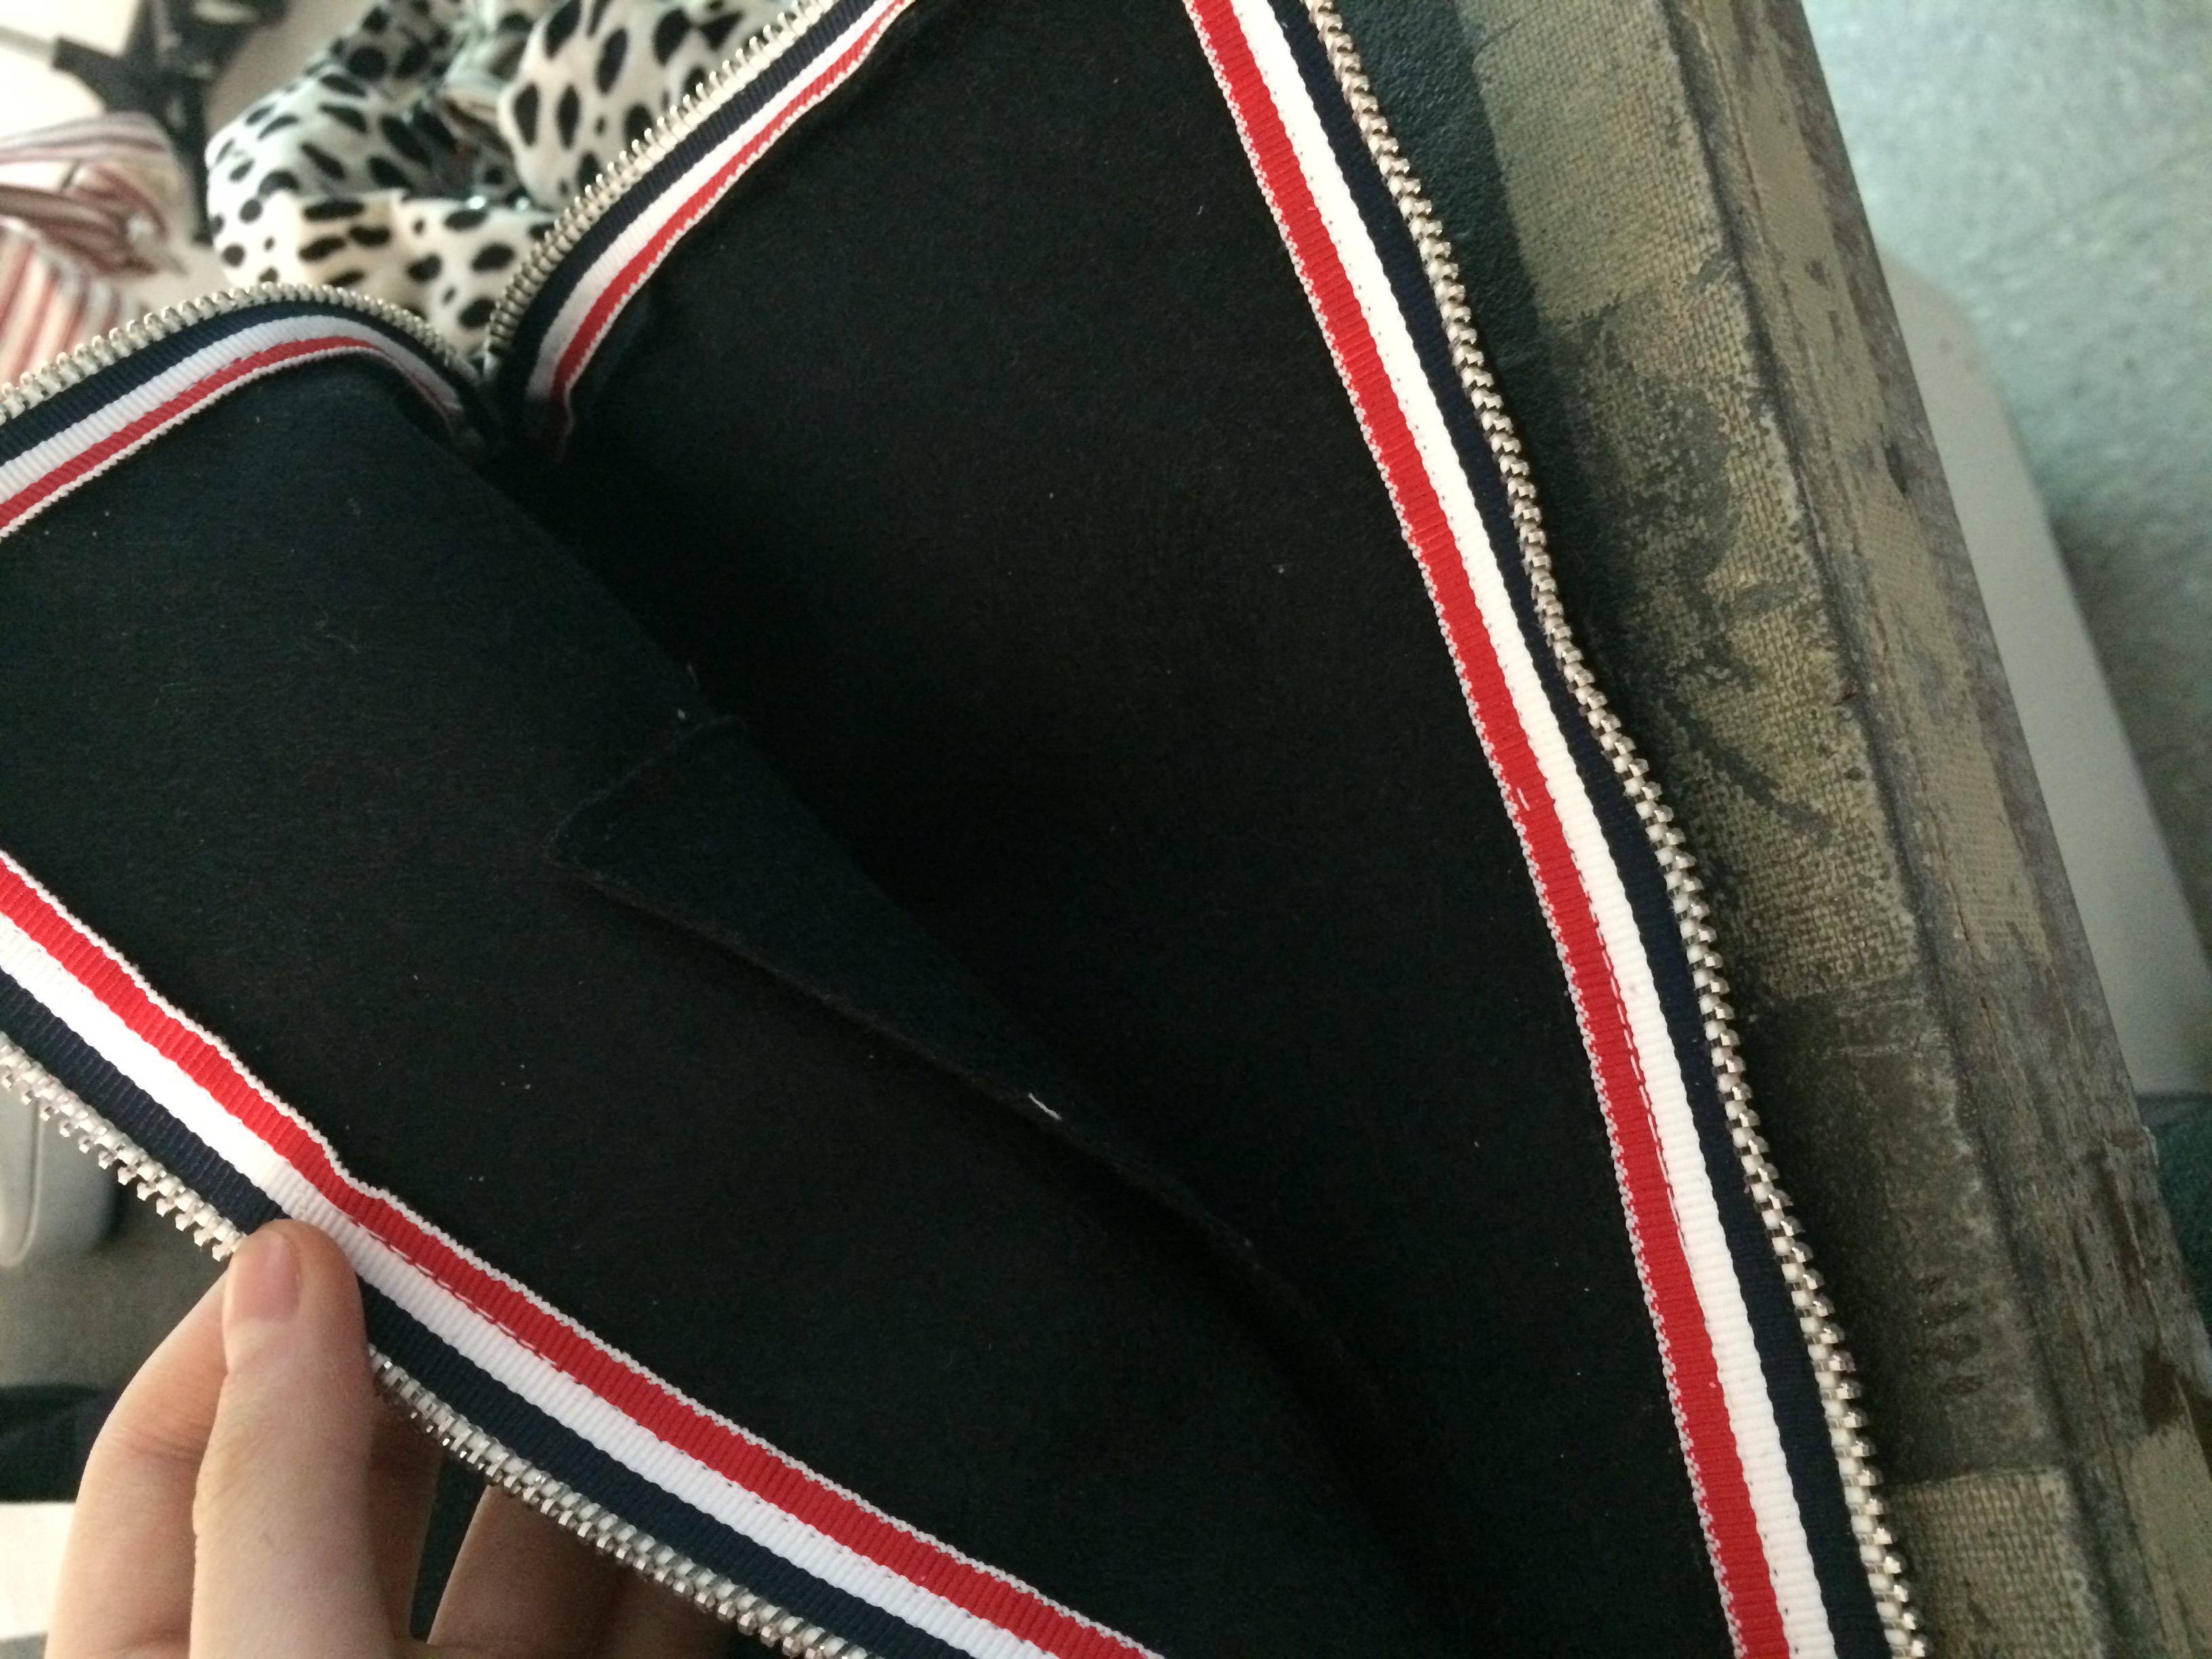
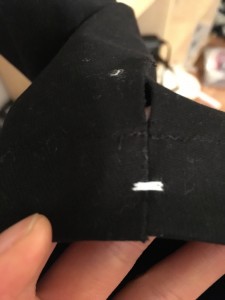
Started to cut fabric.

IMG_1388

after i cut the two rectangle shape out, i put the binding tape on first to finish all the rough edges before i put two pieces together.

IMG_1487


Then i used over-locked stitches here before i join them together, and then applied some hand-sewn invisible stitches around to cover the over-locked stitches .

IMG_1489


the shoulder and neck part.

IMG_1547-2

i left two dots at the waist part, so it wouldn’t be too flat.

IMG_1550

hand sewn the button part.

IMG_1551

IMG_1553 IMG_1552

to front look and the left-side look,  at this stage, the right side is remain opened.

and i applied two holes at each side

IMG_1637


i want simply use a pin

IMG_1575

here are some photos of one of my friend, she tried on at my home, and we took some photos.

IMG_1615-2  IMG_1584IMG_1596IMG_1614IMG_1580IMG_1576  IMG_1606


Shirt making project.

we started this project by cutting off  a shirt, and re-constructed it.

IMG_0536

IMG_0546 IMG_0547

IMG_0566 IMG_0567 IMG_0571 IMG_0577IMG_0573  IMG_0578 IMG_0583IMG_0584

IMG_0579   IMG_0585 IMG_0587


then, based on the pattern of this shirt, i made the pattern out, but also made some changes.


IMG_0836  IMG_0835


for example, i decided to make a invisible button hole for my shirt, so i have made many layers to it.

IMG_0838IMG_0837


IMG_1108 IMG_1107 IMG_0900


therefore, i have got some inspirations for those “belt” element, and i want to apply it to my shirt as well.


IMG_0955-2

IMG_0956 IMG_0954


this is how i construct two holes at the back of the shirt. (similar way of doing button holes)

IMG_1053 IMG_1054


button hole

IMG_1055


i used over locked stitches to finish the inside, including sleeves.

IMG_1052 add collar (a stand)

IMG_1051 IMG_1050


over-locked stitches to finish the bottom part as well.

IMG_1059 IMG_1058 IMG_1056


and this is how it looks like at that stage.(the body part was sewn together, with a belt and a stand.)

because of the character of denim, it is hard, and a little bit too hard for collar (actually it was a collar and a stand in one piece), and it is stiff and difficult to folded. so i decided to take it out, and make a new collar and a stand, separately, and instead of use denim, i used cotton which is the fabric of this shirt itself.

IMG_1170

i didn’t put any facing in the stand and collar.

so my process of sewing this four pieces together is :

sew one of the stand piece onto the shirt first, then sew two collar pieces together and turn it over, and pin it with the stand piece, and then pin another stand piece of the top of these (which makes them like a sandwich), and sew them together, and press it, and do hand stitches to finish.


IMG_1228

IMG_1231 zig-zag stitches for button hole

IMG_1171IMG_1230

IMG_1229 IMG_1232some small element

IMG_1233 belt detail.


here are the final looks.

IMG_1251 IMG_1252 IMG_1290 IMG_1254 IMG_1256 IMG_1257 IMG_1289 IMG_1288 IMG_1263 IMG_1265


Design Studio Project 2: Manipulating Materiality

This project will allow us to explore different fabrications and materials via research, analyses, making, and design.

Phase I: Research
Choose 8 garments (or other tangible examples) from wardrobe, for each item, identify the following: type of item,fiber content,weave/Stitch and finish, details that interest you,place of manufacture and care instructions.

Here are my garments research:

8 garments research-3 8 garments research-4 8 garments research-5 8 garments research-6 8 garments research-7 8 garments research-10 8 garments research-9 8 garments research-8 8 garments research-2.

and i have done some research.

Name Research Sample
Mohair l   A silk-like fabric or yarn made from the hair of the Angora goat.l   Mohair is notable for its high luster and sheen, which has helped give it the nickname the “Diamond Fiber”l   Mohair is warm in winter as it has excellent insulating properties.

l   Mohair fiber is approximately 25–45 microns in diameter. It increases in diameter with the age of the goat, growing along with the animal.

l   Mohair is shorn from the goat without harming the animal. One goat will produce 11 to 17 pounds (5–8 kg) of mohair a year

l   South Africa is the largest mohair producer in the world. The United States is the second-largest producer, with the majority of American mohair being produced in Texas.

l   Mohair is one of the oldest textile fibers in use.

l   The Angora goat is thought to originate from the mountains of Tibet, reaching Turkey in the 16th century. However, fabric made of mohair was known in England as early as the 8th century.


wool l   Wool is the textile fiber obtained from sheep and certain other animals.l   Wool has several qualities that distinguish it from hair or fur: it is crimped, it is elastic, and it grows in staples.l   Sheep shearing is the process by which the woolen fleece of a sheep is cut off. After shearing, the wool is separated into four main categories: fleece (which makes up the vast bulk), broken, bellies, and locks.

l   The quality of fleeces is determined by a technique known as wool classing. Wool is also separated into grades based on the measurement of the wool’s diameter in microns and also its style. These grades may vary depending on the breed or purpose of the wool. Any wool finer than 25 microns can be used for garments.

l   Woolly-sheep were introduced into Europe from the Near East in the early part of the 4th millennium BC. The oldest known European wool textile, ca. 1500 BC, was preserved in a Danish bog.

l   Australia is the leading producer of wool which is mostly from Merino sheep. New Zealand is the second-largest producer of wool, and the largest producer of crossbred wool. China is the third-largest producer of wool. In the United States, Texas, New Mexico, and Colorado have large commercial sheep flocks and their mainstay is the Rambouillet (or French Merino).


Cashmere l   Is a fiber obtained from cashmere goats and other types of goat.l   The word cashmere is an old spelling of the Kashmir region in northern India.l   Cashmere is fine in texture, strong, light, and soft. Garments made from it provide excellent insulation. Cashmere is softer than regular wool.

l   China has become the largest producer of raw cashmere.

l   Types of fiber

•   Raw – fiber that has not been processed and is essentially straight from the animal

•   Processed – fiber that has been through the processes of de-hairing, washing, carding, and is ready either to spin or to knit/crochet/weave

•   Virgin – new fiber made into yarns, fabrics, or garments for the first time

Satin l   Satin is a weave that typically has a glossy surface and a dull back.l   If a fabric is formed with a satin weave using filament fibers such as silk, nylon, or polyester, the corresponding fabric is termed a satin, although some definitions insist that the fabric be made from silk. If the yarns used are short-staple yarns such as cotton, the fabric formed is considered a sateen.l   A satin fabric tends to have a high luster due to the high number of floats on the fabric.

l   Originally, during the Middle Ages, satin was made of silk; consequently it was very expensive, used only by the upper classes.


Linen l   Linen a textile made from the fibers of the flax plant, Linum usitatissimum. Linen is laborious to manufacturel   The fiber is very absorbent and garments made of linen are valued for their exceptional coolness and freshness in hot weather.l   The history of linen textiles goes back many thousands of years. Fragments of straw, seeds, fibers, yarns, and various types of fabrics dating to about 8000 BC have been found in Swiss lake dwellings.

l   Linen is a bast fiber. Flax fibers vary in length from about 25 to 150 mm (1 to 6 in) and average 12-16 micrometers in diameter. There are two varieties: shorter tow fibers used for coarser fabrics and longer line fibers used for finer fabrics.

l   Flax is grown in many parts of the world, but top quality flax is primarily grown in Western European countries and Ukraine. In very recent years bulk linen production has moved to Eastern Europe and China.

l   Approximately 70% of linen production in the 1990s was for apparel textiles, whereas in the 1970s only about 5% was used for fashion fabrics. Linen uses range from bed and bath fabrics, home and commercial furnishing items, apparel items to industrial products. It was once the preferred yarn for hand sewing the uppers of moccasin-style shoes (loafers), but its use has been replaced by synthetics.


Cotton l   Cotton is a soft, fluffy staple fiber that grows in a boll, or protective case, around the seeds of cotton plants of the genus Gossypium in the family of Malvaceae.l   Cotton was used in the Old World at least 7,000 years ago (5th millennium BC).l   Organic production

Organic cotton is generally understood as cotton from plants not genetically modified and that is certified to be grown without the use of any synthetic agricultural chemicals, such as fertilizers or pesticides.

l   In addition to the textile industry, cotton is used in fishing nets, coffee filters, tents, explosives manufacture (see nitrocellulose), cotton paper, and in bookbinding. The first Chinese paper was made of cotton fiber.

l   The largest producers of cotton are China and India.


Rayon l   Rayon is a manufactured regenerated cellulose fiber. It is made from purified cellulose, primarily from wood pulp, which is chemically converted into a soluble compound.l   Specific types of rayon include viscose, modal and lyocell, each of which differs in manufacturing process and properties of the finished product.l   Viscose method: in 1894, English chemist Charles Frederick Cross, and his collaborators Edward John Bevan, and Clayton Beadle patented their artificial silk. They named their material “viscose“, because its production involved the intermediacy of a highly viscous solution.

l   Rayon is a versatile fiber and is widely claimed to have the same comfort properties as natural fibers, although the drape and slipperiness of rayon textiles are often more like nylon. It can imitate the feel and texture of silk, wool, cotton and linen. The fibers are easily dyed in a wide range of colors. Rayon fabrics are soft, smooth, cool, comfortable, and highly absorbent, but they do not insulate body heat, making them ideal for use in hot and humid climates, although also making their “hand” (feel) cool and sometimes almost slimy to the touch.


Nylon l   Nylon is a generic designation for a family of synthetic polymers, more specifically aliphatic or semi-aromatic polyamides.l   They can be melt processed into fibres, films or shapes.l   The first example of nylon (nylon 66) was produced on February 28.

l   Nylon resins are widely used in the automobile industry especially in the engine compartment

l   Nylons are condensation copolymers, formed by reacting difunctional monomers containing equal parts of amine and carboxylic acid, so that amides are formed at both ends of each monomer in a process analogous to polypeptide biopolymers. Most nylons are made from the reaction of a dicarboxylic acid with a diamine or a lactam or amino acid with itself. ( Chemistry)

Bengaline silk l   Bengaline silk is a woven materiall   It offered the impression of genuine silk but was actually made with lesser amounts of silk than cotton.l   Bengaline silk became fashionable for women and children to wear in the 1880s and 1890s.


Silk l   Silk is a natural protein fiber, some forms of which can be woven into textiles.l   Silk is produced by several insects, but generally only the silk of moth caterpillars has been used for textile manufacturing.l   Silk fabric was first developed in ancient China. Because of its texture and lustre, silk rapidly became a popular luxury fabric in the many areas accessible to Chinese merchants.

l   India is the second largest producer of silk in the world after China.

l   Italy was the most important producer of silk during the Medieval age. The first center to introduce silk production to Italy was the city of Catanzaro during the 11th century in the region of Calabria.

l   World War II interrupted the silk trade from Asia, and silk prices increased dramatically. U.S. industry began to look for substitutes, which led to the use of synthetics such as nylon. Synthetic silks have also been made from lyocell, a type of cellulose fiber, and are often difficult to distinguish from real silk.

l   Silk’s absorbency makes it comfortable to wear in warm weather and while active. Its low conductivity keeps warm air close to the skin during cold weather. It is often used for clothing such as shirts, ties, blouses, formal dresses, high fashion clothes, lining, lingerie, pajamas, robes, dress suits, sun dresses and Eastern folk costumes.


Polyester l   Polyester is a category of polymers that contain the ester functional group in their main chain. As a specific material, it most commonly refers to a type called polyethylene terephthalate.l   Depending on the chemical structure, polyester can be a thermoplastic or thermoset.l   Fabrics woven or knitted from polyester thread or yarn are used extensively in apparel


Jersey l   Jersey is a knit fabric used predominantly for clothing manufacture. It was originally made of wool, but is now made of wool, cotton, and synthetic fibers.l   The fabric can be a very stretchy single knitting, usually light-weight, jersey with one flat side and one piled side. When made with a lightweight yarn, this is the fabric most often used to make T-shirts. Or it can be a double knitted jersey (interlock jersey), with less stretch, that creates a heavier fabric of two single jerseys knitted together to leave the two flat sides on the outsides of the fabric, with the piles in the middle.
Organza l   Organza is a thin, plain weave, sheer fabric traditionally made from silk.l   Many modern organzas are woven with synthetic filament fibers such as polyester or nylon.l   Silk organza is woven by a number of mills along the Yangtze River and in the province of Zhejiang in China. A coarser silk organza is woven in the Bangalore area of India. Deluxe silk organzas are woven in France and Italy.

l   Organza is used for bridalwear and eveningwear.


Phase II: Materiality Analyses
After  document my chosen garments, i have found some swatches of fabric  based on each of my 8 garments that are of the same and similar content.

IMG_0923 IMG_0922 IMG_0921 IMG_0920 IMG_0919 IMG_0918 IMG_0917 IMG_0916 IMG_0915


Phase III: Explorations in Form
After  documentation, begin to play and experiment with fabric yardage to understand the materials’ properties.

Select 4 swatches and purchase 1- 2 yards of each, begin experimental 3D drapes with the fabric, record a minimum of 25 drape experiments.

DS project2 -2 DS project2 -3 DS project2 -4 DS project2 -5 DS project2 -6 DS project2 -7 DS project2 -8 DS project2 -9 DS project2 -10 DS project2 -11 DS project2 -12


Explore construction techniques: seam finishes, stitching, how fabrics/materials are joined together by sewing, create 4 samples per fabrication.

Personalized Surface Explorations:  Explore washing, dyeing, painting, coating, and printing techniques to exaggerate the character of the fabric/material and create 4 ideas per fabric/material.


For these total number of 32 fabrications, i did experiencing process such as burning the edge of the fabric, painted on the fabrics, putting glue on the surface and changes its texture, and put the fabric into vinegar, and brushed the fabric.

Therefore, i also applied some sewing construction techniques to each fabrics, along with some hand-sewn techniques such as creating shadow folds and dots, experiencing different seam finish. I have also creative a flower pattern.

IMG_0905 IMG_0906 IMG_0907 IMG_0908 IMG_0909 IMG_0910 IMG_0911 IMG_0912 IMG_0913 IMG_0914


fabircation 3

for example, this piece. it is linen. i pull the thread out and put new thread into it, the idea is to re-constructed the fabric. it was a fun experience.


Last, i did two small dress on half-scale dress form. The idea was trying to explore different techniques of making dress and patterns. So, based on a regular A-line dress pattern,  i did some adding, made these two godet dress.

IMG_0246 IMG_0262 IMG_0245 IMG_0244 IMG_0160-2


From this same idea, i made a full-scale godet dress on the fabric that i brought.( Shimmer Organza)

IMG_0861 IMG_0860

I also used a regular A-line skirt pattern, added two godet pieces on each side of the skirt, and applied some construction hand-sewn techniques to it.

IMG_0859 IMG_0858 IMG_0857


Then, instead of make it as a skirt, i did transfer it into a top shirt.

For the finishing, i did hand sewing.


Design Application

Using all of research, development, and experimentation create 8-10 design ideas applying /combining these ideas and techniques.

ds project 2 ds project1


Pleated skirt project

Key Word: Pleated, folds

Inspirations:

Layer one: should be some fabric that is hard and heavier than the second layer. (wool, denim, etc)

_BRO0203 _BRO0149 tumblr_mgkrs676sn1r5n9x4o1_500


Layer two: should be some fabric that is light and carry a fluid feeling.( silk, jersey,etc)

e659a447045a81e6434cef97d3495d4ab1ef8ad9cf26edcedefae7723486c1ccbb541c96fc3068db42933fcb83485653

DS PRESENTATION BOARD2

Sketch


Step 1: two half-scale dress on muslin

IMG_0245 basic skirt pattern—A line dress

IMG_0160-2 One: add pleated godet only on one side

IMG_0244 IMG_0246  IMG_0262


based on this second godet dress, i made some changes

i decided to have to layers, and use two different fabric, and instead of have triangle godet  (as what i did in the half-scale muslin dress), i want to give the folds a trapezoid shape for each folds.


my process:

1.made out an A-line dress pattern, cut the pattern into four even pieces, and they would be the first layer of the skirt.

2.pleaced the four pieces in pattern paper, and left same space in between and made out the pattern and it would be the second layer. And i pin the together.

IMG_0341 IMG_0342

when it opens

IMG_0414

then it folds

IMG_0415


and i use same way to do the back piece.

Since i want these two layer of the skirt to have two totally different texture, and the second layer should be some fabric that is soft, light and smoothy.

After searching, i chose denim and poly organza, i brought 2 yards of denim and 4 yards of organza.

IMG_0669 i had many problems with this fabric because it is very difficult to work with, the threads, the tension of the machine, the width of each stitch, and the speed of sewing, everything would damage the fabric and the result, i had many times that the thread  was keep twisting the fabric which actually troubles me a lot.

i  did this process once, but maybe i was doing to fast or maybe the tension was too tight, so these two layers especially with the organza, they couldn’t stay flat and just twisted together. So, as the result, i had to brought those fabric twice, and re-do it slowly.

IMG_0704  zigzag stitches to sew two layers together.

my front and back pieces are both “cut on fold”, and i left the seam on two side, and i placed the invisible zipper on the left side

IMG_0691

since i actually have two layers’ seam that have been left out, and i was going to do a bonding for finishing. however, i didn’t have that many fabric left and i couldn’t find any bonding that have similar color,  so  i decided just do a simple clean finish on the side seam, and used the over-locked machine on the bottom part (organza), and i pin the up, did some hand stitches for finishing.

IMG_0702


then the waistband, because denim is hard enough, so i didn’t put inter-facing on it.

IMG_0690

IMG_0698

hand sewn some snaps.

IMG_0714 IMG_0715

since the fabric of the second layer is organza, which is kind slippery, so i did some hand-sewn small stitches on the inside of each folds in order to make each fold to be more staid.IMG_0716

IMG_0717


IMG_0692 IMG_0693  IMG_0696 IMG_0697 IMG_0694IMG_0699 IMG_0700


Geometric collar and cuff


The first project of Creative Technical Studio 1

6020a0359b9f05ed9a3b892ad79782df 0d51a71c3c2222cd78fe30278b08f6cc

106c2f950802bb694639dbf794e89d43 wooden


i got my inspiration from those geometrical images.

these rigid triangle shape could formed a quite stunning structure with its function whether as furniture, bag, accessories, art pieces or something wearable.

so, my idea is to make these shape stay,and meanwhile maintain its’ flexibility as collar and cuff.


first i started with the measurement, i decided the approximate size of my collar and cuff in muslin, and put that on mannequin to line of some important lines out, such as shoulder line, the length, width and center line.

img003-2 hand drawing of cuff

img004-2hand drawing of collar

img005-2img006

muslin patterns.( scanning into computer for laser cutting)


then based on these drawing and patterns, and i have also got the size that i want, i stared to work on Adobe Illustrator, transfer those lines and shapes into a Illustrator file so that i could bring to laser cut.

IMG_0114 IMG_0115

at first, i was thinking use thin wood, because i like its texture and color. however, that was too thin and fragile, and very easy to break. so i gave up on using wood, and did some material hunting, then i found out this, it is a kind of hard card paper, and the color is really similar to wood as well.


for total, i booked 4 laser cut appointment. the first one was too small, especially the collar, i can not even put that on. then after change the size and some small parts, i did the second one.

the challenge is that, the character of fabric and hard paper is totally two different thing. this board paper is hard, like wood, so the result was that, many lines that i made out based on muslin didn’t work out of board paper, so the whole piece wasn’t fit at all, and very staid.

Again, i have to make changes. so, i add some lines, and moved some as well because they were not in the right place. overall, the adjustment was basically to make the piece more flexible as it support to. then i went to do my third cutting.

this time, very thing worked well, i can started to give shape to my collar and cuff.

i used threat as the connection of each piece. but as i was working on that, i found out that the threat could n’t maintain the shape stablelly, and that is a big problem, and that makes me really struggled.

IMG_0138 IMG_0180 IMG_0181


in some parts of my cuff pattern, the laser machine didn’t cut through the whole three layers of the board paper, maybe that was because the power setting was different. Accidentally, i found that it helps to maintain the shape if the paper was not be 100% cut out. so, to prove that, i did my fourth cutting, and this time i lowered all the power setting  of laser cut machine, and keep the last layer of the board paper.

IMG_0139 IMG_0141 IMG_0142 IMG_0182 IMG_0183


adding details

IMG_0052      IMG_0051 IMG_0050

cuff  final look

IMG_0075 IMG_0074 IMG_0073


detail

IMG_0076

collar final look

IMG_0067 IMG_0068 IMG_0069 IMG_0070 IMG_0071

details

IMG_0072


INTEGRATIVE SEMINAR. BRIDGE 3–INVESTGATION SURFACES


When I think about the word “Surface”, I was actually thinking about the world surface, the exterior space, we are in the surface of Earth, we live in this surface. However, surface as a material, that is also very common in our life, every thing you touched is a surface, every object you seen is has a surface. For this assignment, I have developed my choice on the subway platform since the fact that is the space I go very frequently, and I have seen many disadvantages shown, and overall if possible, I do want make some changes to it.

First of all, I began this project by simply random chose 10 surfaces: something that was really common to be seen, like metallic sheet which I further develop into subway platform, glass, Ceramic; or some surfaces of an object that involve high technology and scientific theories, like Maglev train, vacuum bottle, Macbook, sneakers and LED light; and there also got be something related to my major as Fashion Design, like Fur, leather and wool. And I did some research, and they all have some disadvantages. I narrow them down and made few designs for bridge 2: either borrowed the original purpose of the surfaces and creates a new form, or mixed the advantages from one thing into another. Mixing and combined the different concepts of each one, my purpose is absolutely to make them better, and I was trying to dig something for fun as well. For instance, I have got inspirations from the research of Vacuum bottles. Research shows that the main idea of Vacuum bottle is to block the air: the gap between the two flasks is partially evacuated of air—creating a near-vacuum which prevents heat transfer by conduction. As while I was doing research for LED light, I found out that the biggest disadvantage of LED light is that they are so influenced by temperature. So combined the advantage of Vacuum bottle and the disadvantage of LED light, my idea was to borrow the vacuum idea to create a vacuum layer and adding it to LED blubs in order to maximally keep the temperature for the light blub.

I really like that idea; however, moving to bridge3, in order to make a makeable product via 3D printer or hand making, I decided not to develop my further study on this one, really because making a near-vacuum zone for a light blub involved many professional technic devices and knowledge which was limited for me as a college student. So, for bridge 3, I decided to have fun with metallic surfaces. As mentioned before, I also have done research about these surfaces. I have noticed that normally there would always have some textures on many metallic surfaces, like it usually appeared on subway platform or stairs, which probably is used to prevent people from slipping. However, from my personal experiences, they are not really working so well. I chose subway platform as an example. Due to the fact that there are usually many people in rush hours walking though, and which makes the space very crowded, typically when it is snowing or raining, water and ice flush in everywhere, so people still got slipped. From this point, I kind got something to develop. Basically, I was thinking that based on the current texture of the surface, if the material has contained a new ability to drain the water and ice, it would definitely helped to maximize the protection for people from slipping while walking in those tough days. Also, I noticed that when it comes to raining or snowing, the whole atmosphere would get very wet, especially in the underground subway, and it enhanced the typical “subway” smell. Perhaps this new material could sort of change that situation by adding some solid like desiccants. The idea that people putting some kind of air freshener on the closet triggers me, and gives me a thinking if we put air freshener under as well.

So I made a model and sketch. Basically, the first layer maintains the same texture and metallic surfaces, but more holes. Adding layers under that like sponge but mixed with desiccant and air freshener, perhaps there could add one more layer with drainage tubes. Overall, this might not be a perfect platform which could 100% solve the existed issue, but I do hope it can be more useful and helpful, and my intension was to make it better than now.


since i actually have made changes for the final presentation after i wrote this essay for Seminar, here are my process board.

12


34

5

6


INTEGRATIVE SEMINAR2..INVESTGATION ABOUT GRAND CENTRAL STATION.

While Grand Central Terminal is one of the nations most historical landmarks, it has remained the busiest train station in the country. Today, a constant stream of people from all over the world would come here everyday. It is not only a place you departures from anymore, this place definitely has memory, it is also deeply into New York’s memory. From “Grand Central Depot” to “Grand Central Station”, and finally into “Grand Central Terminal”, obviously this one of the famous place in NY has been changing through this hundreds years. Therefore, according to what I have seem so far and what I have read from others sources, I would like to believe that all those changed which Grand Central Terminal have underwent only make it as a better place.

As I mentioned, Grand Central Terminal is now a very important hub in NY, but it wasn’t like this before, even not in this location. The history of this place should go long away to 1830s when railroads remake New York, and the first railroad line connected Prince Street to the Harlem River, accelerating the city’s expansion northward from lower Manhattan. Followed by this line, other three railroads line completed, . During the 1860s, Cornelius Vanderbilt bought controlling stock in the first three, and forging then into a rail empire. However, while railroads bought people money and profits, it also brought pollution. Grand Central Depot opened in 1871. Grand Central Depot brought the trains of the New York Central and Hudson River Railroad , the New York and Harlem Railroad , and the New York and New Haven Railroad together in one large station.

The three towers represented the three participating railroads. Decades later, the original Grand Central Depot of 1871 had become a 19th century relic struggling to meet the demands of a 20th century city. Therefore, its 30-year-old rail tunnels couldn’t handle the increasing traffic. “The building lacked modern conveniences and signaling technology, as well as the infrastructure for electric rail lines. On top of that, the old station no longer reflected its surroundings. In 1870, 42nd Street was still a relative backwater. “[1]In 1901, it became Grand Central Station. It was expanded from three to six stories with an entirely new facade, on plans by railroad architect Bradford Gilbert. “The tracks that previously continued south of 42nd Street were removed and the train yard reconfigured in an effort to reduce congestion and turn-around time for trains.” More and more people were riding more and more trains. Between 1903 and 1913, the entire building was torn down in phases and replaced by the current Grand Central Terminal, which was designed by the architectural firms of Reed and Stem and Warren and Wetmore. “Grand Central Terminal was listed on the National Register of Historic Places and declared a National Historic Landmark in 1976.” [2] Located in Mid-town Manhattan, 42nd street and Park Avenue, those geographical advantages also provided Grand Central Terminal a dominant position as the main center of this city.

There are lots of things about this place which makes here so solemn, mysterious, and significant. One thing really famous about Grand Central Terminal is the celling in the Main Concourse. “In autumn 1998, a 12-year restoration of Grand Central revealed the original luster of the Main Concourse’s elaborately decorated astronomical ceiling. The original ceiling was conceived in 1912 by Warren with his friend, French portrait artist Paul César Helleu .” [3] However, what’s more interesting about the ceiling is that the painting of the constellations on ceiling of the massive, cathedral-like Main Concourse is backwards. No one knows for sure how the mix-up occurred, but the Vanderbilt family claimed that it was no accident. And on the lower level of Grand Central is that there is a whispering gallery. I had a lot of fun there, and I had no idea about the scientific tenet there. As far as I’ve searched, no one knows if the “Whispering gallery” was built to whisper on purpose, history didn’t leave a hint on it.

What really make me open-eyed of Grand Central is that there are many things actually have nothing to do with transportations, more like an entertainment center. I stop by to Grand Central subway station very open; and every time, I would be with a flowing amount of people. In stead of just be as a train station, I think it is because this location has now been manipulated into many locales. From 1922 to 1958, Grand Central Terminal was the home of the Grand Central Art Galleries. The Grand Central Art Galleries remained in the terminal until 1958, when they moved to the Biltmore Hotel.[4] In 1955, Erwin S. Wolfson made his first proposal for a tower north of the Terminal replacing the Terminal’s six-story office building. A revised Wolfson plan was approved in 1958 and the Pan Am Building (now the MetLife Building ) was completed in 1963.[5] In 1975, Donald Trump bought the Commodore Hotel to the east of the terminal for $10 million and then worked out a deal with Jay Pritzker to transform it into one of the first Grand Hyatt hotels. And also, if you go the Grand Central, you would not be so surprised to find out there is a market there in the ground floor, bakery. Then, as you walk in, a big Apple Store is in the main concourse. And plenty of cupcakes and cheesecakes stores are there inside of the main concourse. The lower level has even a food court, various from Japanese cuisine to Pizza, Salad to Chinese cuisine, and you would not miss this most wonderful Shake Shack burger. Near the “Whisper gallery”, the most famous Grand Central Oyster Bar & Restaurant is right here. As it has all been known, it opened along with the terminal itself in 1913 and has been in business ever since, although it closed briefly for renovations following a 1997 fire.As its name suggests, it specializes in seafood, and it has become over the years one of the landmarks of the New York culinary scene.

Of course, this Grand Central Terminal is not that Grand Central Terminal anymore. We have seen the past of this place; it feels like every tile has witnessed its path. Now, in many New Yorker’s life, I think its function has beyond a terminal, and services people from more a lively essential way.


[1] “Grand by Design”, New York Transit Museum, http://www.gcthistory.com/

[2] Carolyn, Pitts, “”Grand Central Station” August 11, 1976,”,National Register of Historic Places Inventory-Nomination. National Park Service. 1976-08-11.

[3] Belle, John; Leighton, Maxinne Rhea (2000). Grand Central: Gateway to a Million Lives. New York: Norton.

[4] “Grand Central Art Galleries records“, Archives of American Art, http://www.aaa.si.edu/collections/grand-central-art-galleries-records-8254

[5]  “New Home for Art to Cost $100,000”The New York Times. March 11, 1923,

http://query.nytimes.com/gst/


Garment dress. Soft Structure project 2.

garment dress sketch

Sketches.

VALENTINO AW15 Valentino AW15

VERA WANG AW15 Vera Wang AW15

ZAC POSEN AW15. Zac Posen AW 15

VICTORIA BACKHAM AW15VB AW15 Victoria Beckham AW15

CELINE AW15 Celine AW15

Chalayan AW15Chalayan AW15

y-3-black-two-piece-jersey-frill-dress-blackwhite-product-1-5916414-555672900 YohjiYamamoto

IMG_6933 IMG_6934 IMG_6935


i finally make my decision on the first one, which got inspiration from Celine and tradition Japanese style dress

2010730174521439

celine-rtw-fw2013-runway-11_105210383195 celine-rtw-fw2013-details-22_105450343640


therefore, i also got some inspiration from this side look of the Celine dress, particularly it triggers an idea: instead of only having front and back piece, i want add one straight piece in between.

celine-rtw-fw2013-details-18_105447402496

since this is a “zero waste” garment, i need to think about some part to put those extra fabric in, and adding pocket is a good option.

For most of  Celine dress, they are so elegant, simple form, clear shape, and enhance the idea of minimalism. Most of the dresses from Celine are made by wool, entirely keep the idea of domesticity and warmth. Personally, I am quite obsess with wool as well, which is not so soft but have that smooth texture, and it can be hard when it needs to be. I want the fabric have that texture to hold the shape of my dress. So, I have come out with few choices, wool, heavy silk satin, super wool for men suit.

finally, i brought wool and super-wool.

IMG_7233

Regard to the concept of this project, i was thinking that i need to simplified the dress, so before actually make the pattern, i did some changes to my sketch and made a new one which i want committed to and the yardage as well.

FullSizeRender-3


after that, i started working on the muslin. i used the same way which i did a bodies for practice to shape out the pattern on the mannequin.

IMG_7088 IMG_7085 IMG_6991 IMG_6990 IMG_6989

by this way i made the whole 6 pieces out and tried to sew them together.

IMG_7104 IMG_7106 IMG_7107

however, it looked fine from the front view, but the back was a mess: it turned out too small and couldn’t be closed.

IMG_7109 IMG_7110 IMG_7111 IMG_7112

i released all the fitting seams that i did before.

IMG_7236 IMG_7235

also some other adjustments as well  before i actually lay down the patterns.

regard to the “zero-waste” purpose, i decided to keep almost all my pattern in a straight shape, except the neck part

IMG_7252 i use 3/4 yard of wool, fold it, and cut out the pattern for the front and the shoulder with another short half which towards to the back.

IMG_7254 all the “cuts” fabric.

IMG_7268 IMG_7269

for the back part, i gave up of using the pattern i made by muslin, and simply put 1/4 yard of super-wool directly to the garment without any “cut” pieces.

IMG_7349 IMG_7350

IMG_7441 IMG_7440

last, i use all the “cuts” to make the belt and a pocket for my garment.


IMG_7352 IMG_7361 IMG_7407 IMG_7410 IMG_7411 IMG_7416

the final result.

FIRST SEWING OBJECT.(SOFT STRUCTURES)

IMG_6334 IMG_6335 IMG_6336

This project is based on our daily essential objects, create a simple bag to hold a three-dimensional object they regularly carry. And i started my ideas on the first week, i have  got three ideas. The first one  is borrow the shape  of my tea bottle, and it should be like a shoulder bag. 45255555LR_21_f45246824AP_21_a

The second one is a hand-hole bag, and my idea is from the iPhone.

45243378xt_21_a


The third one is actually what i decided to developed further. I got the idea from book, and i want to make a clutch bag.

45242353bu_21_a 45248309oa_21_d

And here are some diagrams

IMG_6337 IMG_6338


After this, i started to doing the first iteration with paper and tape.

IMG_5370IMG_6340IMG_6339

For my design, i want my bag to be hard enough. So the material should be hard, like leather. I went to Sude, the Leather Inpact in 38th,7 Ave. But leather was too expensive. Then i changed in to another (Vynel?), the outside surface of this fabric is similar to leather, but it is really heavy.

My second iteration by muslin. And it was before we learnt how to insert a zipper, so it has some imperfect part.

IMG_6351 IMG_6352 IMG_6350

My first try.

IMG_5369 IMG_5372 IMG_5375 IMG_5377 IMG_5378 IMG_5379

I struggled with it. The fabric would crack when it is sewed with thread. And i changed the thread and needle, but still not working.    IMG_6347

Therefore, this fabric can not be steamed, which makes it more challenge. IMG_6348 IMG_6349

After tried many times, i gave up on it and changed the material again. Due to the reason that i want the fabric to be hard, but also need to be easy to sew. So it took me a long time to search around. Finally, i made my decision on Filet, it is kind hard than normal wool.

IMG_5964 IMG_5968

At first, to insert the zipper is a challenge. The feet of the machine would keeping moving if i goes to fact, it is also hard to fully control the speed.

Hand sewed the zipper before go into the machine, this way is easier to control, and it would move to much.  IMG_6327

I actually 80% finished my bag last week, but while i bring the bag to class, the zipper troubles me again. It can not be closed.

As the result, I went to get another zipper again, and take anything off, redo them again…….

The new zipper i got is longer than the previous one, so i changed my design a little bit.

IMG_6326 This one i decided to design a around zipper. Before insert the zipper, i sew the head and the bottom part of the zipper with two pieces of fabric together(which later would be used as two side pieces). Since this is a around zipper, it took me a long time the placing it and make two sides evenly to each other, and i sew this part three times, this first time was totally a mess. Then i tear them off, placing them with the fabric by needle , and slowly sew them. But still got some trouble with the corner part, and the connection part with zipper head.

And then i sew the

IMG_6341 IMG_6344 IMG_6342

IMG_6353 IMG_6354


i also made a small inside pocket and handle tile for my bag.

IMG_6346 IMG_6343  IMG_6393 IMG_6394

IMG_6386 IMG_6387

IMG_6389 IMG_6391 IMG_6392


Skip to toolbar