Project 1.0 Giant Soft Sculpture
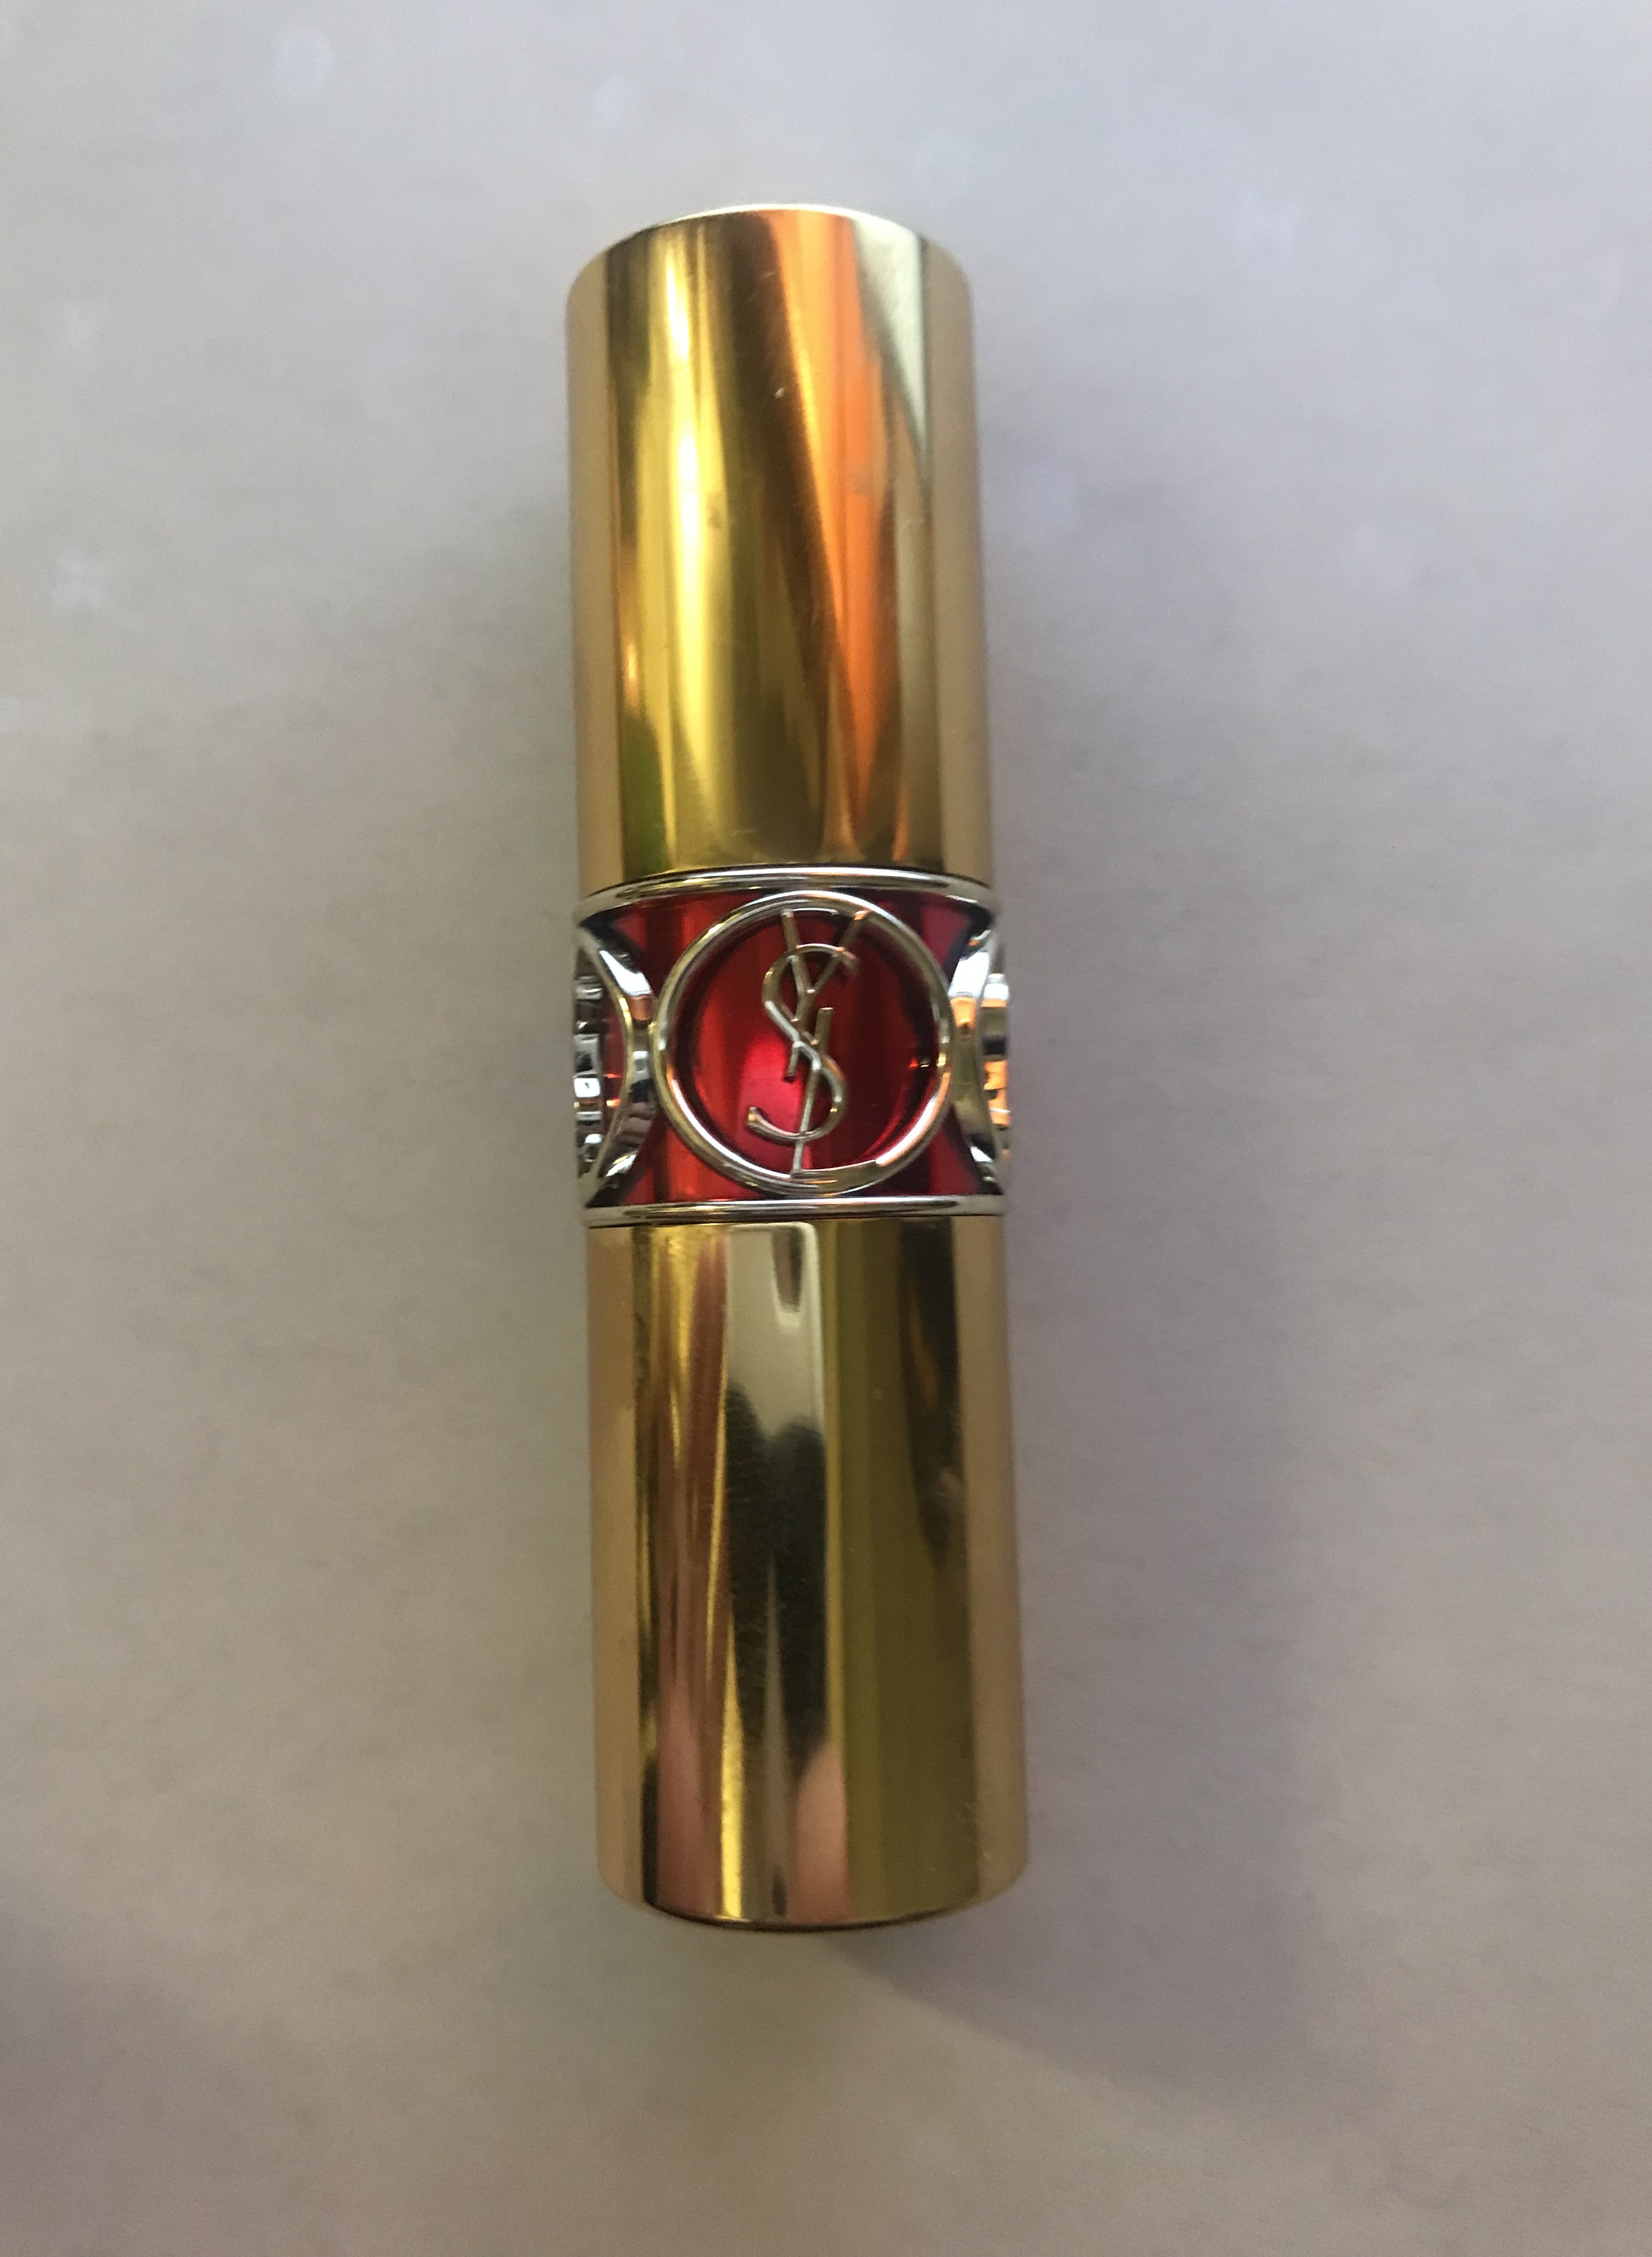
YSL Lipstick
Inspiration from Claes Oldenburg
Inspiration board:
(PPT)
Inspired by Claes Oldenburg, I decided to make a large scale soft sculpture that has reflection to reality so that it’s more interesting when audiences look at its transformation and its distorted scale in reality. Through casting lots in class, I picked the YSL lipstick by chance, which fits with my initial imagination with this project. My attempt was to recreate a YSL lipstick that has exactly alike features but bumps much up in size to create the exaggerated and striking vision effect.
Transferring Shapes to Flat Patterns
Top/Bottom Circles
Sketching & Planning

Final Top and Bottom Pattern
(2 Pieces)


Middle YSL Logo Strip
(1 Piece)

Left Top/ Left Down
Right Top/ Right Down
(4 Pieces)

Fabrics Choice
Sewing Process

The sewing process seemed to be easy, but in fact it’s not. It was my first time trying inside out sewing technique and also I was not comfortable with industrial machine at all. Therefore, even the patterns seemed to be simple and straight-forward, the actual sewing process was tough and extreme time-consuming, especially when I was attaching the top and bottom circles. However, that was not the hardest thing, the even more challenging process is sewing the logo on. I was going to use gold ropes, but I didn’t know how to find a smart way to attach the ropes while hiding the seam. Moreover, when I put a needle through the rope, the entire rope broke and the filler came out of the covering fabric. Then, I gave up on that idea, and replacing it with shinny silver fabric. I cut the fabric in strips and pined it onto the red netted fabric surface. The hand-sewing part was tough, because the fabrics were really thick and it was hard to put the needle through.
Final Outcome

Me with My Giant YSL Lipstick

Revision

Even I already put in a lot of efforts to the lipstick, however the outcome was still not complete satisfying. It didn’t fit my initial imagination of the lipstick to be just like a real YSL lipstick but only enlarges in size. Therefore, I thought revision was pretty necessary. I talked with my teacher about the best way to sew the rope onto the fabric without obviously exposing the stitching lines. We figured out a way to use golden threads and let the threads go around the rope like in the following image. Currently, I’m still working on the revision.

Project 2.0 Make Our Own Puppet
Initial Puppet Sketch
When I brainstorming about the design of my puppet, I thought of a lot of anime characters that has appeared in Japanese manga. As a child growing up with manga, I was drown by the amazing capacity of this culture genre that has influence my generation’s kids and build a glamorous perfect earth in another dimension. I always imagined myself to be one of the cartoon characters and live in their story and their world. I wish I could be a cartoon character too, a naive one, like Chi-bi Maruko in her imagined world, living with pure passion and creativity to life and a extreme funny family. I wish I can always be 6 or 7 years old, and growing up with everything surrounded me just how they are drew in manga. Therefore, I invented my own character, little Amber, as a cartoon character I always want to be. Little Amber is a silly, brave and passionated little girl, with her cute but cool black and white Boy London Sports Jersey, her iconic Stussy Knitted, her kid-sized Timberland and a ukulele. I carefully put each detail on her, and make sure she is just like me. Every part of this design has a reference to the reality world, and that in my mind is what makes little Amber most alive and convincing.
Coloring Process in Photoshop
Final Design 
Building the Base
Creating Small Scale Figure in Clay

Wrapping Masking Tape over Clay
Cutting Out the Masking Tape


Flattening the Pattern

Scanning the Pattern into Computer

Head Piece (1/2 right)

Body piece (1/2 Front)

Scaling Up in Photoshop & Transferring to Pattern Paper

Head Side (1/2)
Up

Down

Body Front (1/2)
Up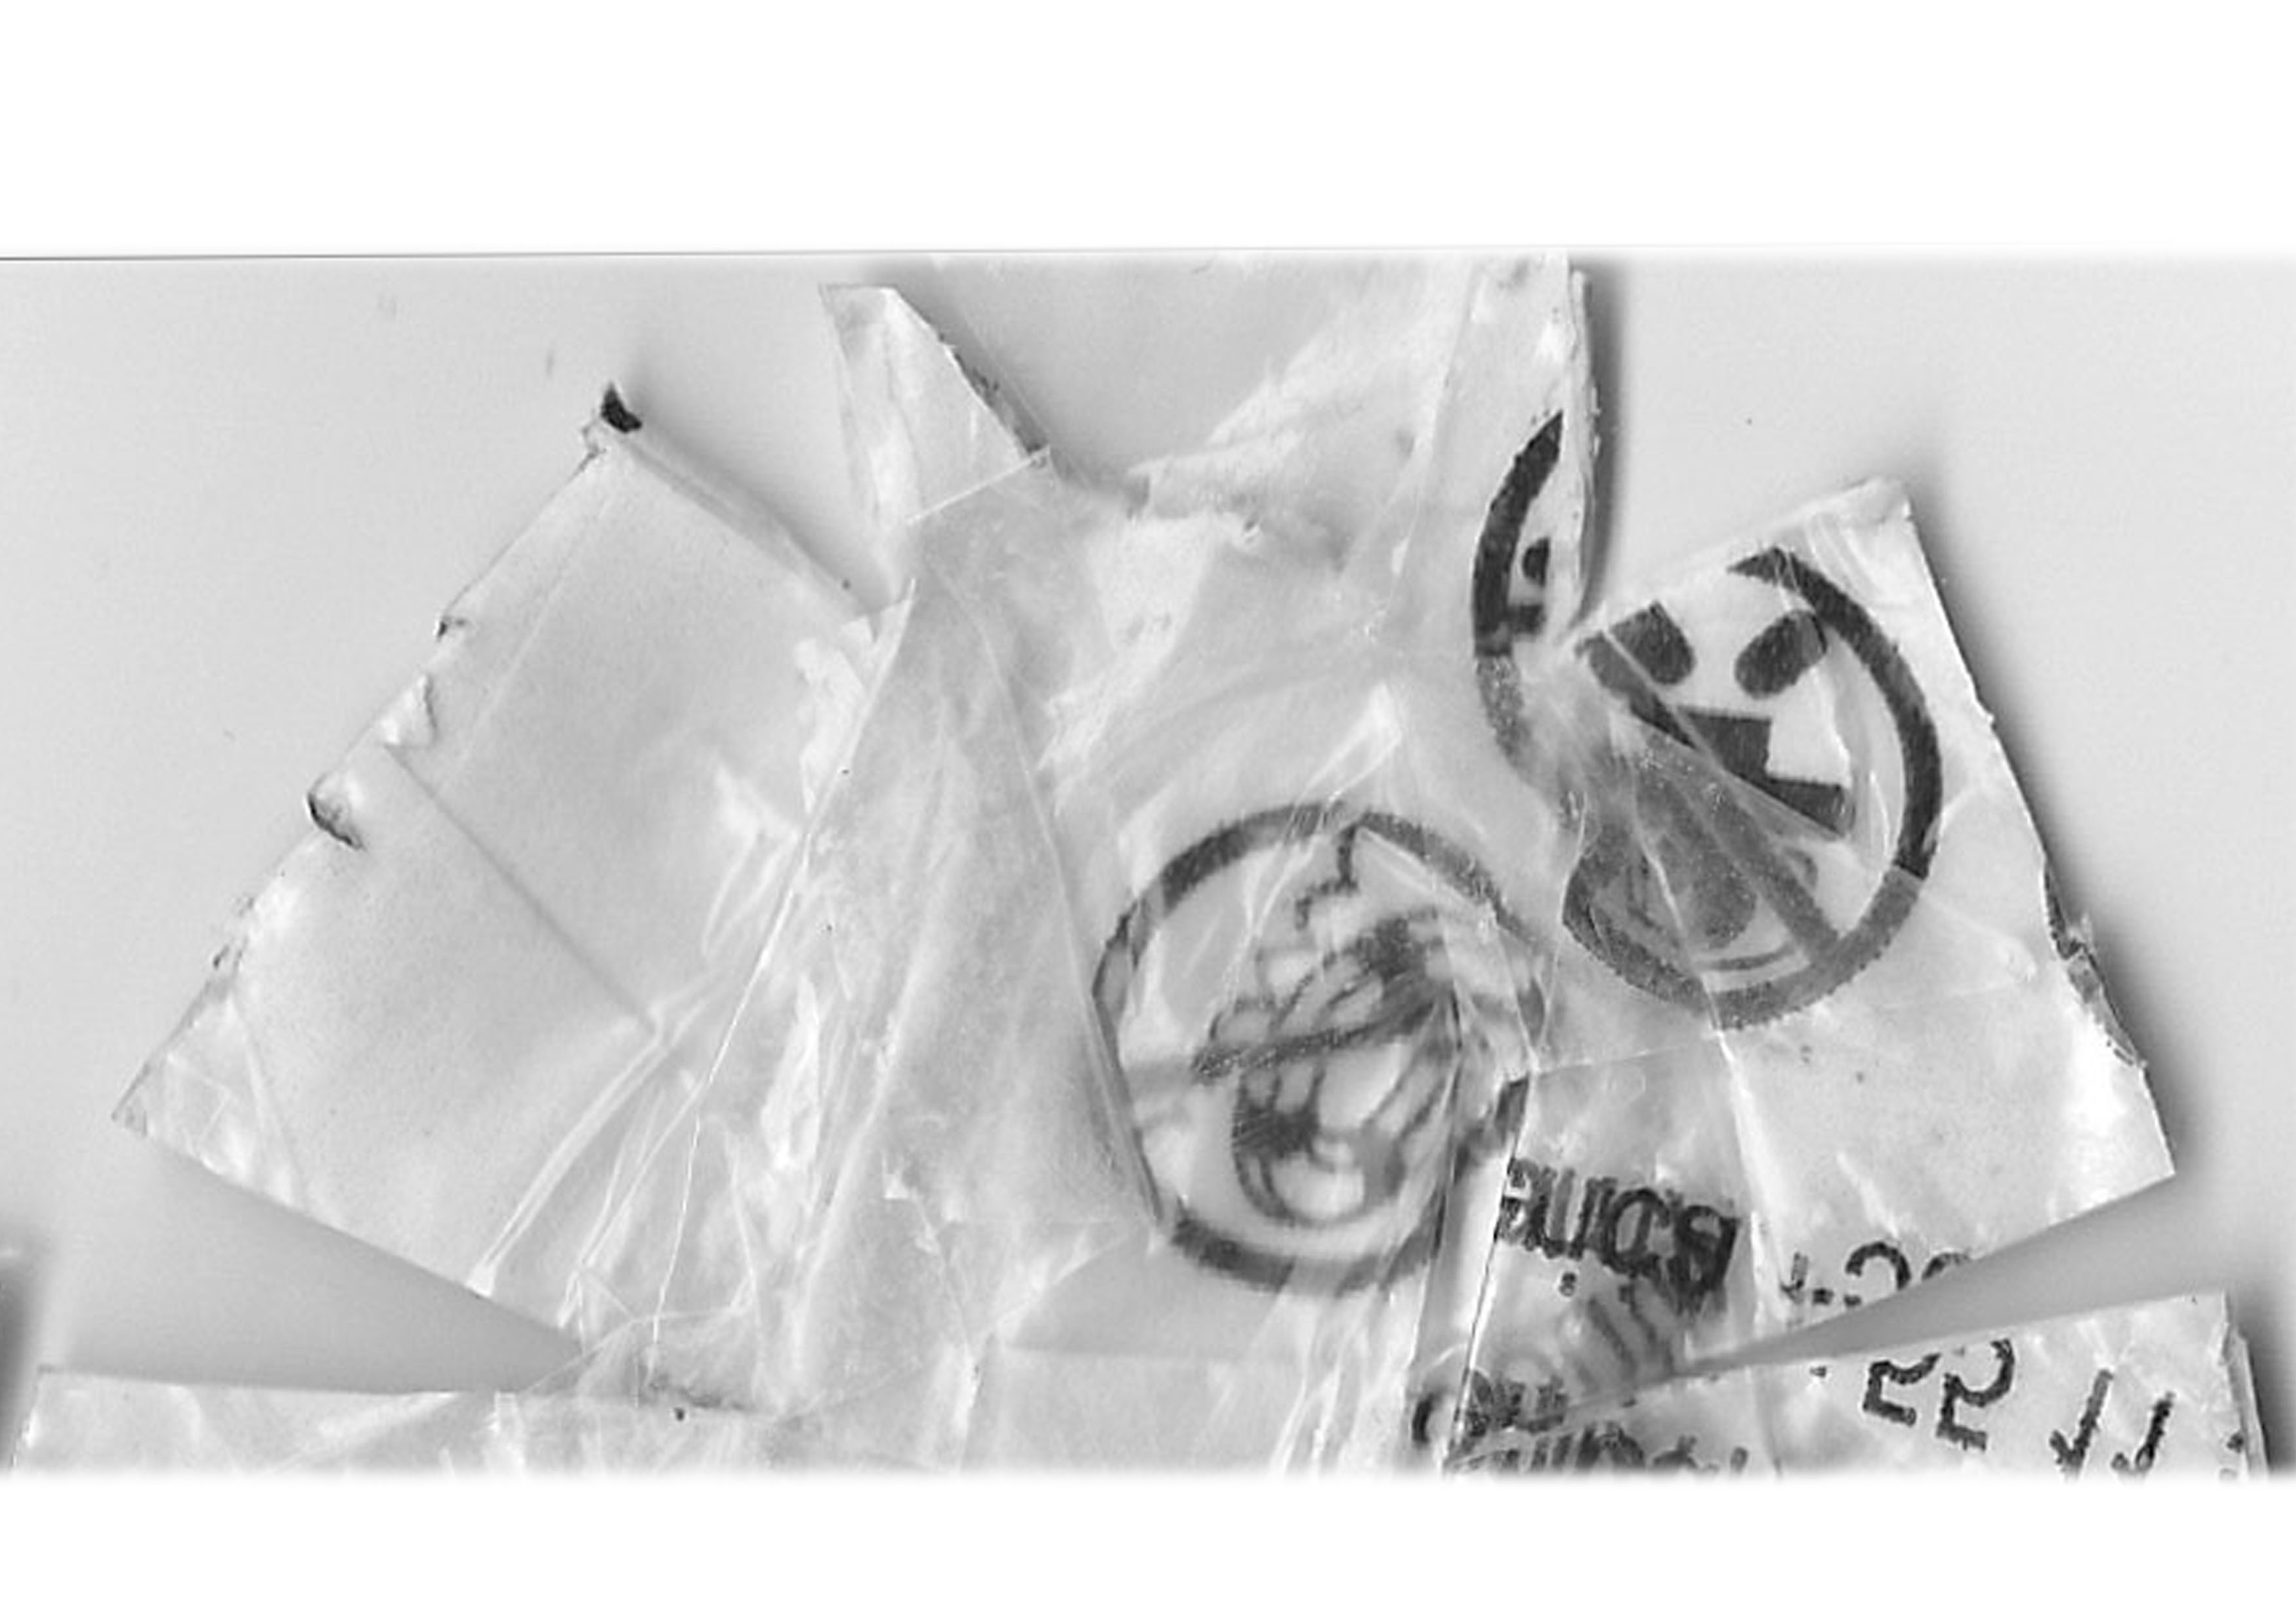
Down

Cutting Foam pieces and Gluing them together with Rubber Cements
Final Foam Base
The transferring process from pattern to foam core went surprisingly well. However, the rubber cement ran out accidentally while I was over halfway done constructing the puppet’s body. Therefore, instead of rubber cement, I used glue gun to finish the rest of the piece. It turnt out the effectiveness of glue gun to be same as rubber cement, and even better because it dried faster. The perfect formed body foam base comes from the well constructed patterns, therefore, I really see the importance of pattern making in developing soft structure.
Draping Muslin on Foam Base & Transferring It to Patterns
Head

Body

Draping became one of the most challenging steps in this project, simply because this requires experience and it’s only my second time doing it. I tried to be really carefully and precise with the measurement and alignment of darts. I forbid any darts appeared unintentionally, and without a purpose. However, my effort doesn’t always make it to successful outcome. After I flatten the head piece, it turnt into a really weird random shape that I could not turn it into symmetrical, organized pattern and have a clean stitch line when I sew it together. Therefore, I decided to abandon this failed pattern, instead, use the one I patterned for the foam head.
Failed Piece
Hand and Mouth

Leg

Puppet Inside
Making Process
Sewing Puppet’s Head


Sewing the head together was a process that requires a lot of effort and precision. I first flip all the cut fabrics inside out, and sew them together at the edges of seam-allowances, leaving the mouth and the neck open. Then I sewed the mouth into the face using the same technique. (The tongues are sewed by machine before I attached the mouth onto the face.) After the mouth is done, all the other parts left to be hand-sewed.
Eyes
Buttons

Nose
Inserting Foam Base and Forming Complete Puppet Head
Finished Puppet Head & Body

I repeated the same process for the head to the body, which was not that hard. Then, I sewed the fluffy, soft fabric inside using the same technique to hide the stitch line, and then turn it into the body, extending to the head. The hardest part for finishing the body was to connect the head and the body. I picked it up a new piece of skin fabric and sewed the two ends onto the body and the head. This part is extremely hard to hide the seams and it’s almost impossible to use the machine. Pining was extreme important when I tied to sew spots that are possibly finished by machine. However, most of it needed hand sewing and the finished-up seam is impossible to hide.
Sewing Hands & Embedding Wires


The hardest part of making hand was to even push the finger fabric inside out, it took me forever to pop out the fingers. The control of strength was also really important. I have broken 3 little hands I made, because when I pushed the fabric too hard I went through the fabric and made a hole. From this experience, I decide to make bigger fingers for future experience, if possible, which makes everything much easier.
Draping the Jersey Pattern 


Cutting Actual Fabric to Fit On Puppet’s Body
(sewing the right side with the same inside out technique, but finishing up using outside stitch-the head is too big that I cannot finish sewing the jersey while it’s not on the puppet’s body)


Painting Jersey, Attaching Wig & Putting On Hat
Final Outcome

Me and The Puppet

I really enjoy this entire puppet project, even it was so time-consuming and I was so exhausted. The outcome was really satisfying, which made the entire process seem worth the effort and meaningful. I truly learnt a lot form this project, not just much more improvement on sewing skills, but also more capacity to deal with unpredictable mistakes and outcomes. I felt myself much more confident with sewing and hand-on makings after this project. I believe what I had learnt would be so beneficial to my future sewing career.
Project 3.0 Open Project
It was the moment when the teacher spoke out this is an open project, I had the idea to make small dim sum models in my head. Because my family background, I was raised in a environment where every Sunday morning our family needs to go grab dim sum and drink hot tea. I also have had cute dim sum toys when I was little girl, however, they are all somehow unsatisfying because of the size or the material. Therefore, I thought of the best idea was to make my own dim sum dishes.


I started by making the very basic units of each dim sum dishes. I started with pork bums, shrimp dumplings and sesame noodles. Because I had made dumplings and bums in real life with my grandma, so it made the whole making process a bit easier and faster. The hardest part came the second–making the tableware. It was extremely hard, because there were any exiting pattern for a bowl or a plate, so basically everything I needed to develop by myself. The table patterns and plate patterns all have taken me hours and hours, and a lot of tryout models. In the picture above, it was the first unsuccessful bowl. I had all the seams exposed and it looked unfinished. Therefore, I decided to keep trying on the bowl.
Progress 1.0 Photo
(first two days’ outcome)

Progress 2.0
Revising Bowl
(third and fourth day of making)

As I said before, I switched my main focus from making the food to making the tableware, because they are much harder to make and needs a lot of experience. Above in the picture was my final model for the plate, bowl and the steam box. I was really satisfied with their finished look, because I knew they didn’t come easily.

Progress 3.0
(the last day)

I thought of the last day as the final finish up day and also the day for a well-made steam box cover. It seemed like not a lot of work, but it turnt out more ideas came into my mind. I decided to painted my fabrics yellow and made the further yellow shrimped dumplings and fried egg. I also added more details to the bowl noodles by making the little cute shrimp. With the bowl standing, I figured also a pair of chopsticks was needed. It turnt out the last day of making to be the heaviest day, because I also decided that I needed to make another steam box dish, just to make the whole set of this dim sum meal to look more complete and delicious.
Final Outcome


The morning of the due day, I finished my dim sum set and I was extremely satisfied with how it looked, because it looked just like what I had imagined at the beginning. I was proud of my much more improved patterning skill and hand sewing skill. The most important, the dim sum set was so cute. I felt like my heart would have melted if I stared them for another second. I guess this project was my favorite project out of the year. It was the best ending for the whole year of learning constructing soft structures.