1. PHANDEE
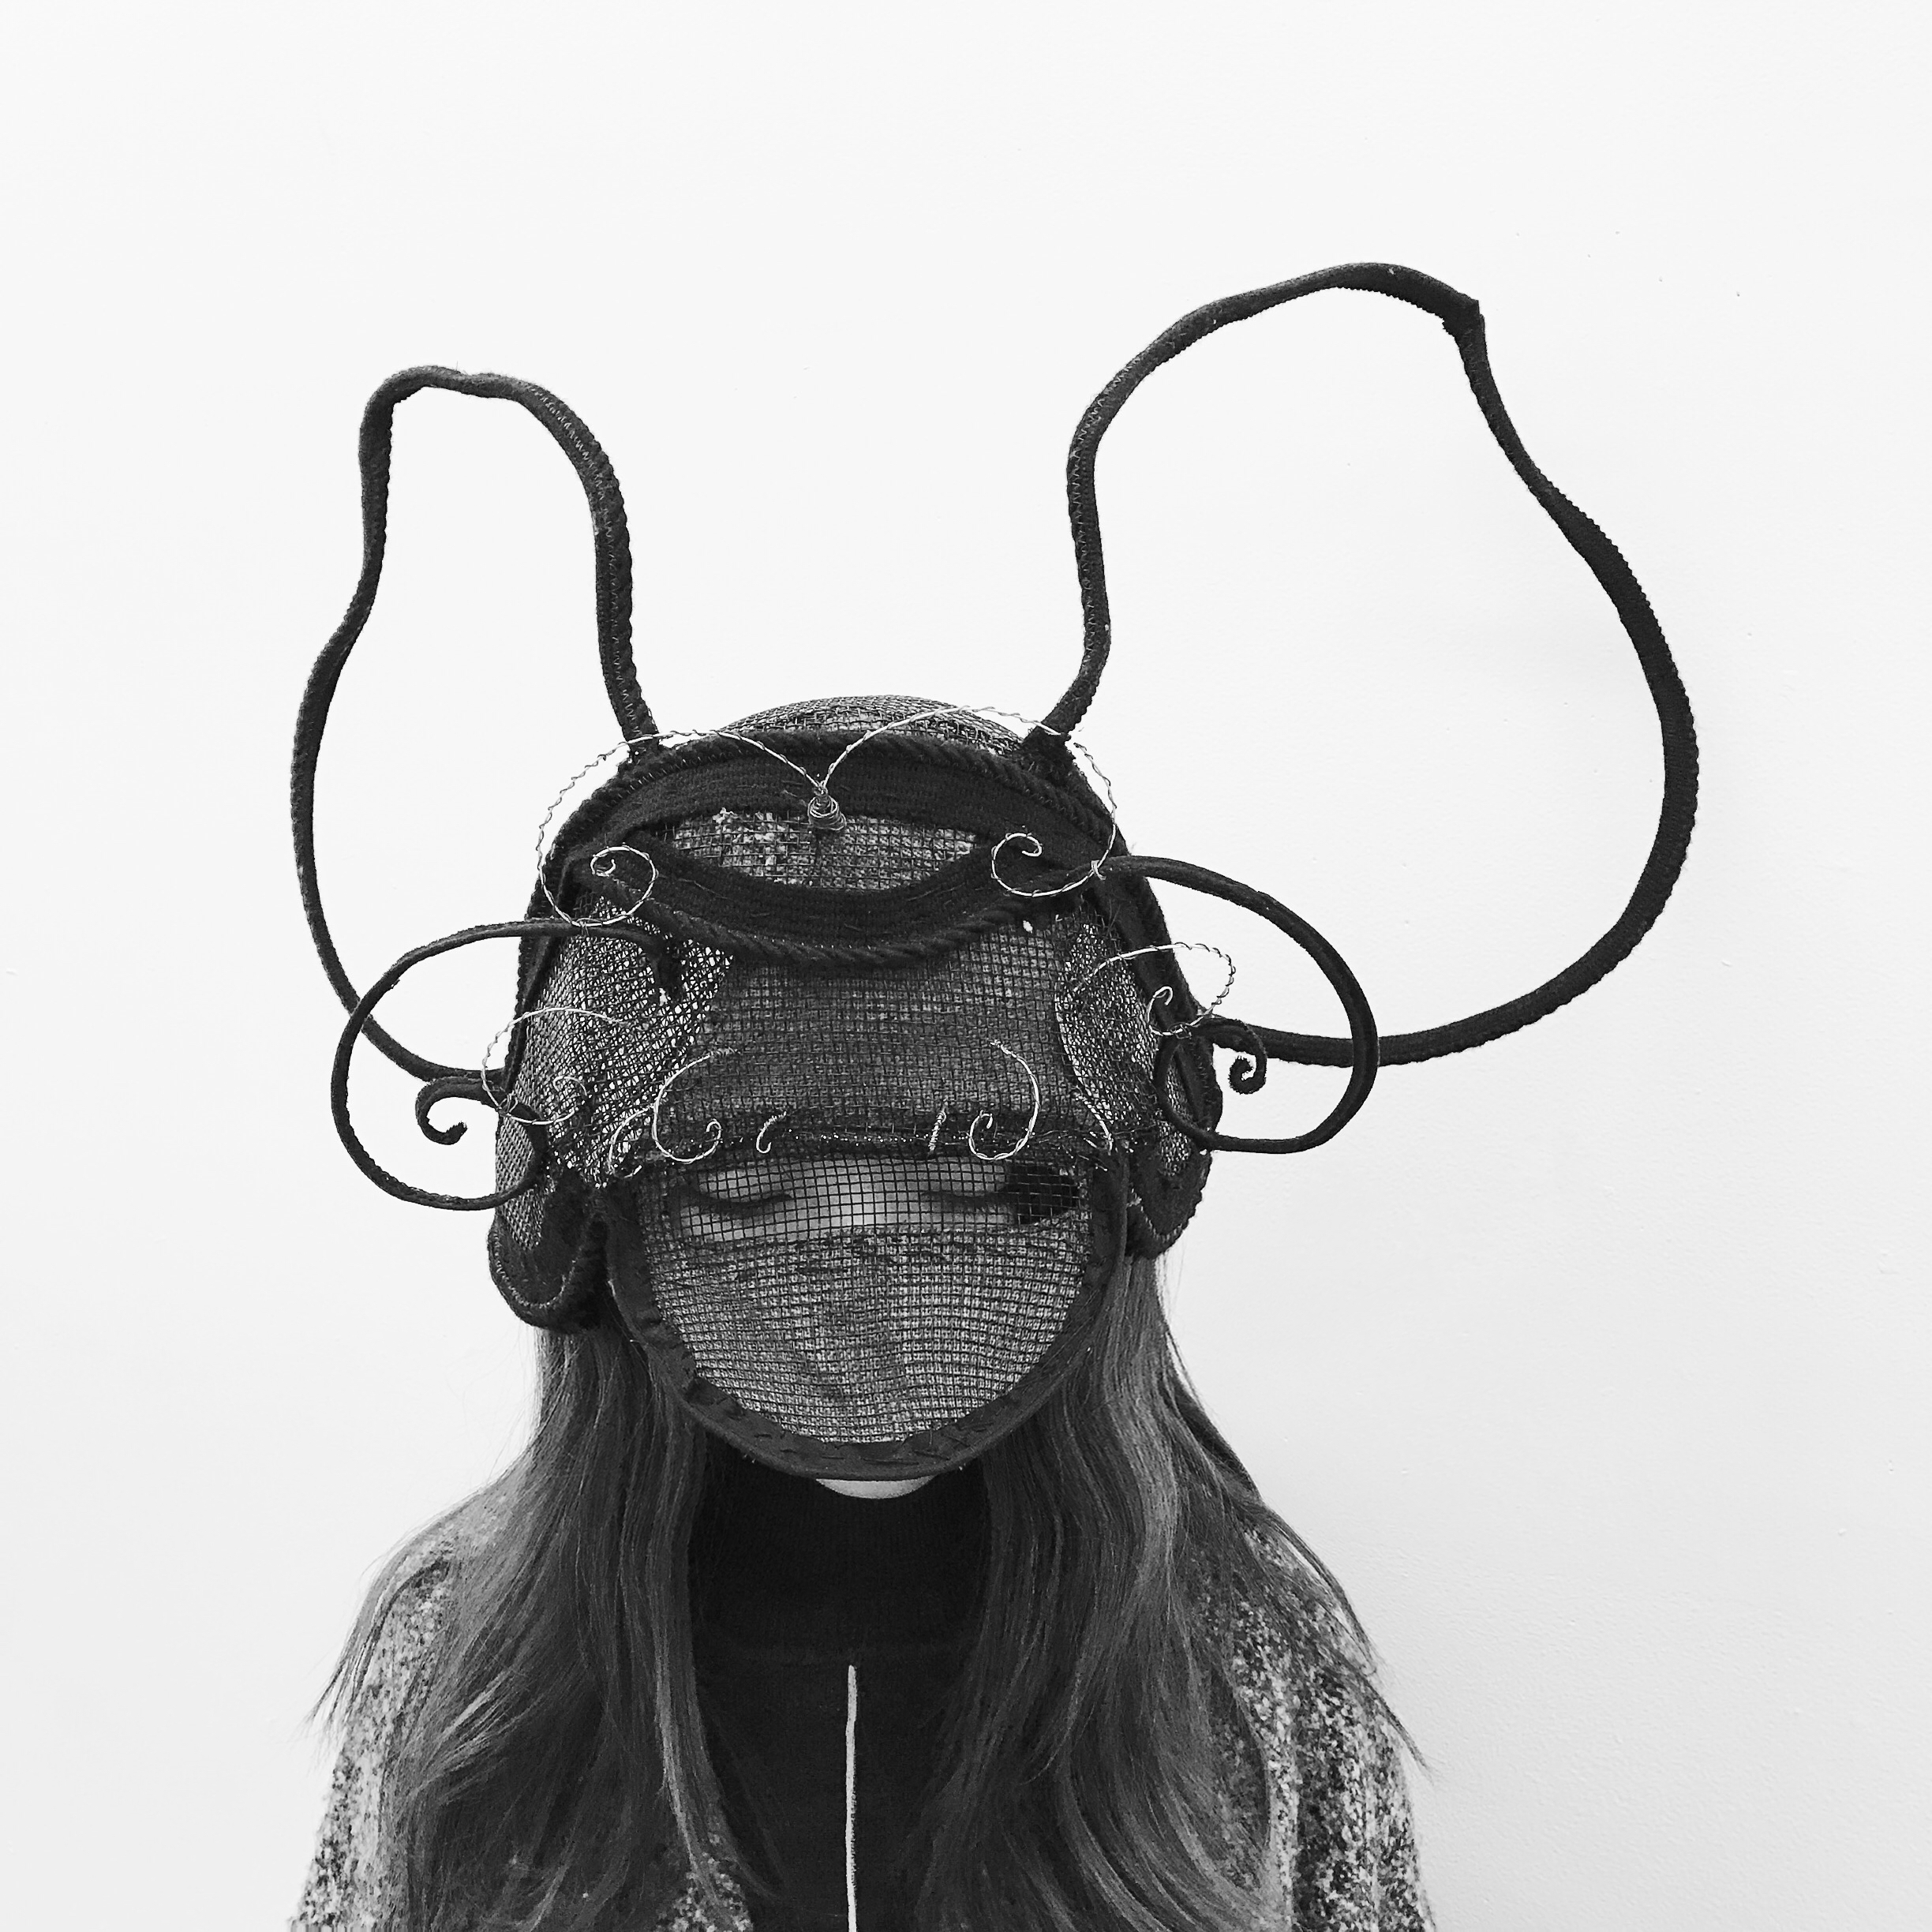
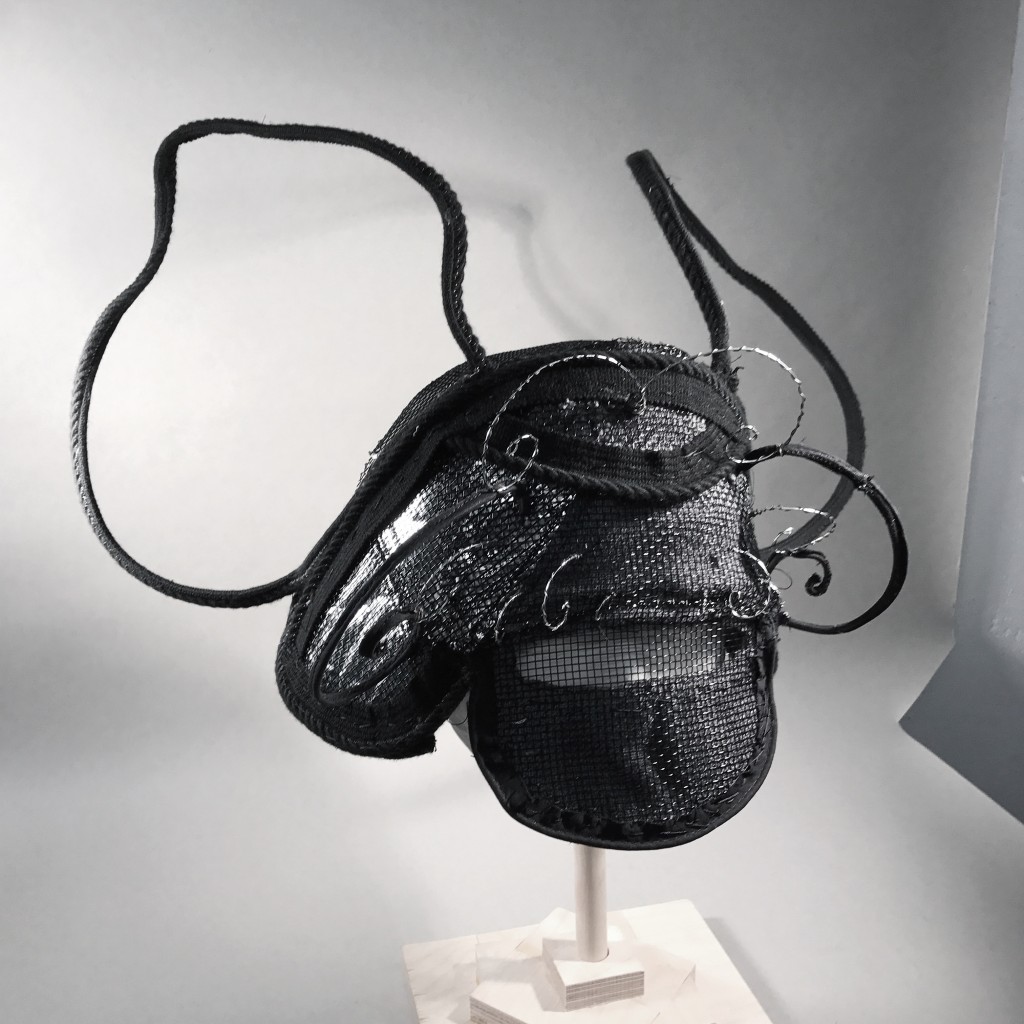
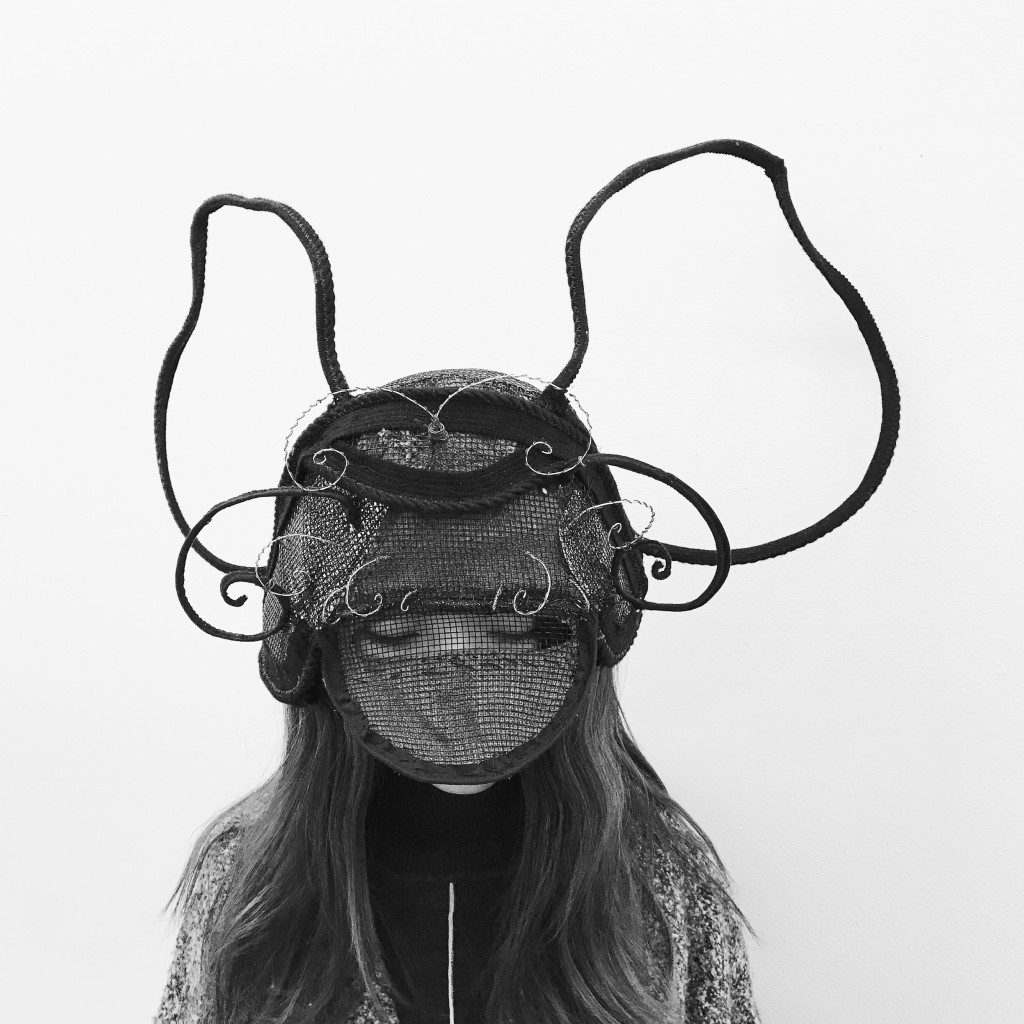
2. IMAGES: FINAL PROJECT PHOTOS

3. TEXT: THE INTERVIEW: (Q & A)
- answer the questions below, then….
- edit the text
- use it as a springboard for further inquiry
- use text as captions for your photos
- write a body narrative describing your entire process and use photos (above) to highlight your writing
QUESTIONS:
REFLECTION:
- How did making a plaster cast of your HEAD help you understand dimension and designing for your head?
A: It helped a lot especially when I was making the base for my headwear. It was much easier to just measure the plaster head and check where’s the spot I wanted to make further improvement. It will be difficult to measure accurately without the plaster head since I’m unable to see the full view of my head.
- How did drawing assist with your design process? Which steps involved drawing (lines)?
A: Drawing assisted my design process by preplanning and reminding me the steps I should take. I would also have a basic structure of what I’m going to do. I had to preplan the process before I actually started, thus drawing prevented me from unnecessary mistakes.
- How did your design change over time?
A: I changed some parts of my design during the process. I think it is inevitable because it is different from reality and design. During the process I would think over and over again of whether “this part” or “that part” of design will make the overall looks better or is unnecessary.
- Did your project come out the way you intended? How? Or How is it different from what you expected, and why did this happen?
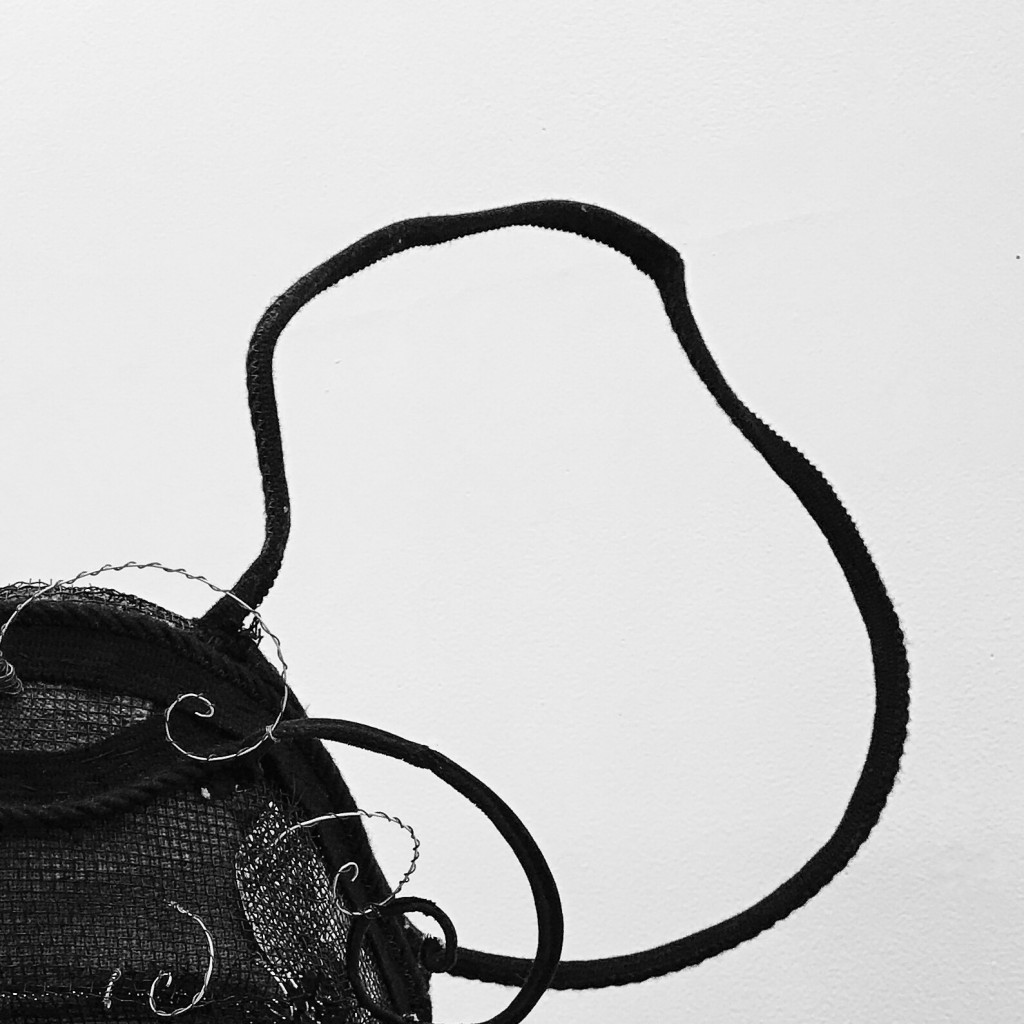
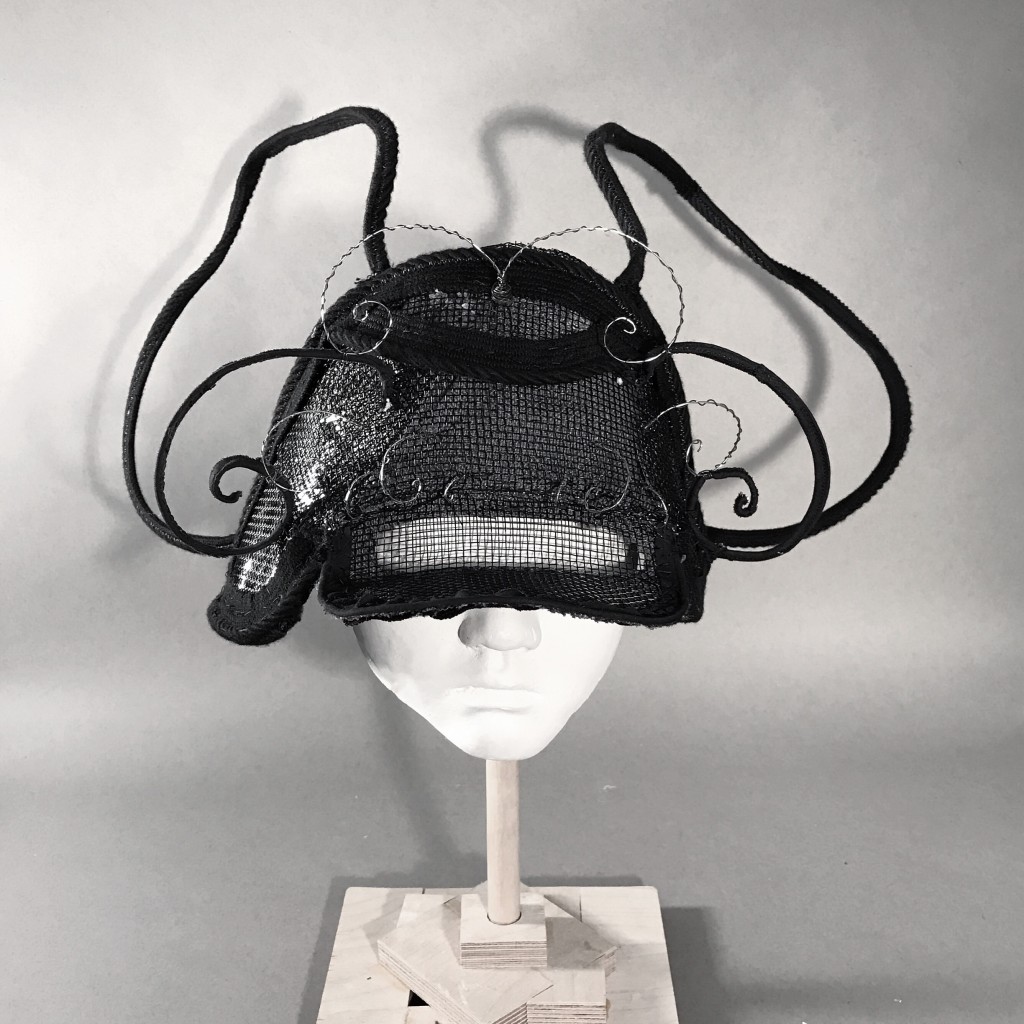
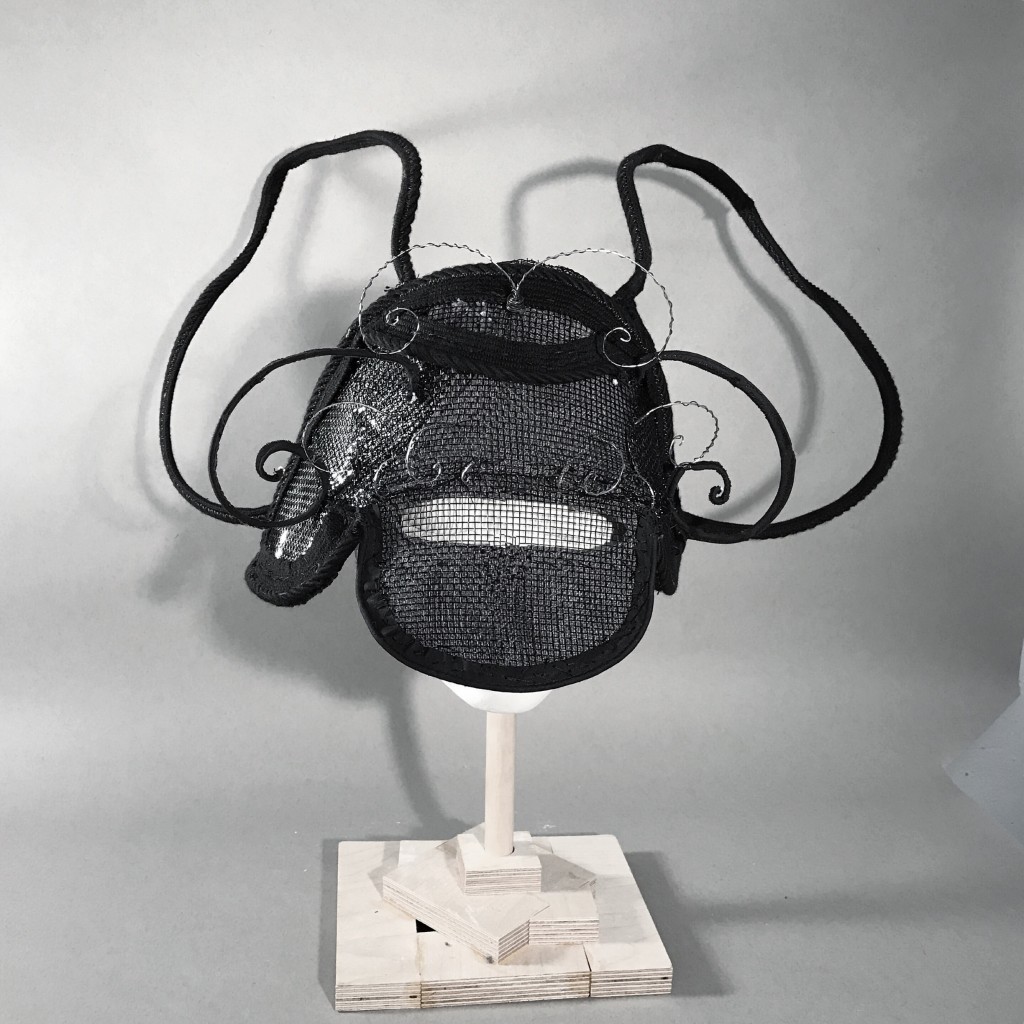
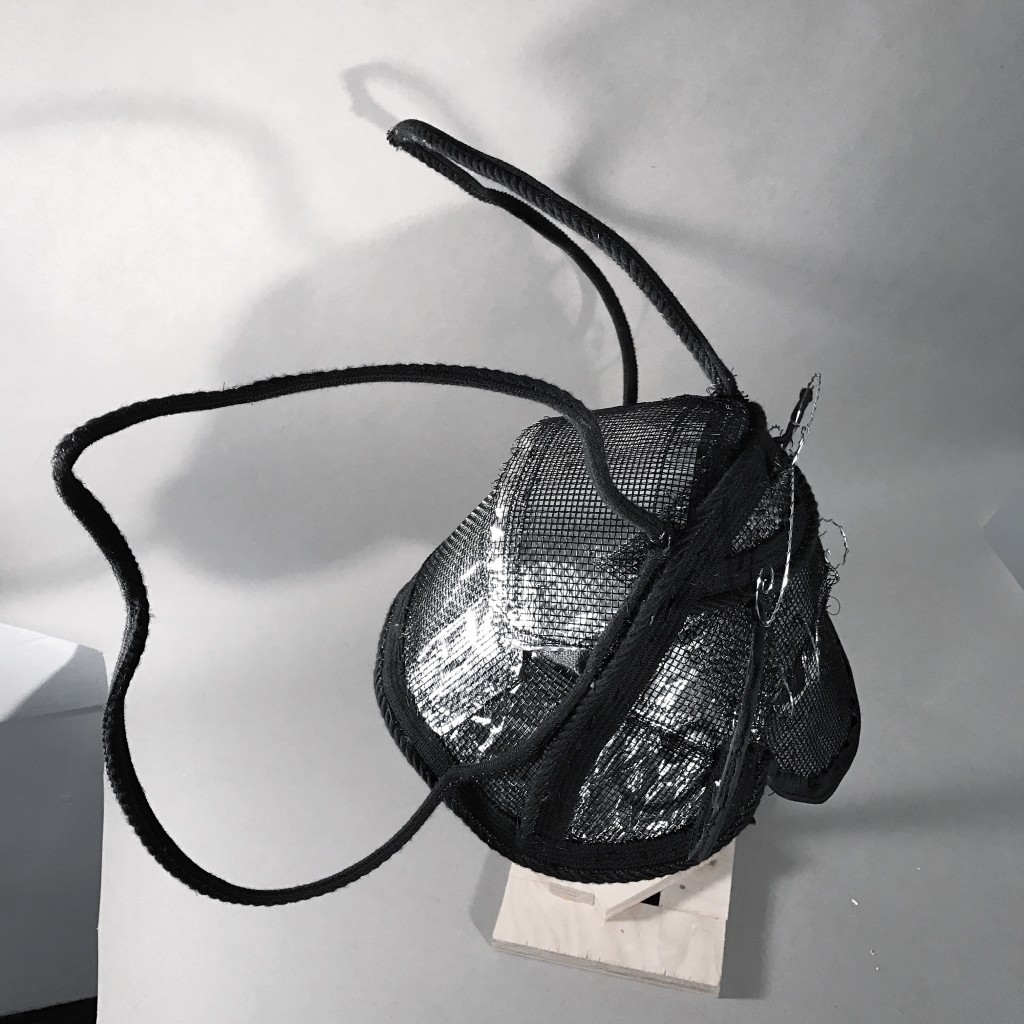
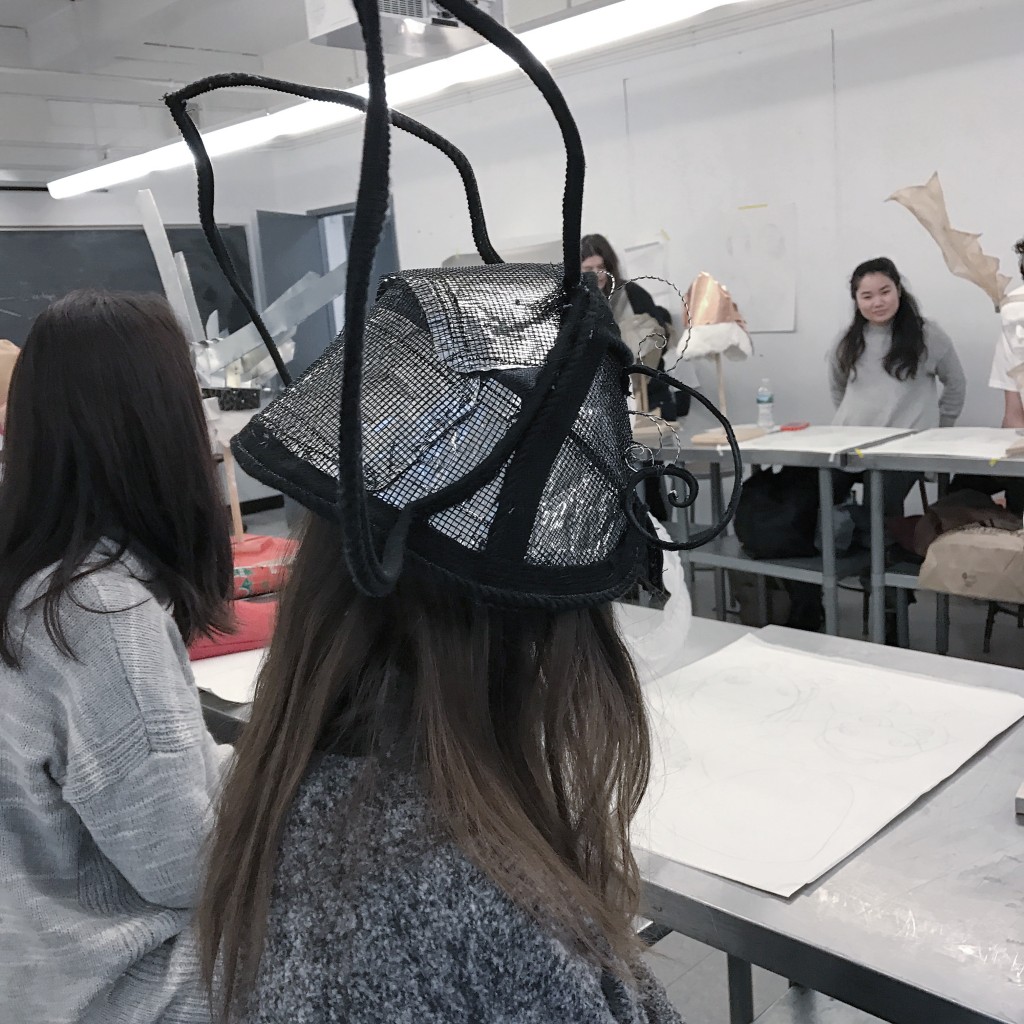
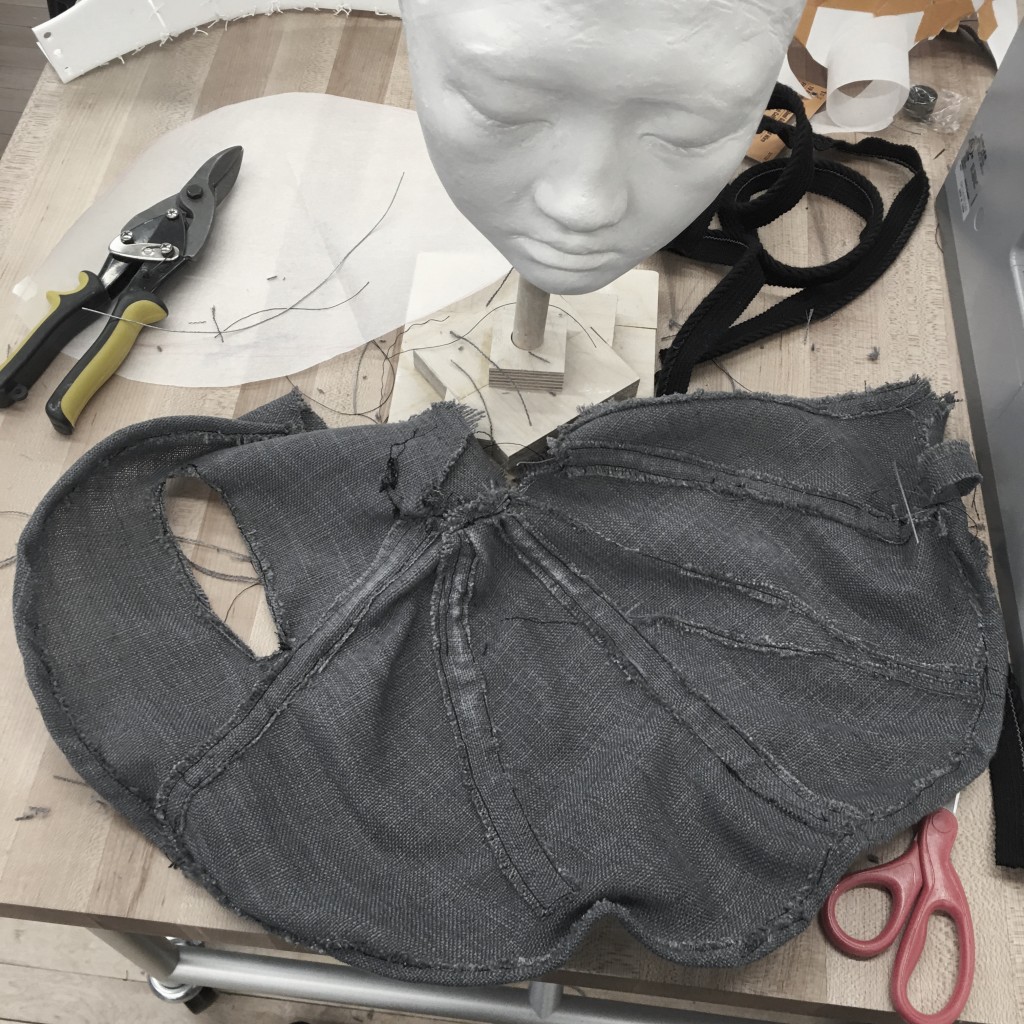
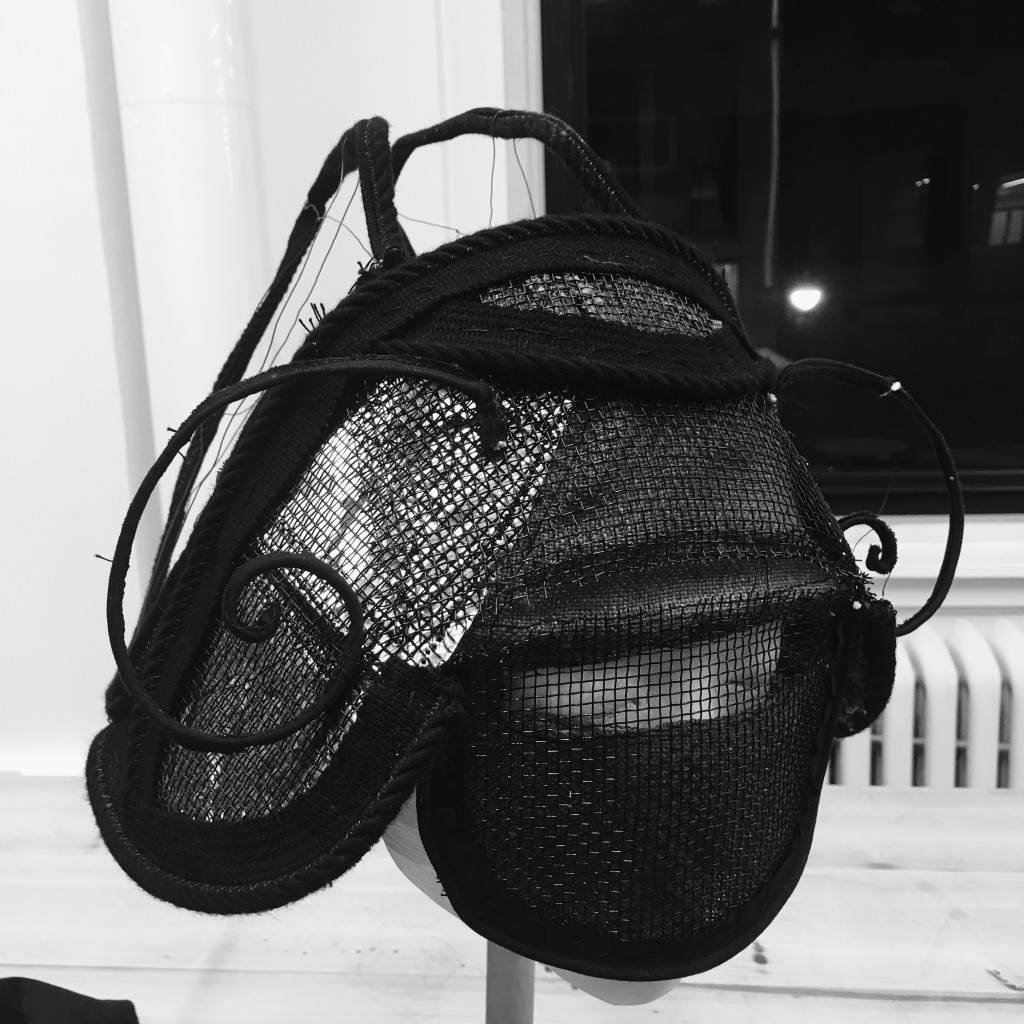
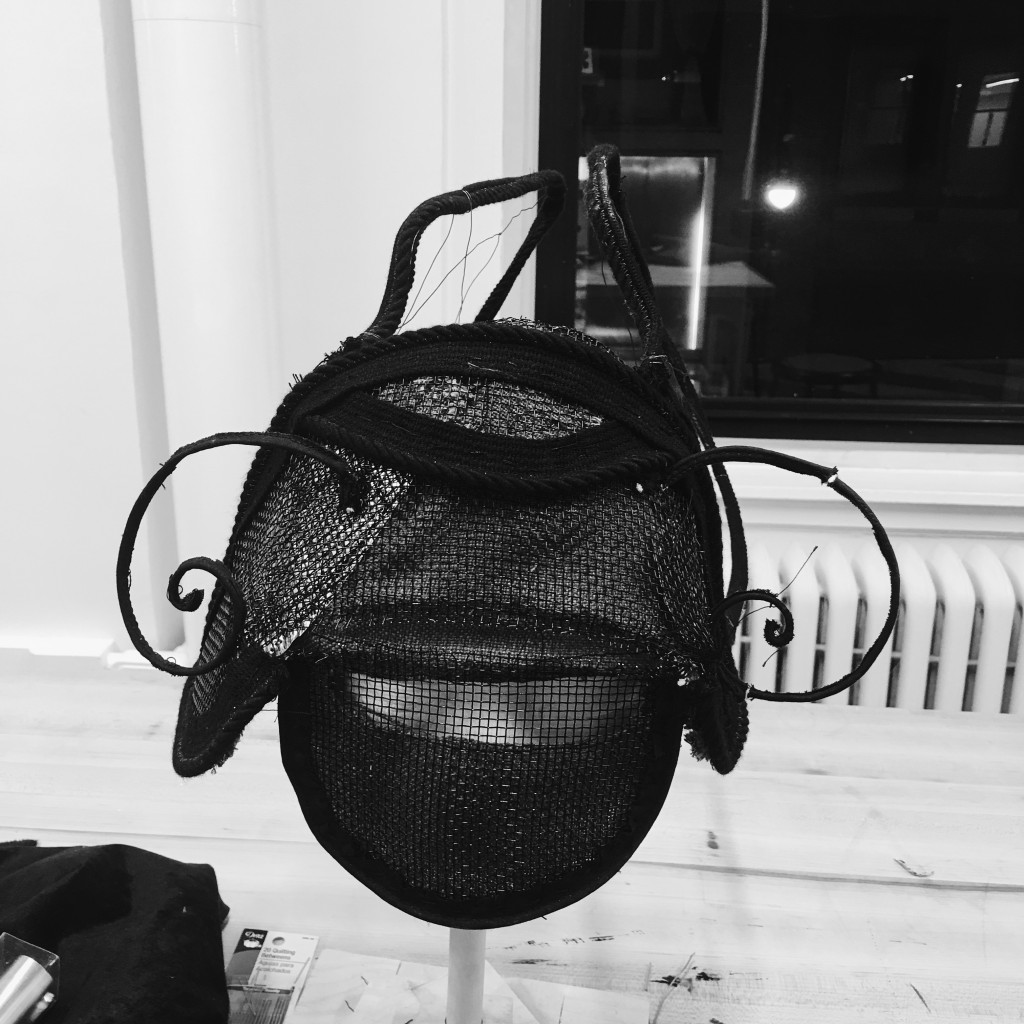
A: My project did not come out the way I intended, but I’m satisfy with the unexpected final look too. Before I started the project, I wanted to make the armet more abstract and decorative (hollow base with just some wires). Though I was unsatisfied with the wire base I made. Thus I redid a new one with fabric and sheet iron on top of it, which made it looks more protective and practical.
- Which new tools and equipment did you use for this project?
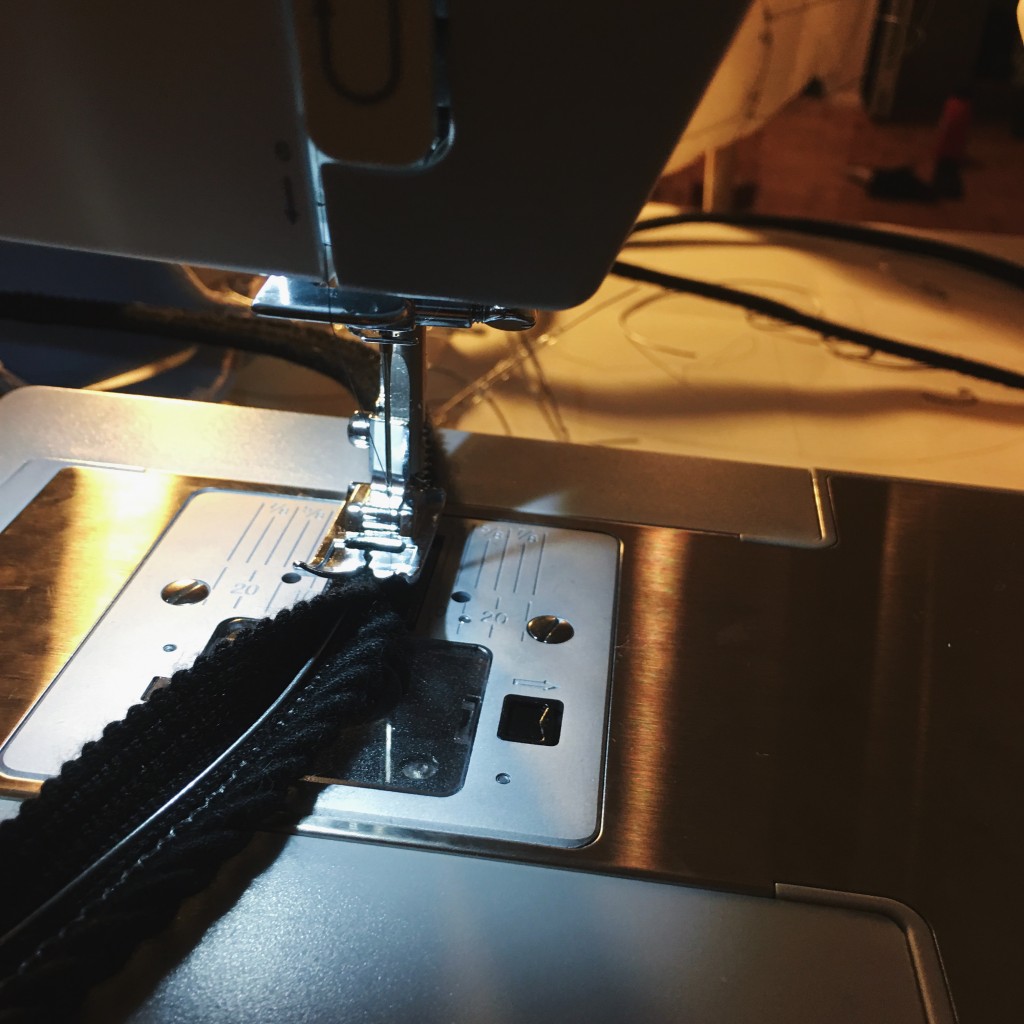
A: Sewing machine
- Which tools were used for a previous project, but you were able to apply your knowledge to this project?
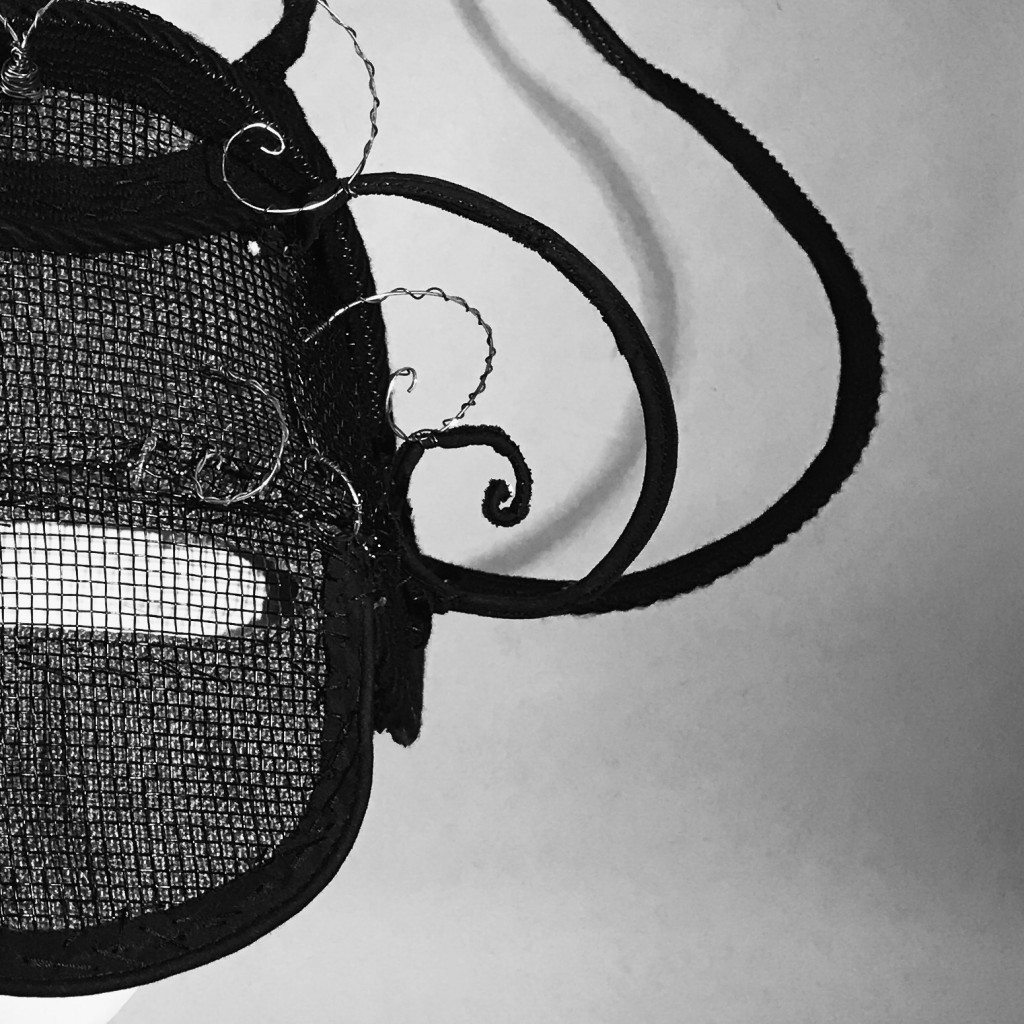
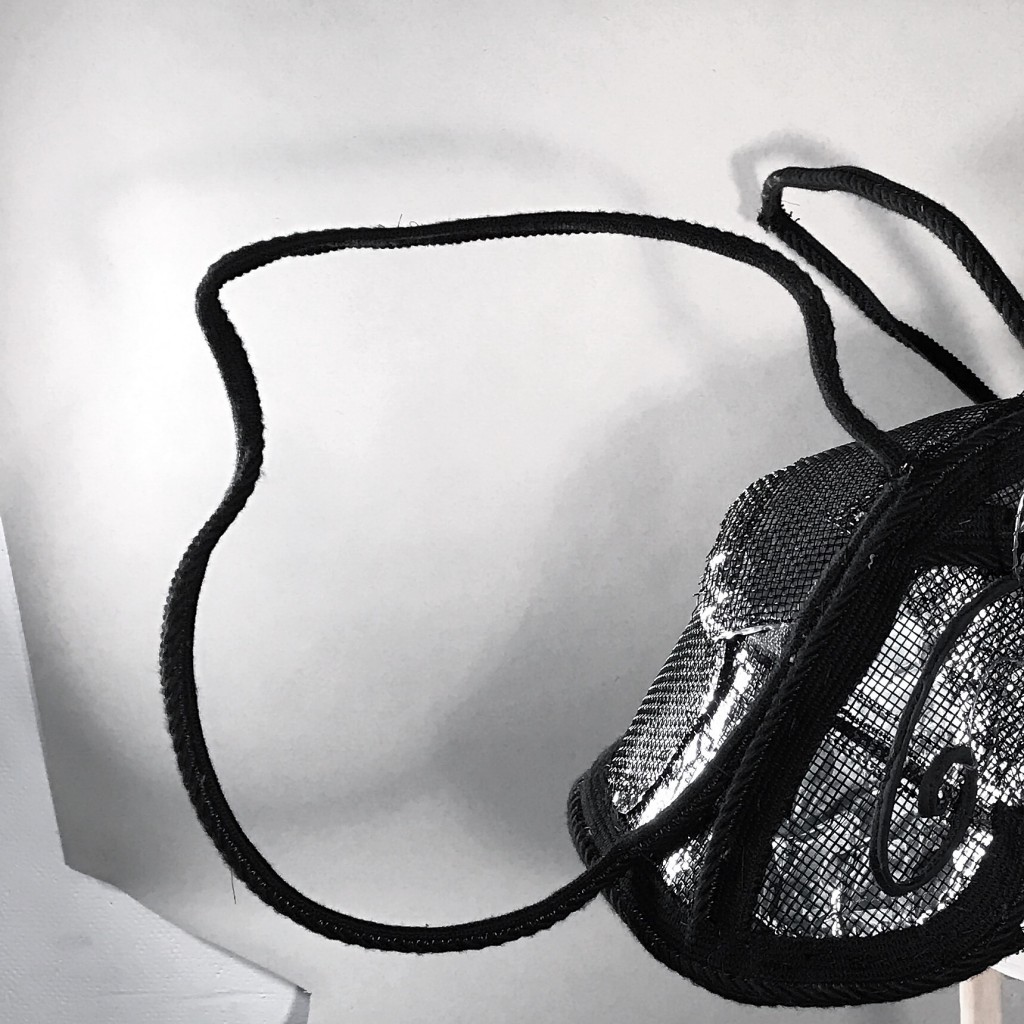
A: Wire, which I used to link and make the base of the armet.
- What materials were new to you?
A: Kinds of fabrics, sheet iron, sheet wires.
- What did you learn about materials and how they relate to each other through this project?
A: It was really interesting to me to combine multiple materials together. I found enjoyment during the process of think wisely and try daringly while using limited materials. I had several disappointments and “almost give up” feeling during the process because it was super ugly and I thought it would be no way to recap. Though I just kept trying and dig ways to improve the look.
- What was the easiest part of this project? The most enjoyable? The most challenging?
A: The easiest part was sewing flat fabrics, what turned out difficult was the part I couldn’t use sewing machine, where I linked the edges and used rope to modify edges. It took me amount of time because the string always got stuck in the sheet wires. And because this was my first time get in touch with sewing, there were many flaws which I dig ways to embellish and eliminate them.
- What did you learn most about YOURSELF through doing this project?
A: As I said earlier, I was almost give up of the project because of how ugly it looks. But I didn’t want to turn in such an ugly project, thus I racked my brain and did whatever I can to make the project better. I spent my whole weekend in the making center from noon tonight. I learned the importance of insistence. I forced myself to stay in my seat and think about how to make it better. I think the outcome came from that I gave myself only one choice: I have to make it better. And I did it.
4. PROCESS: Pictures you took of your project in progress – you can insert these into appropriate areas in your interview, for example – you can also LINK this part of your post to your previous post(s) on this project.
My Head and I: https://portfolio.newschool.edu/wongy8050/2016/10/25/my-head-and-i/
Proposal and Process: https://portfolio.newschool.edu/wongy8050/2016/10/16/final-proj-2/
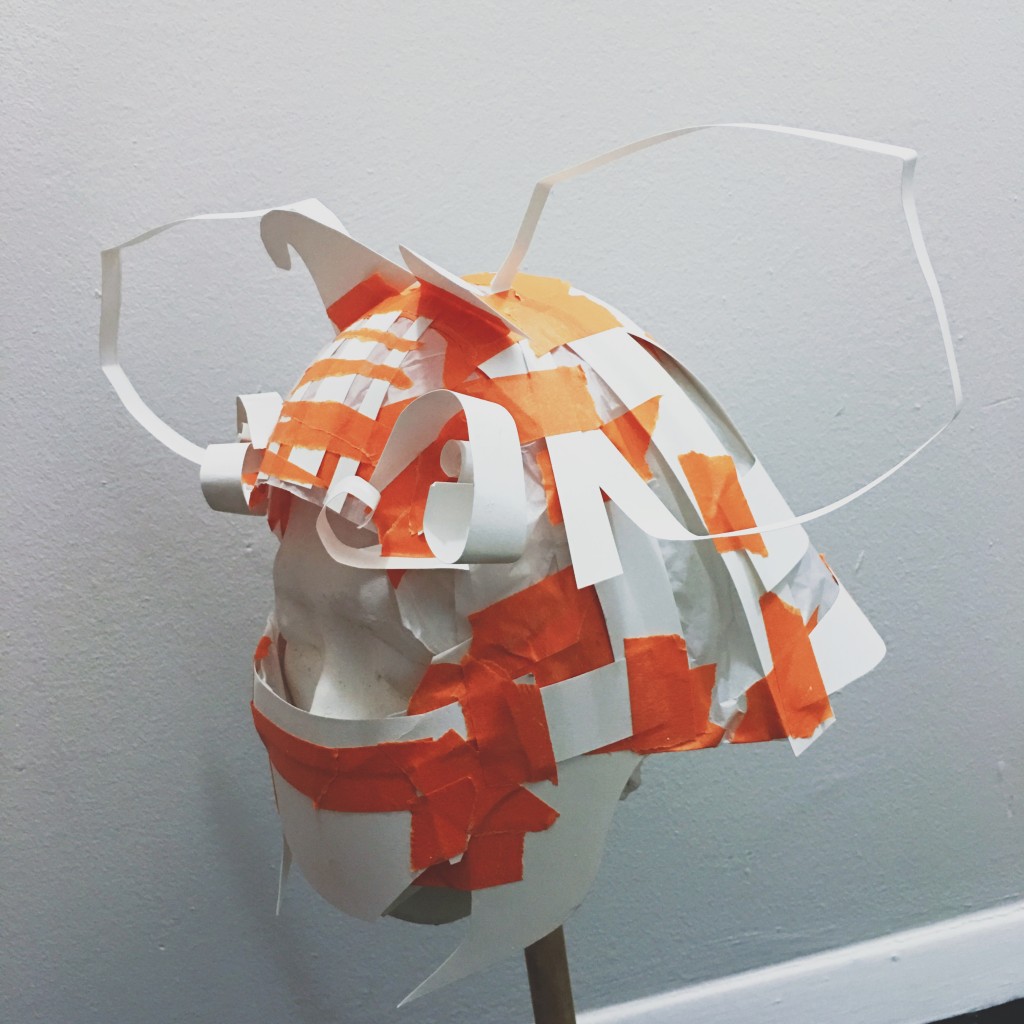
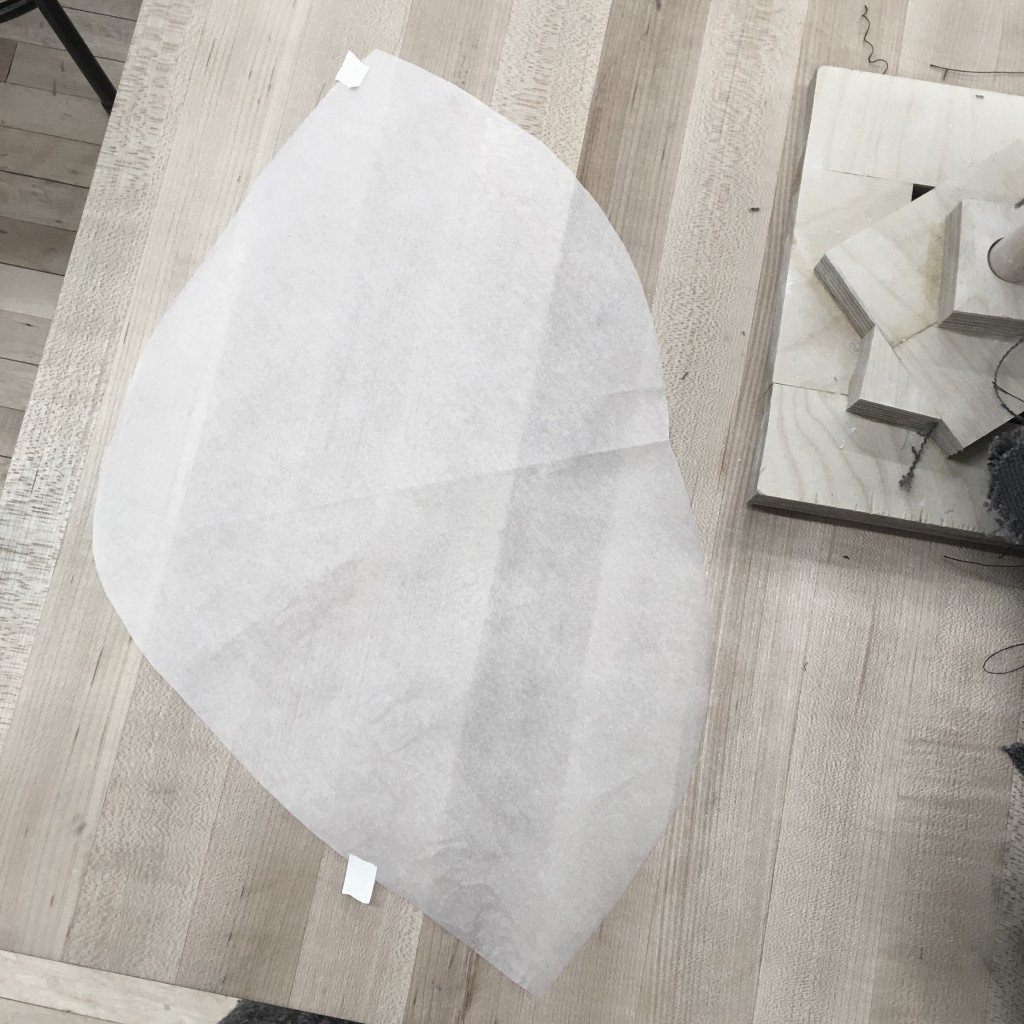
- How did you/we start with the paper model? INCLUDE MODEL PICS
A: I just created the basic structure of my design.

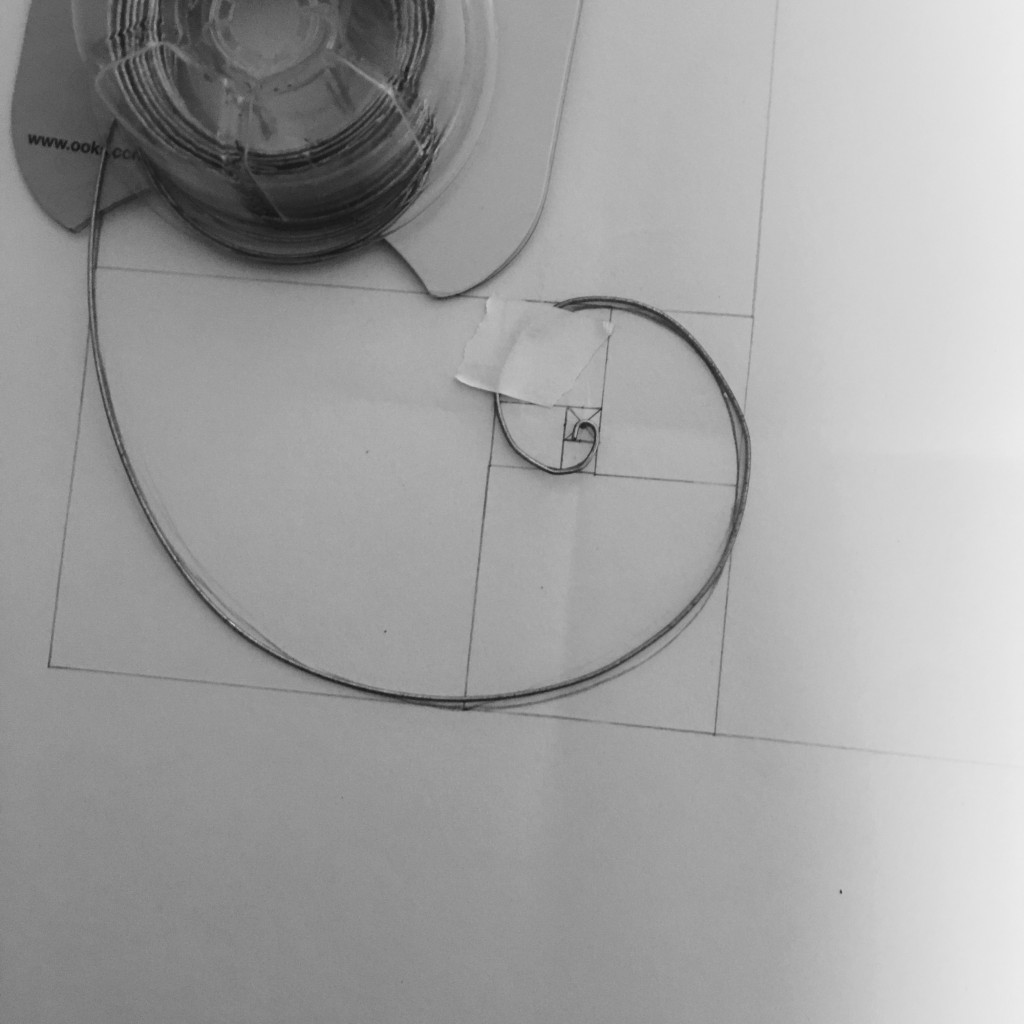
- Where did we go from there with the patterns? INCLUDE PATTERN PICS
First picture is my fibonacci sequence. Second pic is the base of my armet.
- What did you learn/discover about materials and processes? INCLUDE CONSTRUCTION PICS
A: I discovered the great combinations by using different materials.
THINGS TO CONSIDER
Interview Sheet: Esme’s project