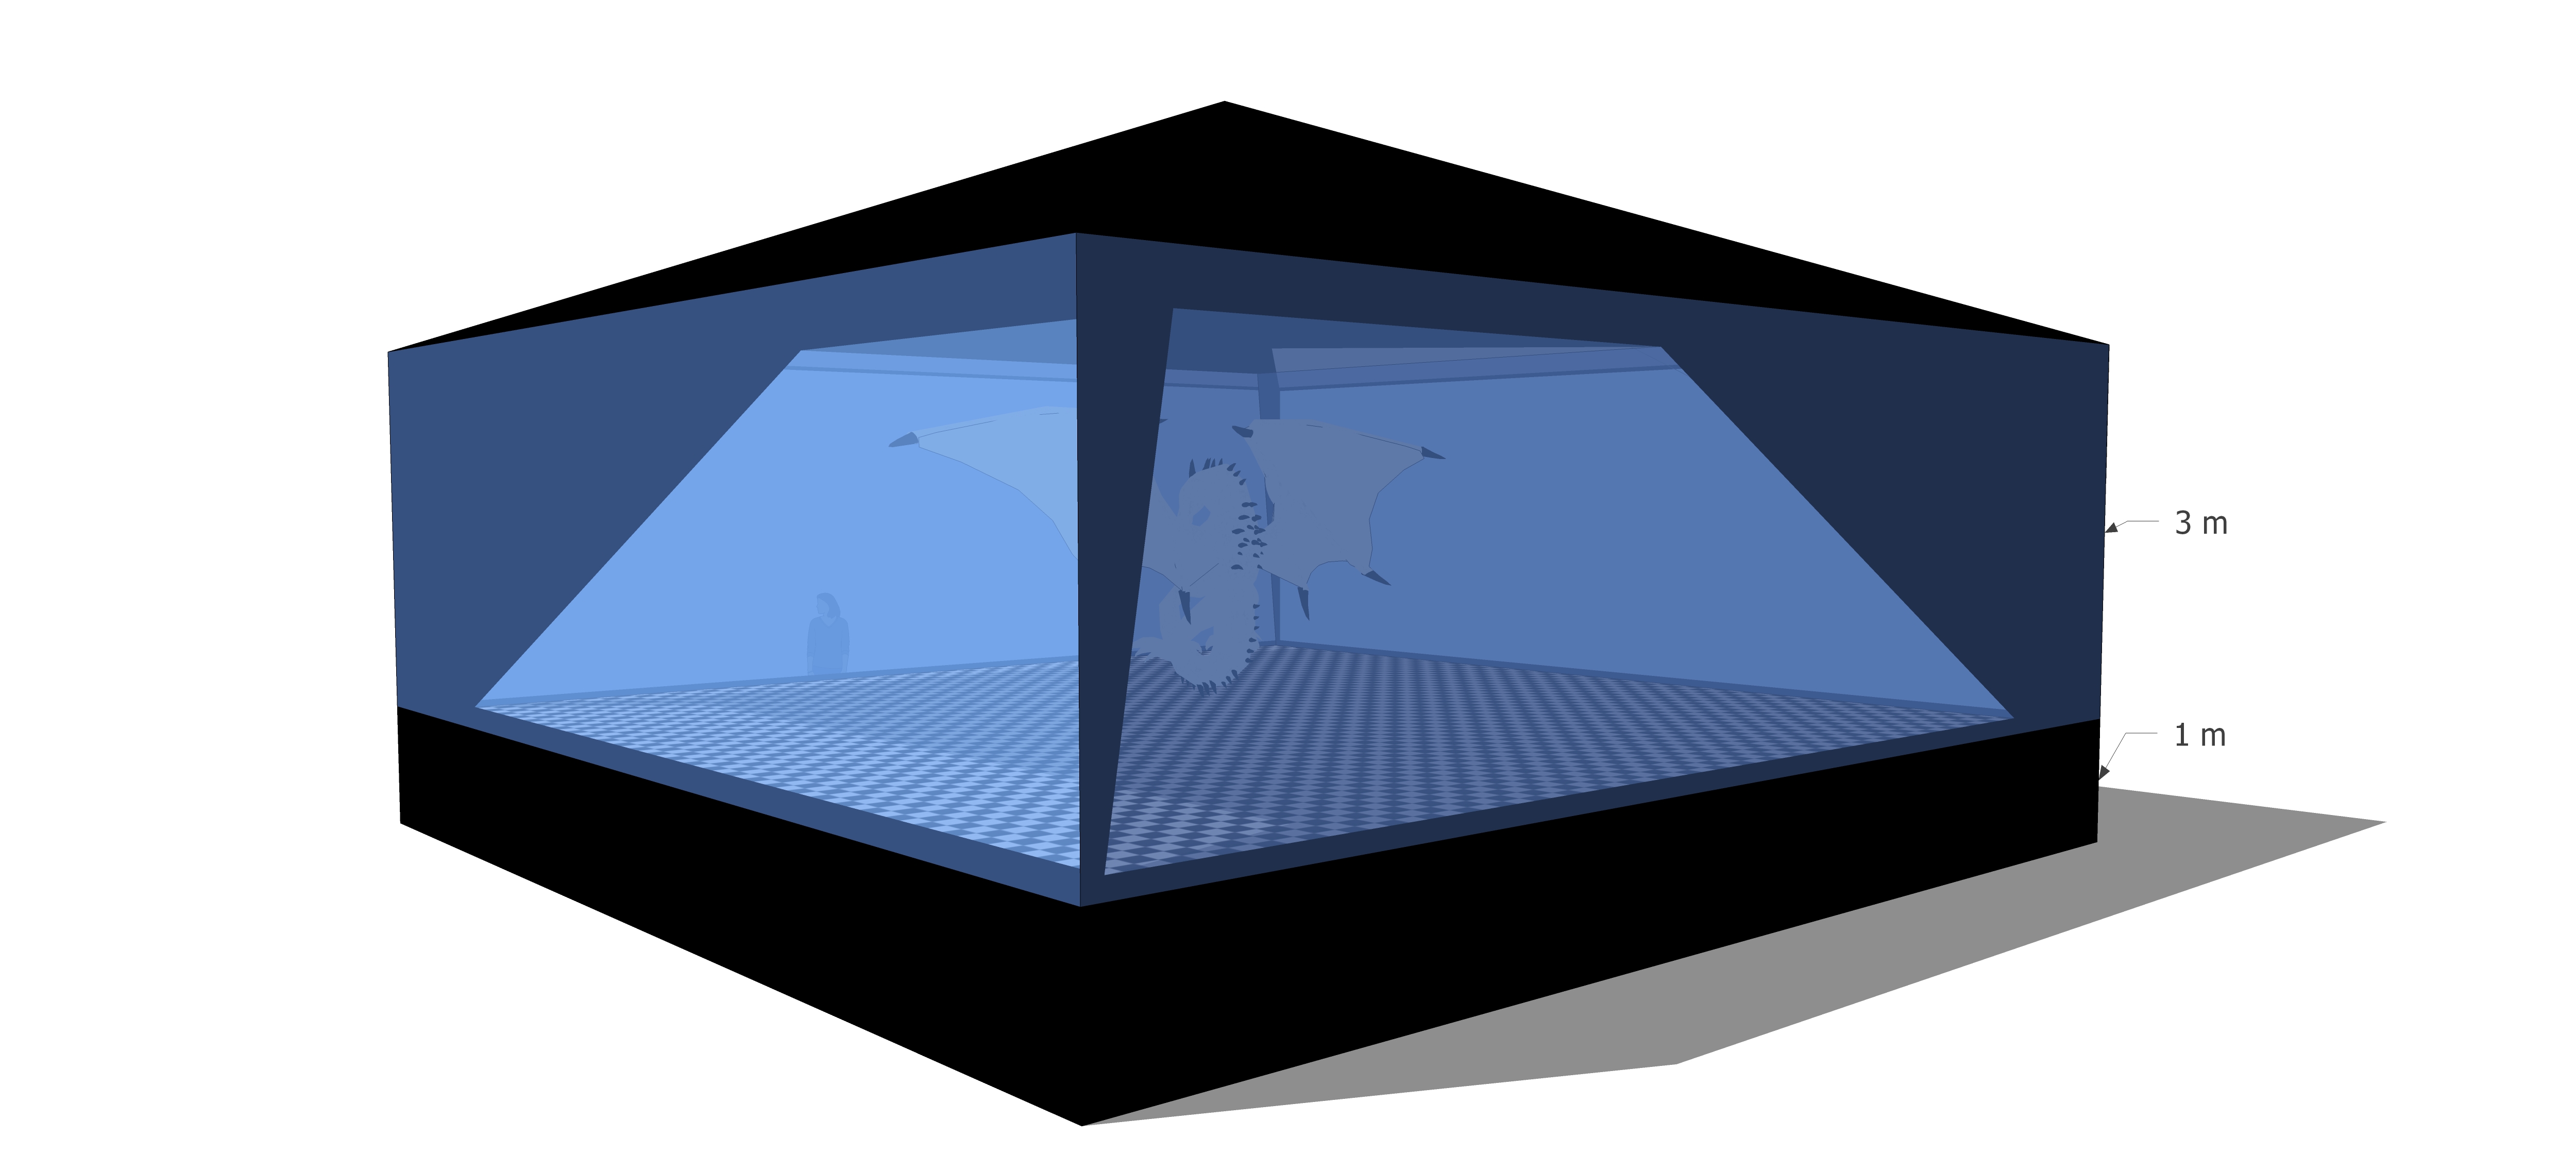

Attempted to work with the xbox 360 kinext model 1414 but without luck. Upgrading to yosemite fucked up the whole operation. Maybe in a few months a hacker will create support for kinect 1414 on the new osx? will check back later… to be continued…


Augmented reality became reality when we used an awesome Japanese processing library called Nyar4psg. In order to use this library we had to run processing version 1.5 because it hasn’t been updated yet. Essentially, the library detects pixel clusters of the same color to find a black box, called the marker. On a sheet of paper, you must draw an asymmetrical shape, then take a photo of that image or scan it in. Kyle suggested this handy website http://flash.tarotaro.org/ar/MGO2.swf
We made several sizes of the marker, 8X8, 16X16, 32X32, 64X64. Those images are loaded into the processing sketch so that it can determine if the shape inside of the marker is a match. When it matches, a 3D cube appears in perspective on top of the marker.

Augmented Reality in Processing – Nyar4 Library Test from Yumeng Wang on Vimeo.
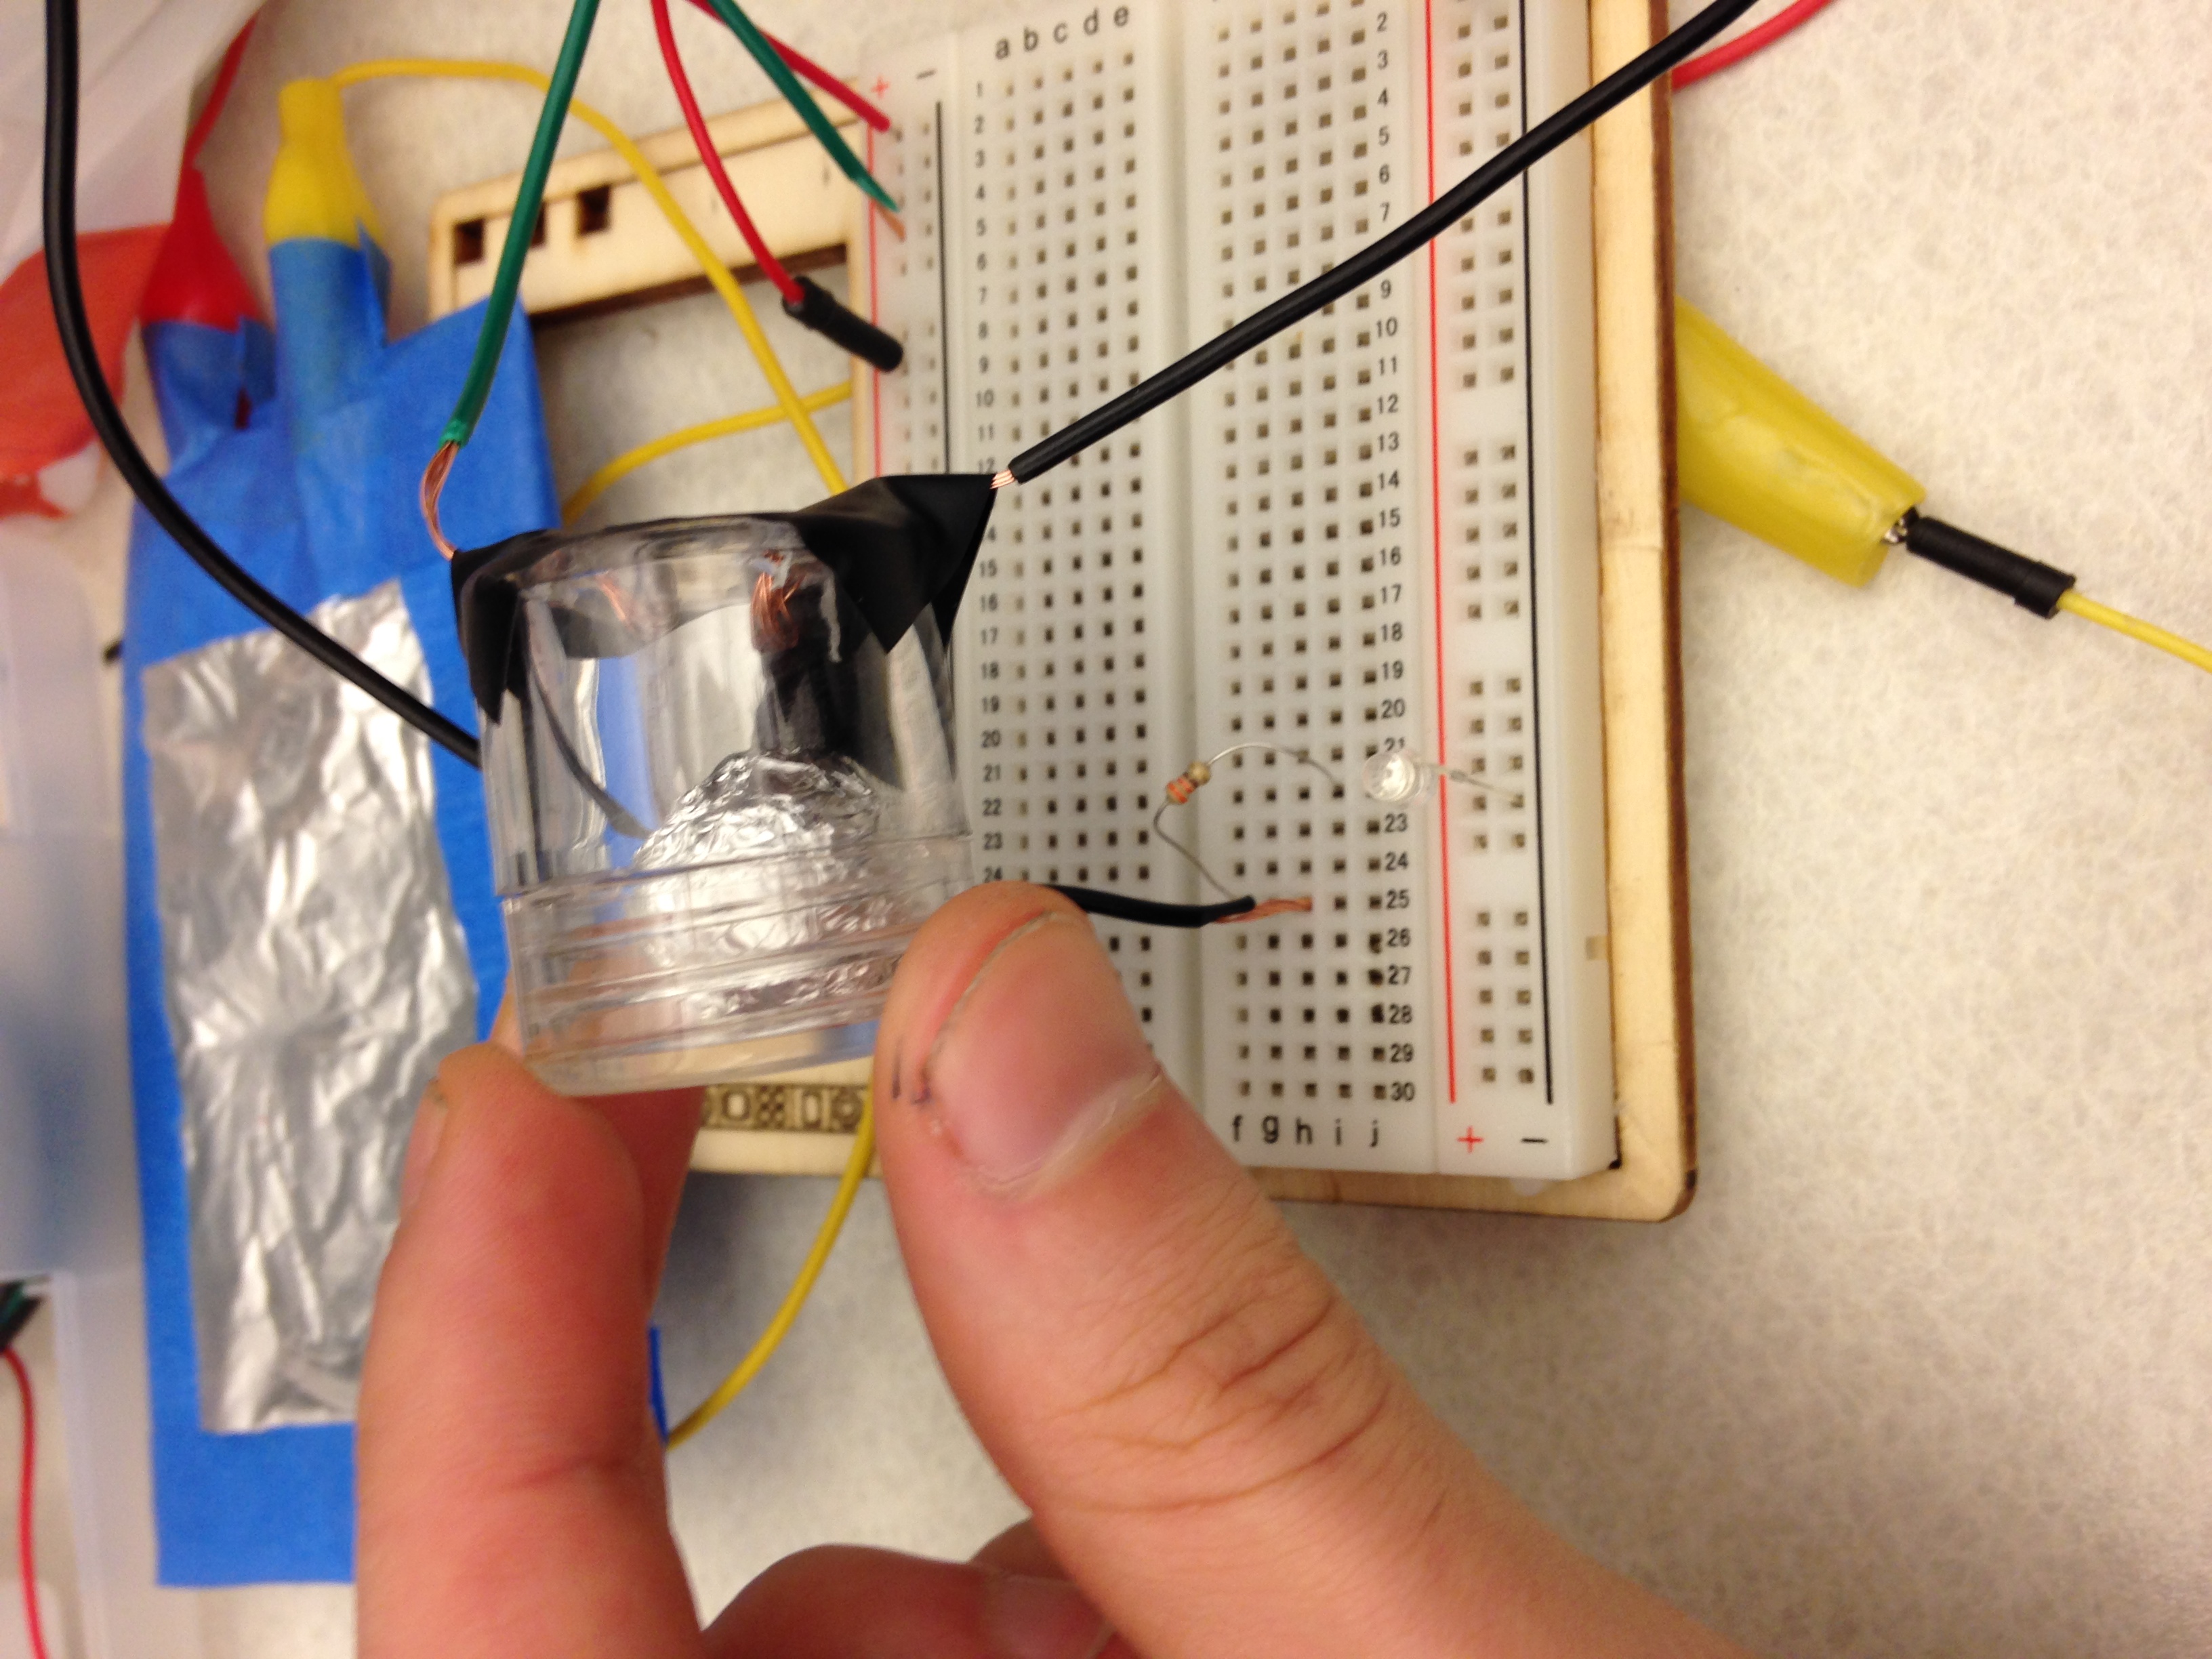
A simple, yet effective DIY tilt sensor!
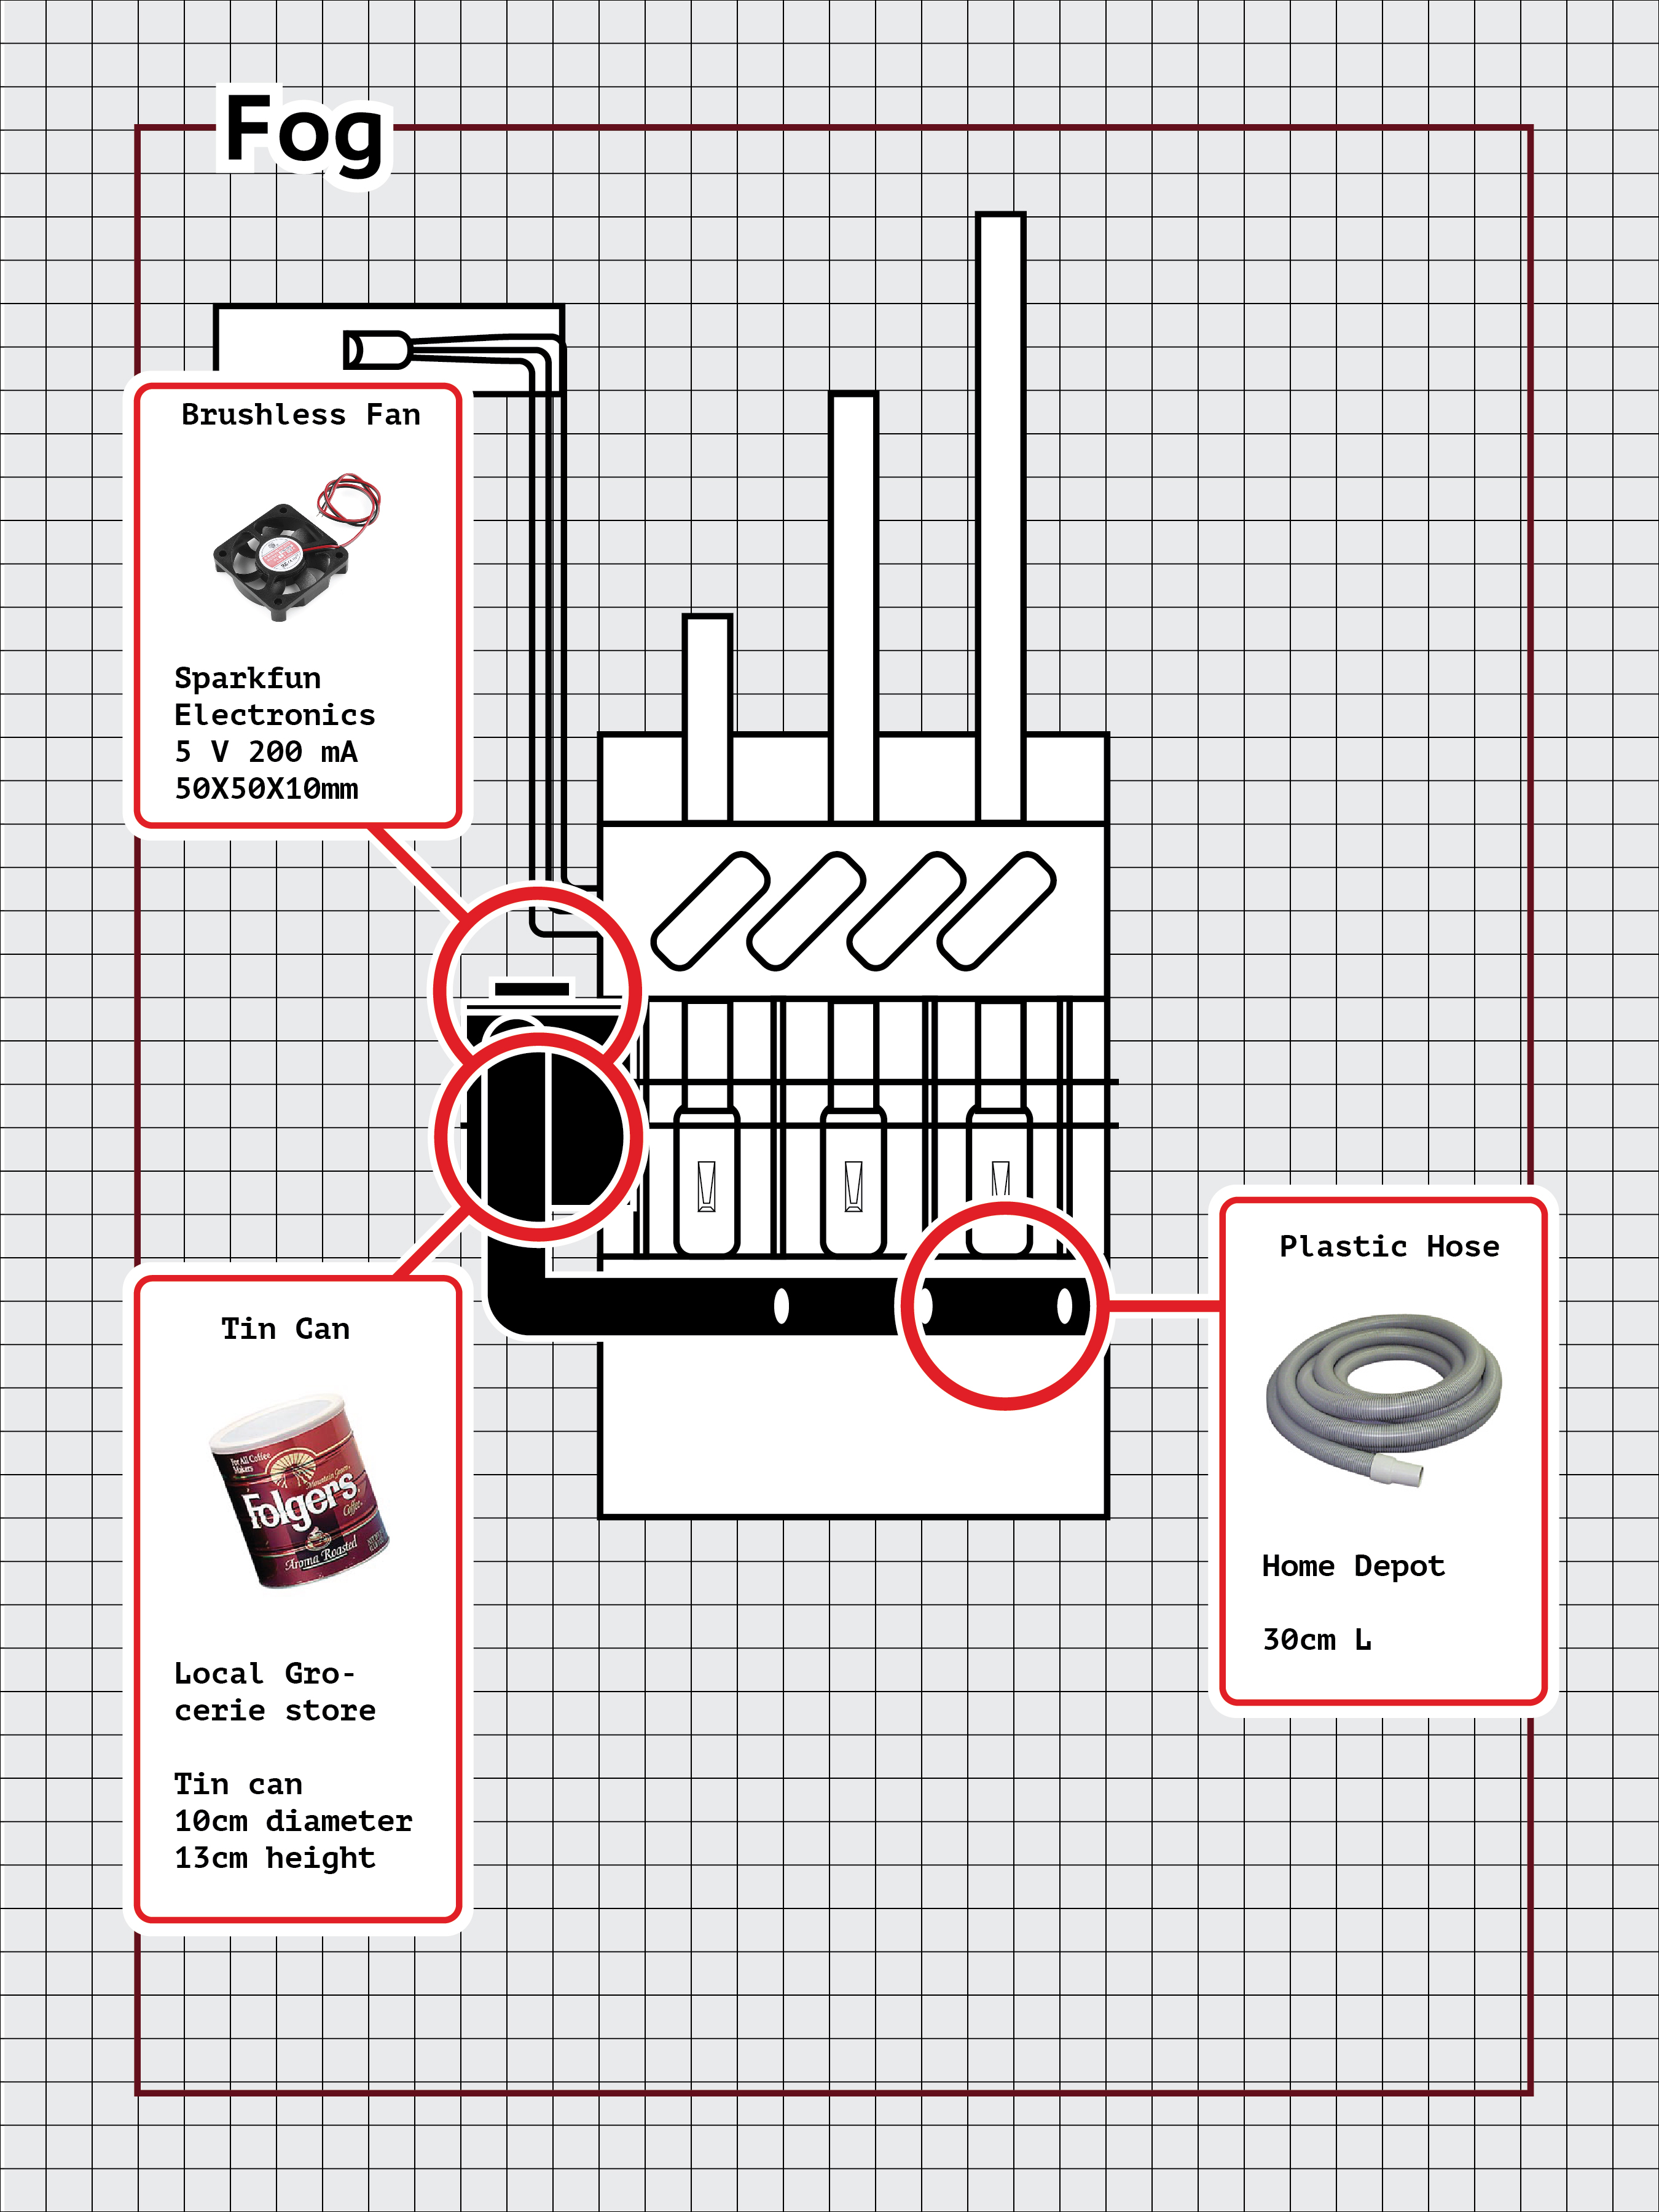
Supplies:
Tin foil, small plastic cylinder, breadboard, led, 220 ohm resistor, drill w/ 1/8 in bit, wire, electric tape, marble.
Instructions:
Take the cylindrical container and drill 4 holes in the bottom, like a button. Cut two 1 foot lengths of wire. Strip about 2 – 3 inches off the ends of both wires. Thread the wire through two holes to make a U shape. Thread the other wire through the opposite available holes. Wrap a marble with tin foil and place the marble inside of the container. Cap the container. Tape the wire that comes out of the bottom, making sure to separate each wire from the other. No short circuits! Set up an LED circuit where the negative side is interrupted by the DIY tilt sensor. Finally, utilize the power of gravity and tilt that switch so the marble goes in between the two loops that were made. Watch the magic happen!


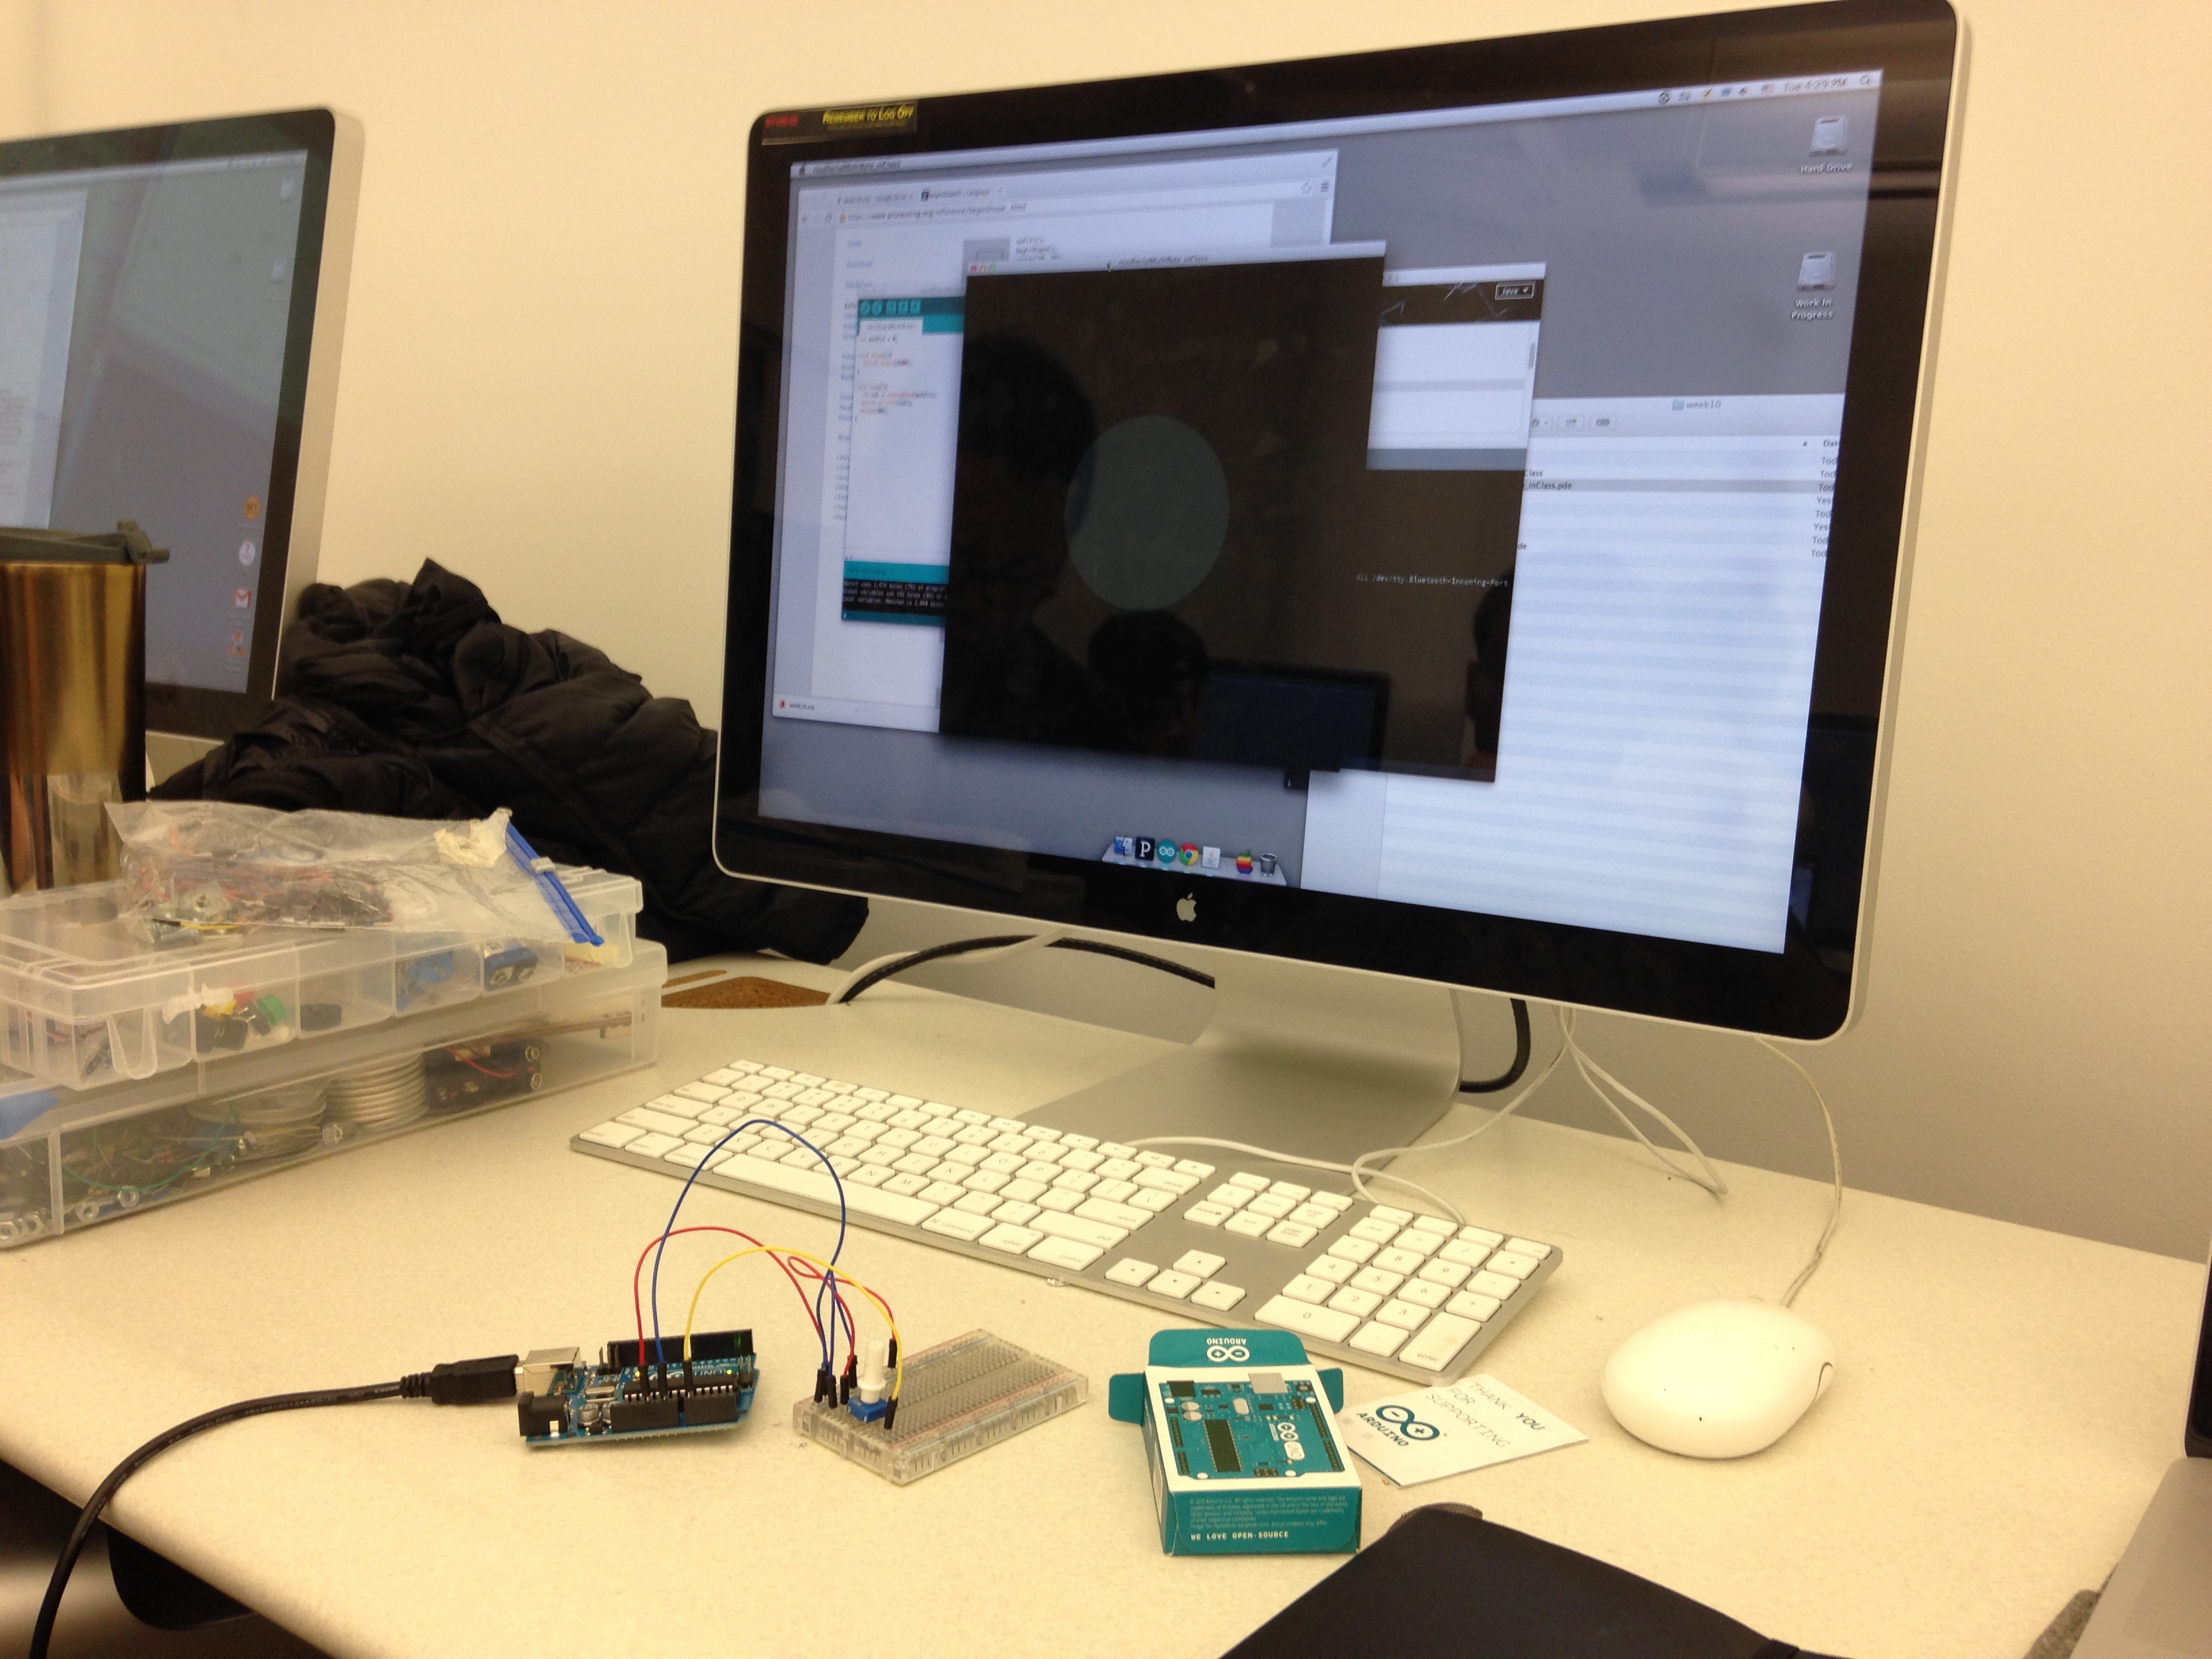
It has been a while since my last post because my phone, which was my only tool for documentation, was broken.
Basically where I left off was trying to figure out how to produce sound. There were a number of prototypes that I went through. Cardboard, paper, and finally PVC tubing. There are many examples of PVC music projects. Probably the most famous example is the blue man group’s use of PVC in their performances. PVC was the best option because it is relatively cheap (I got 10 feet for under 5 dollars from Home Depot!). PVC is strong, easily cuttable, and produces sound, all great characteristics for the project.
The length of the tube, I found out, is responsible for producing different tones. A longer pipe will produce a lower frequency vibrations which result in a lower tone and a shorter pipe will produce higher frequency vibrations which result in a higher tone. I cut three sections from my PVC pipe, each varying by about 6 inches.
After cutting the PVC pipes to size, I modified a 3D flue pipe from thingiverse user Japa: http://www.thingiverse.com/thing:35880 by sizing it to fit my 1 inch diameter PVC pipes. I also modified the mouth of the flue pipe to a diameter of 55mm to fit on the squirrel cage fan.
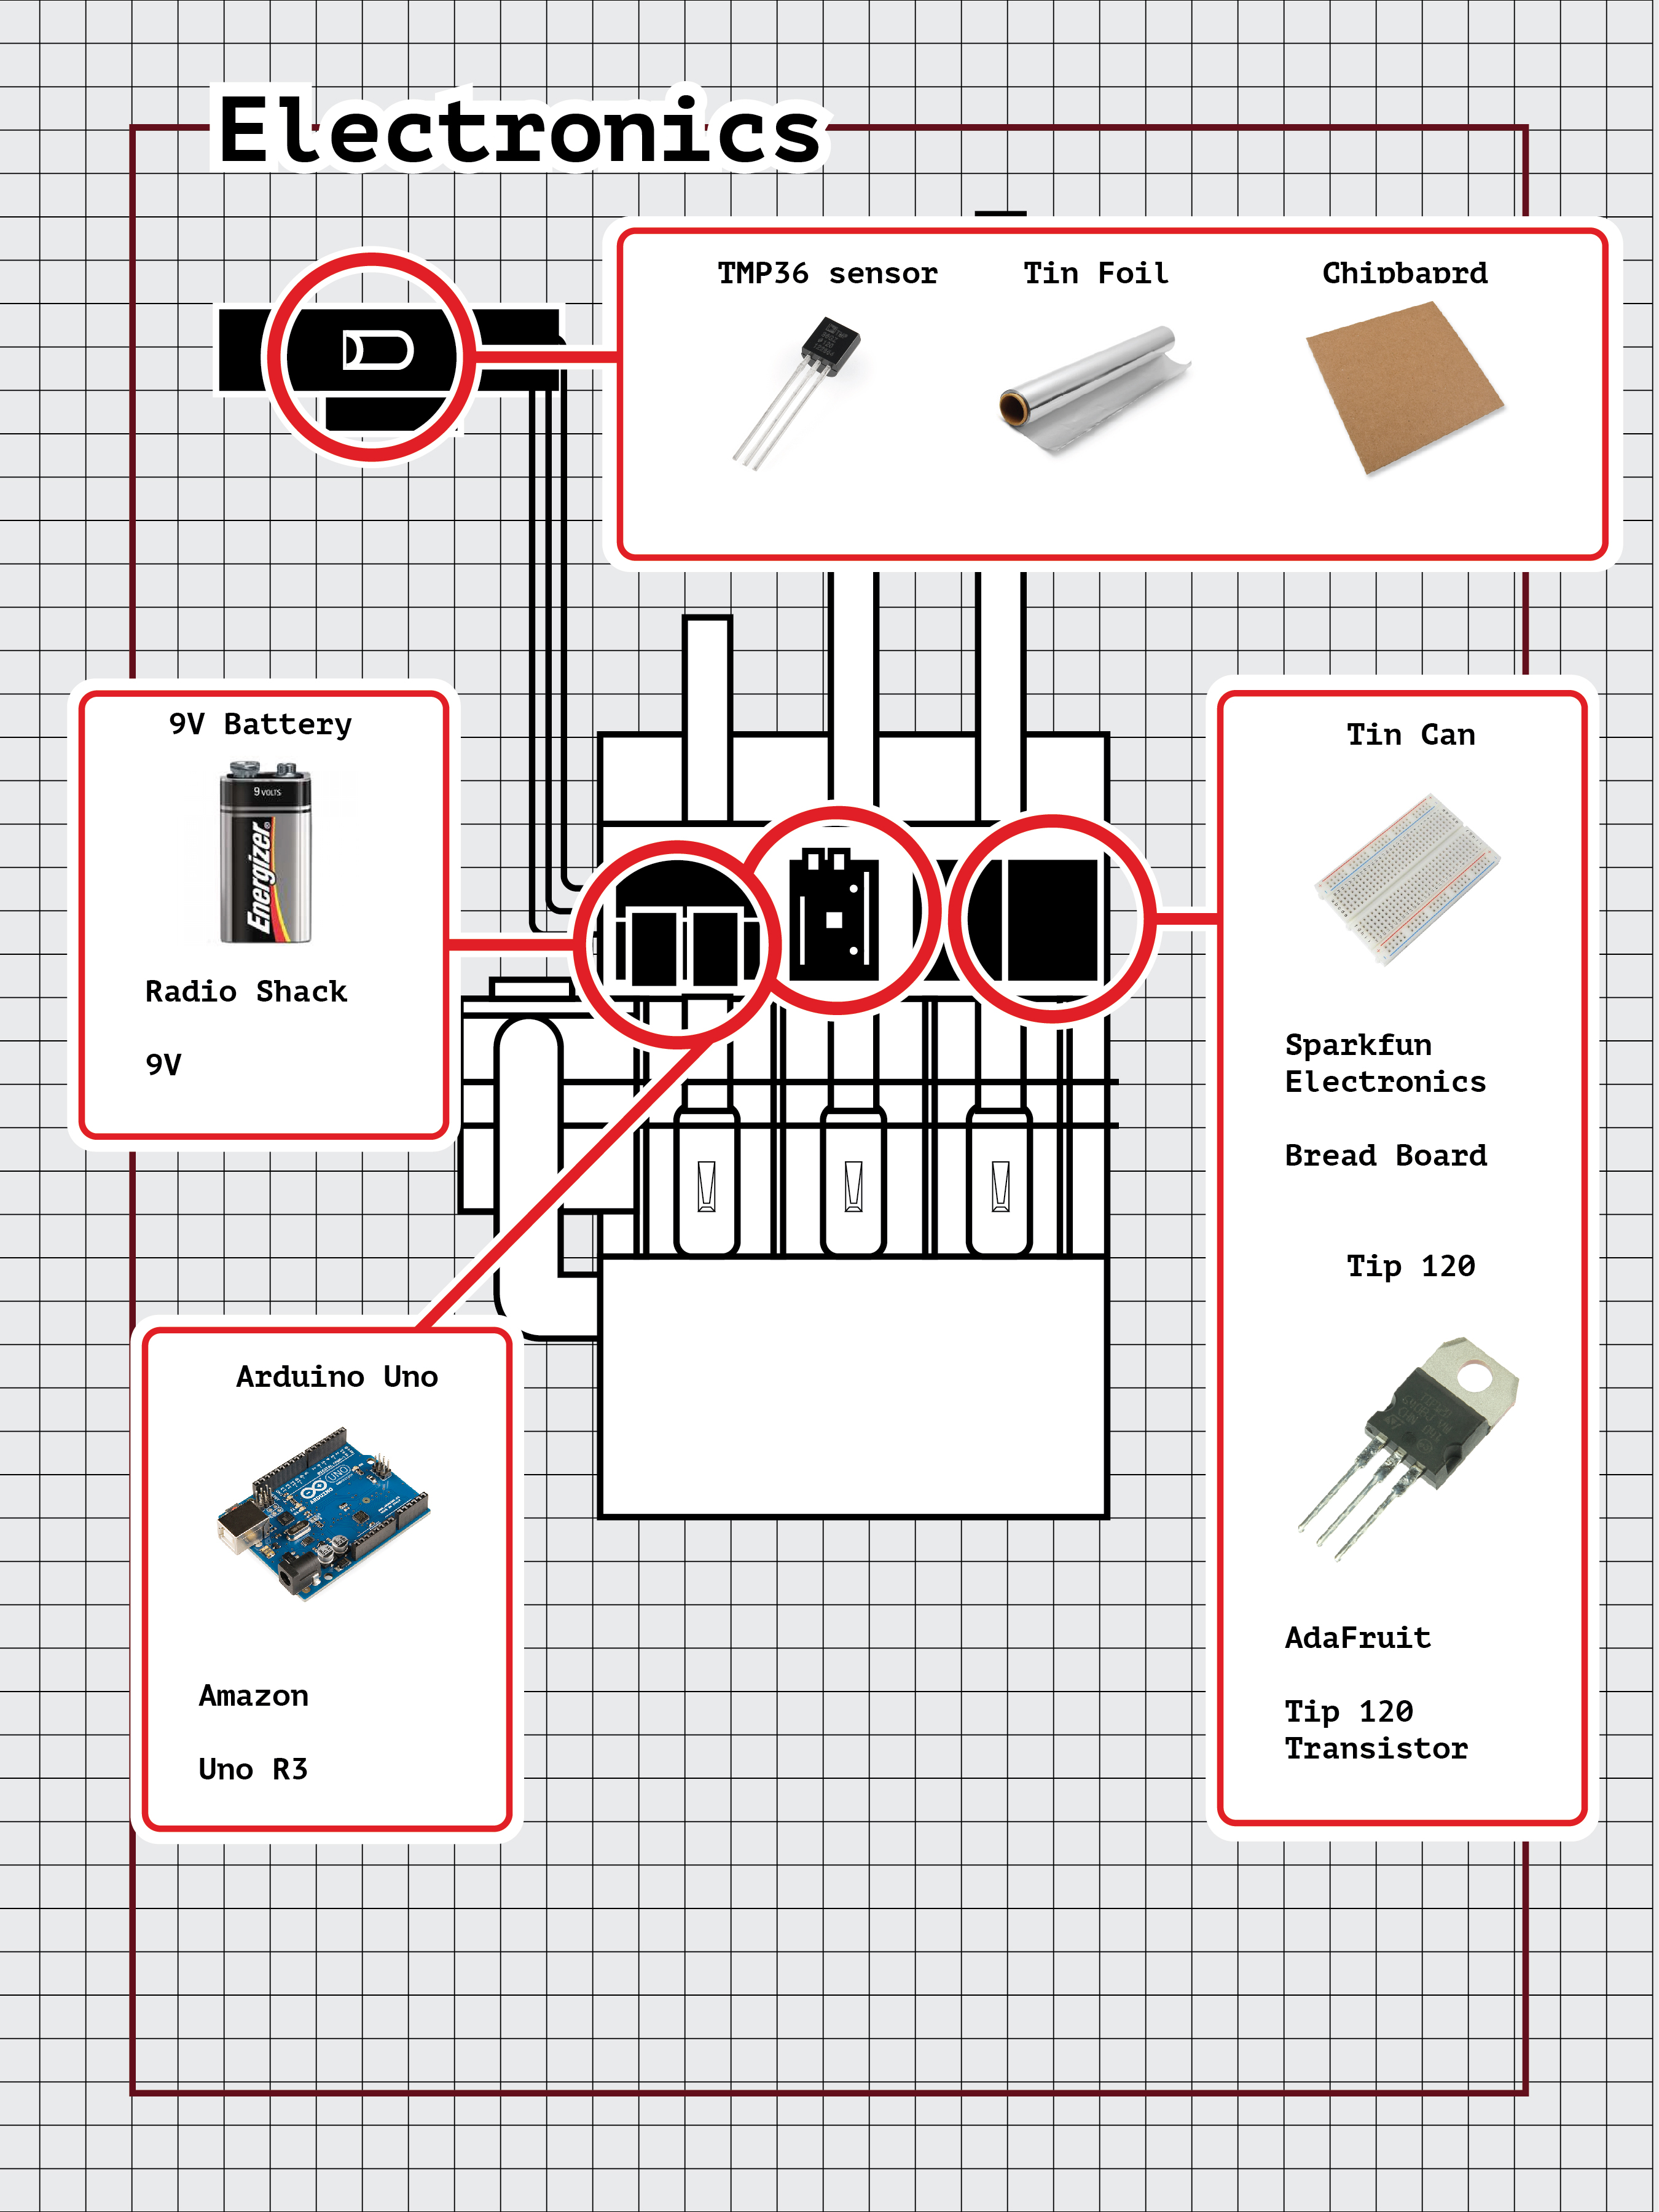
A squirrel cage purchased from sparkfun: https://www.sparkfun.com/products/11270 and attached to two 9V batteries produced enough pressure to create sound from the flue.
After successfully producing sound, I designed and built and enclosure separated by three sections. Section 1 contains the fans, section 2 contains the Arduino, and section 3 contains the PVC pipe.