The Polyhedra Remix assignment was split into two sections, or rather, into two phases.
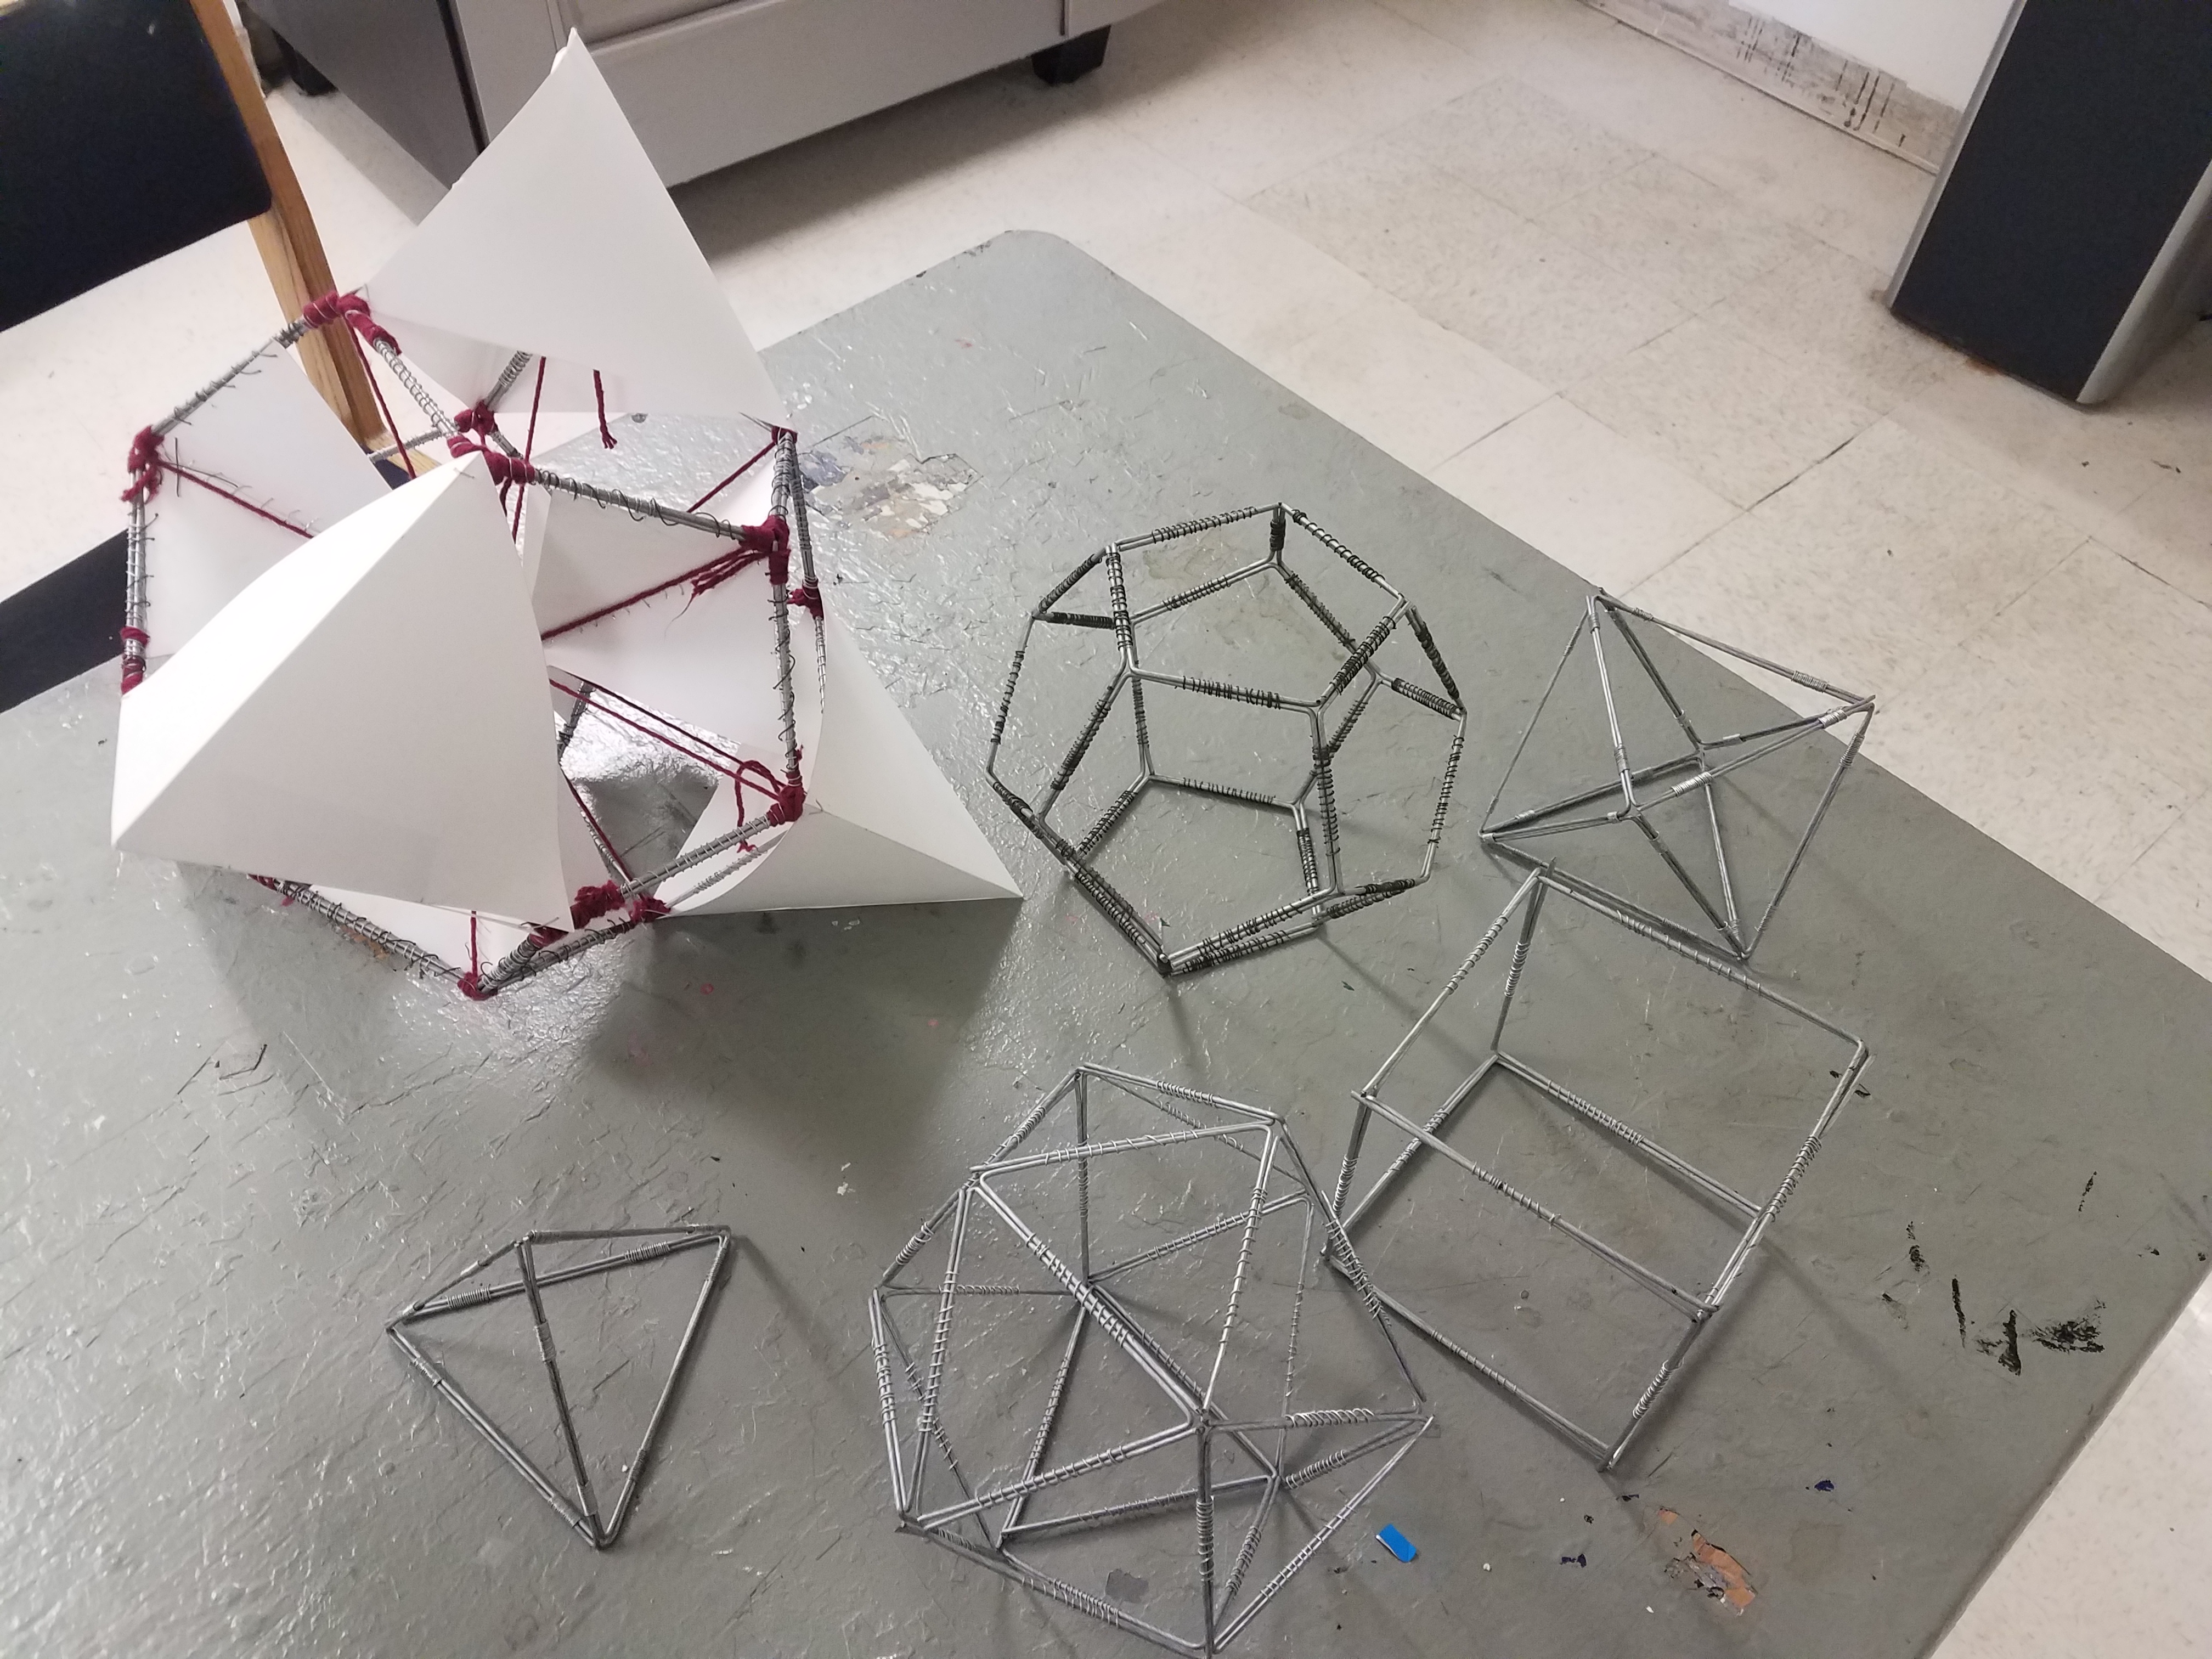
For the first section of this assignment, we were tasked with creating wire frame polyhedron structures of varying sizes and vertices. Specifically we were instructed to construct a tetrahedron, a hexahedron, an octahedron, a dodecahedron, and an icosahedron out of a thick gauged, galvanized steel wire (I switched in between 14 gauge and 12 gauge). Since the assignment called for a minimum of 3 inches per edge, I decided to construct each polyhedron with a 4 inch edge.
-
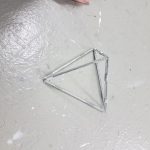
- tetrahedron (14 Gauge)
-
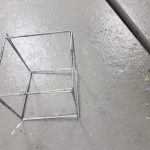
- hexahedron (12 gauge)
-

- octahedron (14 gauge)
-
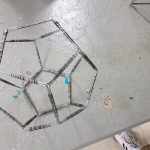
- dodecahedron (14 gauge)
-
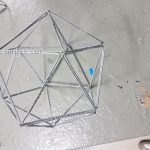
- icosahedron (14 gauge)
In terms of construction, the method of construction I used was rather simple, as I drew a measured template on paper that I would use as reference for the wire shapes.
I chose to use both 12 and 14 gauge steel wire because of the structural accuracy of the geometry. Essentially the gauge I decided to use depended on the complexity of the polyhedron.

For example, the icosahedron had the largest amount of individual wire shapes, making it difficult to construct out of the thicker 12 gauge. This caused for some polyhedrons to be less sturdy than others, as the ones constructed out of 14 gauge would bend out of shape a lot easier compared to the ones constructed out of 12 gauge.
This is one of the reasons why I chose the dodecahedron as the shape to focus on, as I wanted my final product to have a level of complexity that was greater than say a hexahedron or octahedron, but at the same time I wanted something that could hold up to the stellated and nested geometries of phase 2. Another reason why I picked the dodecahedron was because the assignment sheet briefly mentions that they represent spirituality or the Ether, which is an interesting concept, a shape representing something so metaphysical was personally attention grabbing.
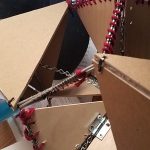
With this being said, phase two of this assignment begins with the construction of a new dodecahedron, which tasked us with adding the stellated and nested geometry around the wire frame. At first, grasping a design for the additional geometry was difficult because I couldn’t exactly picture what could fit on or in the wire frame. I started to conceptualize ideas by tying string diagonally across the center of the frame, connecting two vertices opposite to one another. this helped me realized what I wanted to construct for the nested geometry. With that in mind, I liked the way the triangular aspect of the nested geometry looked with the outer pentagonal structure.
-
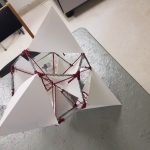
- when it came to the stellated geometry, I wanted to create something interesting that would work alongside the nested geometry without interrupting it
-

- I tried achieving this effect by having pyramids touch three vertices but avoid the other pyramid corners
-
- this resulted in an oddly dynamic orientation of the pyramids, that additionally left the nested geometry open to the viewer
With the prototype finished, it was now up to me to finalize the concept with haptic materials, or materials that are structurally more sturdy. This excludes things like cardstock or cardboard, In sketches I came up with some materials I could potentially use.
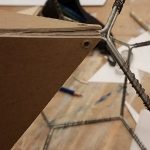
After some thought, I decided on using chip board for the stellated geometry, and wood for the nested geometry. This is for both structural and ideological reasons, as chip board has the fold-able qualities of cardboard and both weight and sturdiness of 1/8″ thick plywood, which is also what I used as the wood option. However, there’s also this system of tiers when comparing the materials, wood being an entirely organic material that humans hack and form into structures, chipboard being an organic material that’s manufactured into its pressed form, and metal that’s a man-made product that’s dug up and melted into a solidified form. I was experimenting with the idea of using acrylic board to create an inner nested cube at the center to serve as another completely man-made object, but the idea never panned out. As the sketches show, I thought of several means to fasten the materials together and to the wire frame, these ideas were never set in stone, as I cycled through different ones during the construction of the final polyhedron.
The construction was definitely the most difficult part of this assignment, as the process was prone to set-backs that I had not foreseen. For example, I thought I had a decent grasp on how to use rivets, but when it came time to the actual practice of fastening the hinges together, the video really speaks for itself.
I later learned that I was in fact inserting the wrong part of the rivet. The wooden inner triangles would prove to be difficult again when it came to the angle of the edge that would attach to the wire frame. As when I measured it, I was under the impression that it said 80 degrees. I believed this all the way to the point of post cut and drill, only to find out that when attached the edge the went inward was not a straight 90 degrees. Having learned this, I returned to the wood shop and sanded each triangle down to 70 degrees, which was resolved the issue.

The issue that came up the most was the ineffectiveness of the fastening methods I had planned to use. For example, the use of rivets was originally intended to keep the stellated pyramids together with a tab, but the rivets weren’t long enough to keep them together. Instead, I used the screws that came with the hinges and fastened the hinges with rivets. I originally intended for the nested triangles to be fastened with safety pins, but these proved to be ineffective, so I used string instead. Surprisingly, the aspect that gave me the least amount of problems was the chain component, which I anticipated to be the most problematic.
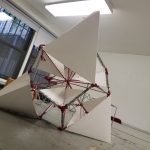
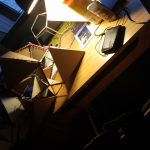
In the end, the final product looked like this:

Upon finishing the final polyhedron, here’s a list of what I learned.
- wires wound around a greater area will have a tighter hold
- organizing the wire shapes into an array then attaching them upright is quicker than attaching them one by one individually.
- chip board does not need to be cut with an oolfa knife, in fact it’s recommended to use a saw instead.
- when using a band saw, or any saw for that matter, cutting just to the right (or left) of the mark made will result in a much more accurate cut
- It’s better to have imperfections outside of the mark rather than inside, as sanding them down will still result in an accurate form.
- In order to attach things with rivets, the flange must be inserted first.
- In order to insert a 1/8″ thick rivet into wood, the hole drilled must be slightly larger (I chose 9/32″)
- When attaching paper together as if you were sewing it, the holes made on each piece must be slightly offset in order for the wire or string to easily weave through the material
- when attaching wire or a chain with a hook, if the wire/chain is not taught enough, the hook can be rolled back to the point where it becomes taught.
- cut excess hook material and close it so the chain cannot get loose
- when bending wire, bend just outside of the mark, this will allow for bending it to the correct angle while also preserving the correct length of each edge.
- be open to adaptations to the original design, as components within the original design can prove to work differently than what was initially imagined.
In summary, I think this assignment builds onto the ideas seen in week 4 and 5, that is the concept of a mental frame dictated by artificial wire outlines, only this time it adds the idea of intentionally placing materials within this frame instead of leaving the negative space on its own. This addition of rigid materials purposefully obstructs the space encompassed by the wire frame, dividing the space into the vision the creator wants the viewer to see, rather than the creator presenting a window for the viewer to impose themselves into. This idea is explored within “The Culture of Time and Space” when Stephen Kern references the completion of the Eiffel Tower, “the completion of the Eiffel Tower in 1889 announced a new era of construction with steel girders. Traditional distinctions between inside and outside were useless to describe this open structure. Visitors who descended the spiral staircase were outside but at the same time ‘within’...” this idea of this newer grey area of being in between inside and outside is further expanded upon when Kern mentions Frank Lloyd Wright’s “prairie style” as his way of establishing a living environment, “he identified his motif as ‘the inside becoming outside’.“. This strikes me as relevant because this is what I was trying to do with my final polyhedron, as it’s not closed off, looking through it at a certain angle will allow you to see the other side, however at the same time much of the space inside it is obstructed. In addition to something ideological, practically speaking this assignment also serves as a lesson in general construction, as it establishes that rigid materials need a foundation before being fixed into the position the constructor wants. Another interesting aspect is the metaphysical aspect of the dodecahedron and a section of this text that describes the way Einstein redefined the idea of what is physical. according to him ,”every bit of matter in the universe generates a gravitational force that accelerates all material bodies in it’s field and modifies its apparent size. There are thus no absolutely rigid bodies“. The idea that all physical things are inherently atoms that fluctuate is incredibly interesting to me, because this almost takes on the nature of something metaphysical, or rather a pervasive force that permeates through matter. stretching this tangent, what does this do for a space that has no matter occupying it? Is there still a gravitational shift between the walls of a large warehouse that’s supporting it’s roof above it, as it’s suspending something in space against gravity? The materials that compose the rigid materials come from different places, wood is completely organic, metal wire is completely man made, the only difference between them is their sub atomic arrangement, as they were both harvested. I wonder if this is metaphysical in any way, the concept of rigidity all coming from one place.