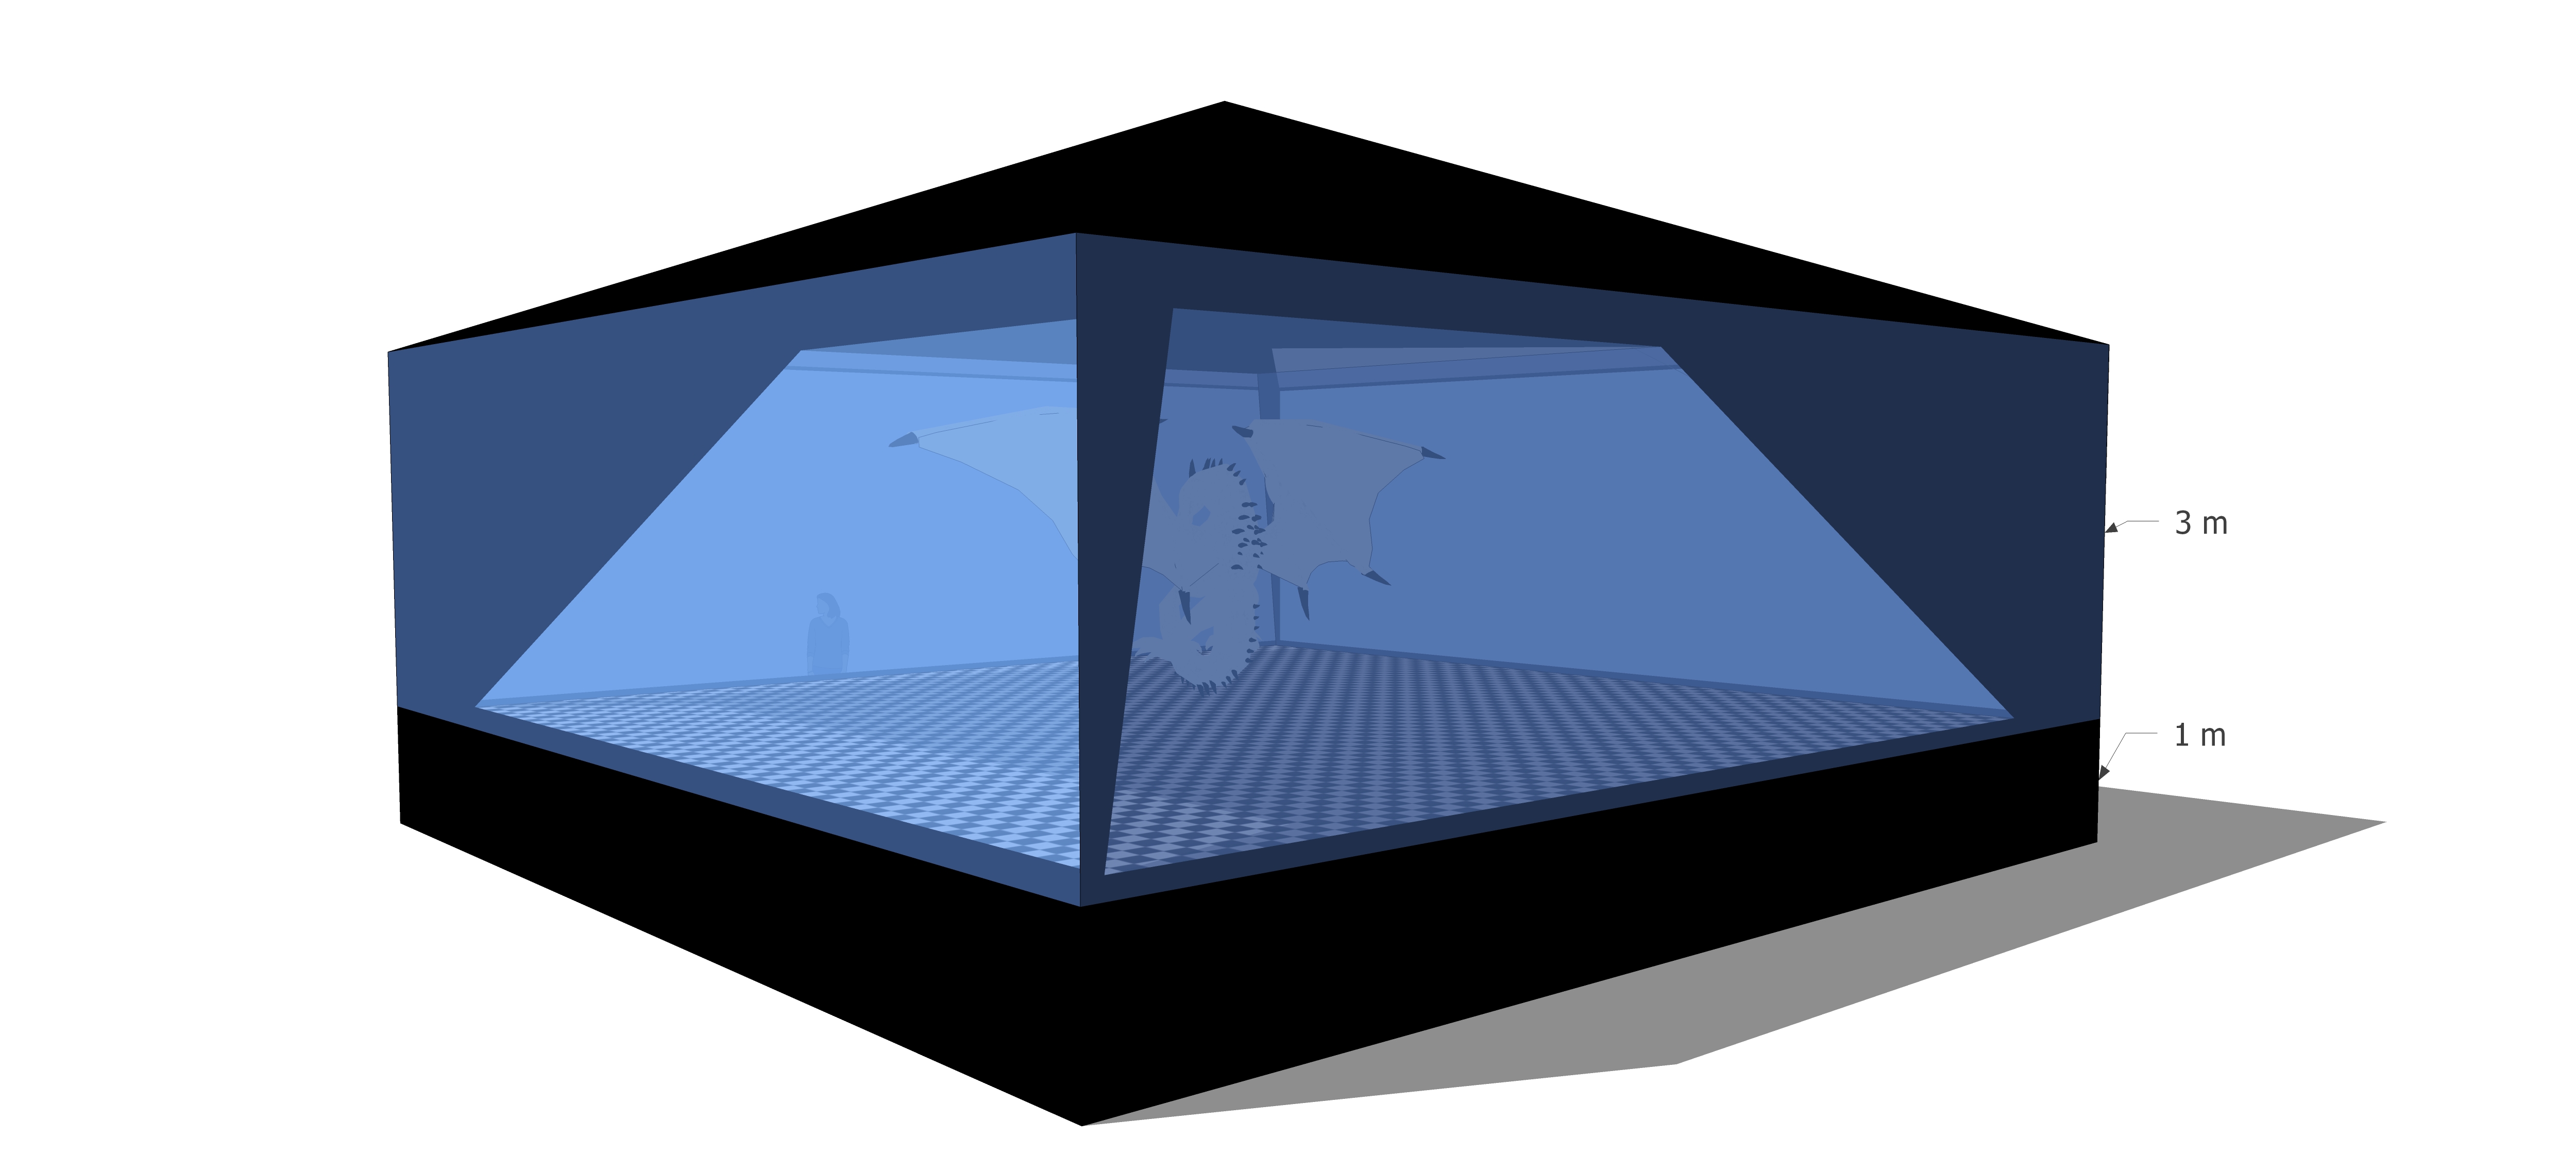
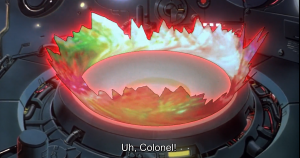
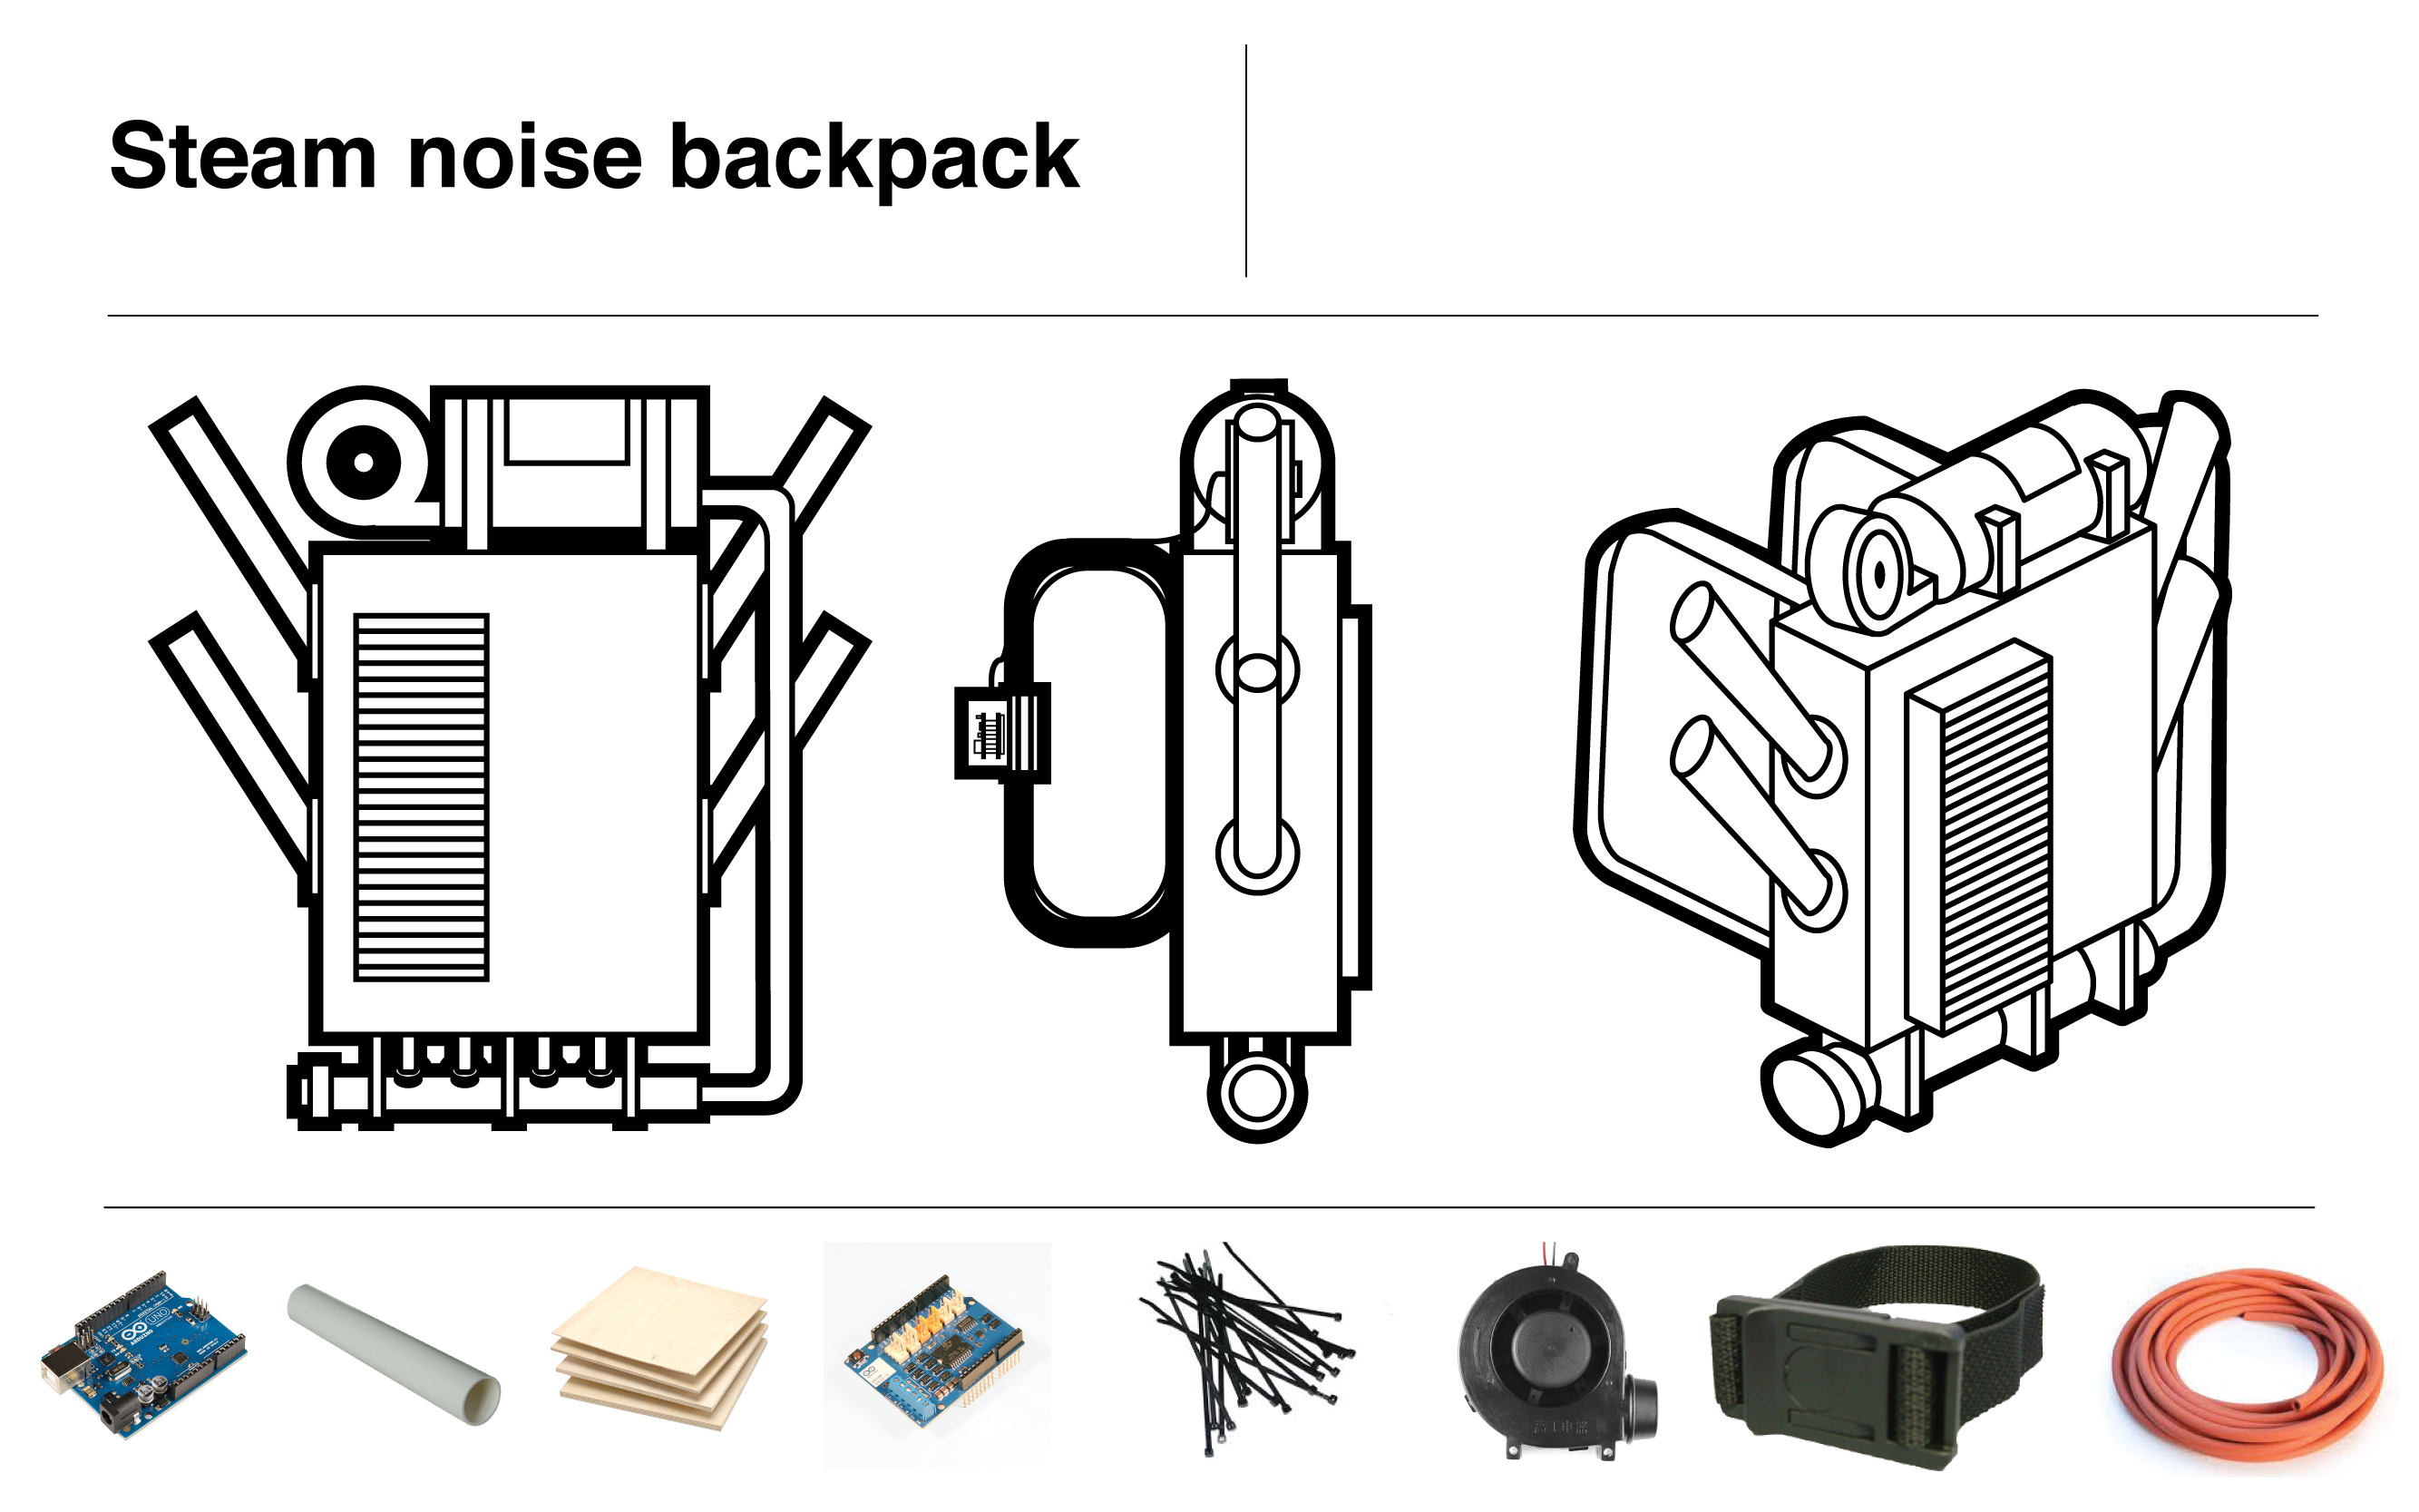
The original concept: To create an energy visualizer that collects data from a crowd. The machine would resemble the energy instrument used to measure the main character, Tetsuo, in the Japanese Anime Akira. The 3D model before physical construction: 
Materials purchased:
one 4’x8′ 3/4″ birch plywood from Prince Lumber
one 12″ diameter plastic hemisphere from Canal Plastics
three 18″x12″ 1/8″ clear acrylic sheets
four 8″ 3/8″ diameter bolts with eight accompanying nuts and washers from Home Depot
one length of vacuum tube from Home Depot
one strip of RGB led from Amazon
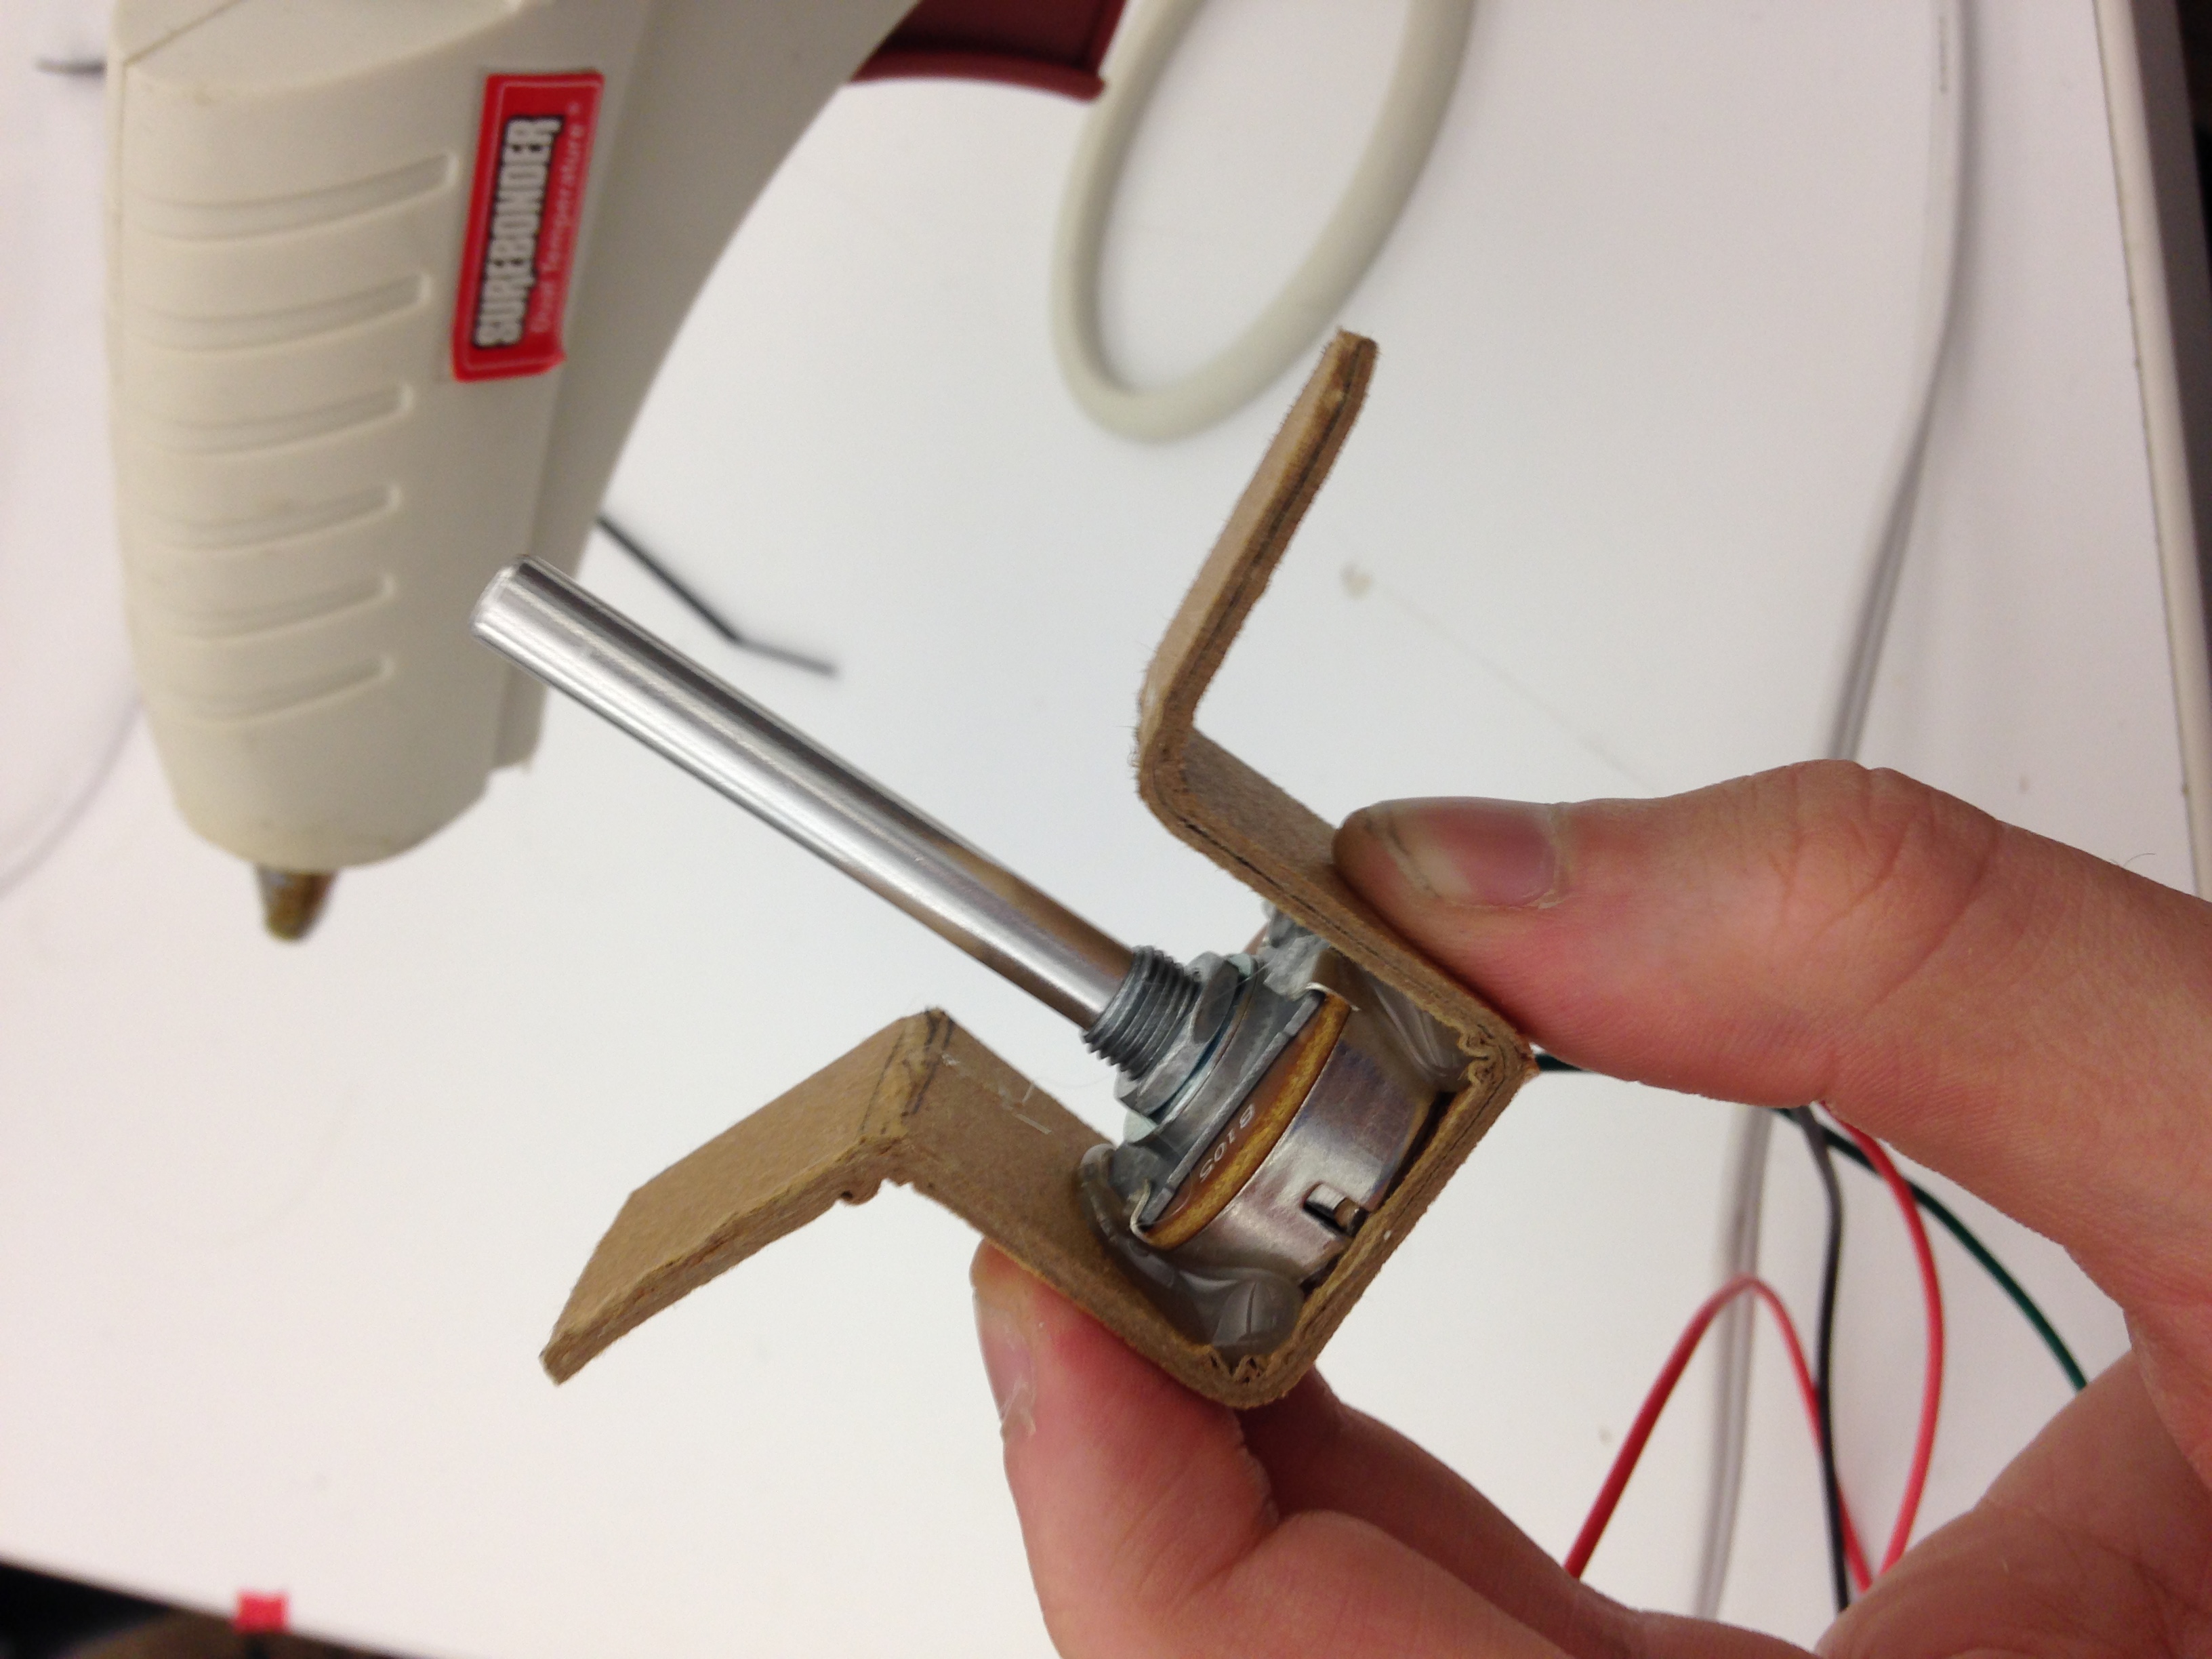
four potentiometers from RadioShack
wire, wood glue, zap glue, zip ties, translucent mylar
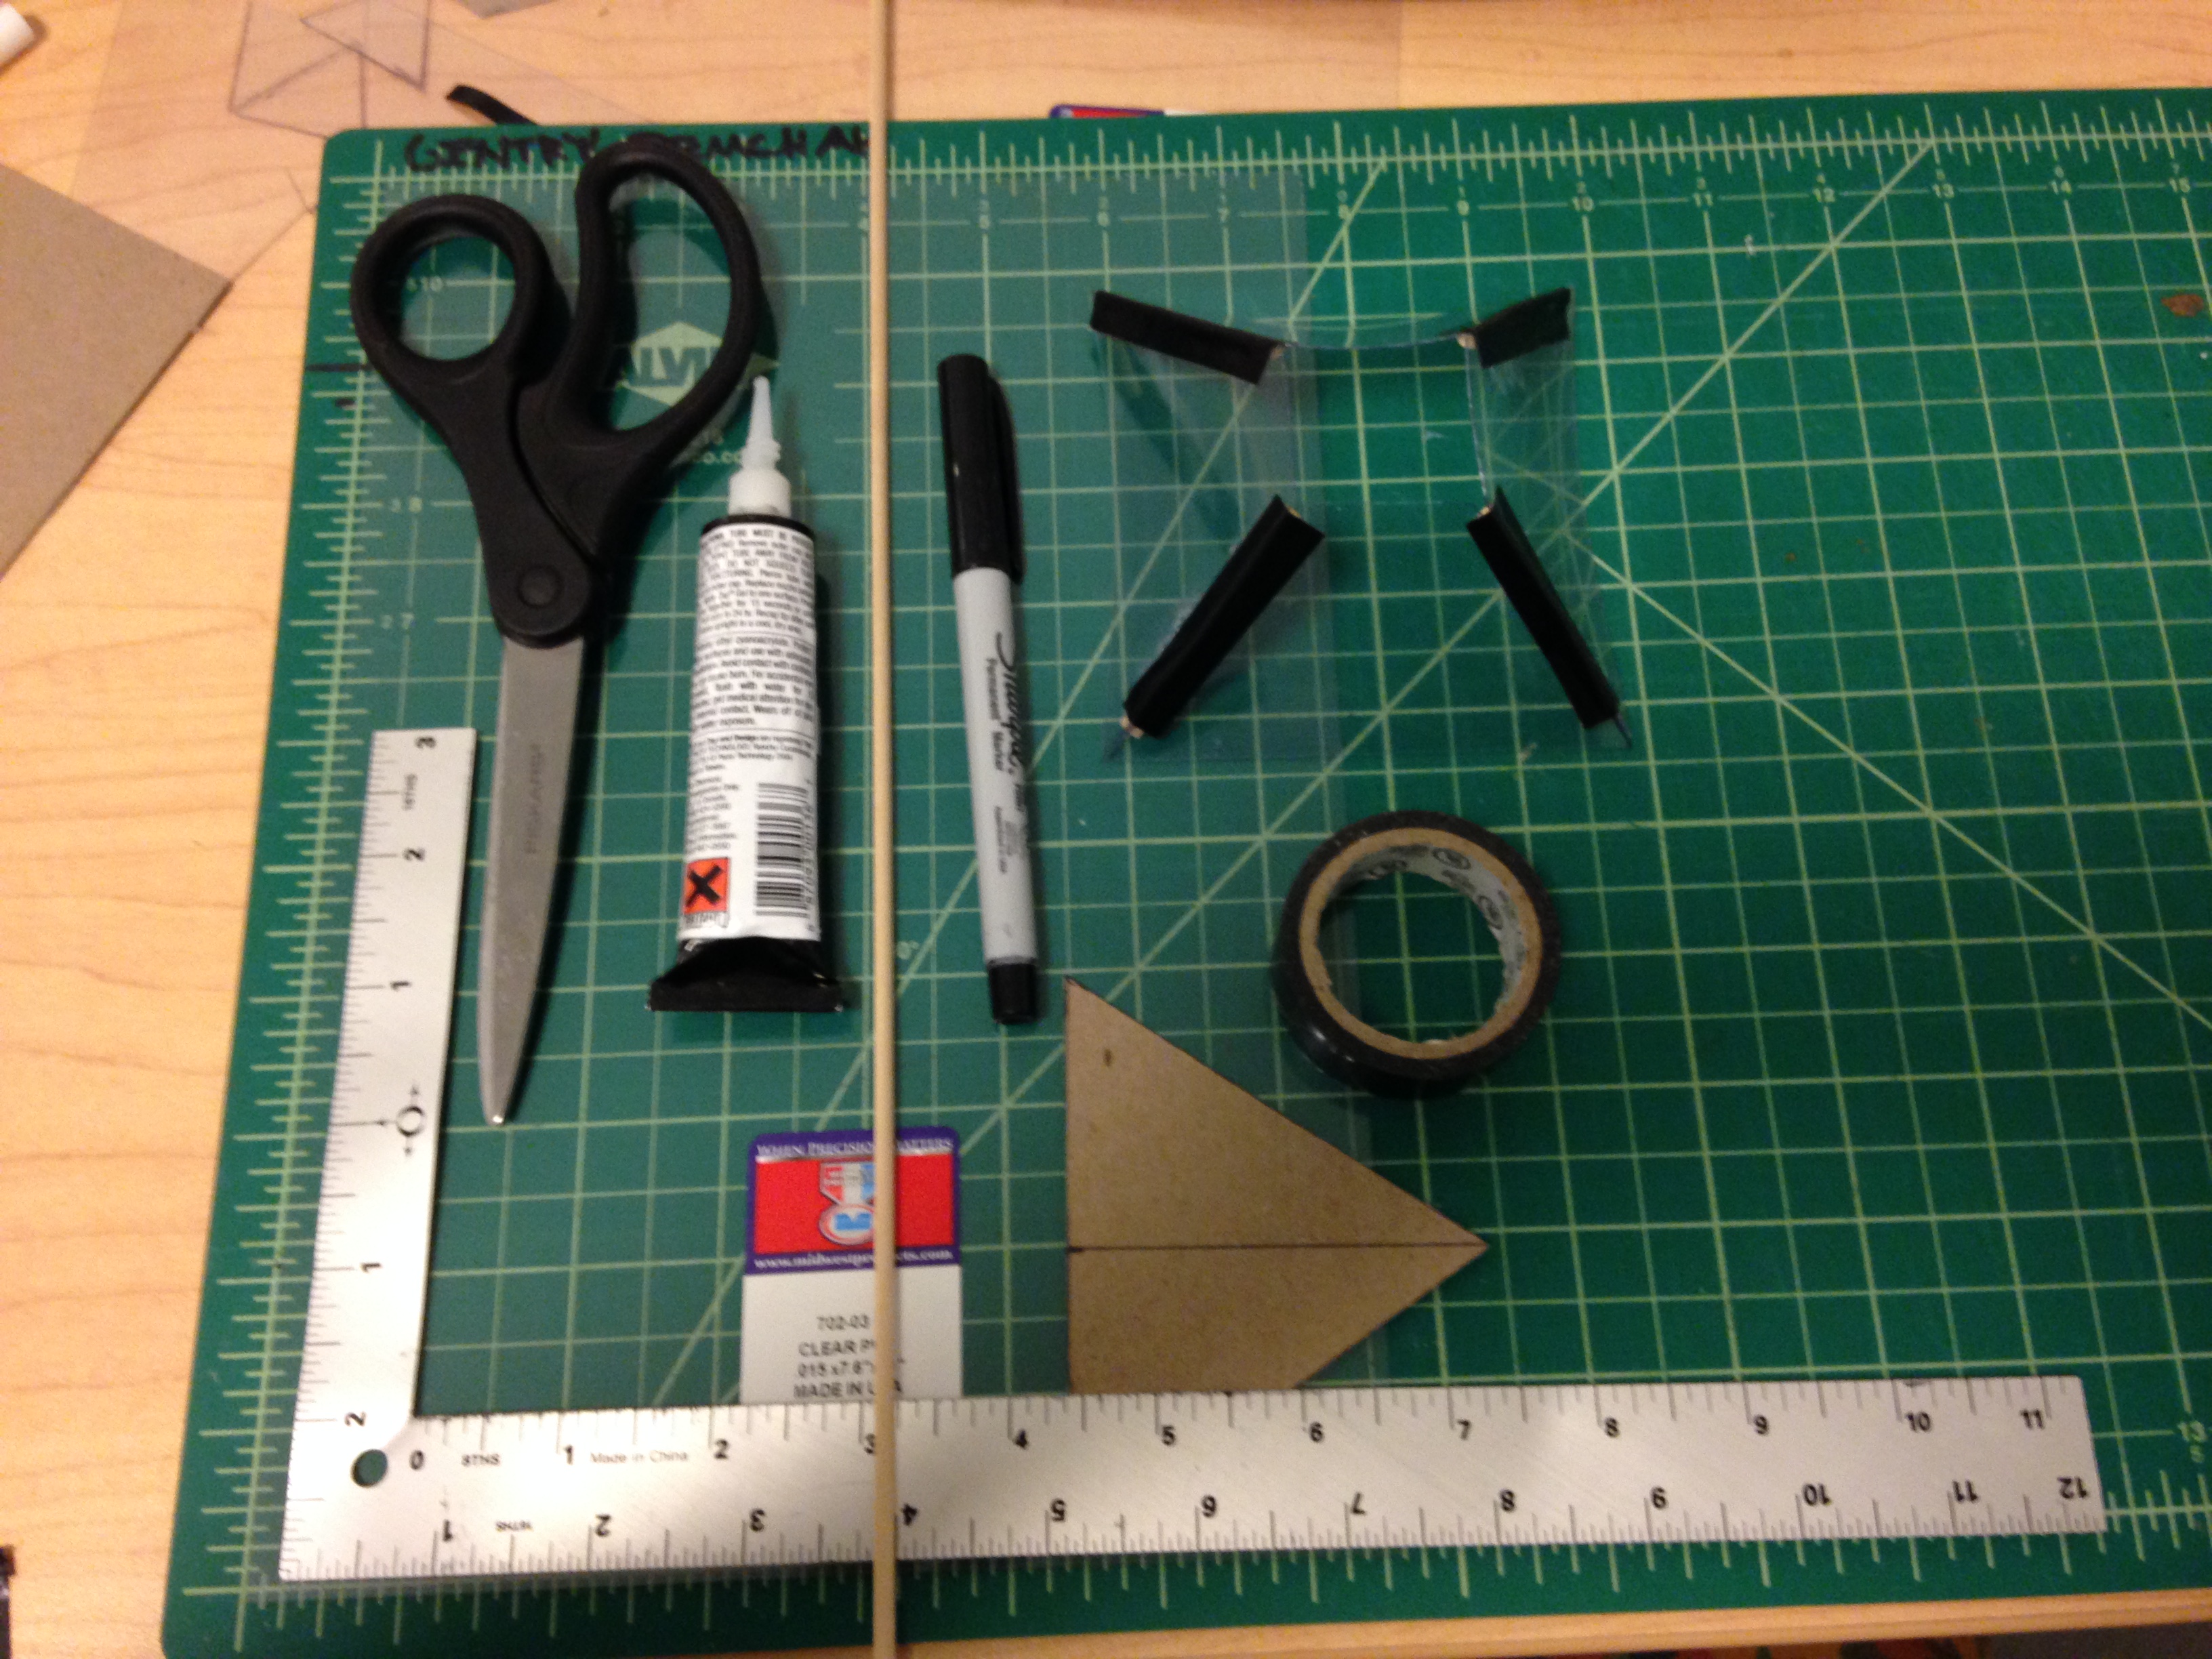
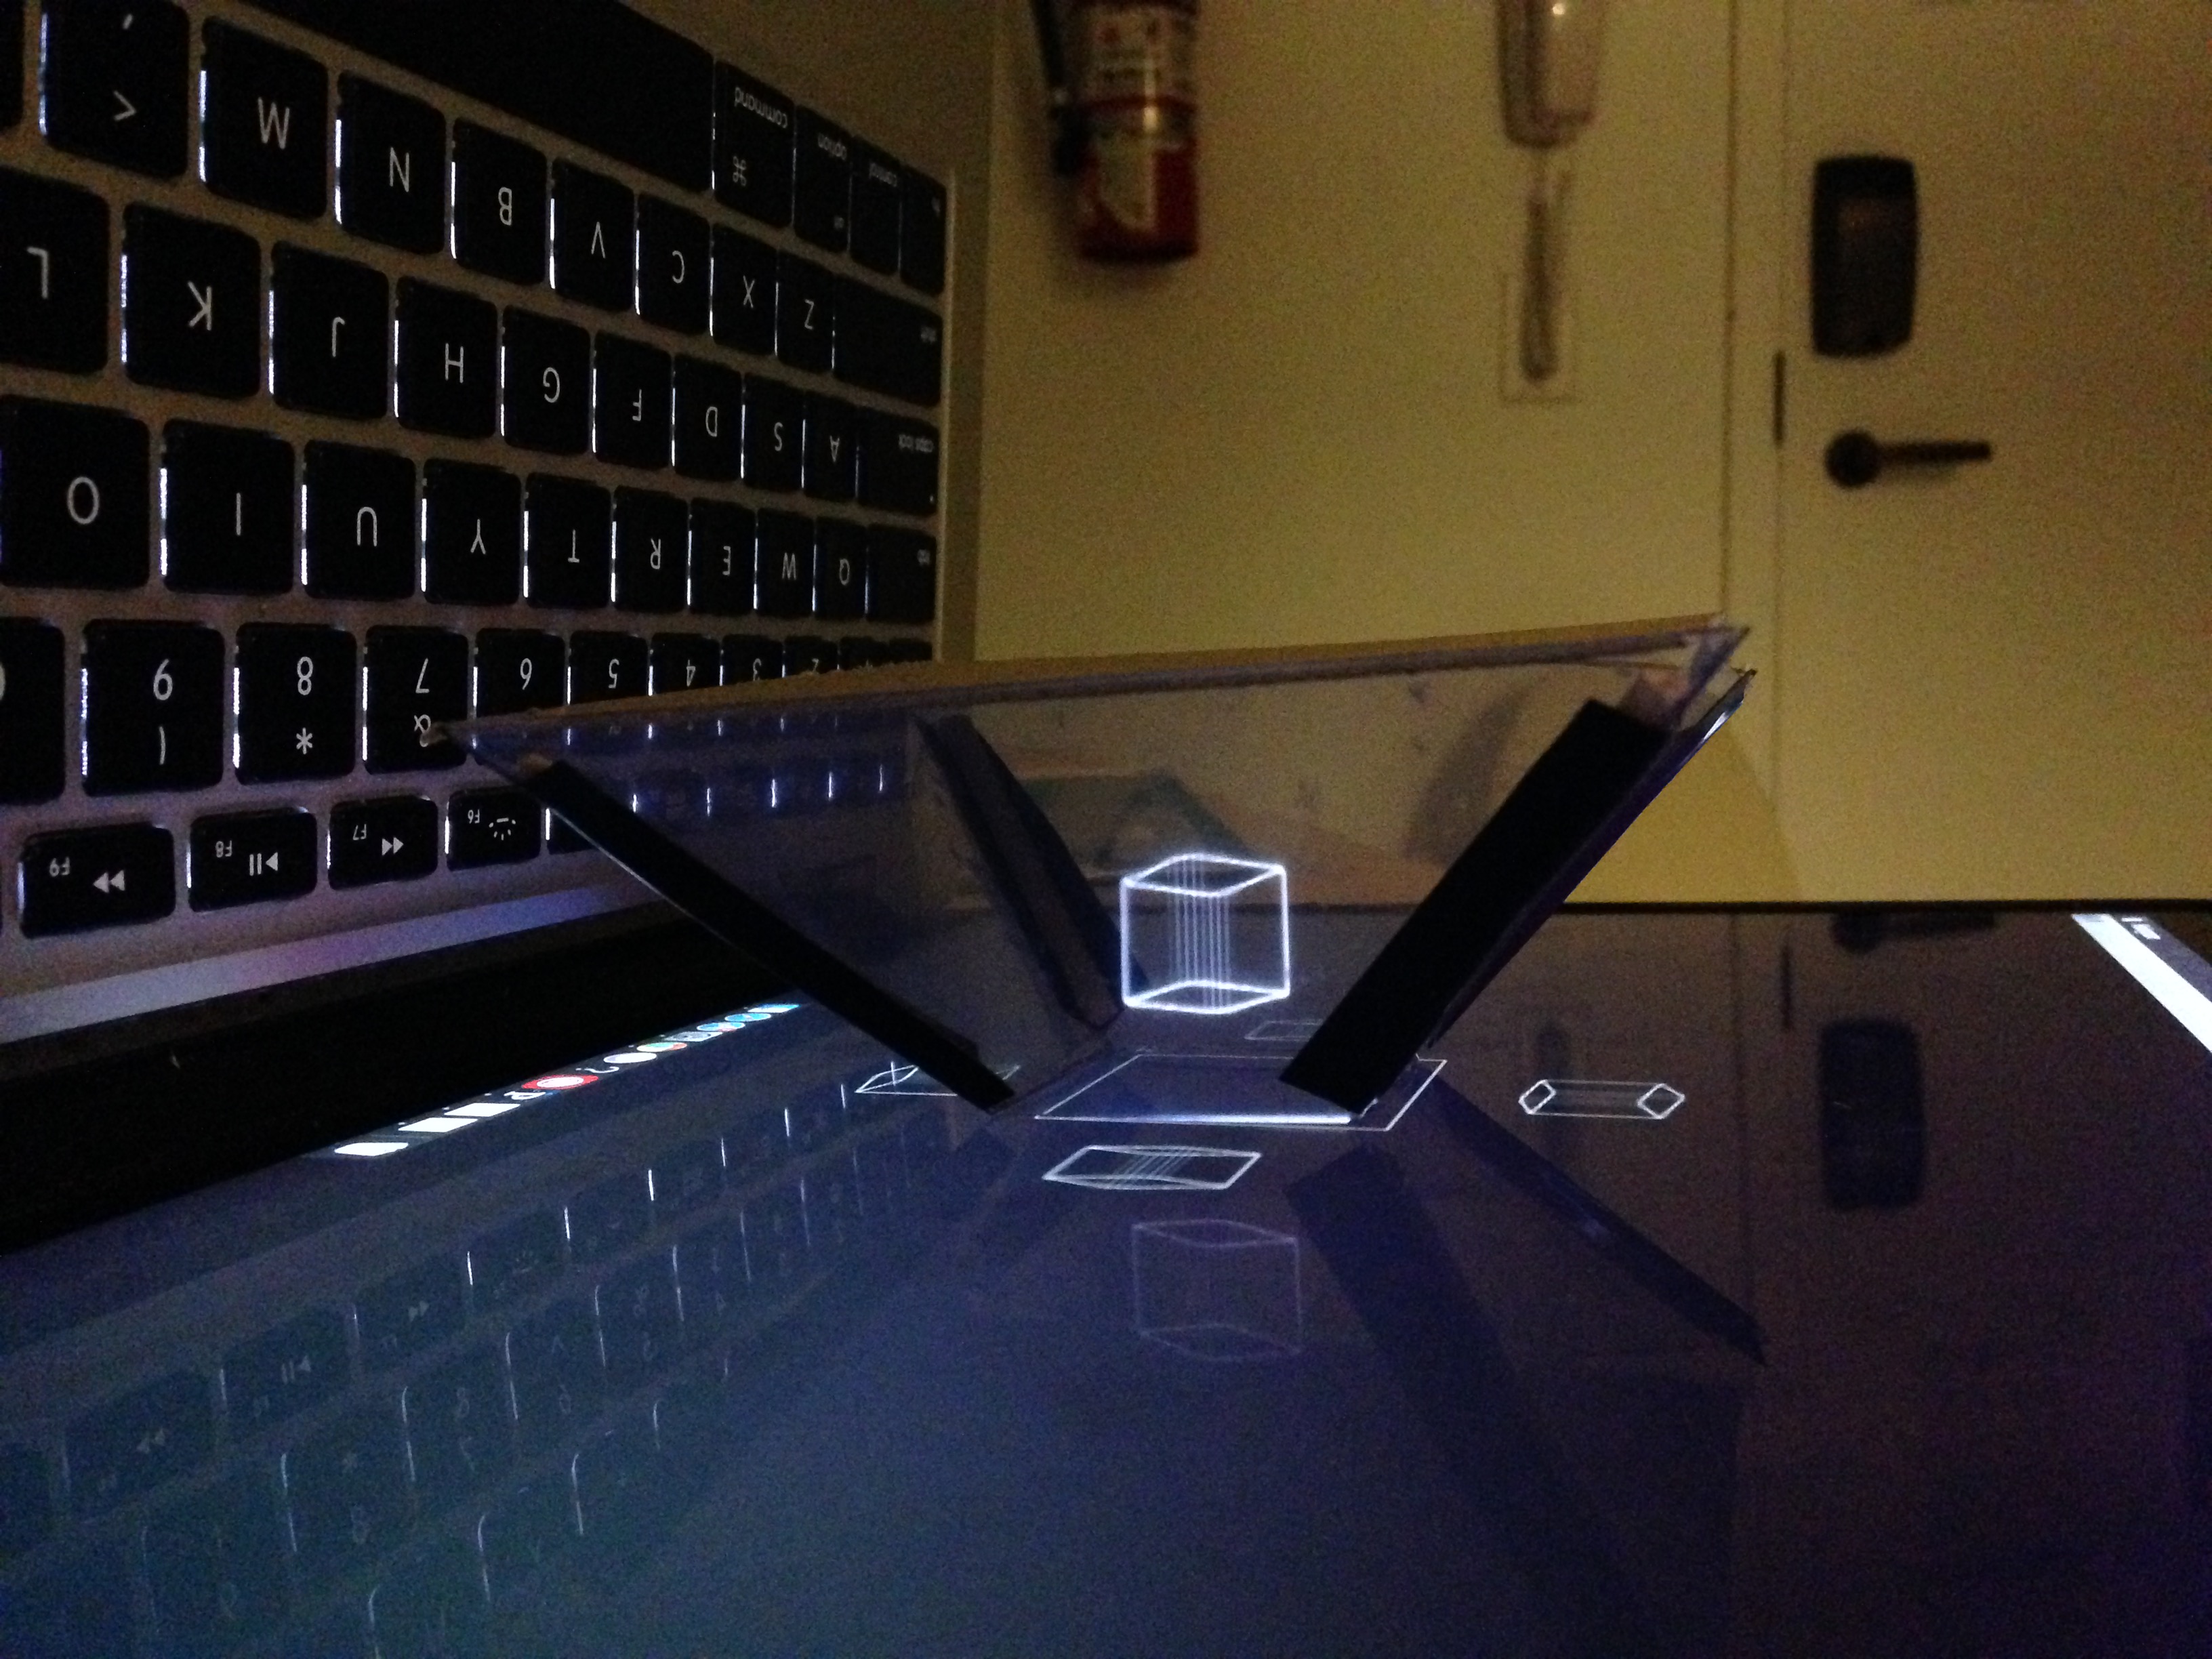
Creating a quick prototype “hologram”. Really this is an illusion called “pepper’s ghost illusion.” Real holograms are created with lasers. Though this is a cheap and visually interesting alternative.
material:
clear PVC 2/32 sheets, wooden dowel, glue
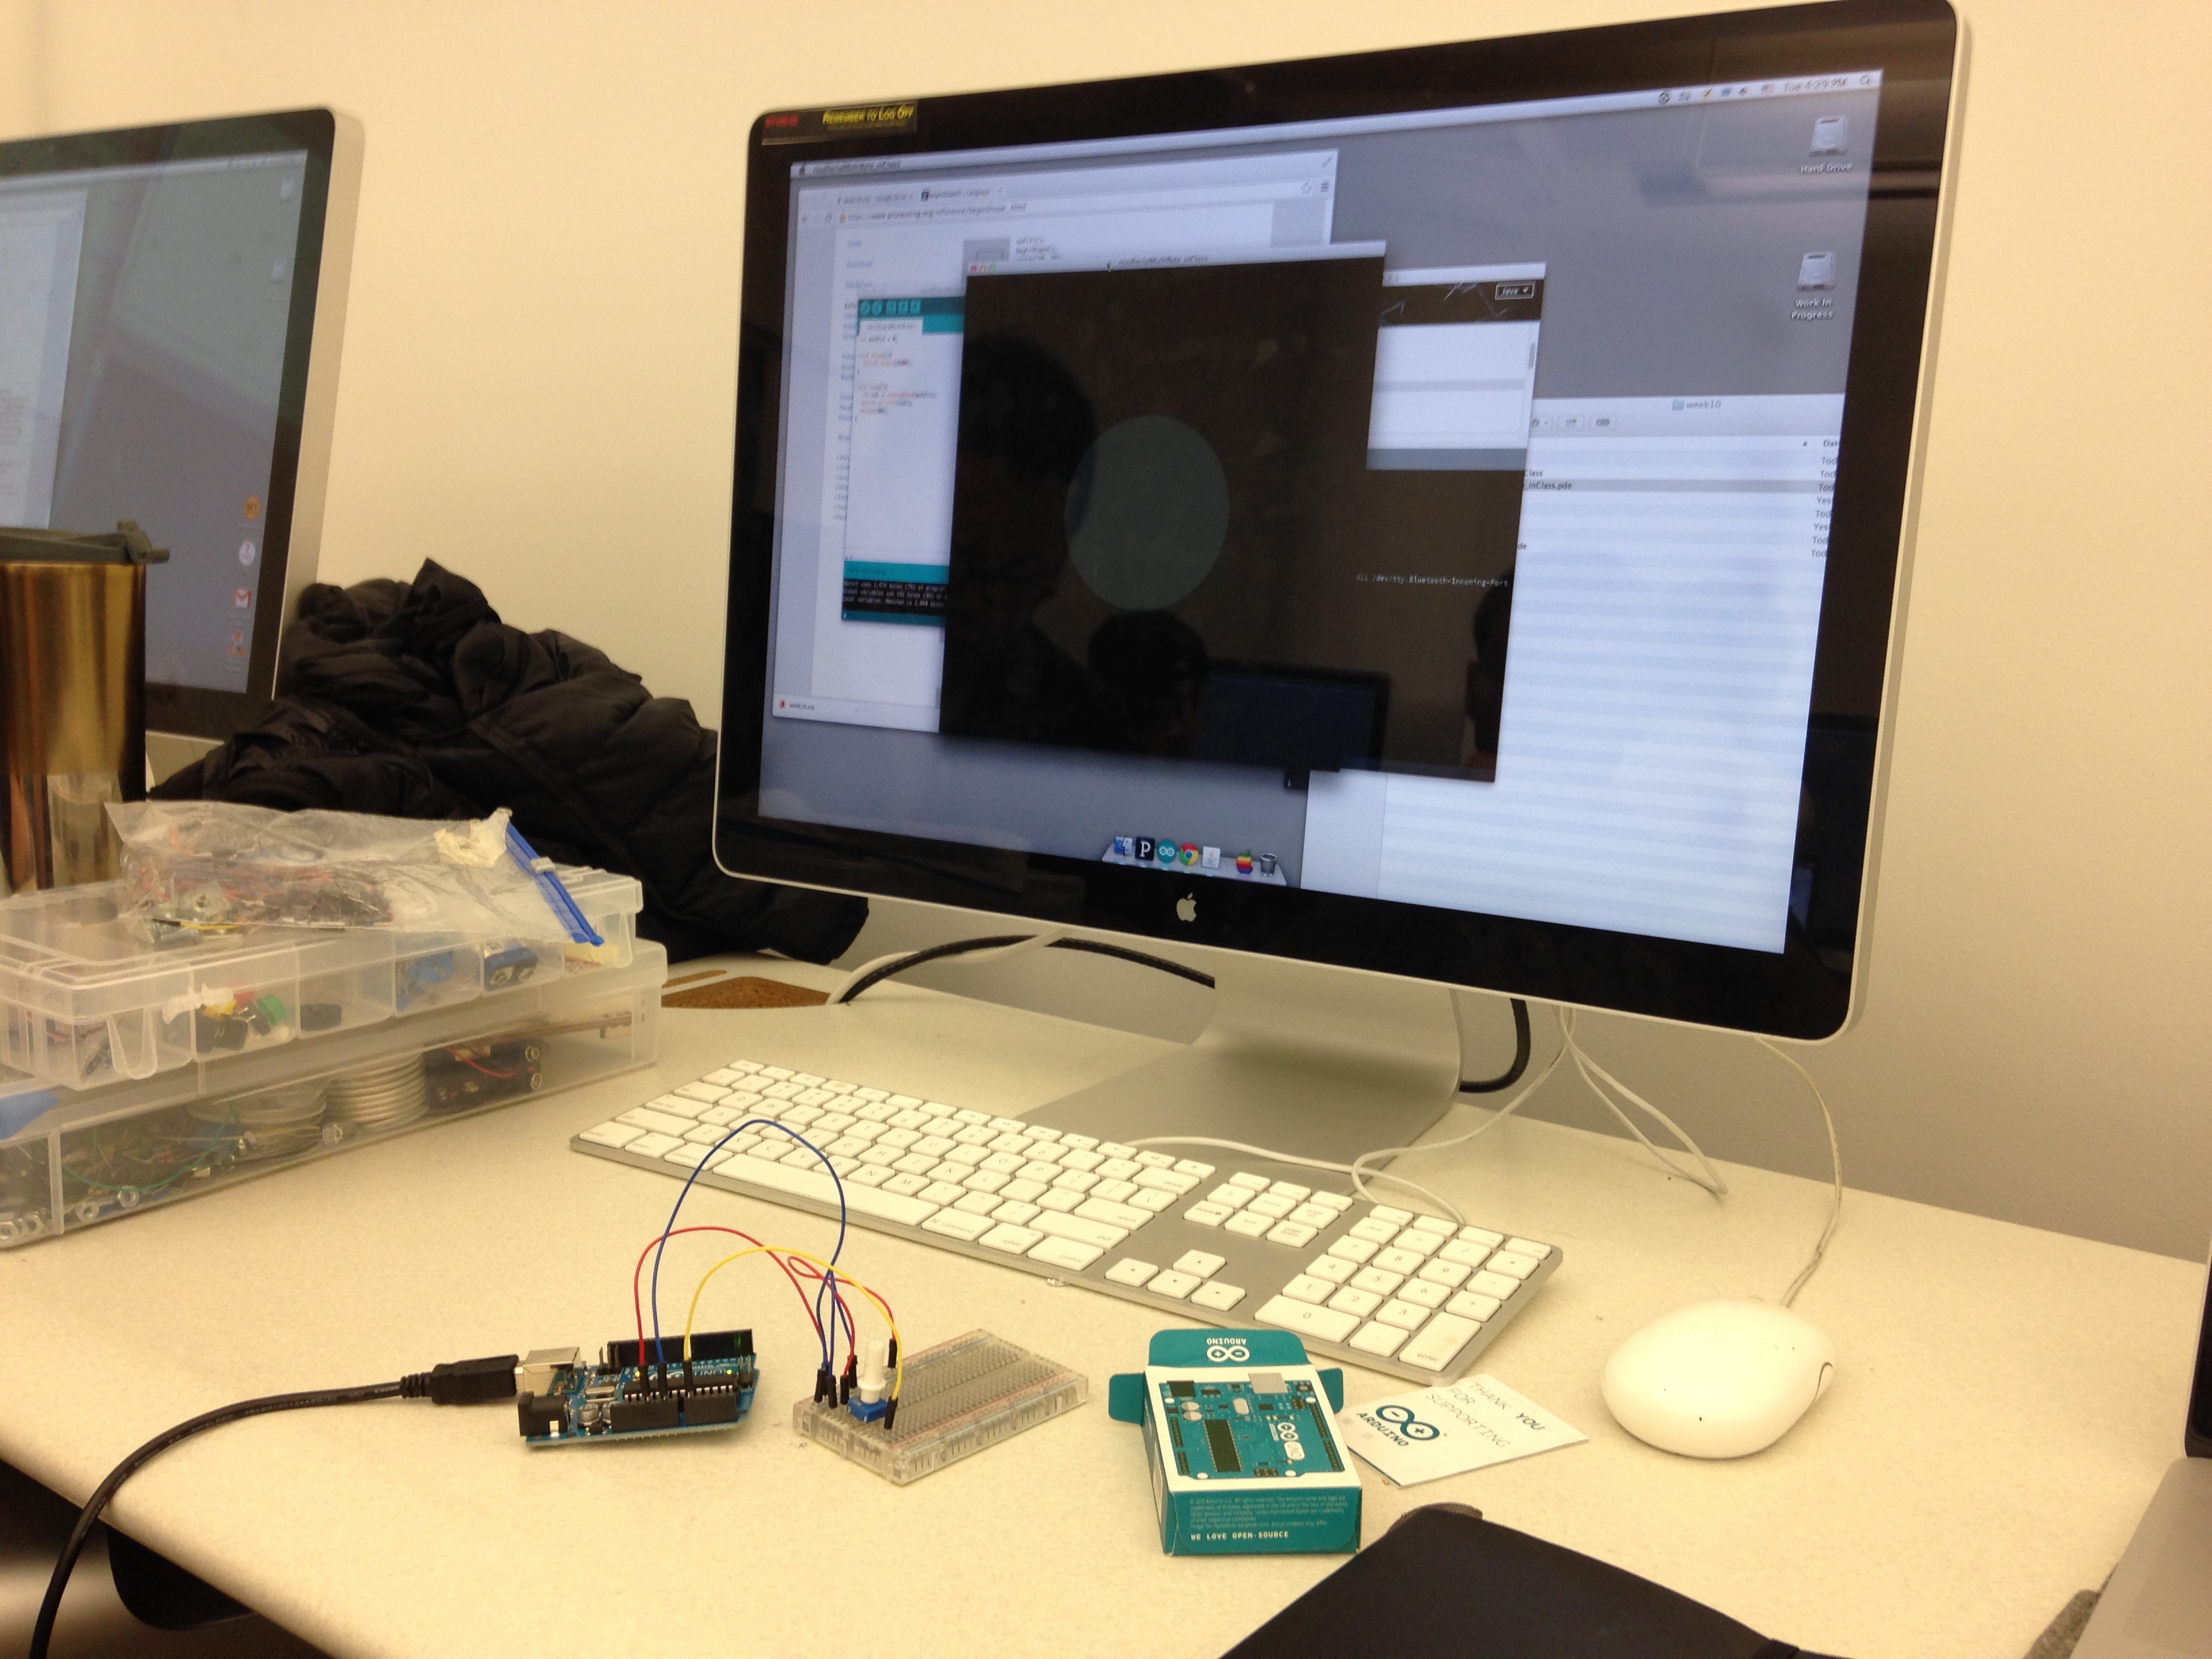
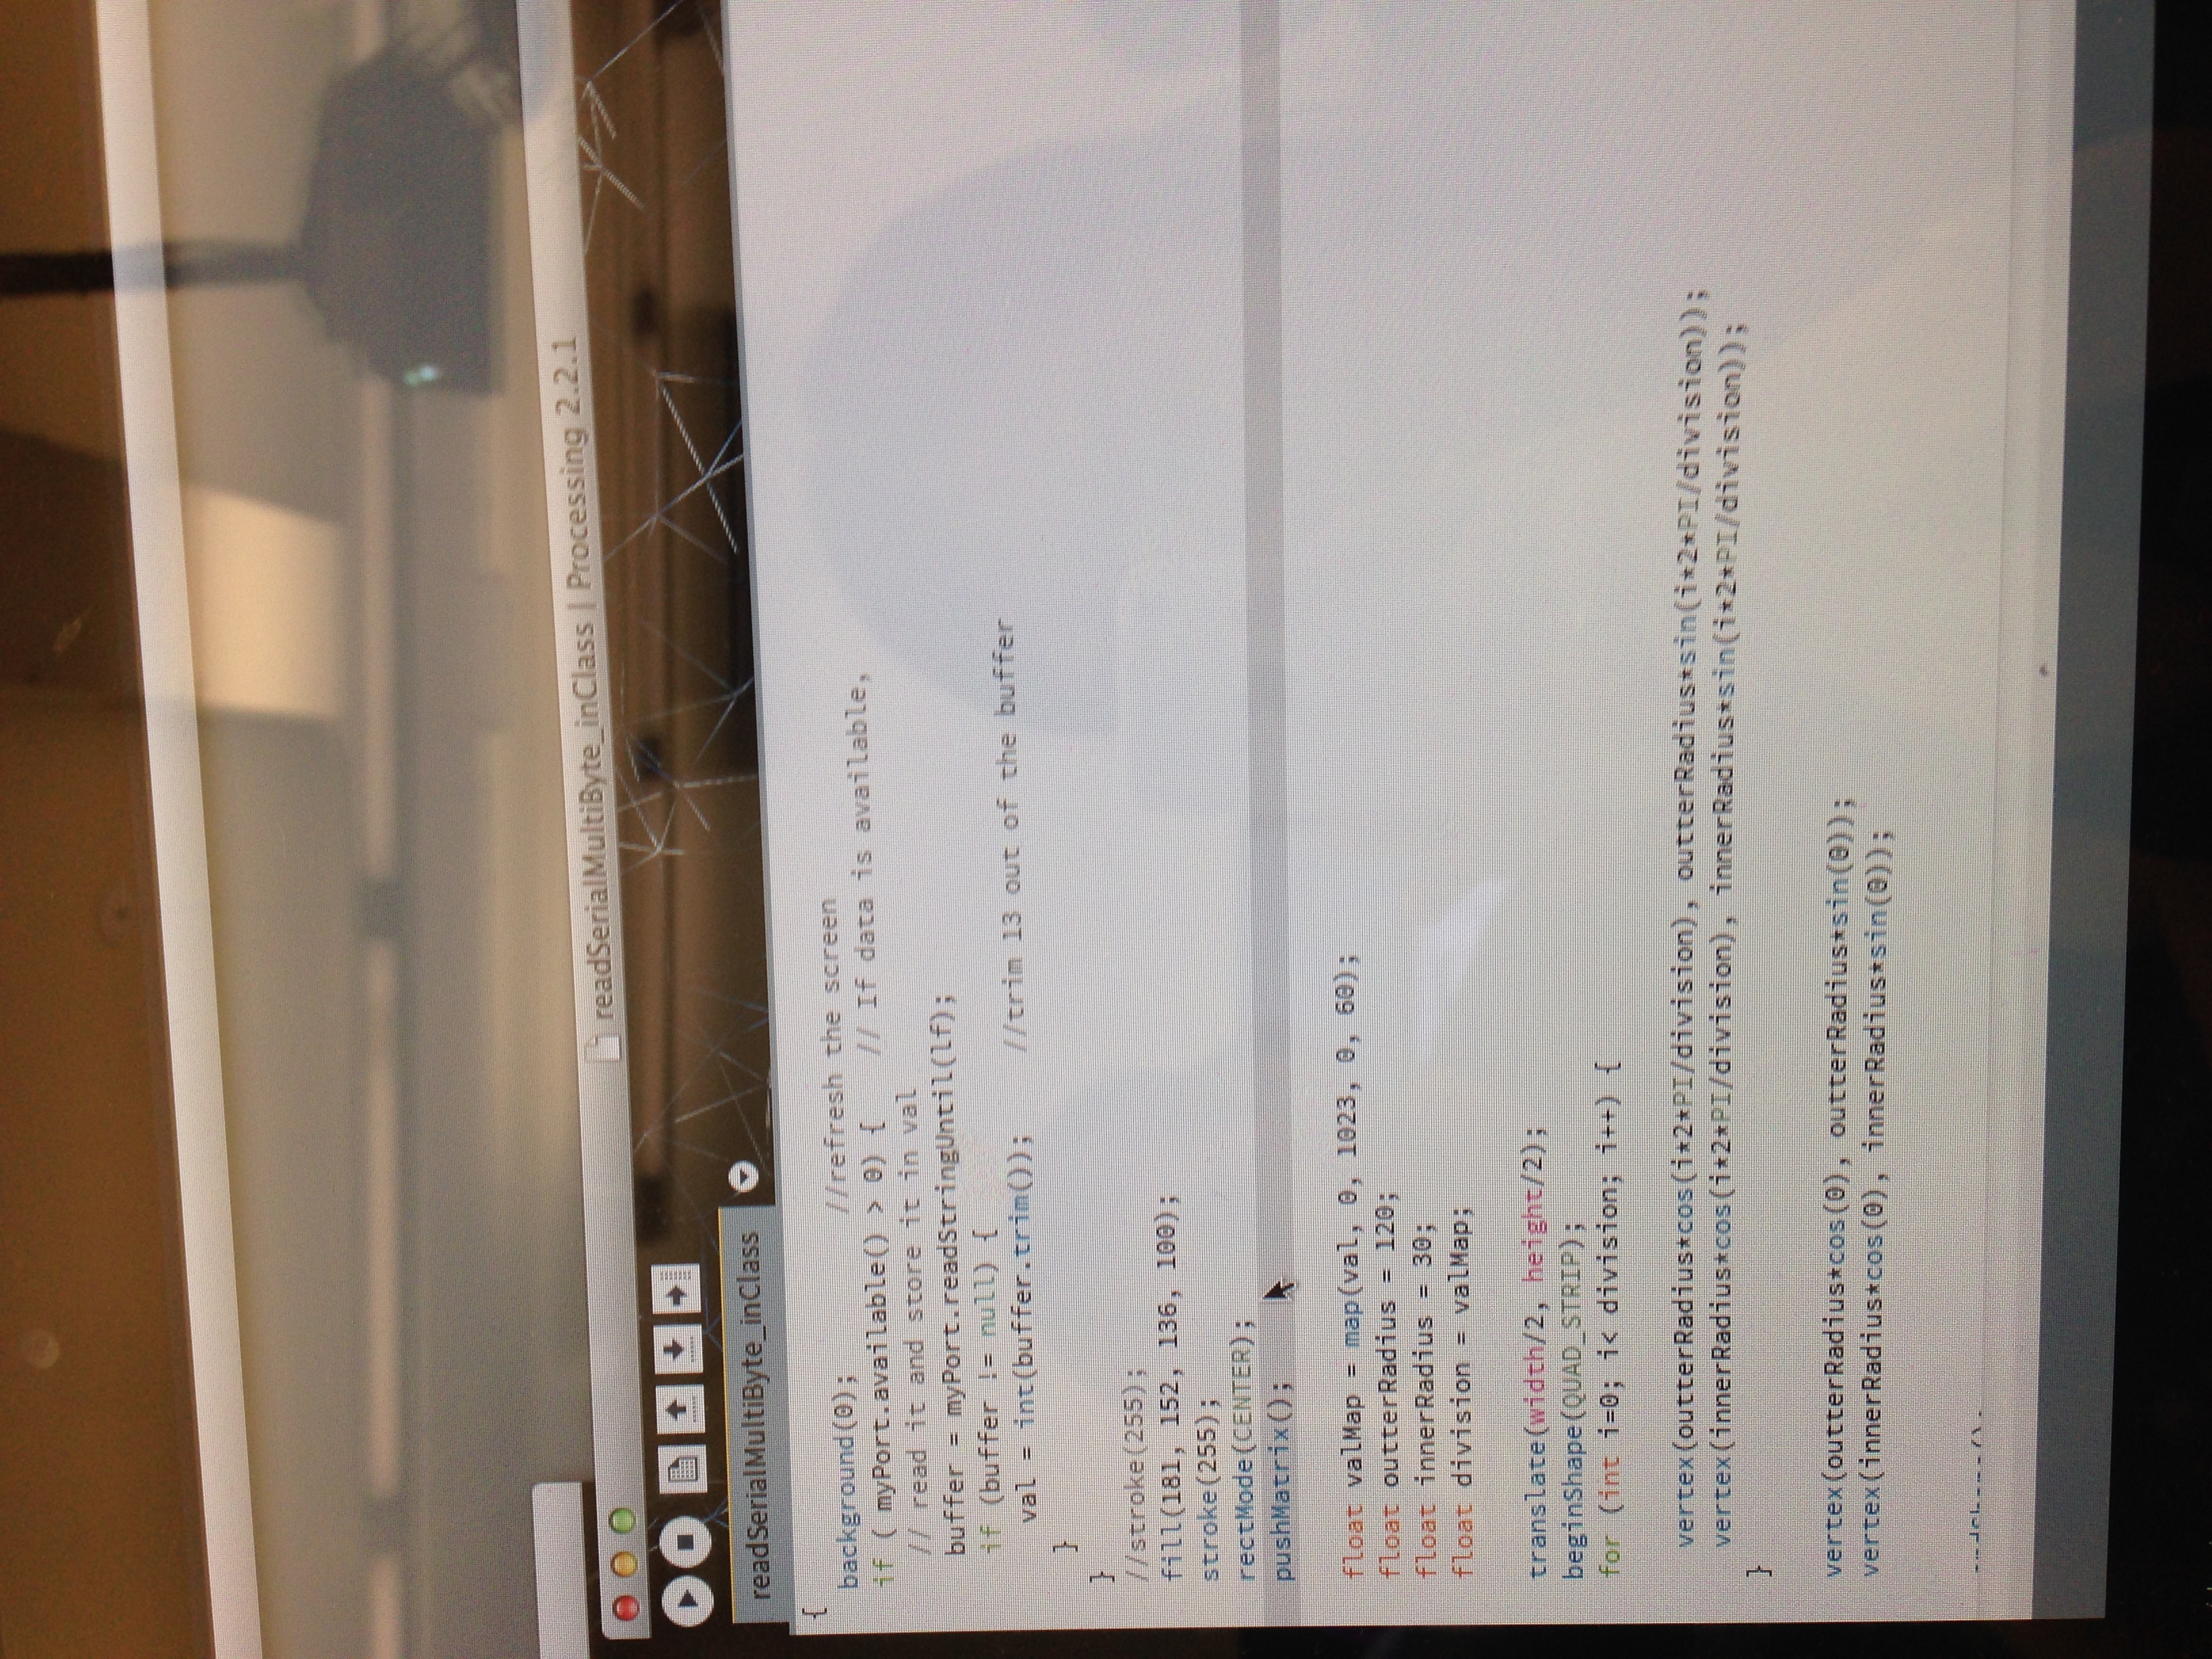
Construction:
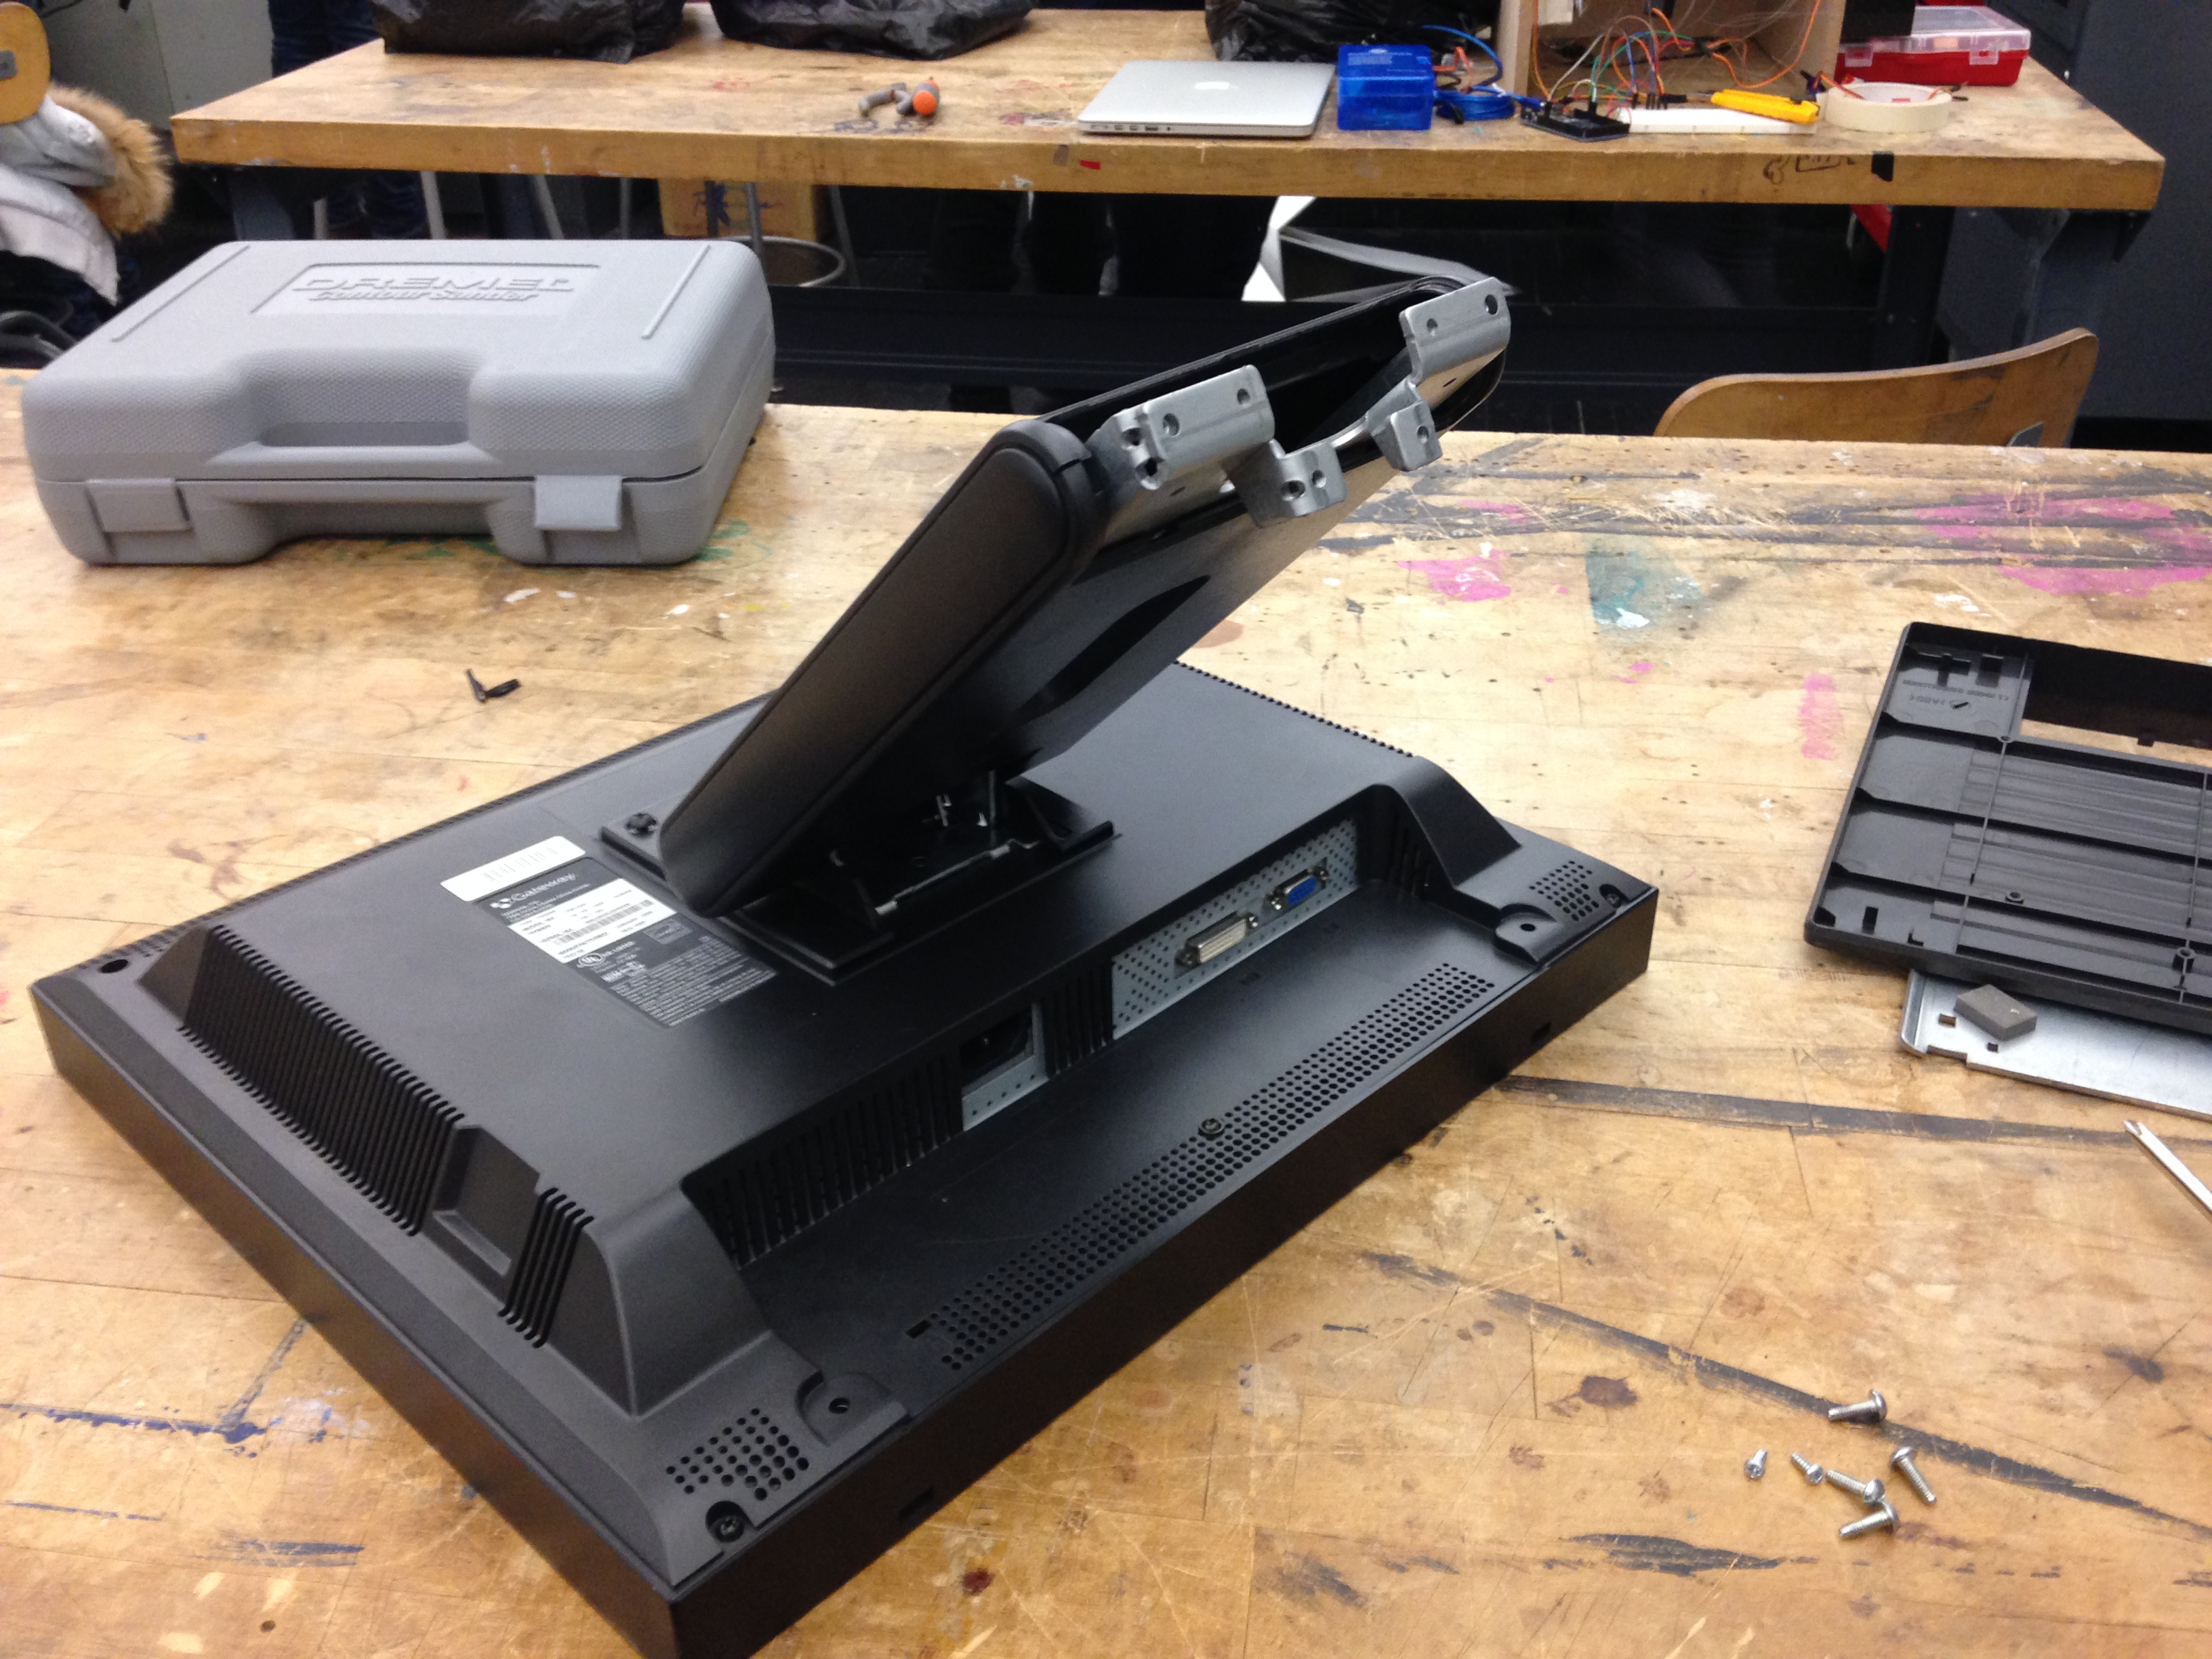
Could not be possible without the generous donation of this computer monitor from Mick, my boss over at the 3D printing/laser lab.

Result:
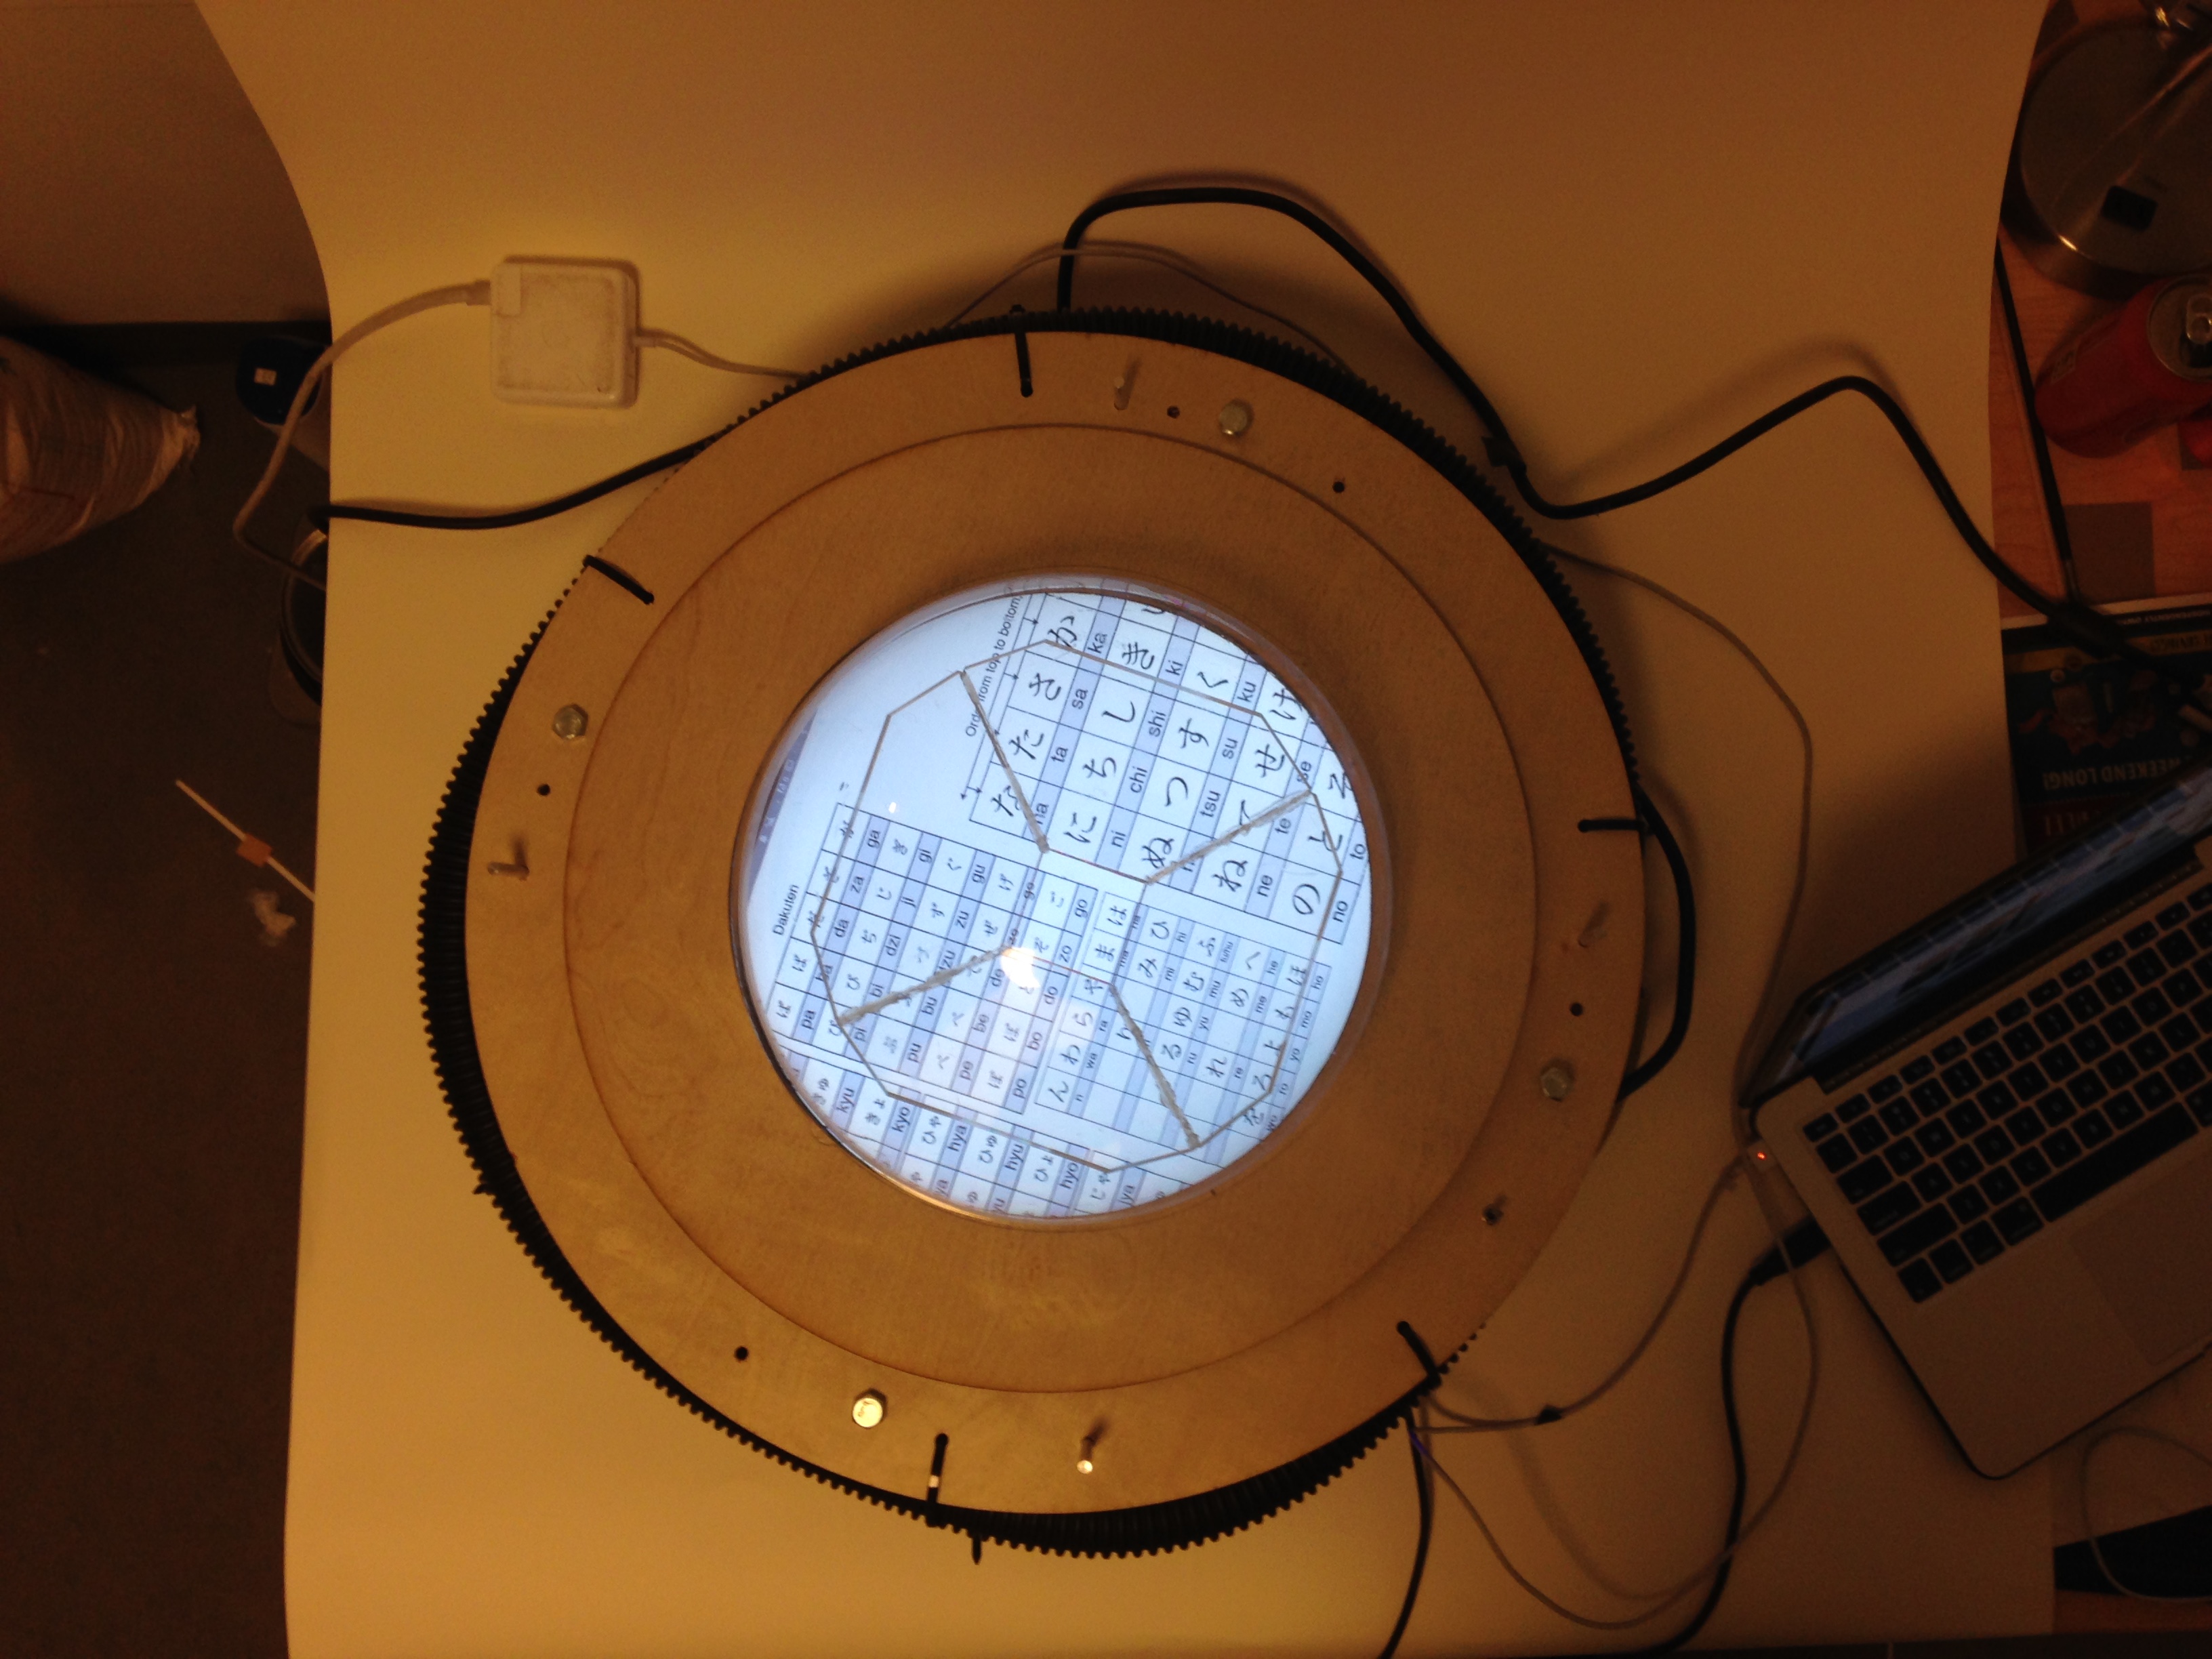
My rendition of the energy measurement instrument: Rather than being a machine exclusively for the purposes of measuring and visualizing energy levels, the machine is modular, capable of running many “apps”. The base of the machine is designed with spaceships and the future in mind, complete with diffused blue LED’s, hoses and tubes, and a circular construction. The machine is meant to be used to up to 4 people, as there are 4 potentiometers, one for each person, placed around the perimeter of the hologram. The potentiometers are used to change variables within the main processing sketch.
Mode 1: cube

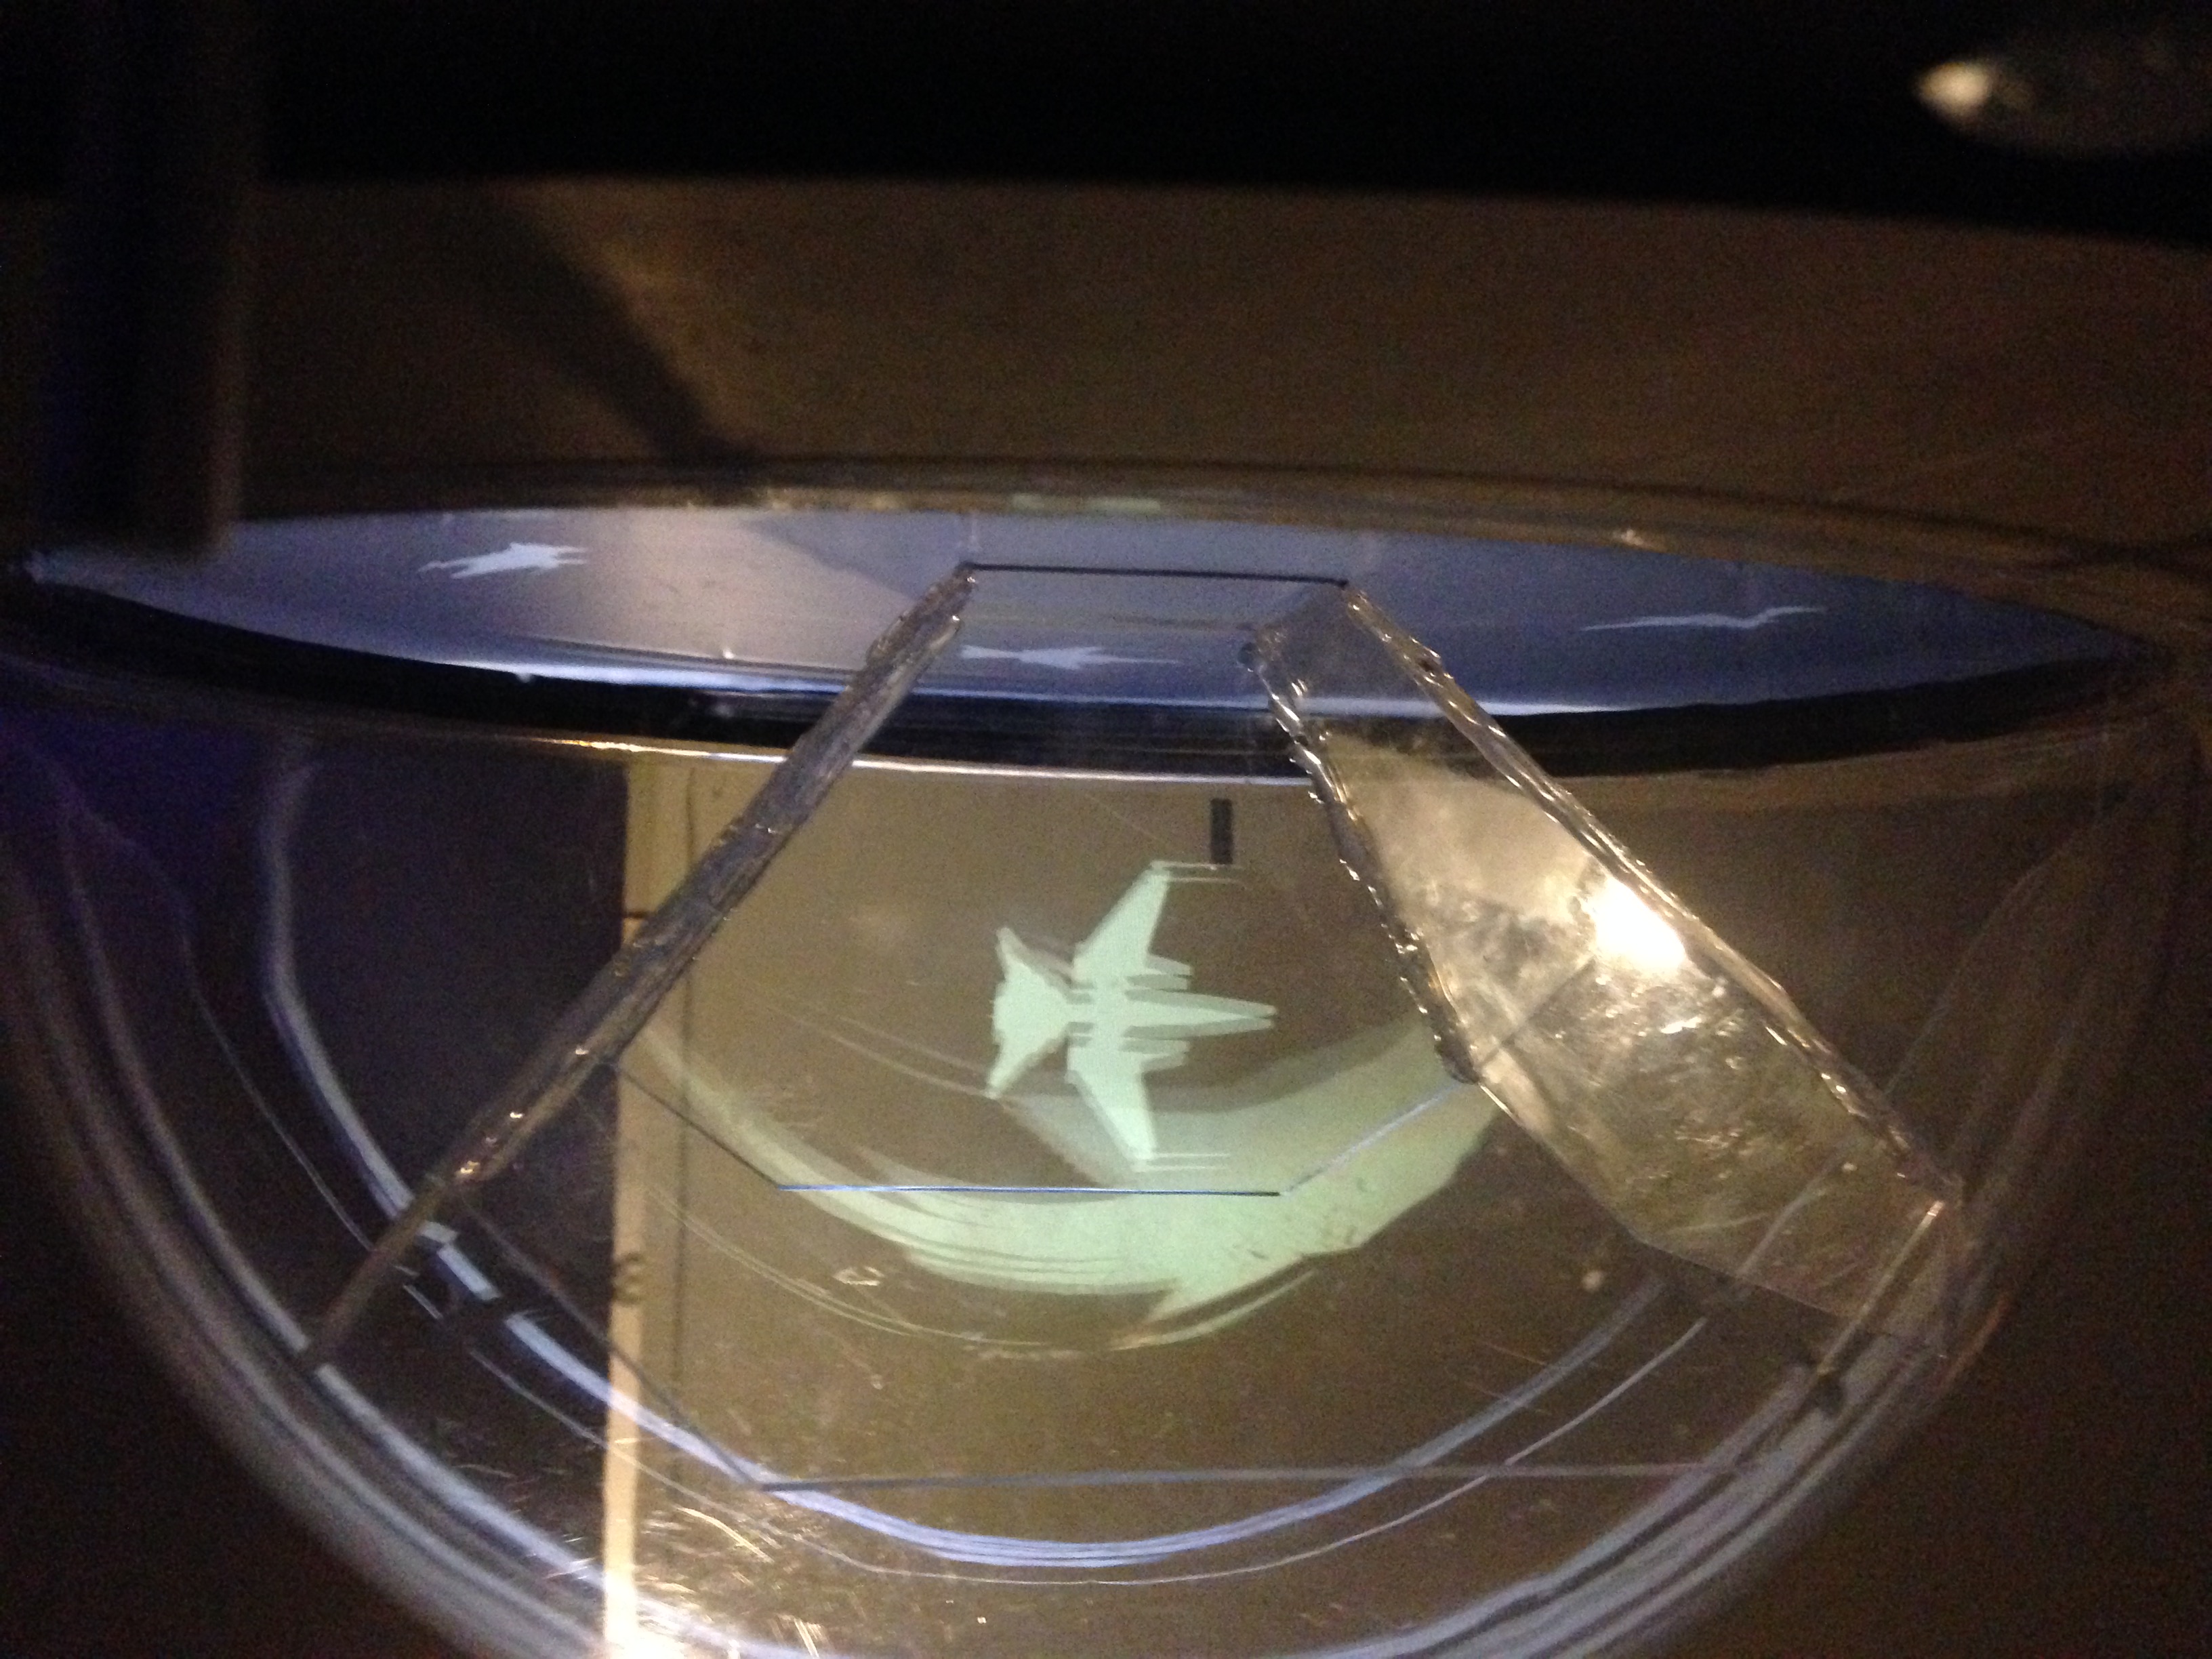
Mode 2: spaceship
Mode 3: pong

Mode 4: drawing tool

road bumps/struggles/what i’d like to improve/add :
Construction of the base could be cleaner. Additionally, the edges of the pyramid could have been joined in a much more precise way.
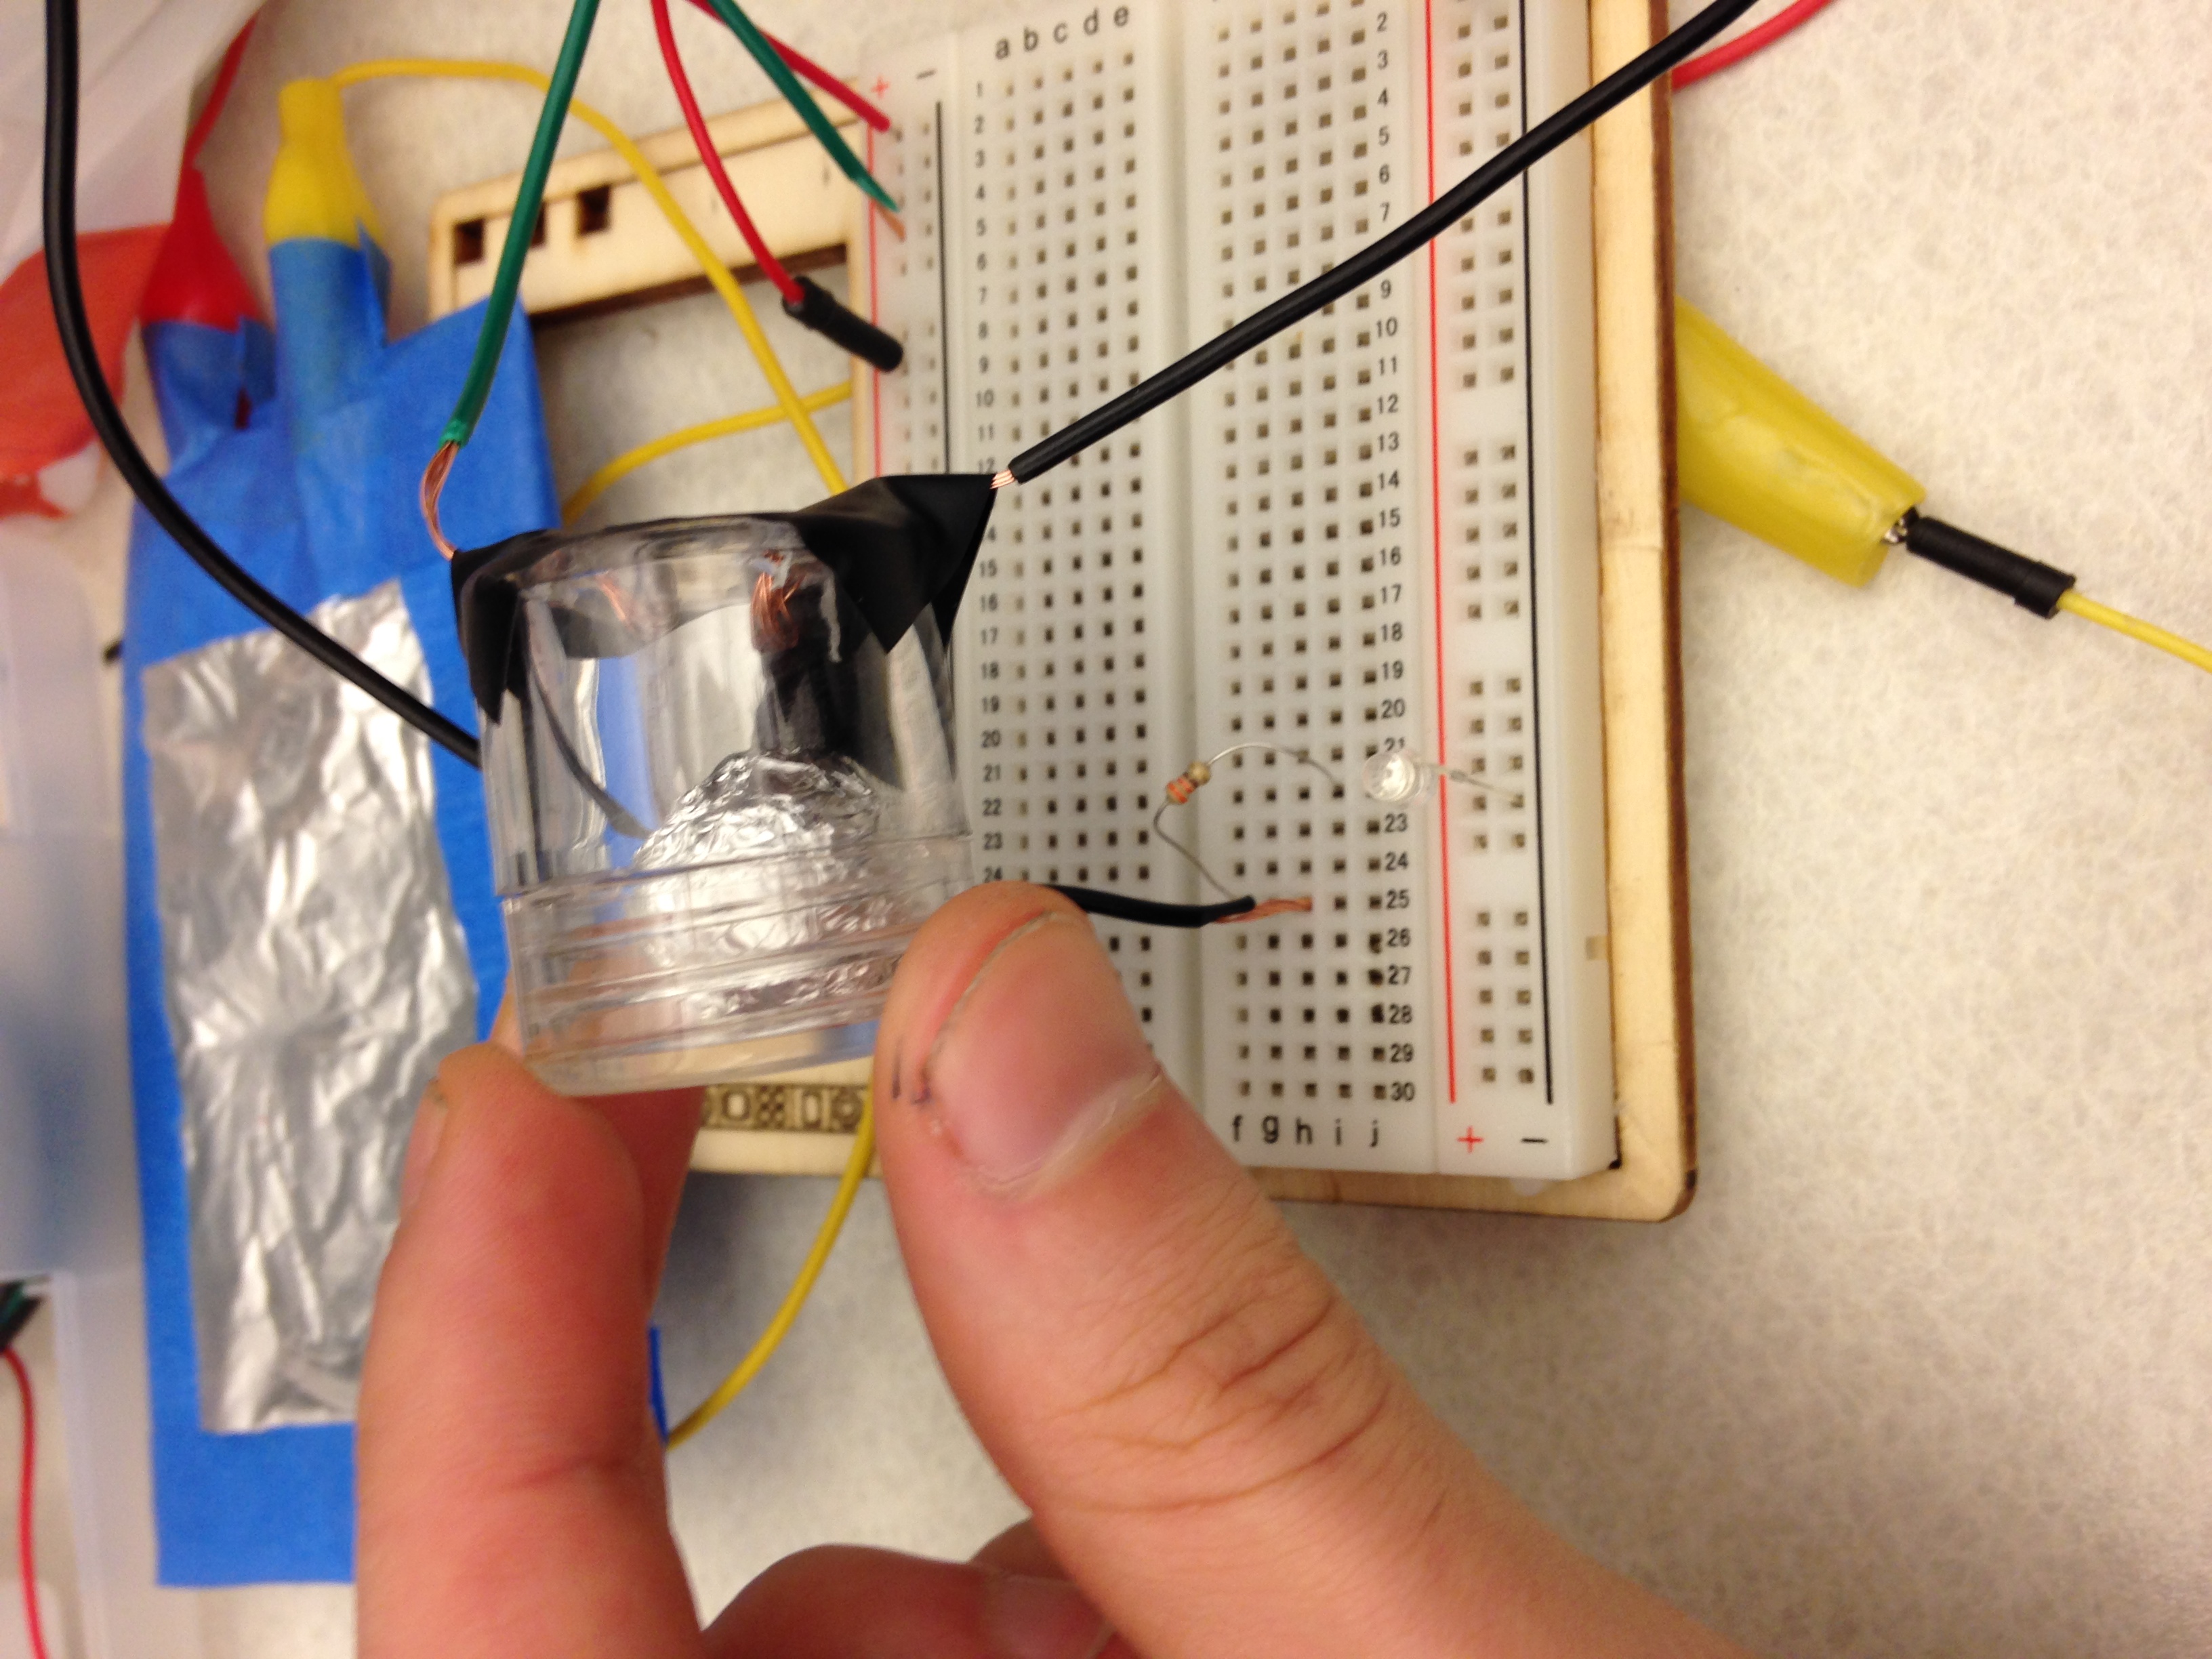
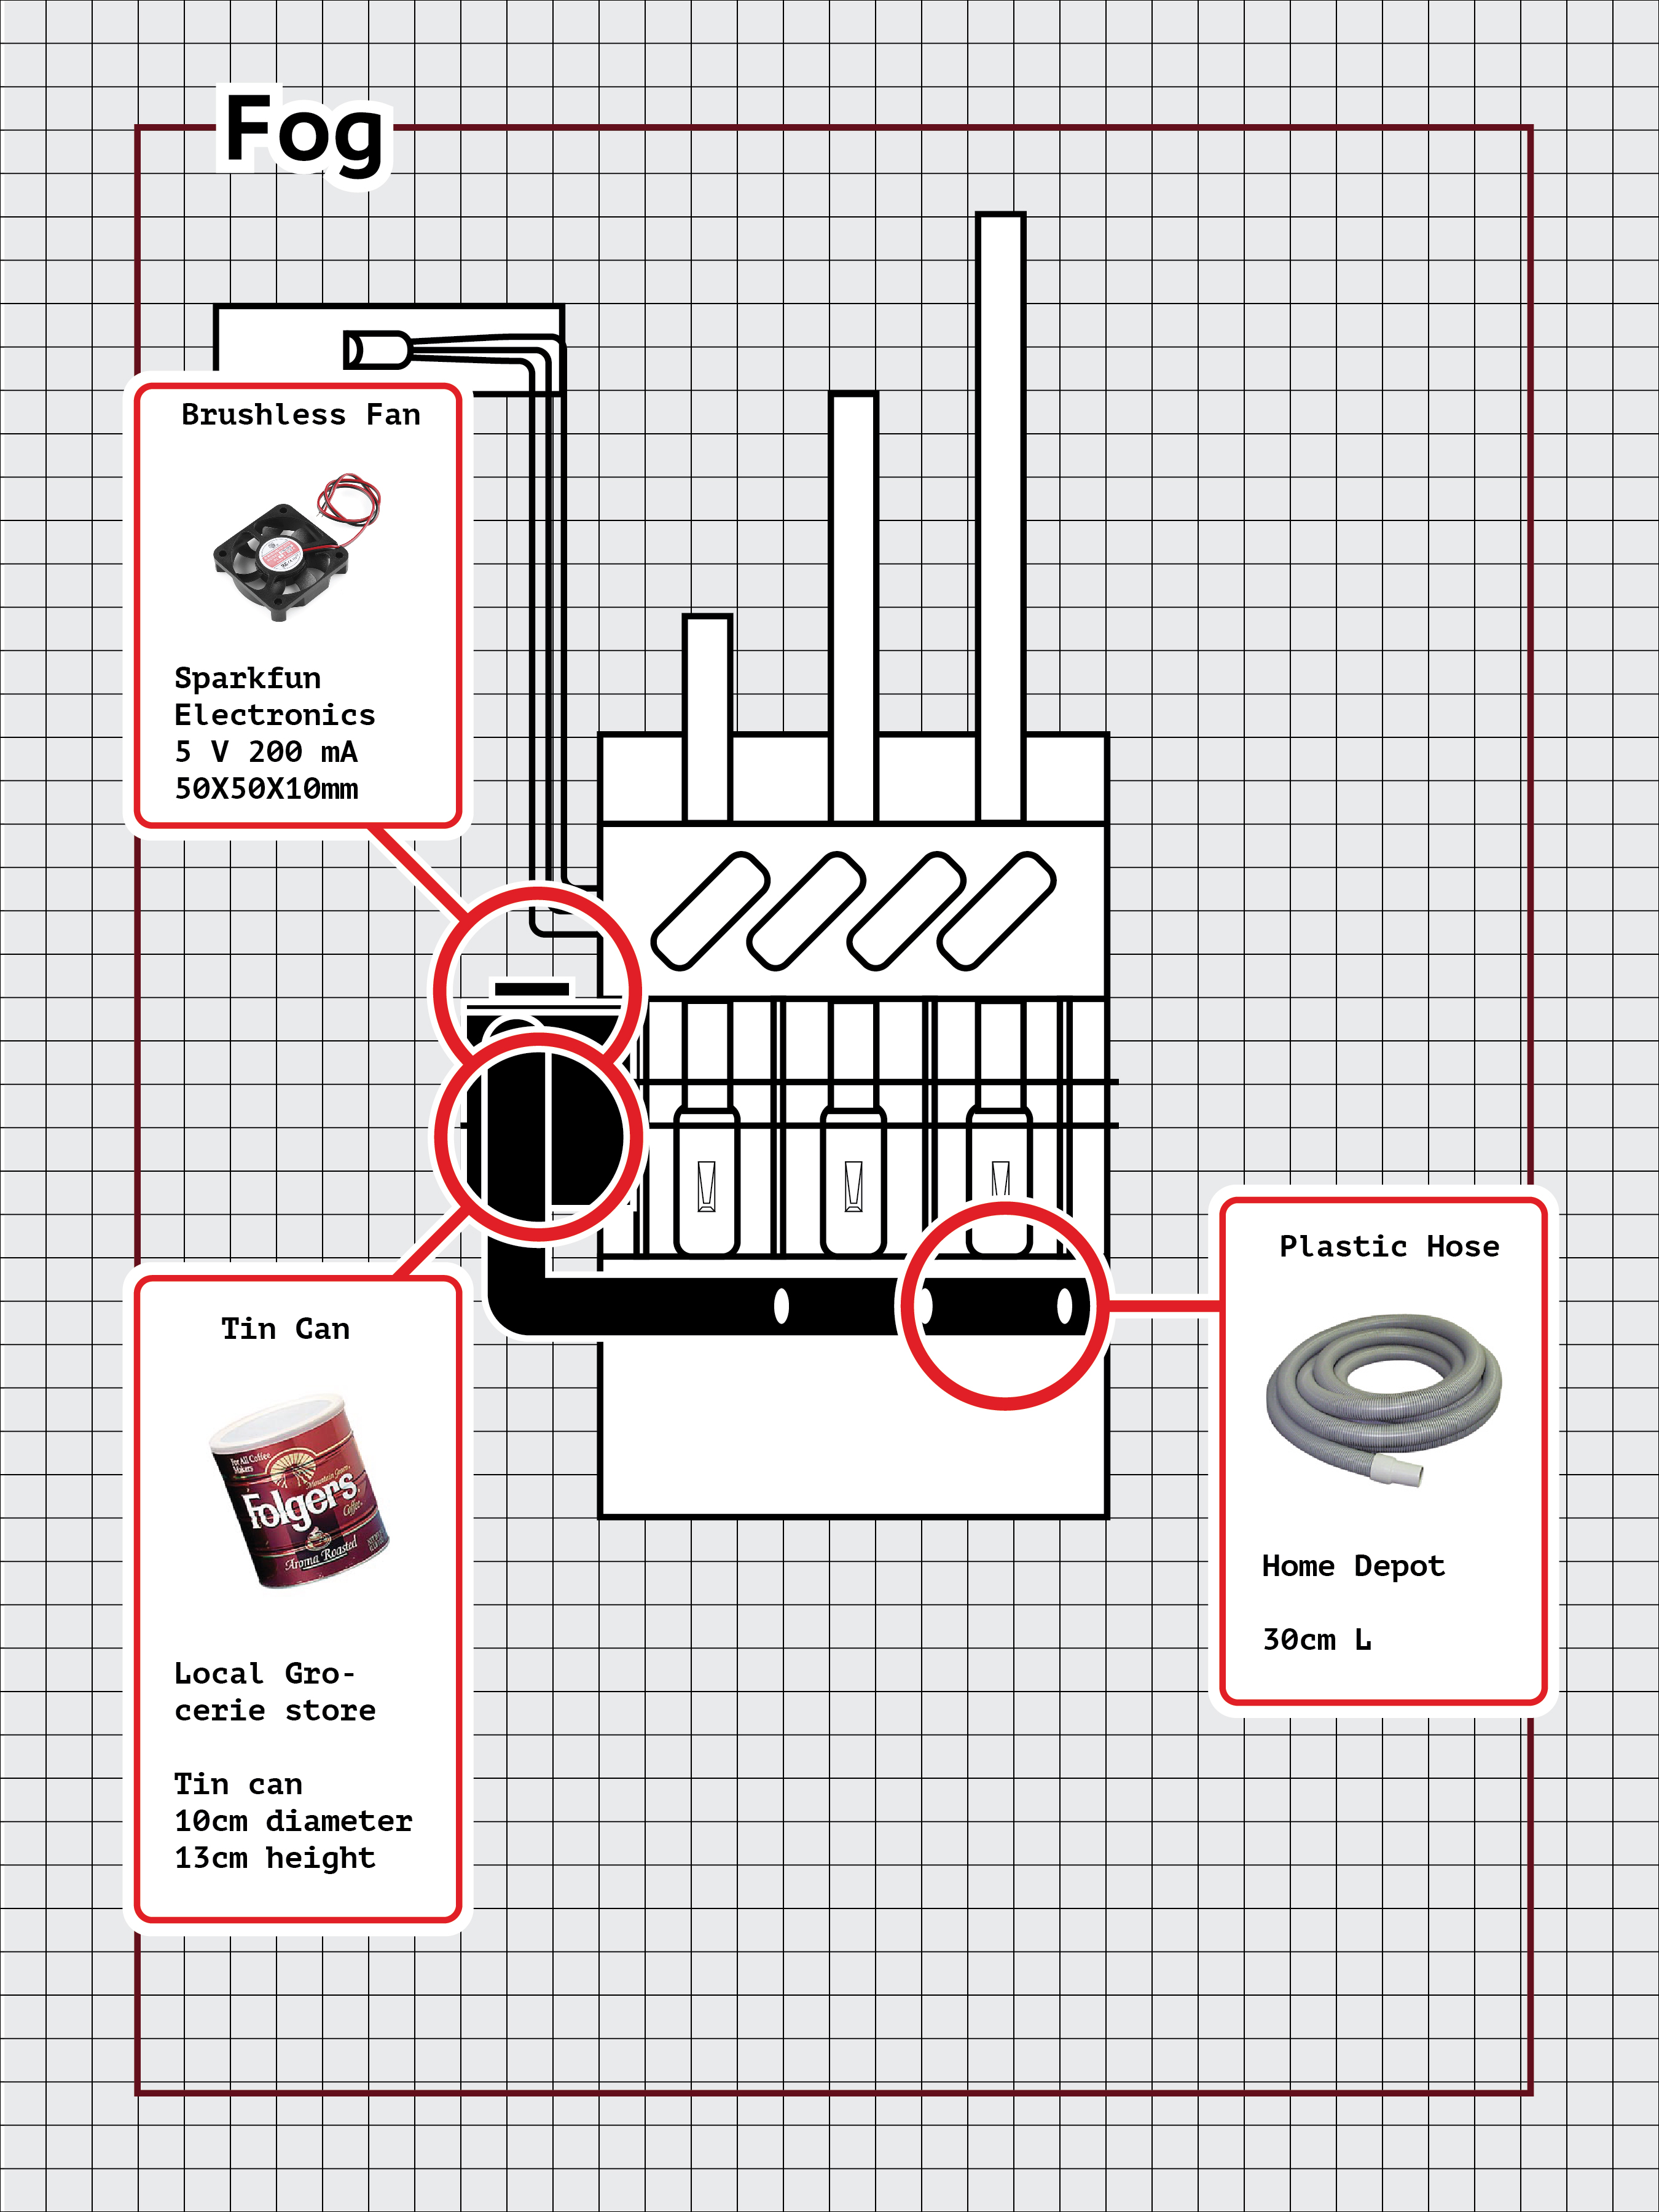
if more time: I could make the lights on bottom respond to the potentiometers. I could also add sound and, as Sven suggested, fog that could shoot out of the hoses to create a more immersive interaction environment. Additionally, it would be great to eventually utilize this as the data visualizer I originally intended it to become. The next project would likely be creating a system to collect and parse the data.
Reflection:
All in all, the project took me a long time to make and I am happy with the end result. I think the amount of time I devoted to the project justifies the end result. I also am fairly pleased with the future spaceship looking aesthetic and the interaction that it induces, requiring people to be engaged with the object for the full experience to take effect.