Project #2 – Grid
Email to Professor due Monday September 18th
Printed Project due Wednesday September 27th
Class Date Project Demonstration: Monday September 11th
Project #2 – 2-D Design Repetition Project Grid (Photoshop and Drawing)
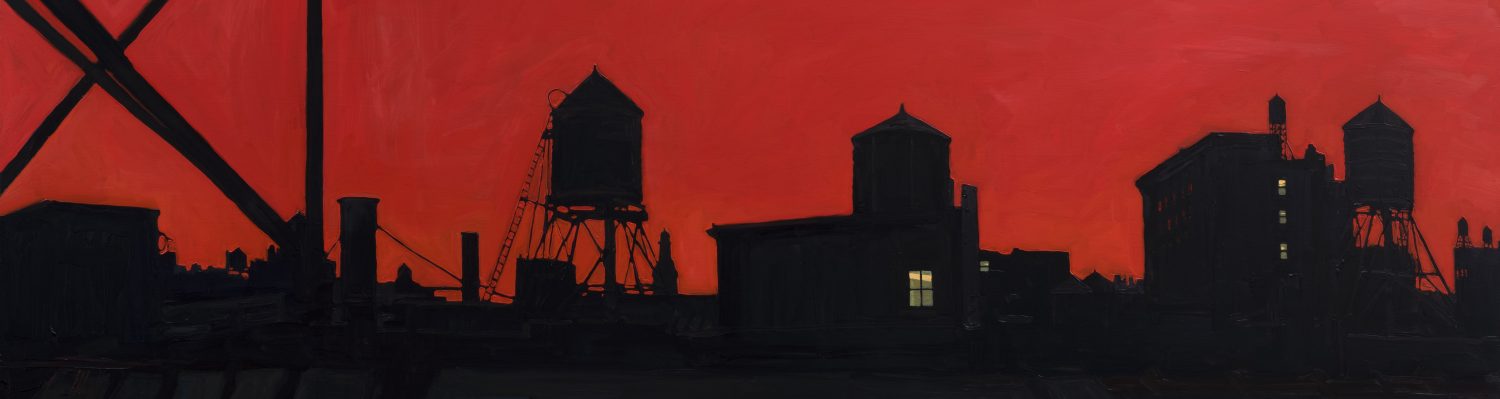
Orientation is as important an aspect of an image as shape or color. The directional focus an artist selects affects the relationship of forms within the image and also informs the viewer’s perspective. Within the image, there is no prescribed choice of “up” as opposed to “down.”
This is a study of abstracting the human figure. Based on your in-class figure drawings, choose one drawing and place it into photoshop. Select one square section of the drawing that you find compositionally intriguing and repeat this image in a grid format, changing the rotation, color, hue, balance, and form in each square section.
Skill Sets: Photoshop– Grids, Guidelines, Snapping to Grids, Duplicating, Fill and Adjustment Layers, Opacity, Manipulations for Photoshop, Blend Modes, Selection Tools
Drawing and Observational Skill Sets: Abstraction vs. Representation, organized chaos, void and mass, visual relationships, the grid, the gesture
Color Theory Concepts: hue, complimentary colors, color in context, saturation, value, temperature (warm and cool colors), intensity
Materials: In-Class figure drawings (newsprint and charcoal), Photoshop (laptop computers)
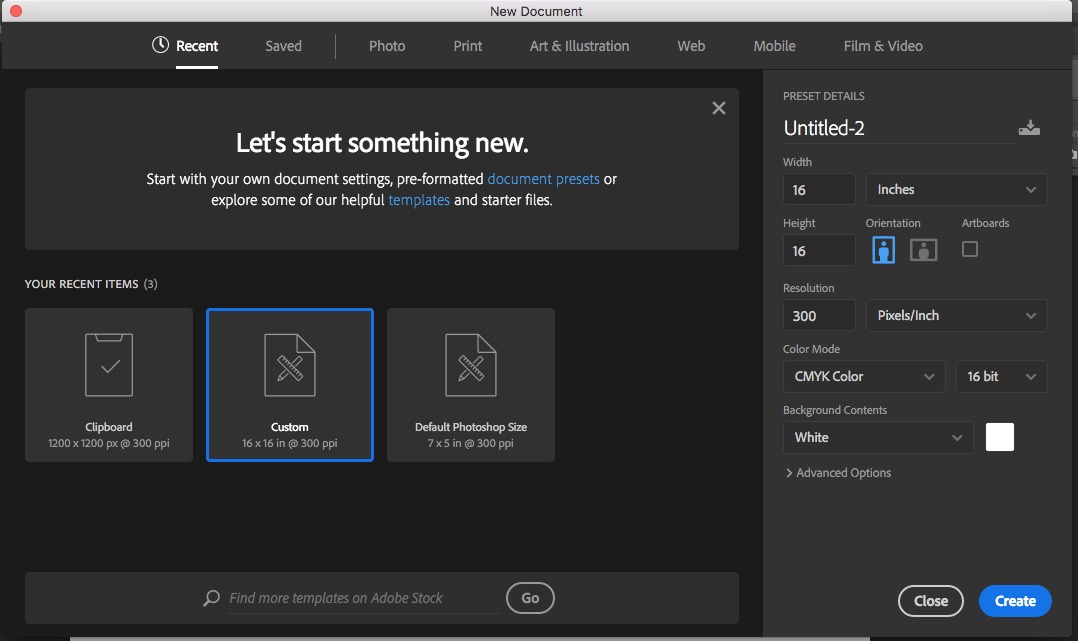 Step 1: Create a New Project
Make sure your settings are ready for print.
Dimensions of 16×16 Inches
300 DPI
CMYK
16 bit
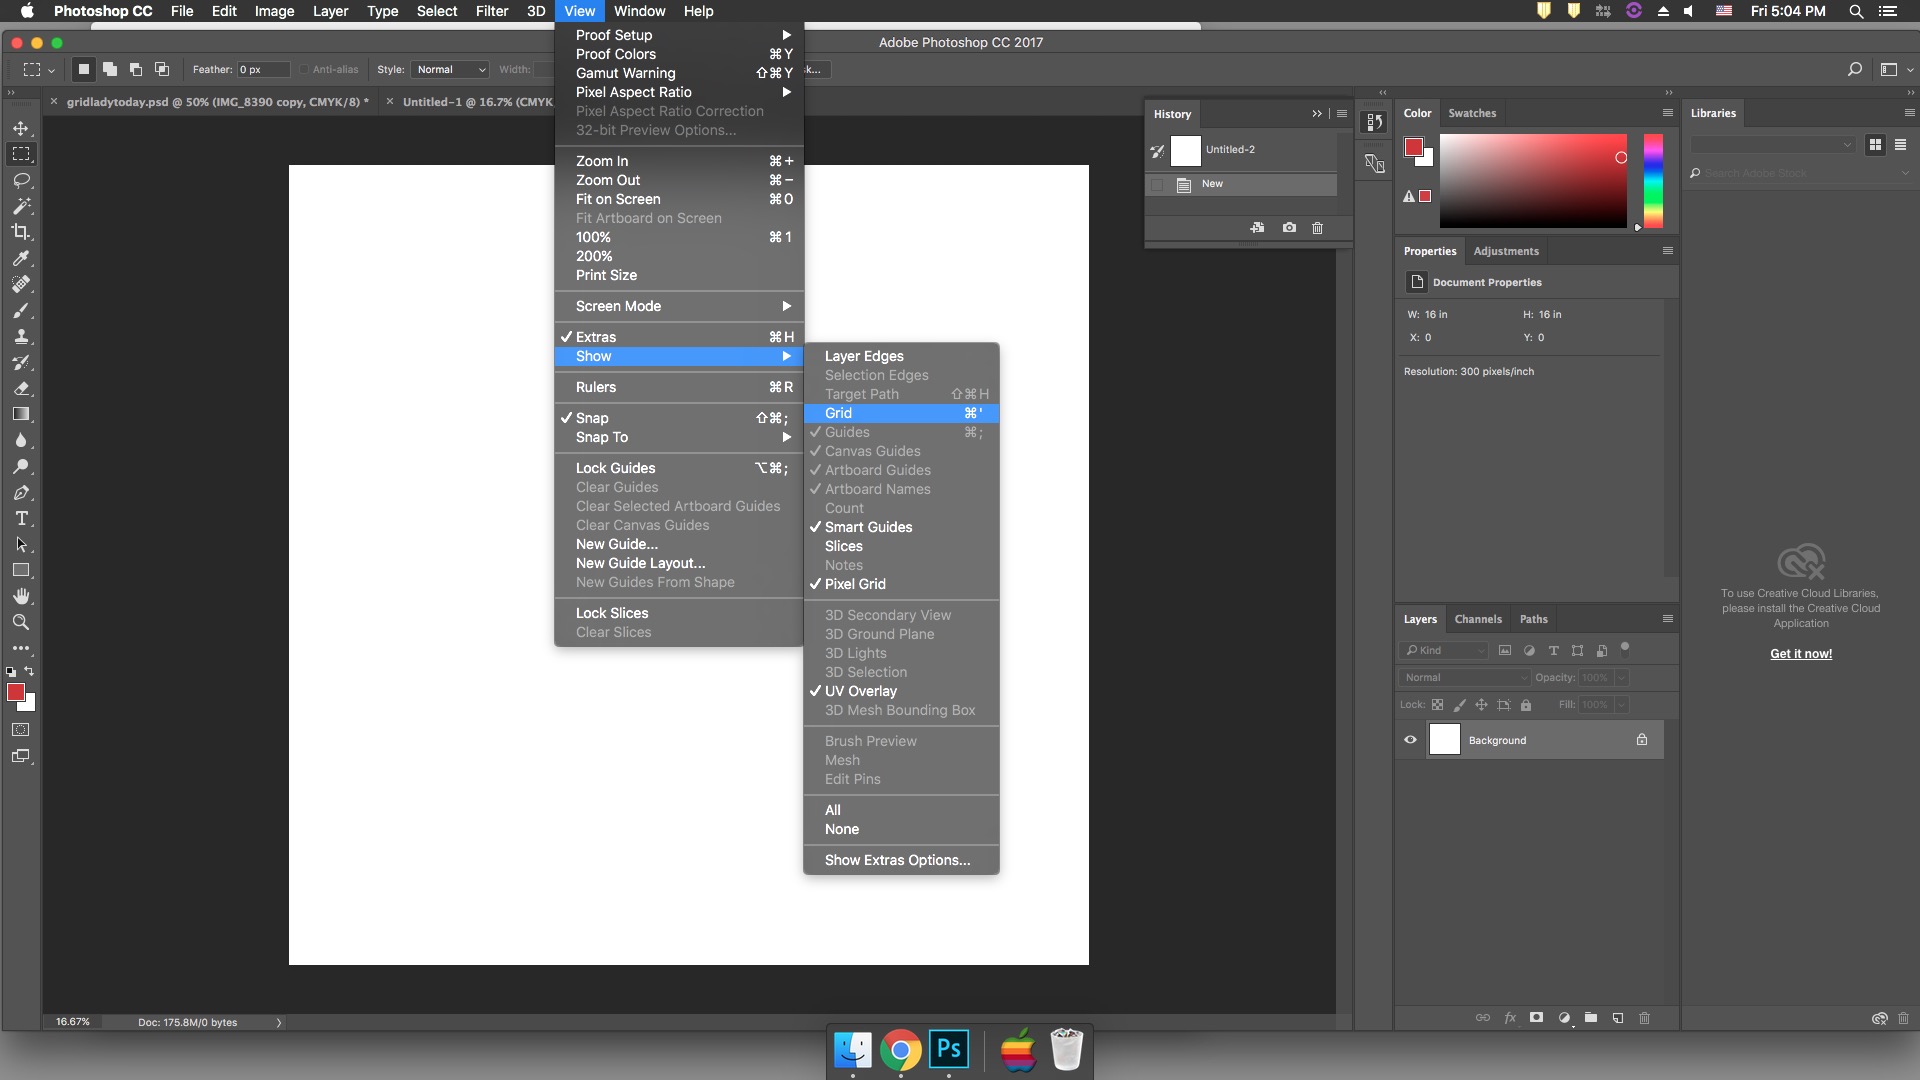 Step 2: Enable the Grid
To turn on Grid go to Menu-> View -> Show -> Grid
The grid will include “snapping” which means if you move your image close to one of the grid lines, it will automatically snap to it.
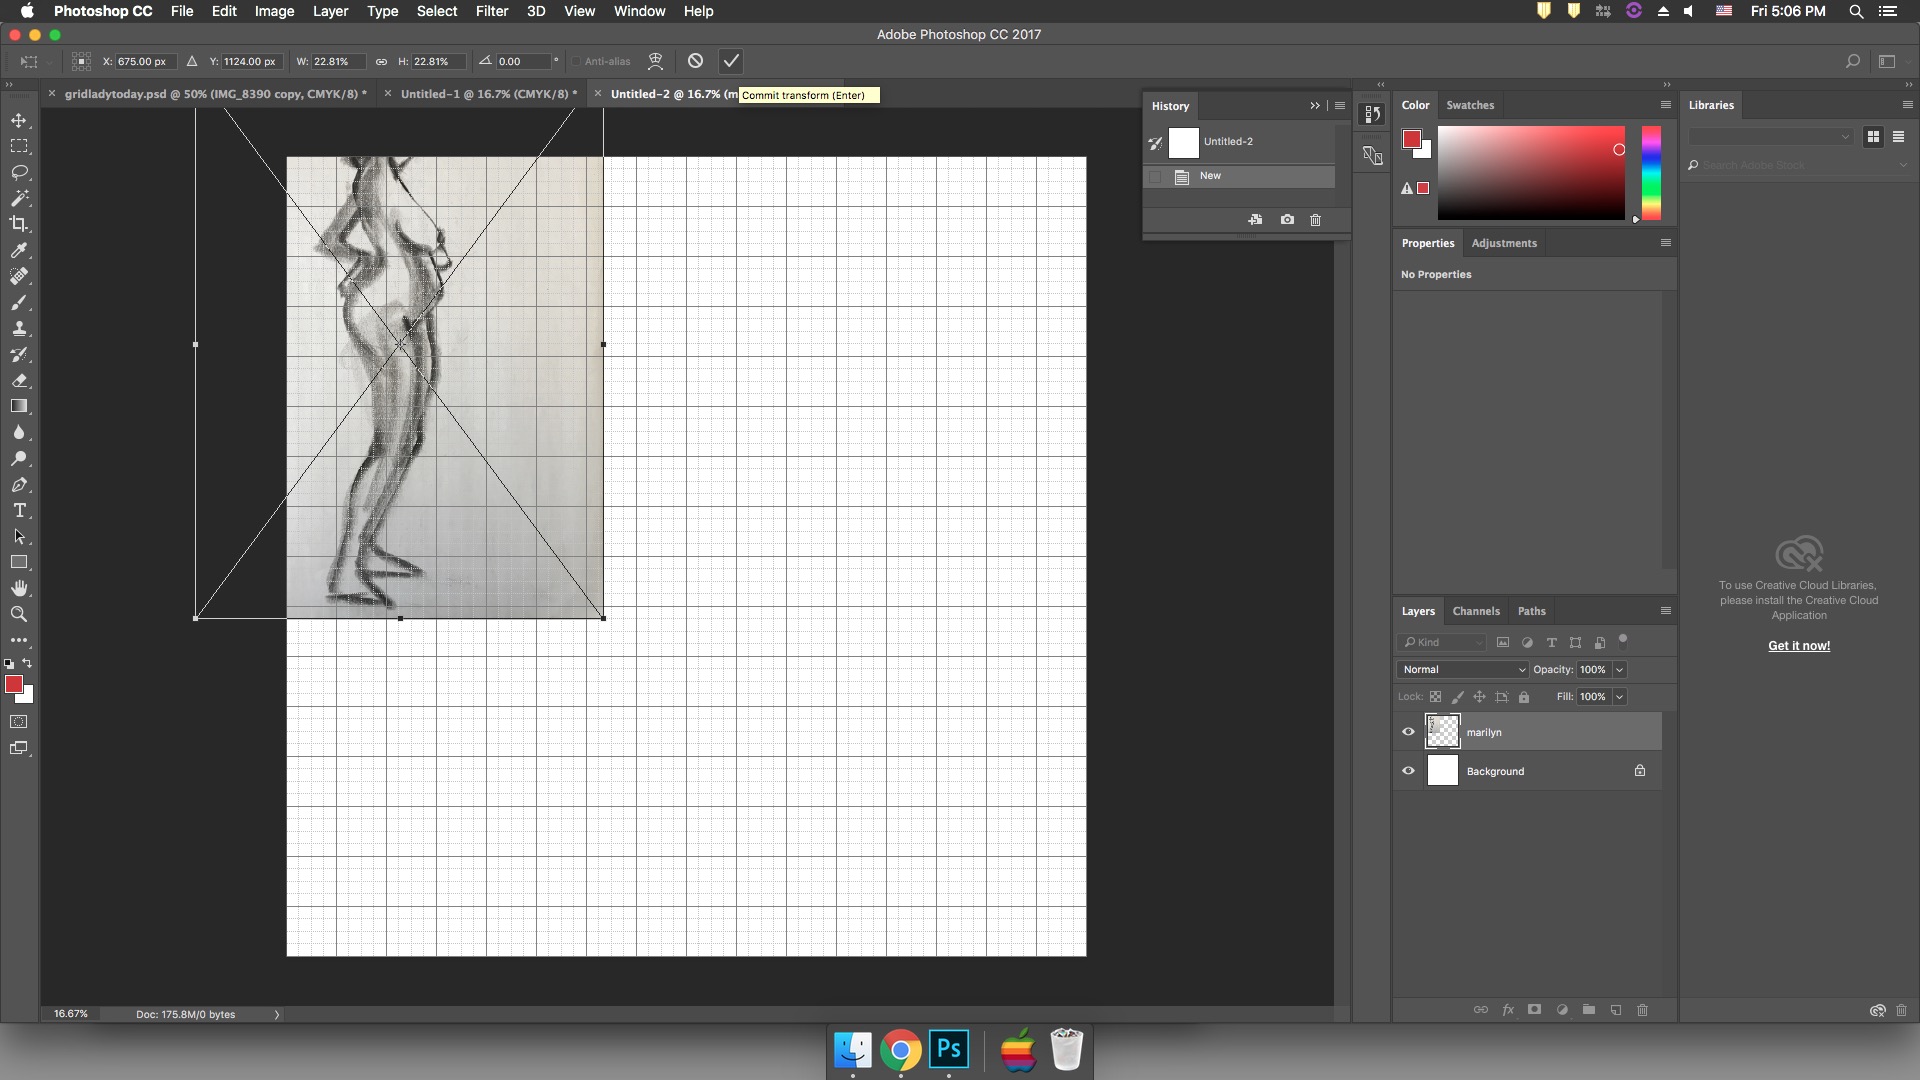 Step 3: Place
Drag and Drop Image into Project.
Place and Resize Image to create dynamic composition into the first 4×4 inch space.
Hit OK to complete
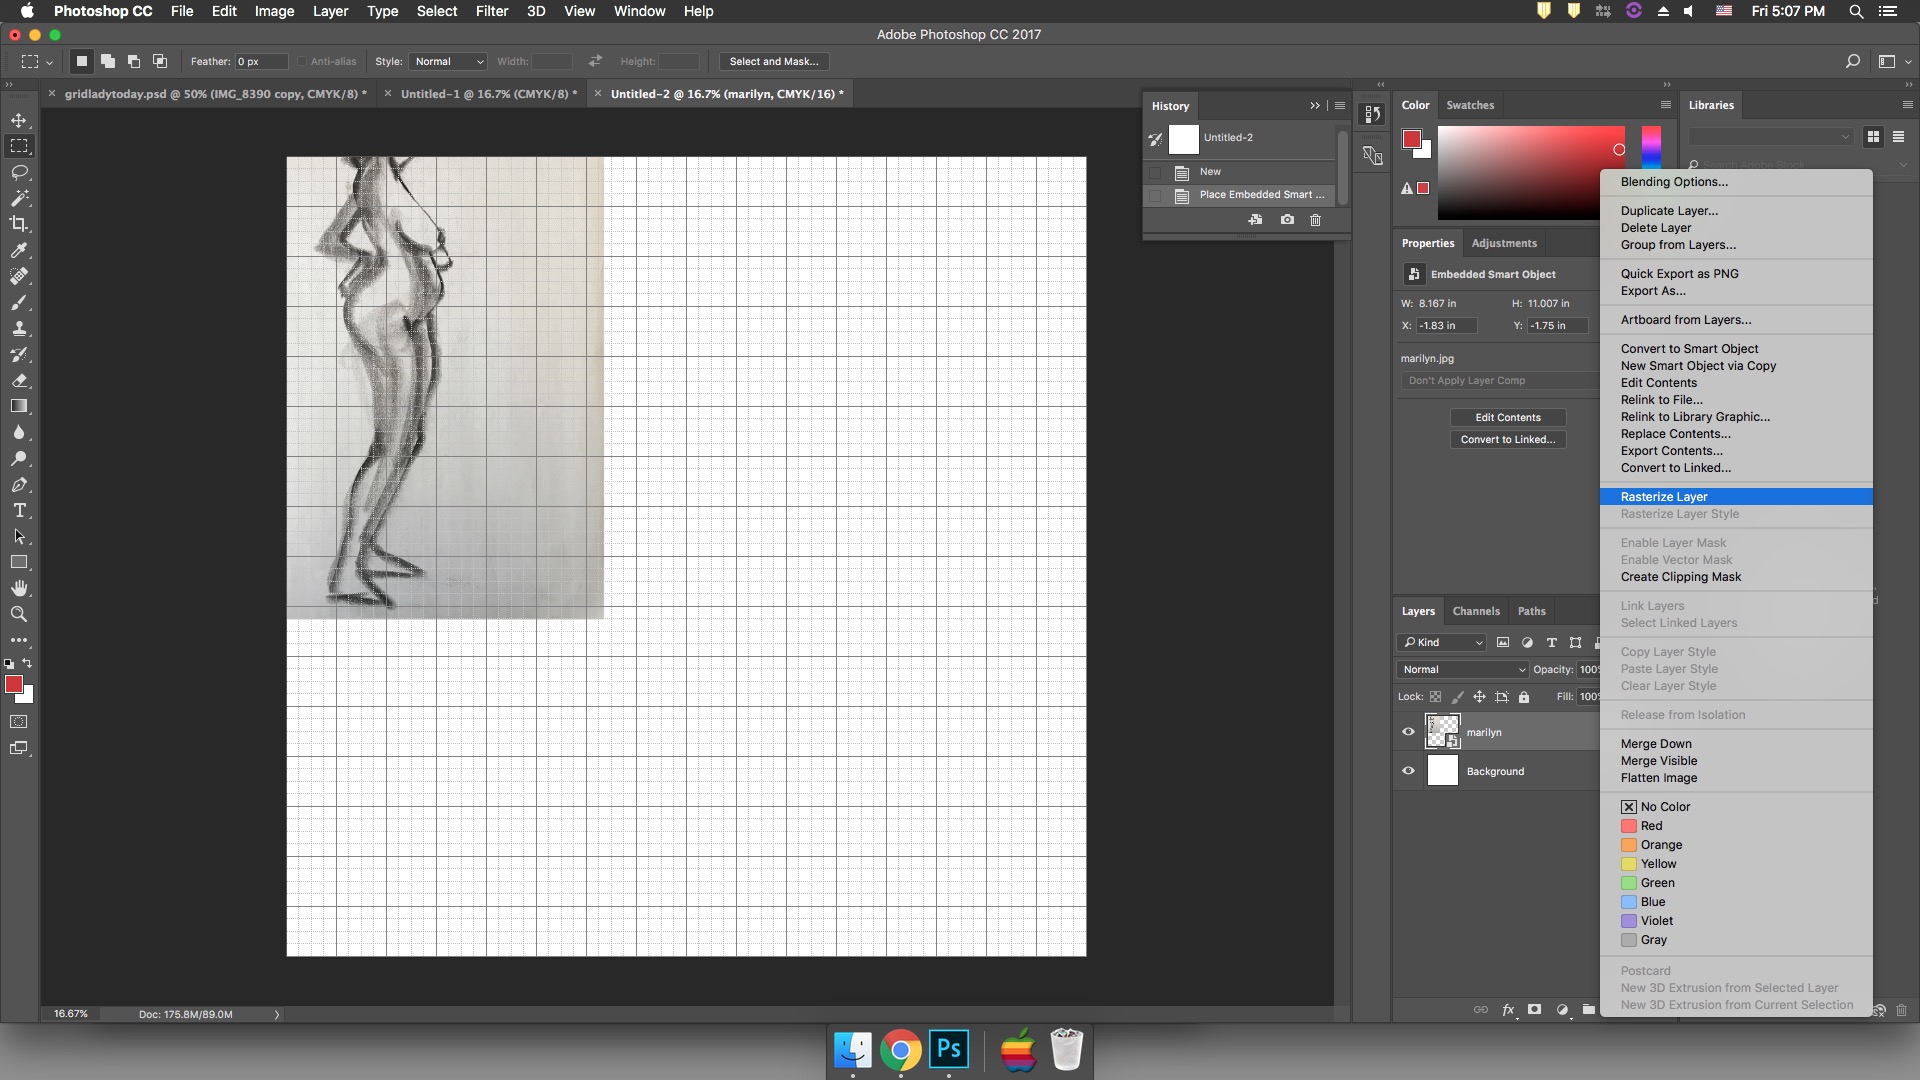 Step 4: Rasterize
Rasterize the image to make it editable. Do this by right clicking on the image layer and selecting Rasterize Image.
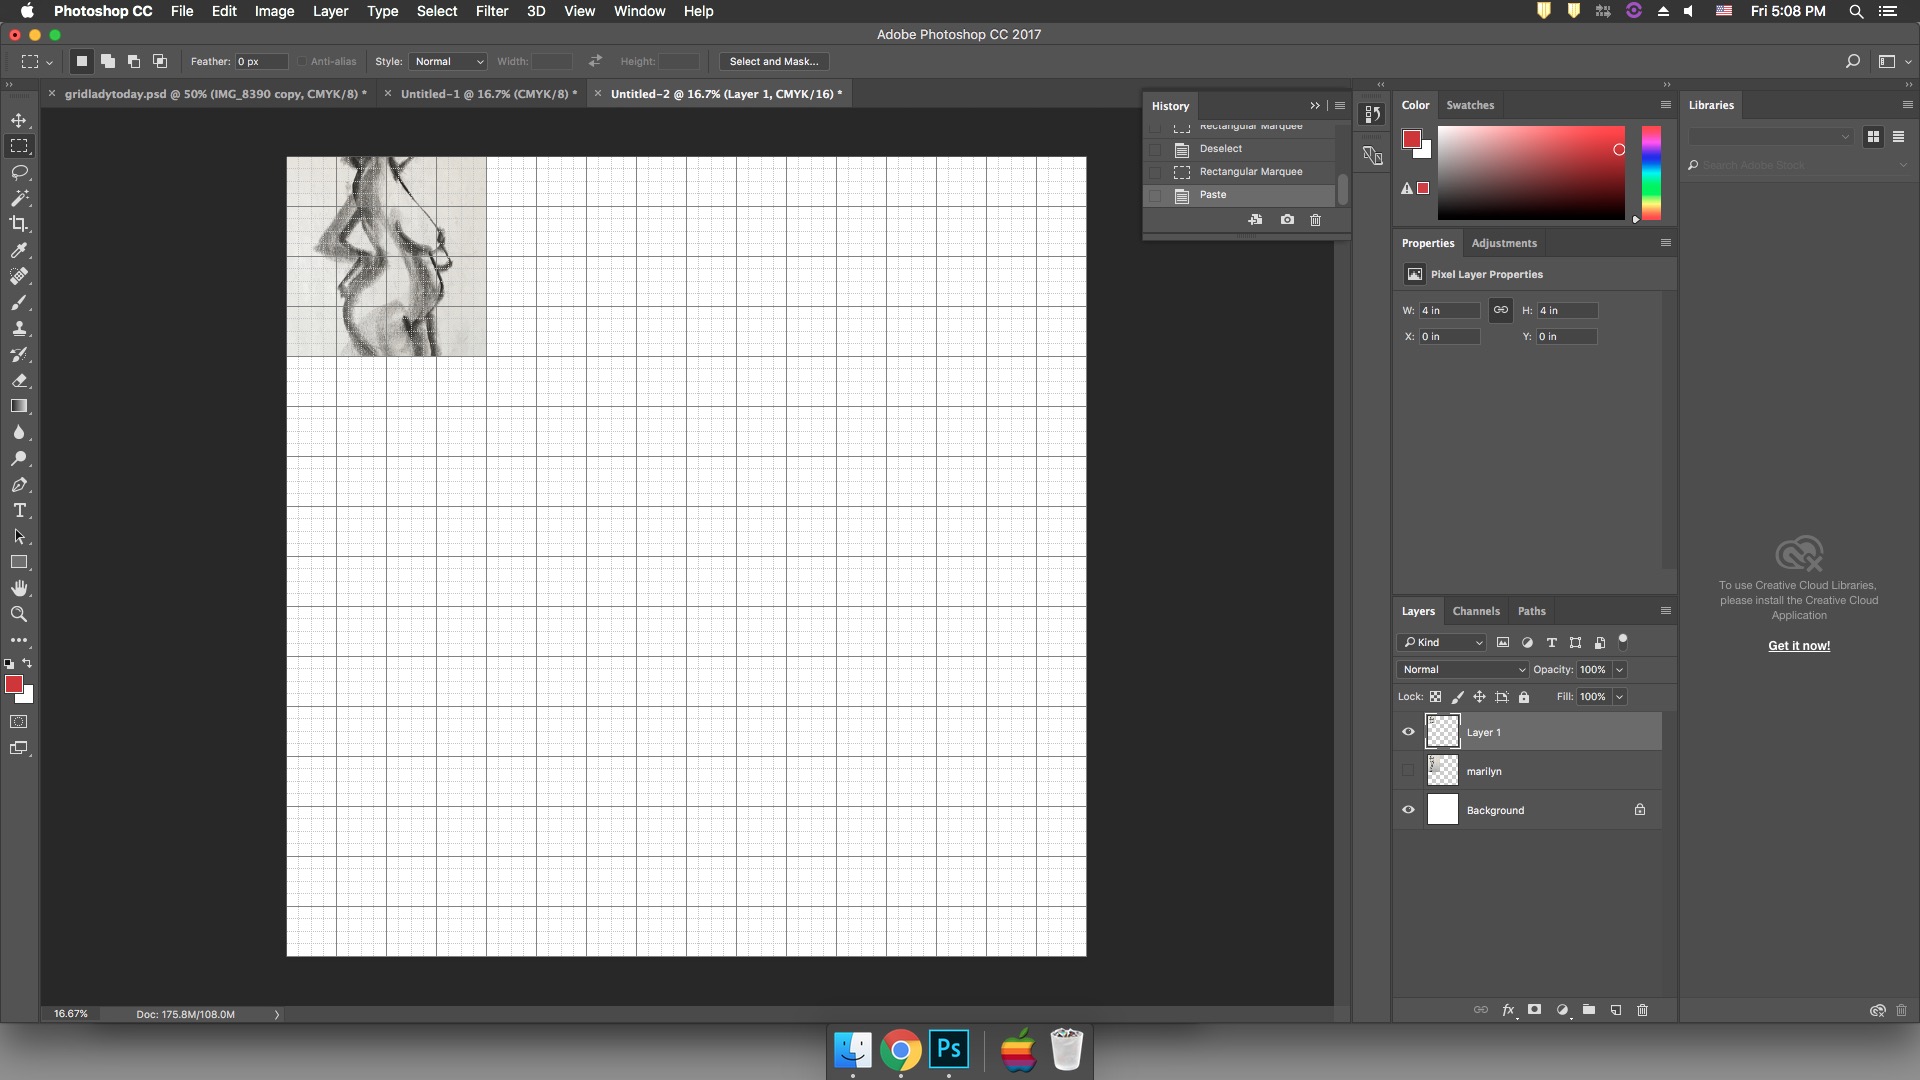
 Step 5: Select
Select out a 4”x4” square with the Rectangular Marquee tool. The best way to make sure your selection is accurate is to click on the top left corner, outside of the image. Then drag until you snap to the 4”x4” mark. There should be a little pop up saying where exactly you are.
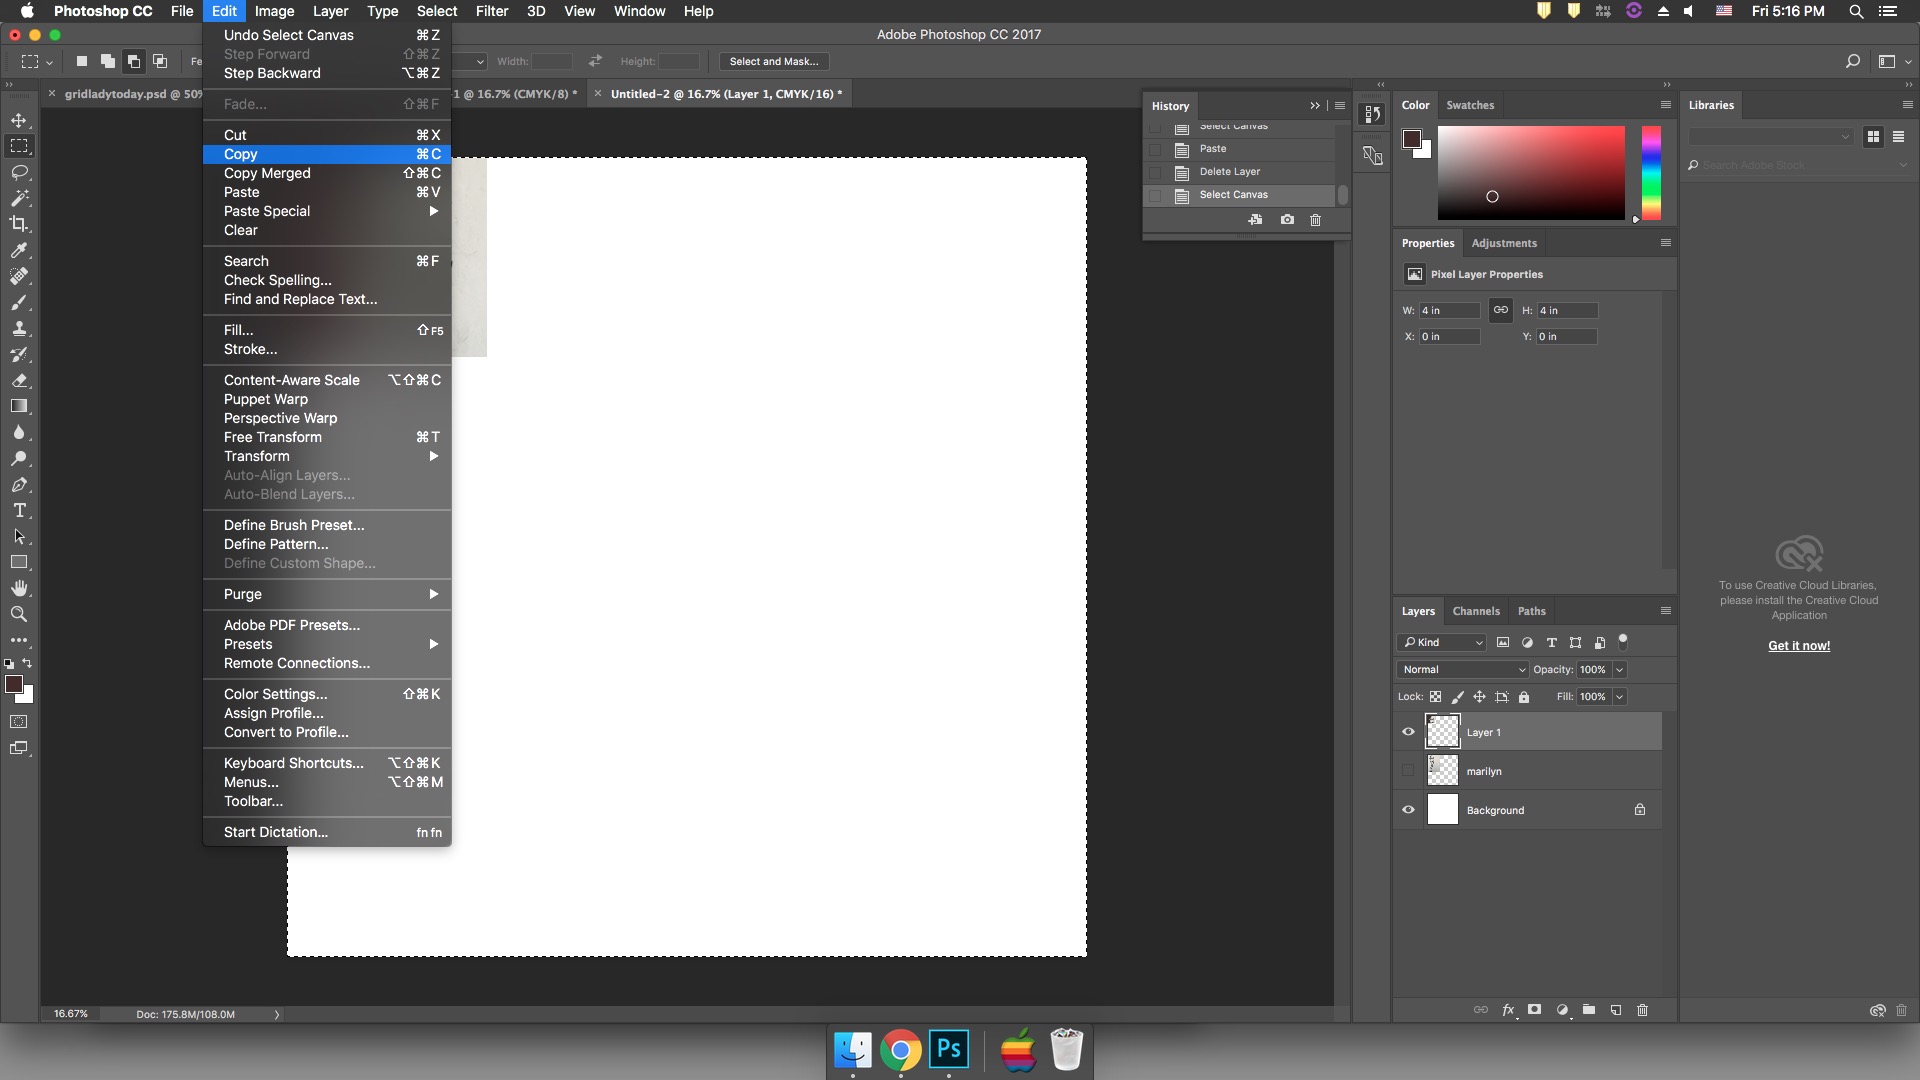
 Step 6: Copy and Paste
Copy your selection by either going to Edit->Copy or using the Command+C shortcut.
Paste your selection by either going to the Edit->Paste or using the Command+V shortcut.
 Step 7: Edit
Zoom in on your 4”x4” asset by either using the zoom tool which is under the magnifying glass symbol in the tool menu. Also, I recommend turning off the grid at this point.
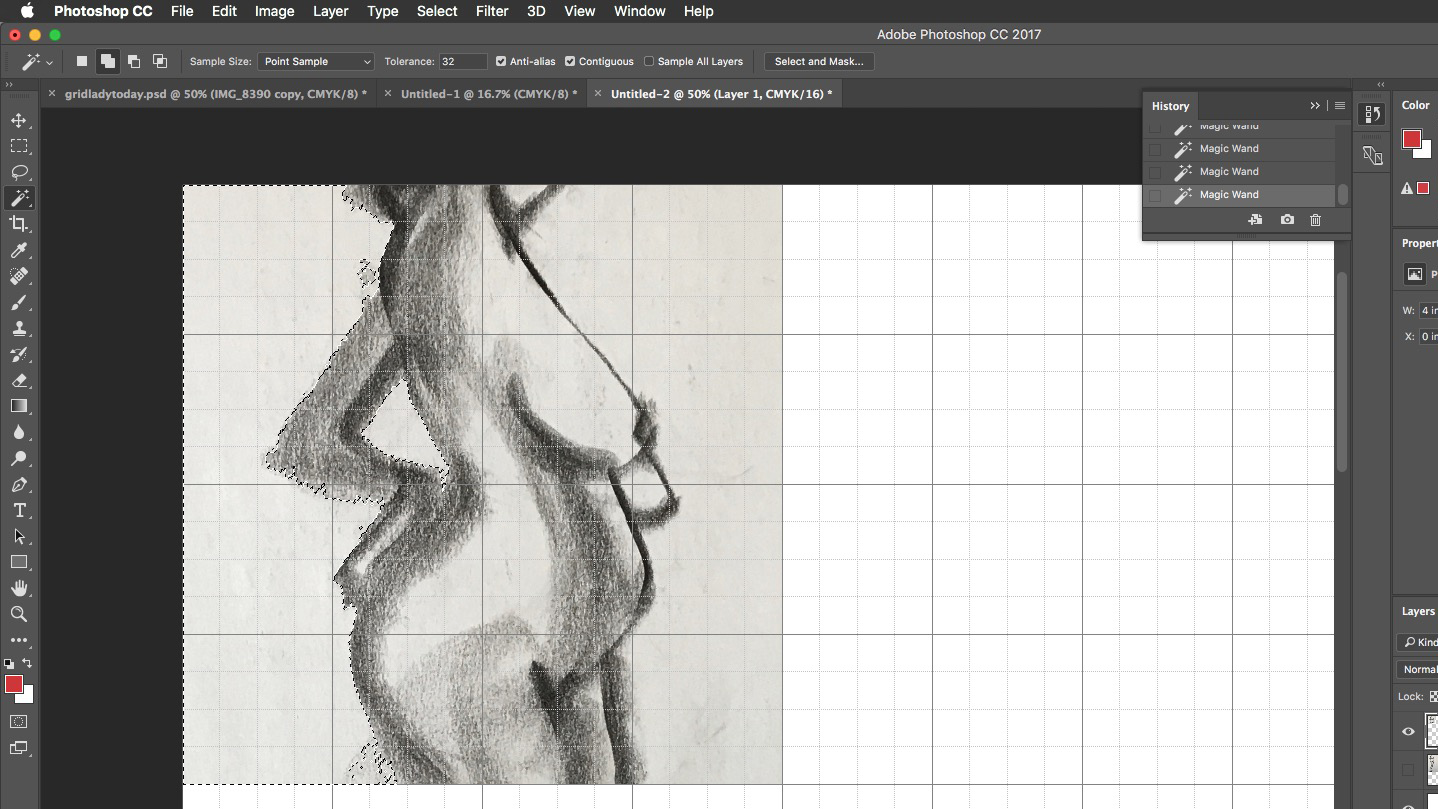
We want to alter the image to have a better balance of light and dark.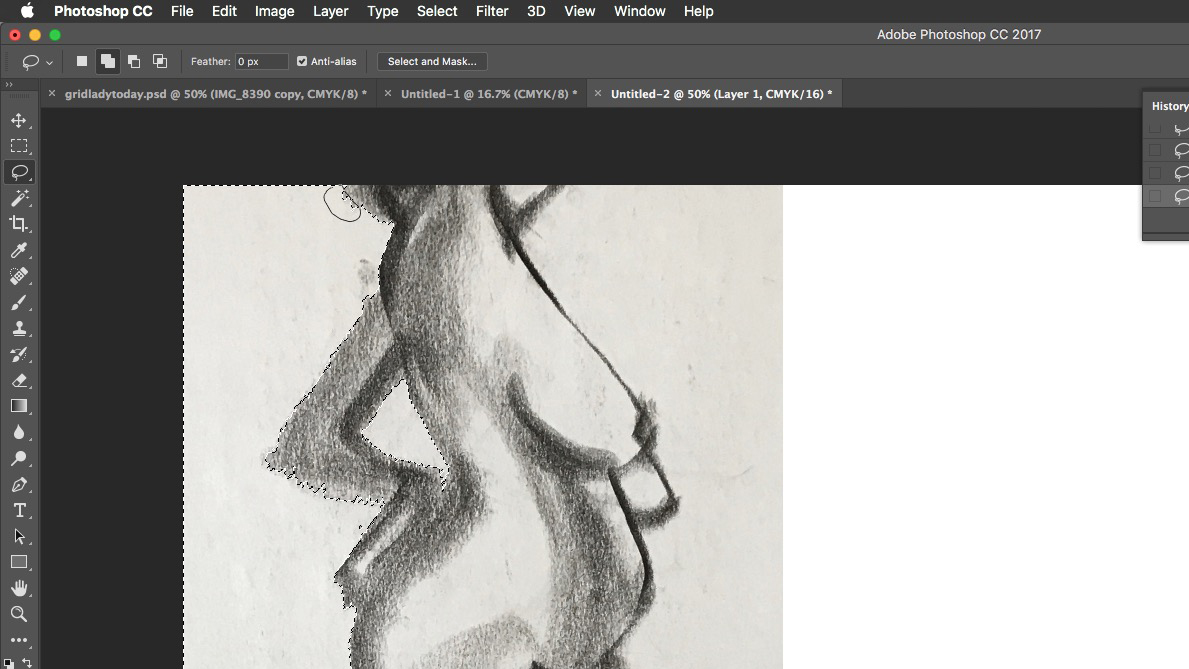
First, use the magic wand tool, hidden under the quick selection tool, to select out portions of your image to change. To add to your selection, make sure “add to selection” is selected. It is the symbol with 2 white boxes overlapping.
To add or subtract distracting moments, use the lasso tool.
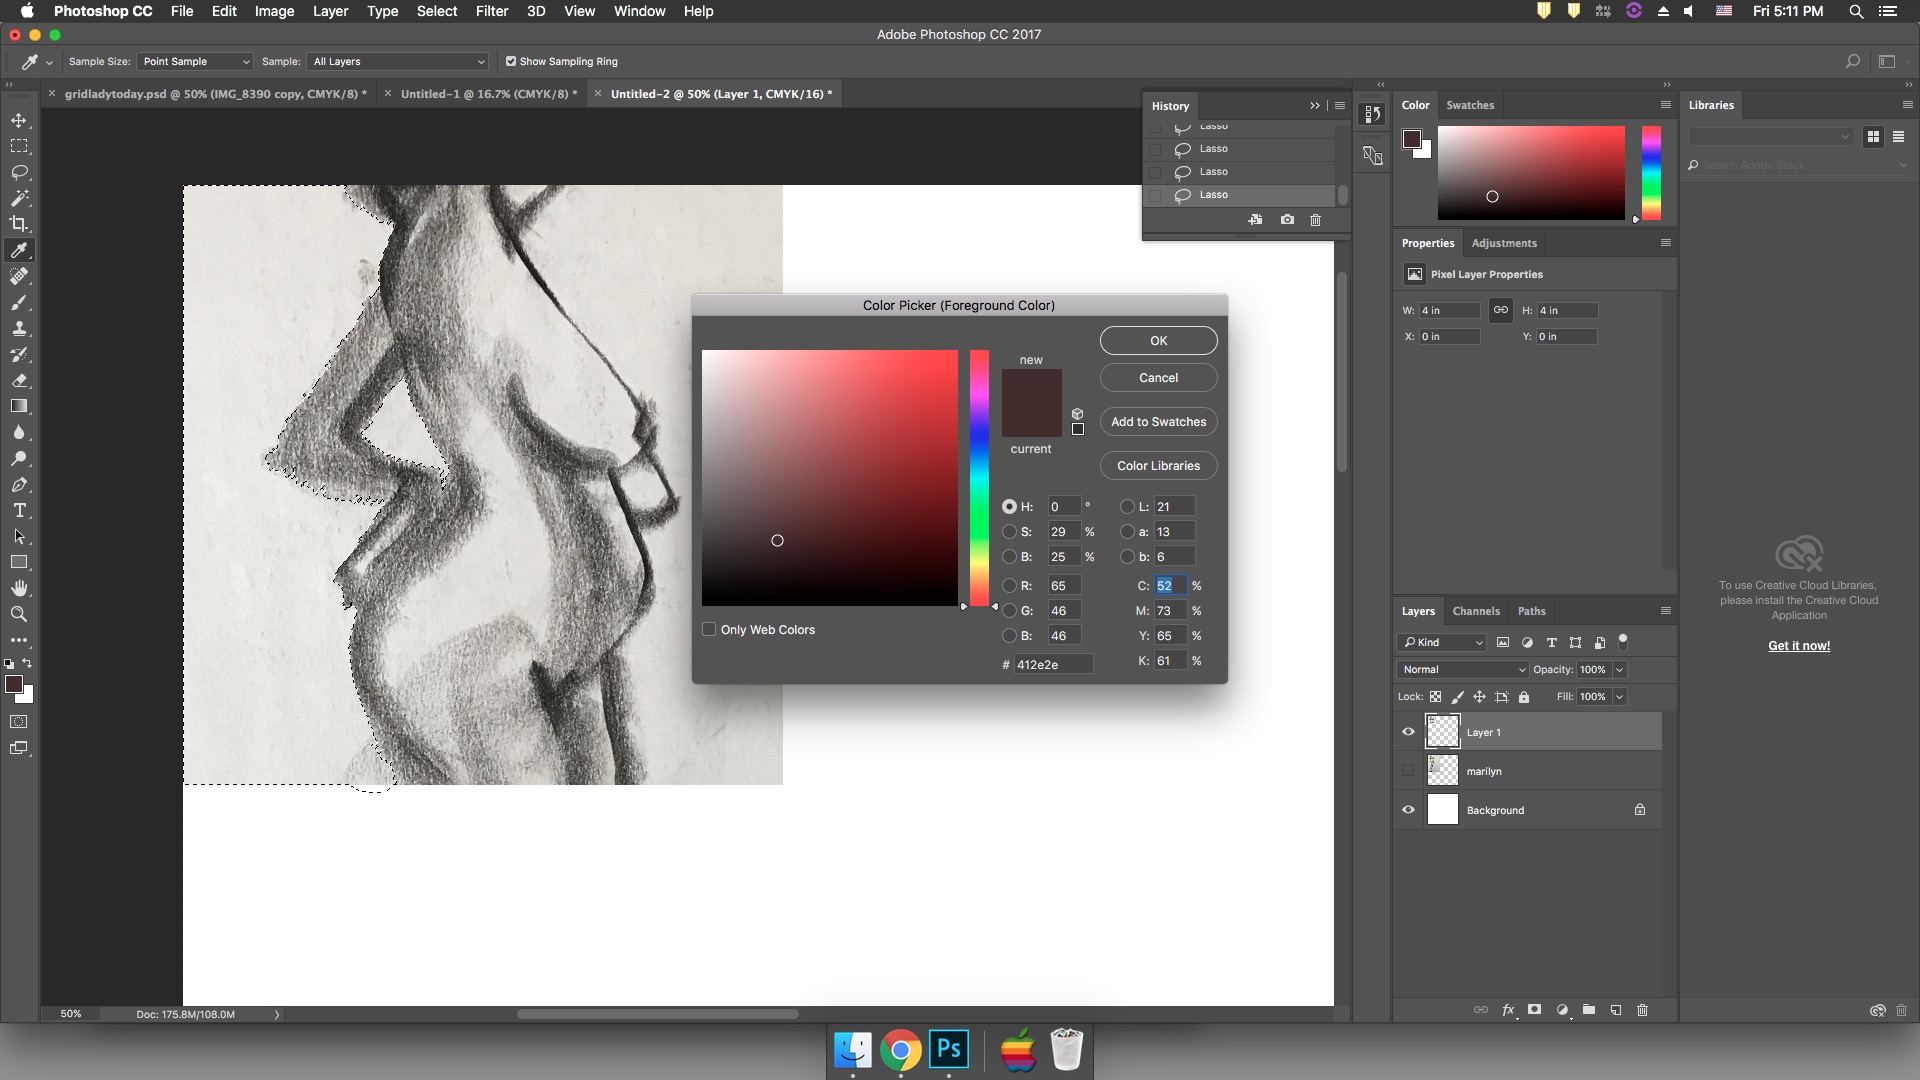 Step 8: Color
Once you are happy with your selection, we are going to choose a color to fill it in with. Go to the color chip at the bottom of the tool menu. Make sure to select to top color. Then use the color picker to choose a color.
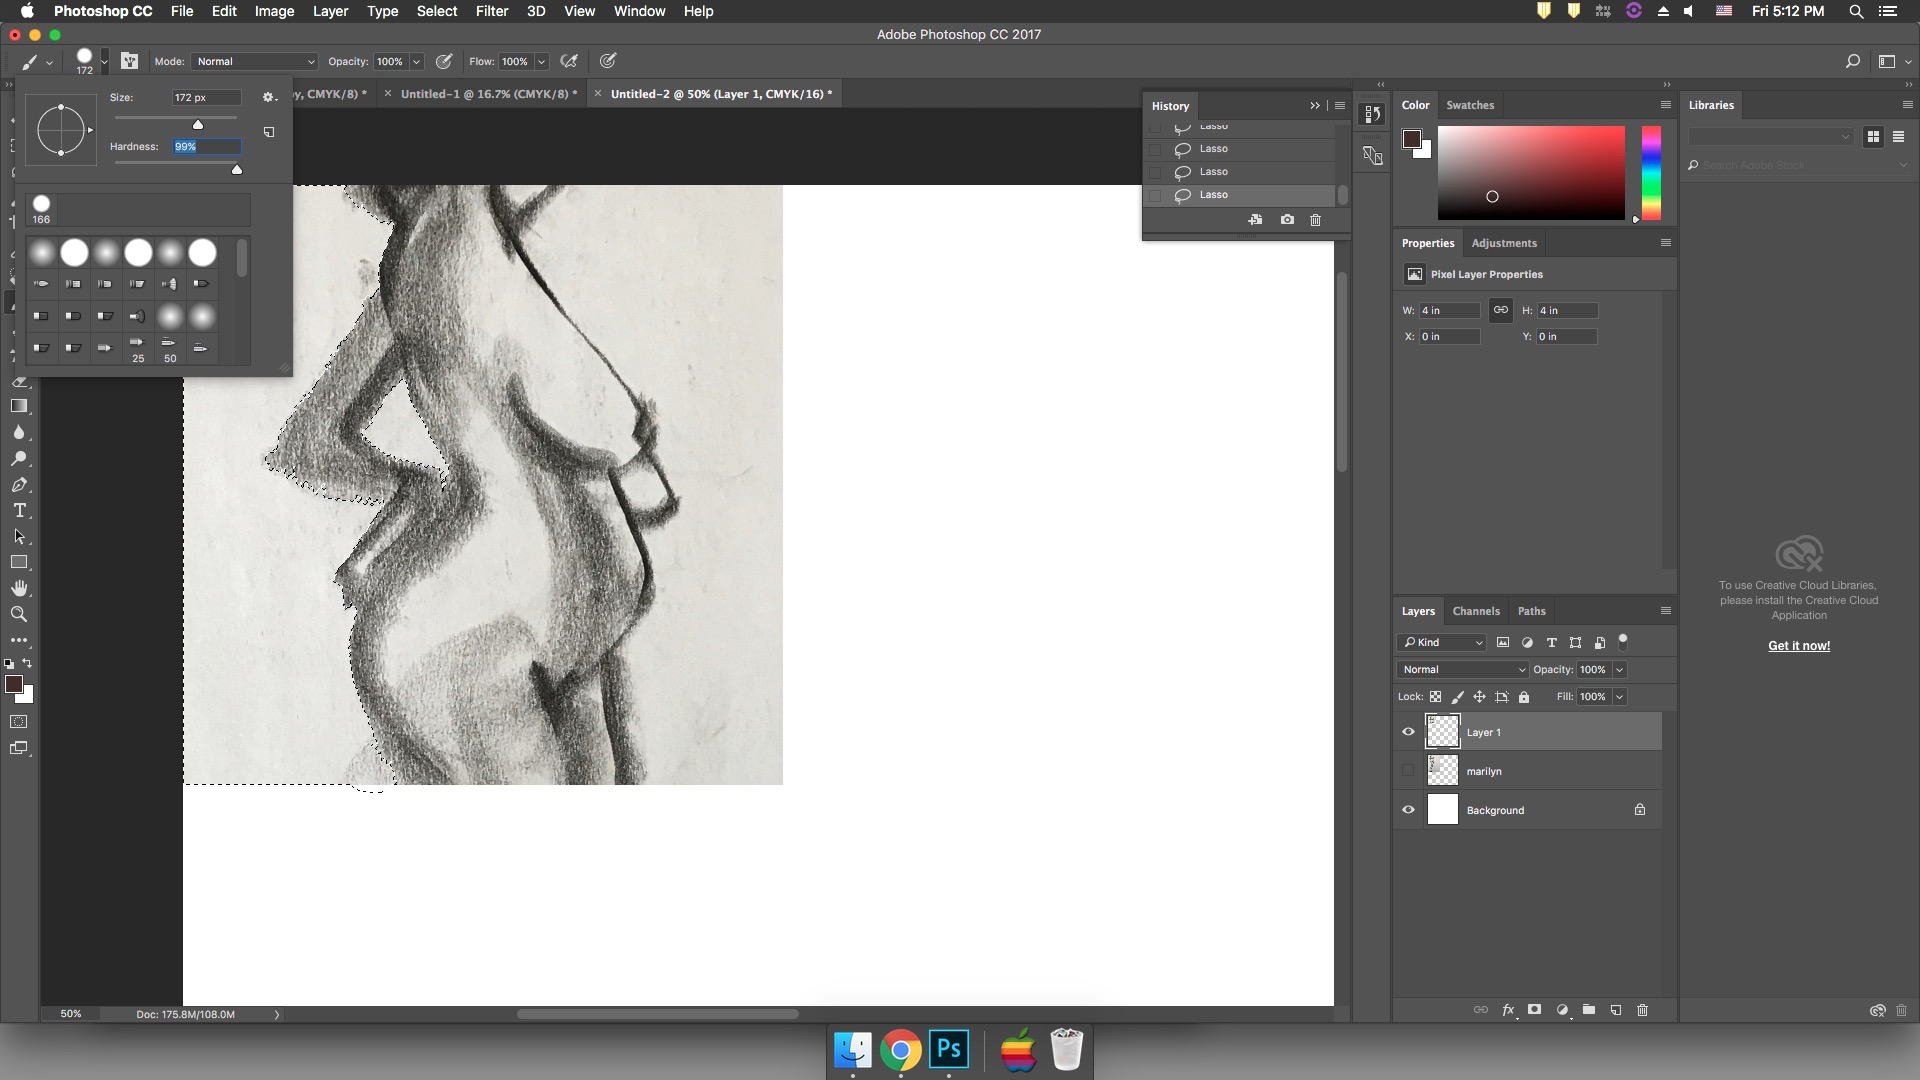
Step 9: Fill
We will use the brush tool to fill in the selected area. Make sure to make the brush large and hard. Try size 200 and hardness 100 to start. Adjust if needed.
 Now when you use the brush to put down color it will only effect the selected areas.
Once you have filled in everything, deselect the area by either going to Select-> Deselect or the hotkey Command+D
Step 10: Select All
Select the entire layer through the Select
-> Select All, or the shortcut Command+A
 Step 11: Duplicate
Duplicate your image by either copy/pasting it, which we did earlier, or by duplicating it. Duplicate the layer by right clicking on the layer, then duplicating it.
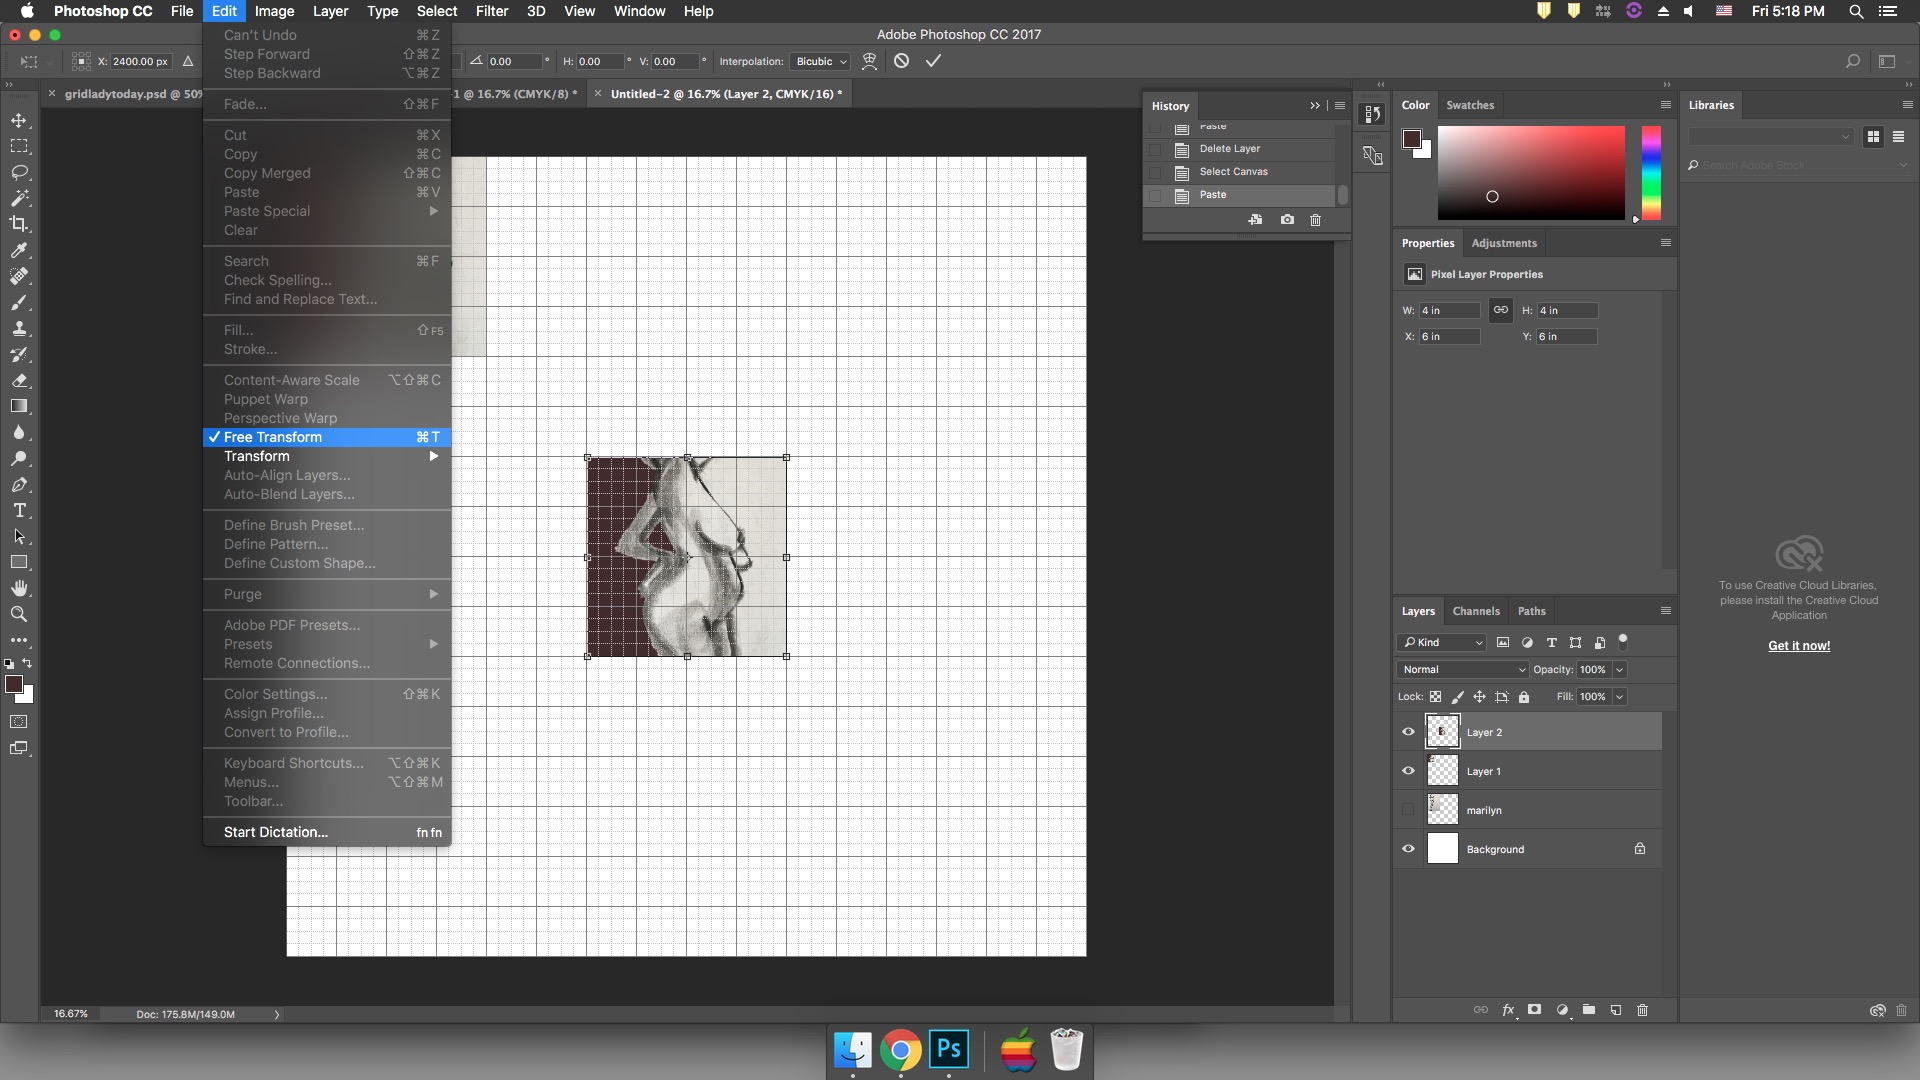
Step 12: Free Transform
First, make sure to turn the grid back on. Then go to Edit->Free Transform.
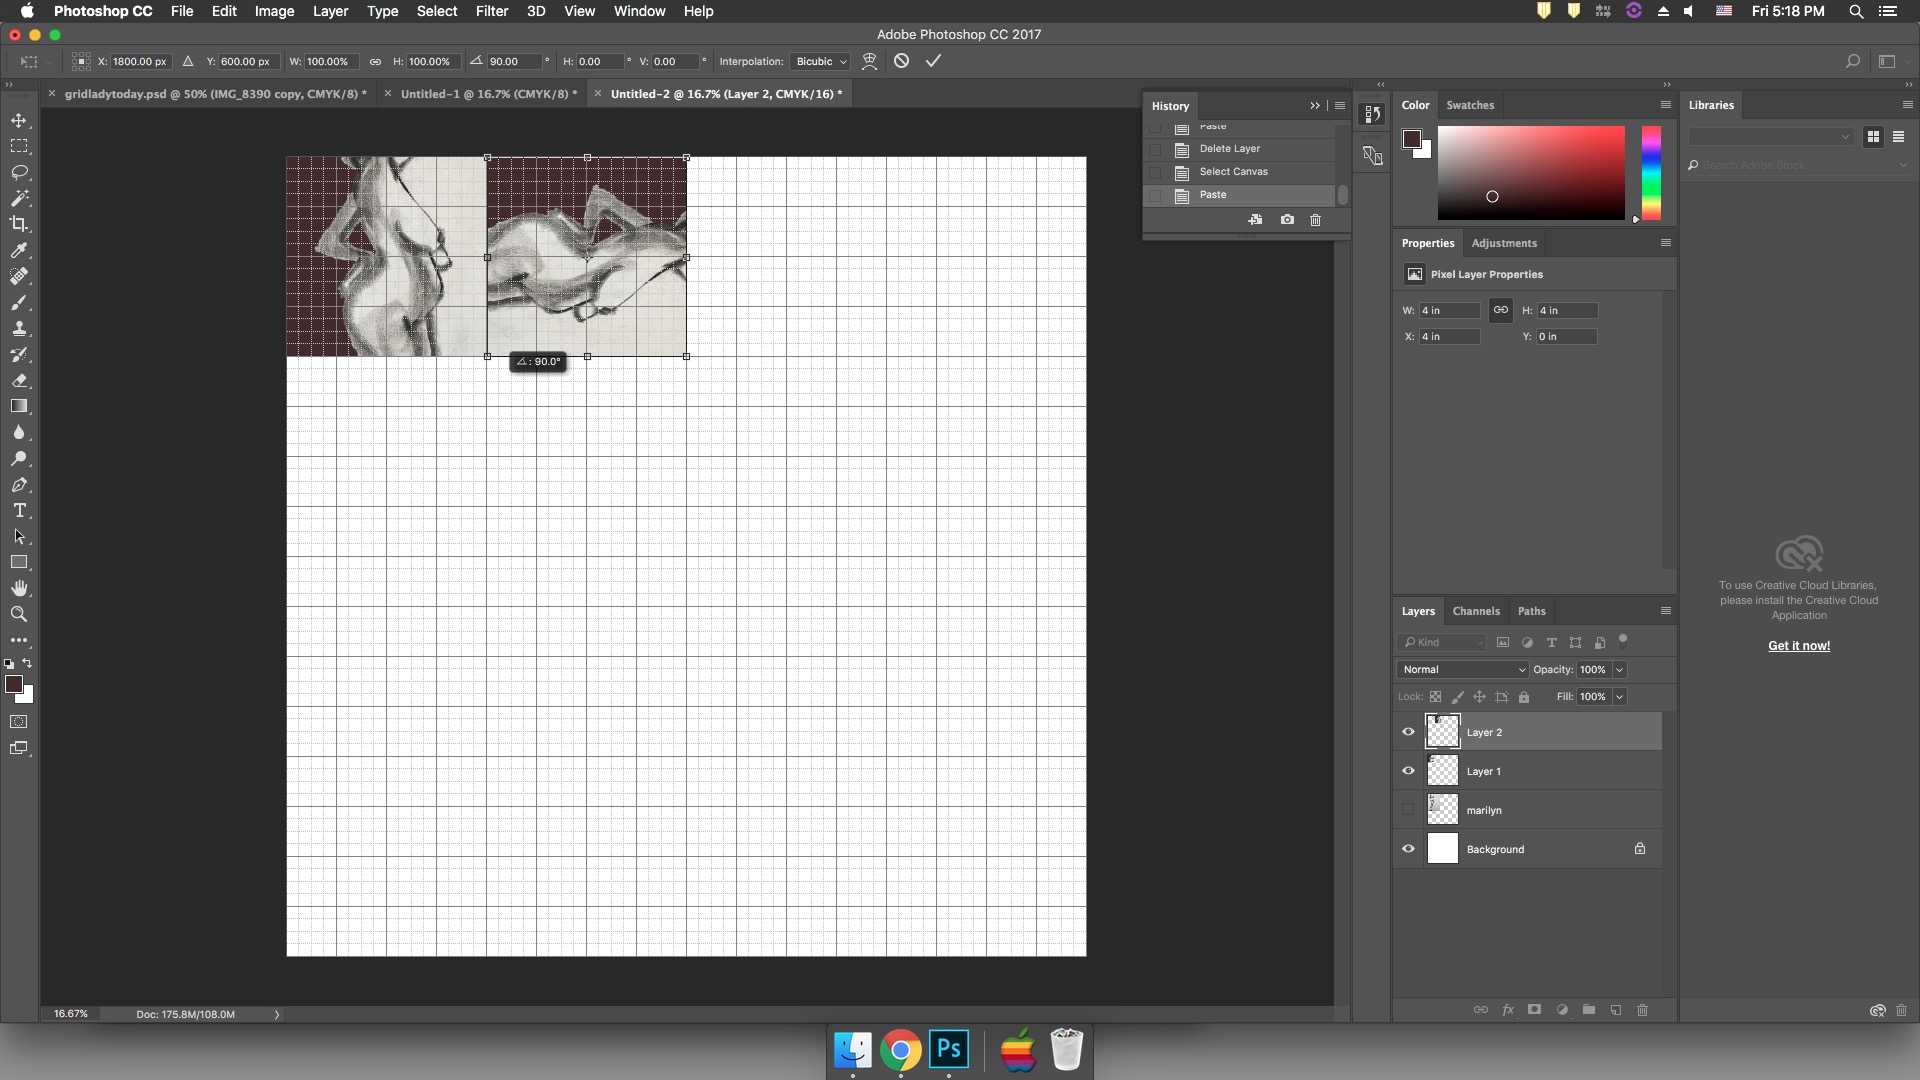 Drag the image to the next available 4”x4” space. It should snap easily. To rotate the image, move the mouse to the corner until you get the rounded arrow symbol. Then hold shift while you click to rotate. This will allow you to rotate in 15 degree chunks.
When rotating make sure to keep in mind a dynamic composition.
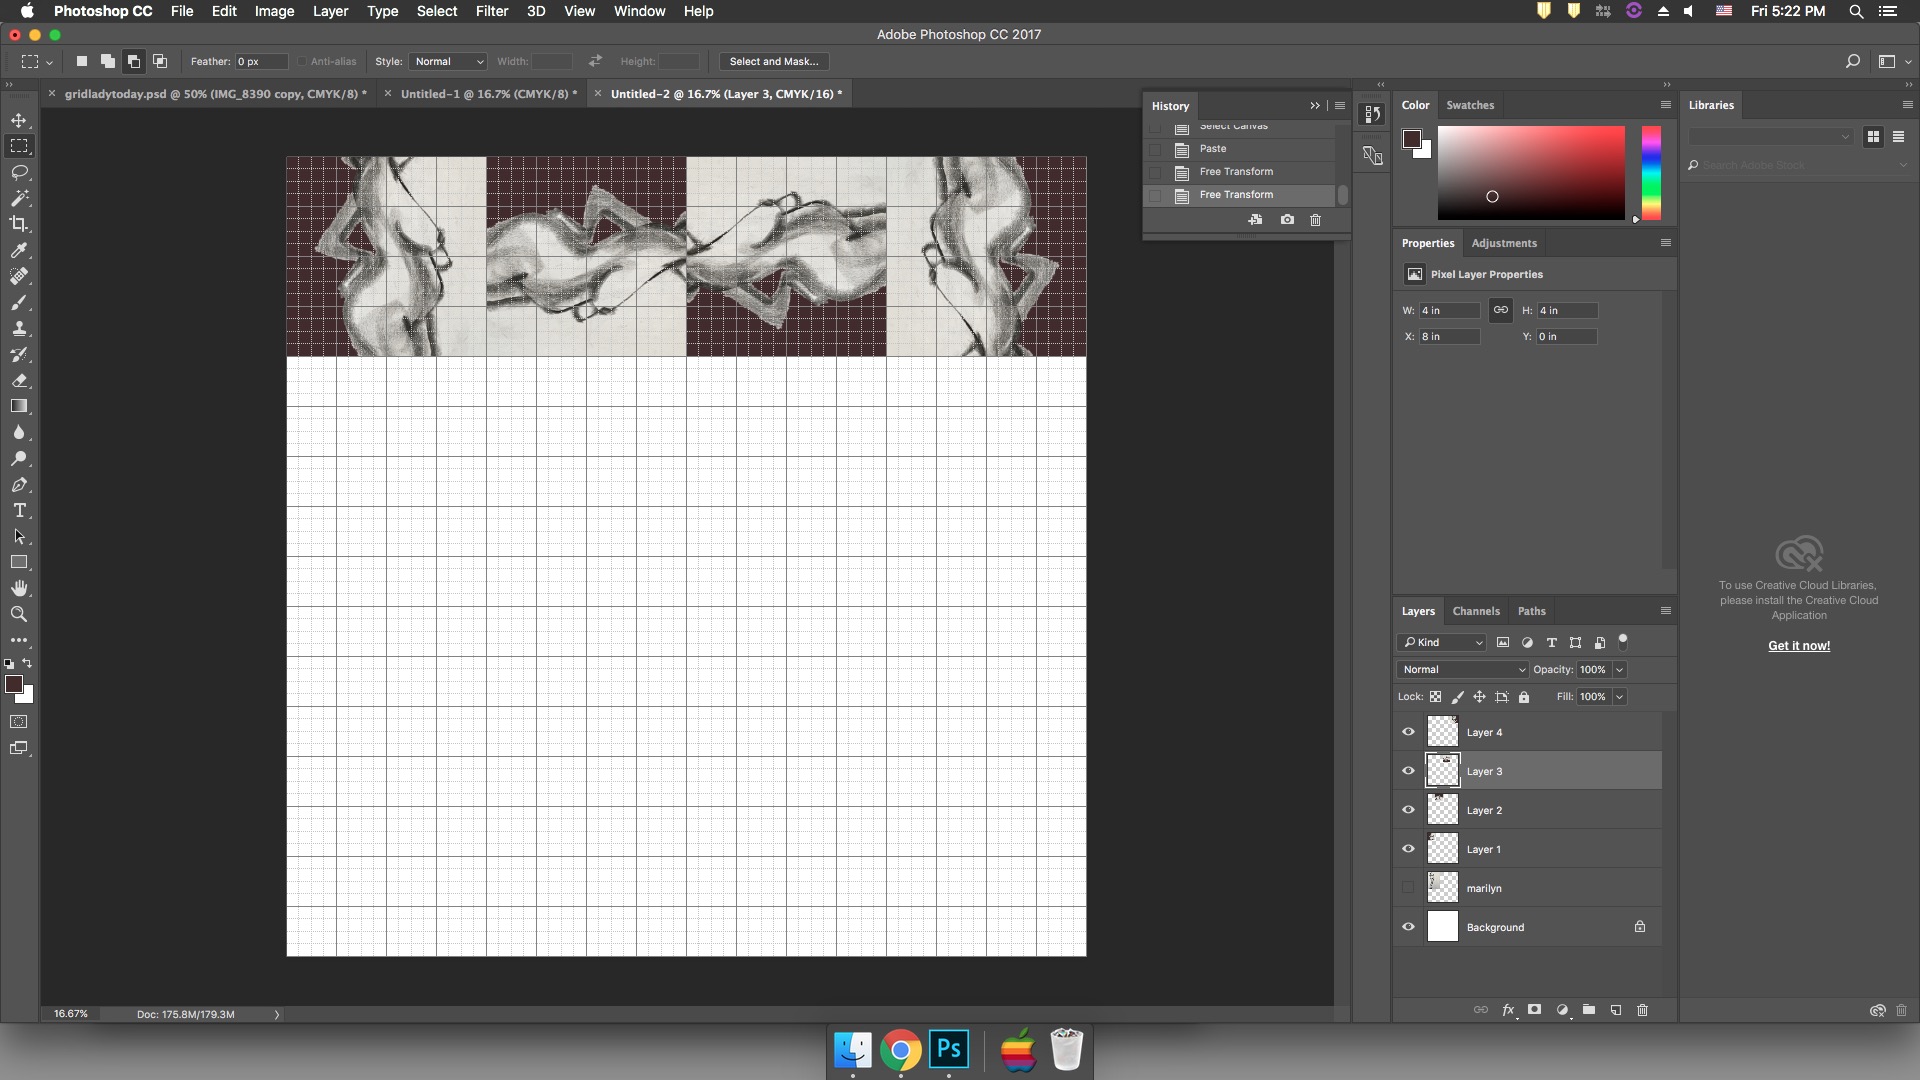 Step 13: Repeat
Repeat steps 10-12 until you have filled the entire grid. This is a good point to rename your layers with their locations of the grid. Keeping your layers organized is very important.

Step 14: Layer Styles, Color
Double click on the layer you want to edit. This will bring up the layer styles menu. Open up the color panel. This will place color over the whole layer. To play with the blending modes to achieve dramatic effects. Adjust the opacity until perfect.
Step 15: Layer Styles, Gradient
Choose another layer, and double click on it to open up the layer styles menu. This time open up the gradient menu. Here you can overlay a gradient which can be visually compelling.
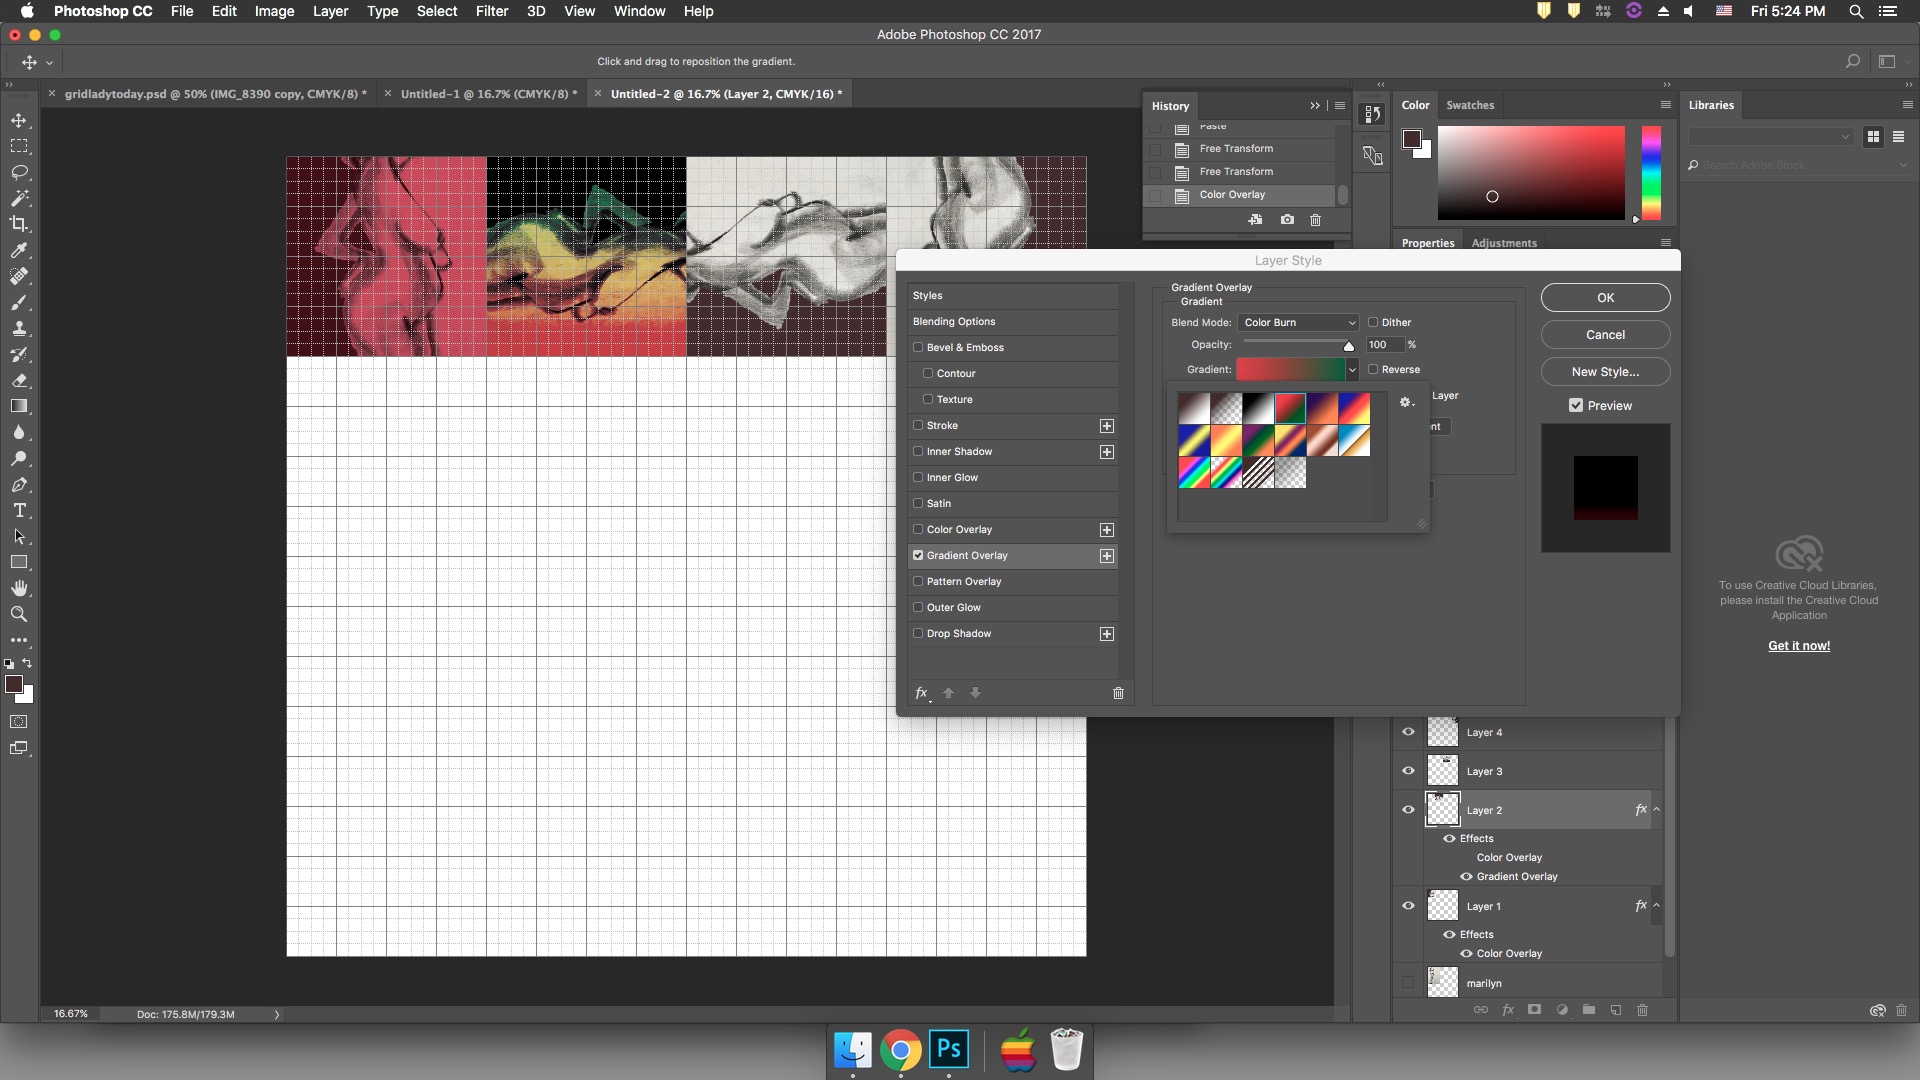 Repeat step 14 or 15 until you have adjusted every single layer.
Step 16: Save
Once you have completed the entire grid and you are satisfied, we are going to save 3 copies of your project. 1, the working file. This one is PSD. Next, make the Print file. Save this one as a .PNG, full size. Last, save a copy to send to me.
Resize your image, go to edit->image size. Change the dimensions to 8”x8”.
Make sure to save these all with different descriptive names.
Step 17: Print
Print the .PNG full size image on paper large enough to print (17×22). You can print your images at the U432 Print Output Center. Allow 2 working days to process your request.