Project #4 – Reinterpretation of Historical Portraits
Across the arts – including novels, movies, music, and the visual arts – our society is struggling to define what is stealing and what is inspiration. As an example, the rapper Flame recently won a lawsuit against pop star Katy Perry for appropriating his music. This exercise is about using great art of the past to form a foundation for creating your own unique vision.
Find a master portrait painting done before 1980 that inspires you or one that you have always admired, scan the image and place in Photoshop. Using either your drawings, your own photographs, or other scanned photos, choose a visual theme (such as nature, architecture, nautical, insects, fruit,…) and recreate the painting using the photos in a collage technique.
Photoshop Skill Sets: Intro to Photoshop Application, Basic Tools What interface looks like and how to bring in Images, Input/Output, RGB/CMYK, Image Size, how many DPI to print, selection tools, Basic Manipulations, scaling/rotating/cut copy paste, Layers: creating duplicating hiding showing. Manipulation of photography, layer styles, layer masks.
Drawing Skill Sets: line quality, composition, perspective and space.
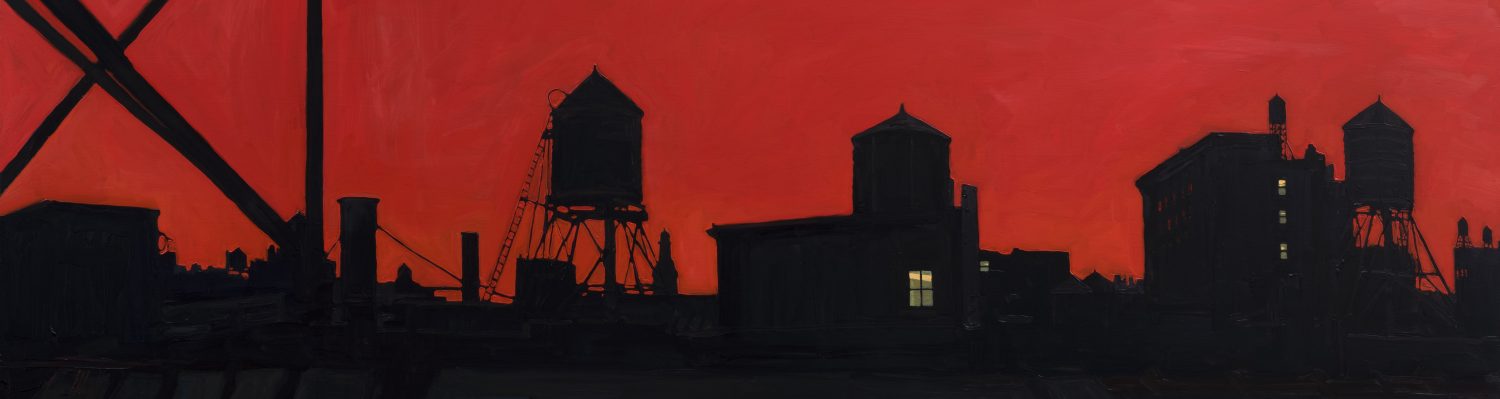
References/Artists to consider: Joan Miro, Edgar Degas, stop-motion photography of Eteinne-Jules Marey, Marc Chagall, Chinese Calligraphy, Julie Mehretu, Lascaux cave paintings, Eadweard Muybridge, Duchamp’s “Nude Descending a Staircase, NO.2”, Umberto Boccioni’s “Unique Forms of Continuity in Space”.
Materials: your own drawings, Photoshop, photographic references
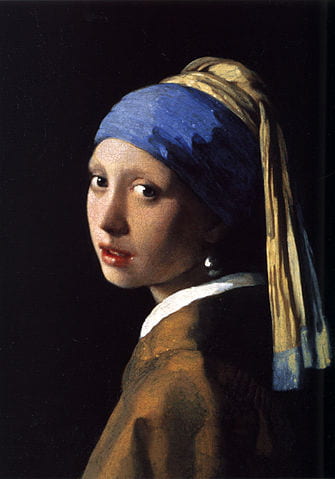
Step 1. Select your painting. Must be older than 1970 and feature a figure.
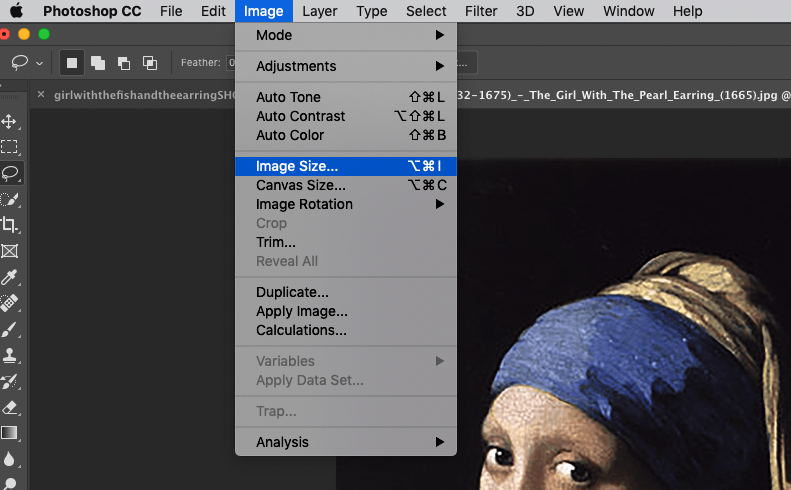
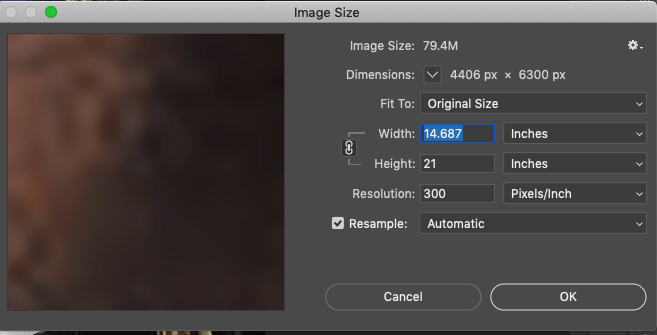
Step 2. Resize your painting because this project will be printed large. We will be using the 17 x 22 plotter printer for this project so please ensure that your long side is at least 21 inches, at 300dpi. To do this, go to the image menu -> image size.
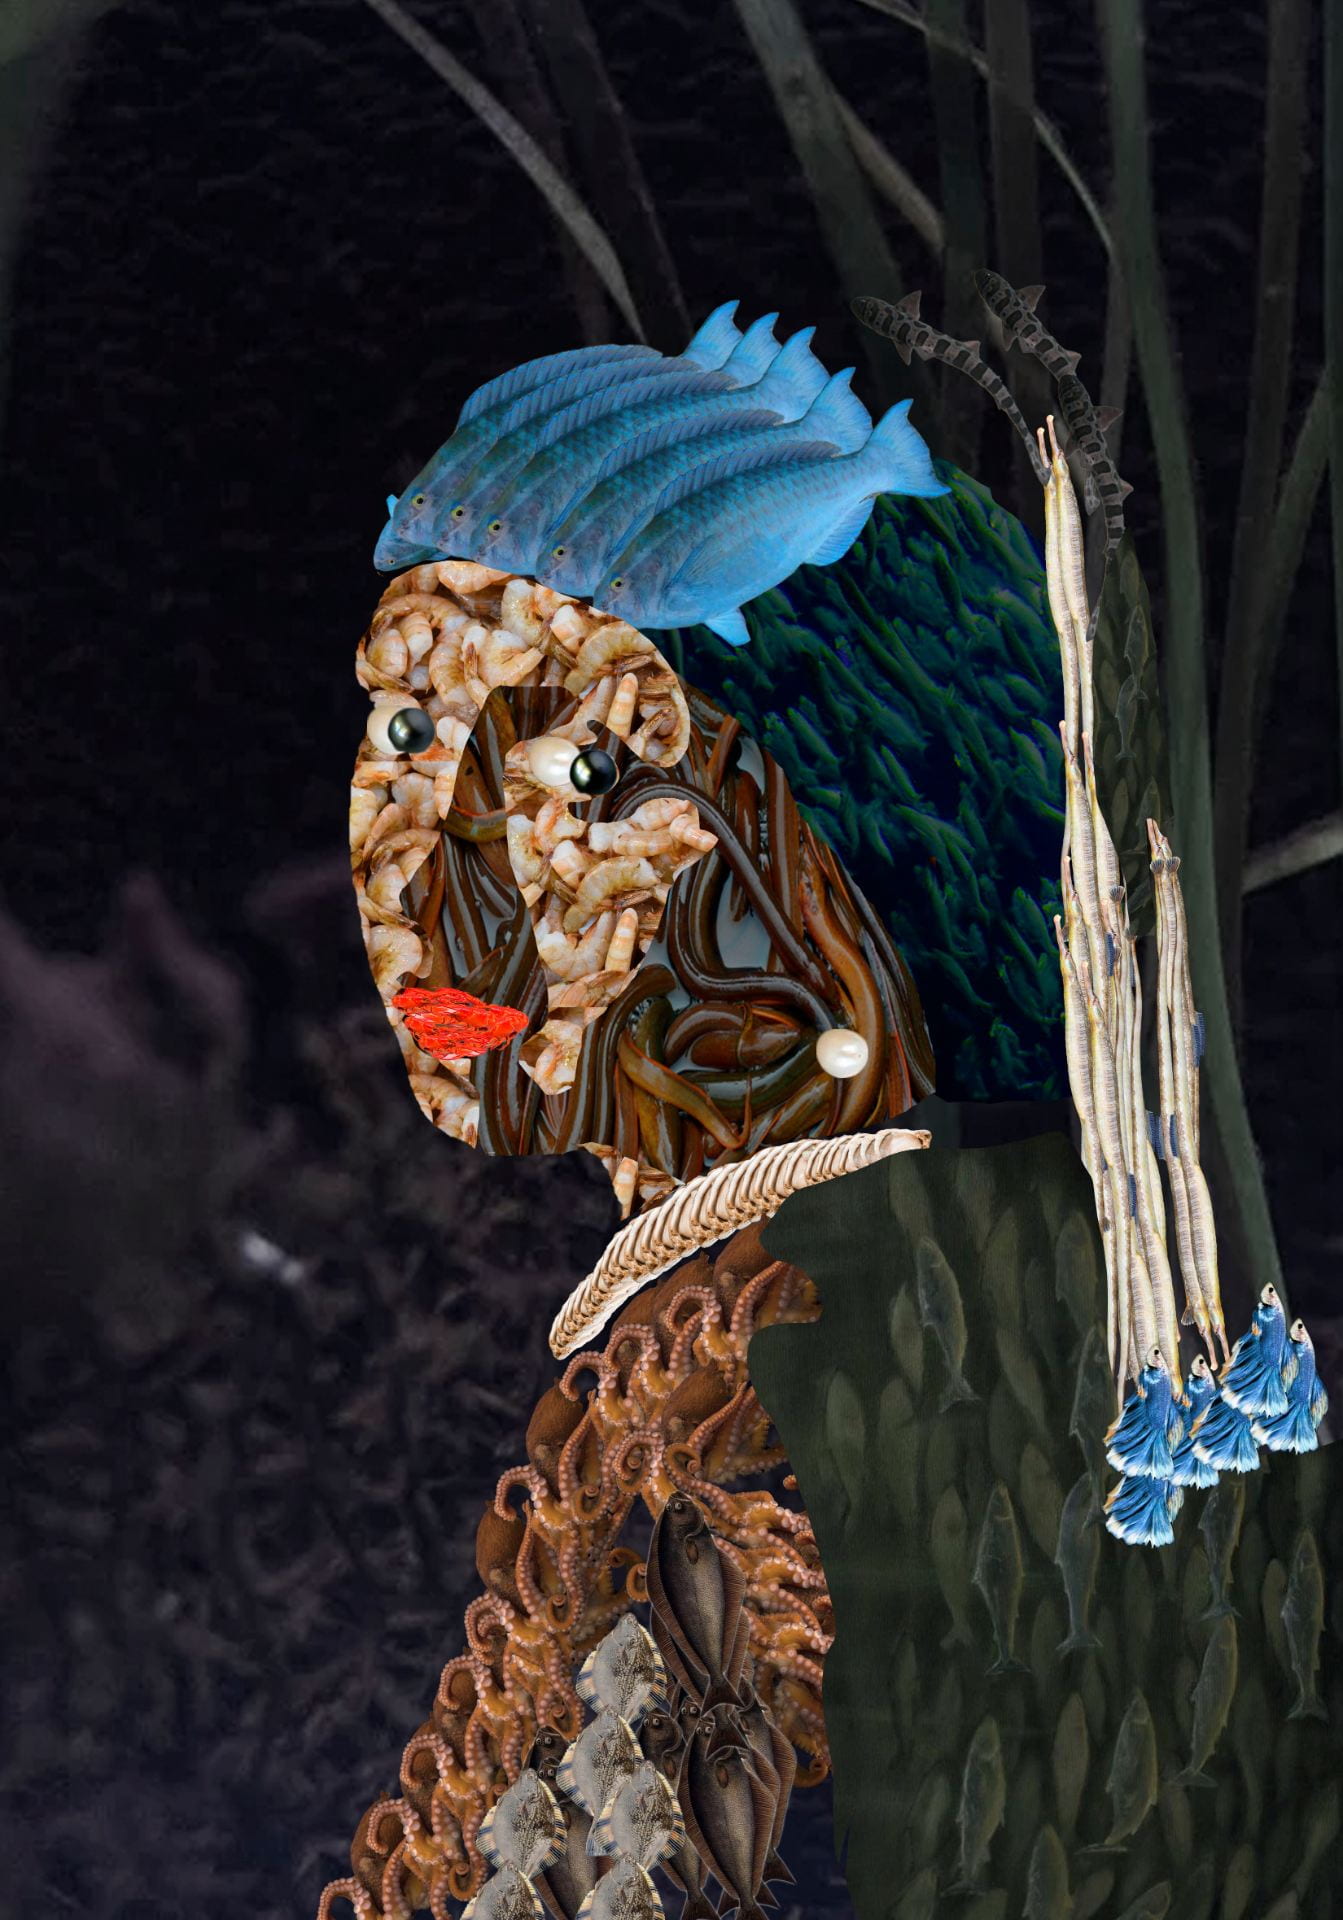
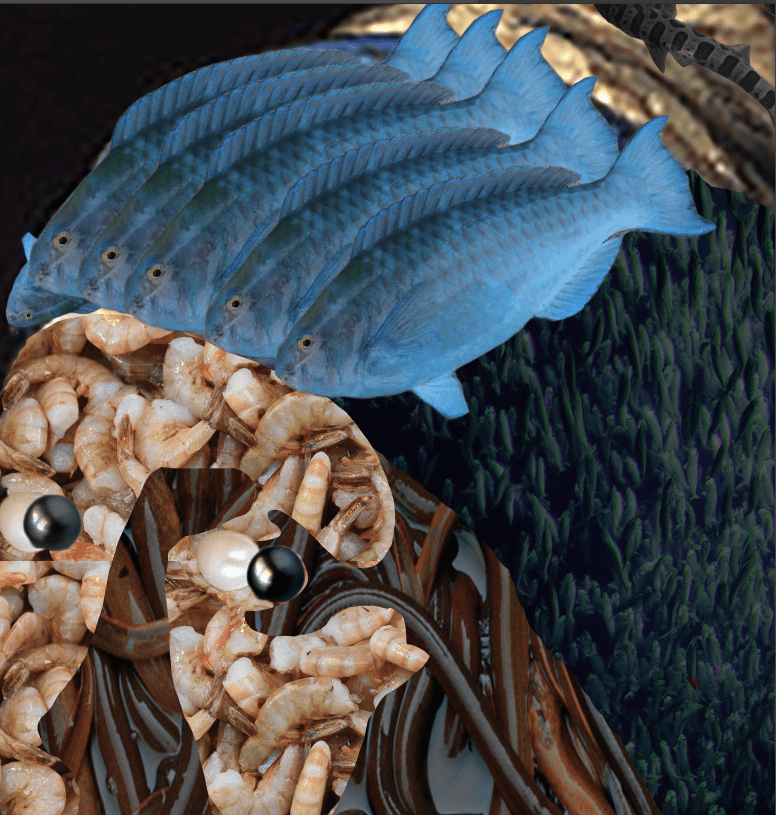
Step 3: Inspect your image, identifying the different color shifts that make the form. Use the internet or the library archive or your own drawings/paintings/photography to create a collection. This collection should closely follow a theme (botanicals, aquatic, vehicular, architectural, technological, astrological, astrophysical, etc…) but should also focus on the details such as color and texture.
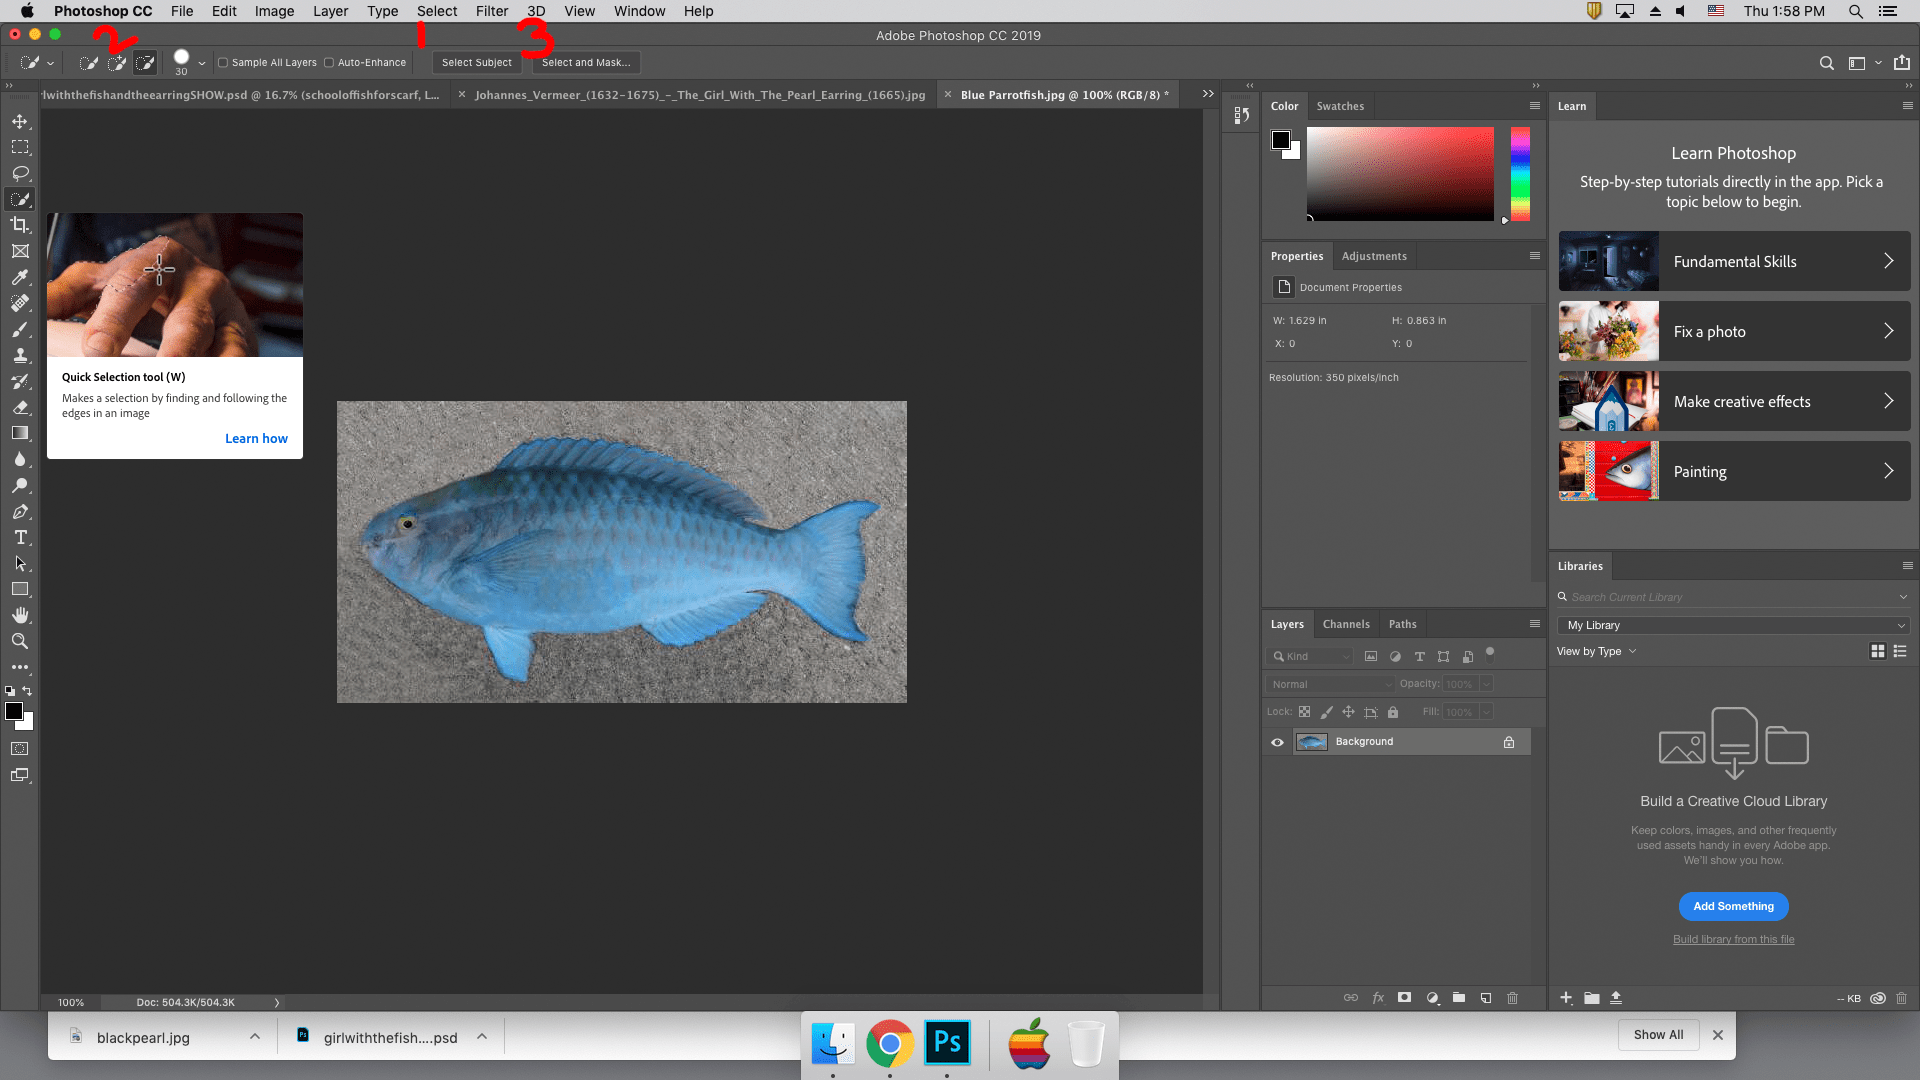
Step 4: Cut out and begin collaging. Choose an image to cut out, and open it in a separate photoshop document. In the quick selection tool, use the select subject button (1) to create an initial selection of the subject. Use the add or subtract from selection brushes (2) to edit your selection if needed.
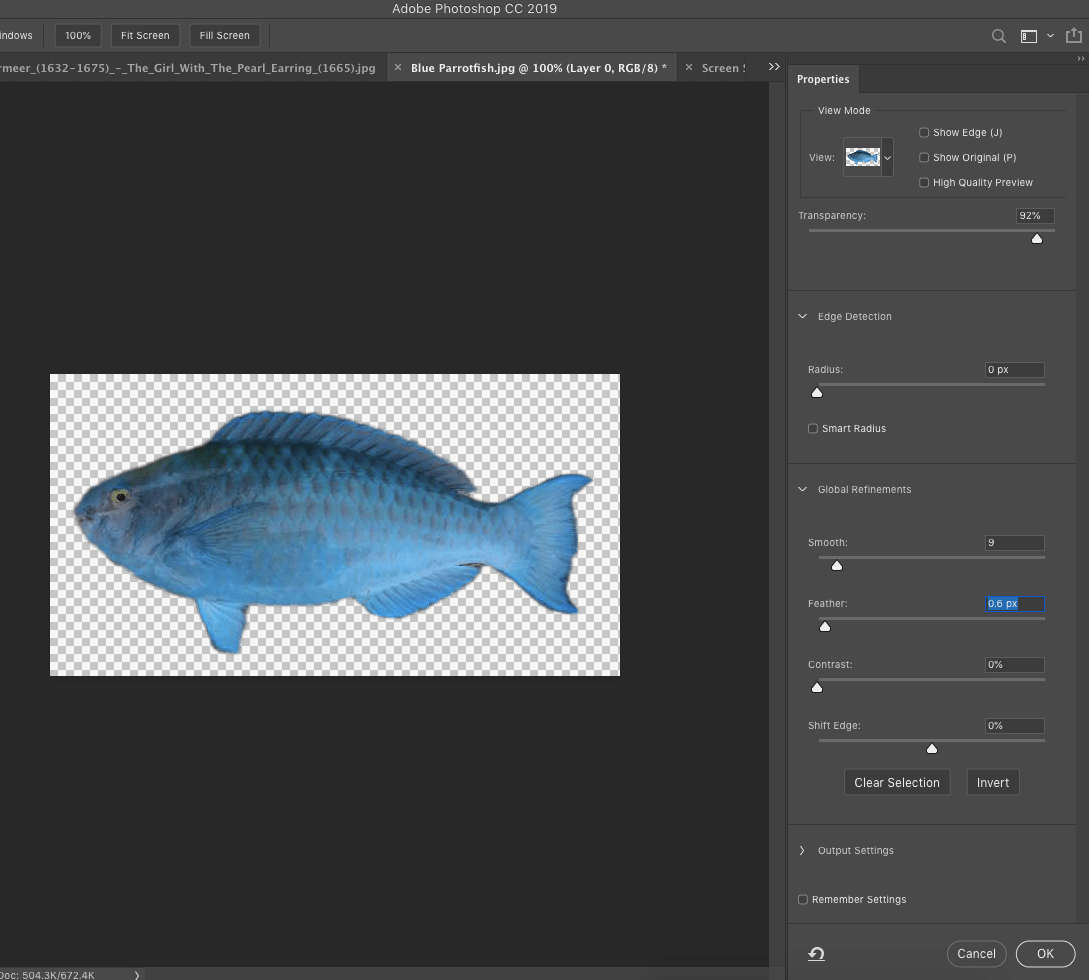
Refine this selection by moving to the select and mask panel (3) . Adjust the smoothness and feather sliders to clean up the selection edge. Hit okay.
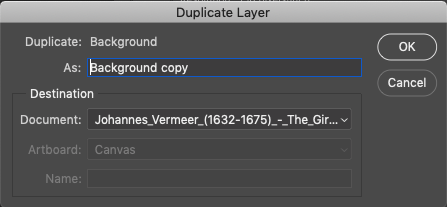
 Copy and Paste the selection into a new layer. Duplicate the new layer into the initial project document.

Use free transform to resize and place the image into the desired location.
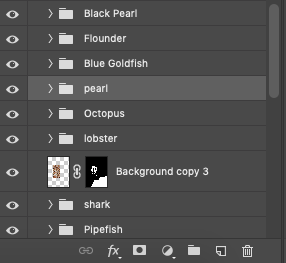
Create a group in the layers panel to organize your copies of your image.
To create multiple copies of the image easily, hold down the option/alt key while clicking and dragging in the move tool.
Repeat until satisfied.
Step 5: For areas that would benefit from a cut out pattern or design we will use the lasso tool to create a layer mask. To do this, place your image into the working document.
Use free transform to resize the image to cover the entire area of the cut out.
Turn the visibility of the image off by clicking on the eye symbol on the layer in the layers panel. Use the lasso tool to outline the selection.
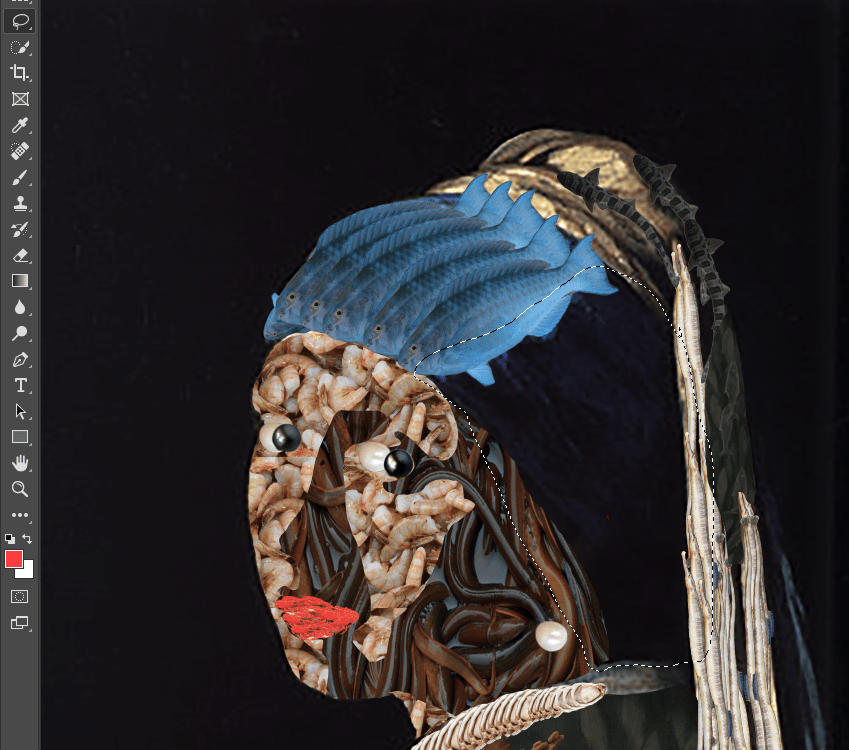
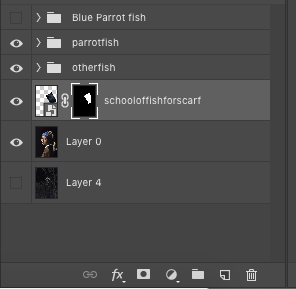
Turn the visibility of the image back on. Create a layer mask on the layer by clicking on the layer mask button.
Step 6: Repeat until the entire image is complete. Save as jpeg titled yourname_project3 and save to the class project folder. Please allow time for yourself to print out the project with the plotter. This time of year, lines for the printer can get long. Print on 22×17 paper, with a half inch boarder.