Project 1
Repurposing an Object
Shape and form draw meaning from their context. An artist can reframe the meaning of a form through recontextualizing the viewer’s perspective. By understanding how to set context, an artist is better able to communicate new insights and ideas.
Choose an object that interests you (interesting shape, form, composition, social implication, historical value) and incorporate it into another unexpected and surprising form.
The project is in two parts:
Part 1 is to draw 10 objects using different drawing methods discussed in class: blind contour, shadow and light, line quality, gesture.
Part 2 is in Photoshop. Take a photo of objects on a simple white background. Then draw in Photoshop and repurpose the objects in a surprising way.
Reference Artists: Rene Magritte, Pablo Picasso, Salvador Dali, Christoph Niemann, Andy Warhol, Marcel Duchamp.
Materials: pens, pencil, marker, charcoal, Adobe Photoshop
Reference Artists: Rene Magritte, Pablo Picasso, Salvador Dali, Christoph Niemann, Andy Warhol, Marcel Duchamp, Appropriation art, Cubism, Claes Oldenburg
Materials: Sketchbook, pens, pencils, markers, erasers, one large sheet of white 18×24 paper for final drawing.
Step by step for part 2:
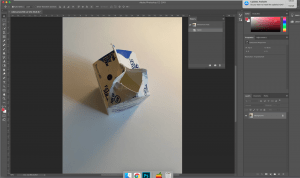 Step 1: Take a photo of an object against a plain white background. To allow focus to be drawn to your creation, there needs to be minimal distractions in the background. You will then open your photo in Photoshop.
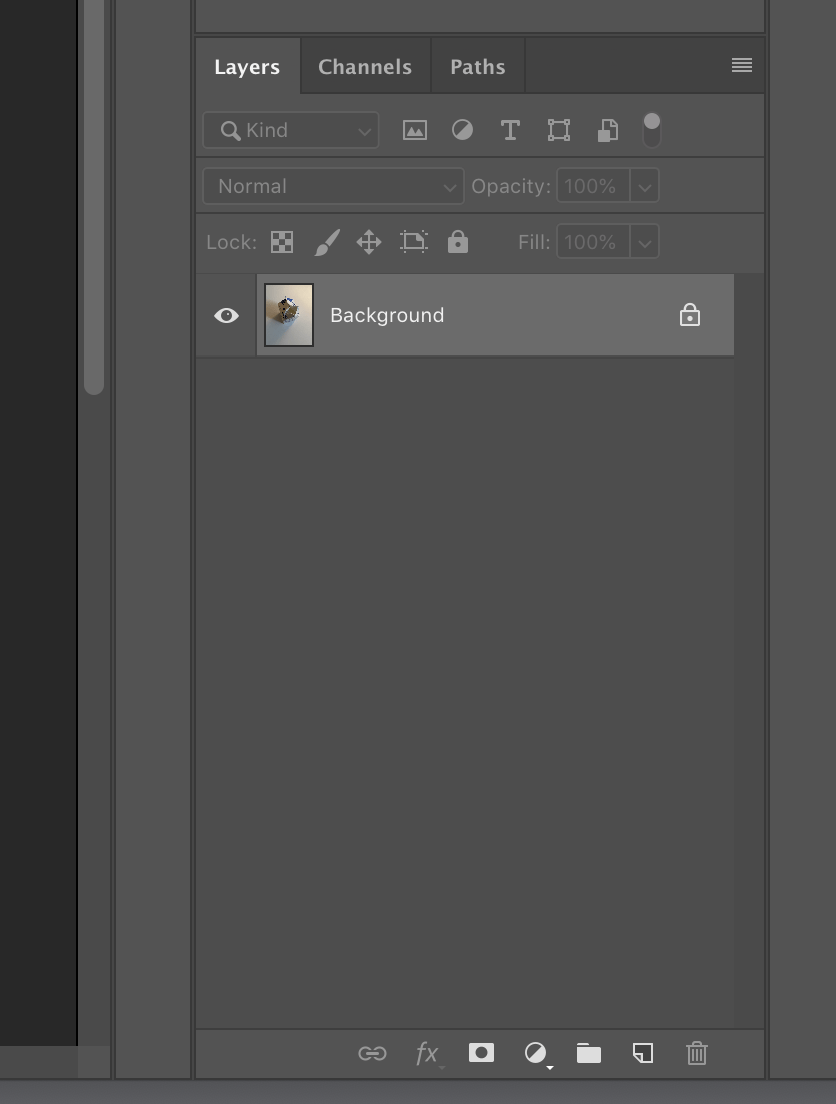
Step 2: Create a new layer with the New Layer button at the bottom of the Layer’s panel. This button will either look like a piece of paper with a folded corner, or a box with a plus, depending on your version of Photoshop. This new layer is where we will be drawing.

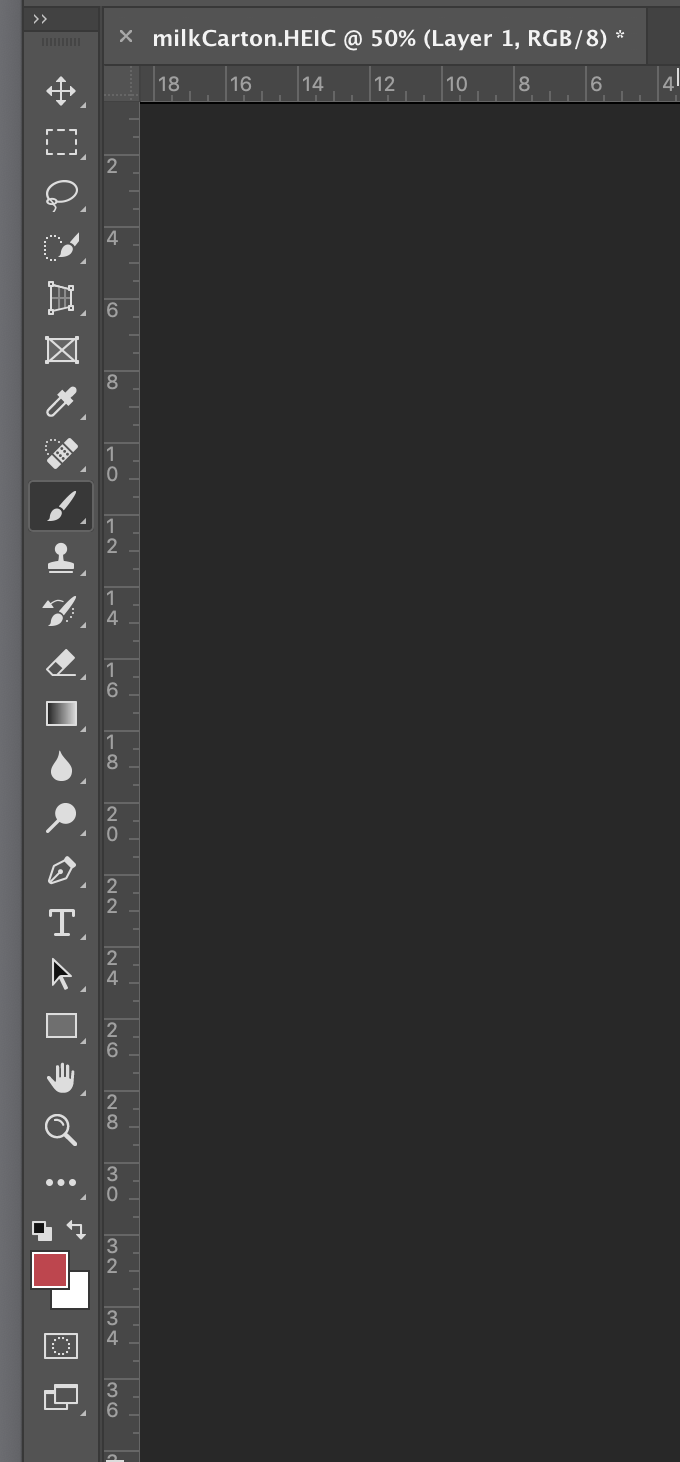
Step 3: Select the brush tool from the toolbar on the side of the screen. Once you have selected that tool, adjust the hardness of the brush to 100% and change the color of the brush to black. The settings for brush hardness, shape, and texture are located in the brush settings panel which is on the top left toolbar. I recommend using a very simple round brush for this project, but feel free for future projects to really experiment with the brush settings.
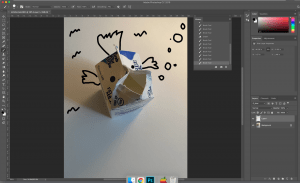
Step 4: Draw on the layer. Make sure to really just have fun and let your creativity flow. Don’t worry if you make a mistake. There is an eraser tool on the tool bar below the brush. You can also undo mistakes with the hot key command + z (control + z for windows users).
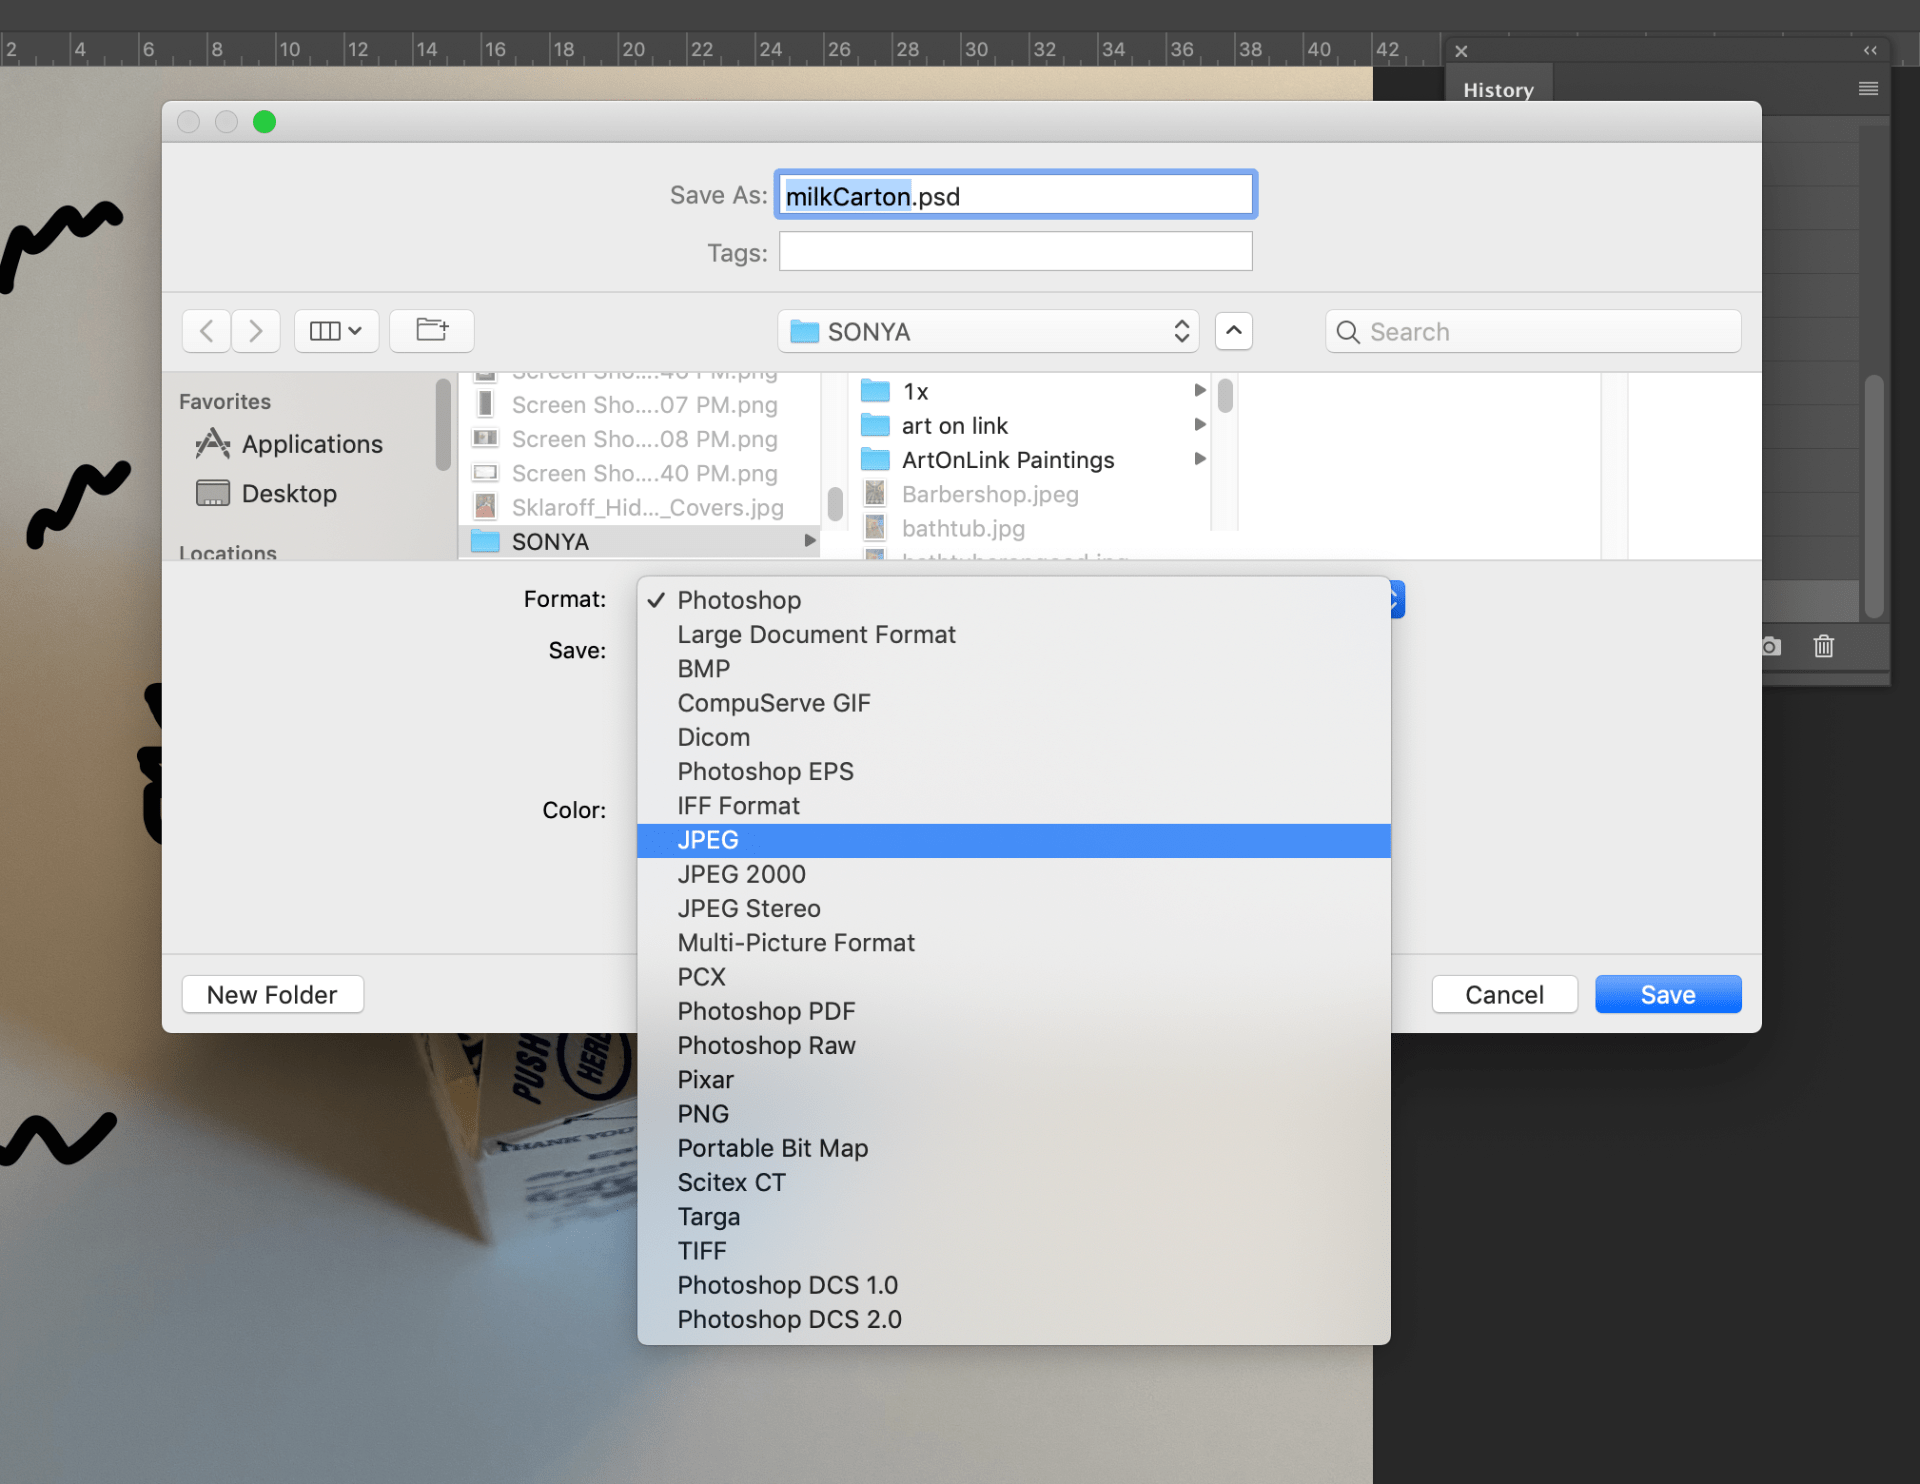 Step 5: Once you are satisfied with your masterpiece, you will need to save it out to share! To do that you will go to file -> save as. Set the name of your file to lastnamefirstnameproj1. Make sure the file type is a JPEG.