Further development of project (research approach) -Studio 2

Further development of project (research approach)

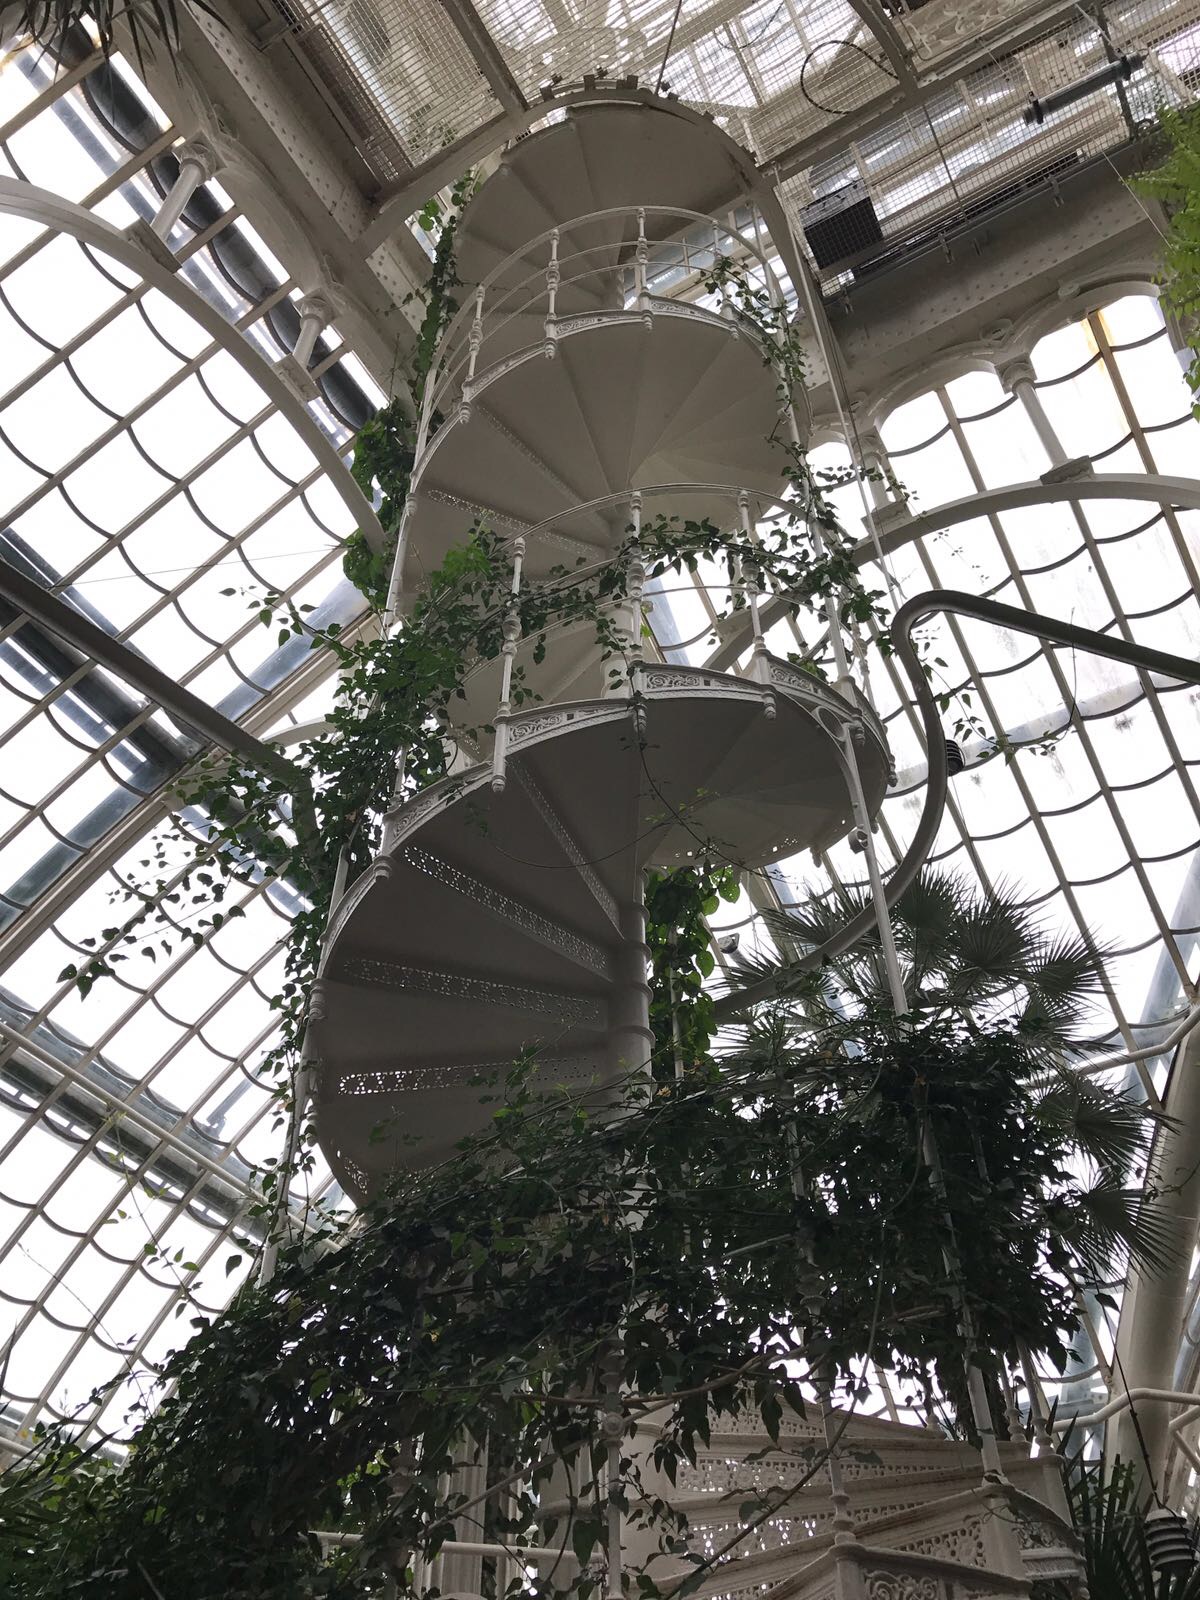
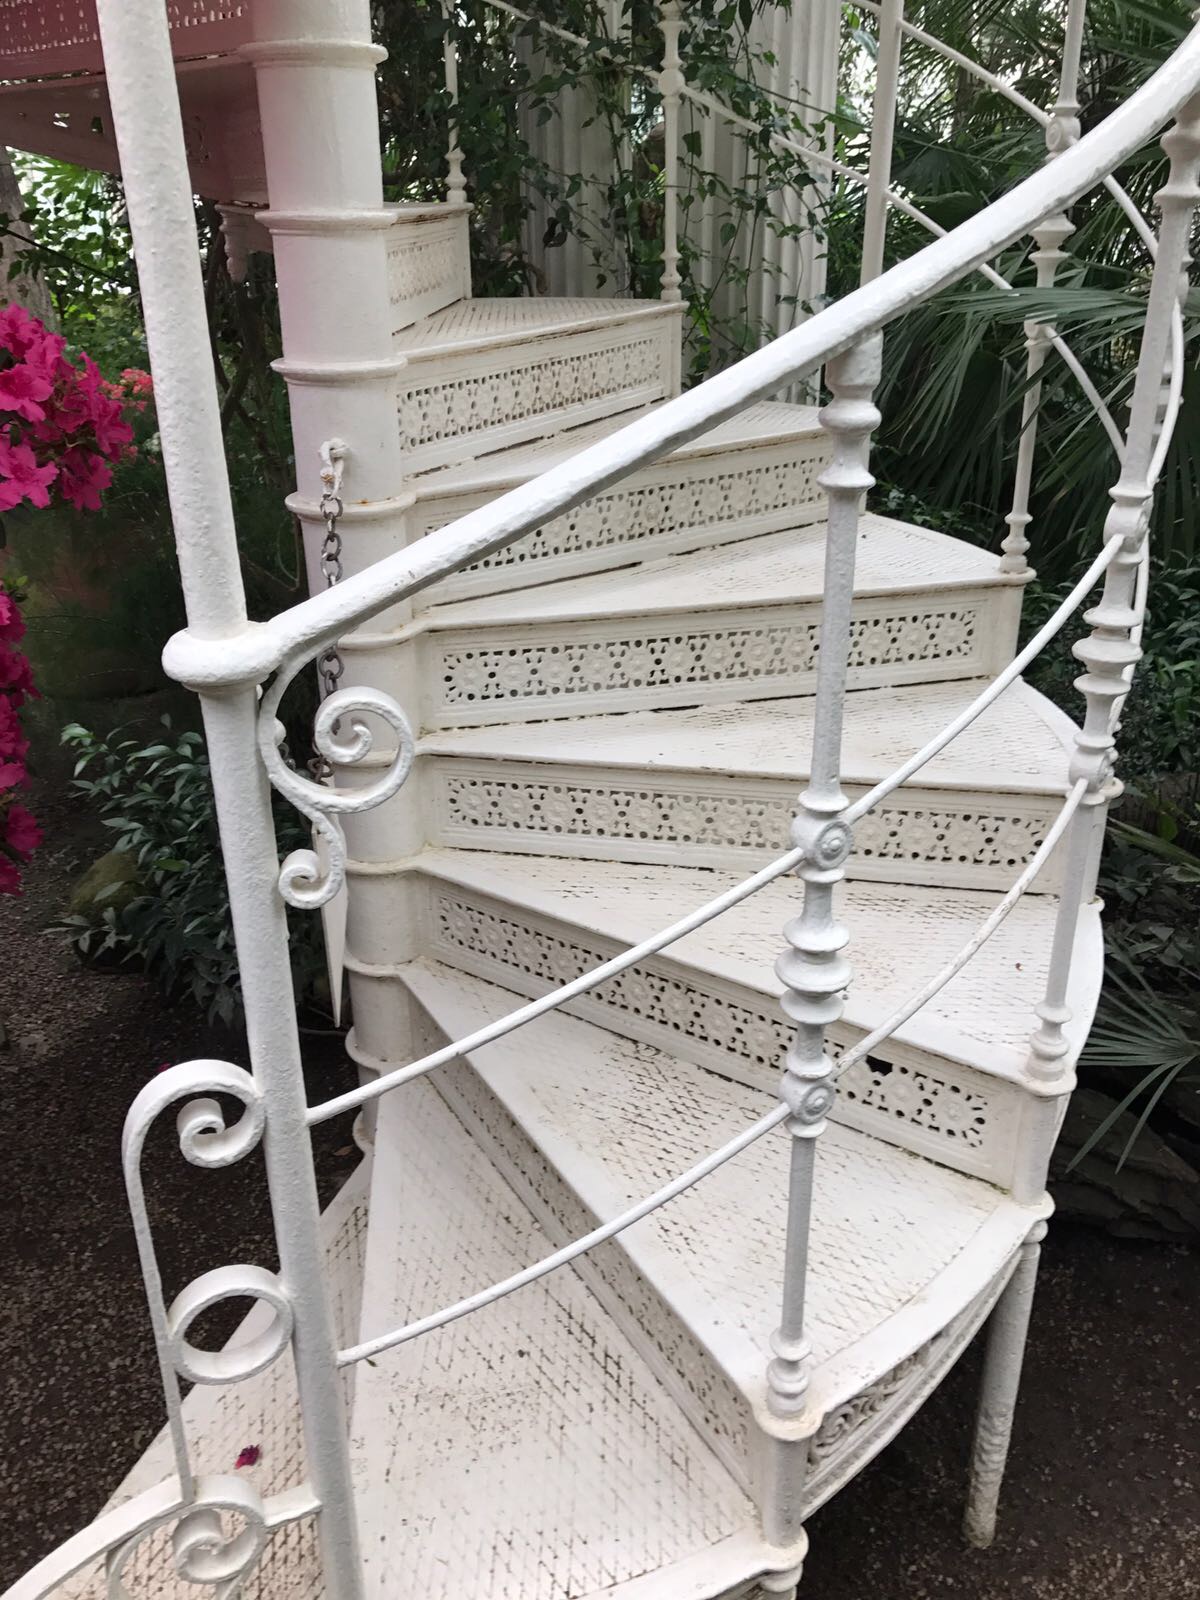
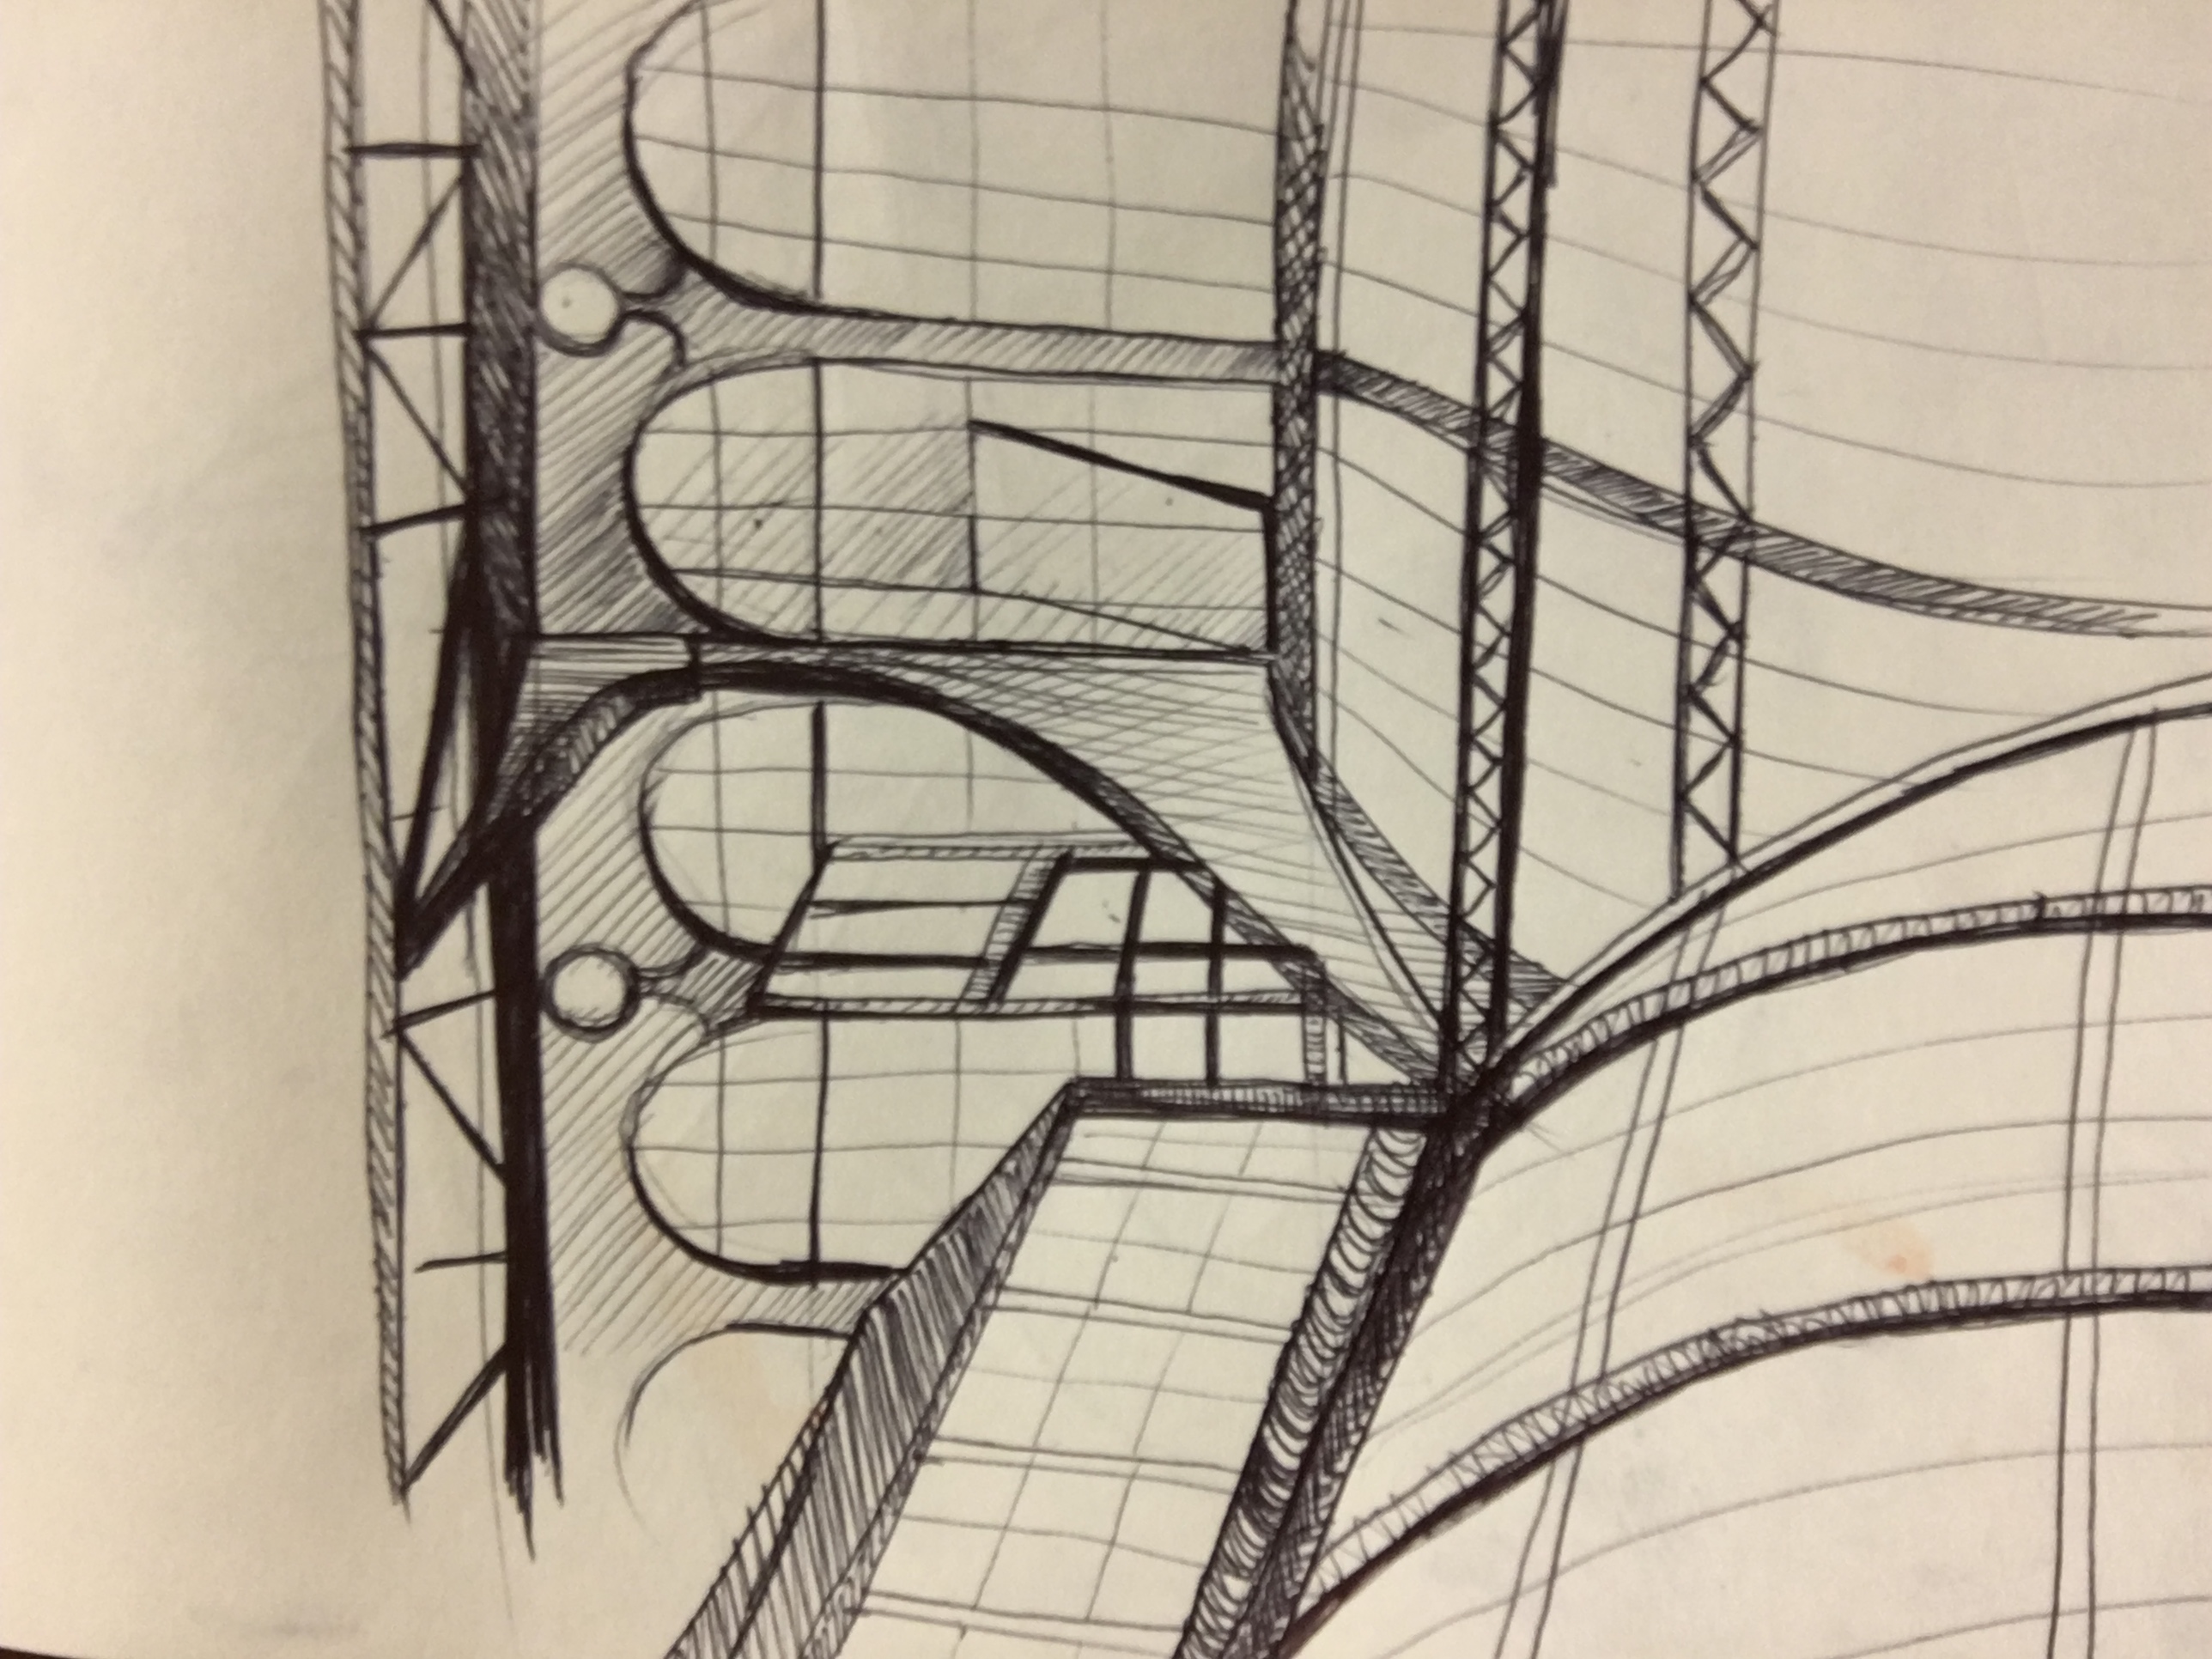
To further understand the structural aspect of a greenhouse and to further my observational study skills, I drew this analytical drawing from observing my photograph (I took – primary research- ).

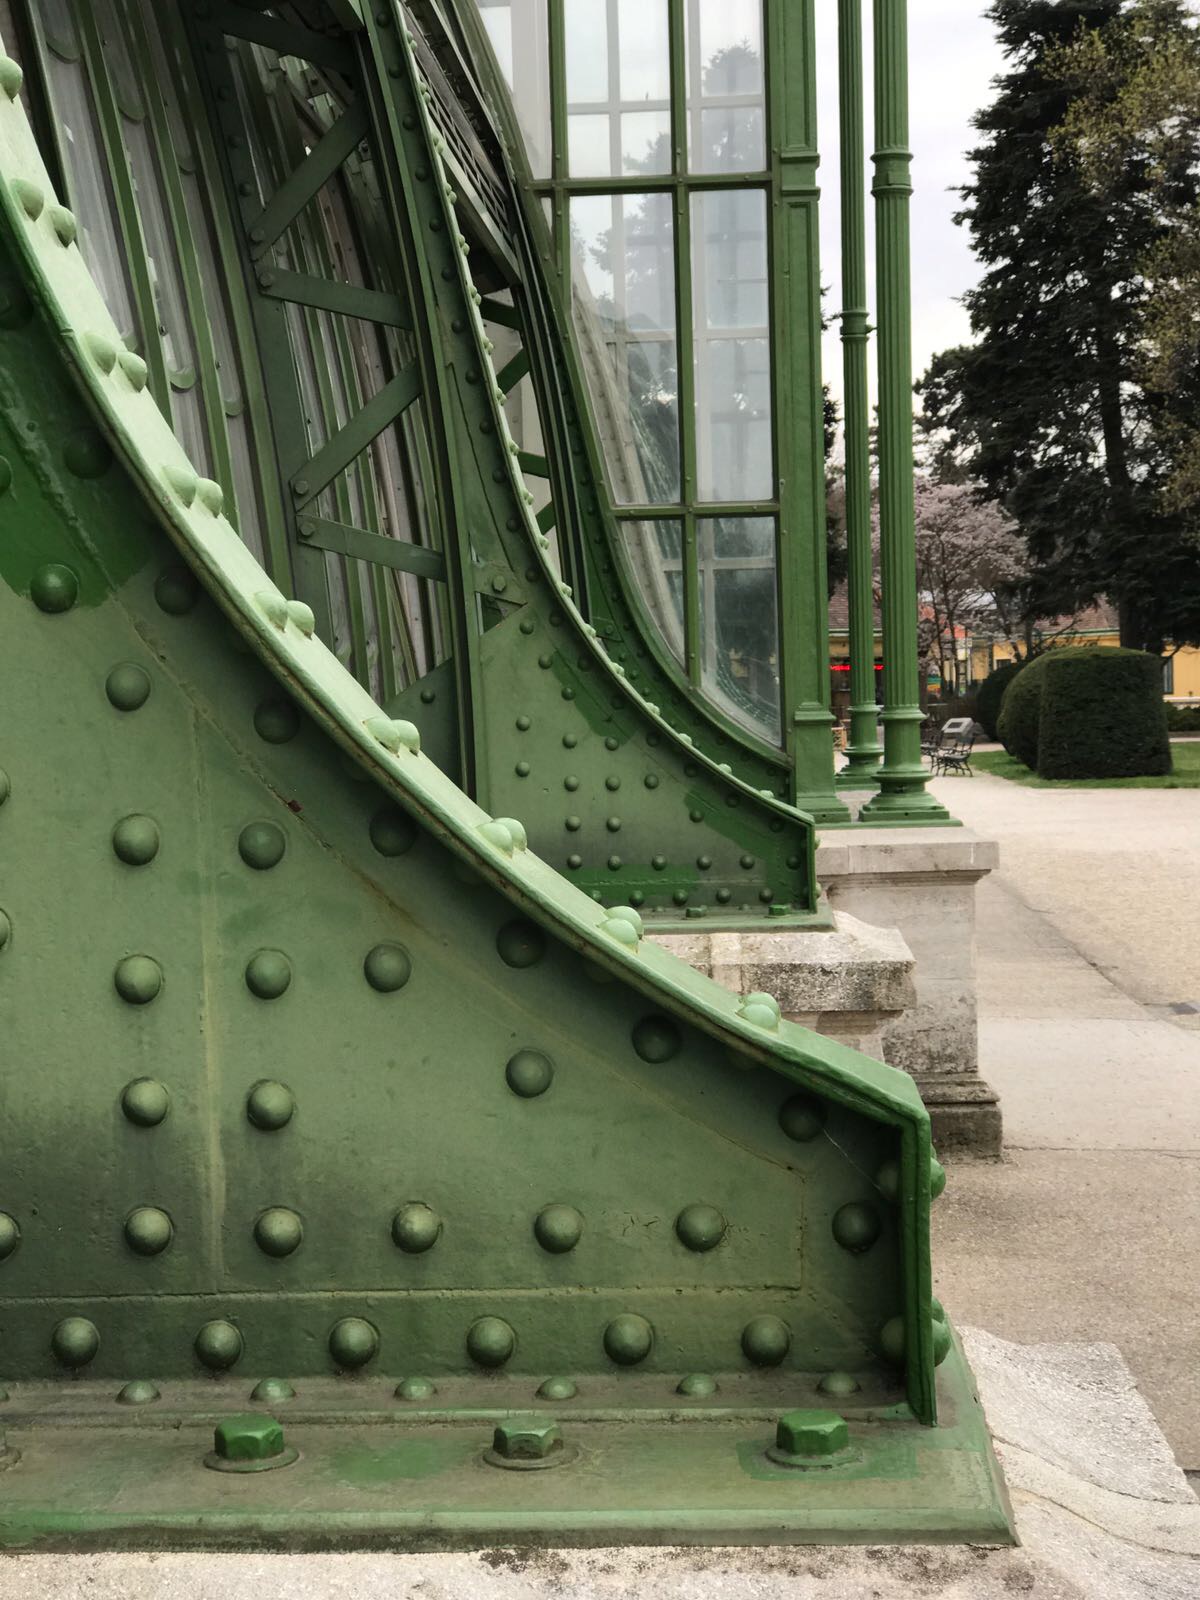
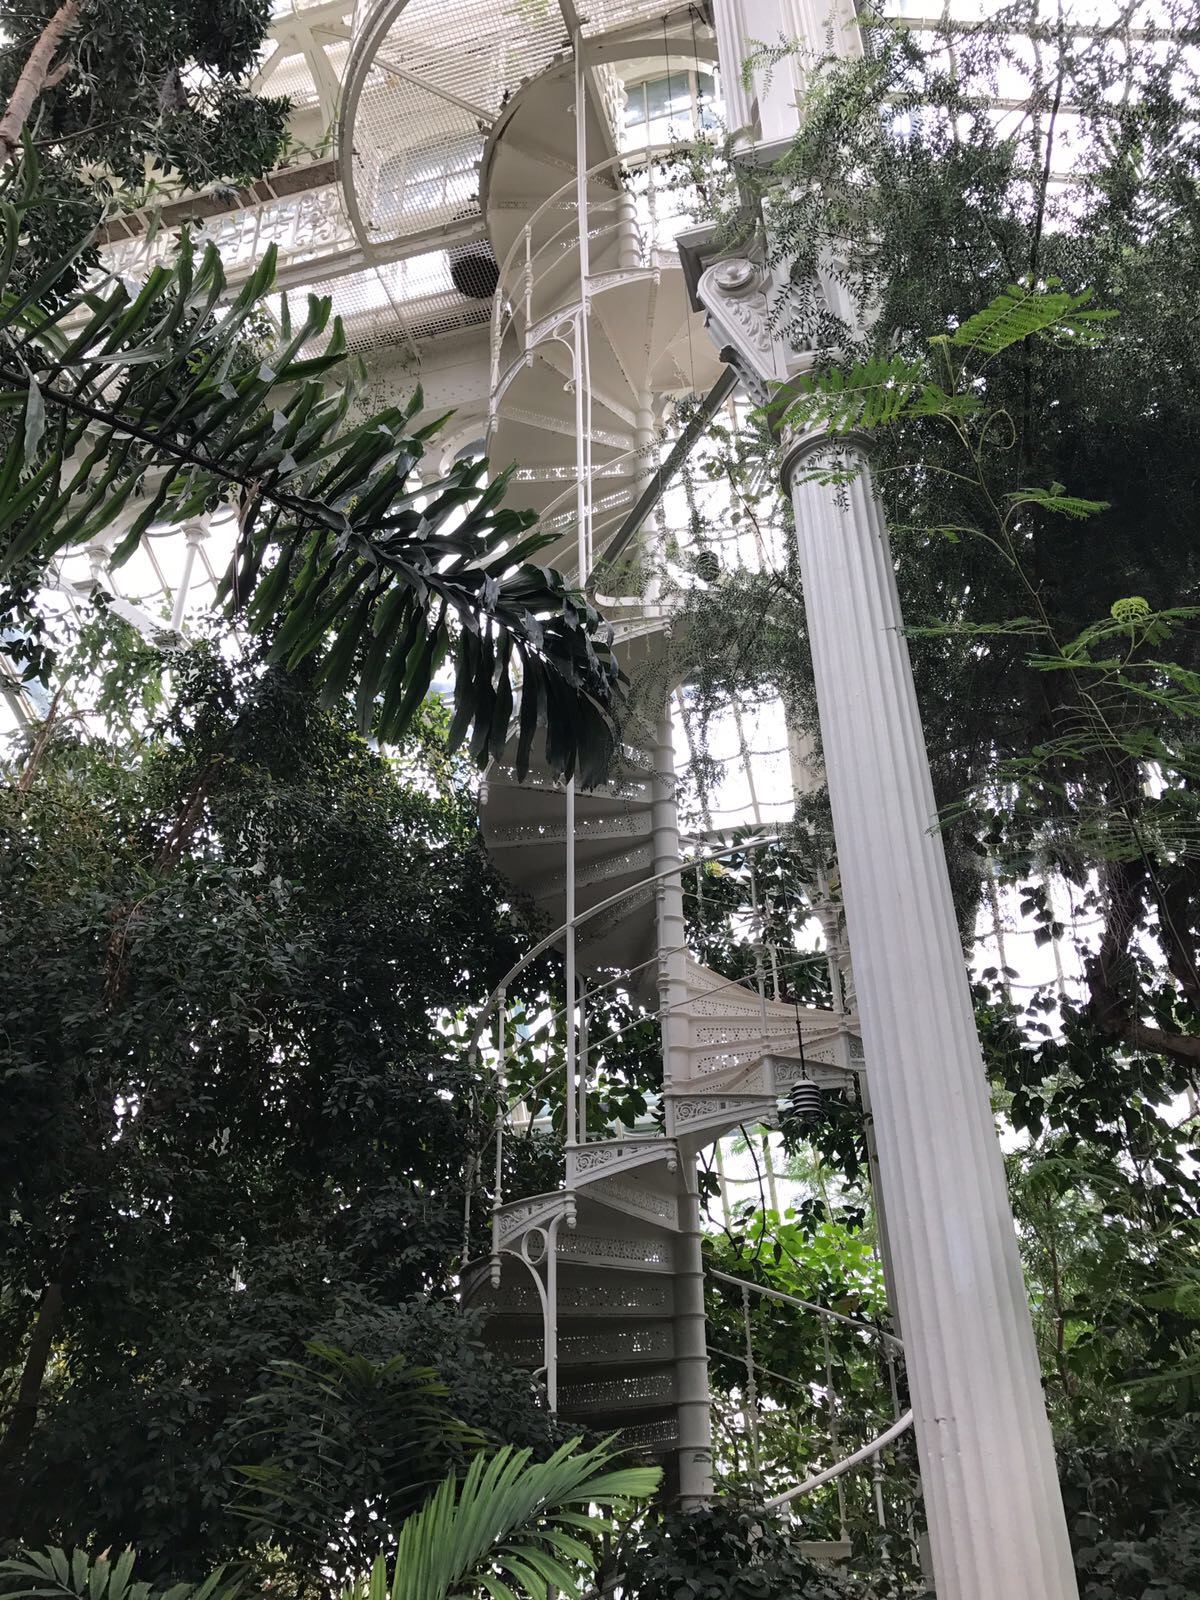
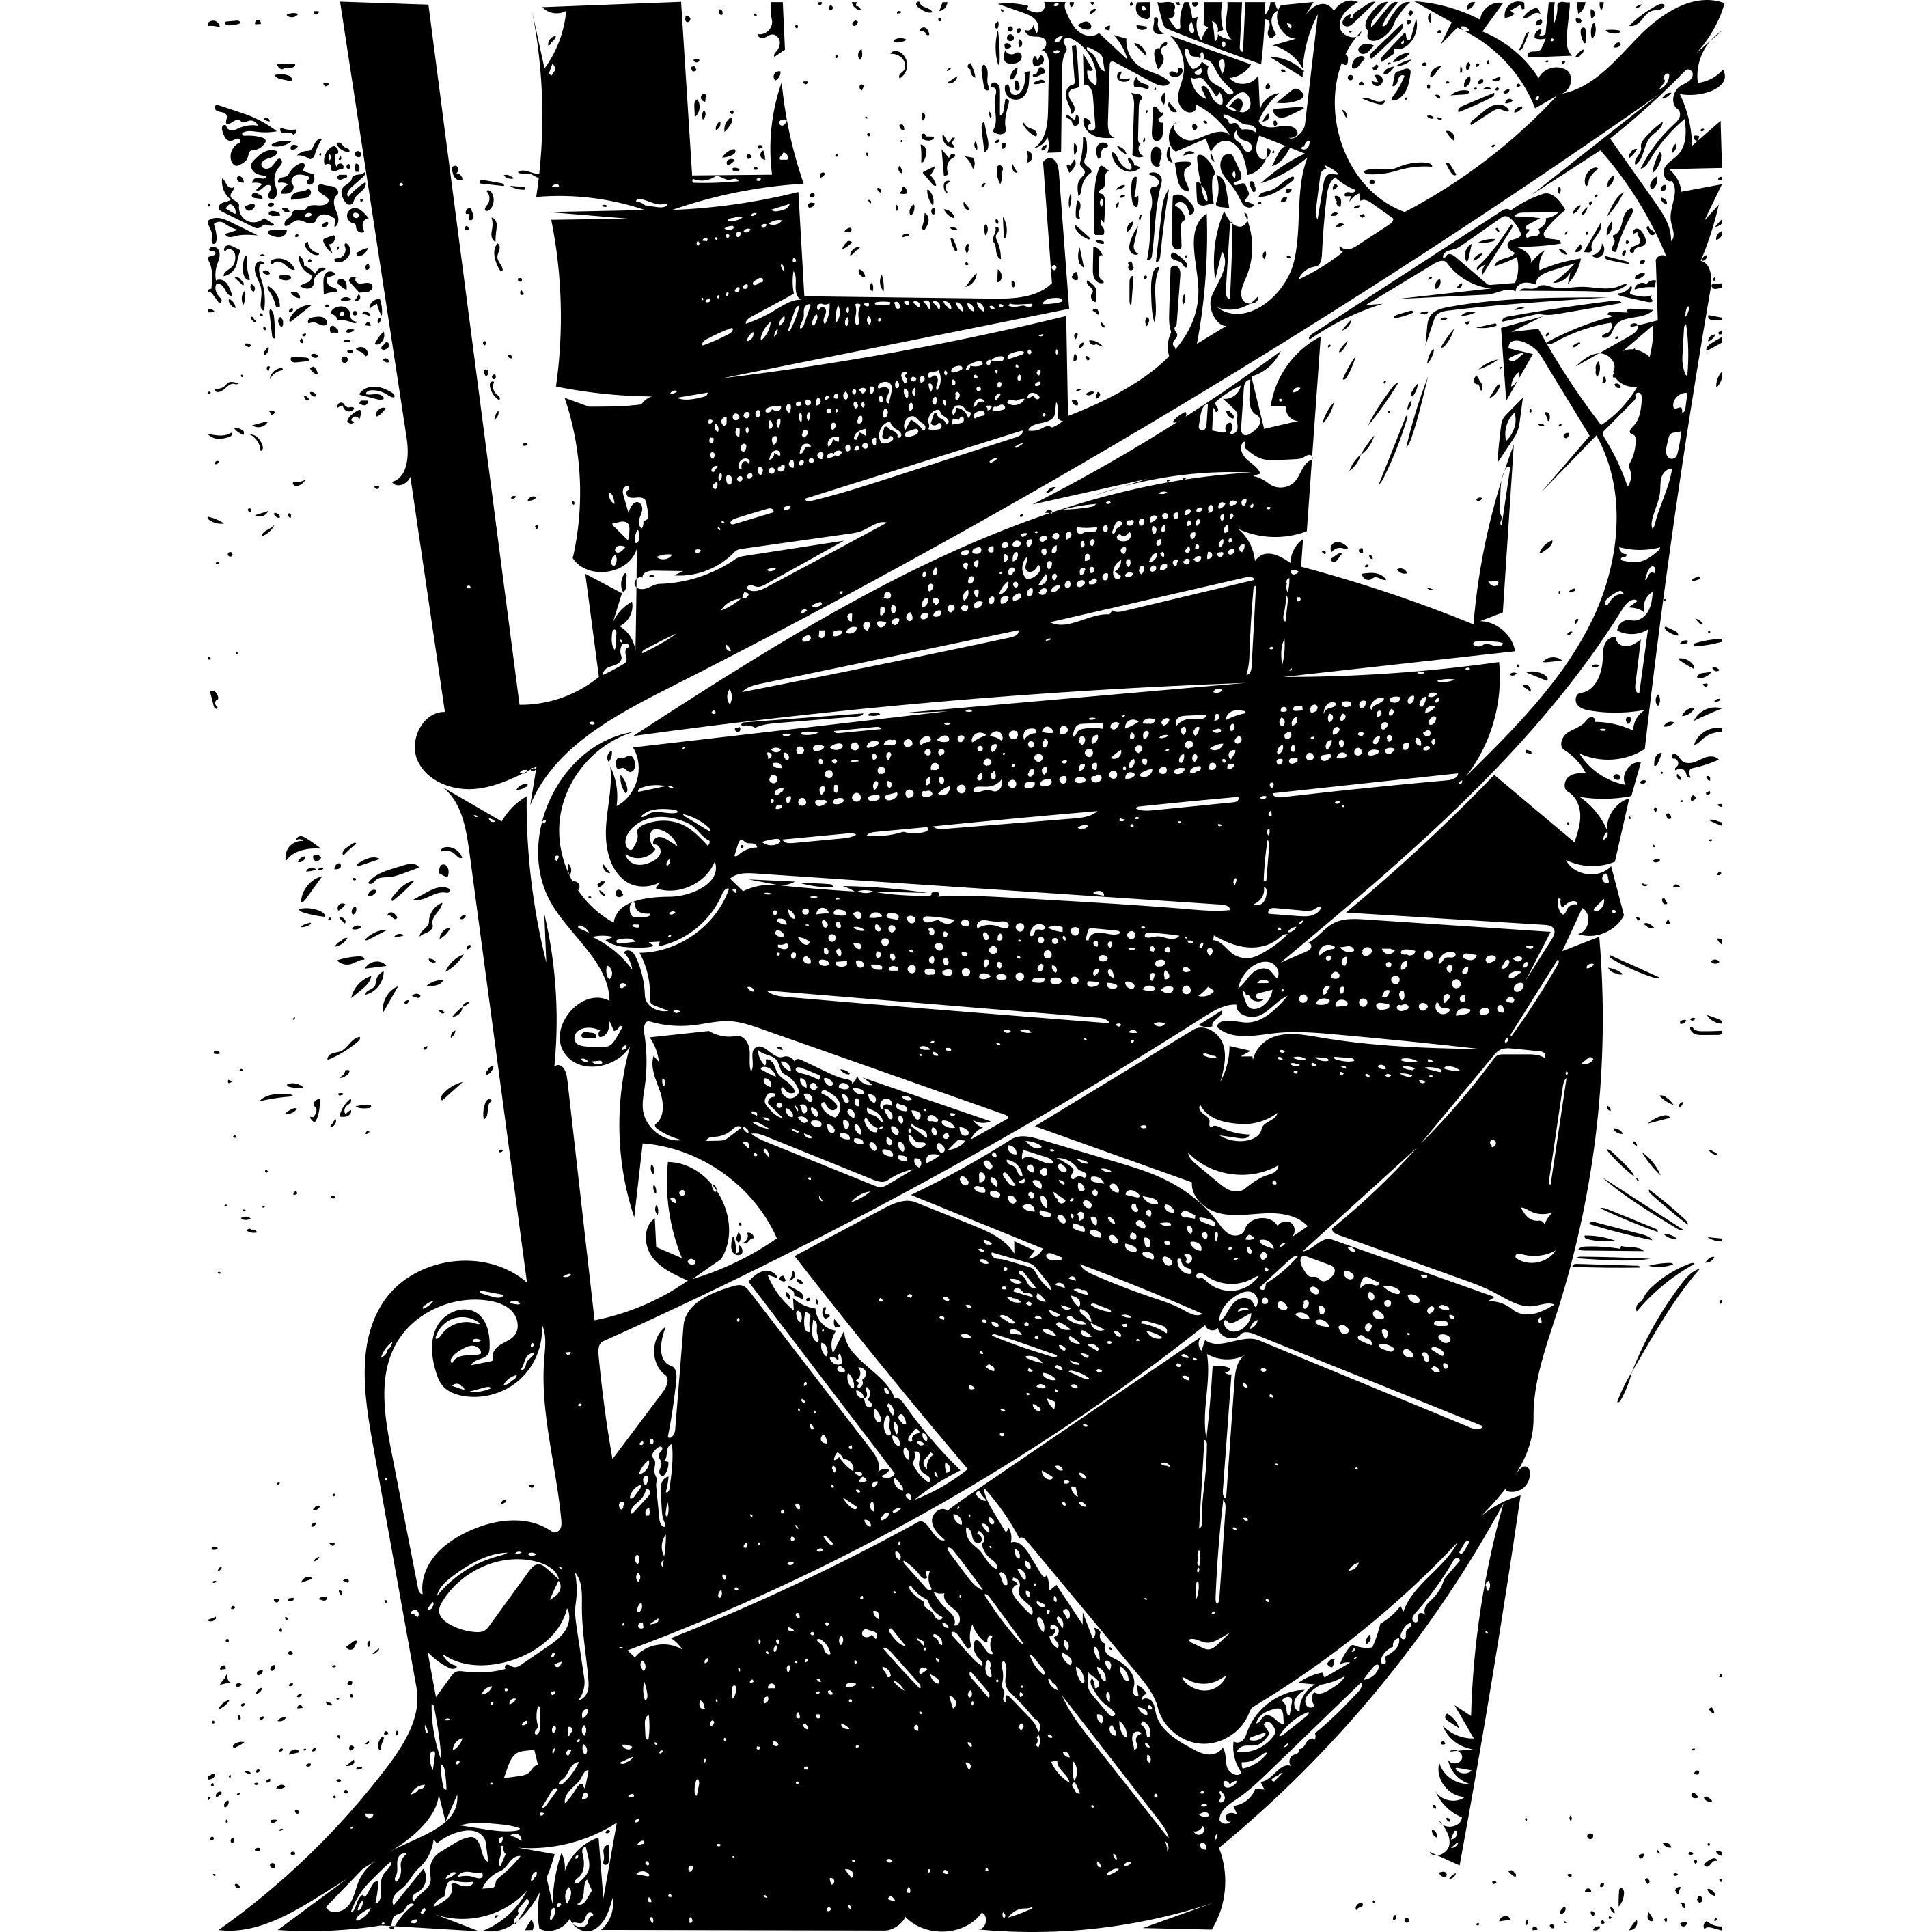
It portrays one of the staircases inside the greenhouse, which simultaneously work as pillars, which makes them a structural aspect.

observational study:


I will foster my experimentation towards the construction of my final piece by brainstorming ideas to generate a dimensional piece. (hologram effect) upon my photographs, maybe using welding, thread and needles or 3d printing etc.

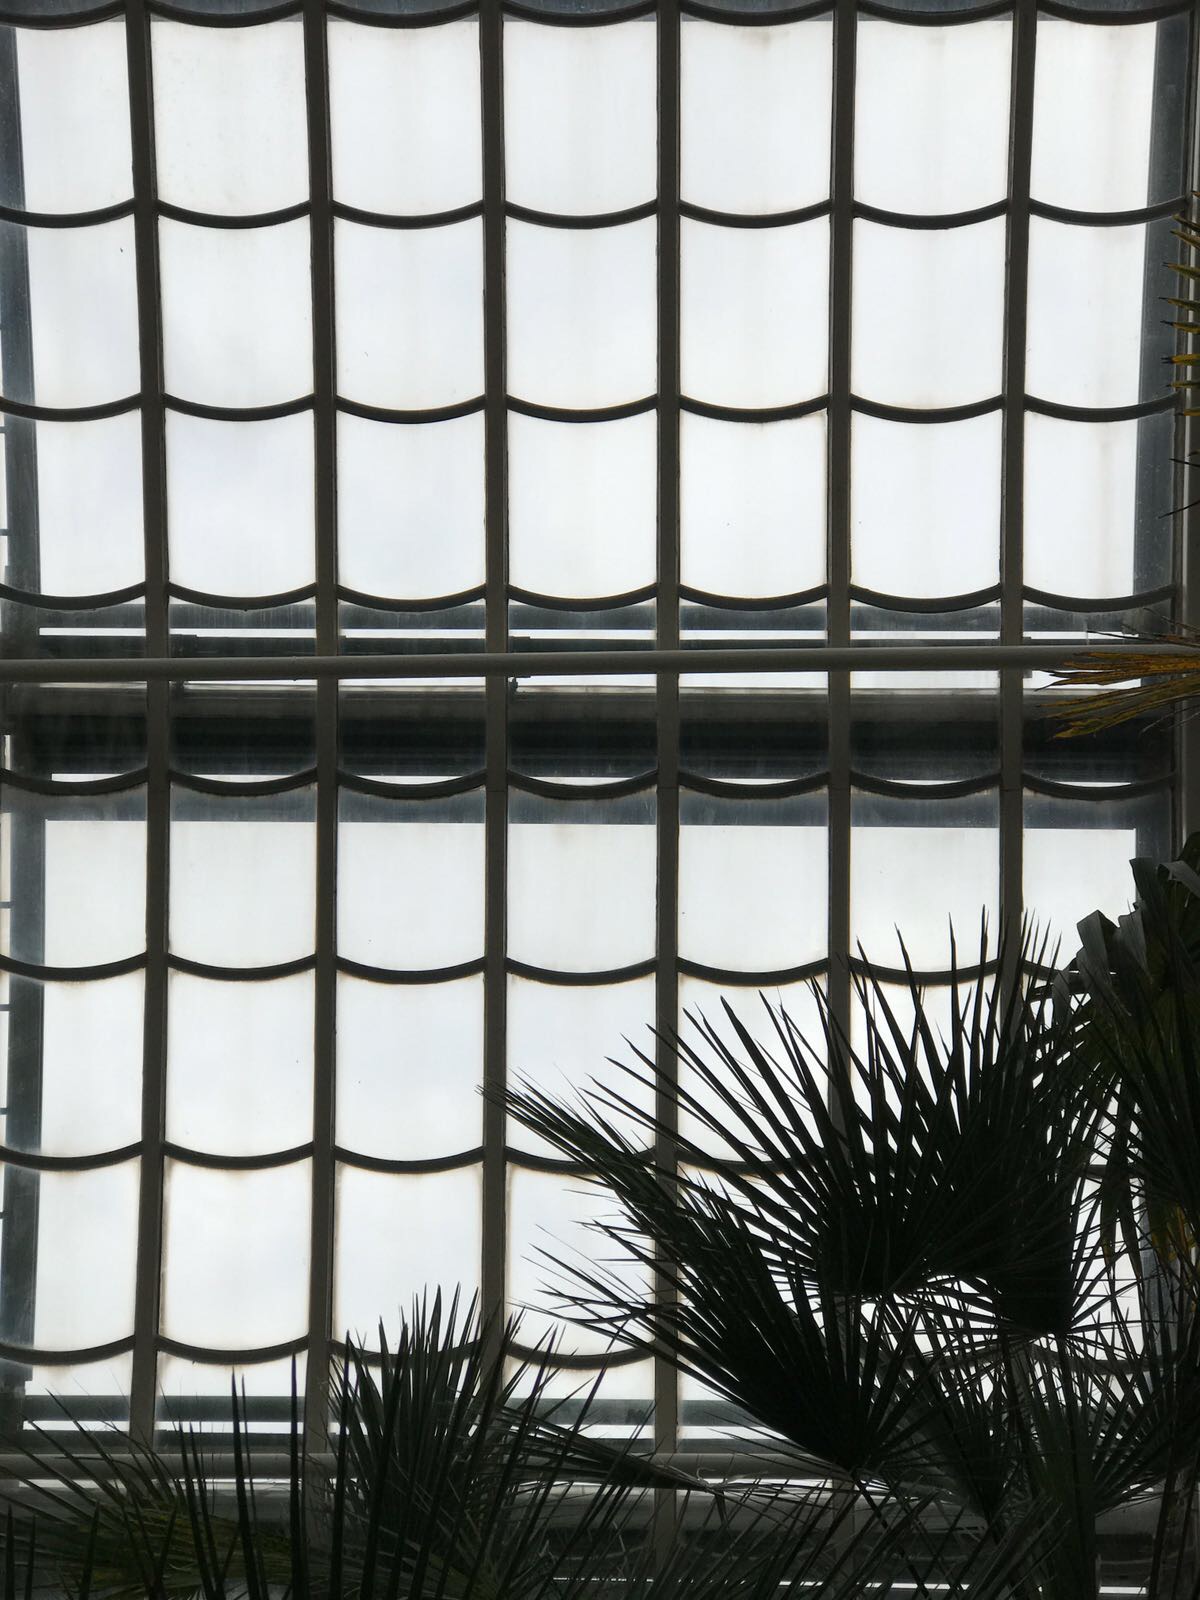
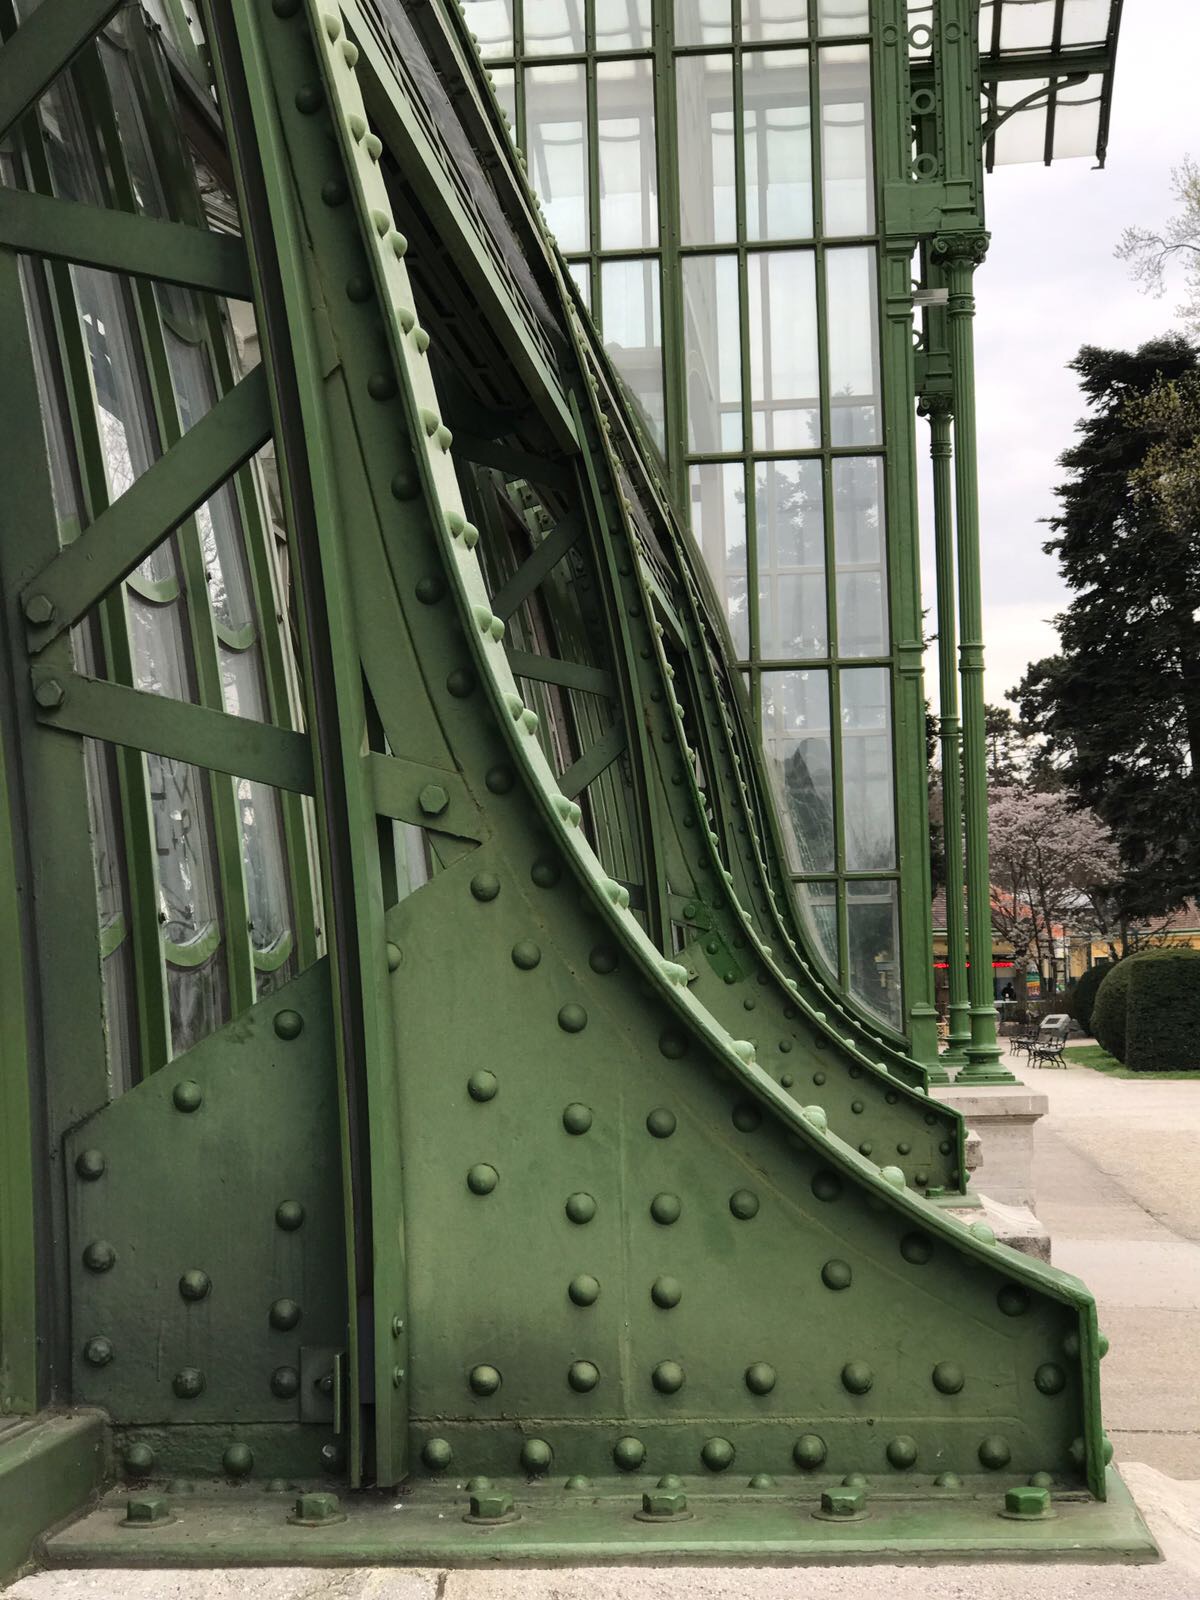
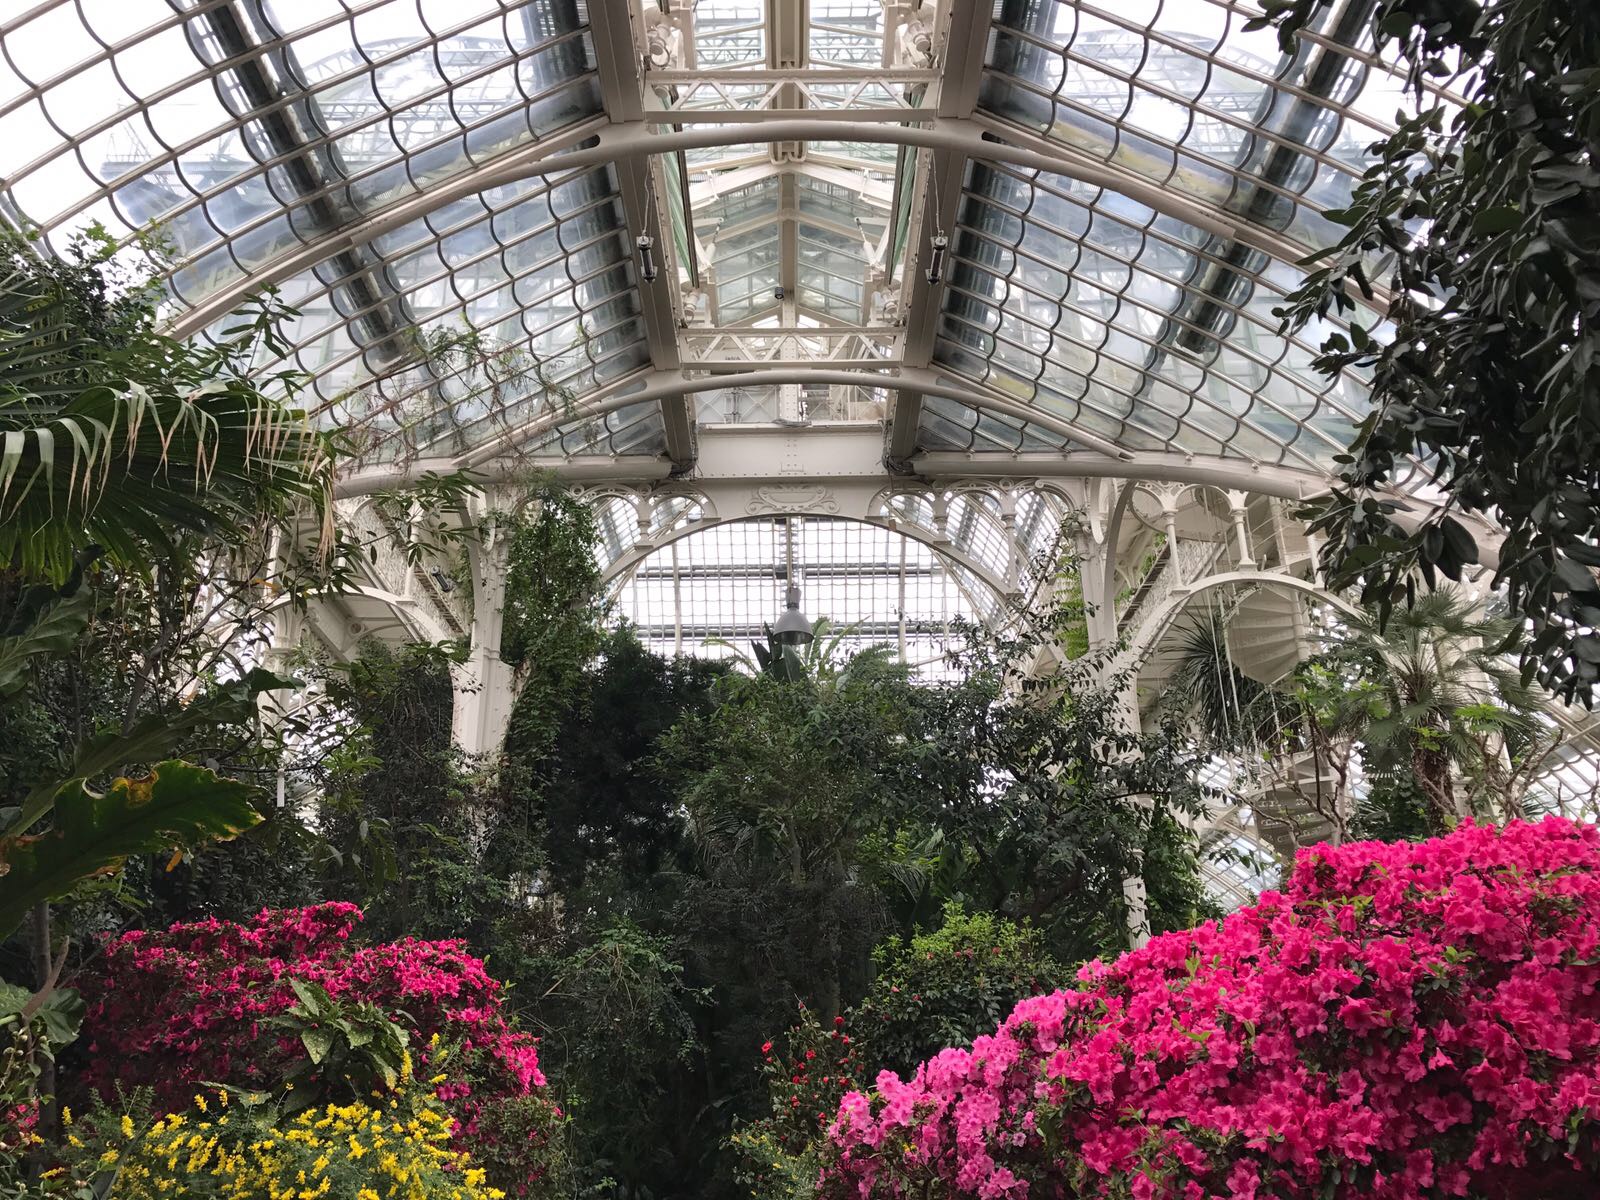
Firstly, I chose four of my various photographs, which struck me as particularly interesting, due to their composition and sense of depth. This is a vital feature when creating a holographic effect, as this aspect heightens the sensation of a 3D construction. (the 3d part ‘jumps’ at the viewer)

Chosen Photographs:

Research for 3D, Hologram effect

HOLOGRAM EXAMPLE: Lee Mcqueen generated a hologram for one of his shows for the label Alexander McQueen (video example  here ). This research inspired me to create a sense of a holographic element for my final piece, as the translucency of the greenhouse’s glass elements reminded me of McQueen’s hologram. Therefore I thought it would be interesting to further develop and explore related explorations relevant to the idea of translucency and holograms.

This led me to think of the idea of creating an image out of thread at the end of a thin object, such as for example a stick or needle. When doing research on techniques to do so, I stumbled across the artist Kumi Yamashita.

Kumi Yamashita’s Thread portrait:

I explored the idea by creating a thread portrait drawing as well as an actual portrait using thread myself. I attempted the portrait from frontal perspective, yet switched to a profile view as it became increasingly unclear. However, I felt that this study was not as successful, as it was lacking in detail.


My Thread Portrait:

PLANNING MY FINAL PIECE:


I will construct a wood board which I shall later place my photograph onto. I will print this image using a high-resolution printer to ensure the image is of very high quality even on a large scale. I then will attach a metal piece onto the wood panel so that the piece can be hung up. Now I will stitch into the photograph at specific areas and attach it onto the wood panel. The next part involves me constructing a 3D printing file, after taking an orientation for it, which I shall take, and 3D printing a ‘real life ‘ version of the greenhouse metal parts seen in the photograph. This way they will reach out of the actual frame and create a holographic effect when placed upon the piece correctly. The final step necessitates me to install artificial lighting so that the 3D parts are lit in a manner that creates a ‘holographic shadow’, which creates the impact upon the audience, as it creates yet another dimensional layer.


As I started to build my final piece I felt it was not as successfull visually as I imagined, therefore I explored and brainstormed ideas of how to make it more impactuful. When doing so I looked and observed the Mcqueen hologram again. I realized the hologram was generated using glass-hence i felt i should create a sense of glass within my exploration too. This led me to think of plenty ideas of how to incorporate this factor within my piece as it is a crucial part to a holographic image. Yet due to limitation in time, I could not fabricate a full functioning hologram, hence I decided to alter my idea and rather then creating a full fletched hologram, create the illusion of one. This i achieved by placing a mirror onto a wood pannel, and placing a 3D print on top of it, then connecting part to the greenhouse skeleton with its reflection using thread- this way i created an optiocal illusin, in which a sort of sense of an alternet reality is given. This is due to the second half of the greenhouse not being present yet feeling as if so. Furthermore, the mirror reflects not only the greehouse skeleton but also its audience, hence the person(s) observing the structure seem as if trapped inside- which is an homage to a real hologram, in which the light reflection is capture within the glass construction. (like the woman in the hologram for mcqueen). I first created a mini version so that I could explore the idea in a functional manner, and also to check which materials wozld work.


Research Plans: FIRST draft and FiNAL draft (troubleshooting Part 2 B)


For my first two drafts I focused on what I needed to do in order to compleate my fnal project.


In version one: For the final outcome I wanted to do a huge photograph like image attached onto a wooden board frame, which I would stich into creating a sense of handmade combined with machine made. In order to get to this stage however I needed to do a lot of research. This included library visits, going to look at the various greenhouses (as for example in vienna) and taking plenty of images. These images I took as guidence for manipulations I created using digital media such as photoshop. Also I created analytical observational studies to foster my understanding of the structures. Aditionally, when working toward my final project I would experiment with various prints and colours in order to further develop the deabth of the picture and final outcome composition, so that it would work successfully.


In version two: I repeated most of the research based part of the project, yet after taking pictures and creating analytical studies from it, I would go in another direction, and rather then working with a photograph based project would start exploring using §dimensional medis, such as wood (to create a 3D model of a greenhouse) and meatal.


FINAL PLAN :


For the Final Plan: I ended up combining both first drafts to create an alternate version which ended up leading me to my final draft.

Digital Tools Class: Project 3: Mailer/Poster and Evite


For this poster, I created a double (back to back) faced d esign of a poster about my exhibit ‘Distortion’. The poster measures 9″w x 12″ with one page being one singular poster and the other being divided into four sections (each 4.5in x 6in) featuring text, (address of the exhibit etc., what, when, who it is by, where, etc. ). This is so that the poster may be folded.


In order to do so, I created two pages, with a complex layout with some panels being rotated due to the folding. I chose to design the poster using my art work (which would be displayed in the exhibit)  as background, almost as a ‘teaser’ for the audience. This way it is visually pleasing to the eye, easily readable and also, whilst giving the rrecipientof the poster information about the exhibit, shows a ‘taste’ of what the viewer might expect in the exhibition. When doing so, I made sure to adjust the background design in a way the white writing would still be readable with ease, as this was important for a successful outcome, so that the reader can read about the exhibit and artist (what when where who? etc) which I wrote on the pages.

When creating this poster, I felt the most dificult part was to manage the four panels equally, so that both, the rotated and the horizonal, images would perfectly fit onto one another and create a harmonious composition. Yet after creating the first of the two rotated sections, I felt I became more at ease as I had learned from creating and overcoming the problem from my first section. The other issue I dealt with was the fact that some backgrounds and images were much darker then the other, which made it more difficult in some parts to see the writing (also in white to create a harmonious overall design composition). However, I overcame this issue by playing with opacity settings and brightness settings manipulating the image, in order to create a successful outcome.For the poster filling an entire page, I also chose white fond, to create a harmonious overall design composition.

For the poster filling an entire page, I chose black fond, as the background was white and otherwise the writing would not stand out. I feel however as if the black fond still creates a harmonious overall design composition, as it does not overwhelm the other details.


Overall I feel the poster has been successfully executed and is well readable. If I was to change something, I may have played around with colour a little more, yet I am happy with the overall outcome and feel my process has been clearly portrayed.


4-ymdbec


EVITE:

Furthermore, to also create an online version to be sent out to promote my exhibit, I created this evite .

evite draft 1-1krklxy


Mapping first steps:troubleshooting part 1 and part 2 a

Greenhouses

For my foster development of my topic, I have visited two greenhouses from the 18th century in vienna. When observing these structures, I became more and more interested in their volume and how so much material can be held up into space, creating such a preponderence of free area.

So I started observing the detailing around the structure, as well as metal works, such as poles and staircases, which help hold the structuce in place and support it. Hence I started taking great amount of images and photographs from the sights i visited. I then started to explore their structure (the structure of the sight within the photograth) using drawing techniques. I created various drawing, using methods like crosshatching and schading to create a contrast between light and dark areas as well as create a composition. Furthermore, I then also explored using illustrator when developing this process. Also, when mentioning a sense of composition, I had previously further explored doing so when taking photographs, to distinquish the most interesting angles to form a successful composition which would transfere well onto other techniques like drtawing but also stand by itself.

research sources:

sights:

A. 

the ‘Schmetterlingshaus’ is a greenhouse for butterflies and palmtrees from the 18th century located in vienna, in the royal gardens of schloss Belvedere

More information about the Schmetterlingshaus (butterflyhouse) can be found here:

http://www.schmetterlinghaus.at/en/

B. 

‘the Palmenhaus’ is a greenhouse for palm trees from the 18th century located in vienna, in the royal gardens of schloss schönbrunn

More information about this sight can be found here:

https://www.schoenbrunn.at/ueber-schoenbrunn/schlosspark/rundgang/palmenhaus/ 


Books:

– ”Comprehensive guide to building Greenhouses

‘Greenhouses are sources of continuous throughout-a-year food production. They provide ideal conditions for growing plants for own or commercial use. This book is a guide that shows how to plan, organize resources and build your own greenhouse. It contains a step by step illustrated guide for building small size cold frames, small to large scale PVC greenhouses and glasshouses.’ (amazon critiques: source: Comprehensive guide to building Greenhouses)

– ”The Urban Farmer”

‘There are twenty million acres of lawns in North America. In their current form, these unproductive expanses of grass represent a significant financial and environmental cost. However, viewed through a different lens, they can also be seen as a tremendous source of opportunity. Access to land is a major barrier for many people who want to enter the agricultural sector, and urban and suburban yards have huge potential for would-be farmers wanting to become part of this growing movement.’ (source: amazon critiques: the urban farmer )

Further Research Questions:

-is it more sustainable to generate food in greenhouses or on plantages? – how does it influence the production of CO2 etc.

-How does one build a greenhouse, what materials are used and how does the technical side work?

-what would be other options to incorporate greenhouses into our food production in a way that is great for the environment but also sustainable economically?

-why havent greenhouses been used for food production in a greater scale to this point in time ?

-man vs. machine (manmade/machine-made)


IMAGES (PRIMARY SOURCE _ PHOTOGRAPHED BY ME)


Drawings:


Illustrator:


PART 2: in another blog post – link here:

https://portfolio.newschool.edu/antoniagrohelp/2017/04/13/research-plans-1st-draft-and-final-draft/?preview_id=1264&preview_nonce=3425fea761&post_format=standard&_thumbnail_id=-1&preview=true

Studio 2: Research Question: Greenhouses

Research Question:

-is it more sustainable to generate food in greenhouses or on plantages? – how does it influence the production of CO2 etc.

-How does one build a greenhouse, what materials are used and how does the technical side work?

-what would be other options to incorporate greenhouses into our food production in a way that is great for the environment but also sustainable economically?

-why havent greenhouses been used for food production in a greater scale to this point in time ?